Salsa Chicken Burrito Bowl
Salsa Chicken Burrito Bowl
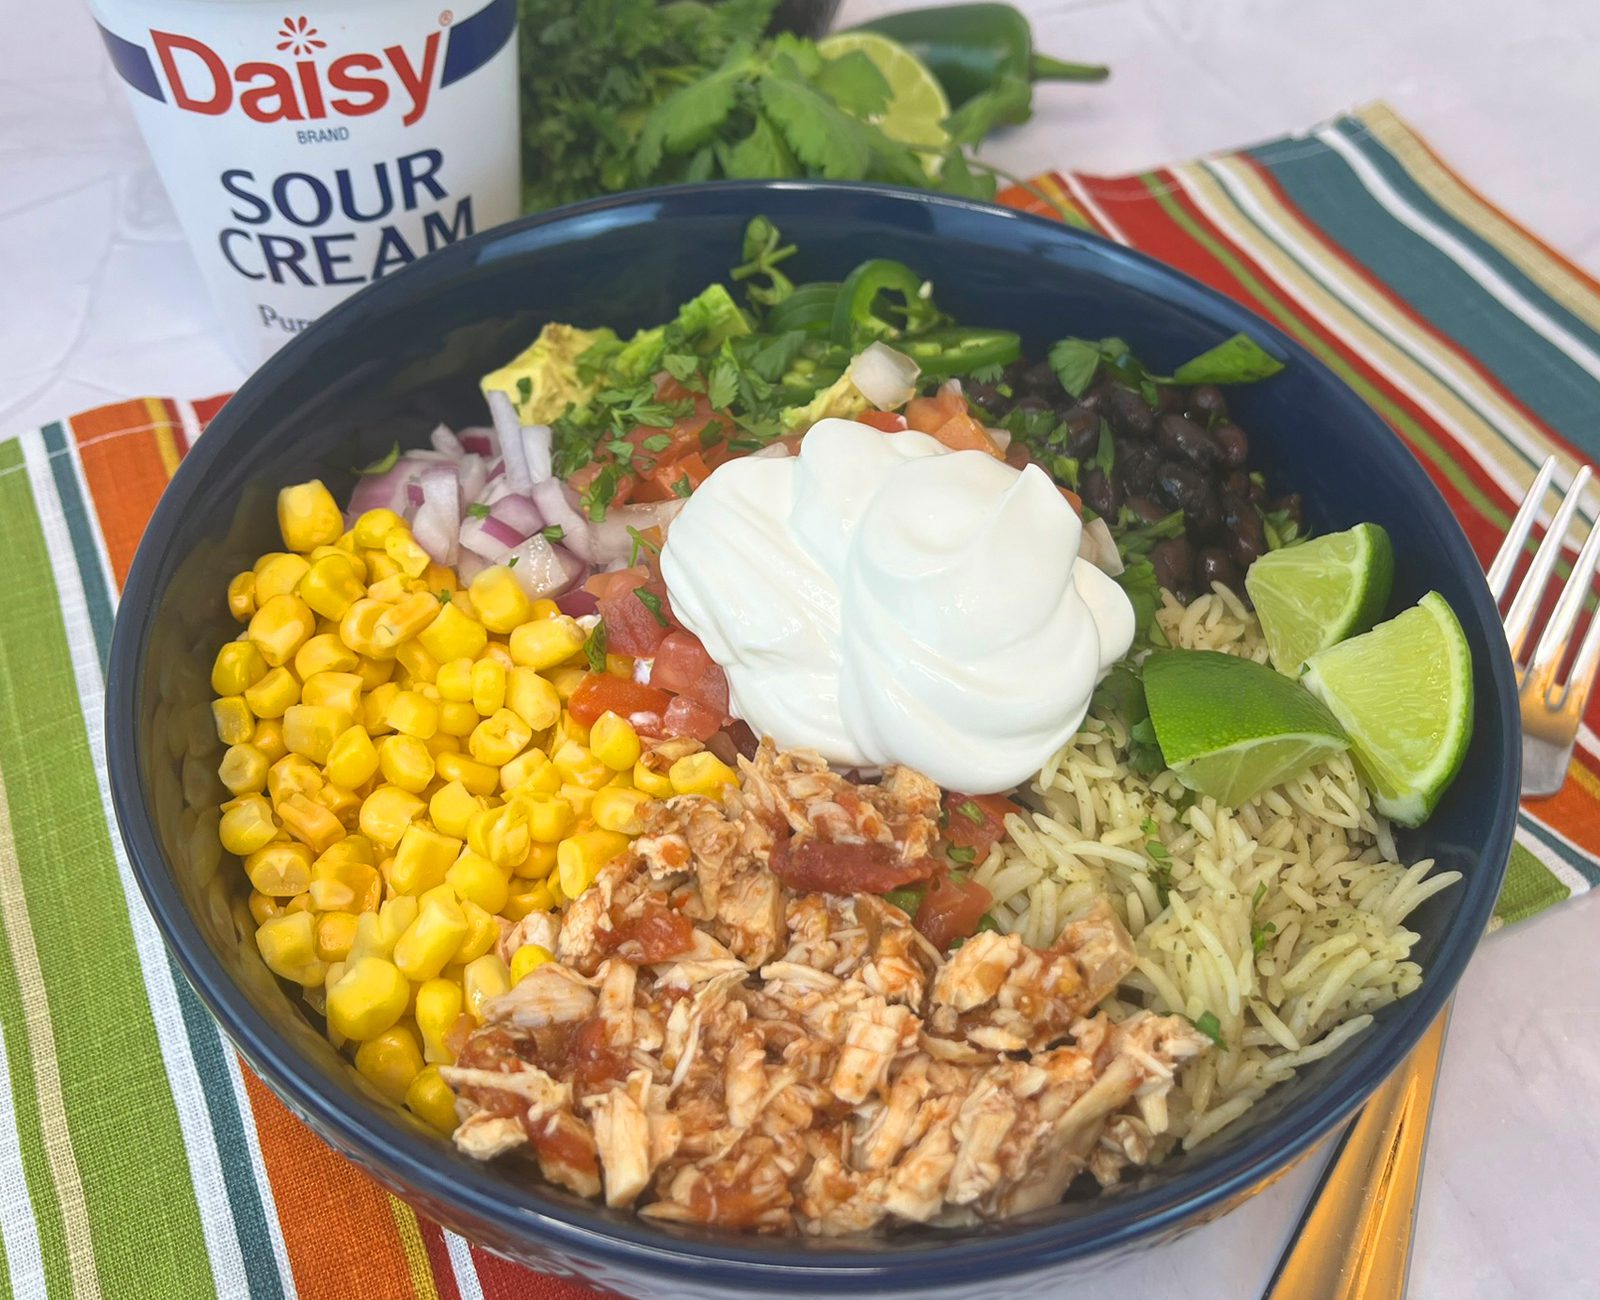
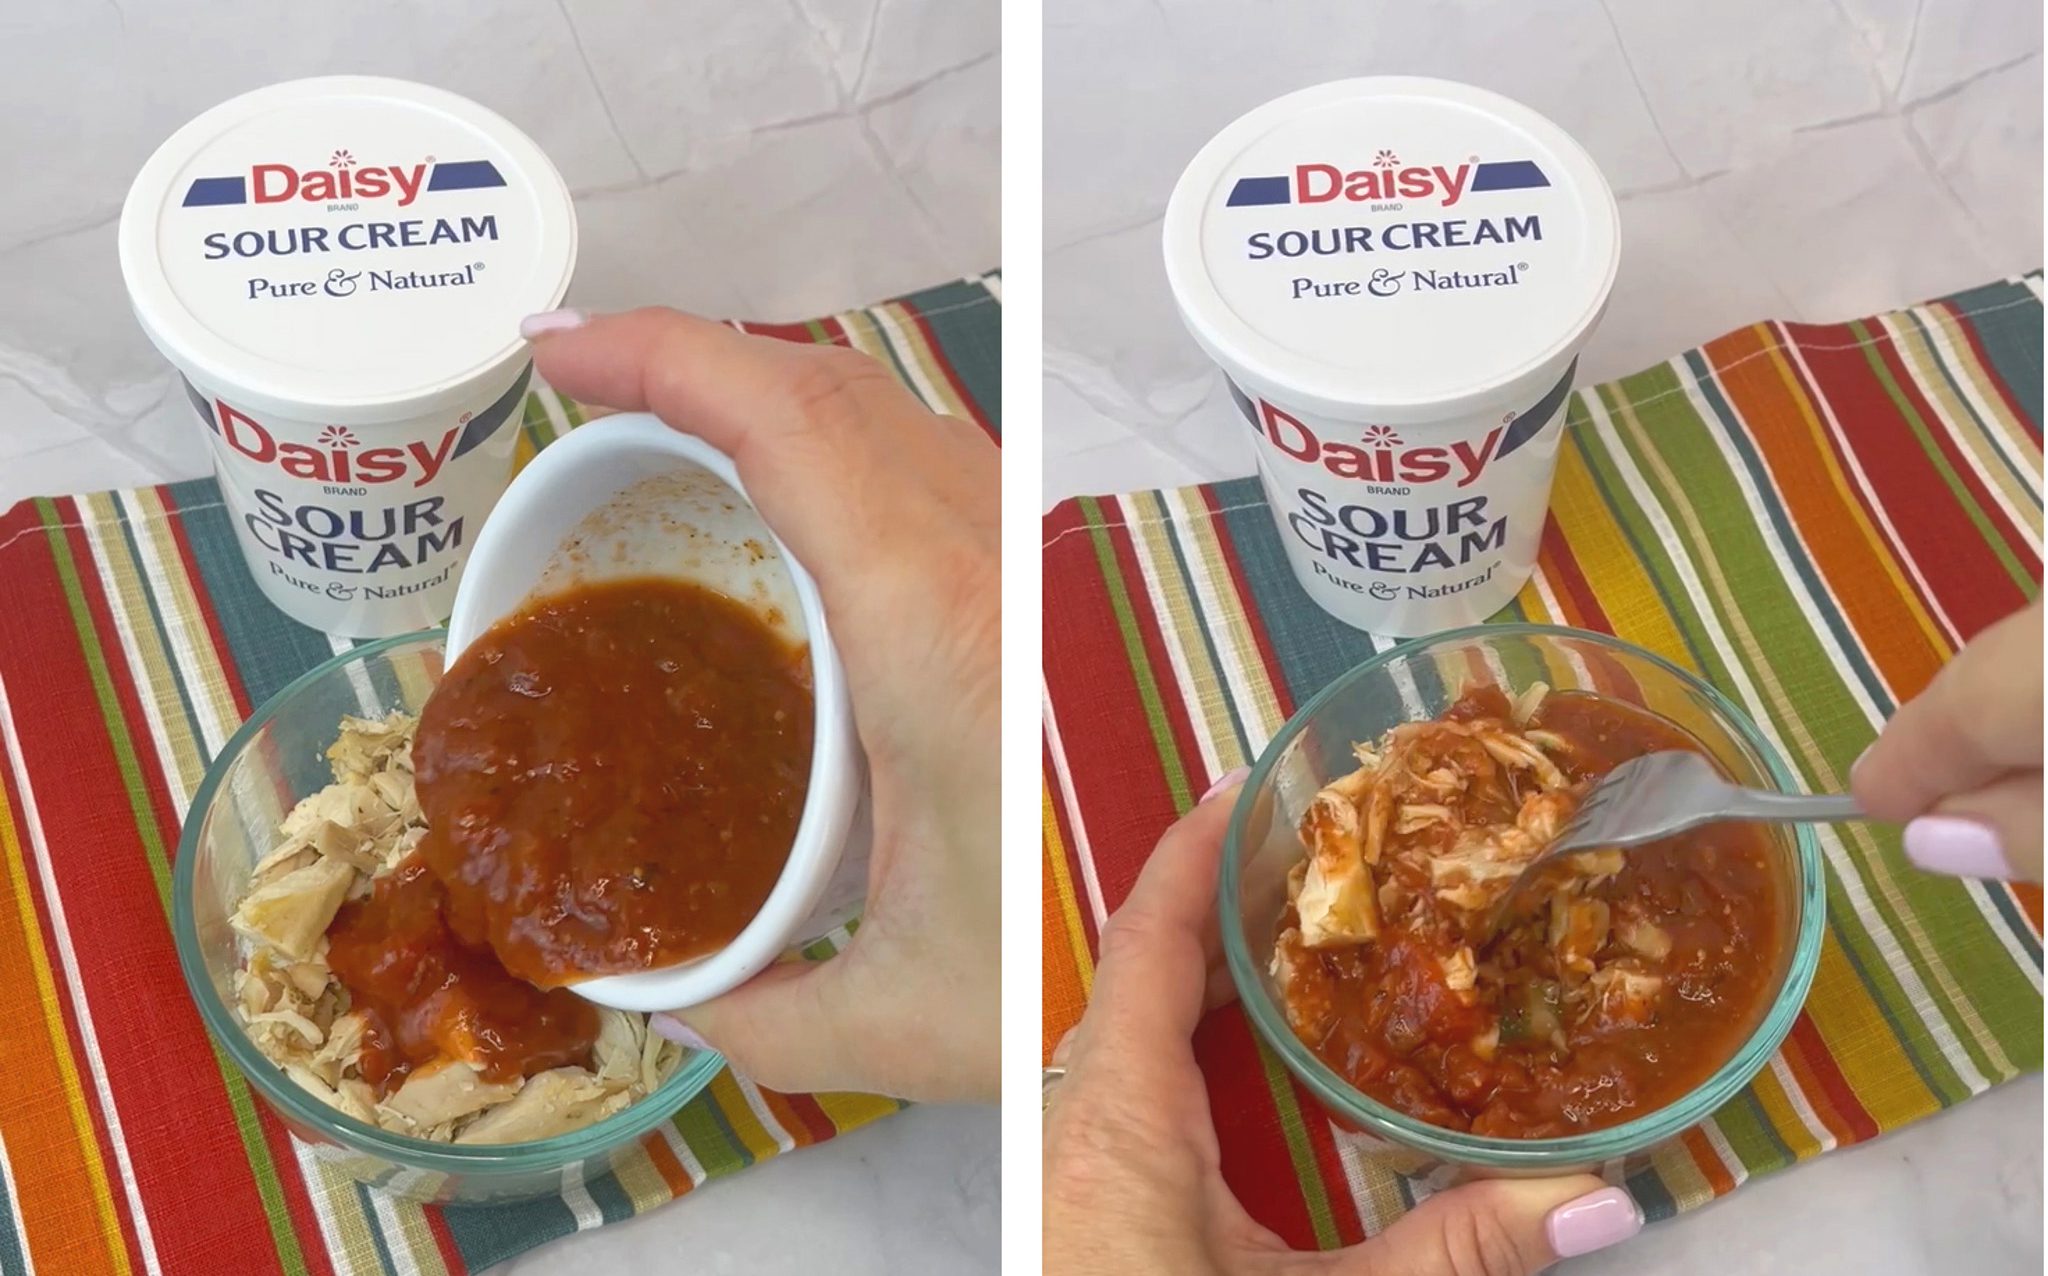
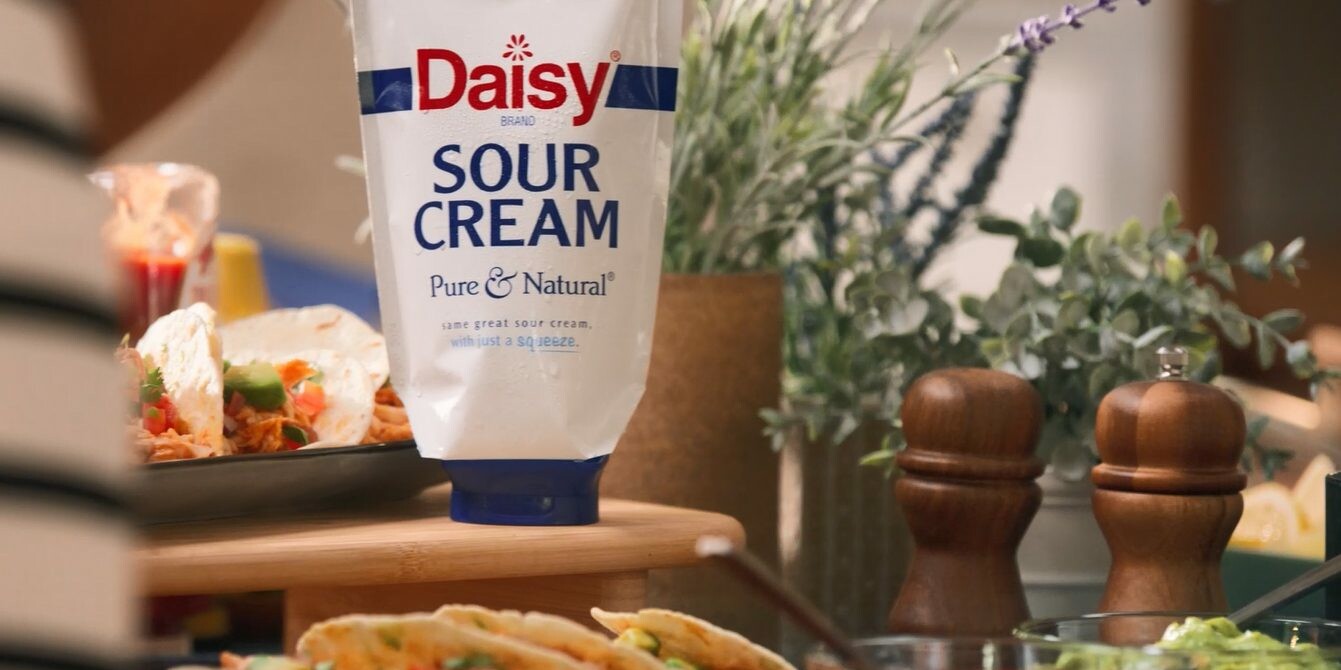
Looking for a fresh, flavor-packed meal that’s easy to make and loaded with protein? This Salsa Chicken Burrito Bowl delivers bold Tex-Mex flavor with minimal effort. Juicy, tender chicken is mixed with zesty salsa, then layered over fluffy rice with your favorite toppings for a customizable bowl that’s perfect for lunch or dinner. A generous dollop of Daisy Sour Cream adds a cool, creamy finish that balances the heat and ties every bite together.
This burrito bowl is as versatile as it is satisfying. Keep it classic with black beans, corn, shredded lettuce, and Pico de Gallo, or mix it up with avocado, jalapeños, or a squeeze of fresh lime. Whether you’re meal prepping for the week or feeding a hungry family, this dish comes together quickly and delivers big, crave-worthy flavor every time.
Made with simple ingredients and bold seasoning, this salsa chicken bowl is a wholesome, high-protein option that doesn’t sacrifice taste. And with Daisy Sour Cream’s rich flavor, you get the perfect creamy contrast that elevates every bite.
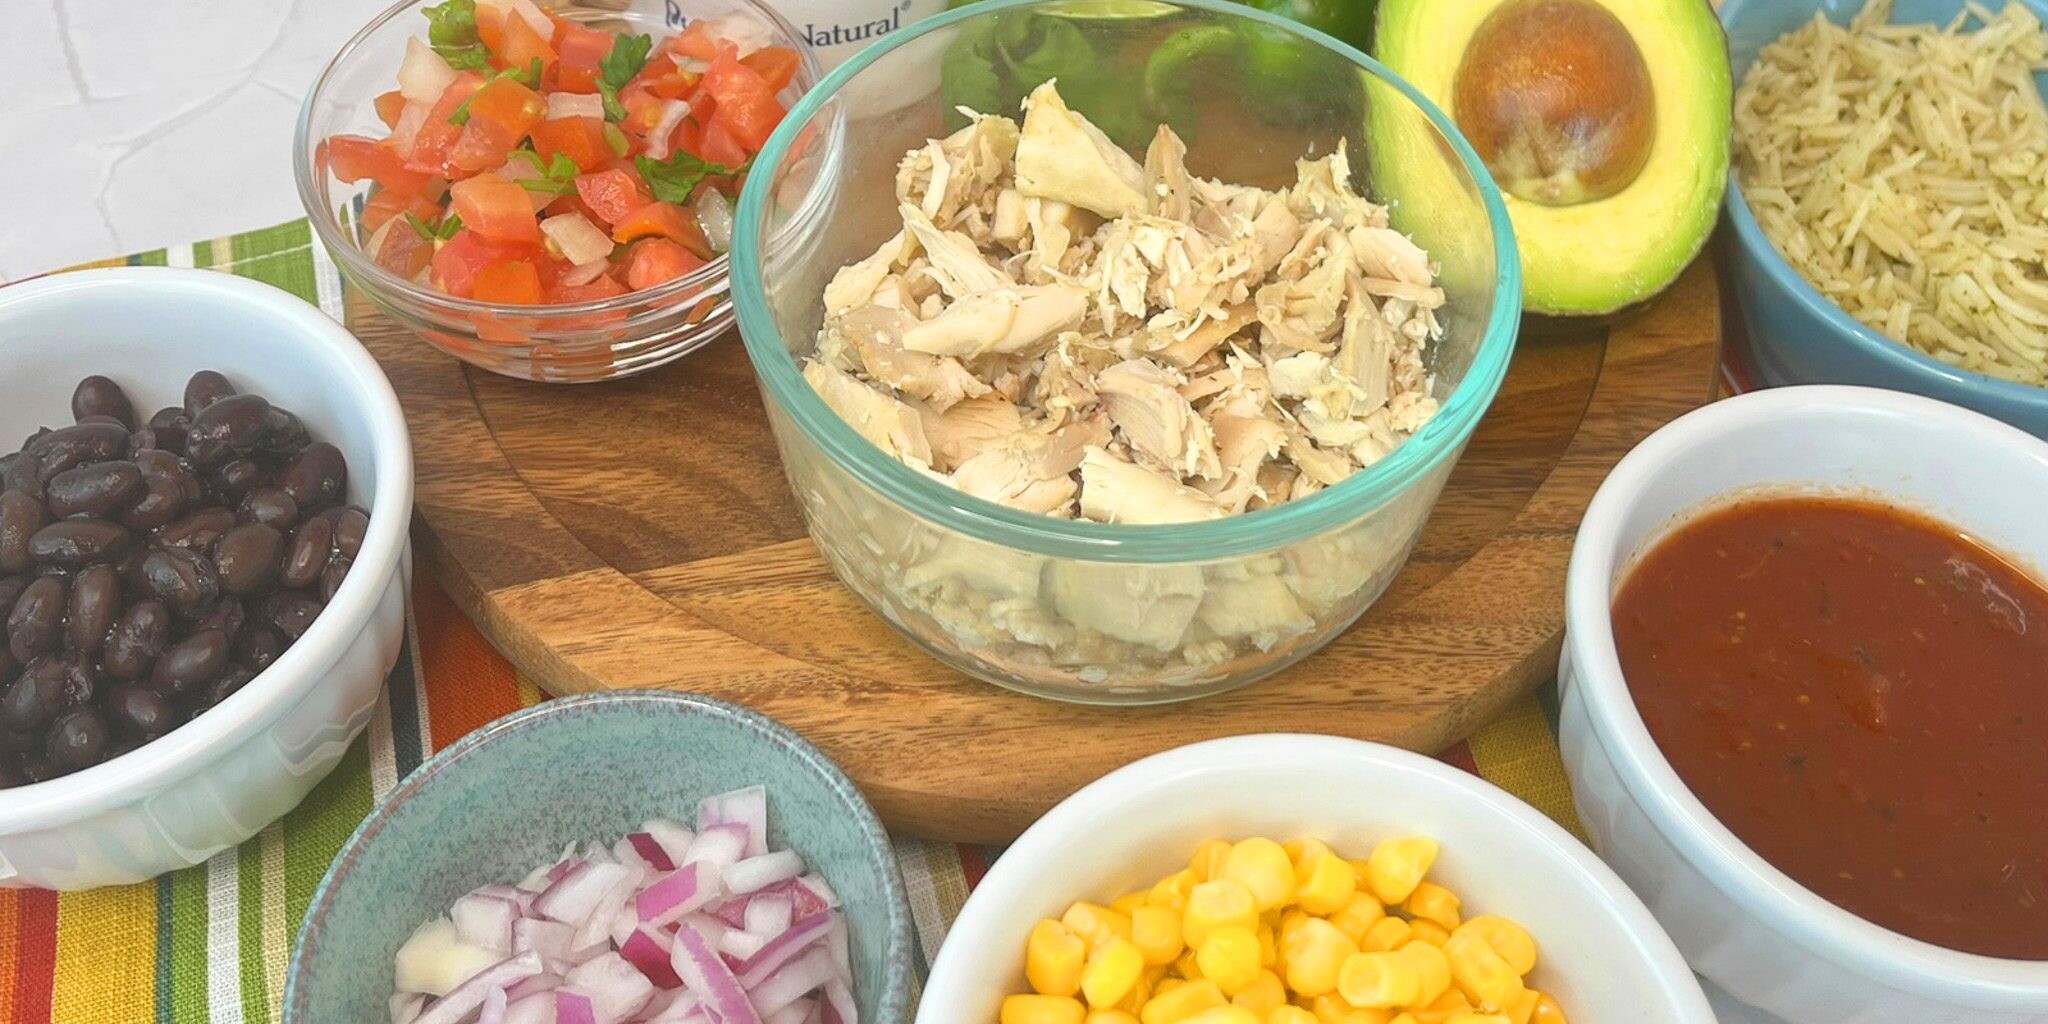
Salsa Chicken Burrito Bowl Ingredients
- Shredded Chicken (1 cup): Rotisserie chicken works great in this recipe as does any leftover cooked chicken. It provides the main protein in the bowl.
- Fire Roasted Salsa (1/2 cup): Provides the spicy, tangy, smoky, tomato flavor to the chicken. Feel free to add more if you like your chicken saucier.
- Cooked Rice (1/2 cup): Rice, farro, and quinoa are all great choices. Feel free to use whatever you have on hand.
- Frozen Corn (1/2 cup, thawed): Provides sweetness, a pop of color, and a nice texture contrast to the chicken and rice.
- Black Beans (1/2 cup, rinsed): Any type of cooked bean or lentil will work well in the bowl. They add extra protein and heart-healthy fiber to the bowl.
- Diced Red Onion (1/4 cup): Adds a pop of color and a peppery zest to the dish.
- Avocado (1/2): Adds healthy fat and additional creamy goodness to the bowl.
- Pico de Gallo (1/2 cup): The acidic and tangy combination of onions, tomato, cilantro, and lime juice creates the perfect zesty accompaniment to the bowl, adding depth of flavor to this Tex-Mex bowl.
- Cilantro (2 tablespoons): Provides a bright, fresh, and citrusy contrast to the heavier, savory chicken and beans.
- Daisy Sour Cream (½ cup): Brings a creamy, tangy balance to every bite, mellowing out spicy, smoky flavors while adding a rich, smooth texture. Its subtle tang brightens the dish, creating a fresh, refreshing contrast that ties all the ingredients together beautifully.
- Lime Wedges: Adds a burst of acidity and provides a bright contrast to rich, savory ingredients.
- Jalapenos: Add an additional touch of fresh, bright heat. Fresh or pickled work well with fresh tending to be hotter.

Substitutions, Variations, and Tips
- Any type of cooked meat will work great in this recipe. Chicken, brisket, ground beef, shrimp, or fish are all great options.
- For a plant-based protein alternative, try adding toasted tofu or additional beans or lentils.
- Any type of salsa or picante works great to add a little tomatoey zest to the protein. Feel free to use whatever you have on hand.
- The protein may be served cold or heated to your preference.
- Any type of cooked grain works great for burrito bowls to add fiber and to give you extra energy.
- Cauliflower rice is also a great choice if you’d prefer a lighter option.
- Pico de Gallo can be found in the produce section of your local grocer.
- If you’d rather make fresh Pico de Gallo, you can mix 3-4 diced Roma tomatoes, ½ cup diced onion, 1/3 cup chopped cilantro, and the juice from 1 lime. Add a sprinkle of salt and let set in the refrigerator to blend flavors for at least 30 minutes before enjoying.
- Sauteed bell peppers and onions make a great fajita-type addition.
- Chopped lettuce and halved cherry tomatoes may be used as a base instead of rice for a salad option instead of a bowl.
- Fresh Guacamole may be used in place of avocado.
- Shredded cheese such as cheddar or Colby-Jack are great additions.
- Hot sauce or additional jalapenos may be added for those who like their bowls with more heat.
How to Make Salsa Chicken Burrito Bowl
- Mix chicken and salsa.
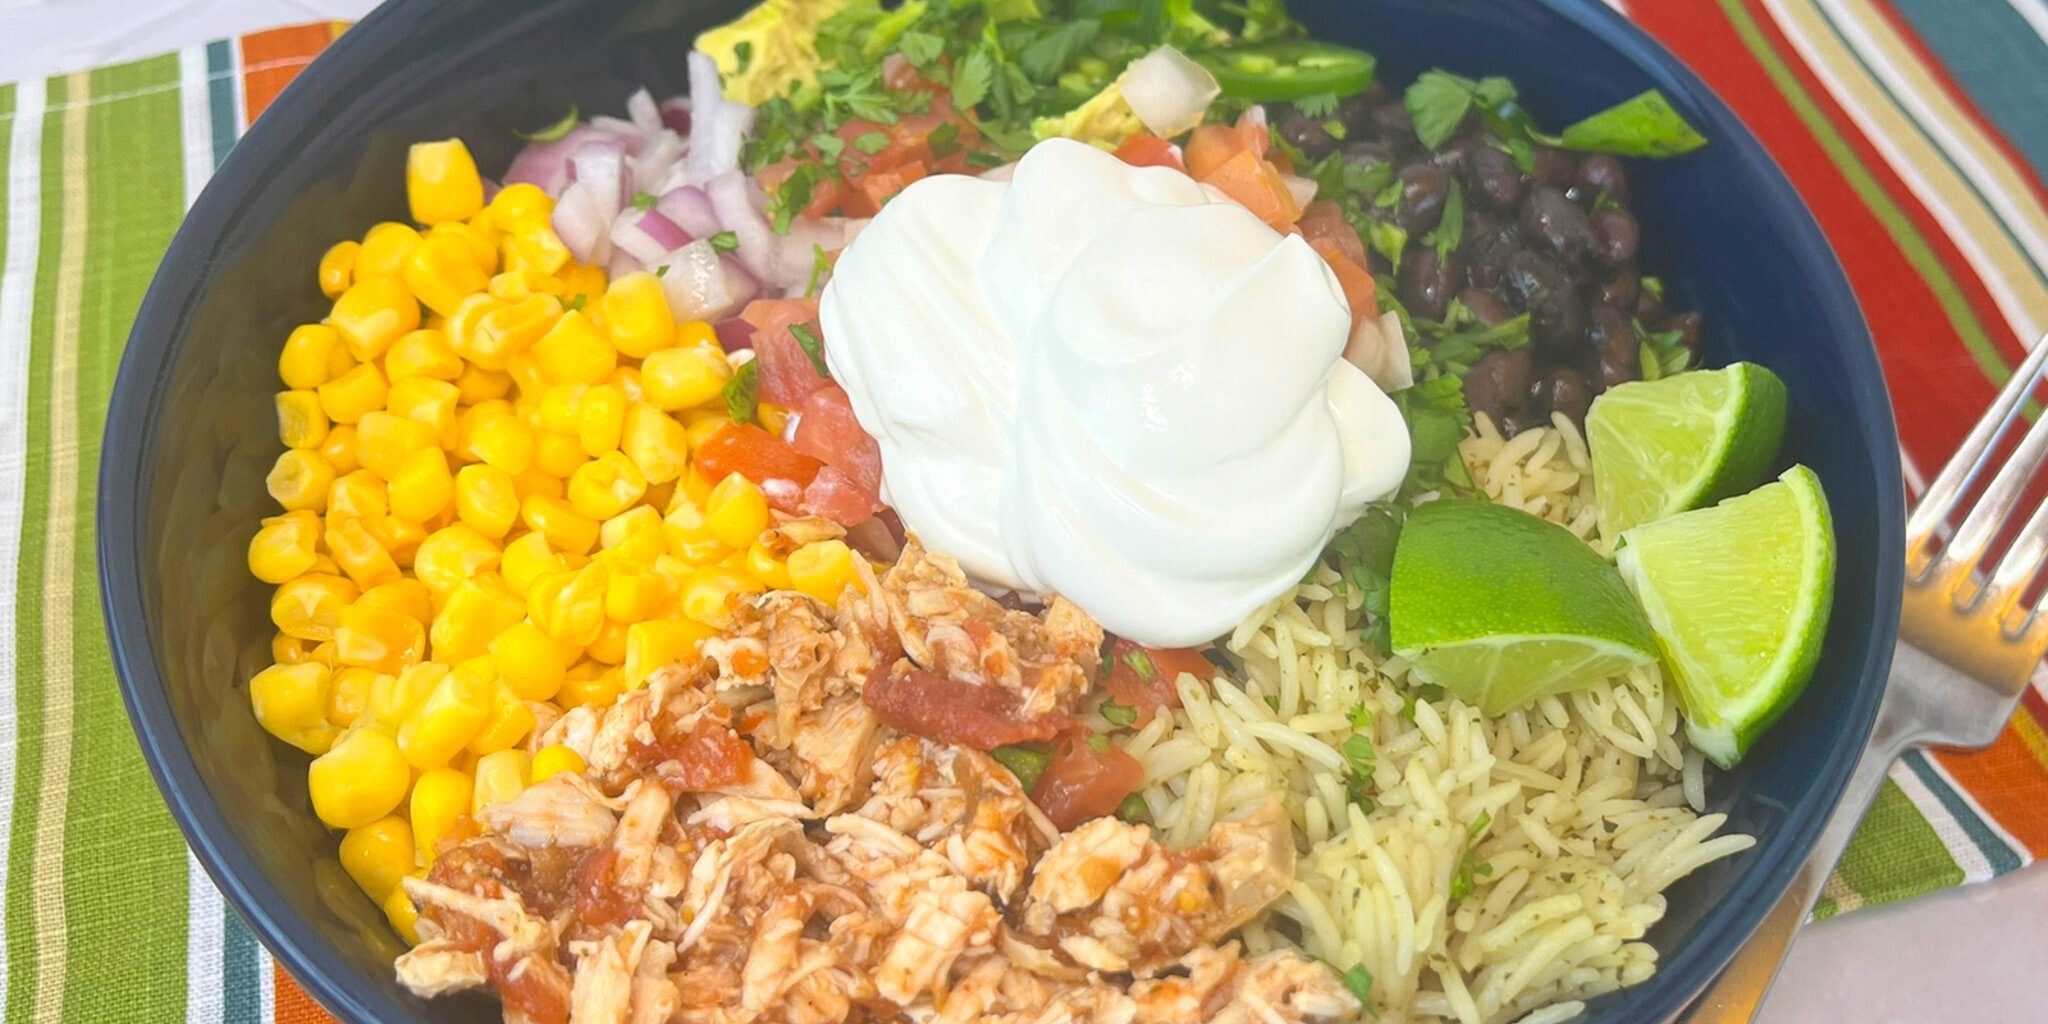
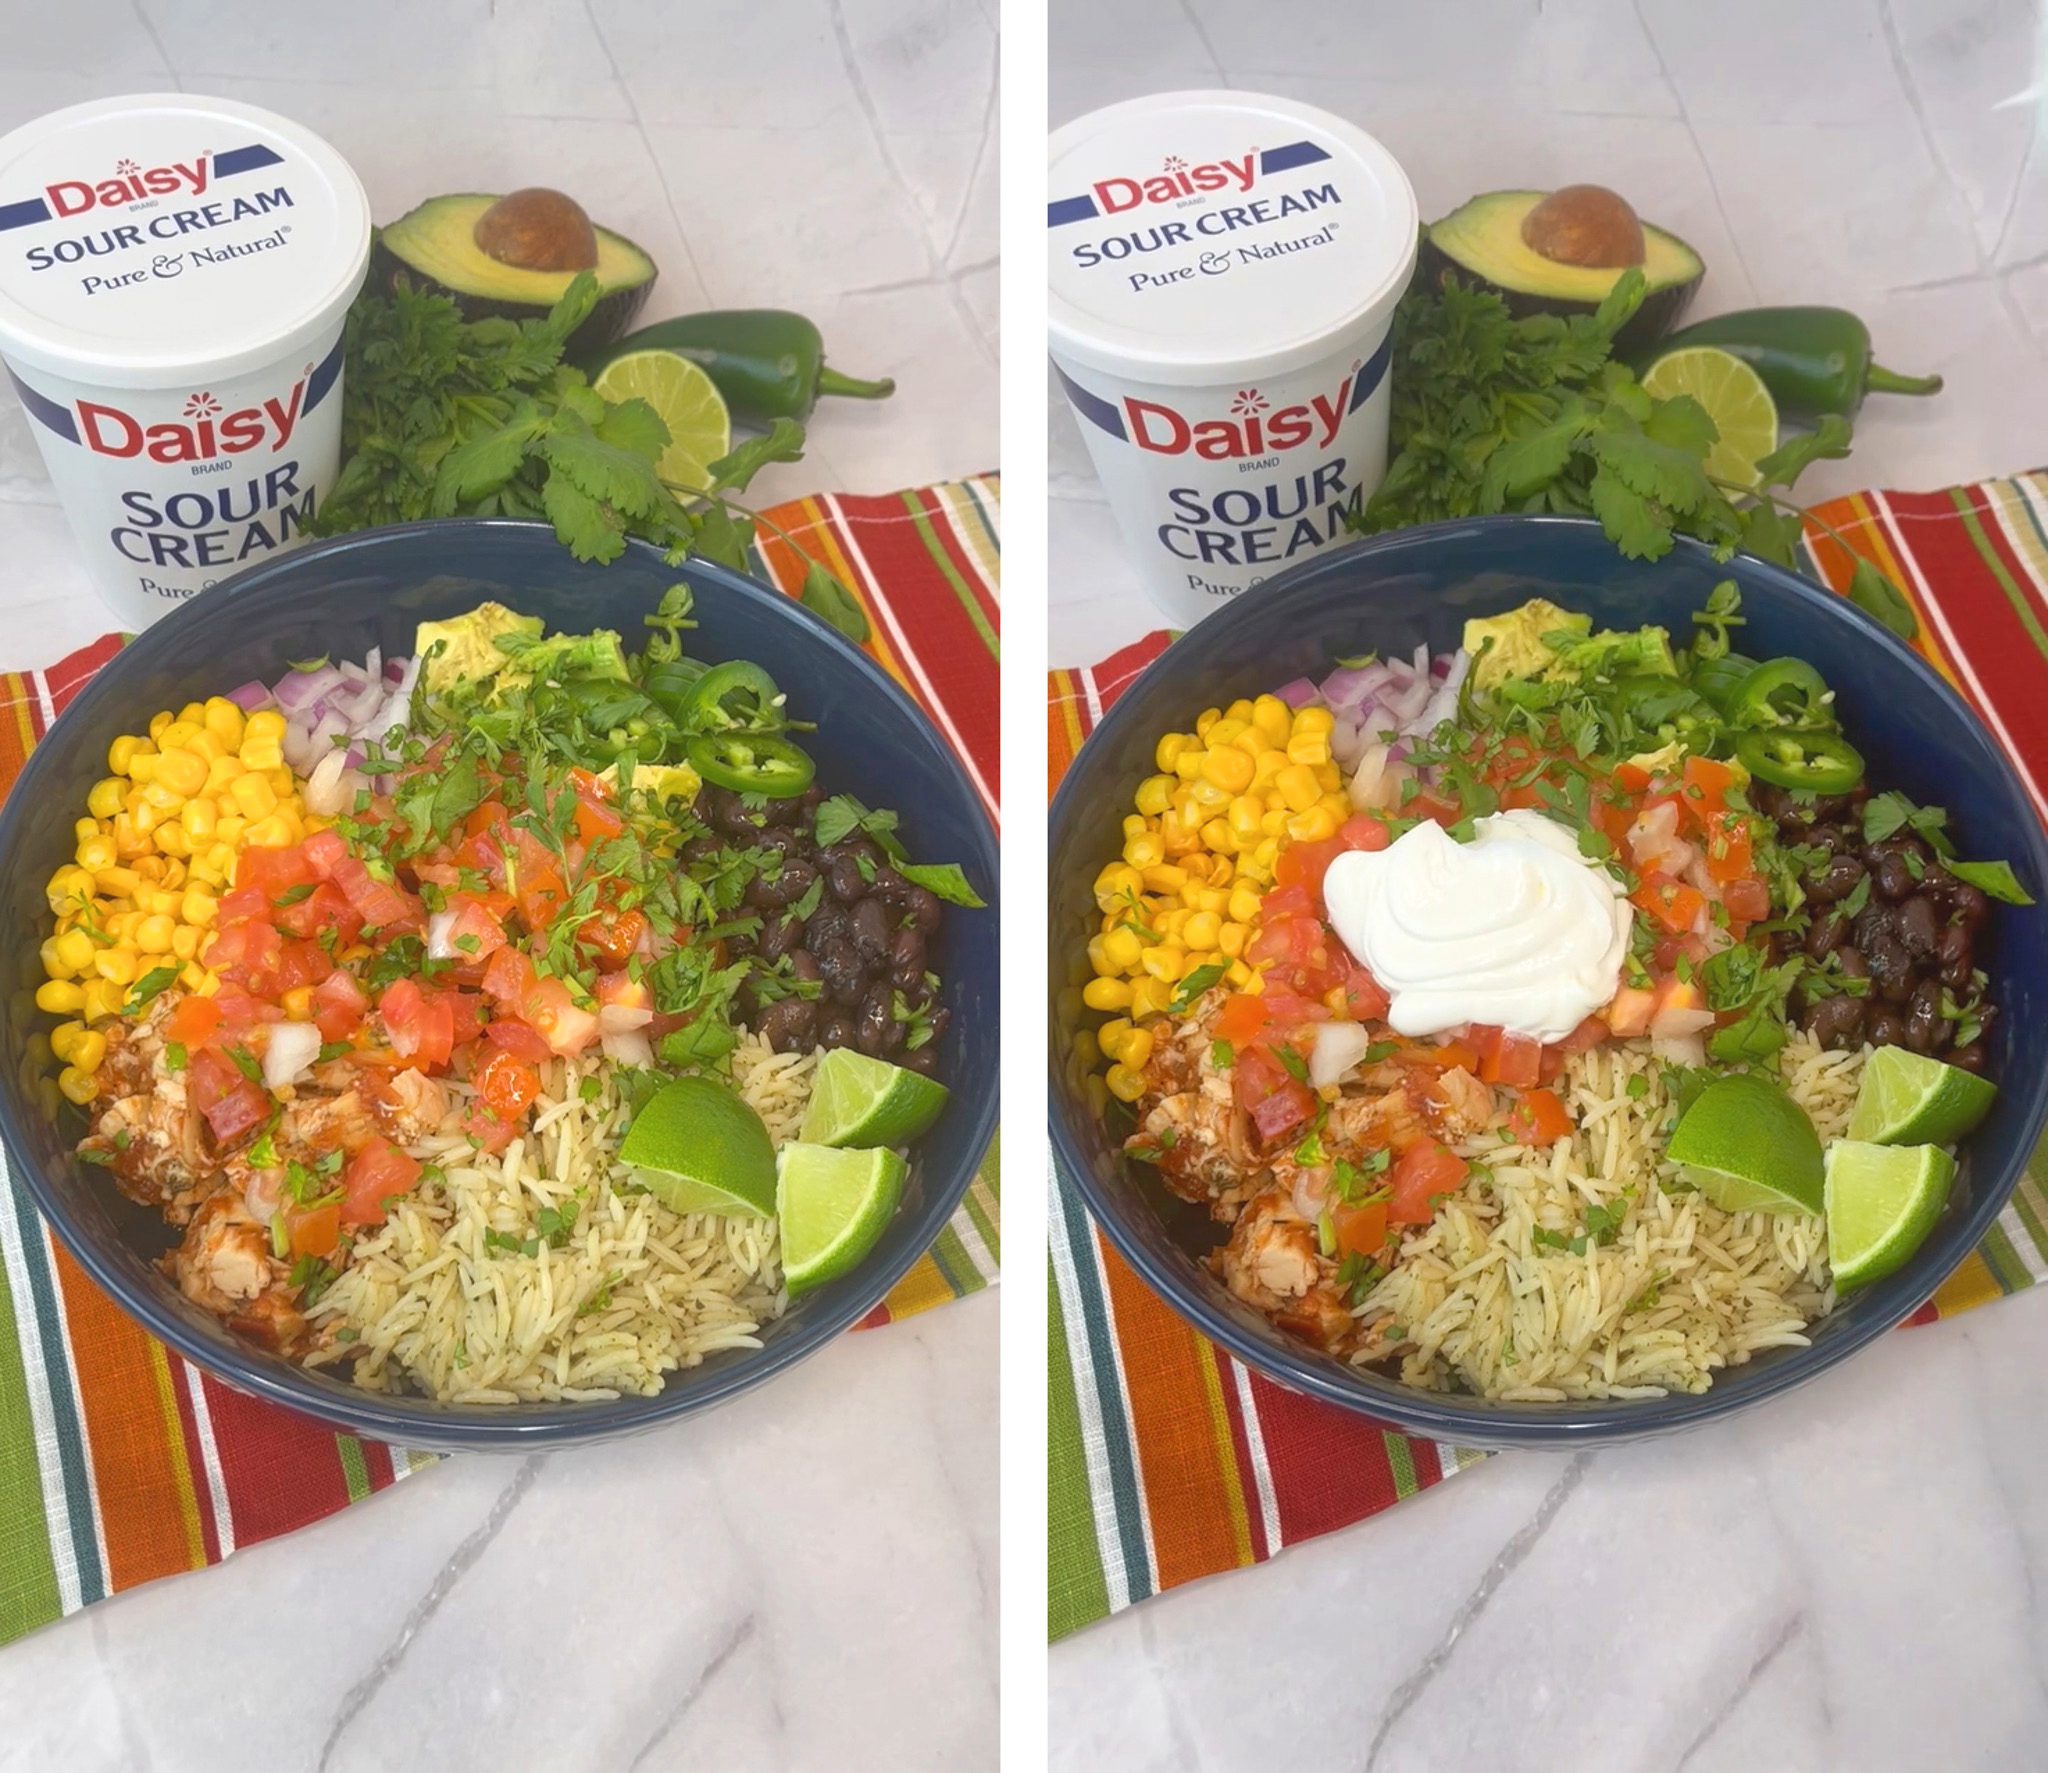
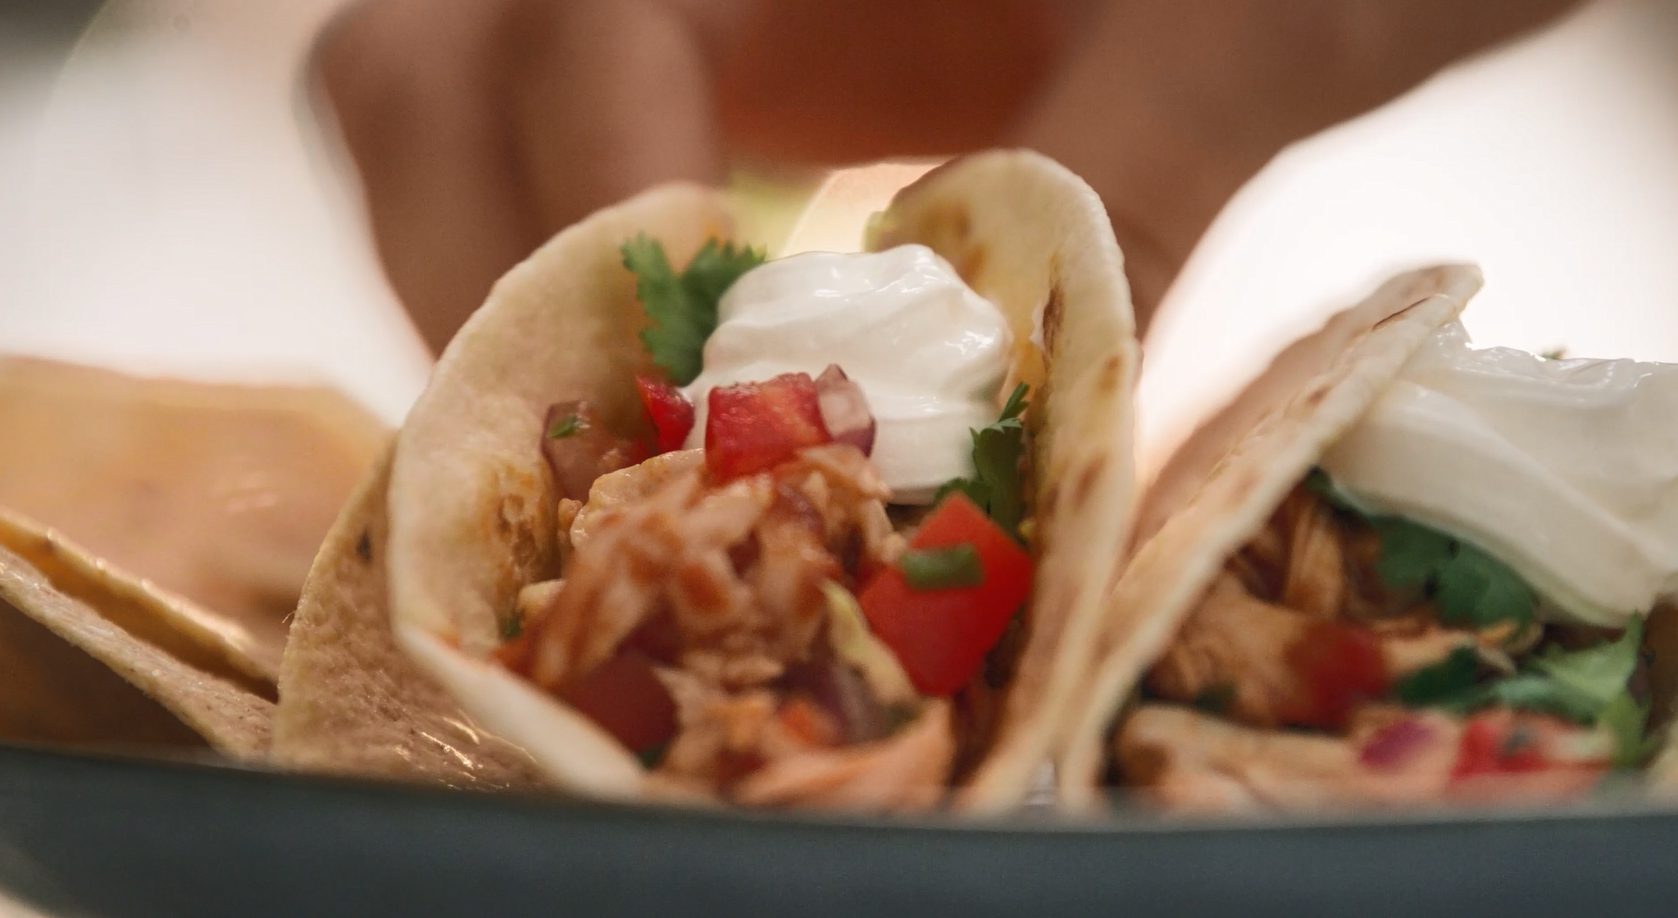
- Layer rice, salsa chicken, corn, beans, onion, and avocado in a bowl.
- Top with Pico de Gallo, cilantro, lime wedges, jalapenos, and a big dollop of sour cream.

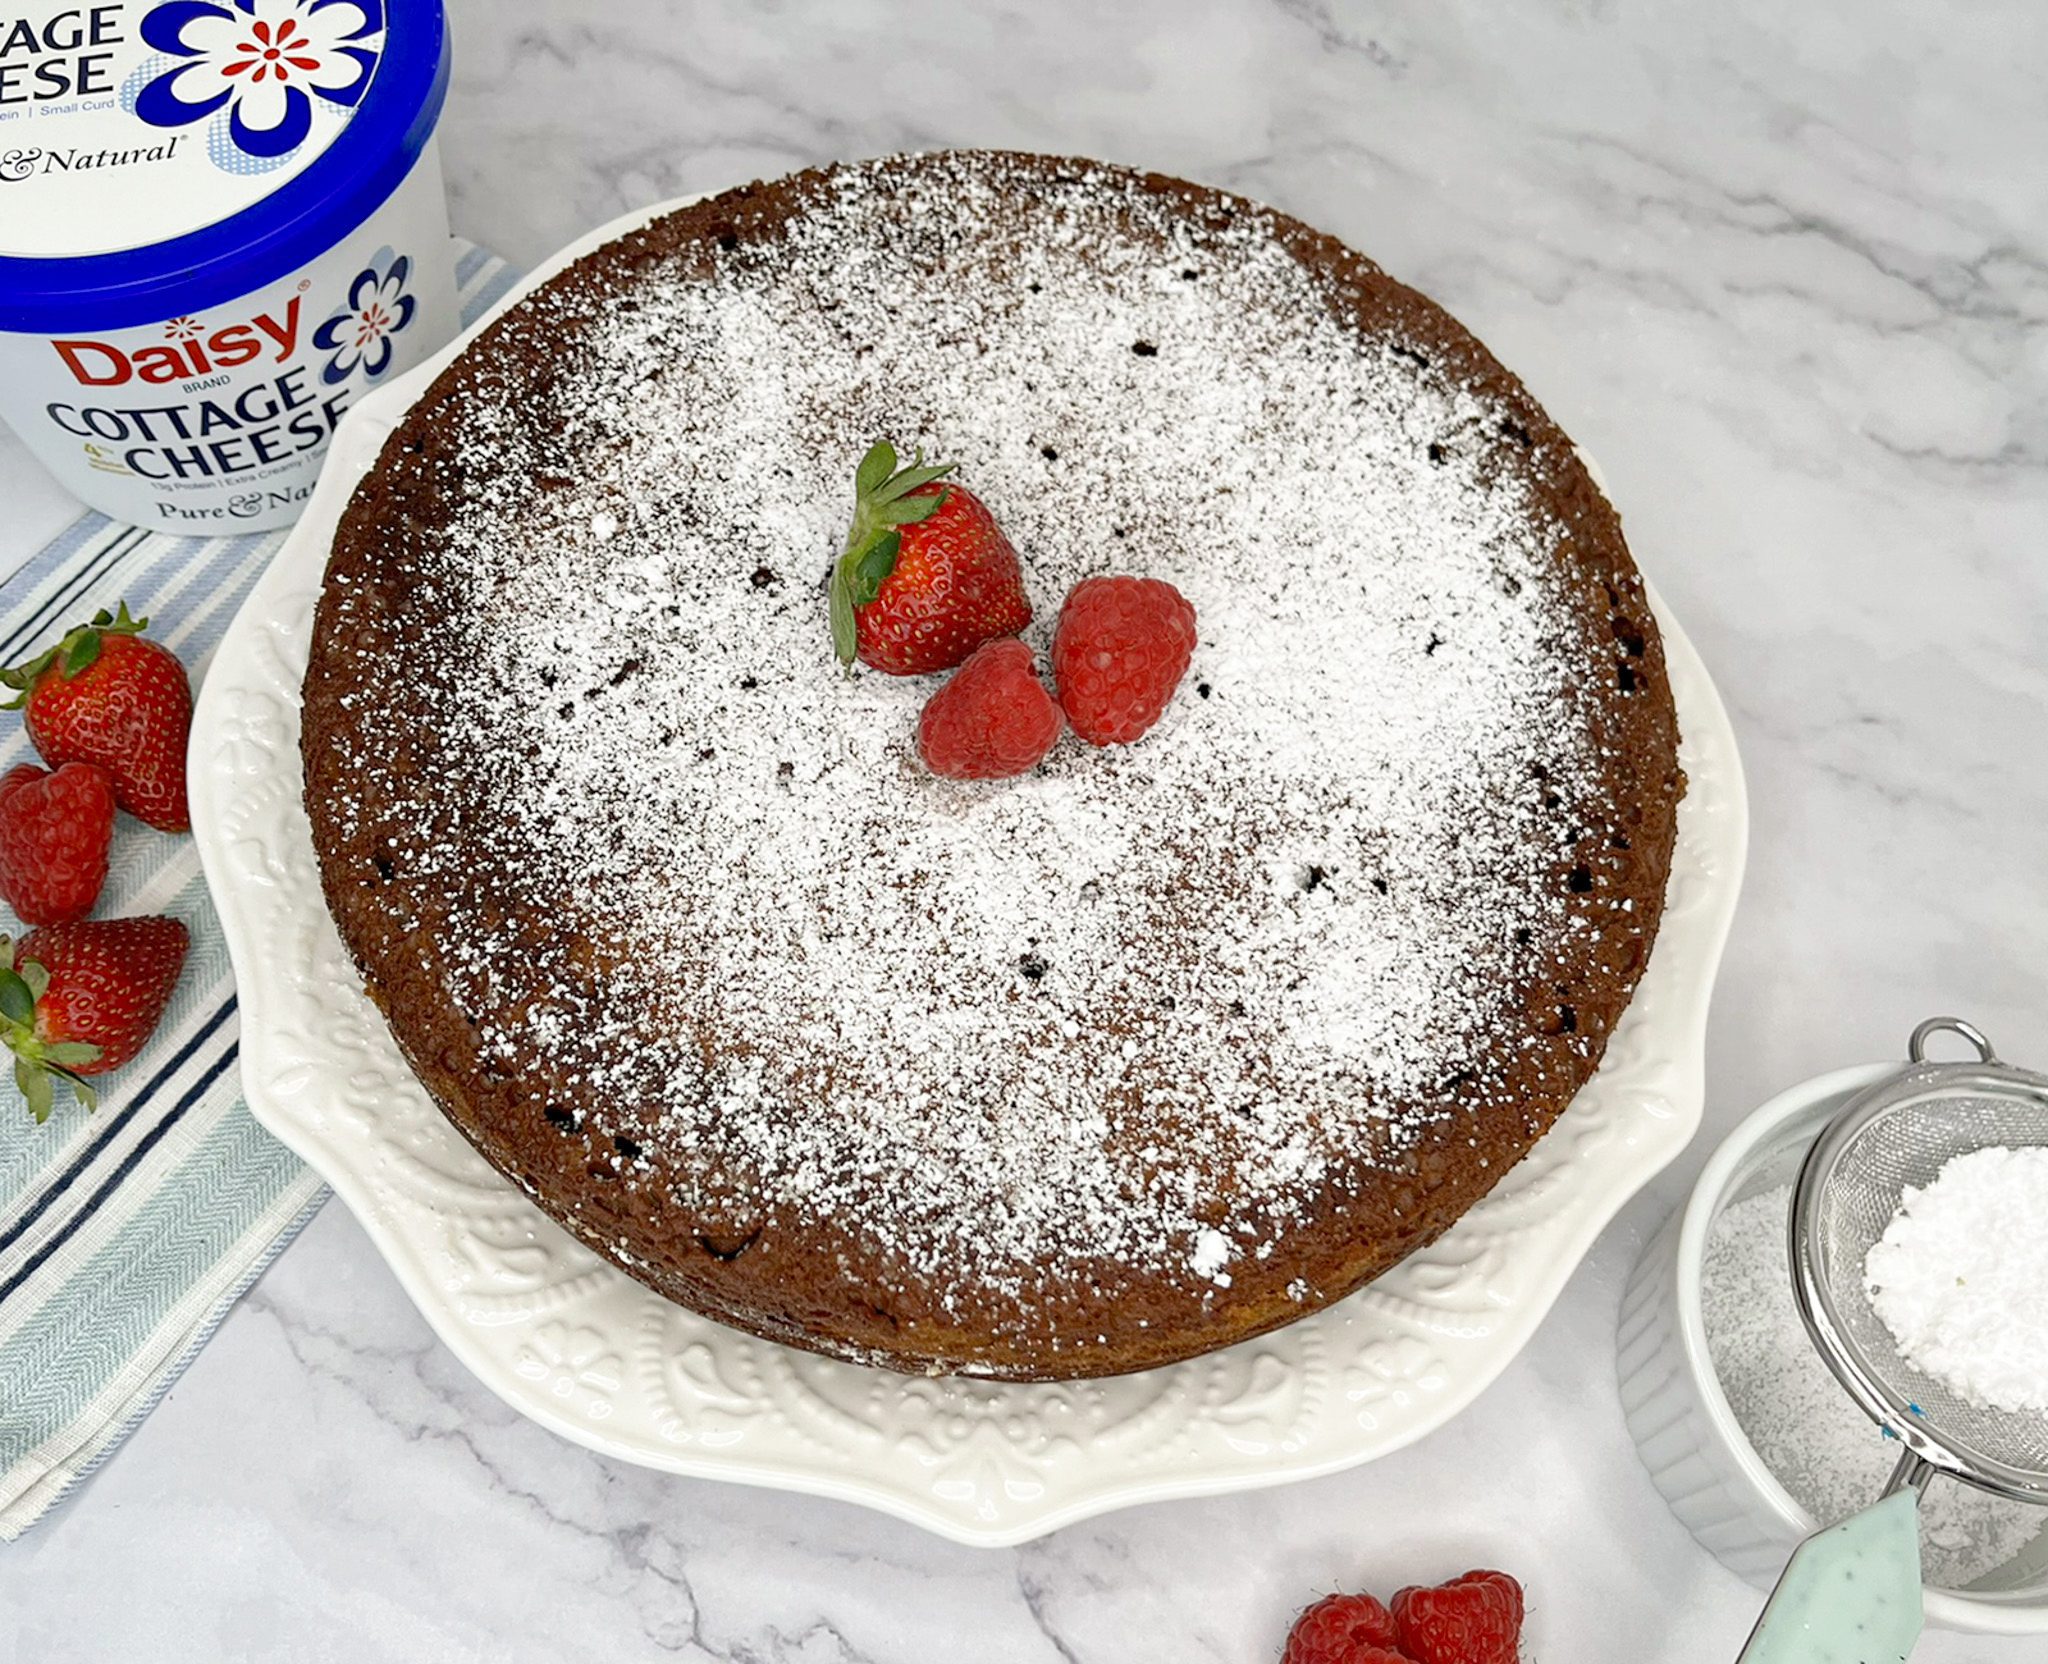
Lighter Chocolate Brownie Cake
Lighter Chocolate Brownie Cake
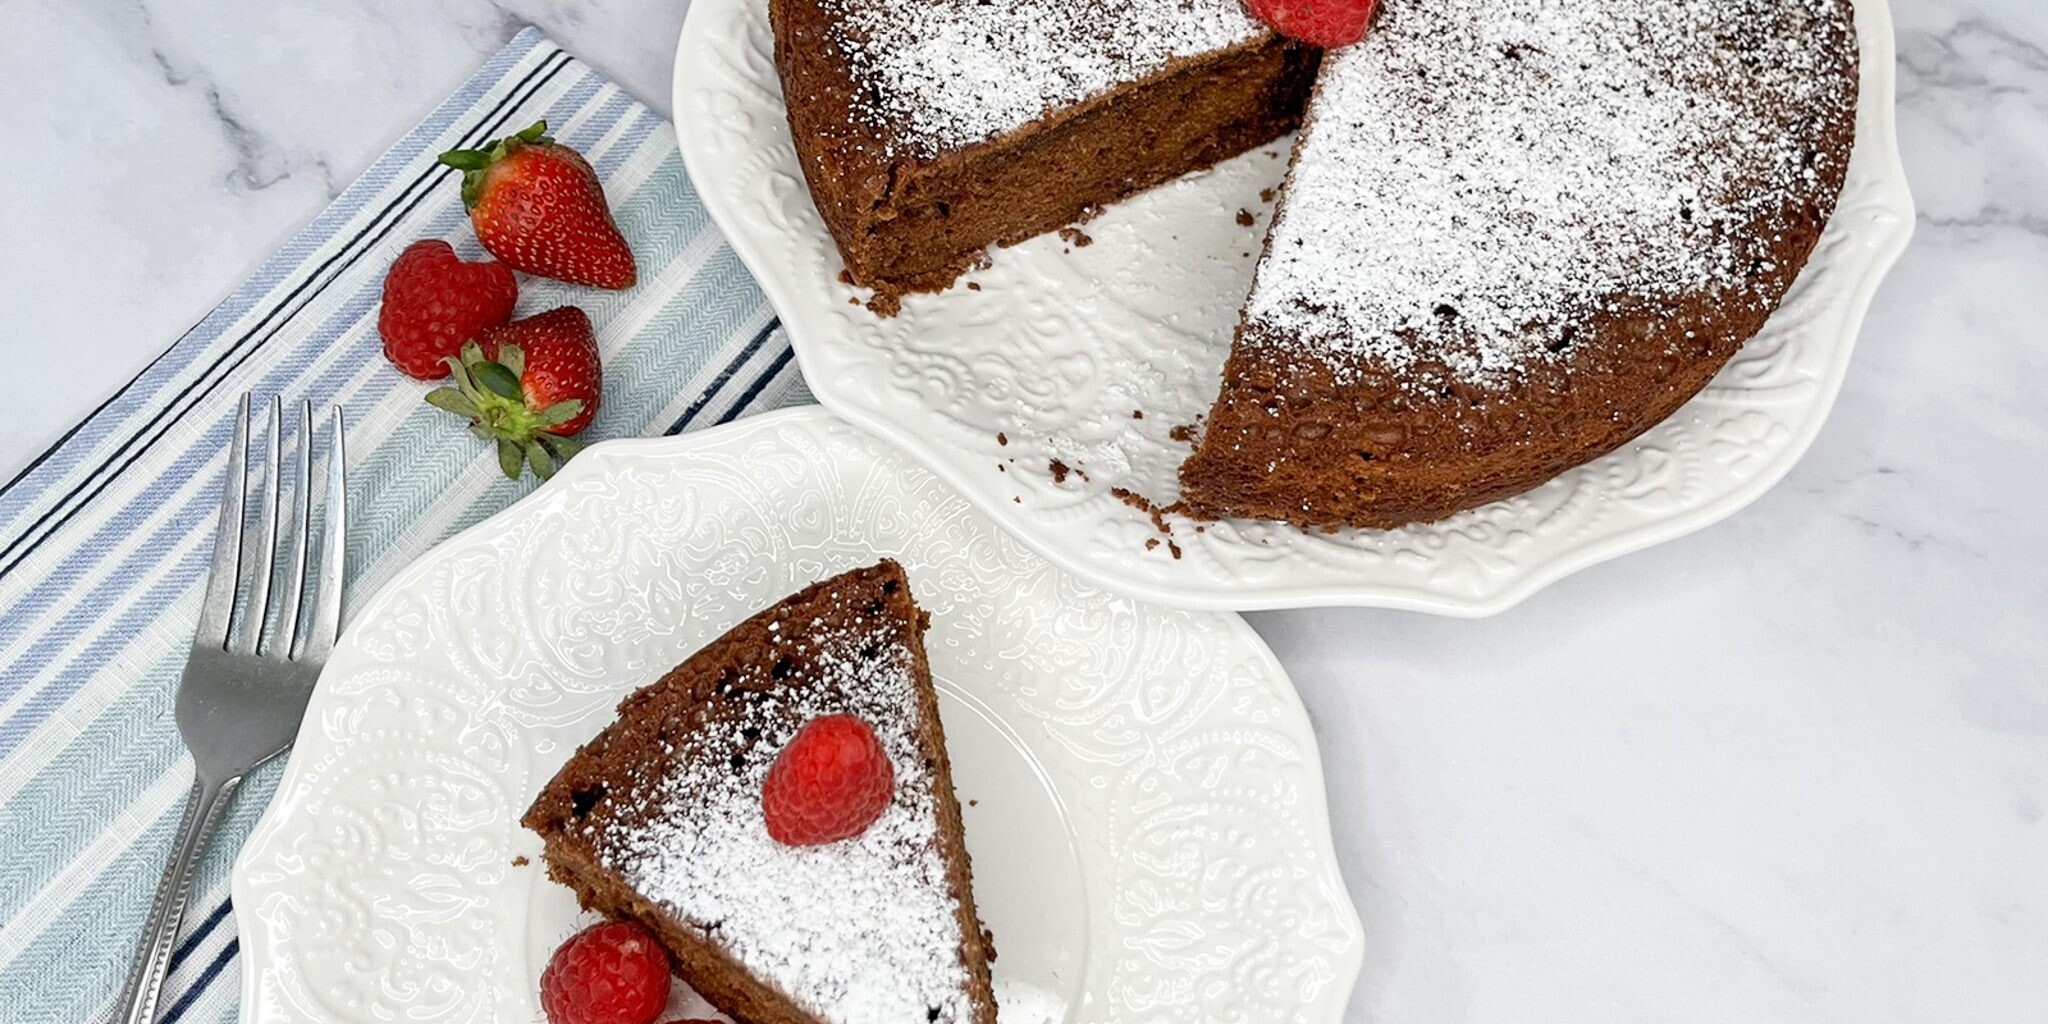
If you love the fudgy richness of brownies but crave the sliceable elegance of cake, this Chocolate Brownie Cake is the best of both worlds. It’s deeply chocolatey and irresistibly moist. It’s basically everything you want in a chocolate dessert.
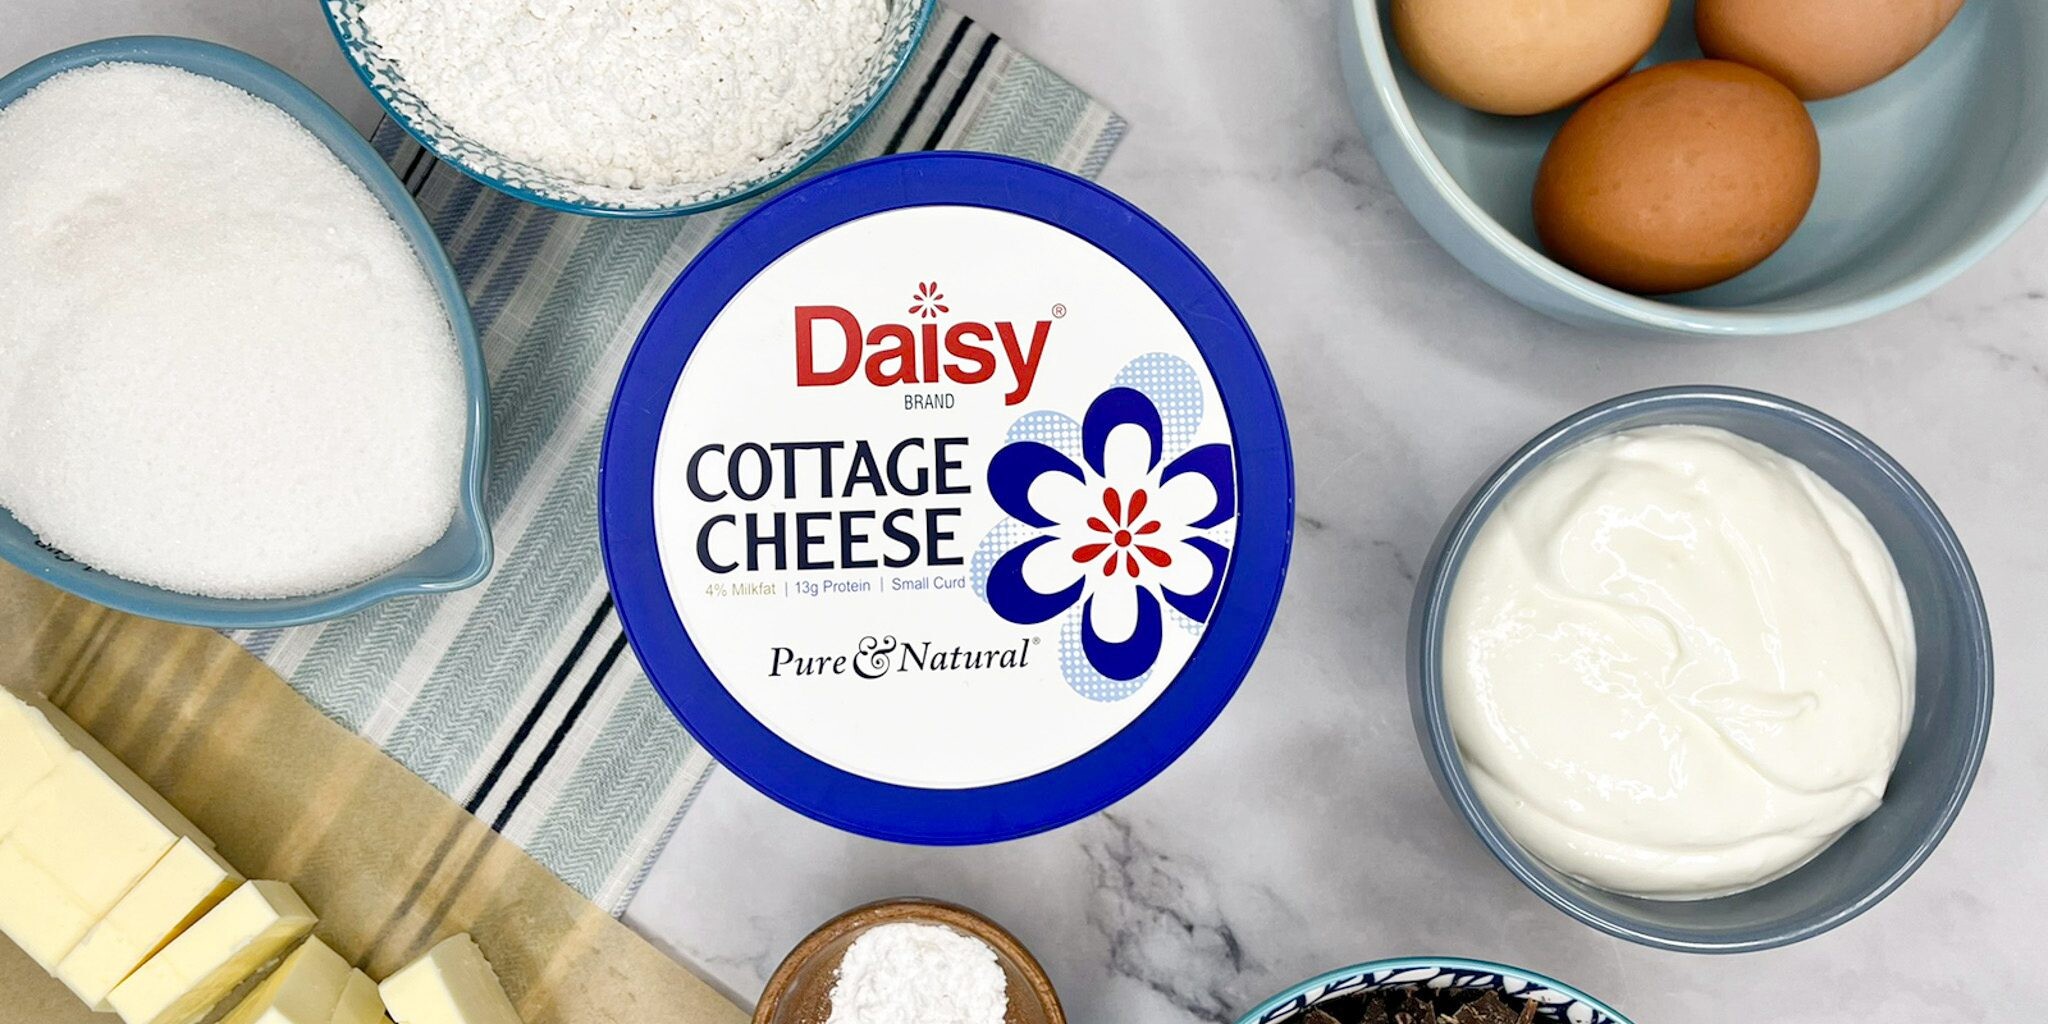
The secret to its ultra-tender texture? Daisy Sour Cream and Daisy Cottage Cheese. They add richness, enhance the chocolate flavor, and keep every bite soft and decadent without feeling heavy. The result is a perfectly balanced cake that’s sturdy enough to slice, yet fudgy enough to satisfy any brownie lover.
Whether you’re baking for a birthday, a dinner party, or simply a serious chocolate craving, this Chocolate Brownie Cake is guaranteed to steal the spotlight.
Lighter Chocolate Brownie Ingredients
- Dark Chocolate (6 ounces): Delivers an intense, deep cocoa flavor, superior moisture, and a sophisticated profile.
- Unsalted Butter (1/2 cup + 1 ½ teaspoons, softened): Adds rich flavor and creates a delicate, tender crumb.
- Granulated Sugar (3/4 cup + 3 tablespoons): Contributes the sweet component to the cake.
- Large Eggs (3, room temperature): Provide structure and moisture to the cake and acts as a binding agent to hold the other ingredients together.
- Egg Yolk (1, room temperature): Adds additional fat, flavor, and richness to the batter.
- Daisy Cottage Cheese (1/4 cup, blended): Adds protein and a bit of moisture to the batter.
- Daisy Sour Cream (3/4 cup): Adds moisture, a slight tang, and a tender crumb.
- Vanilla Extract (1 teaspoon): The flavor booster that enhances the other flavors of baked goods.
- Salt (1/4 teaspoon): Balances the sweetness of the sugar and chocolate.
- Cake Flour (1 cup, sifted): Allows for an exceptionally light, tender, and fine-crumb texture due to its low protein content. It keeps baked goods from becoming dense or tough.
- Baking Powder (1 ½ teaspoons): A leavening agent that creates air bubbles making the cake lighter and fluffy.
Substitutions, Variations, and Tips
- Gather and measure all your ingredients before you begin. It makes the process smoother and more enjoyable.
- For the richest flavor, use 60–70% chocolate. Milk or semi-sweet chocolate will work too, but the cake will be a bit sweeter.
- If using salted butter instead of unsalted, simply omit the extra salt in the recipe.
- All-purpose flour can be substituted for cake flour, though the texture may be slightly denser.
- To achieve a smooth texture, blend the cottage cheese using an immersion blender, food processor, or standard blender.
- Room-temperature ingredients (especially eggs and butter) blend more easily and create a better overall texture.
- Line your pan with parchment paper for easy removal and clean edges.
- Be careful not to overmix the batter. Overmixing can lead to a denser cake.
- Always preheat your oven fully before baking to ensure even cooking.
- Check for doneness by gently pressing the center (it should spring back) or inserting a toothpick that comes out clean.
- Let the cake cool in the pan for 10–15 minutes before removing to prevent breaking.
- Store leftovers tightly covered to keep everything fresh and moist.
How to Make Lighter Chocolate Brownie Cake
- Pre-heat oven to 350°F. Coat a 9-inch round cake pan with nonstick spray.
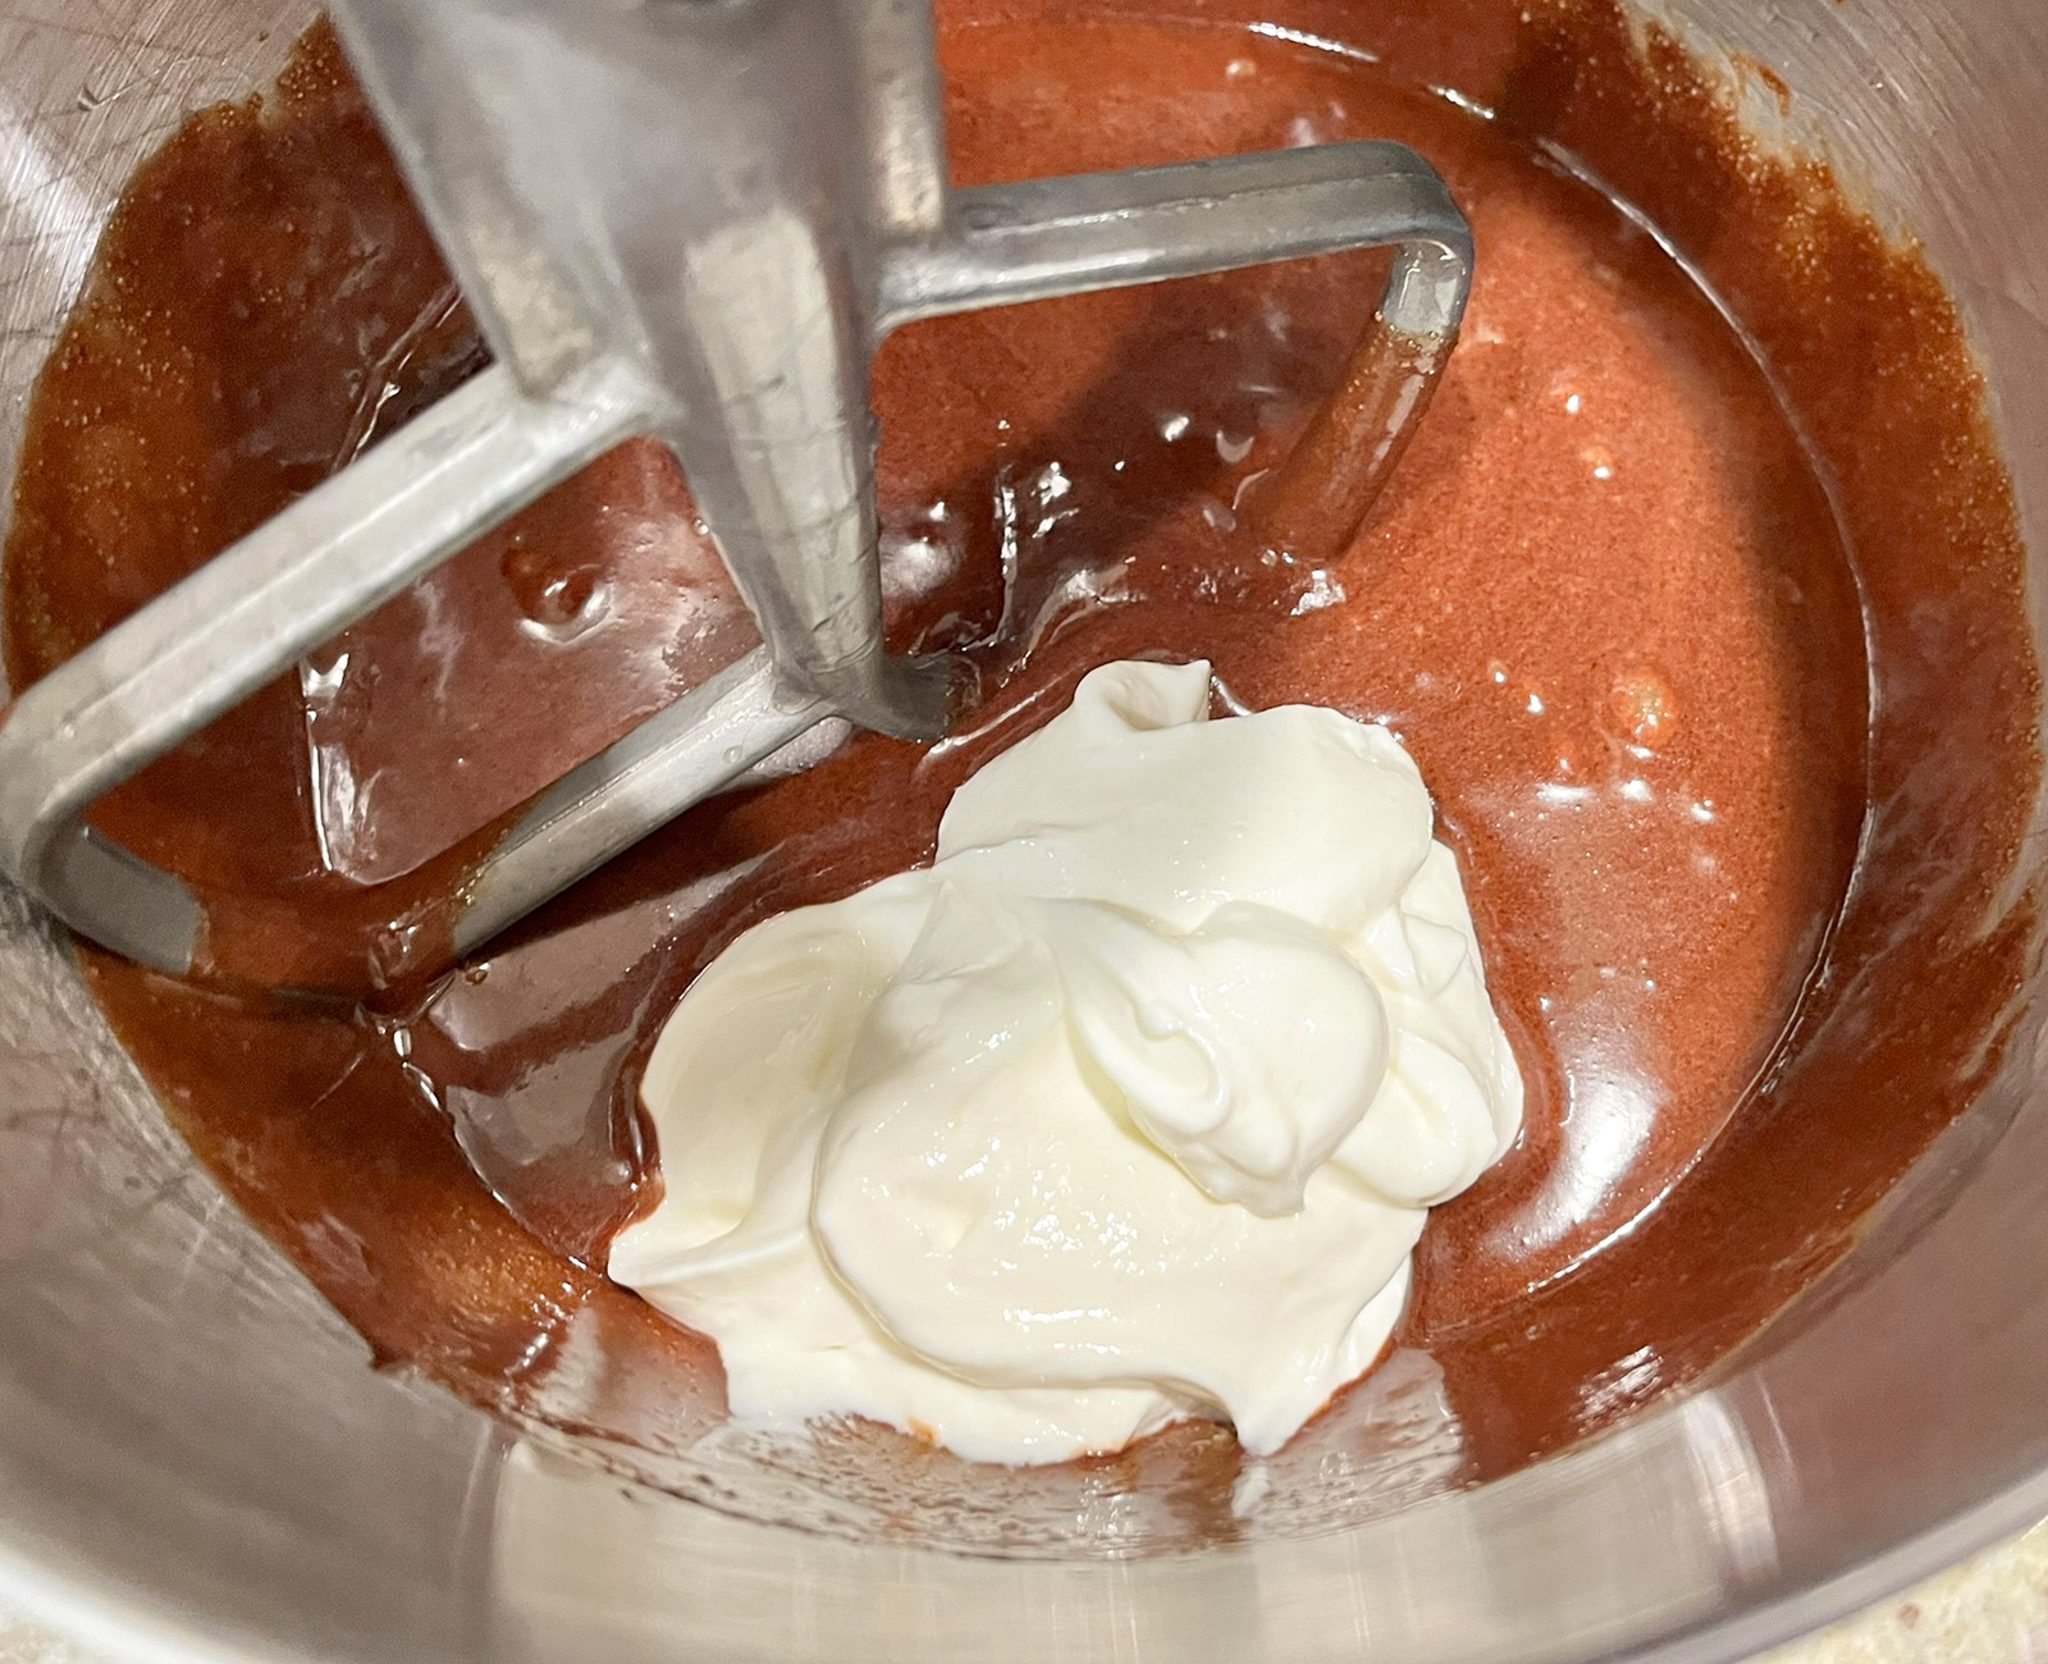
- Melt the butter and chocolate together in microwave, let cool, and then pour into the bowl of a standing mixer fitted with a paddle attachment.
- Add sugar, turn on to medium high, and then add eggs and egg yolk one at a time, mixing well after each addition.
- Add the blended cottage cheese, sour cream, vanilla and salt. Beat to combine.
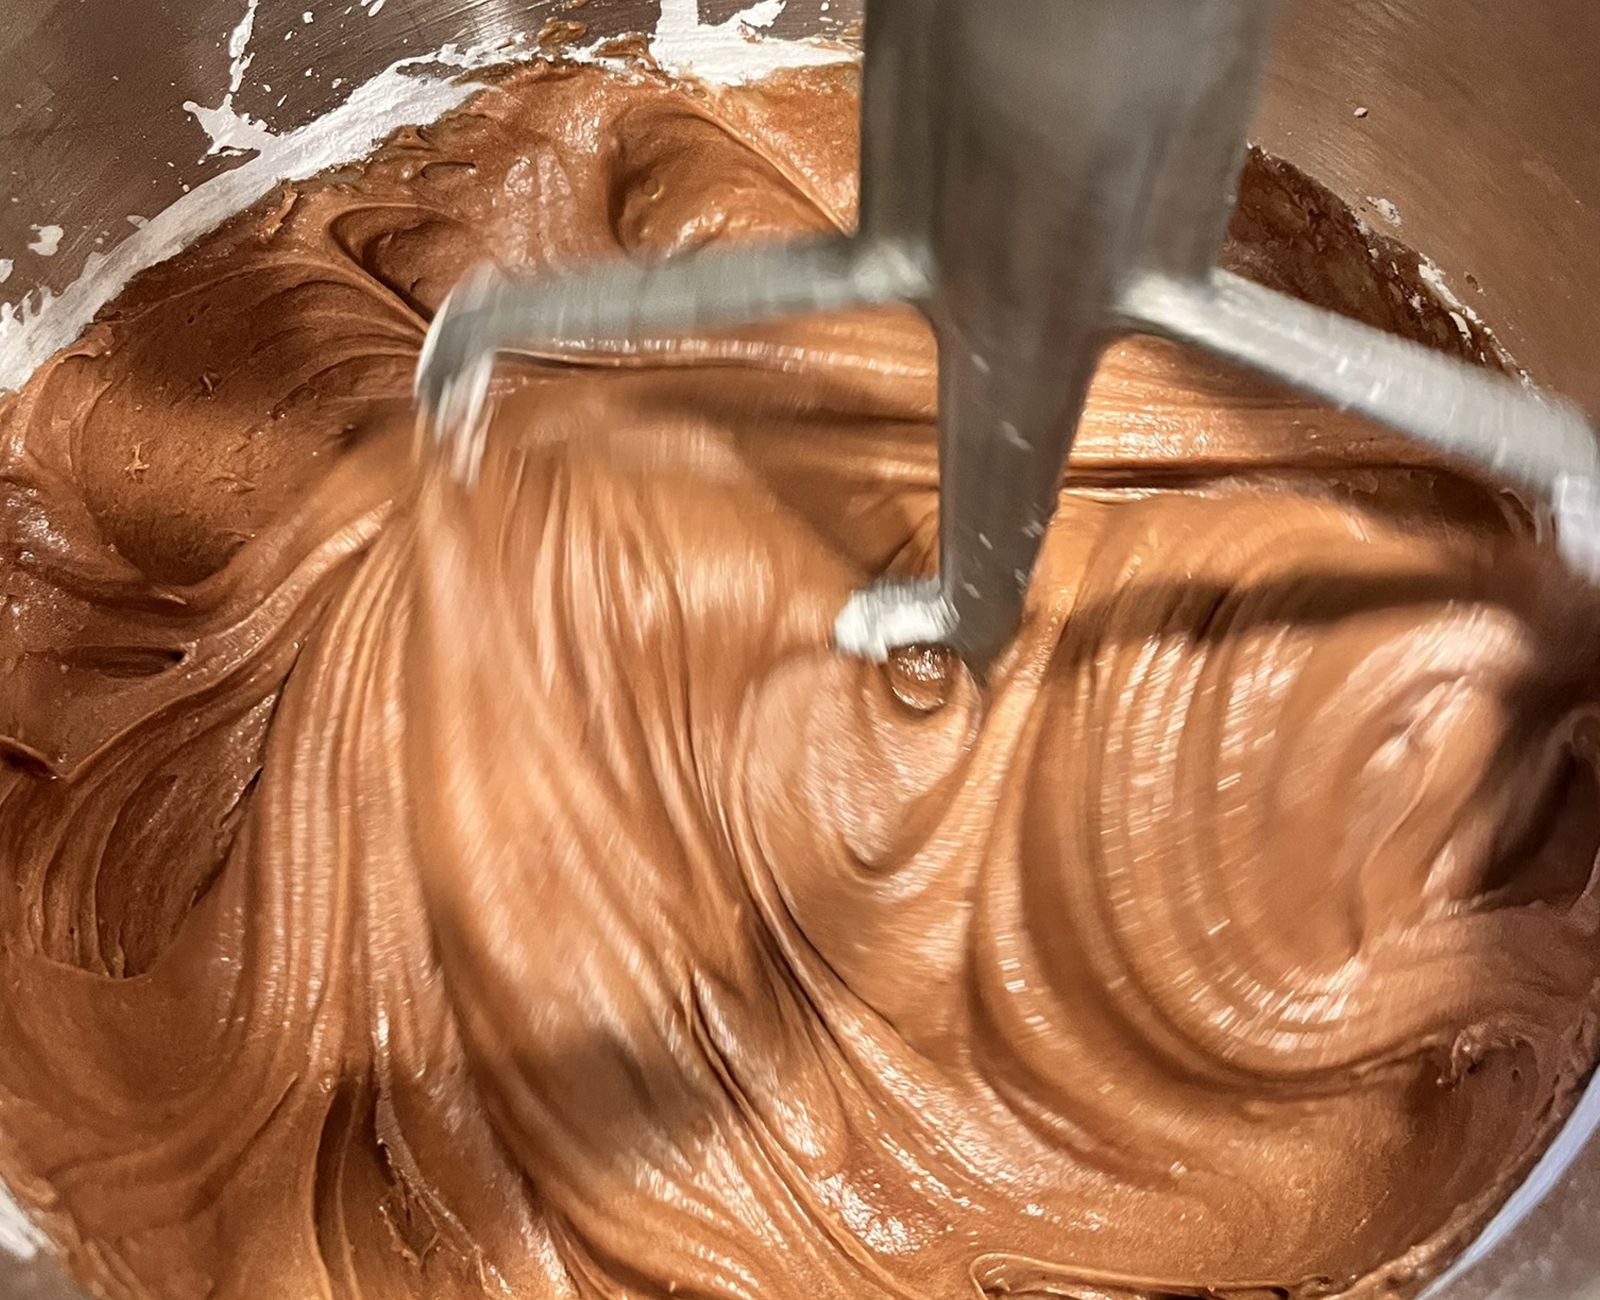
- Stop the mixer. Sift the flour and baking powder over the wet ingredients. Beat until smooth, scraping bowl as needed (about 2 minutes). The batter will be thick.
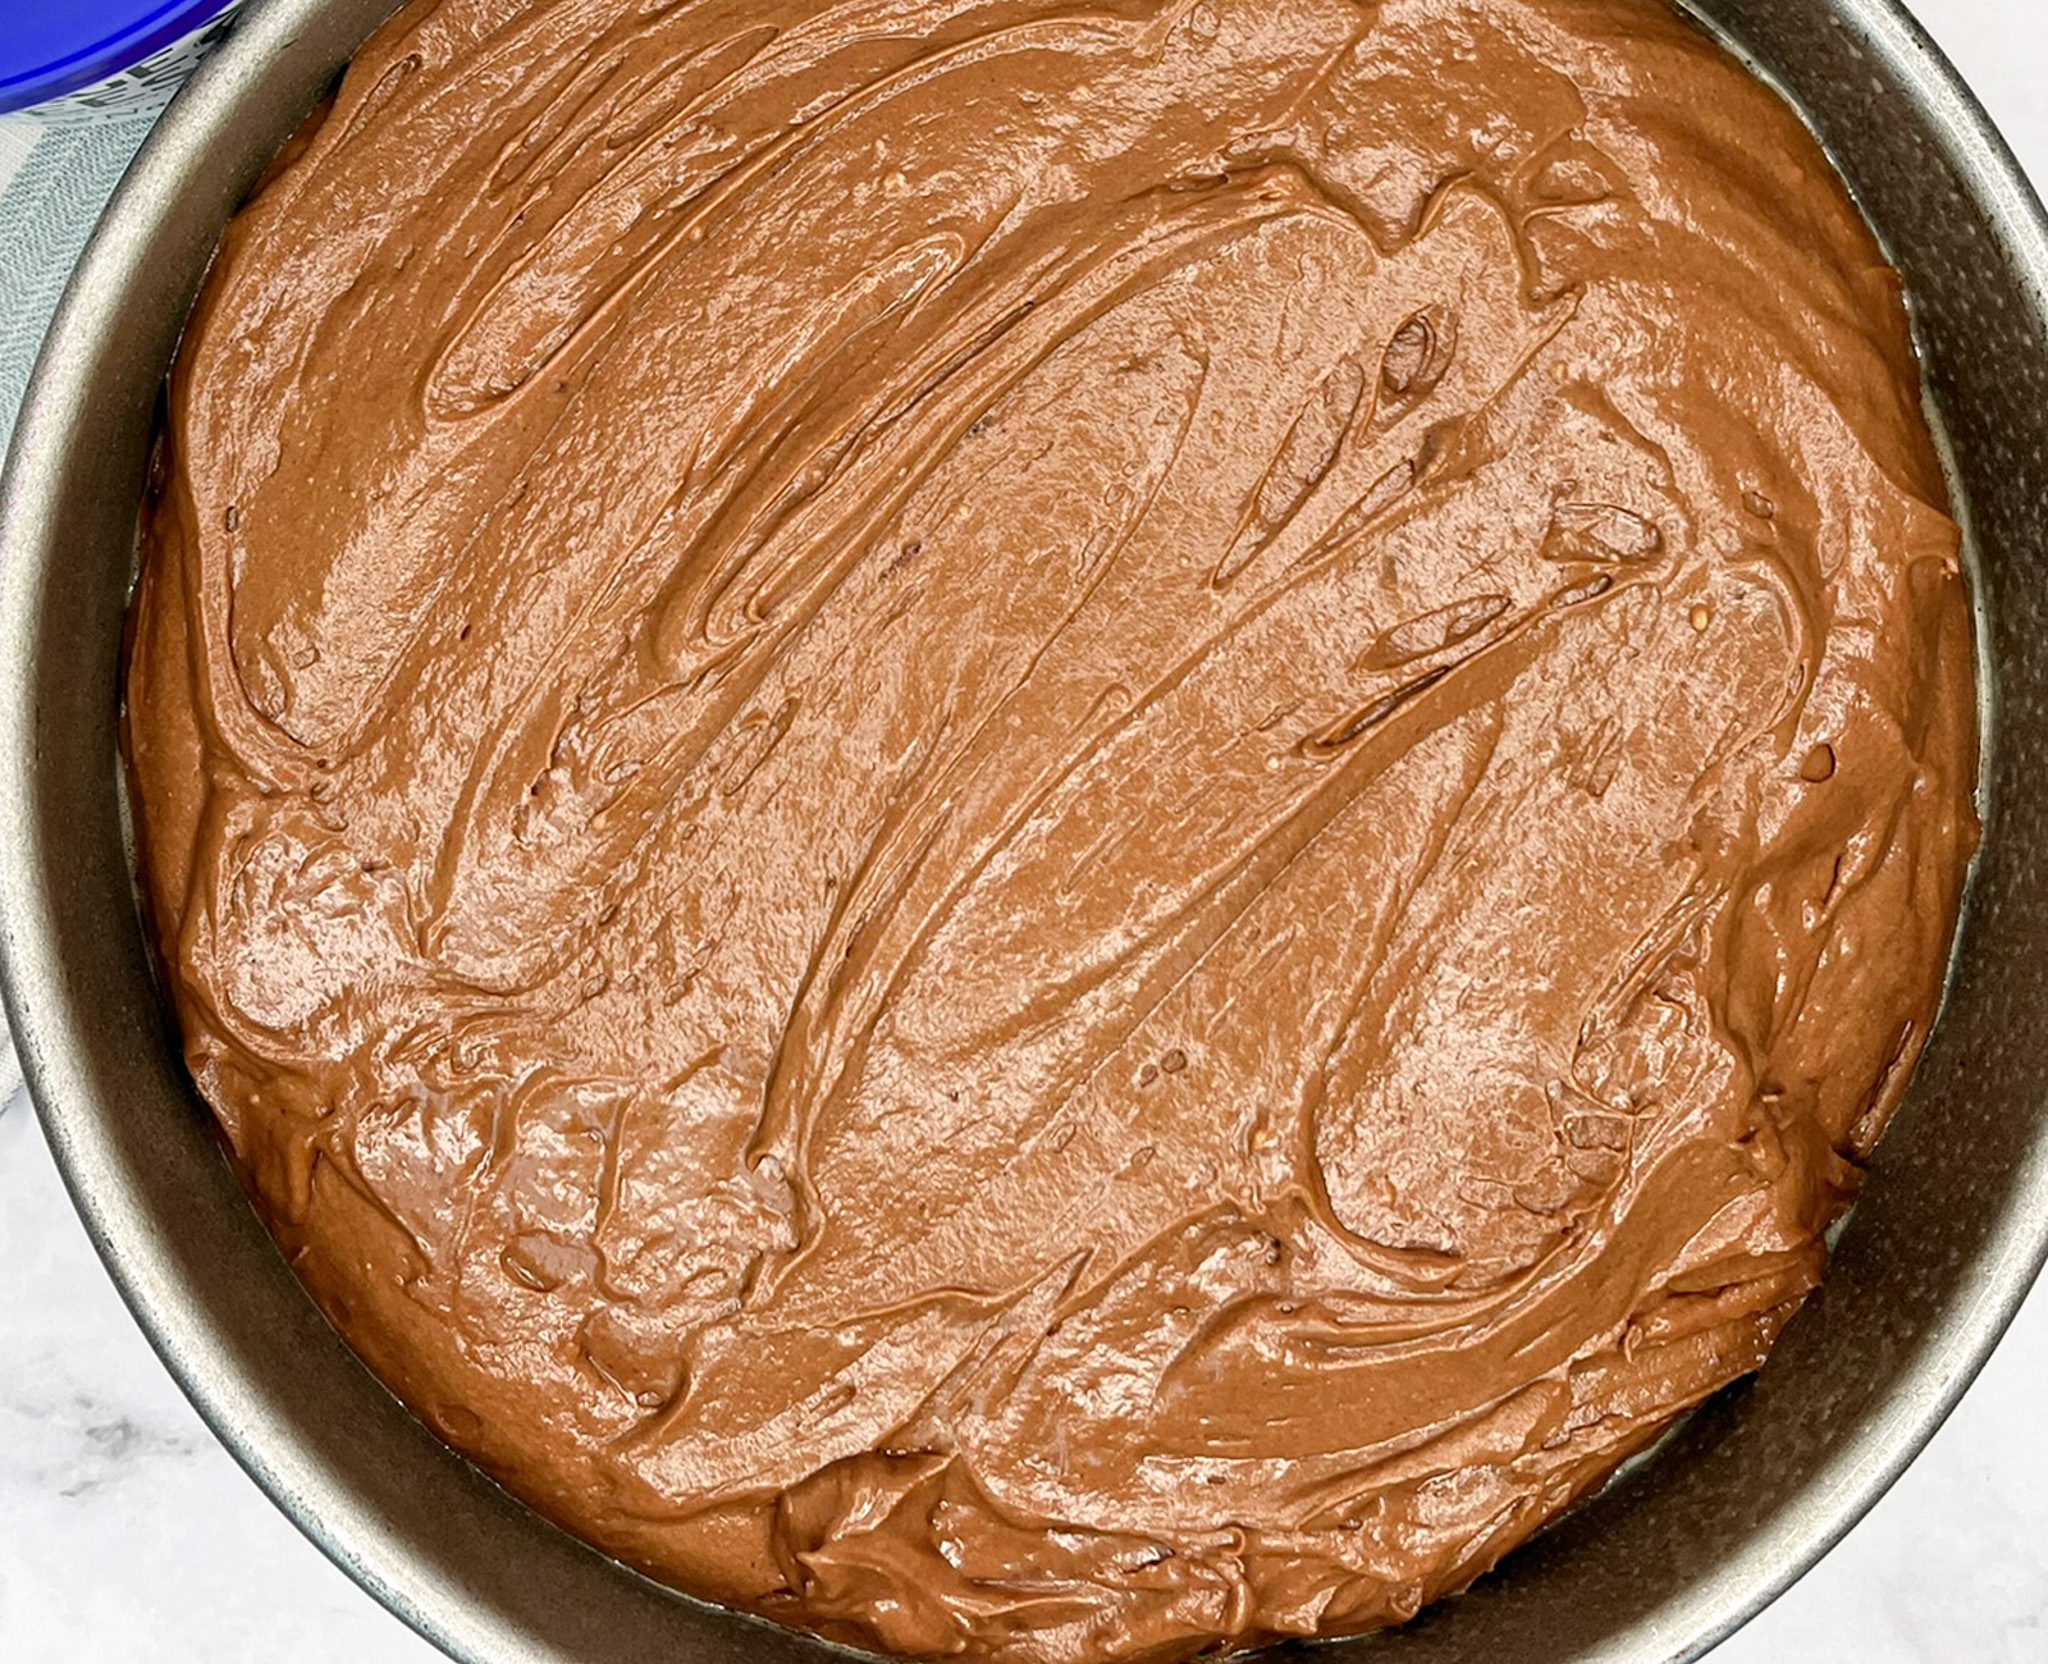
- Pour into the cake pan. Bake 45-50 minutes or until a toothpick inserted in center comes out with a few moist crumbs attached. Start testing at 40 minutes as cake finishes quickly.
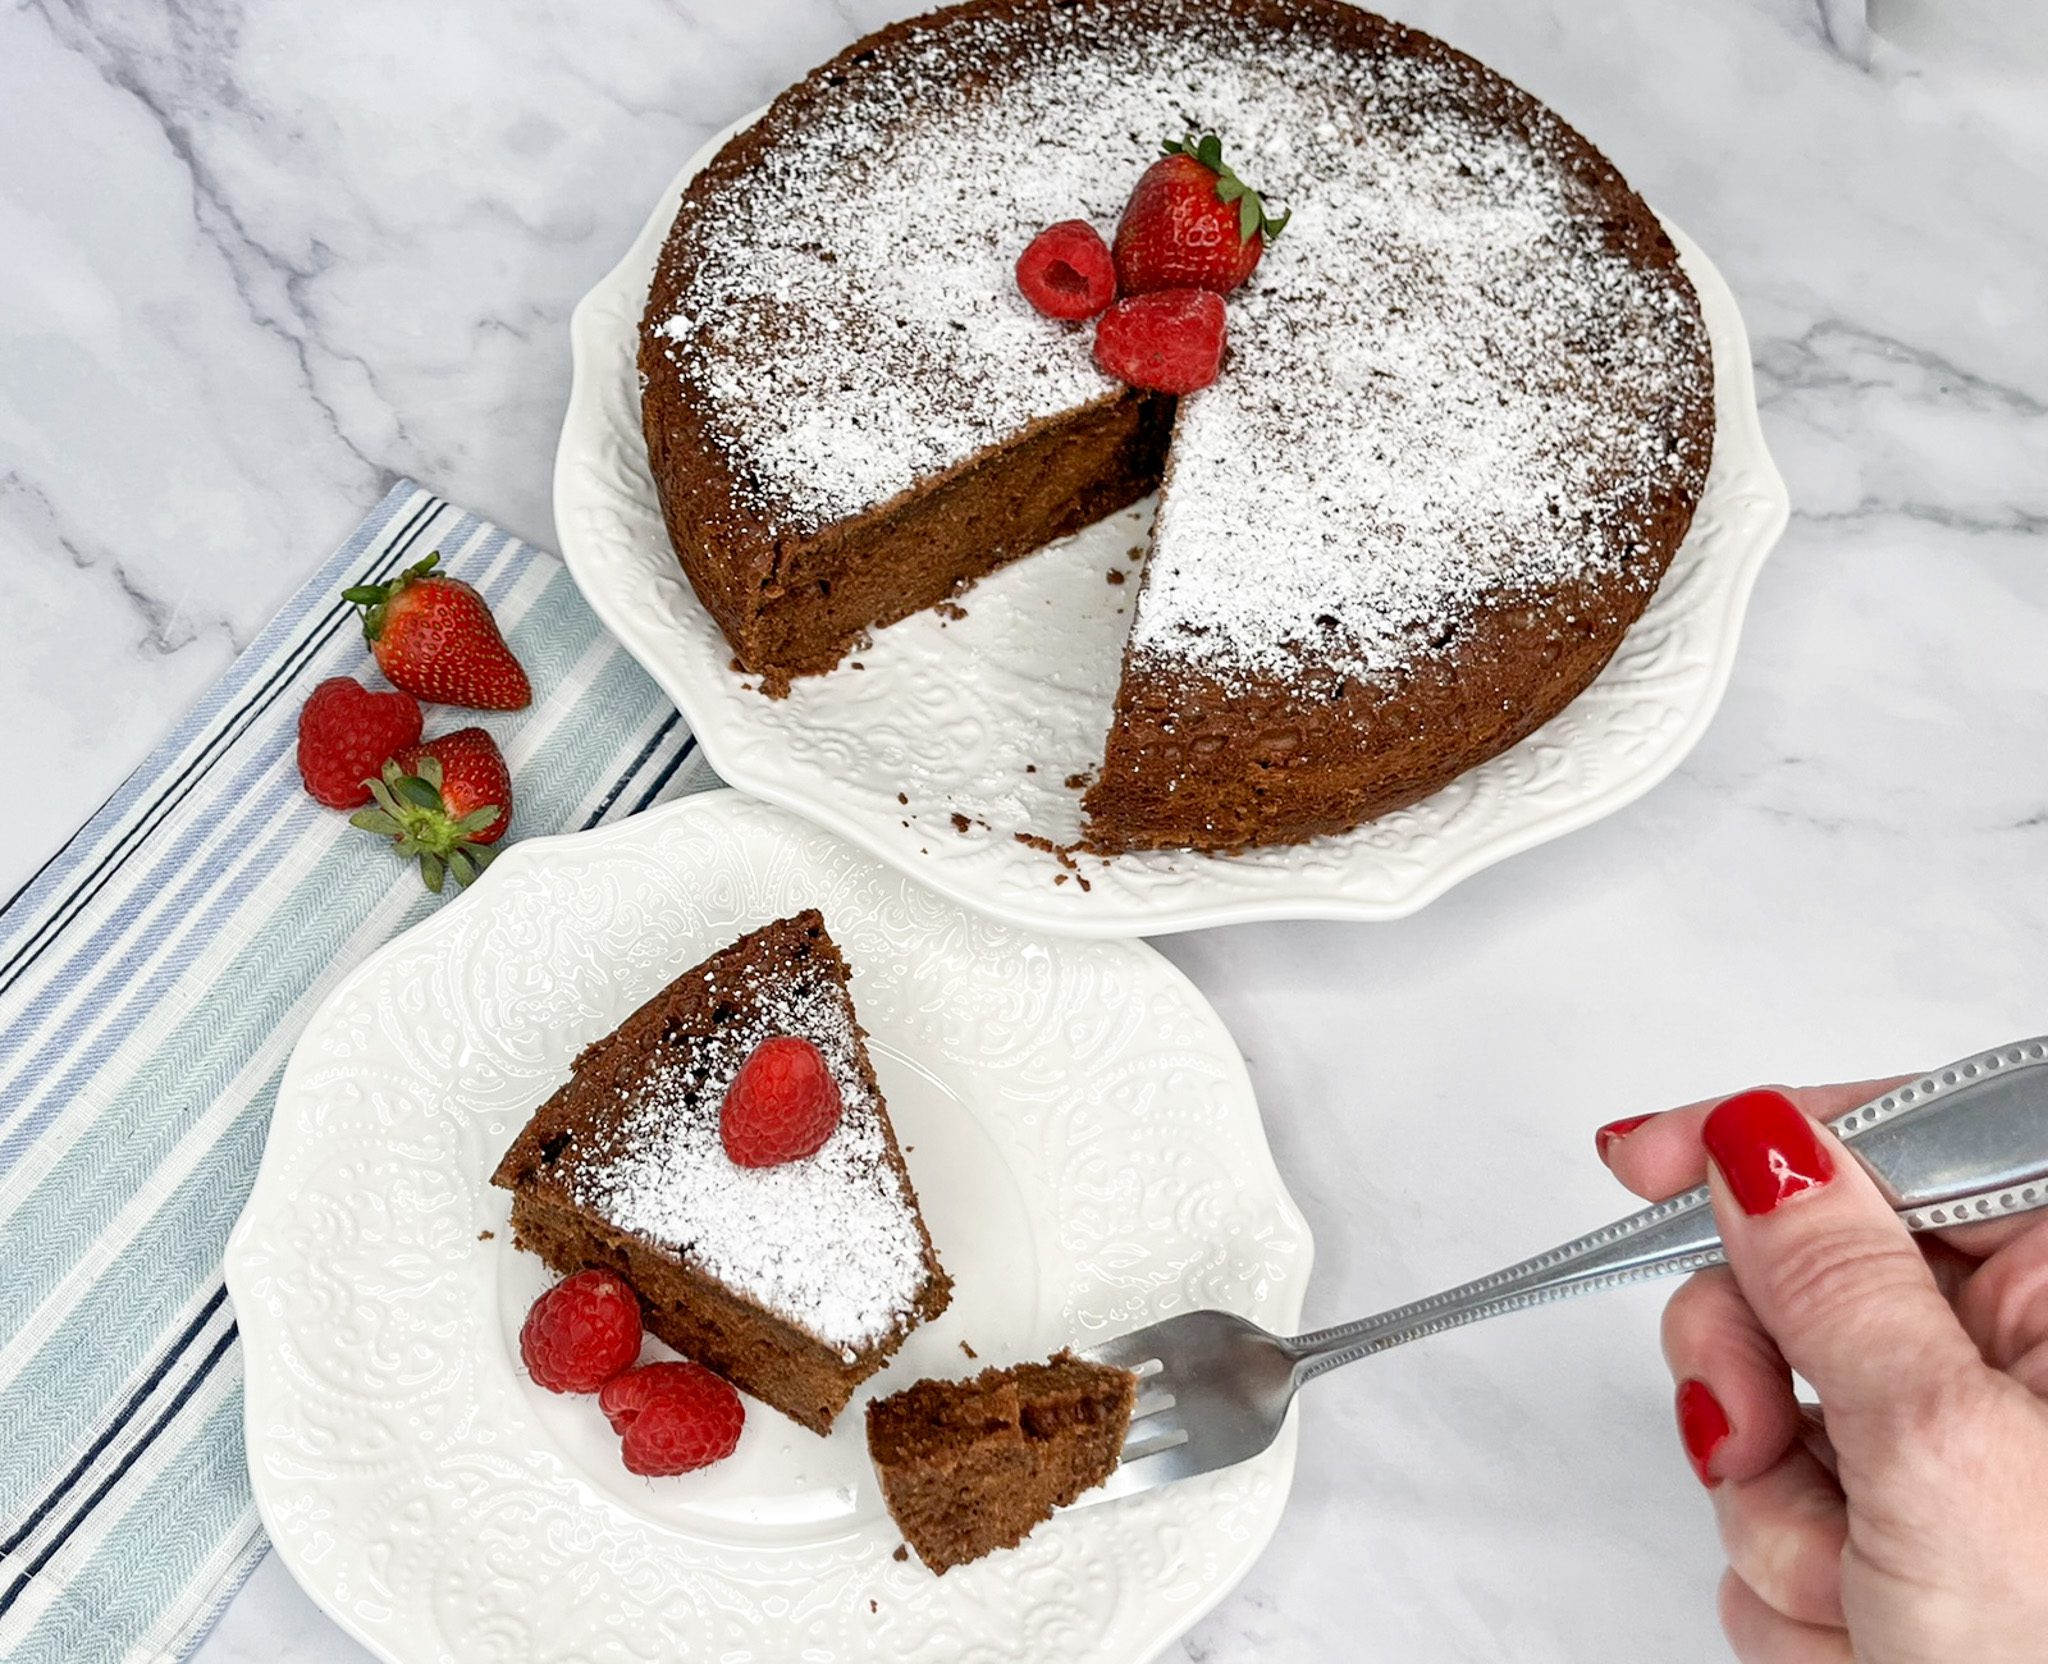
- Let cool 20 minutes in the pan. Remove and transfer to a wire rack or serving platter to finish cooling completely.
- Dust with powdered sugar or dollop with whipped cream before serving.
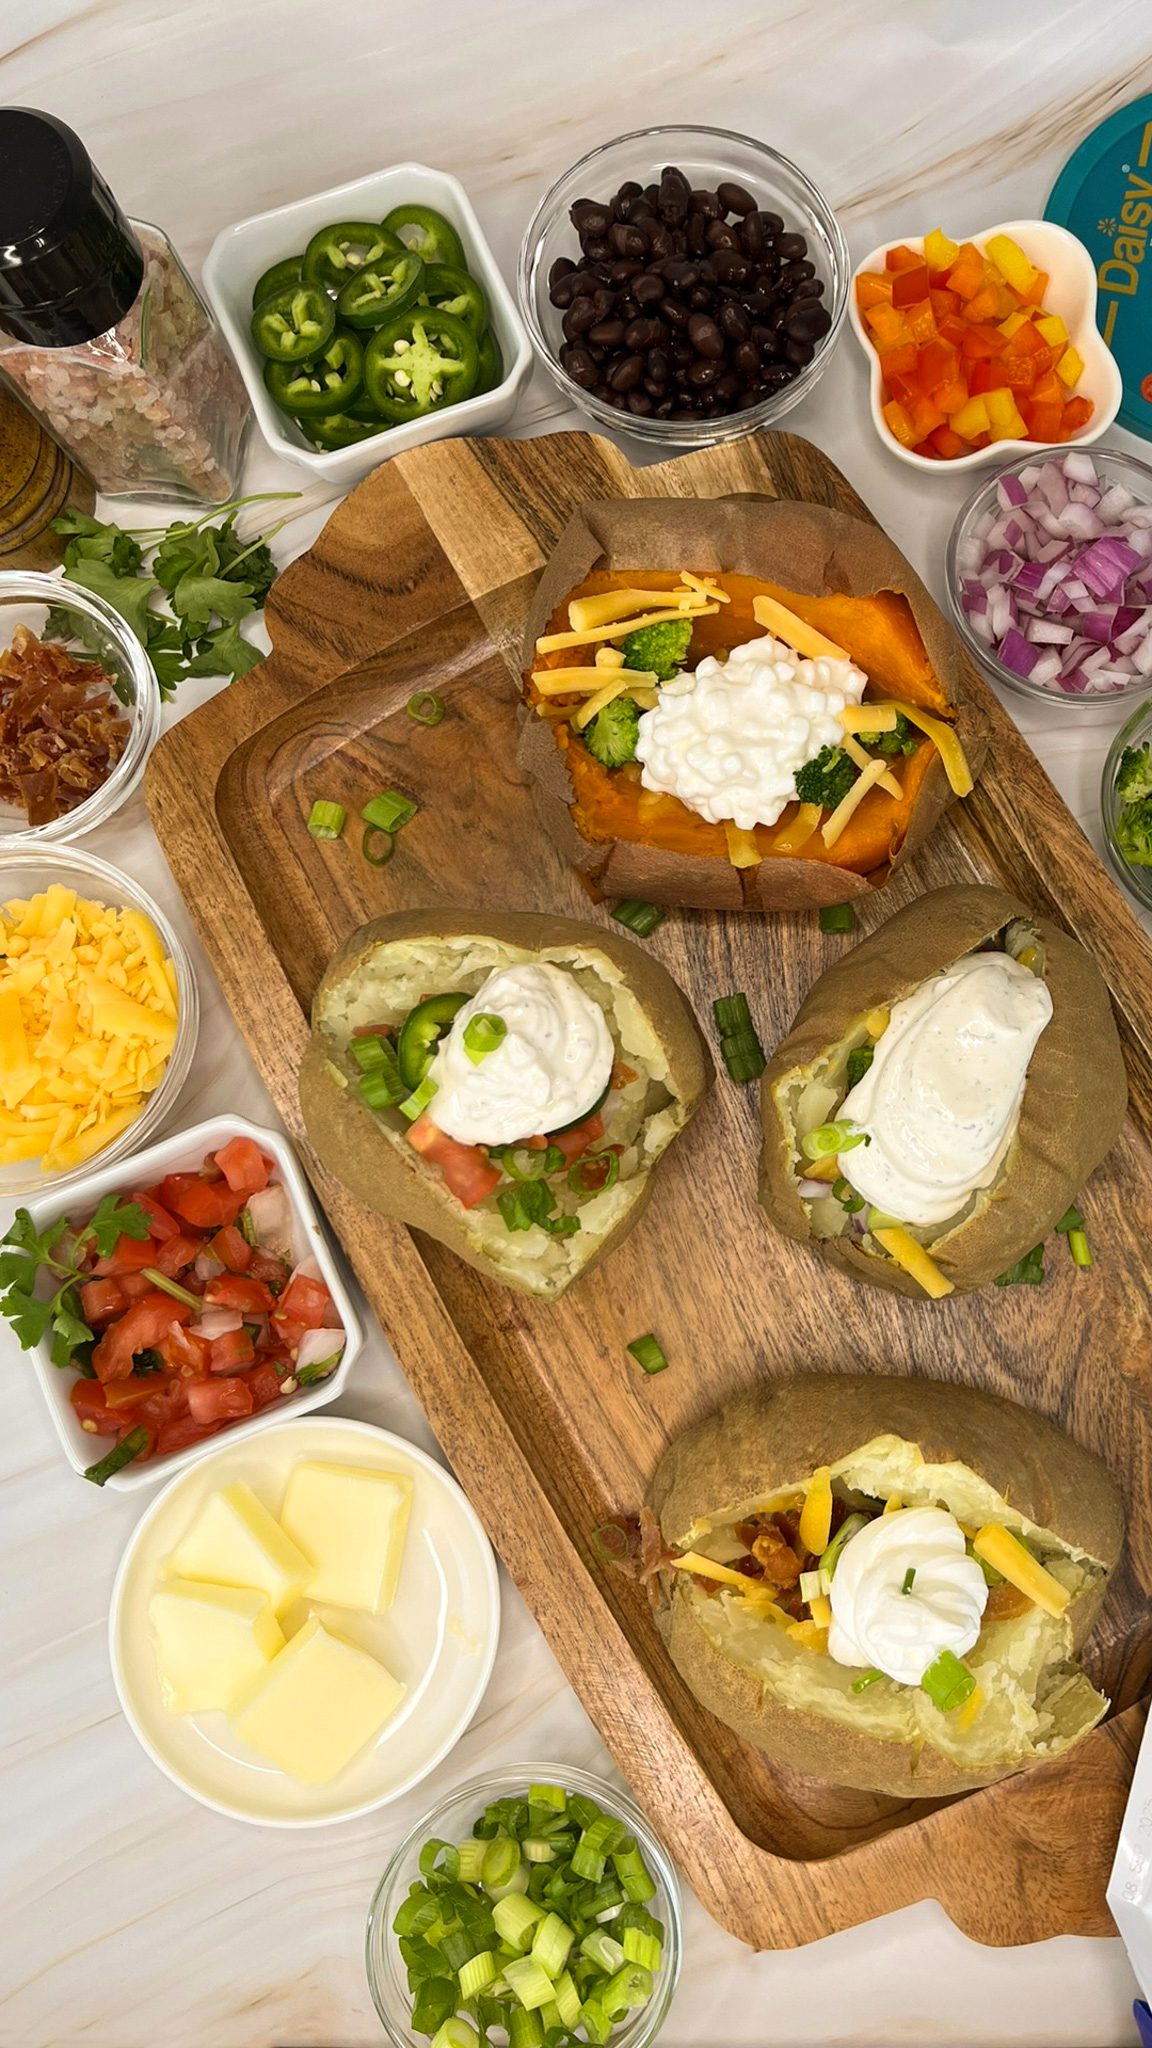
Baked Potato Bar
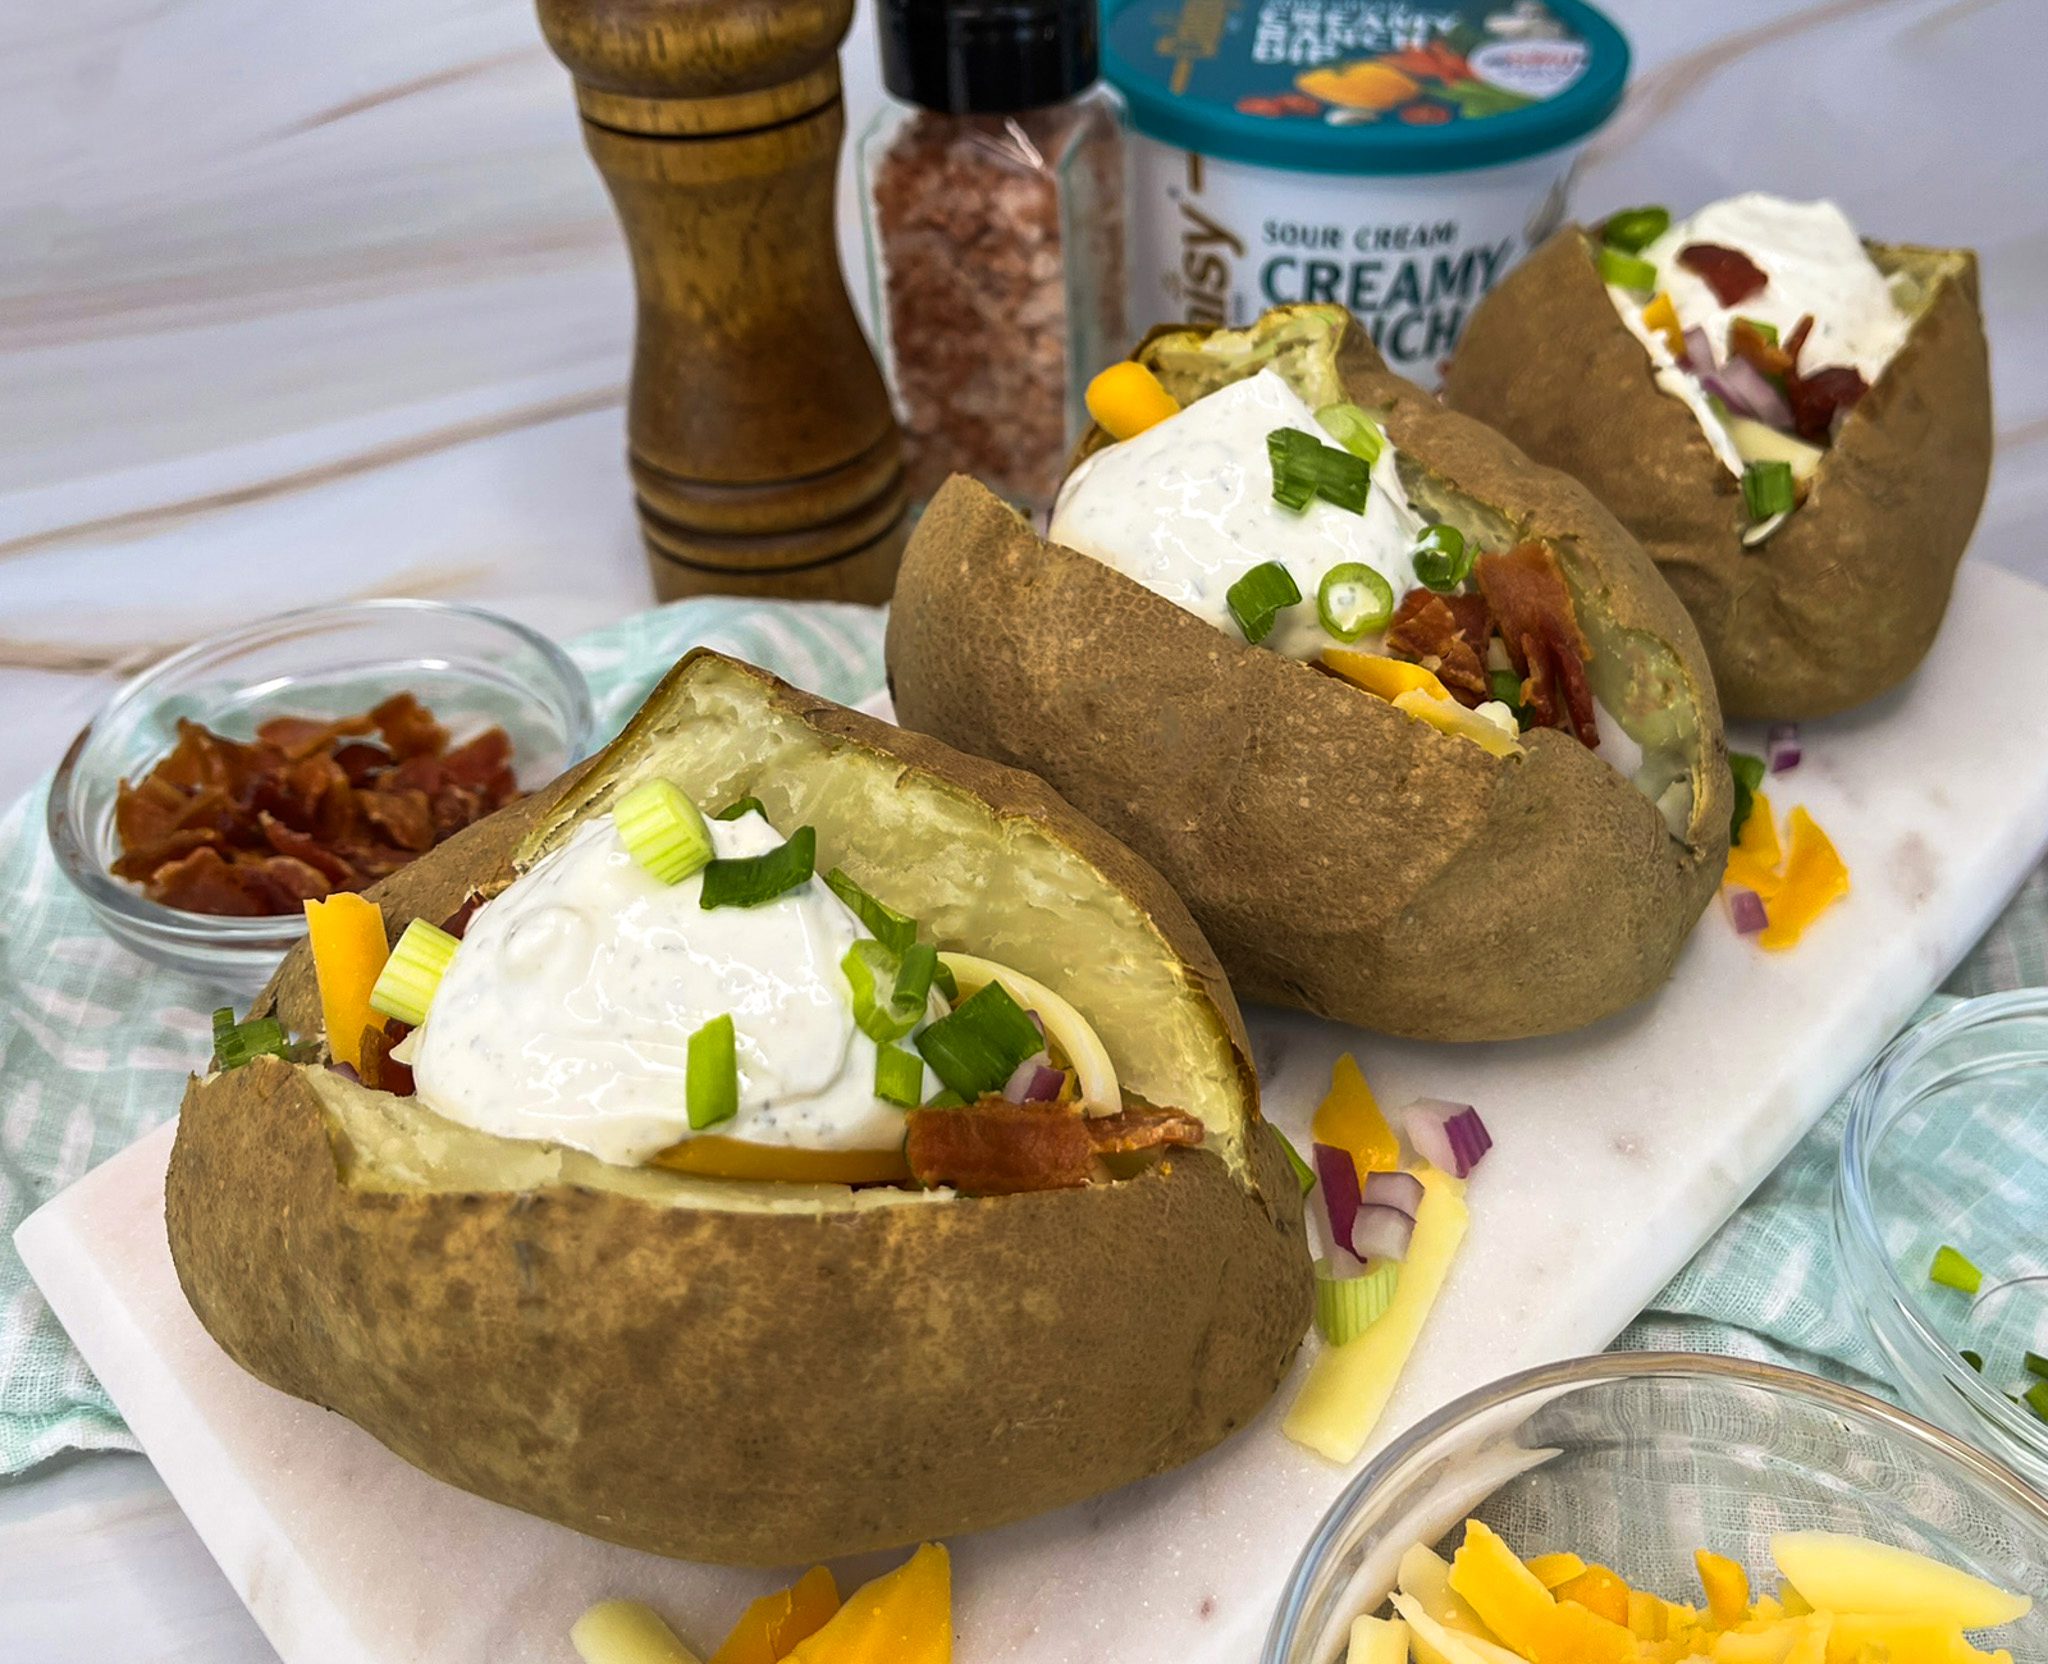
The Loaded Potato Bar Everyone Will Love
If you’re looking for an easy, crowd-pleasing meal that feels fun and festive without a lot of fuss, a baked potato bar is the answer. It’s cozy, customizable, and perfect for everything from game days and birthday parties to casual family dinners.
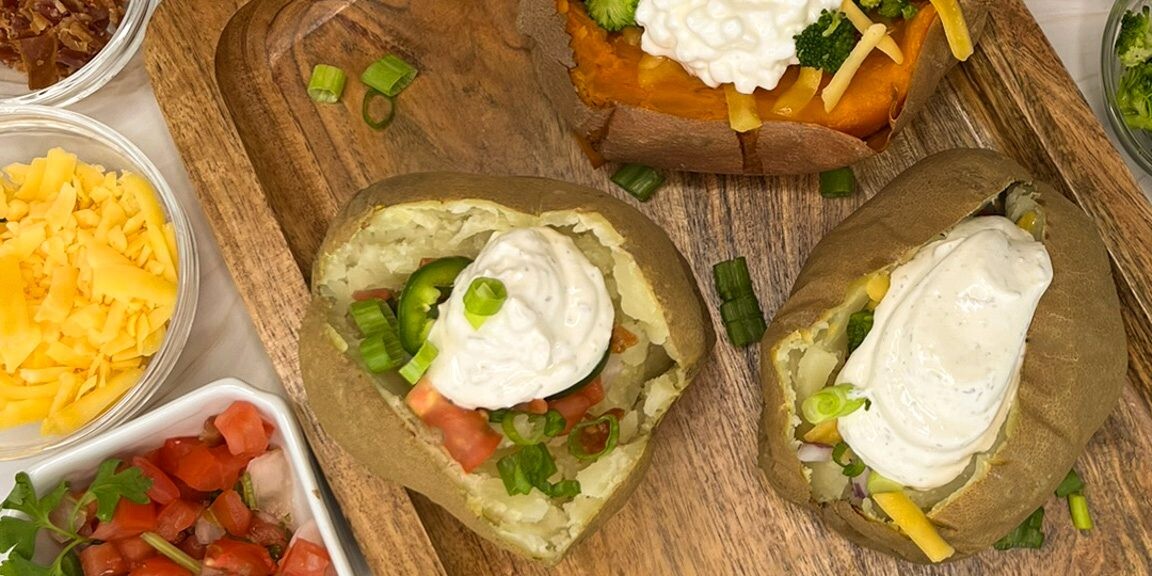
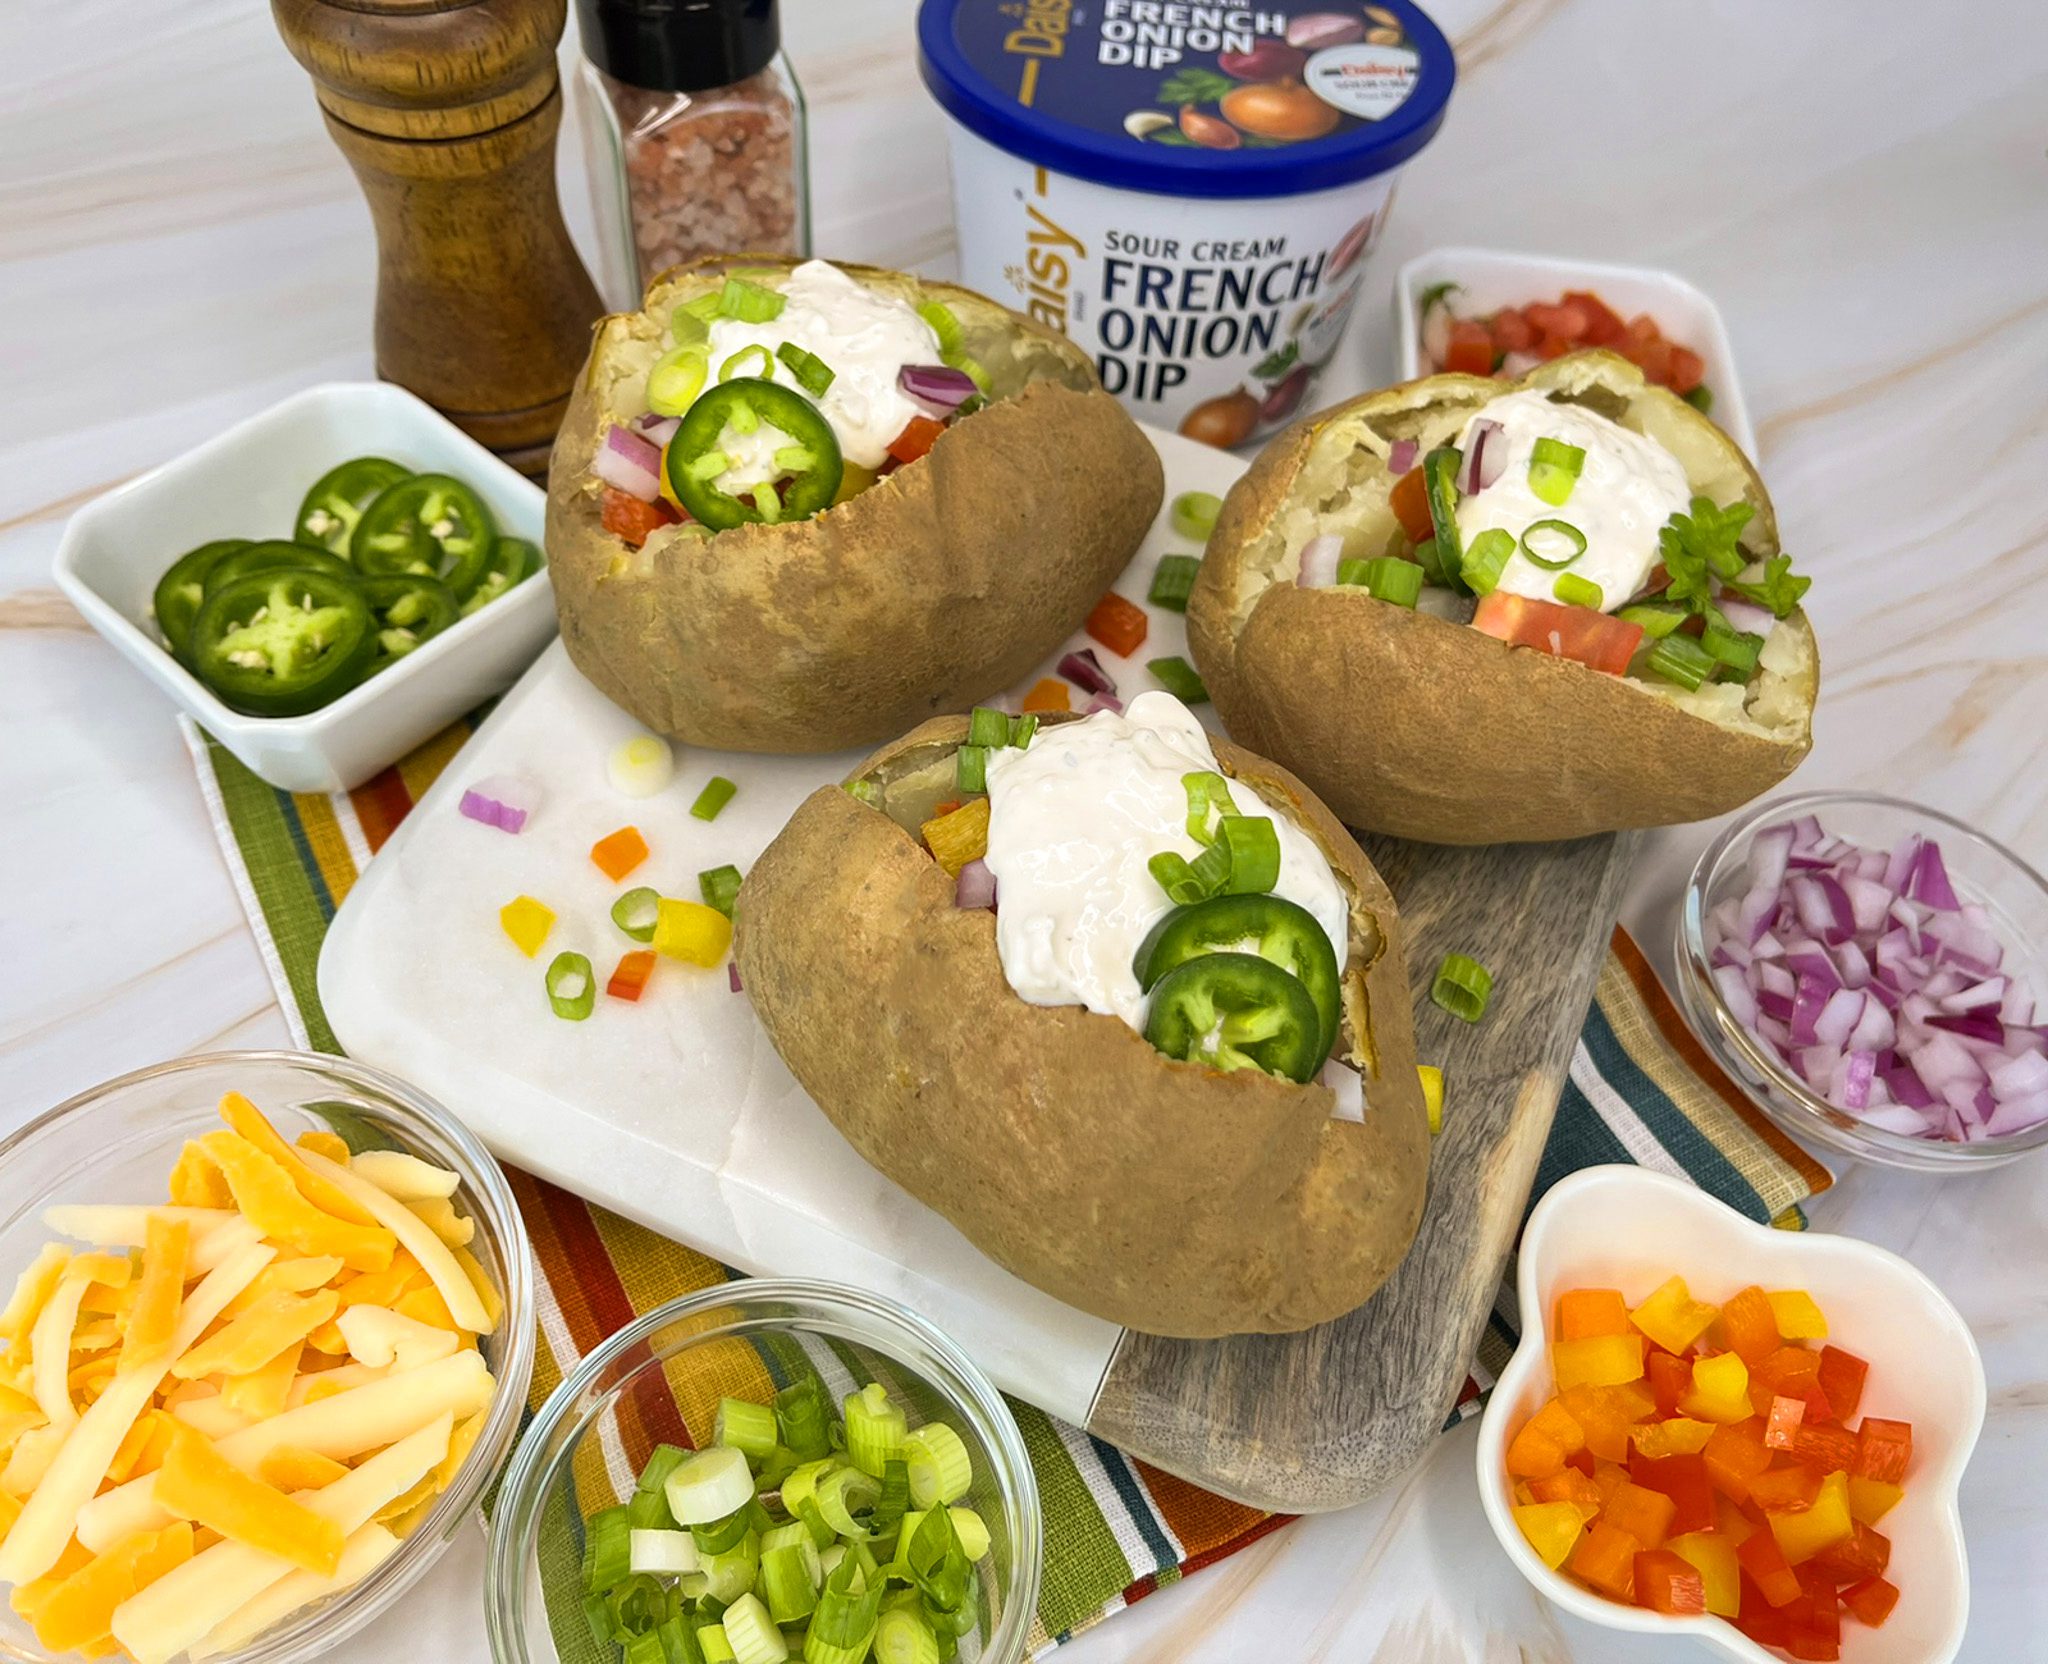
The beauty of a potato bar is in its simplicity. Start with fluffy, oven-baked potatoes, then set out a variety of toppings such as butter, shredded cheese, crispy bacon, steamed broccoli, chili, chives, and plenty of Daisy. From the classic sour cream, the protein packed cottage cheese, or the zesty dip, Daisy makes baked potatoes better! From there, everyone gets to build their own masterpiece. Whether they love classic, fully loaded, or piled-high-with-everything creations, there’s something for every appetite.
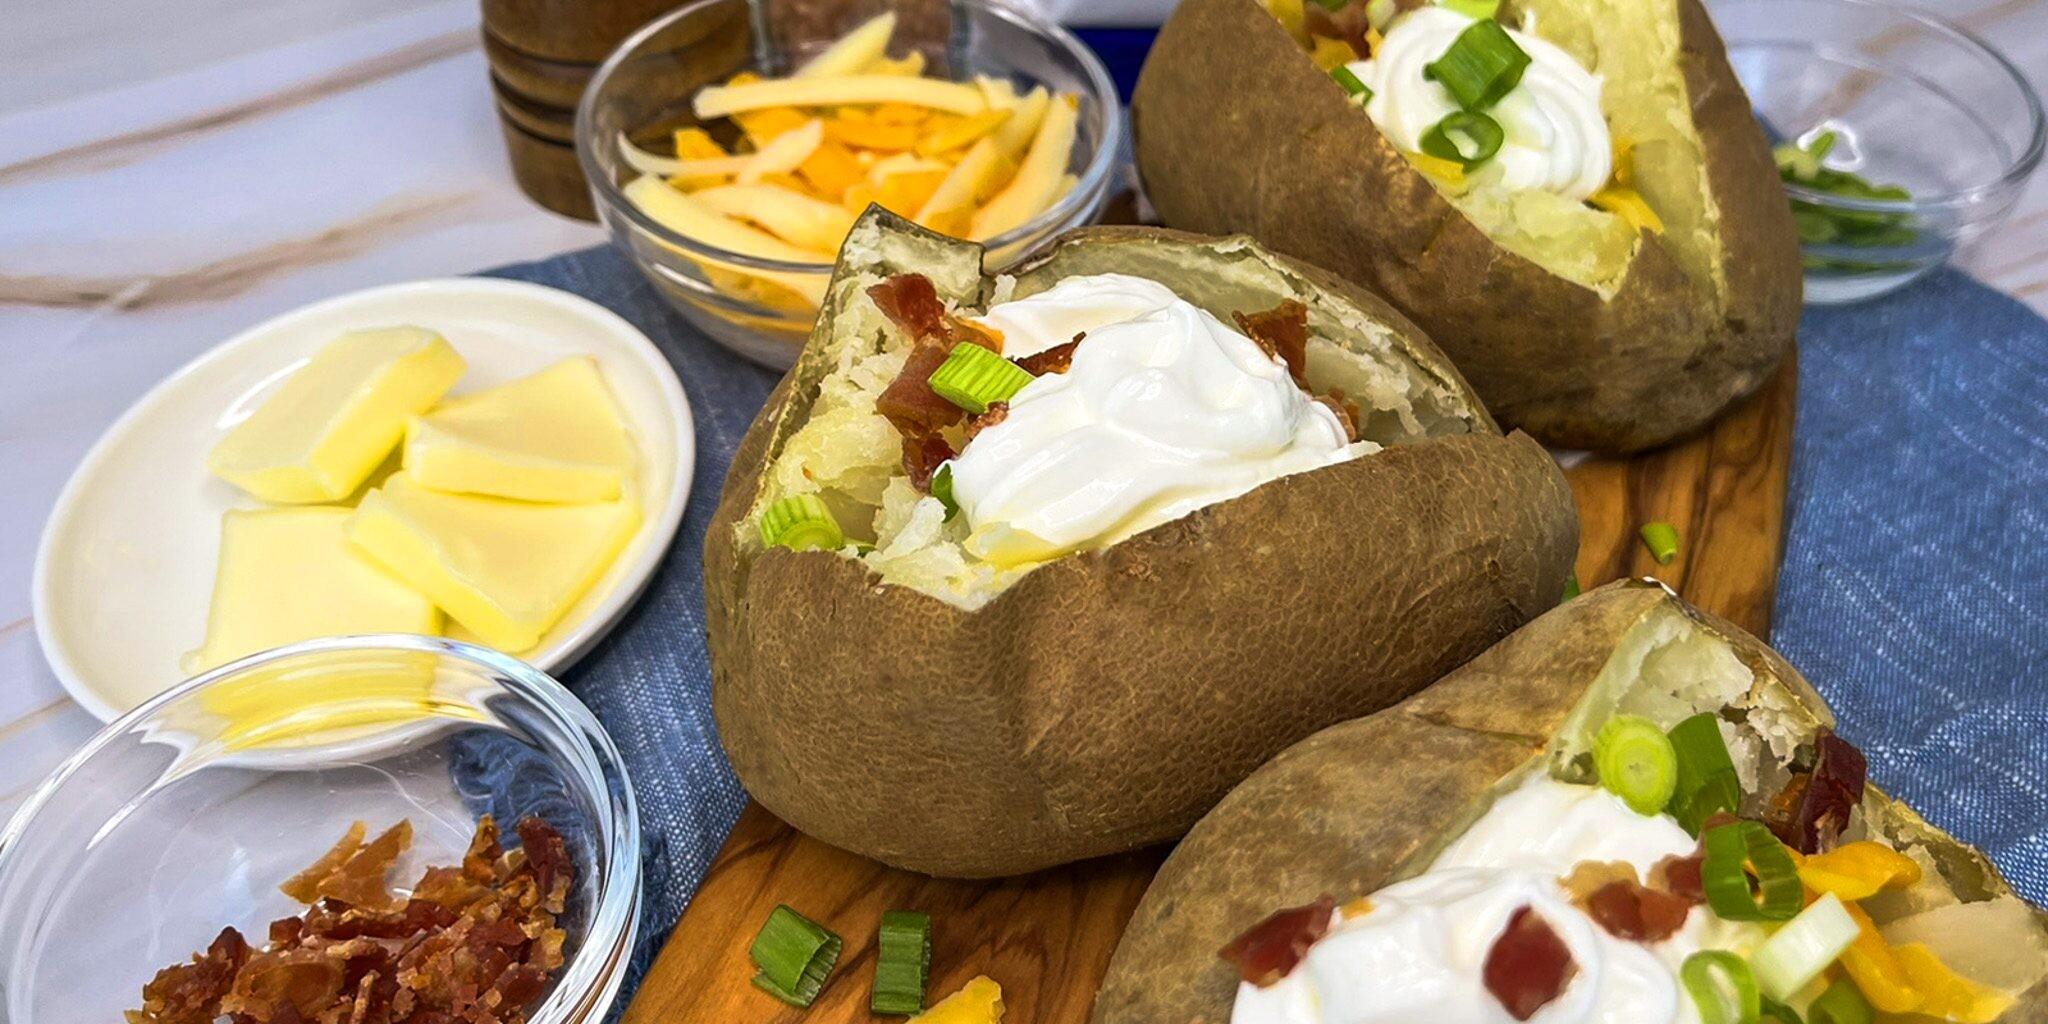
Best of all? It’s budget-friendly, easy to prep ahead, and stress-free for the host. Just bake, set out the toppings, and let the fun begin.
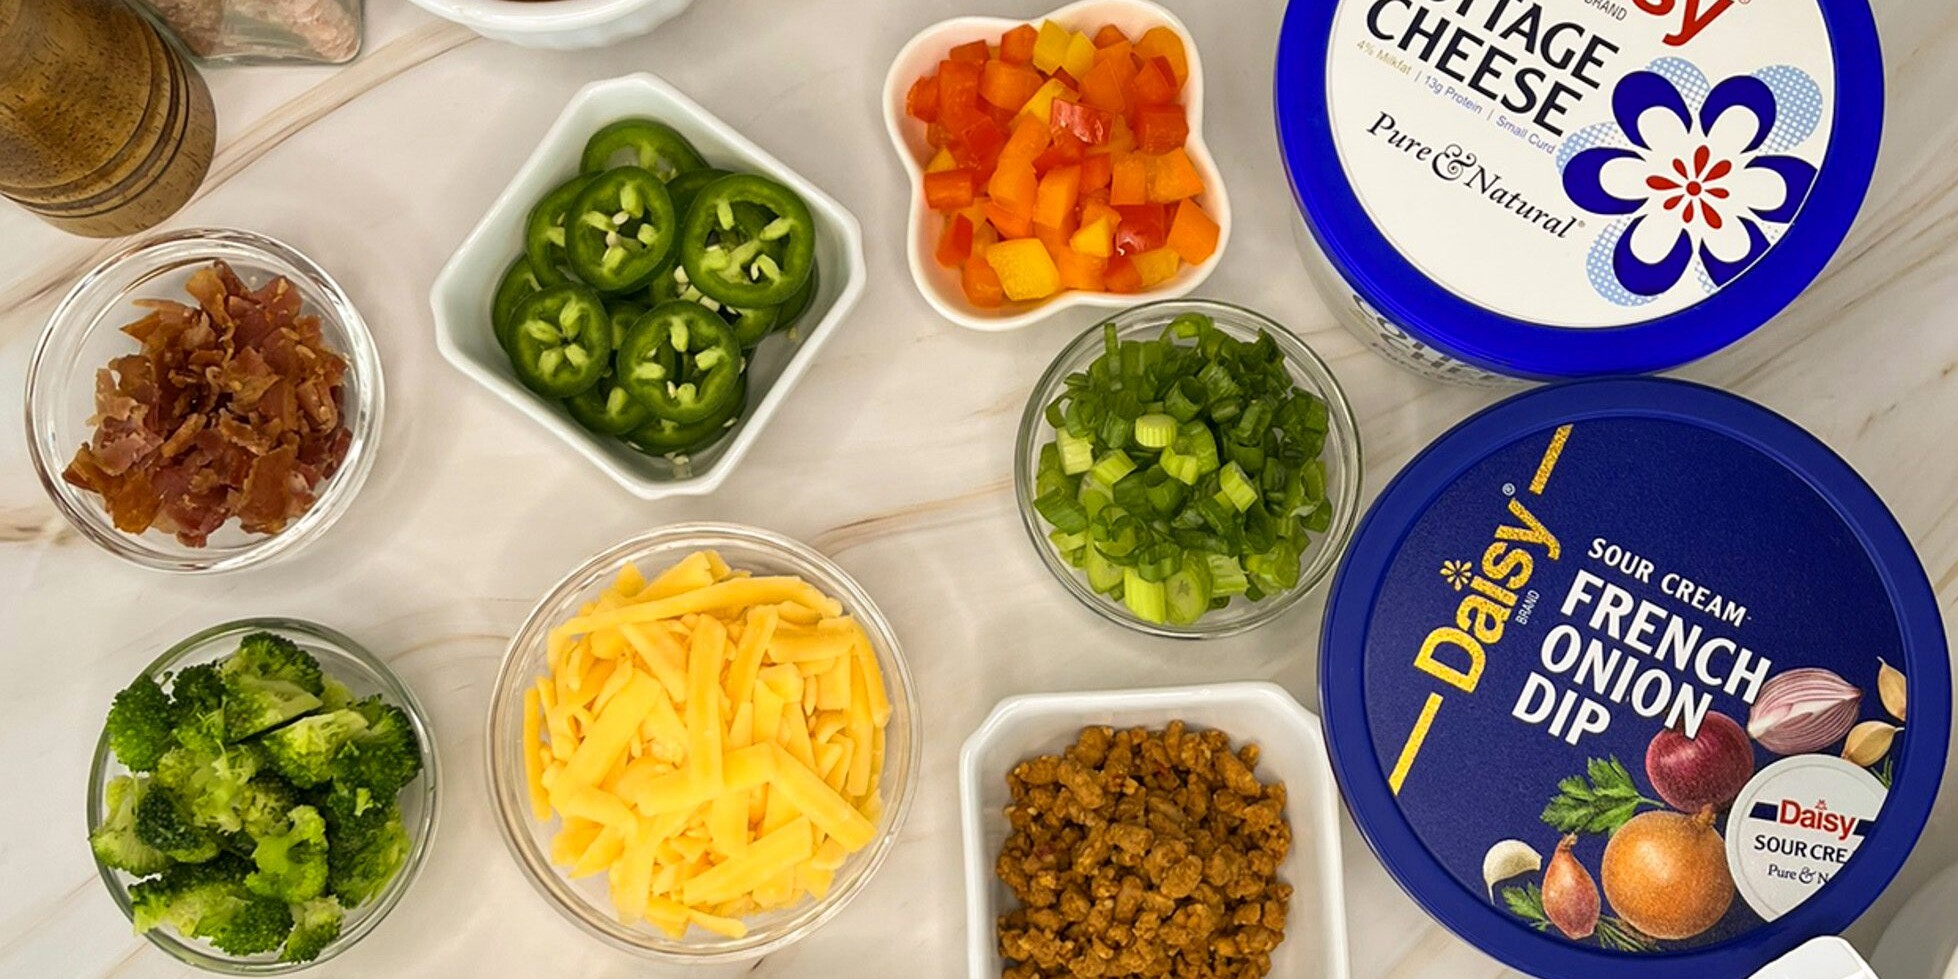
Potato Bar Ingredients
- Russet or Yukon Gold Potatoes: Both are great for baking and will practically melt in your mouth. Russets are known for their perfectly fluffy interior while Yukon Gold are known for their creamy, buttery texture. Sweet Potatoes also make a good option.
- Daisy Sour Cream: Known for its creamy, tangy flavor, it goes with baked potatoes like peanut butter goes with chocolate.
- Daisy Dips: Ranch brings classic homemade garlic and herb flavor while French Onion brings classic caramelized onion flavor along with the creamy Daisy Sour Cream texture that adds perfection to every bite.
- Daisy Cottage Cheese: Creamy, delicious, and packed with protein, it’s an unexpected tator topper that lightens the potatoes without sacrificing flavor.
- Kosher Salt and Freshly Cracked Pepper: This classic seasoning duo enhances and balances all the other flavors in the dish.
- Butter: Adds richness and buttery flavor. Either salted or unsalted butter work well.
- Cheese: Any type of cheese will work well with cheddar being the most popular. Cheese provides a savory, gooey texture and rich flavor that complements the fluffy potato interior.
- Green Onions, Onions, & Chives: Provide a fresh, mild onion flavor that cuts through the richness of butter and sour cream. They offer a bright, savory taste and an appetizing green color contrast, elevating the texture and flavor.
- Peppers: Savory, slightly sweet, and aromatic flavor nice contrast to the mild, starchy potato. Common additions include roasted bell peppers, spicy poblano, or jalapeno peppers, which add complexity, color, and texture.
- Bacon & Chorizo: Adds a savory, smoky flavor, with a crispy texture contrast to the soft interior.
- Meat & Beans: pulled pork, shredded chicken, ground beef, sliced brisket, and any cooked beans are all great toppings that boost flavor and add protein.
- Chili: Makes a comforting, and filling meal because the fluffy, starchy interior of a baked potato acts as a perfect base for savory chili.
- Veggies: Transforms a simple, baked potato into a balanced, nutrient-dense, and fiber-rich meal that is filling. Good options are steamed broccoli, sautéed kale & spinach, toasted Brussels sprouts, caramelized onions, sautéed mushrooms, roasted asparagus, or roasted carrots.
- Guacamole or Cubed Avocado: Offers a creamy, healthy, and flavorful alternative to traditional toppings like butter.
- Salsa, Pico de Gallo, Barbecue Sauce, & Buffalo Sauce: Adds a flavorful twist that cuts through the starch with acidity, moisture, and spice.
- Sweet Options: Brown sugar, cinnamon, pecans, and marshmallows may be added for a sweeter bite and work particularly well with baked sweet potatoes.

Substitutions, Variations, and Tips
- Baked potatoes are a perfect base for turning leftovers of all sorts into delicious second meals.
- Dice and prep veggies and cheese ahead of time.
- Clean potatoes thoroughly and dry them completely. Any remaining moisture can cause the skin to turn soggy or leathery.
- Poke 8–12 holes all over the potato with a fork or small knife. This allows steam to escape, preventing the potato from exploding as it cooks.
- Rub the skin with olive oil and coat generously with kosher or sea salt. This creates a flavorful, crunchy crust.
- Do not wrap the potatoes in foil. Foil traps moisture, creating a steamed, soggy skin instead of a crisp one. Place potatoes directly on the oven rack for the best airflow. Alternatively, use a wire rack set over a baking sheet to prevent sticking and allow hot air to circulate.
- Cut a slit in the top of the potato within 5 minutes of taking it out of the oven to release steam, which prevents the inside from turning gummy.
- For perfectly fluffy potatoes, slice potatoes open and squeeze with tongs.
- Use a slow cooker set on low to keep potatoes warm before serving.
- Reheat leftover baked potatoes in the oven for 15-20 minutes to recrisp the skin or in an air fryer for 5-10 minutes.
How to Make Baked Potatoes
- Microwave: pierce, season, cook at 100% power for 5 minutes, flip and cook 3-5 more minutes until done. Or just hit the “baked potato” button on your microwave.
- Air Fryer: pierce, season, and bake at 400°F for 25 minutes, flip and bake for 20-25 minutes until done.
- Oven: pierce, season, bake at 425°F for 45-60 minutes until done.
Easy Homemade Salad Dressings
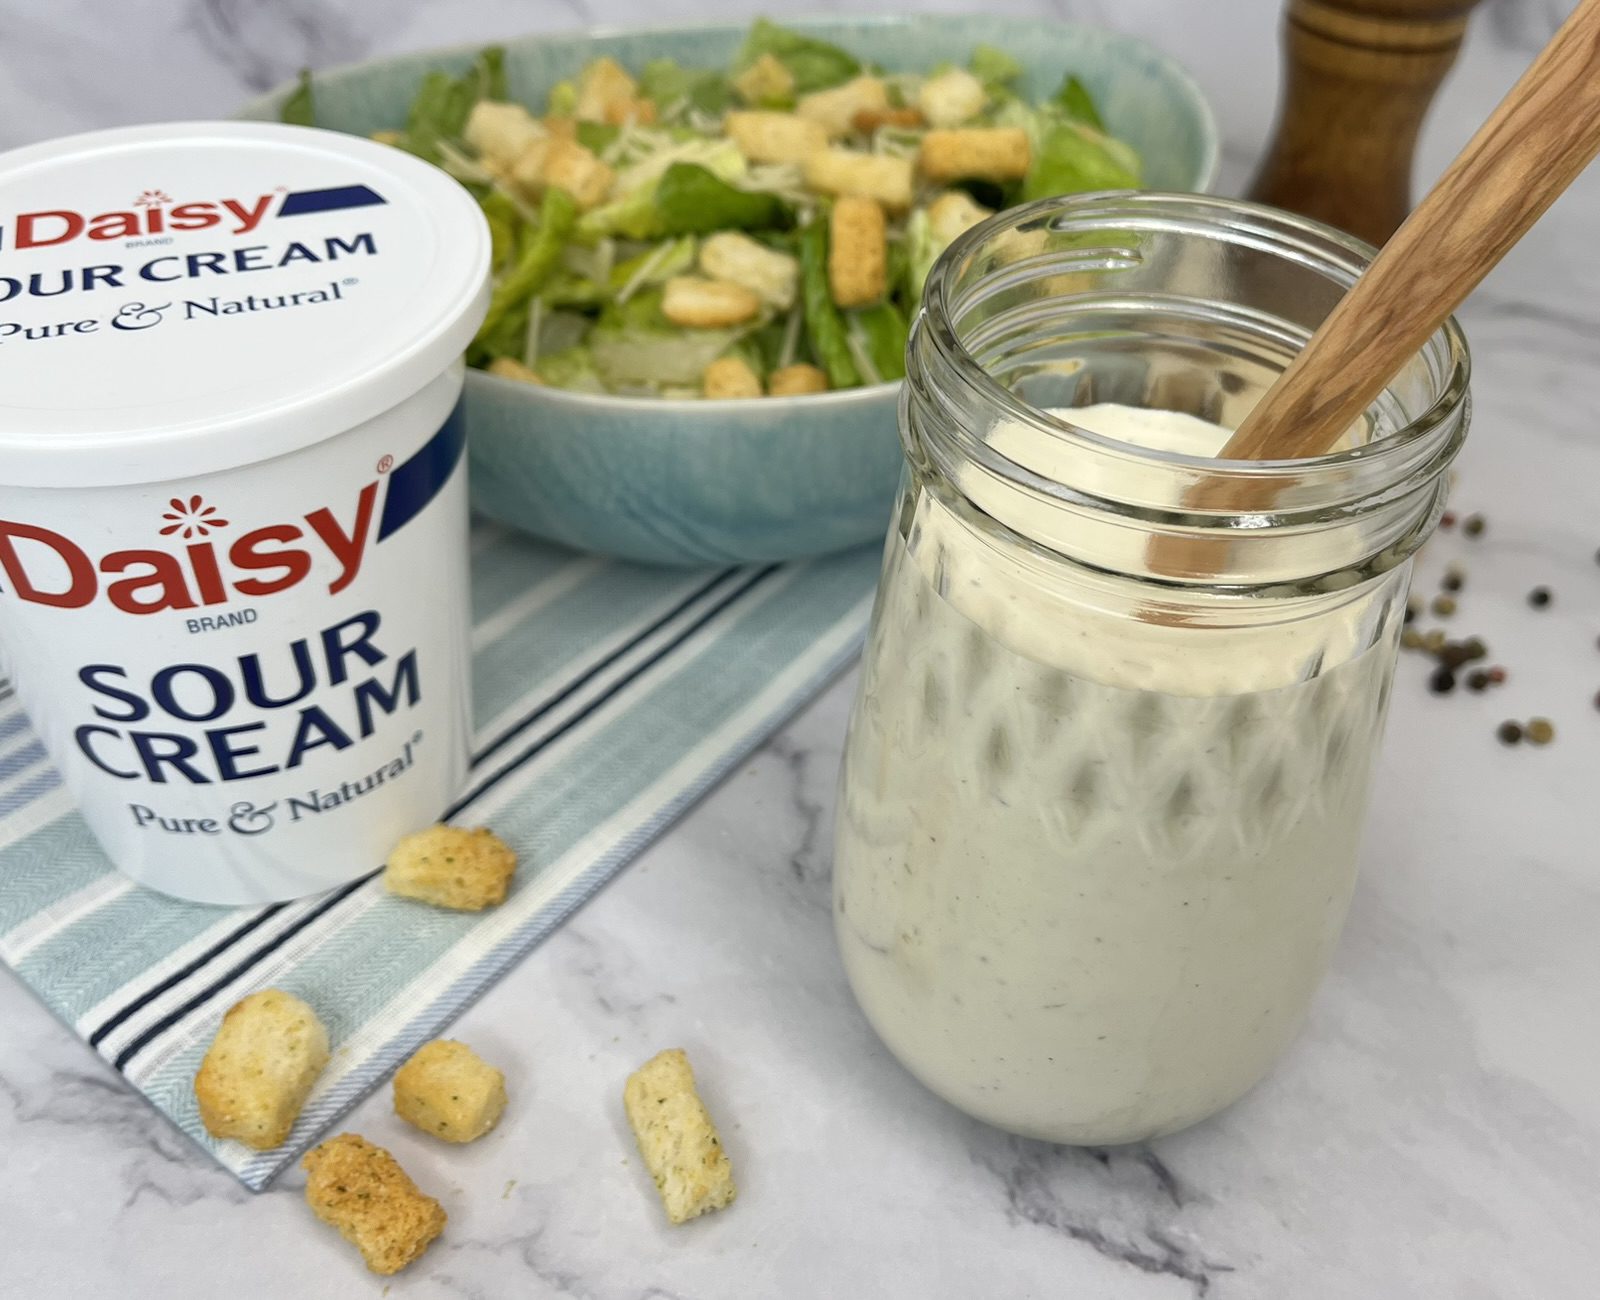
Fresh, Flavorful, & Customizable – Easy Homemade Salad Dressing Ideas
Ditch the store-bought bottles and have a little fun in the kitchen! Homemade salad dressing is surprisingly quick, easy, and budget-friendly and the flavor payoff is so worth it.
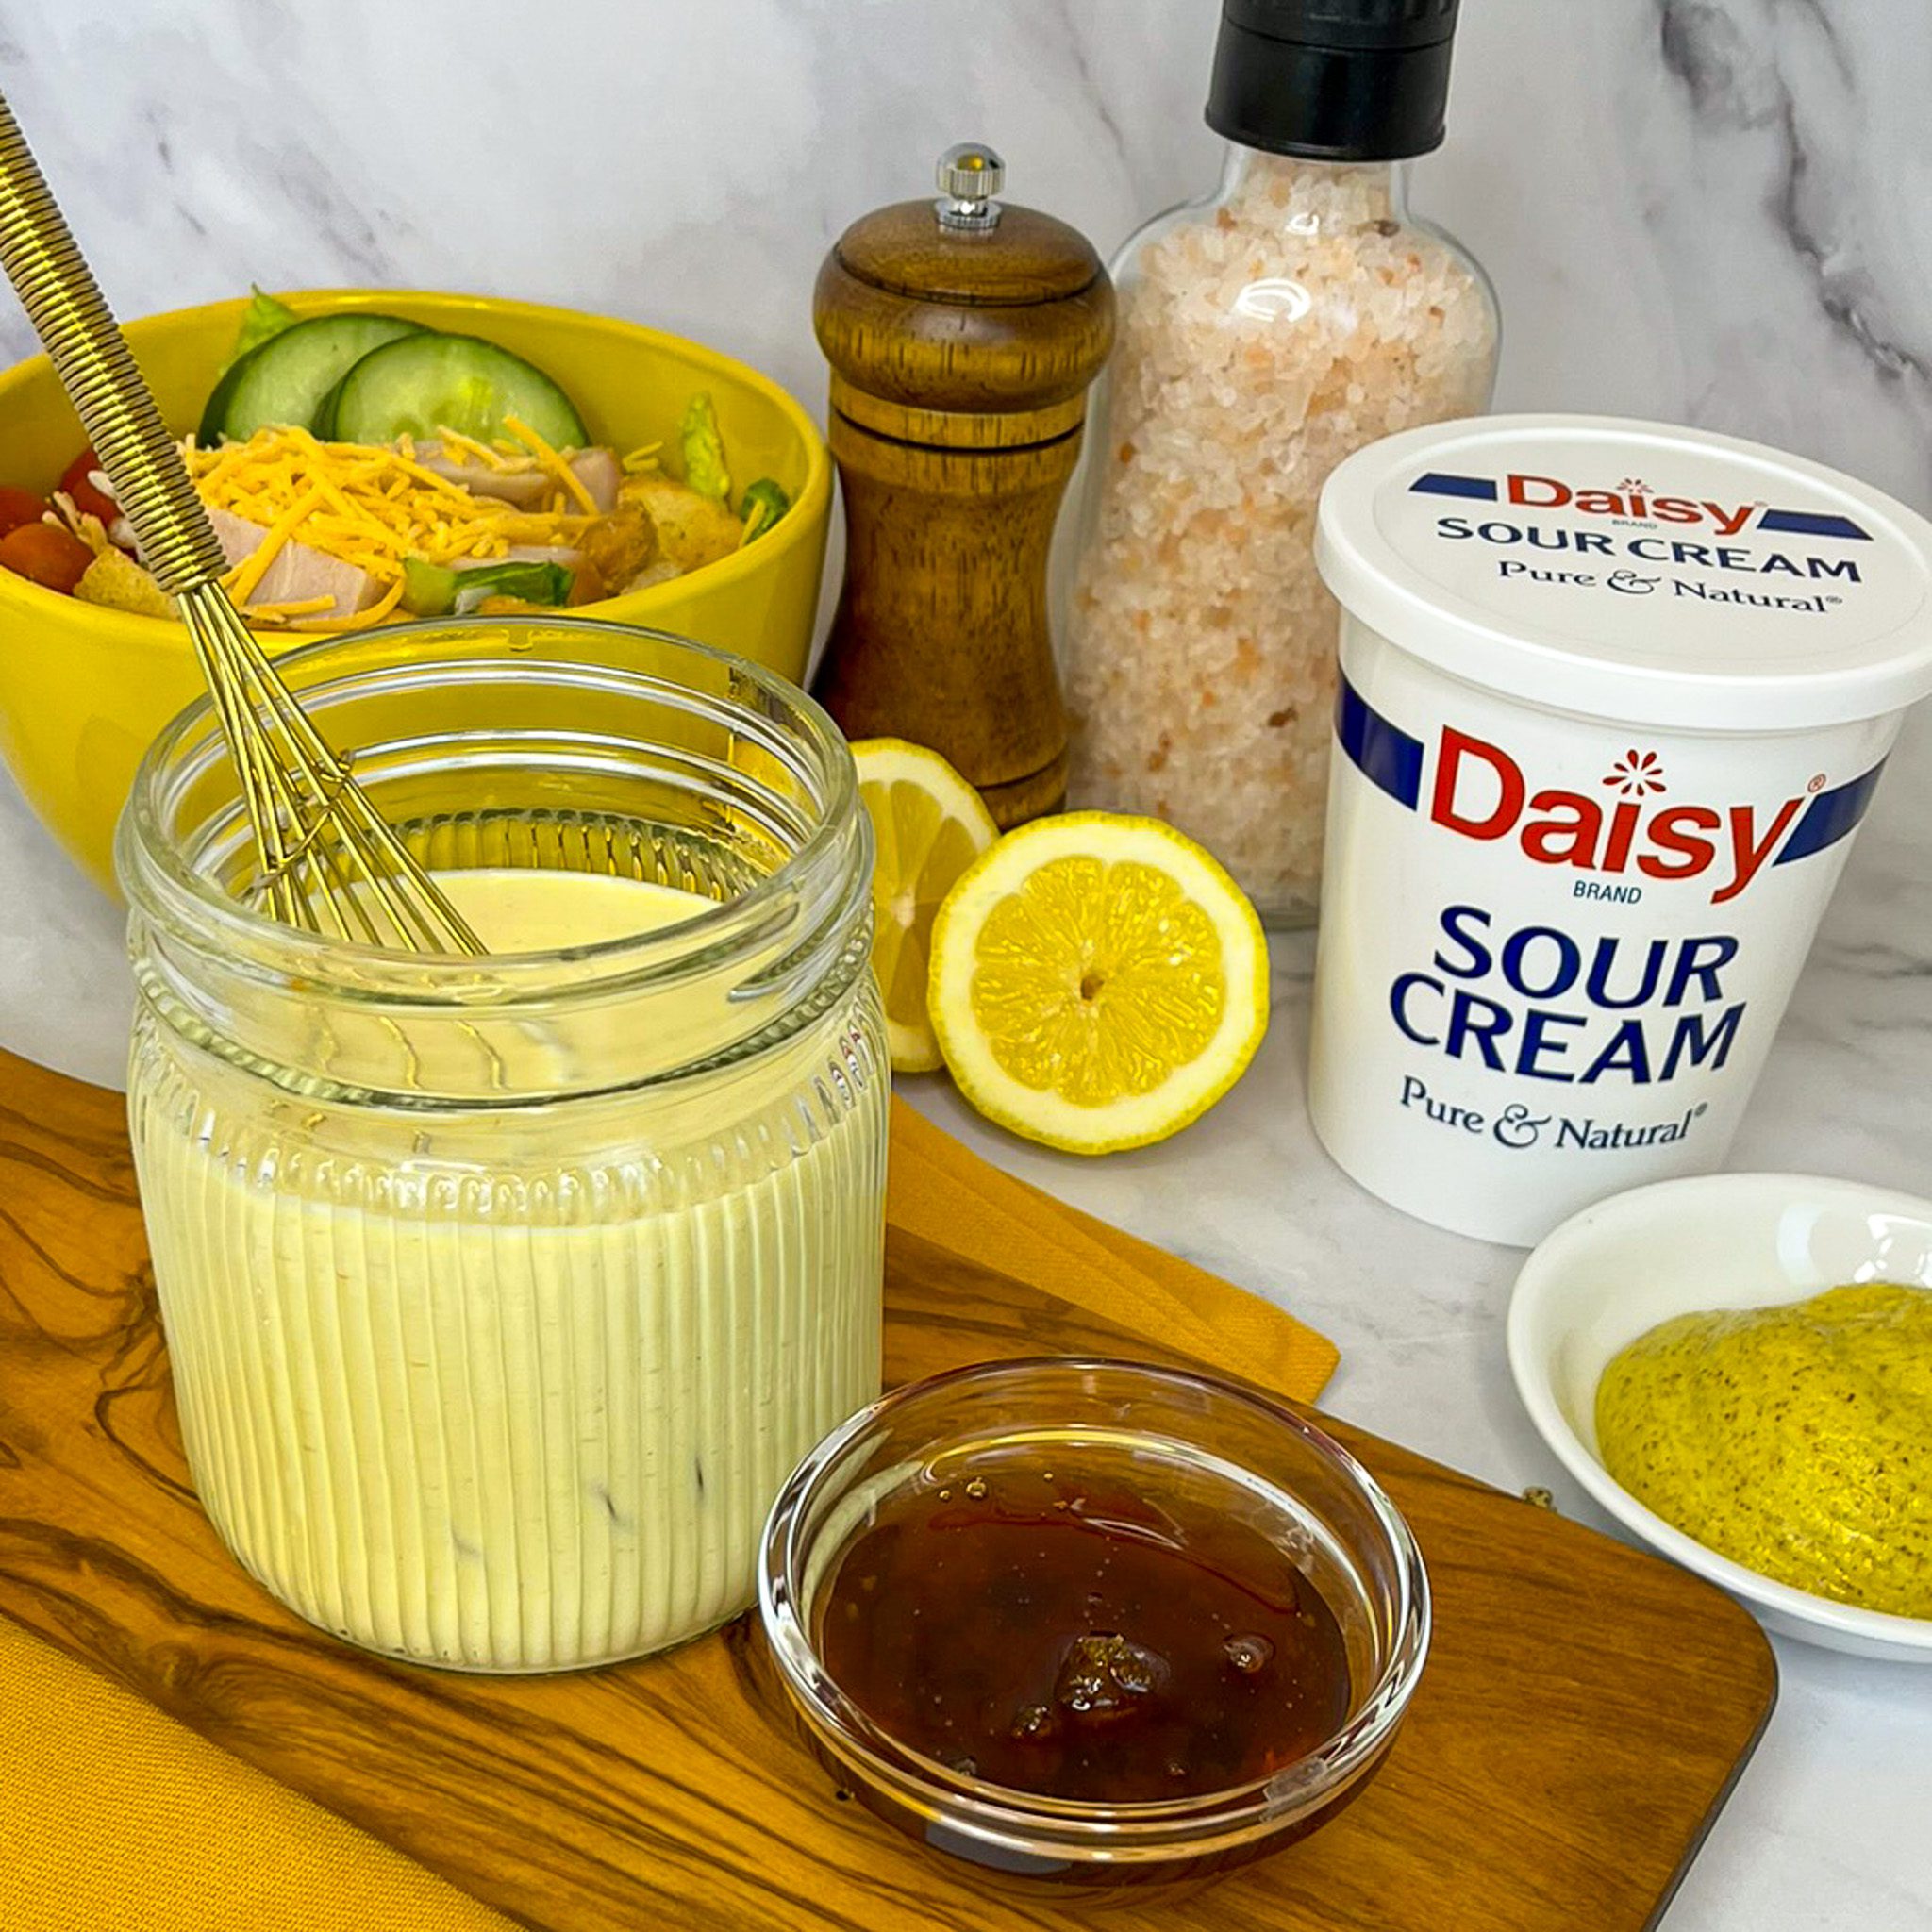
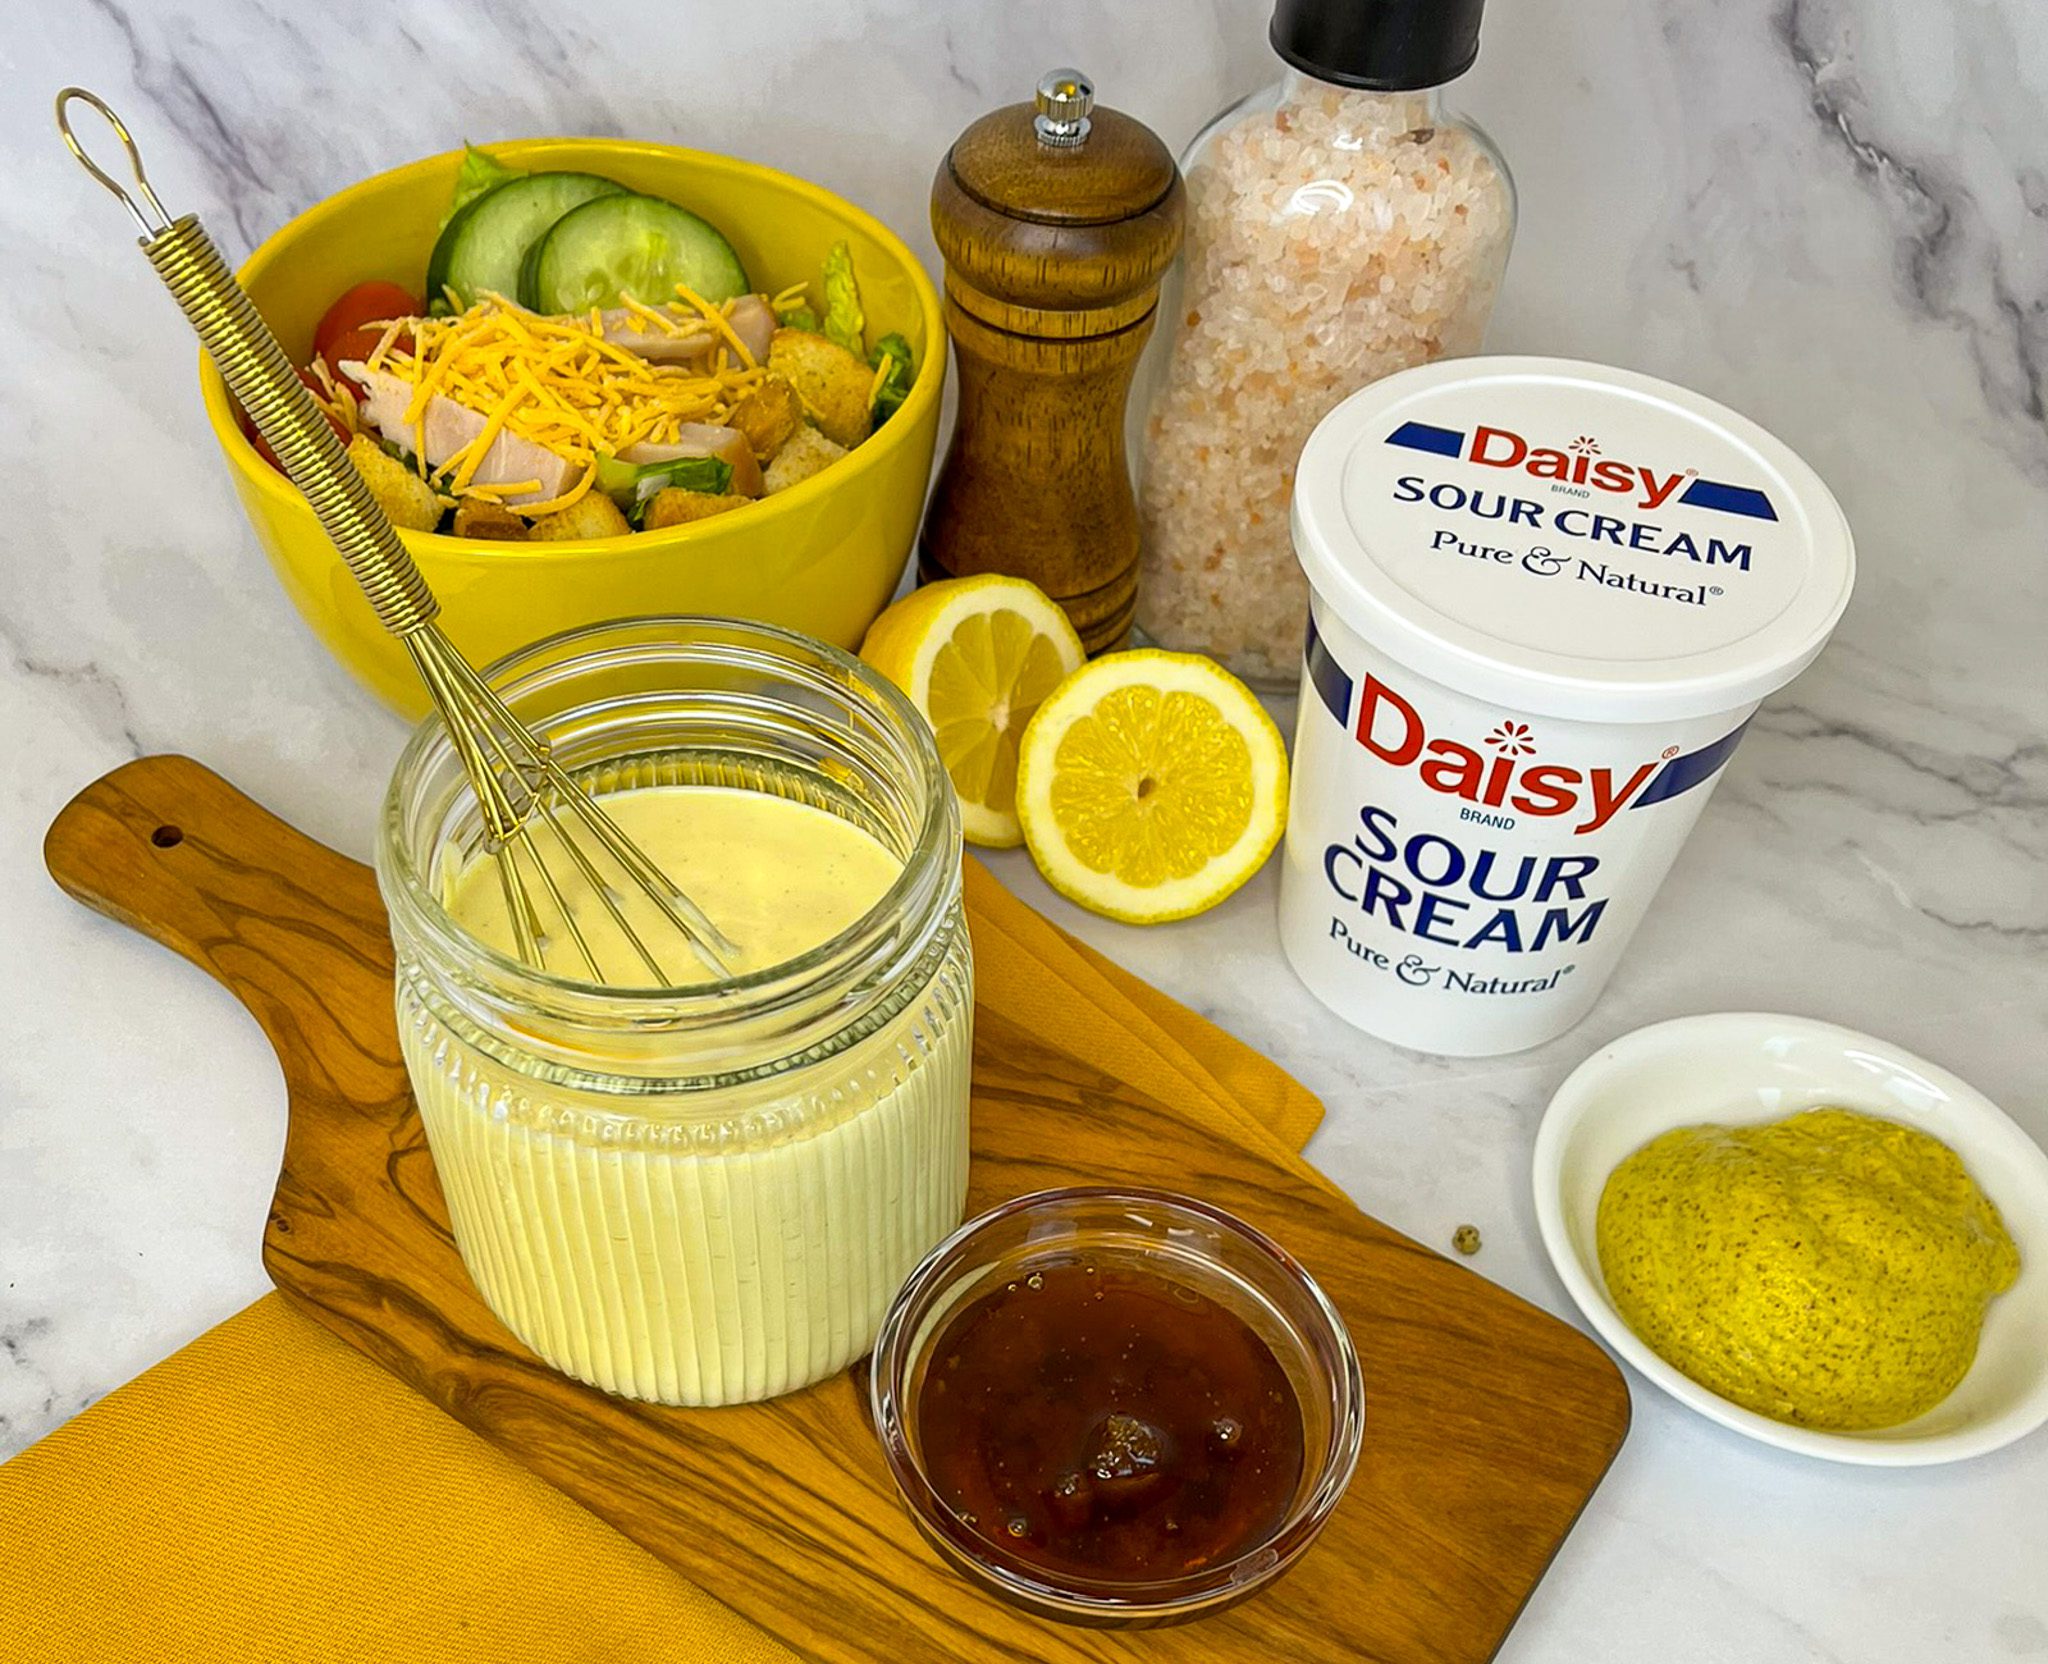
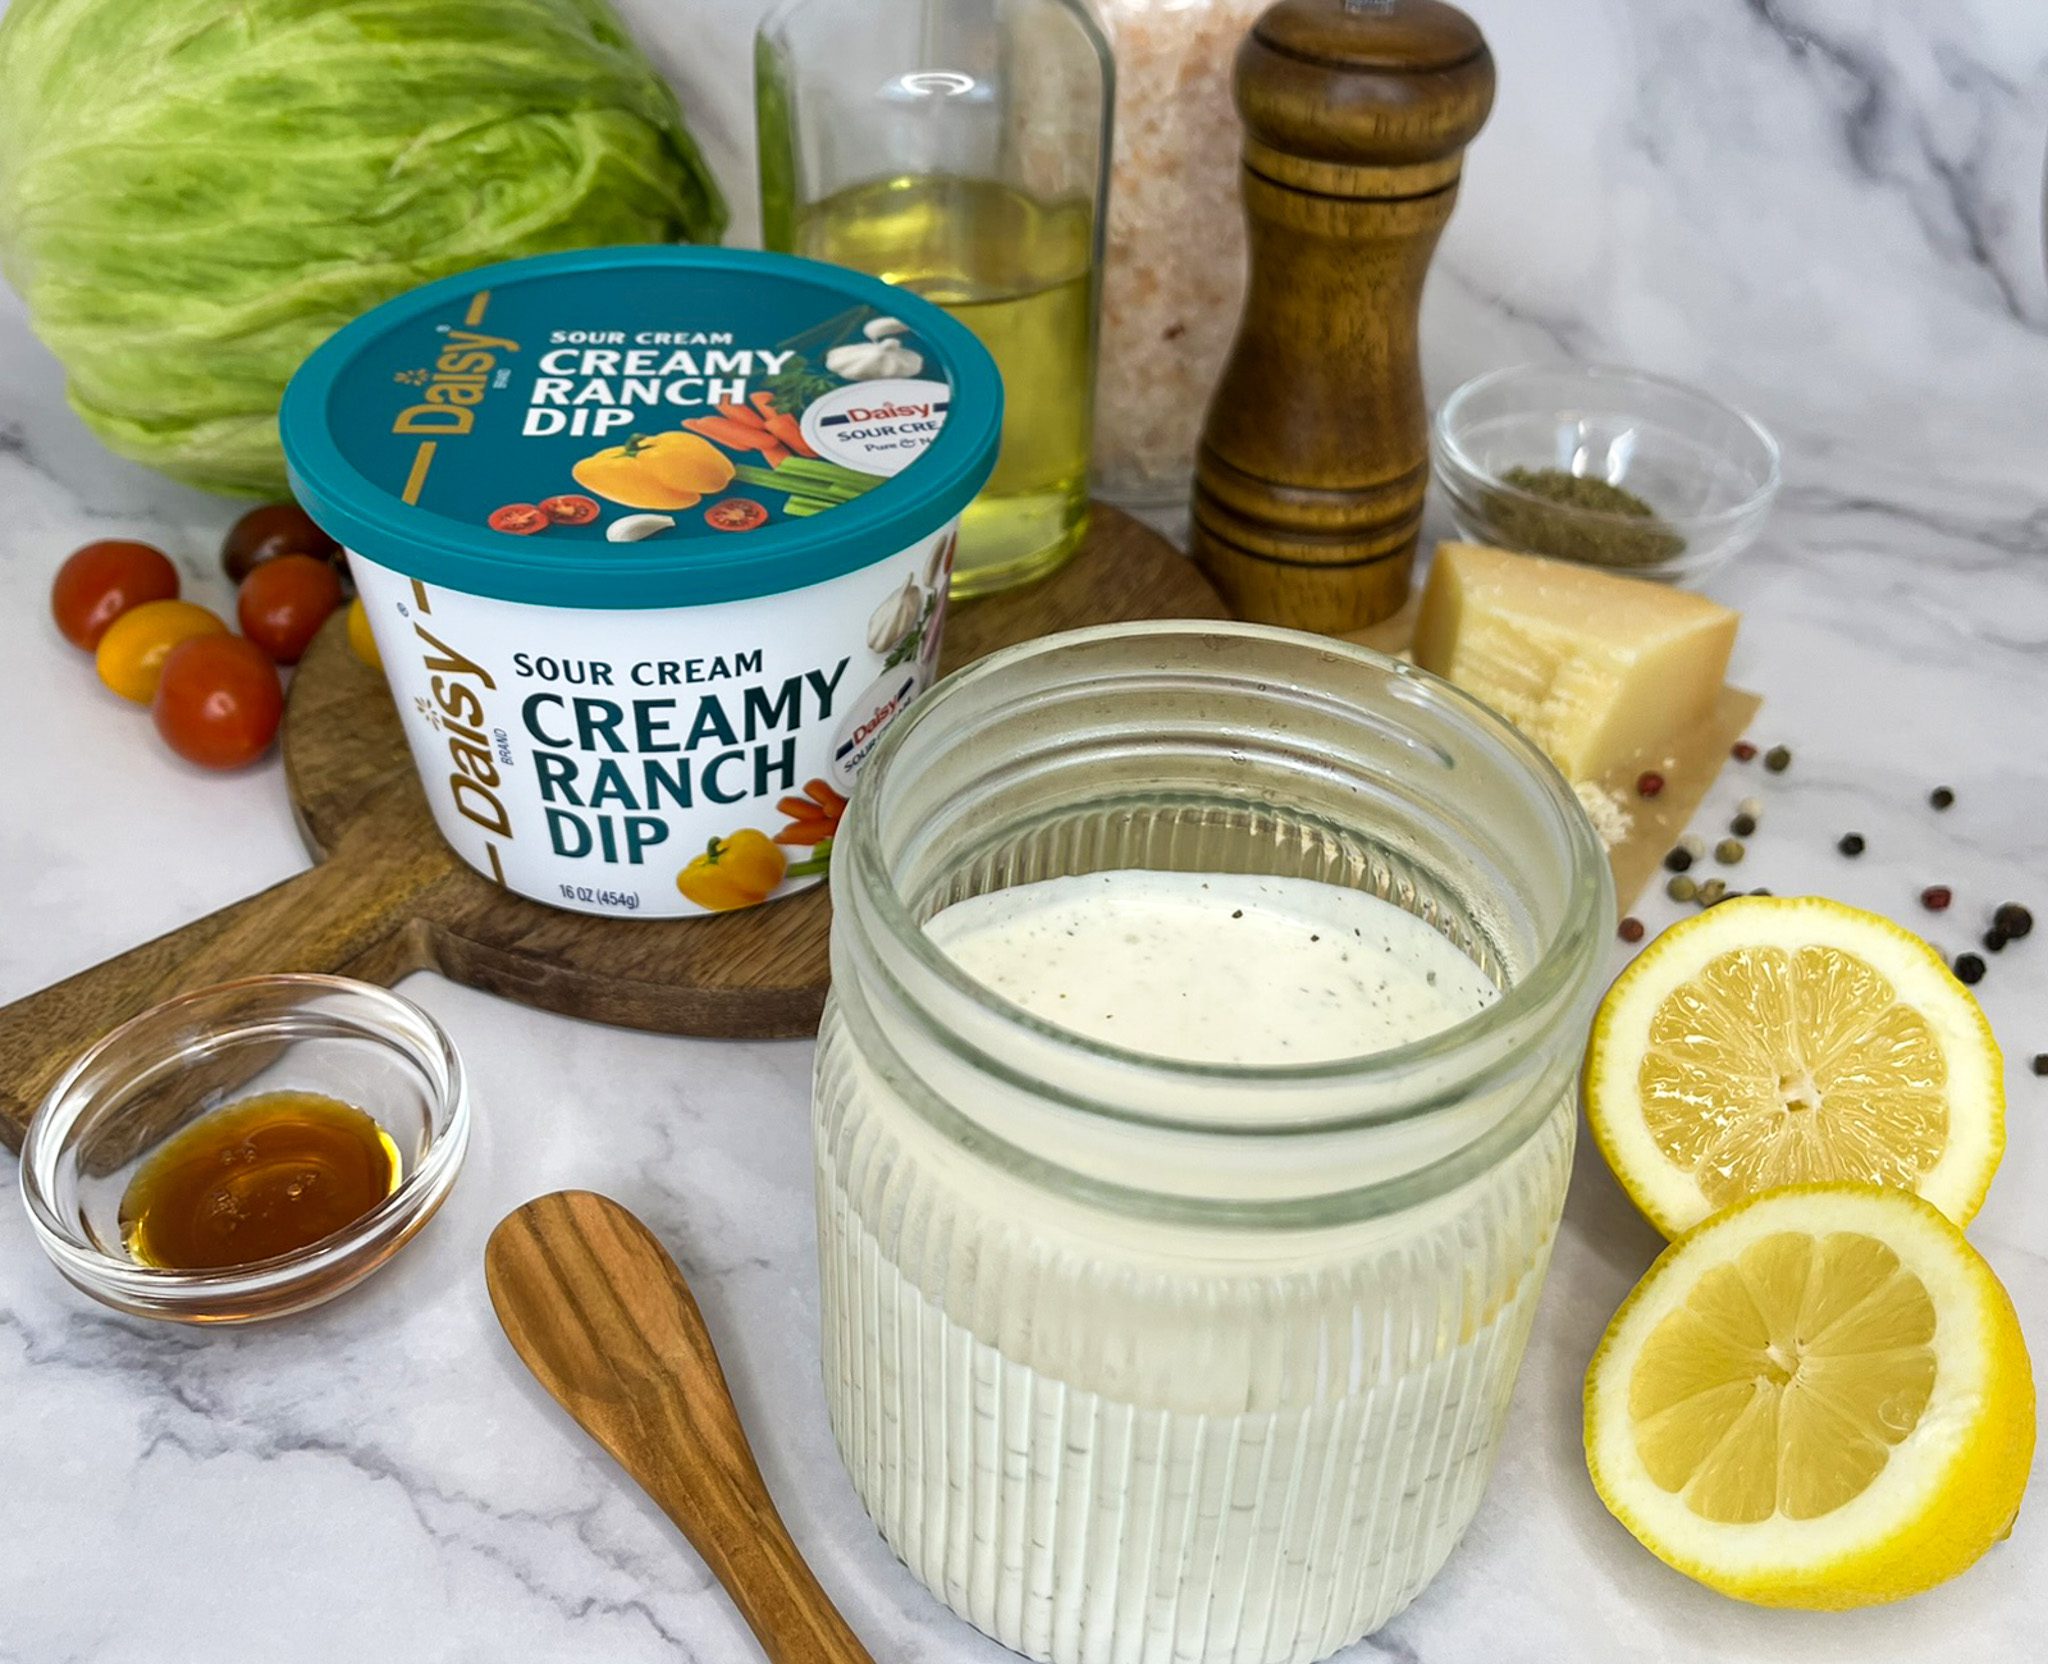
Whether you prefer something tangy and zippy or smooth and slightly sweet, starting with Daisy Sour Cream or Daisy Ranch Dip makes it simple. Just whisk your base with a few pantry staples, think olive oil, vinegar or citrus juice, herbs, and seasonings, and you’ll have a fresh, flavorful dressing in minutes. It’s a delicious way to customize your salads and save money at the same time.
One of the best parts about making your own dressing? You’re in total control. You know exactly what’s going into it. No unnecessary additives, preservatives, or artificial flavors. Just simple, real ingredients you already have on hand.
A splash of oil, a drizzle of vinegar or citrus, and a spoonful of your favorite pantry condiments can come together to create something truly delicious. Mix and match herbs, spices, and seasonings to create endless flavor combinations that suit your taste perfectly.
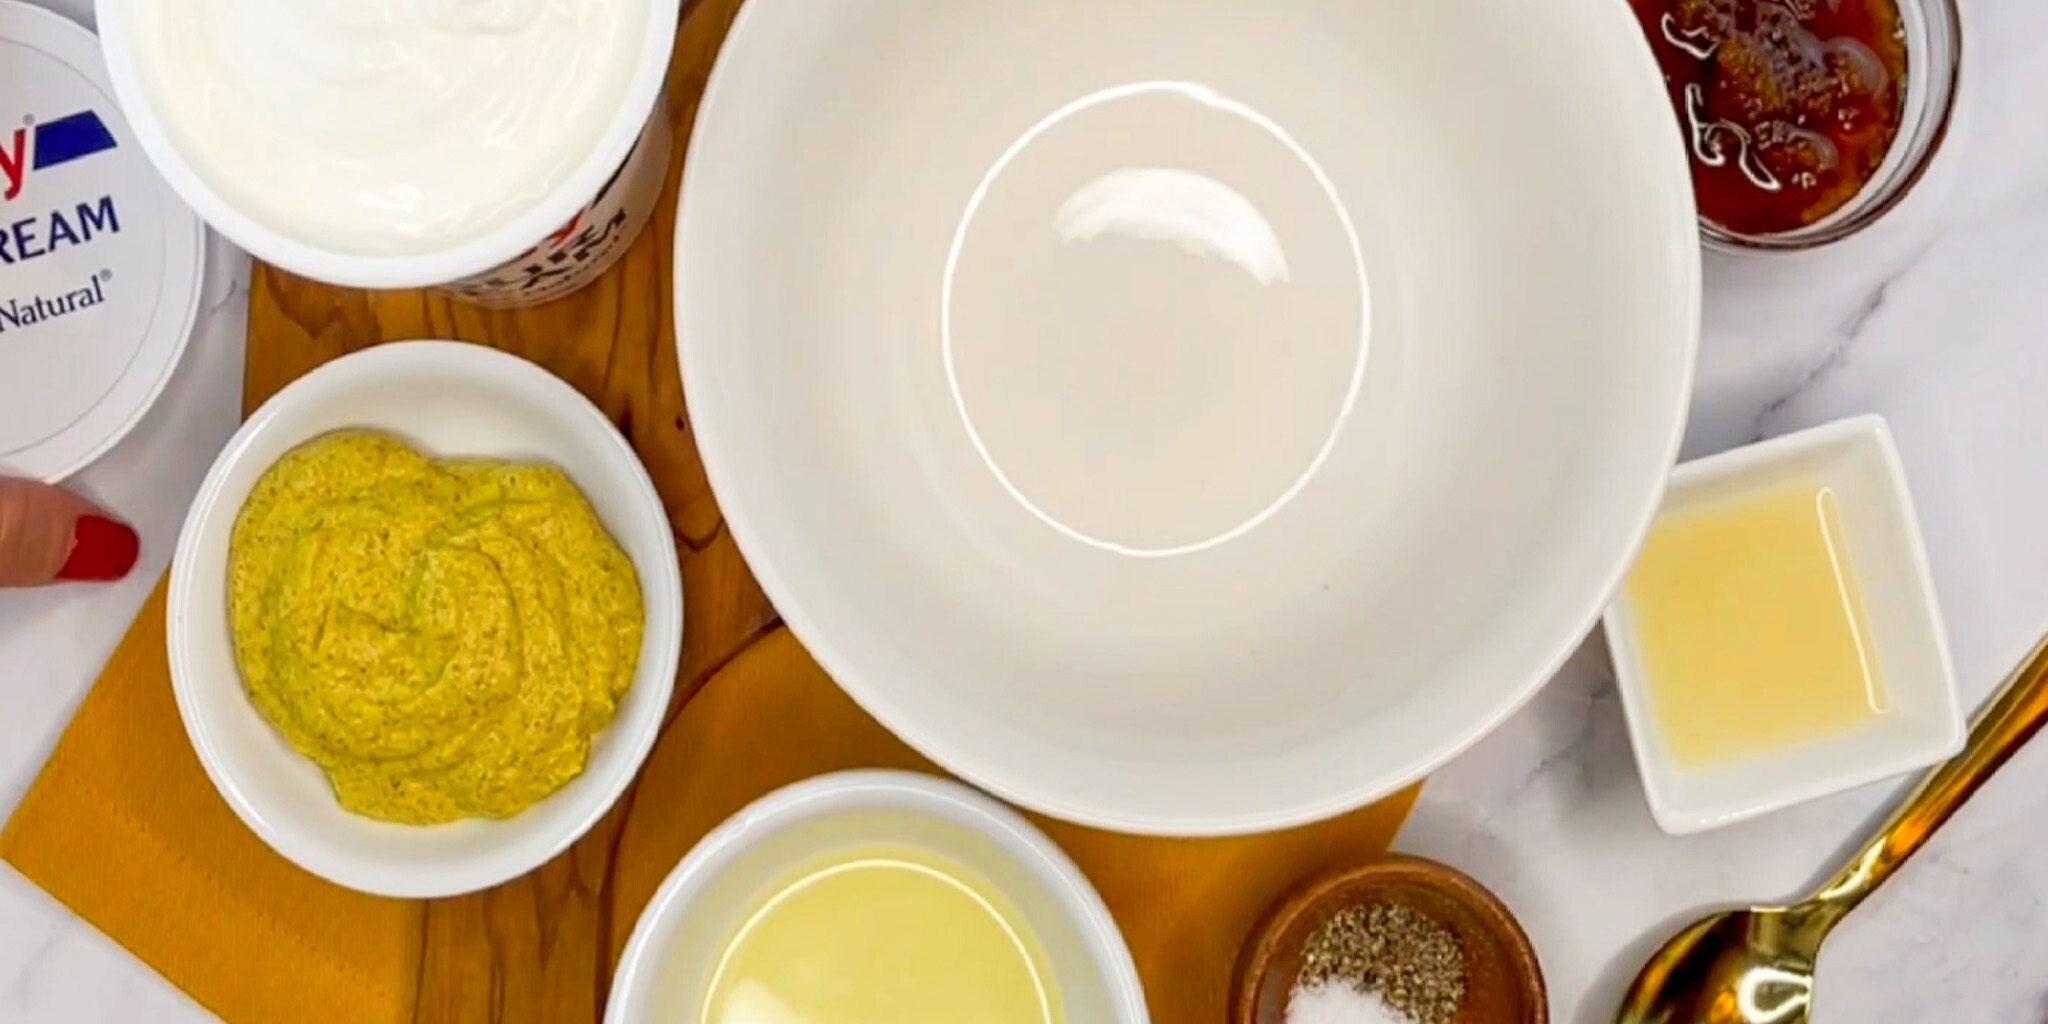
Ingredient Options
- Daisy Sour Cream: The classic rich flavor and creamy texture that creates the most delicious dressing base.
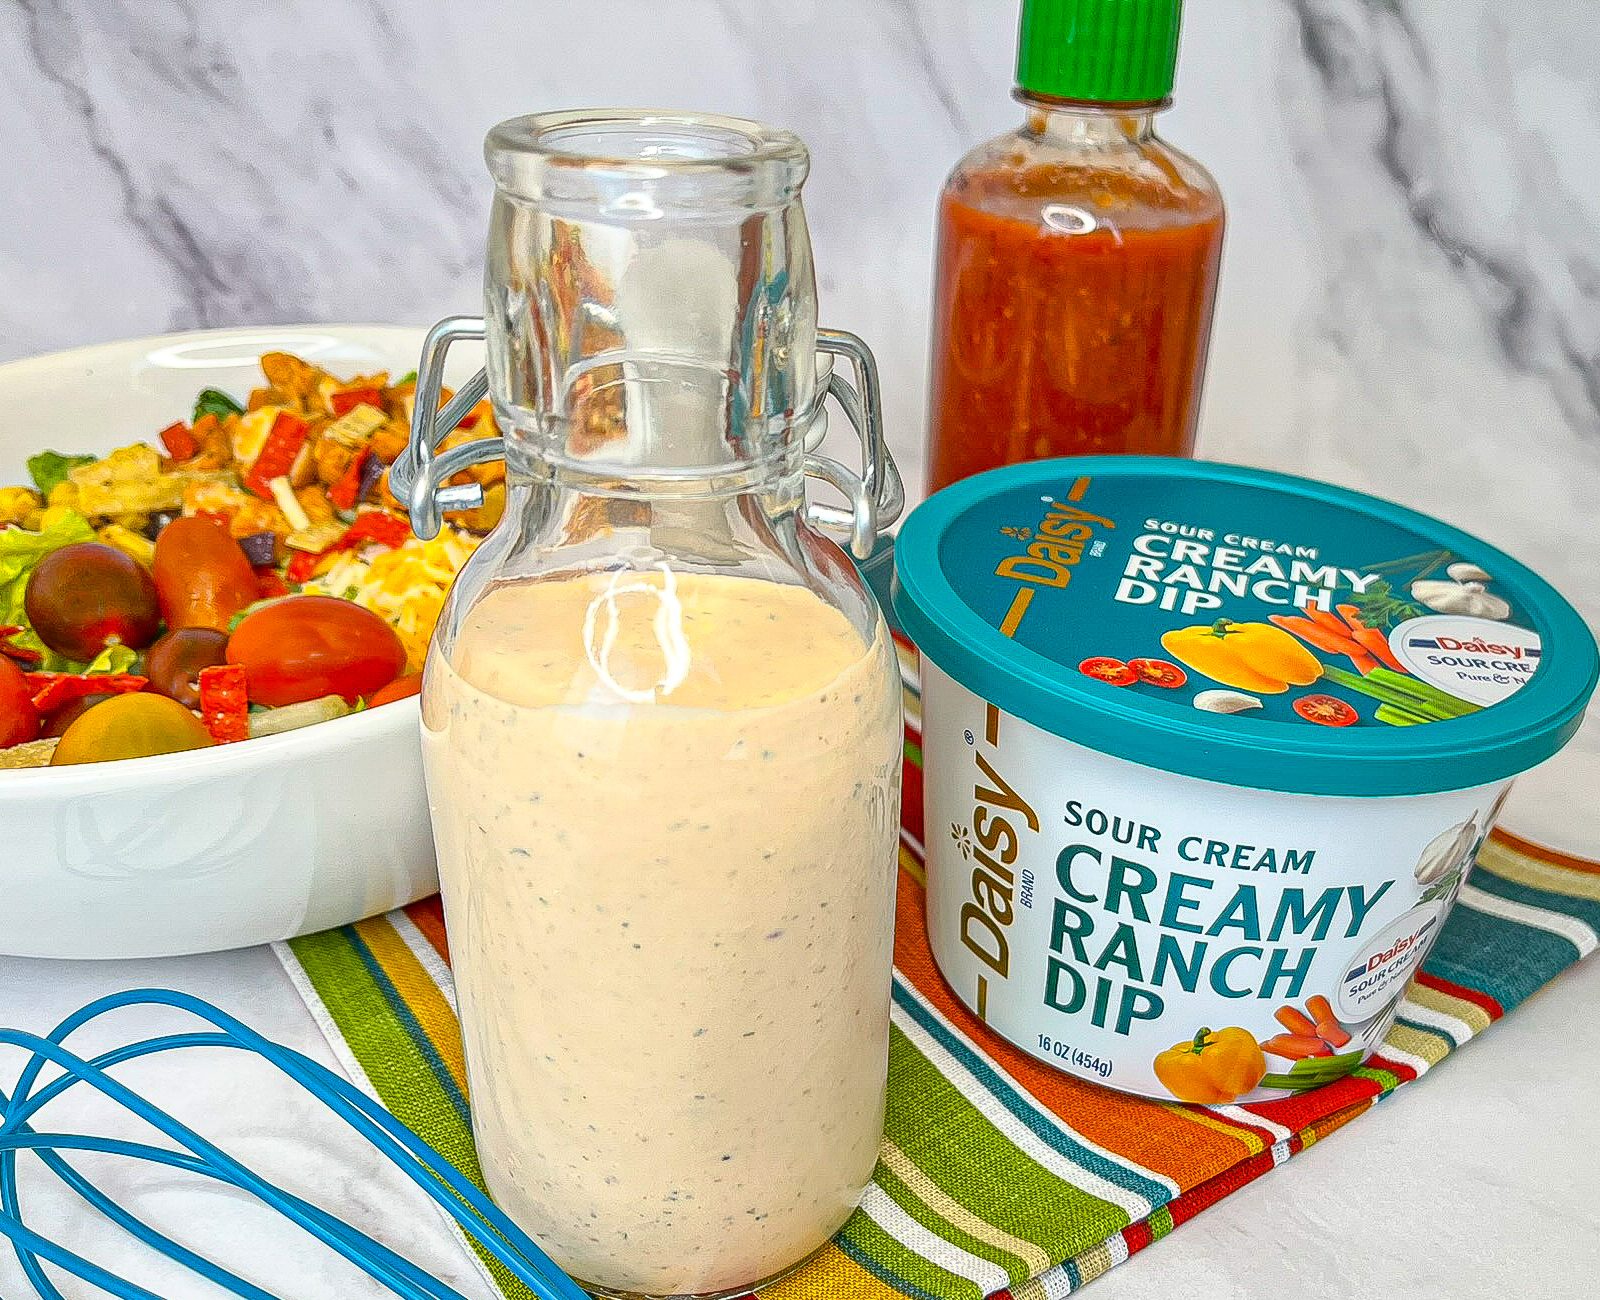
- Daisy Creamy Ranch Dip: Made with classic Daisy Sour Cream with fresh herbs and spices, it also creates a delicious dressing base.
- Condiments: The possibilities are endless – ketchup, mayonnaise, mustard (any type), honey, sriracha, sambal, hot sauce, pickle relish (sweet or dill), Worcestershire, salsa, chili sauce, horseradish, pesto, and barbeque sauces are great options to try. Try mixing and matching to find your favorite flavor combos.
- Vinegar or Citrus Juice: Adds a bright note and bit is tartness to balance out the other flavors. White wine vinegar, balsamic vinegar, apple cider vinegar, lemon juice, and lime juice are great choices. Aim for a ratio of around 1 part acid to 2 parts oil/healthy fat. Try experimenting with your favorites.
- Oil: A classic salad dressing ingredient, it carries other flavors and helps thin the dressings. Olive oil is a classic, but any neutral flavored oil will work well.
- Cheese: Grated or crumbled cheeses add richness and unique flavors. Try adding ¼ to ½ cup per batch of dressing.
- Veggies and Herbs: Adds a touch of freshness and spice. Avocados, minced garlic, fresh or canned jalapeno or green chilies, cilantro, basil, or dill are all great options.
- Spices: Enhances the flavors of dressings and sauces. Experiment with your favorites. Cracked black pepper adds a floral, spicy note while paprika adds color and a smokey flavor. Onion powder, garlic powder, and spice blends are great options to consider. Adding ½ to 1 teaspoon is a good starting point, with adjustments added to taste.

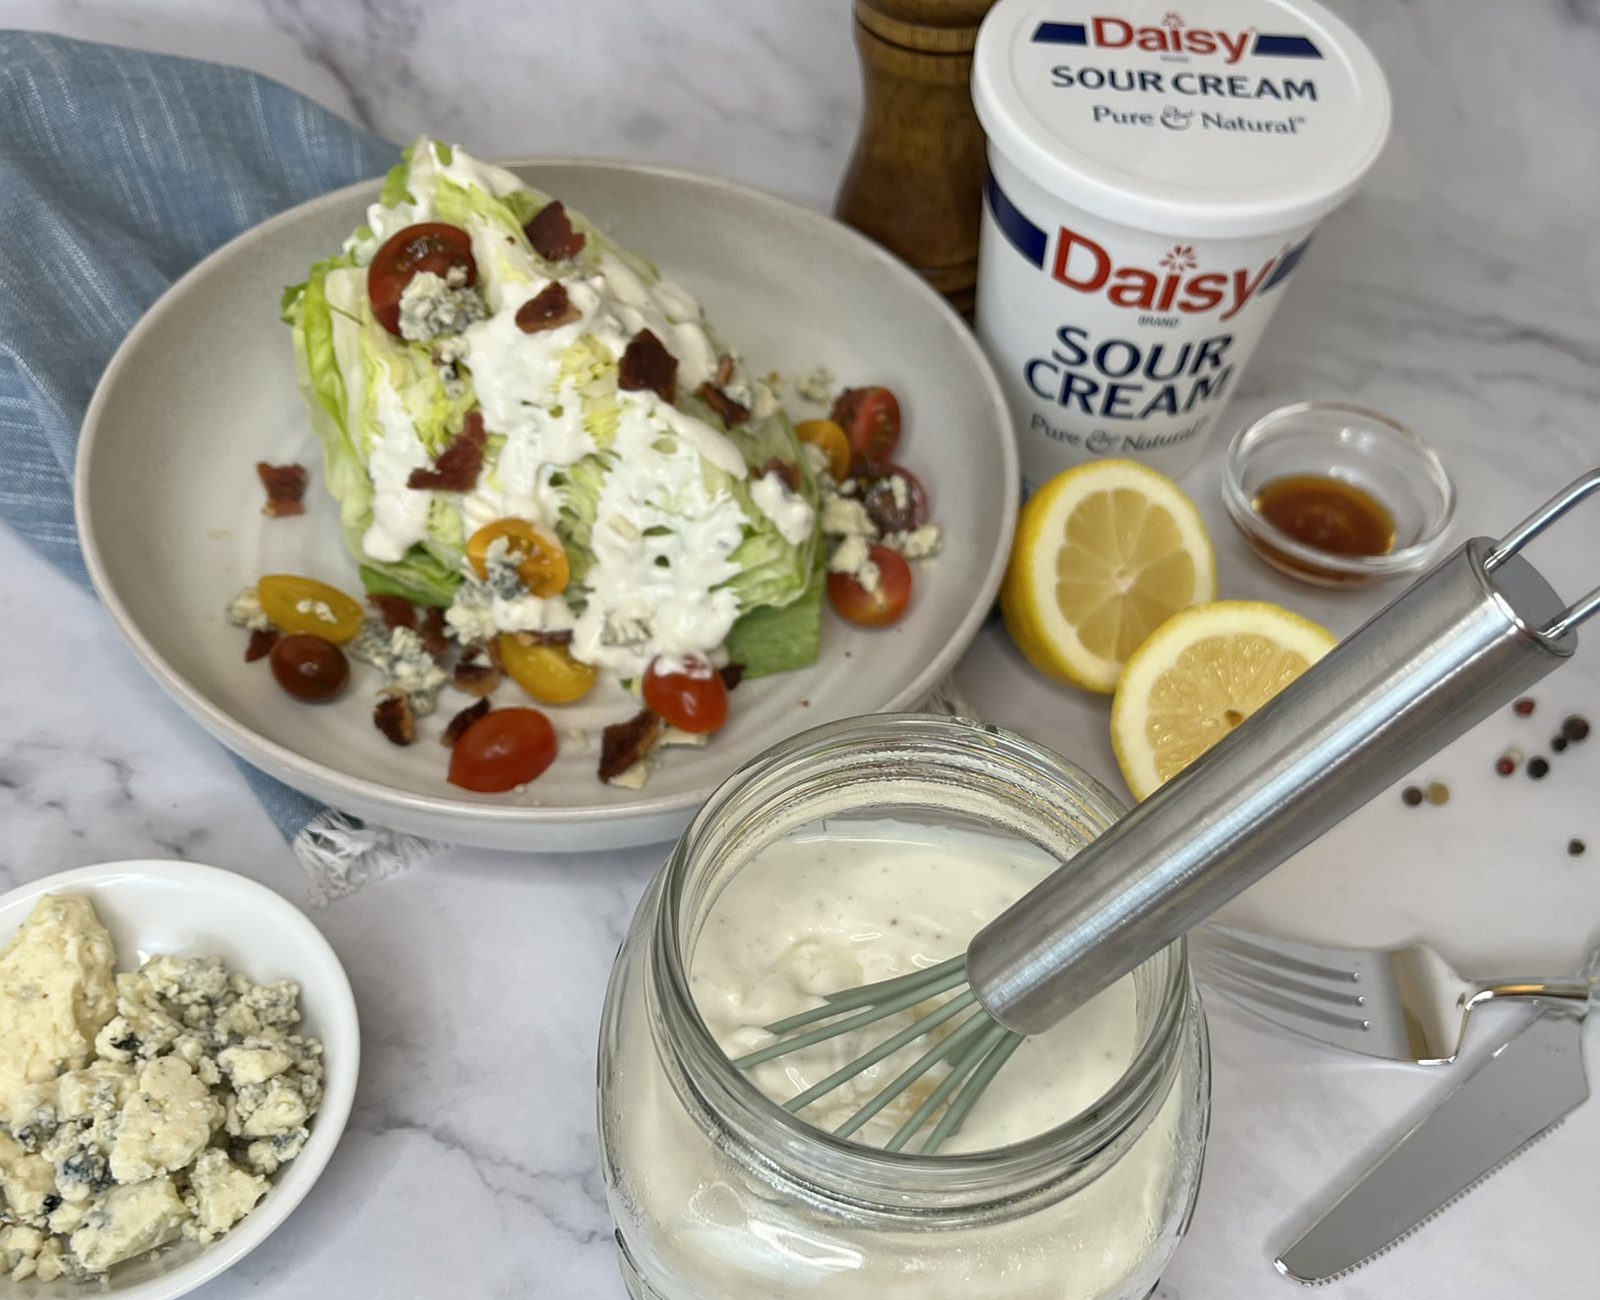
Irresistible Combinations Made with Daisy Sour Cream
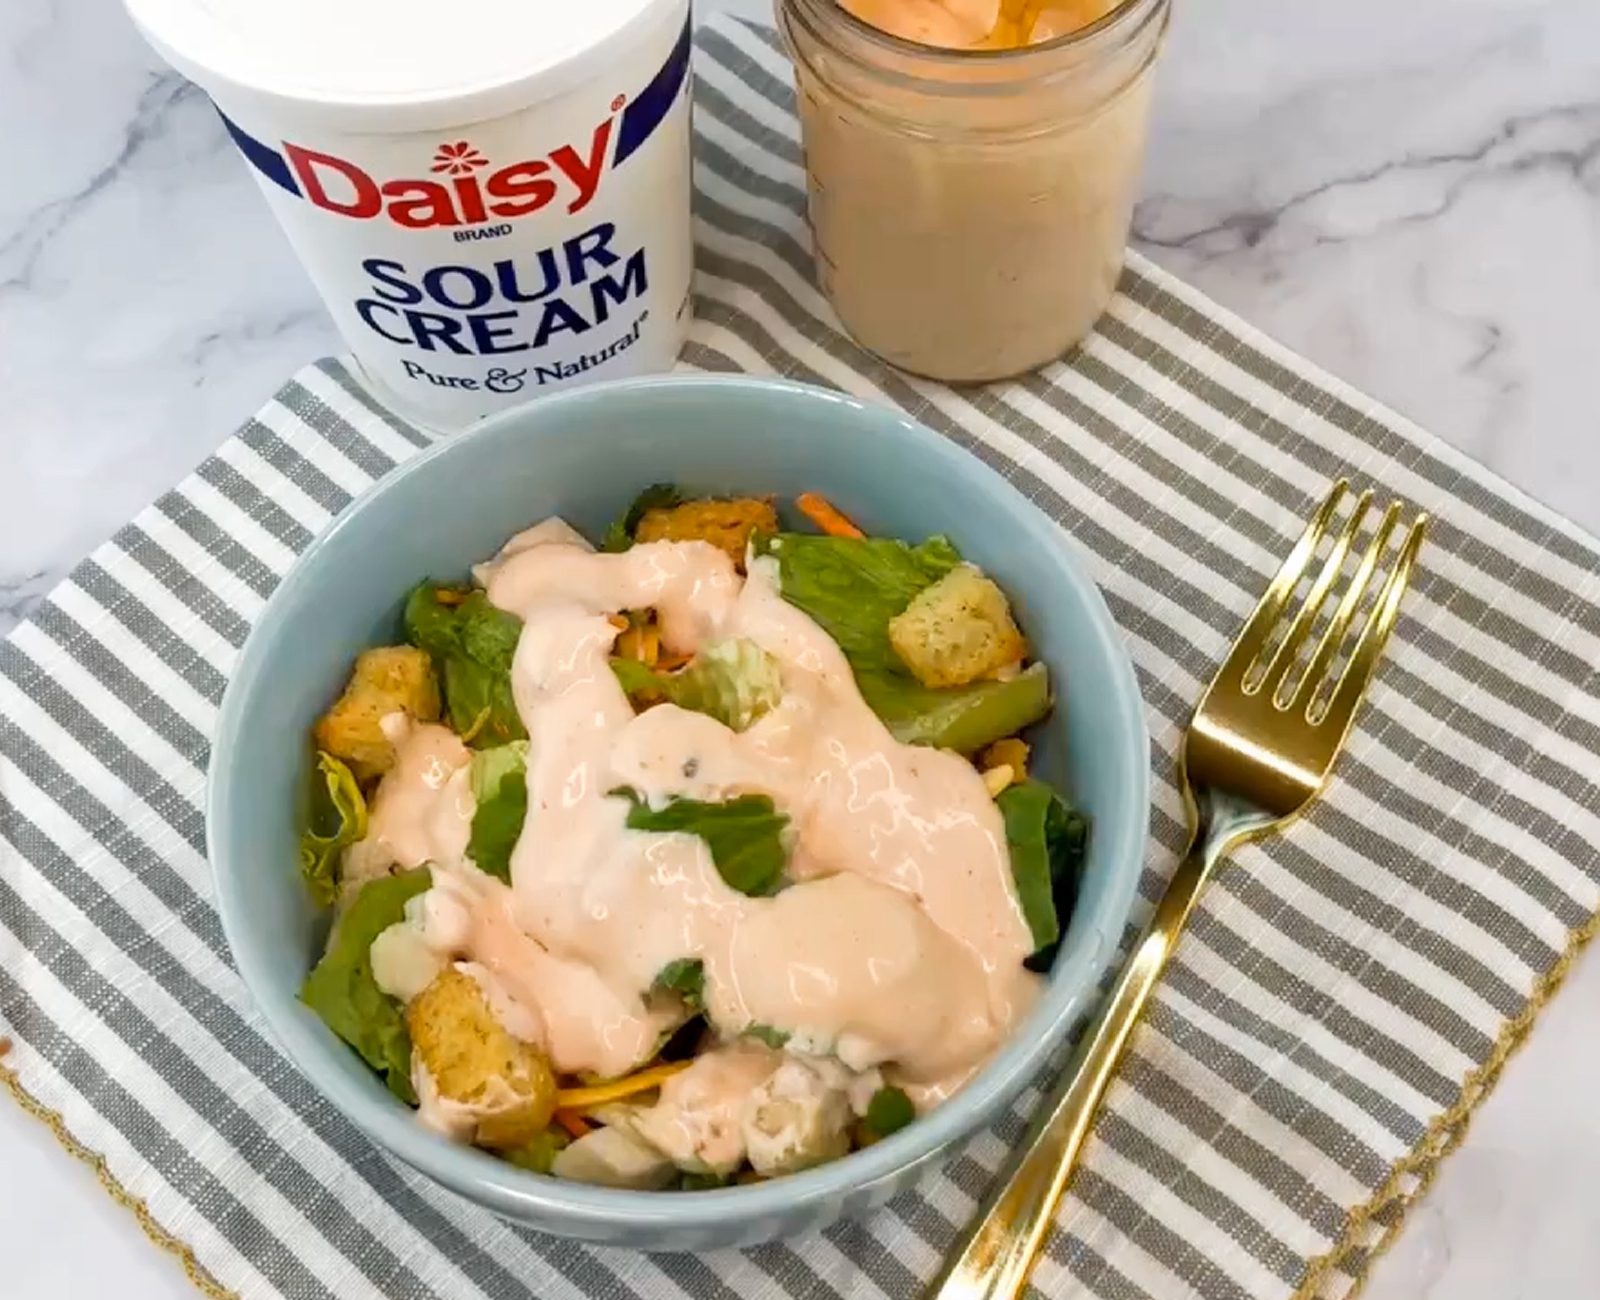
Salad dressings made with rich, creamy Daisy Sour Cream bring you that classic tangy flavor you love with an extra velvety twist. Made with real ingredients, they deliver unreal flavor in every bite.
Perfect for drizzling over crisp salads, spooning onto burgers, or serving as a dip for fresh veggies, these homemade classics taste so much better than anything from a bottle. No artificial flavors, just simple, real deliciousness. Bold, creamy, and full of flavor, they’ll instantly elevate your salads and complement all your favorite dishes.
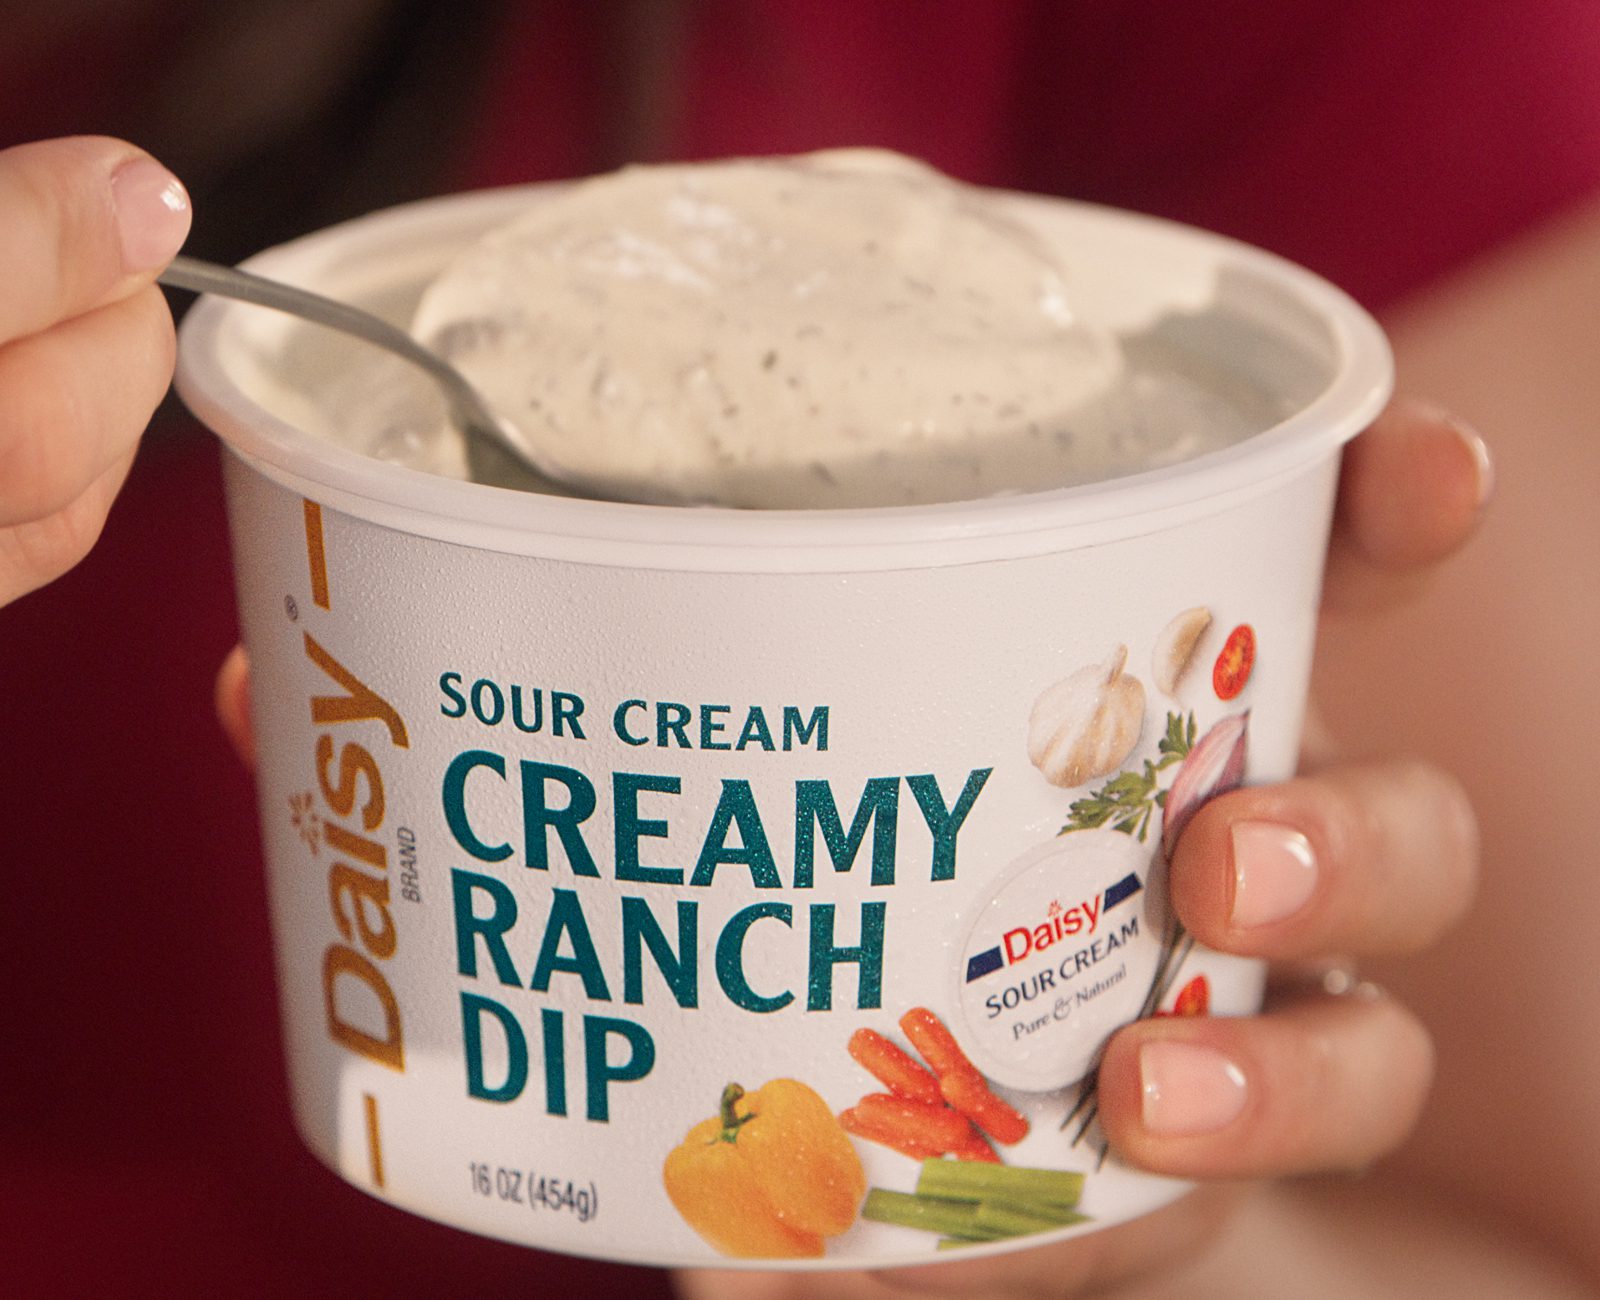
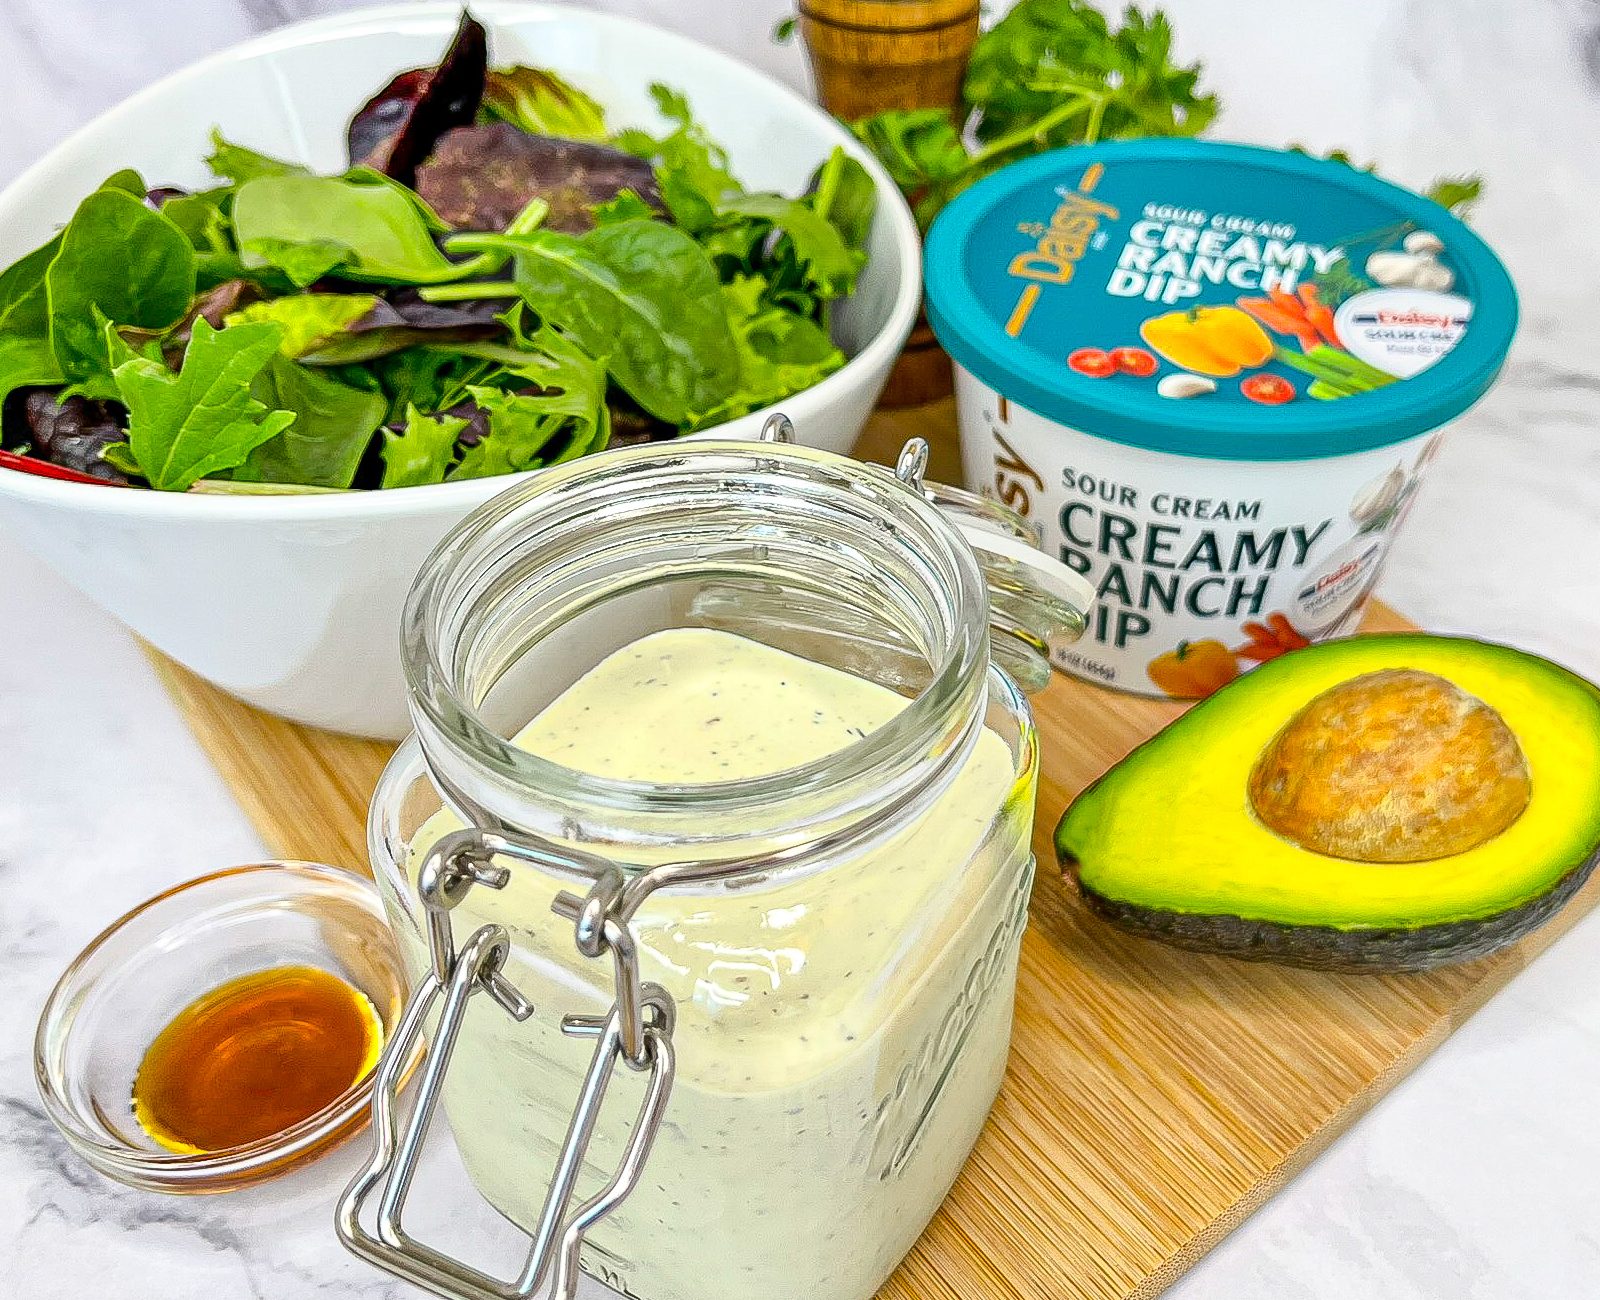
Delicious Discoveries Made with Daisy Creamy Ranch Dip
Give your salads a delicious upgrade by using Daisy Creamy Ranch Dip as the base for your creamy homemade dressings. It adds that rich, tangy ranch flavor you love, while blending beautifully with fresh herbs, citrus, and other real ingredients for a fun, flavorful twist.
The result? Unique, versatile dressings that are perfect for drizzling over salads, dipping crisp veggies, or spooning onto wraps, wings, tacos, and your favorite Mexican-inspired dishes. Anytime you need a little extra flavor boost, this easy ranch-inspired base has you covered.
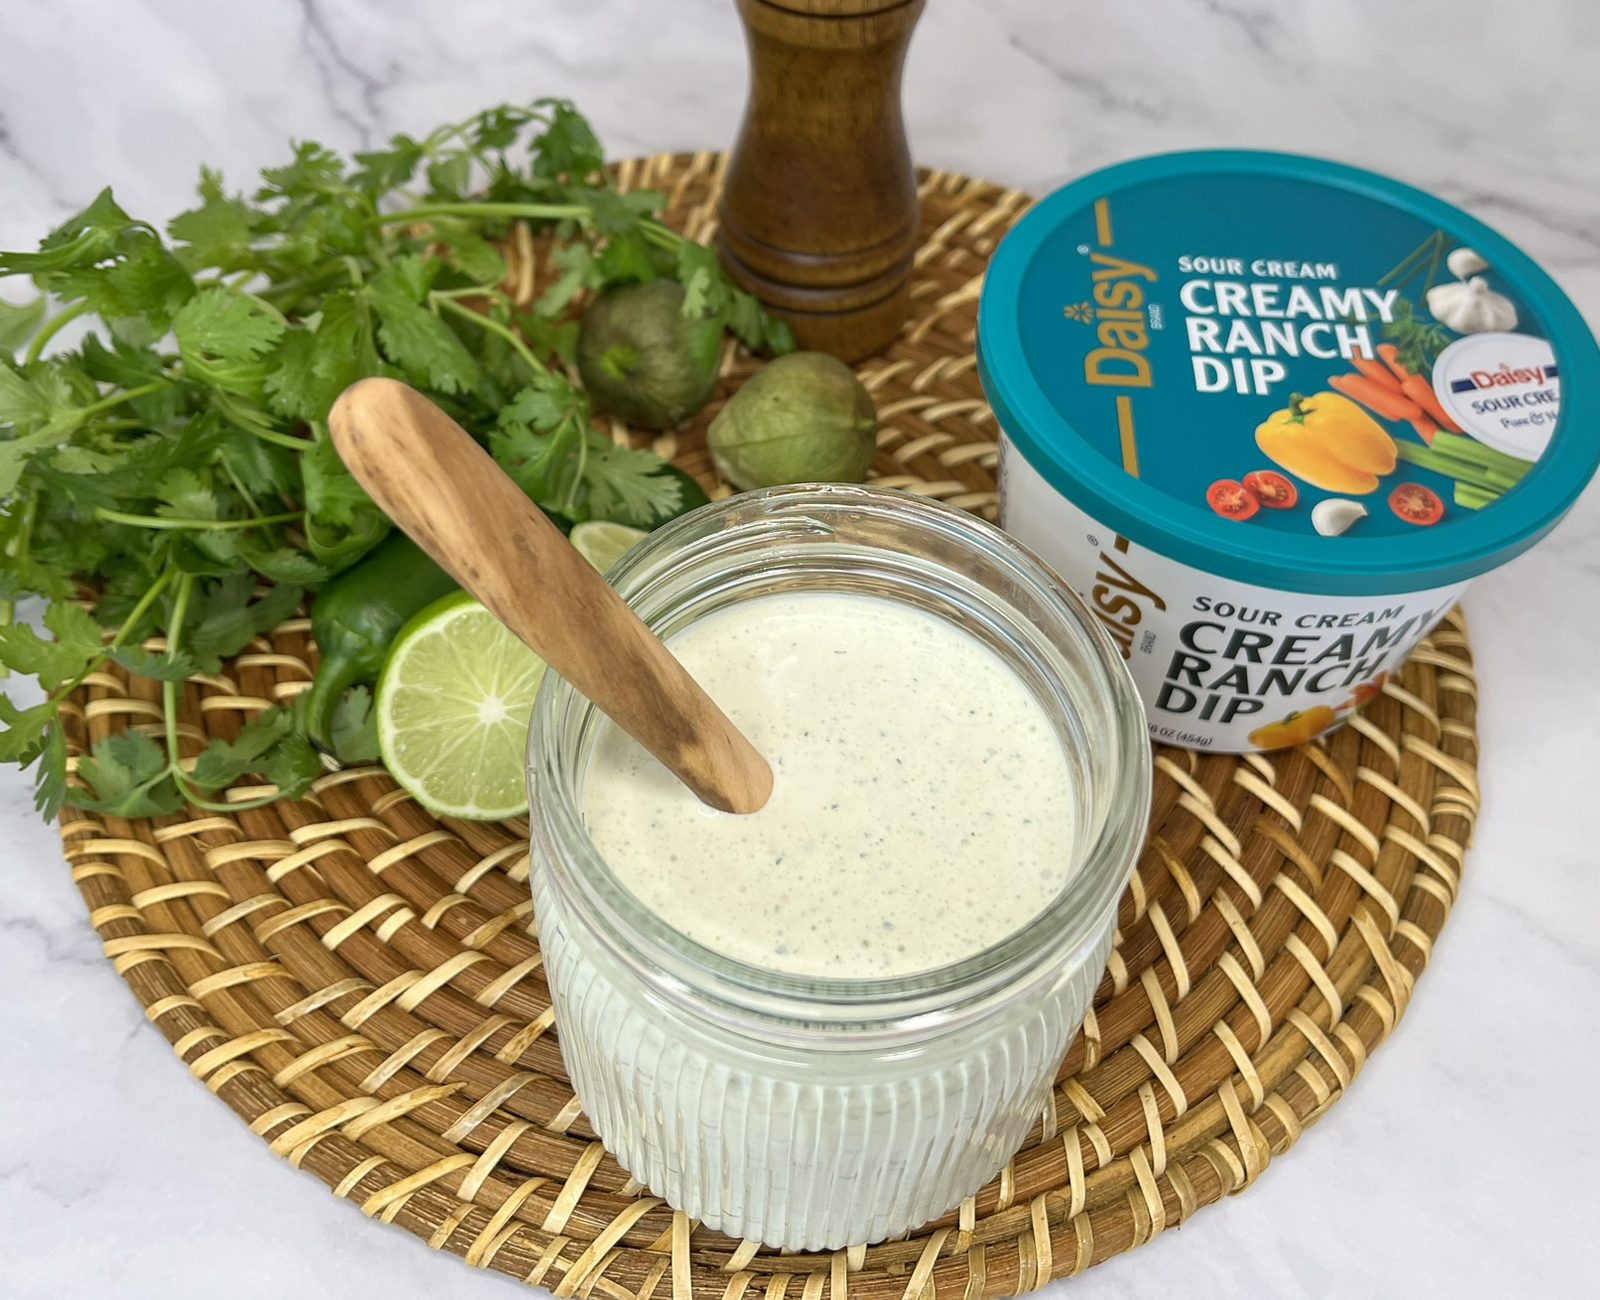
Get ready to have some fun with flavor! Each batch of homemade dressing is a chance to create something new and delicious. Add a swirl of sriracha for a spicy kick, a squeeze of fresh citrus for bright, zesty flavor, or experiment with herbs and spices to make it completely your own.
The possibilities are endless, and every combination brings something exciting to the table. With just a few simple ingredients, you can transform everyday meals into bold, crave-worthy dishes that keep everyone coming back for more.
Lemon Sour Cream Pound Cake
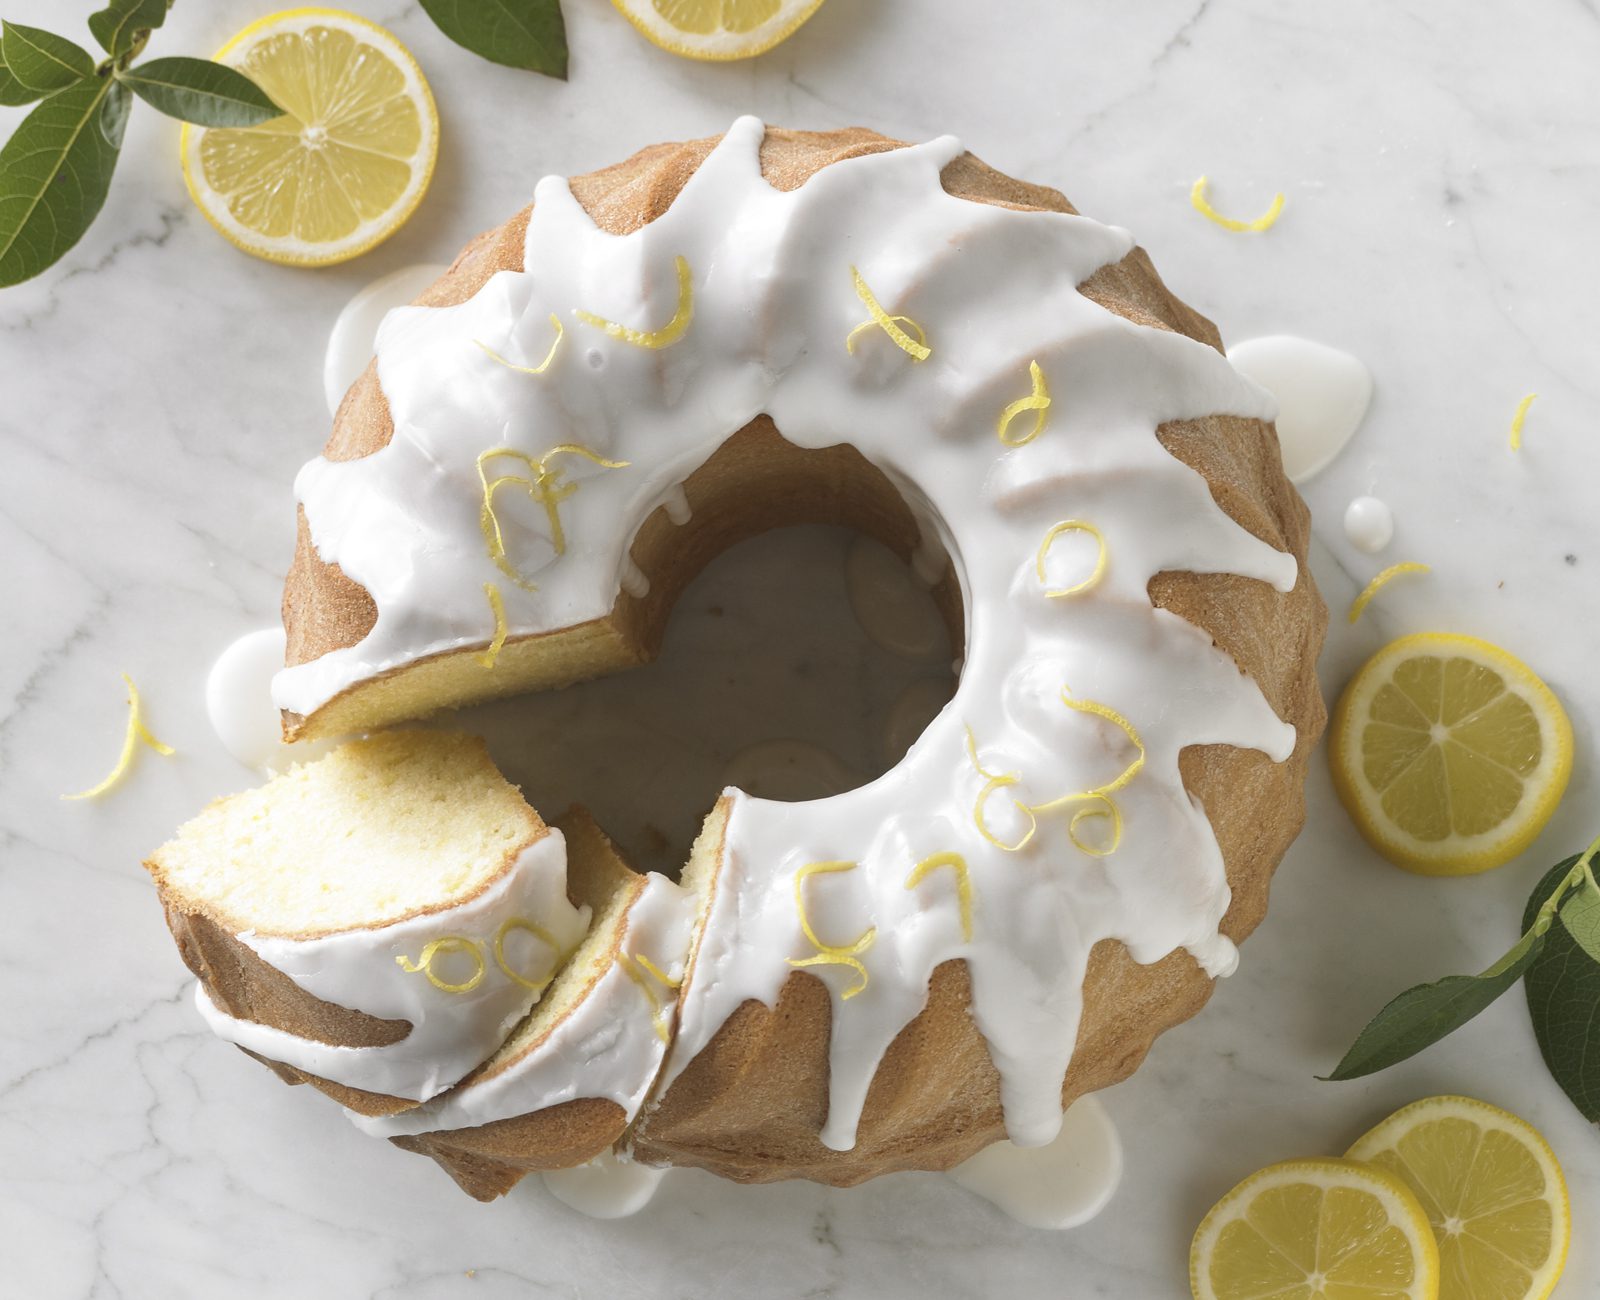
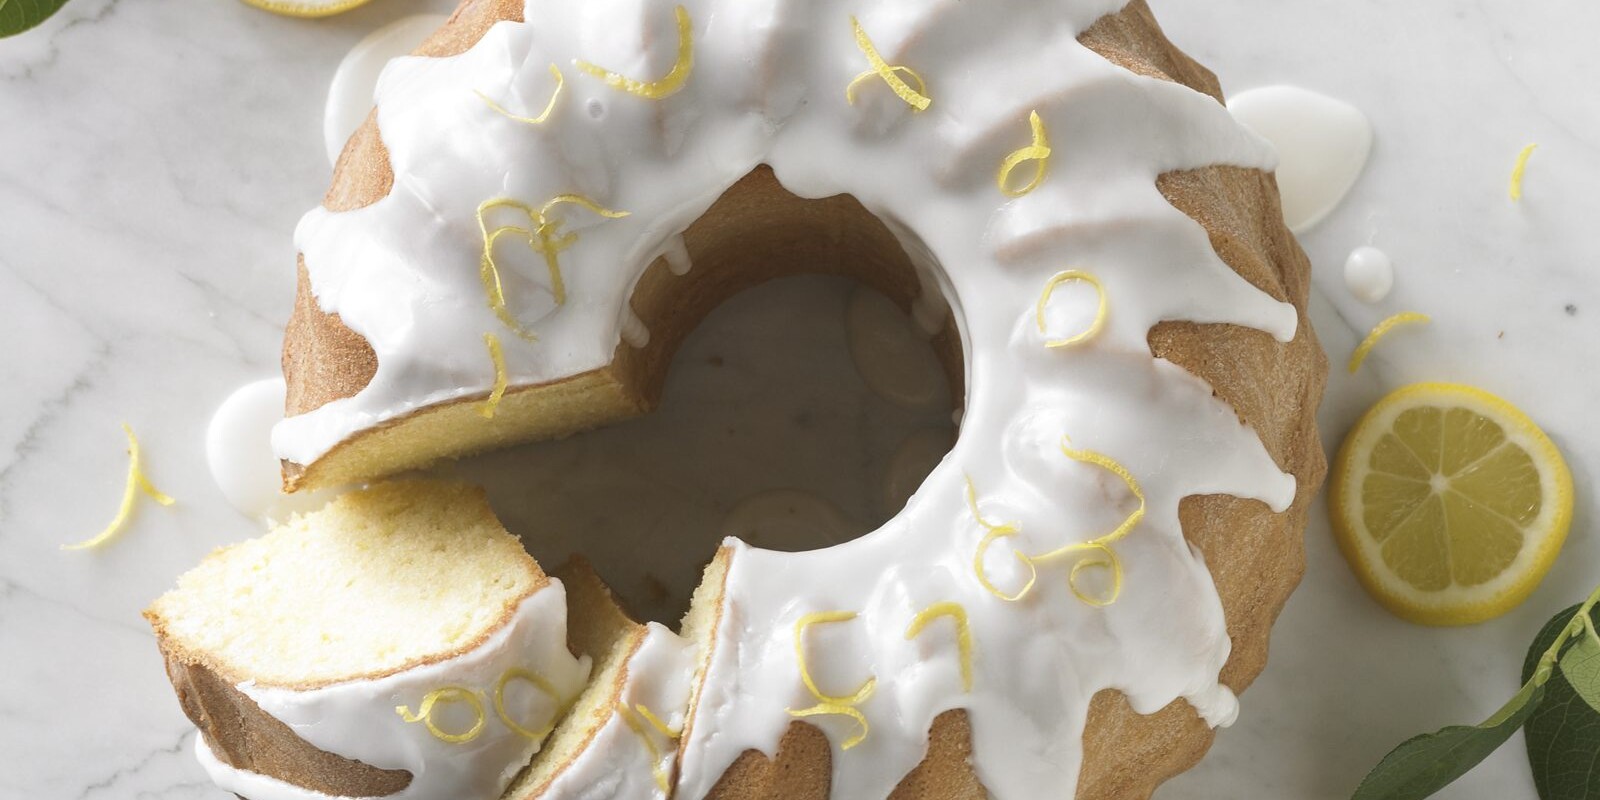
Lemon Sour Cream Pound Cake
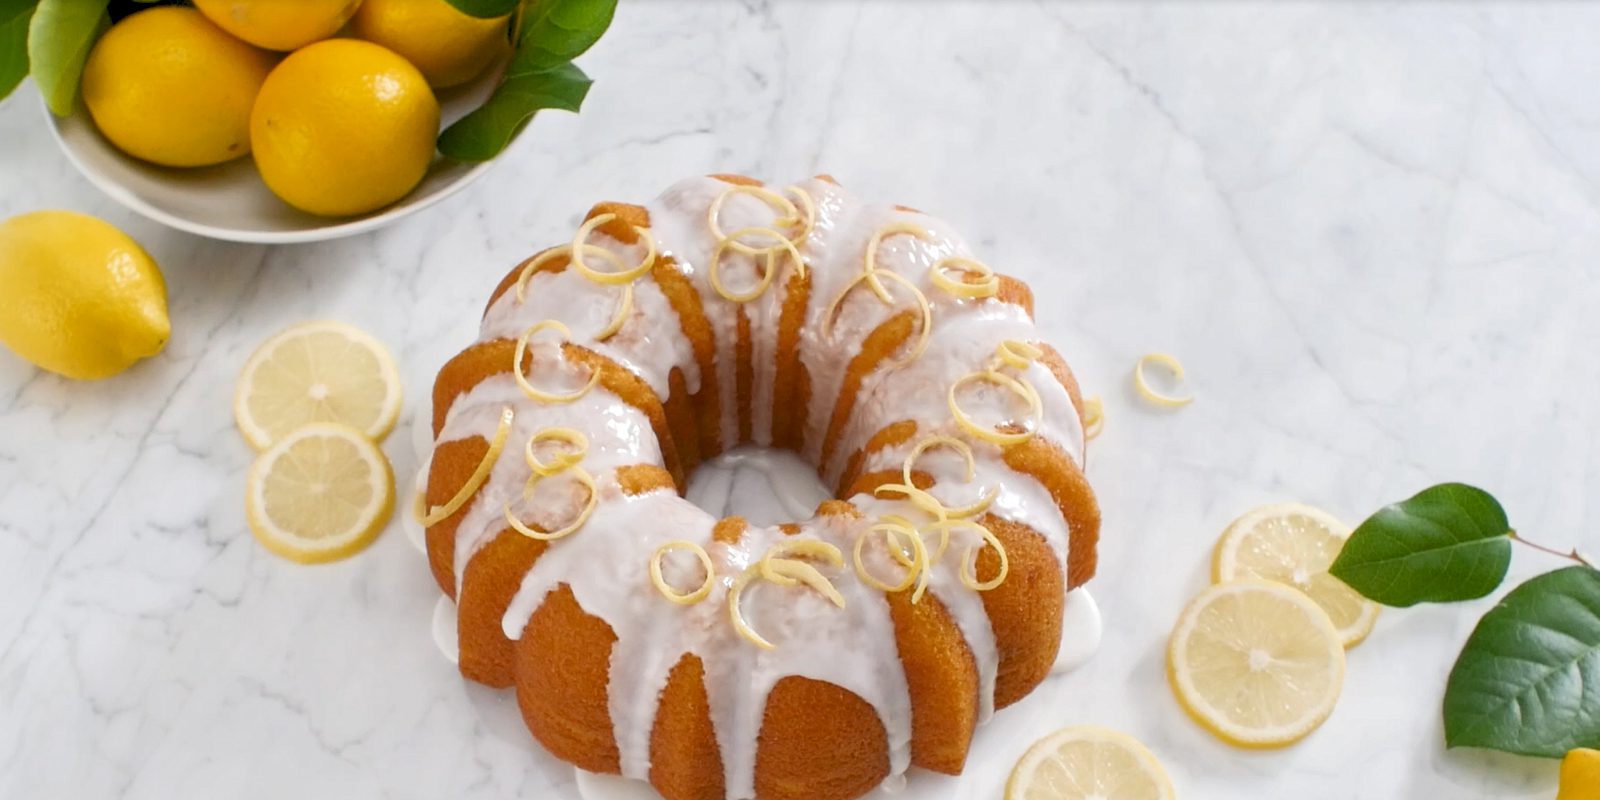
Loved for its perfect balance of bright, citrusy lemon and rich, creamy, tangy sour cream, this indulgent, bakery-quality cake is refreshing, light, moist, tender, and delightfully lemony. As it bakes, an irresistible aroma fills your kitchen, and you’ll find yourself counting the minutes until you can enjoy the first slice.
The combination of sour cream and zesty lemons brings out the best in both ingredients without ever being overwhelming, creating a complex, crave-worthy flavor. Fresh lemon zest and juice add a burst of citrusy brightness, perfectly paired with sour cream to create the ultimate pound cake. The sour cream adds richness, moisture, and depth, ensuring a soft, tender crumb that stays delicious for days. Its subtle tang complements the lemon’s tartness, balances the sweetness, and delivers a rich cake that’s satisfying without feeling heavy.
This is the perfect cake for anyone looking for something that’s both light and indulgent. Ideal for any season, it feels refreshing in the spring and summer, yet rich enough to enjoy in the fall and winter. Luscious and timeless, this lemon cake is made for sharing.
Lemon Sour Cream Pound Cake Ingredients
- All-Purpose Flour (2 ¼ cups): The gluten in all-purpose flour gives the cake structure.
- Baking Powder (1 teaspoon): A main ingredient for leavening, it adds volume and lightness to the batter.
- Baking Soda (1/2 teaspoon): Another ingredient for leavening. It helps the batter rise and gives baked goods a light and fluffy texture.
- Salt (1/2 teaspoon): Helps enhance the flavors and balances the sweetness of the batter.
- Sugar (1 ¾ cups): Adds sweetness to the batter.
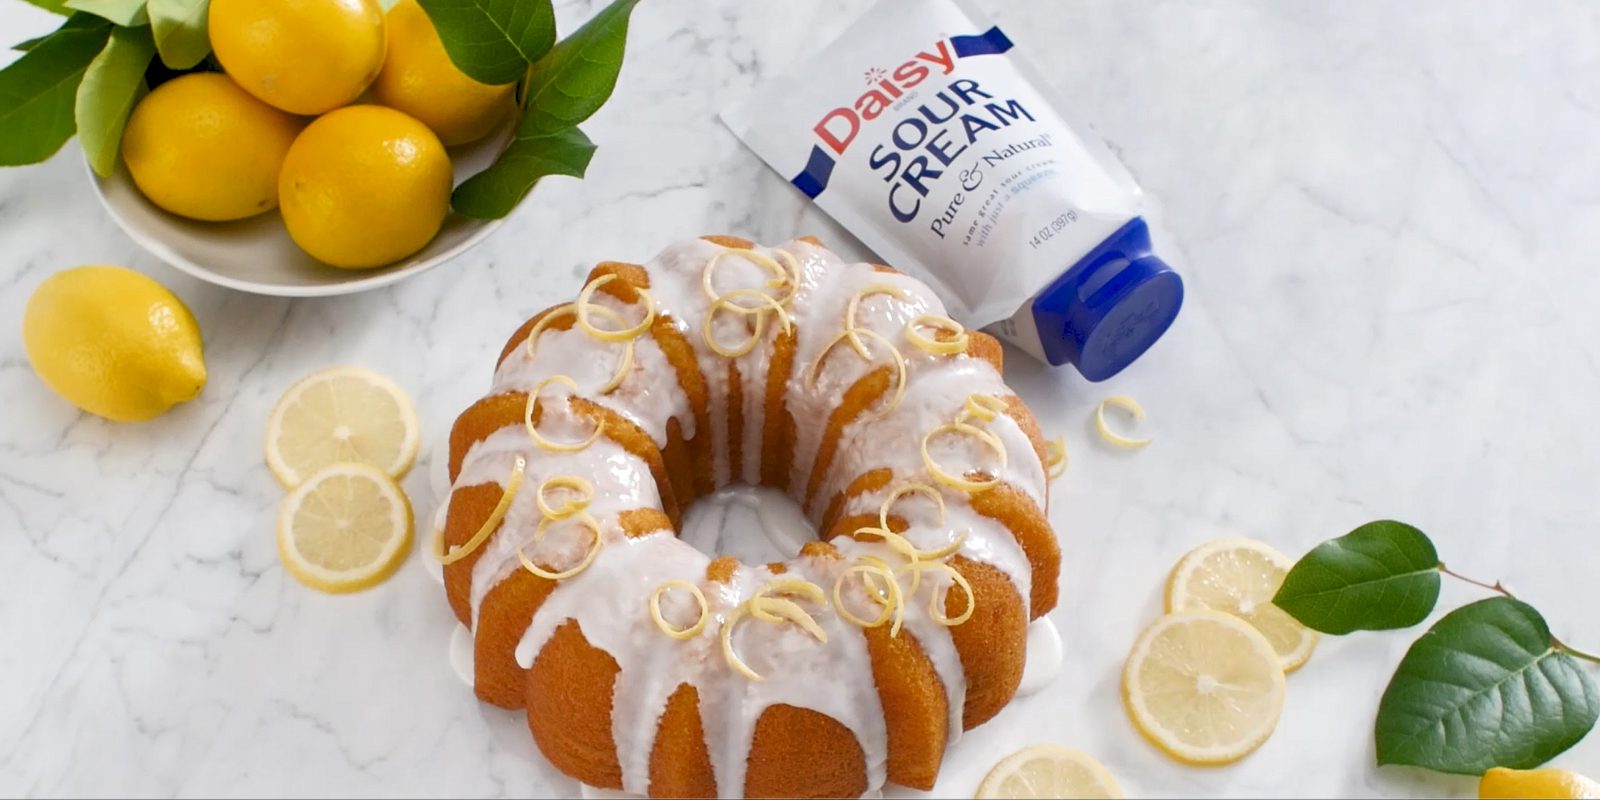
- Daisy Sour Cream: The star ingredient that gives the cake its name. It makes the cake moist and rich with a slight tang, ensuring it stays moist and fresh for days. The fat in the sour cream reacts with the flour to make shorter gluten strands making the cake tender, while the acidity in the sour cream interacts with the baking soda and baking powder to help the cake remain light while rising.
- Canola Oil (3/4 cup): One of the best options for baking, it has a mild, neutral flavor. It adds moistness to the cake.
- Grated Lemon Peel (2 tablespoons): Adds a concentrated citrus flavor and fragrance without adding additional tartness.
- Eggs (4 large): Creates the thickness and stability in the batter, providing the perfect structure of the cake. Eggs bond with the flour to create texture by forming a stronger gluten. The eggs also help add height to the cake.
- Lemon Juice (4 tablespoons, divided): Adds the fresh, tart, zesty citrus flavor to the cake and the glaze. The acid in the juice reacts with the leavening agents to create air bubbles which help the cake rise.
- Vanilla Extract (1 teaspoon): An essential ingredient in many desserts, it enhances the flavor of the cake.
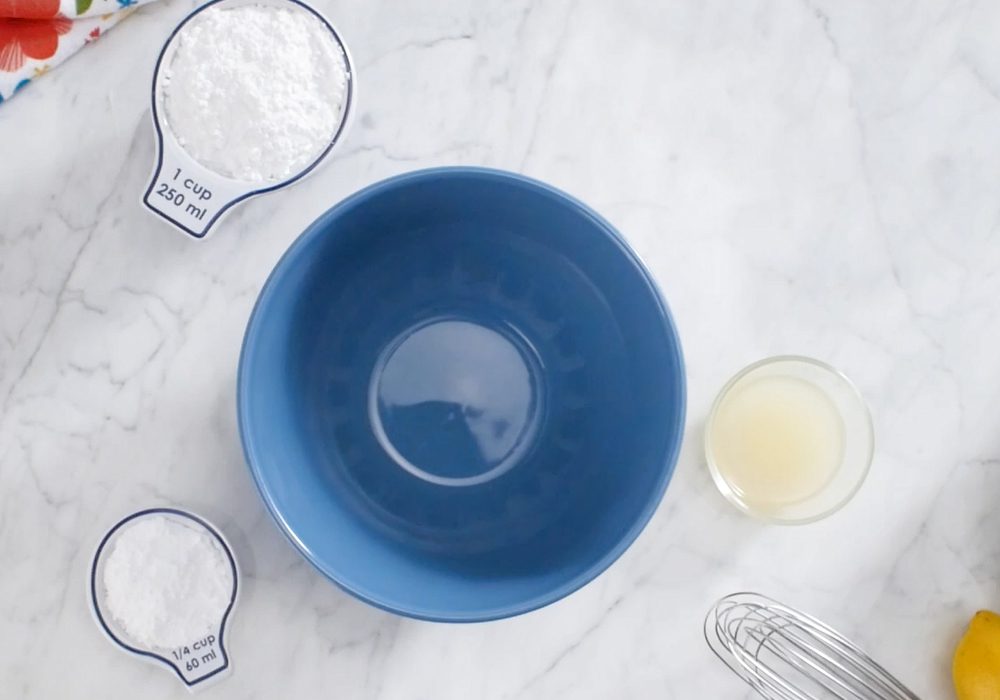
- Powdered Sugar (1 ¼ cups): Finely ground sugar with no hint of graininess, it is the perfect sugar for making sweet frosting and glazes.

Substitutions, Variations, and Tips
- For best results, start by bringing all your ingredients to room temperature—this small step makes a big difference.
- Using high-quality ingredients, like Daisy Sour Cream, will give you the best flavor and texture.
- If you’re looking for an extra-tender crumb, cake flour can be used in place of all-purpose flour.
- When measuring flour, be sure to spoon it into the measuring cup and level it off with a knife. This helps prevent overpacking, which can lead to a dry cake.
- And when mixing the batter, resist the urge to overmix. Too much mixing develops excess gluten and can leave your cake dense or gummy.
- You can substitute vegetable oil or melted butter for the canola oil if you’d like—both work beautifully.
- Always preheat your oven and use the correct pan size so the cake bakes evenly and rises properly. Try not to open the oven door while it’s baking; letting heat escape can affect the final result.
- Once baked, allow the cake to cool fully before removing it from the pan. Skipping this step can cause cracks or breakage.
- If you prefer a thicker glaze, wait until the cake is mostly cool before glazing, as warmer cakes will cause the glaze to run thin.
- Because this cake takes a bit of time to cool, it’s a great make-ahead option. Store it in an airtight container or freeze it before glazing by wrapping it tightly in plastic wrap and then aluminum foil. It can be frozen for up to three months—just thaw completely before glazing and enjoying.
How to Make Lemon Sour Cream Pound Cake
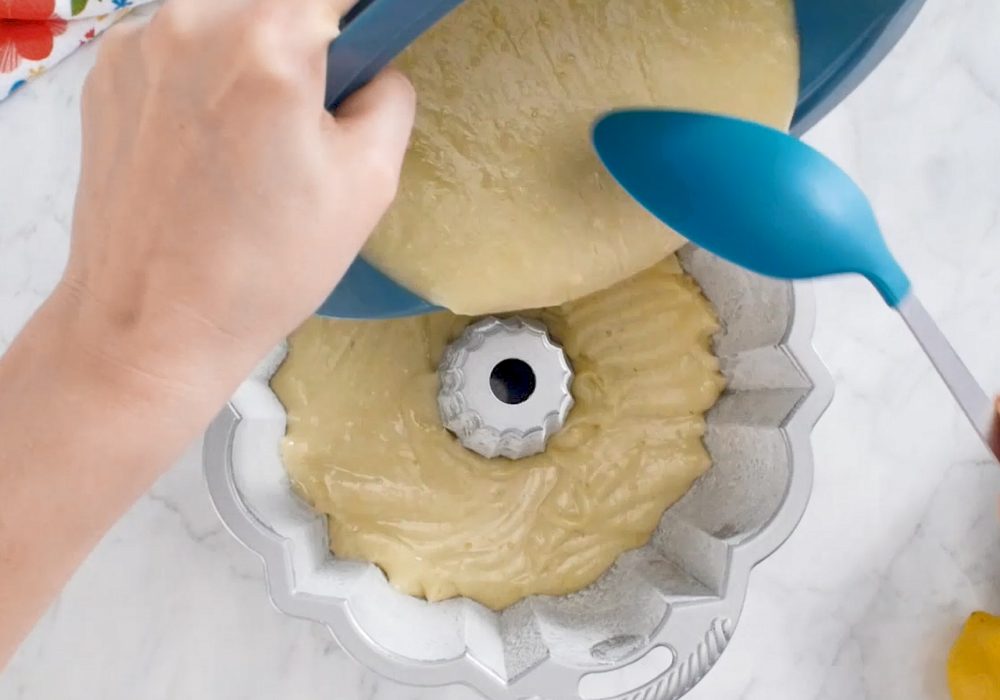
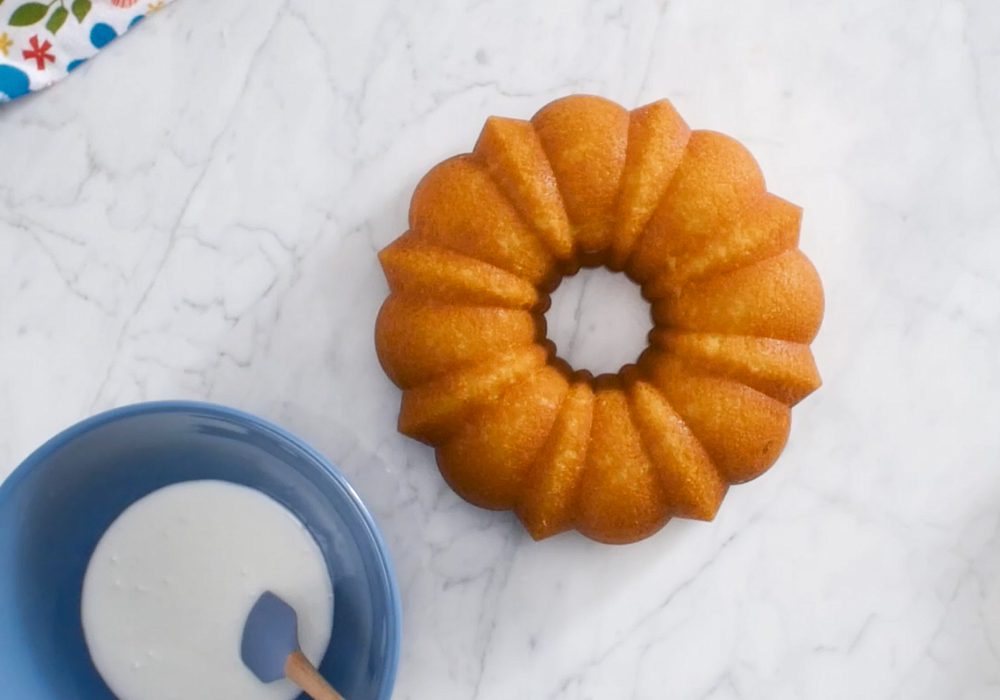
- Heat oven to 325° Coat 12-cup Bundt pan with nonstick cooking spray. Sprinkle with flour, tapping out excess.
- Whisk flour, baking powder, baking soda and salt in a medium bowl.
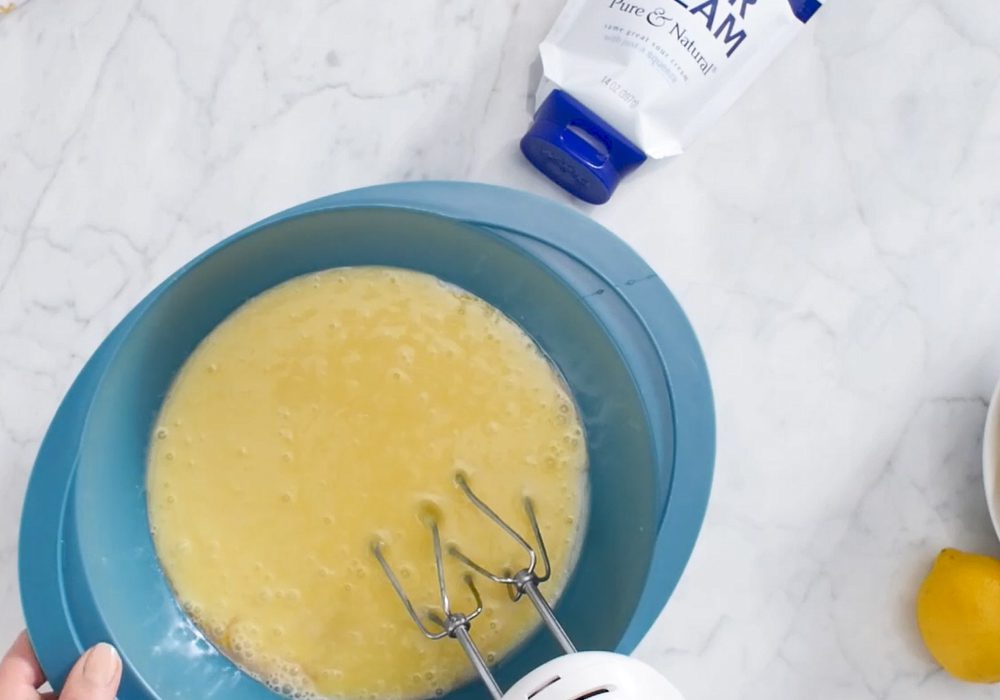
- Beat sugar, sour cream, oil, and lemon peel in large bowl at medium-low speed until smooth. Beat in eggs, one at a time, beating until combined. Beat in 2 tablespoons lemon juice and vanilla extract. At low speed, beat in flour mixture until blended. Spoon batter into pan.
- Bake 55-60 minutes or until the top is golden brown and a wooden skewer inserted in center of cake comes out clean.
- Cool in pan on a wire rack for 10 minutes. Invert cake onto a wire rack and cool completely.
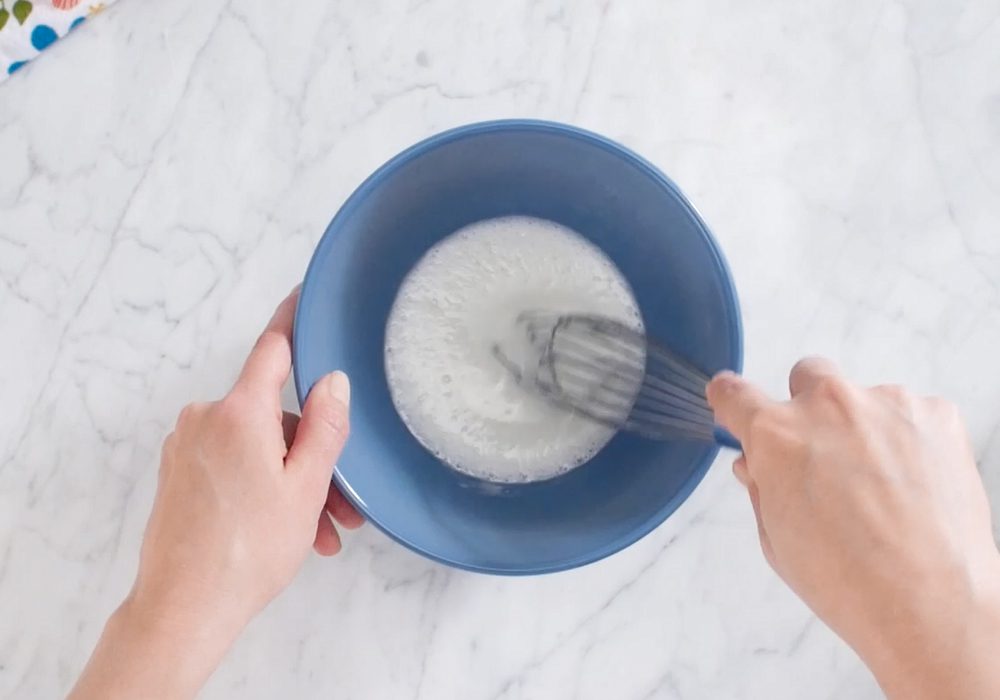
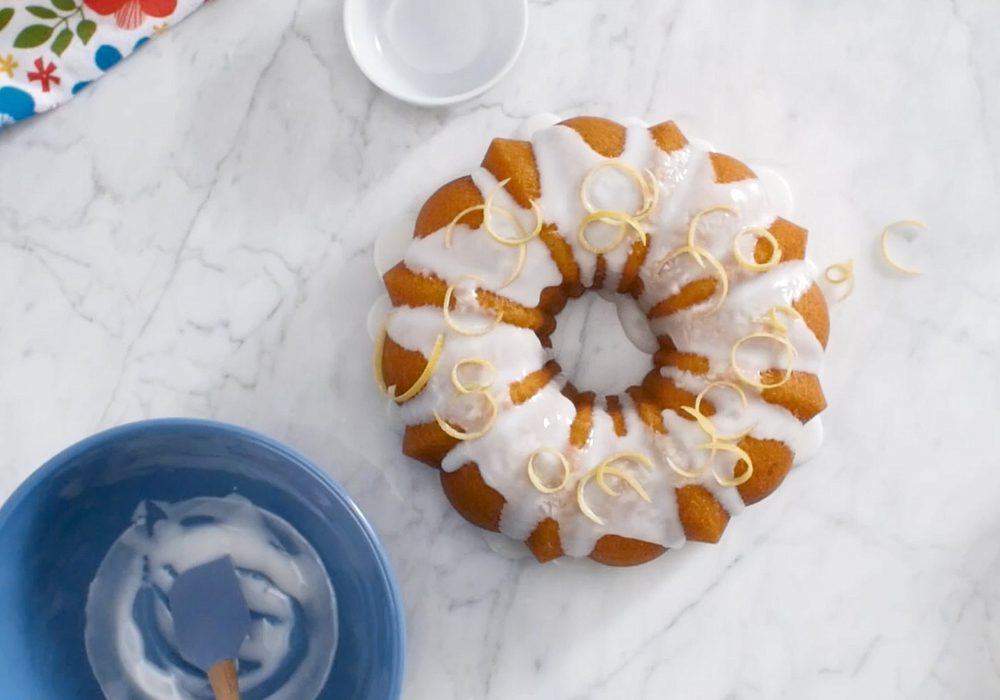
- Meanwhile, whisk 2 tablespoons lemon juice and powdered sugar. Drizzle over cake. Let stand until set.

Marry Me Meatballs
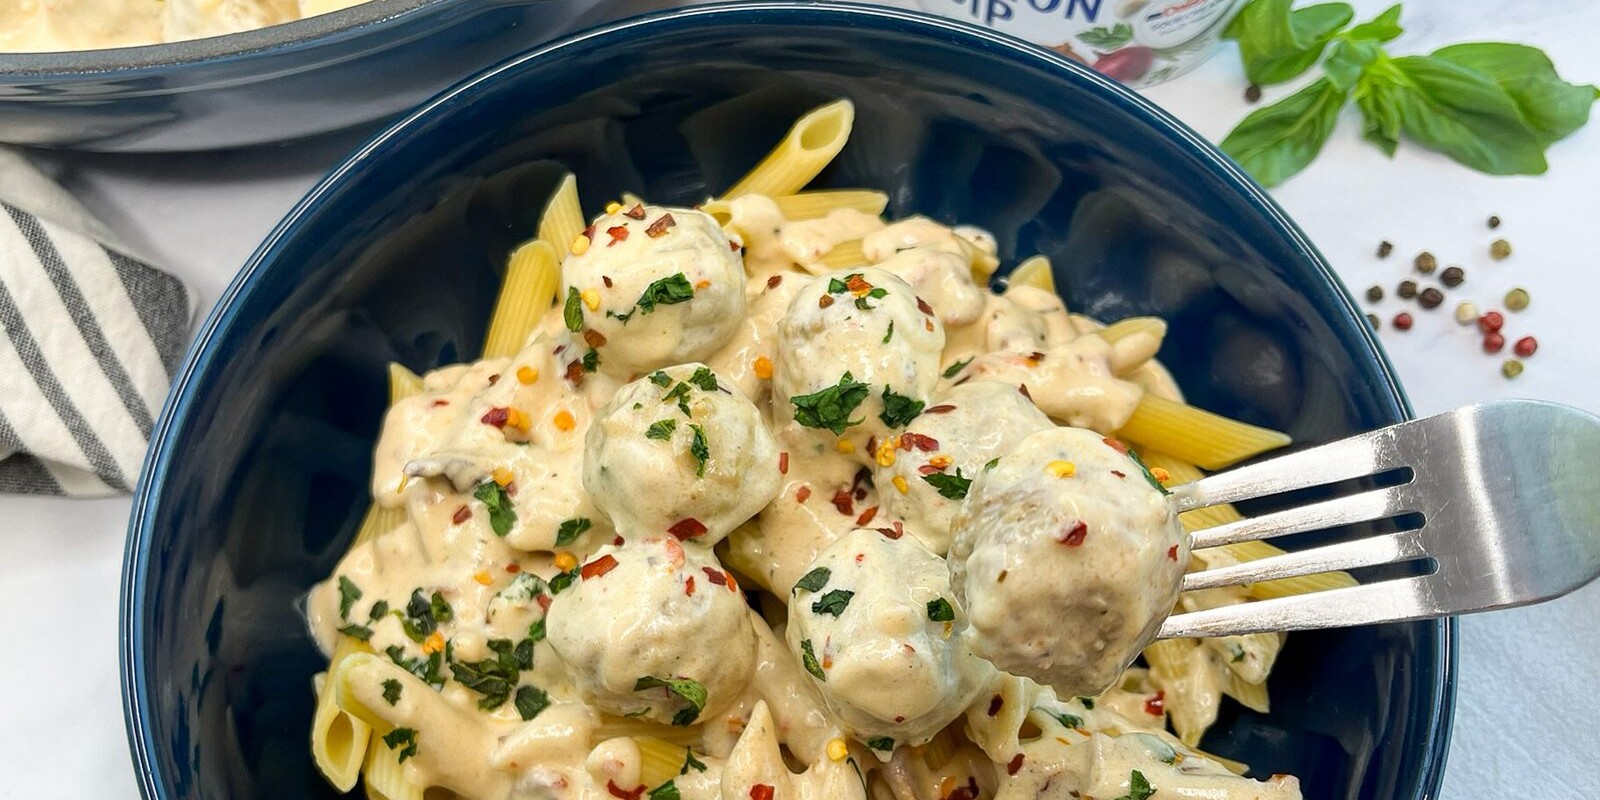
Marry Me Meatballs
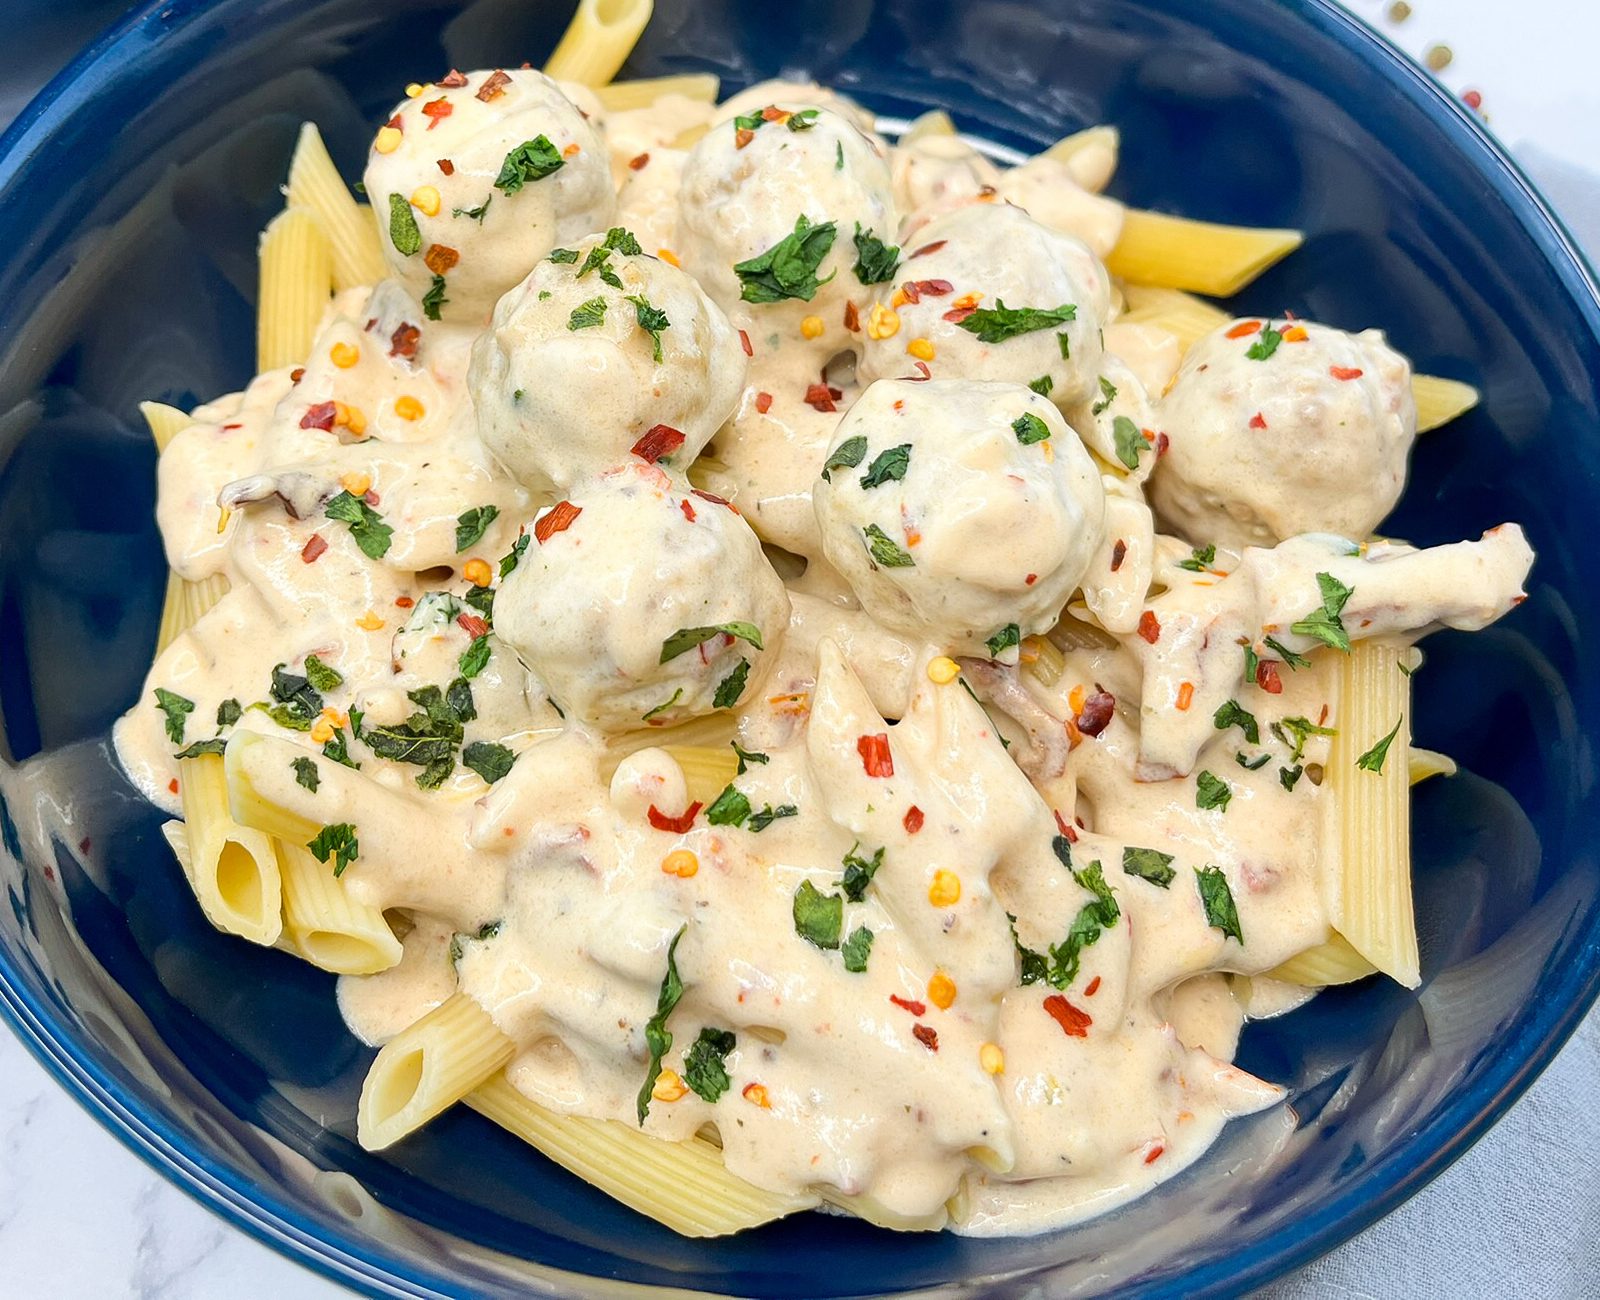
Fall head over heels for our Marry Me Meatballs, featuring tender meatballs enveloped in a luscious, creamy sauce made with Daisy French Onion Dip. This dish combines the rich flavors of caramelized onions with succulent meatballs, creating a meal that is both comforting and irresistible. These Marry Me Meatballs taste fancy but are oh-so-easy to make. Creamy, cheesy, warm, and satisfying, they are indulgent without being heavy. They are simply comfort-food at their finest.
The signature sauce, made with Daisy French Onion Dip, cream, garlic, parmesan, and sun-dried tomatoes are packed with umami, tang, and a hint of sweetness. It clings to the meatballs, keeping them tender and juicy, and adds depth of flavor in every bite.
Ready in a snap, the use of fully cooked, frozen meatballs ensures that dinner is on the table in less than 30 minutes, making it perfect for busy weeknights. The Daisy French Onion Dip is used as a flavorful shortcut that is packed with caramelized onion flavor, adding depth, richness, and convenience to the sauce.
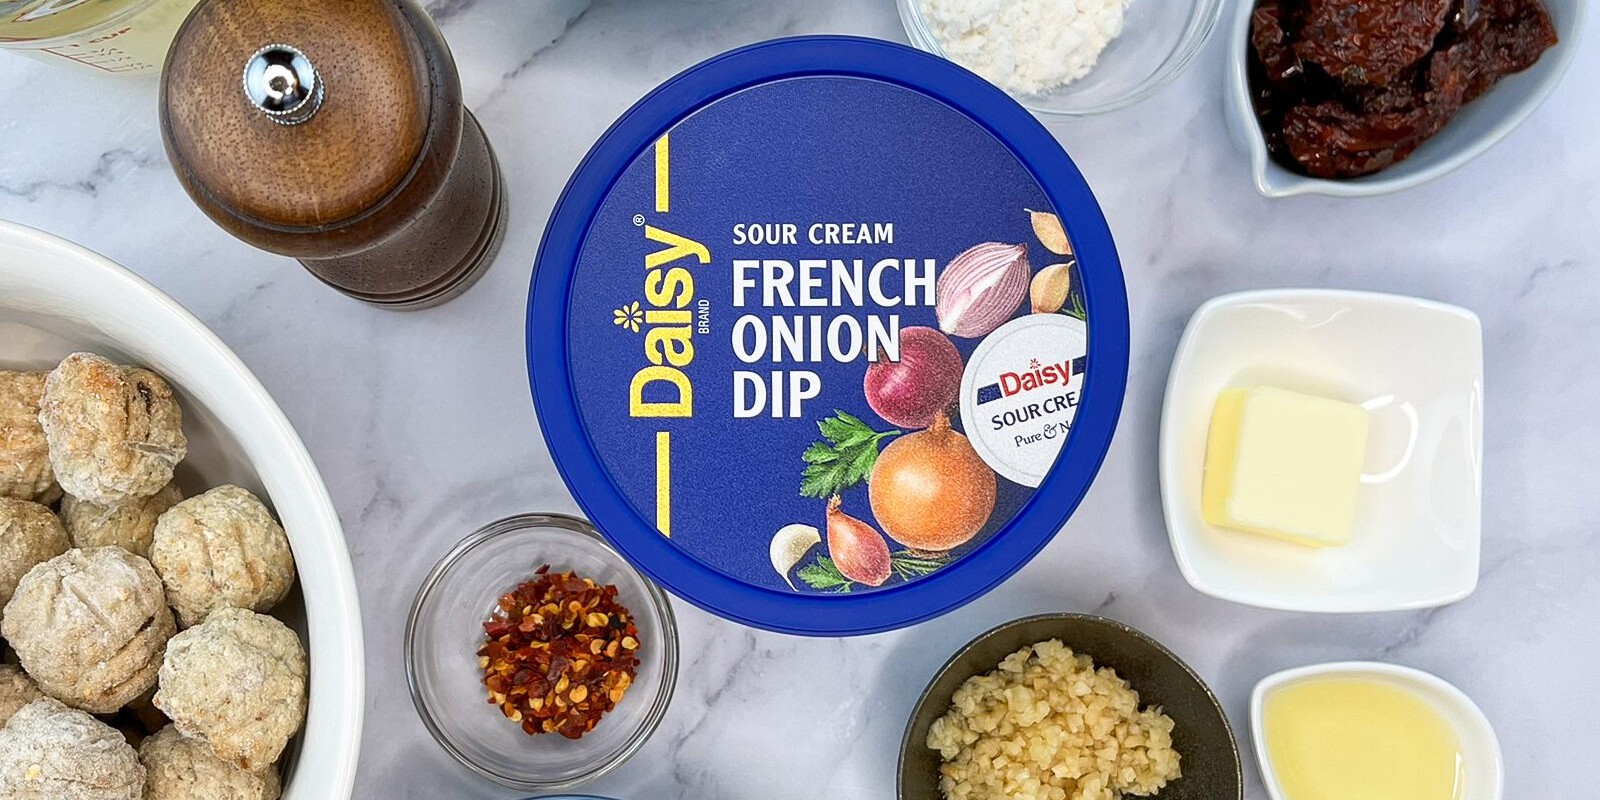
Marry Me Meatball Ingredients
- Olive Oil and Butter (1 tablespoon each): Adds flavor and helps cook the flour.
- Flour (1 tablespoon): Helps the sauce thicken.
- Chicken Broth (1 cup): Adds flavor to the sauce.
- Heavy Cream (1 cup): Also called Whipping Cream, it adds a creamy, rich element to the sauce.
- Minced Garlic (4 teaspoons): Adds a savory flavor that balances the richness of the cream and adds complexity of flavor.
- Sundried Tomatoes (1/3 cup): Adds bold, tangy-sweet flavor and brightness that perfectly complement the creamy sauce. They also add a great pop of color.
- Grated Parmesan Cheese (1/2 cup): Adds a salty, nutty, umami flavor to the sauce.
- Chili Flakes (1 teaspoon): Also called Red Pepper Flakes, they add a tiny bit of heat and a tiny pop of color to the sauce.
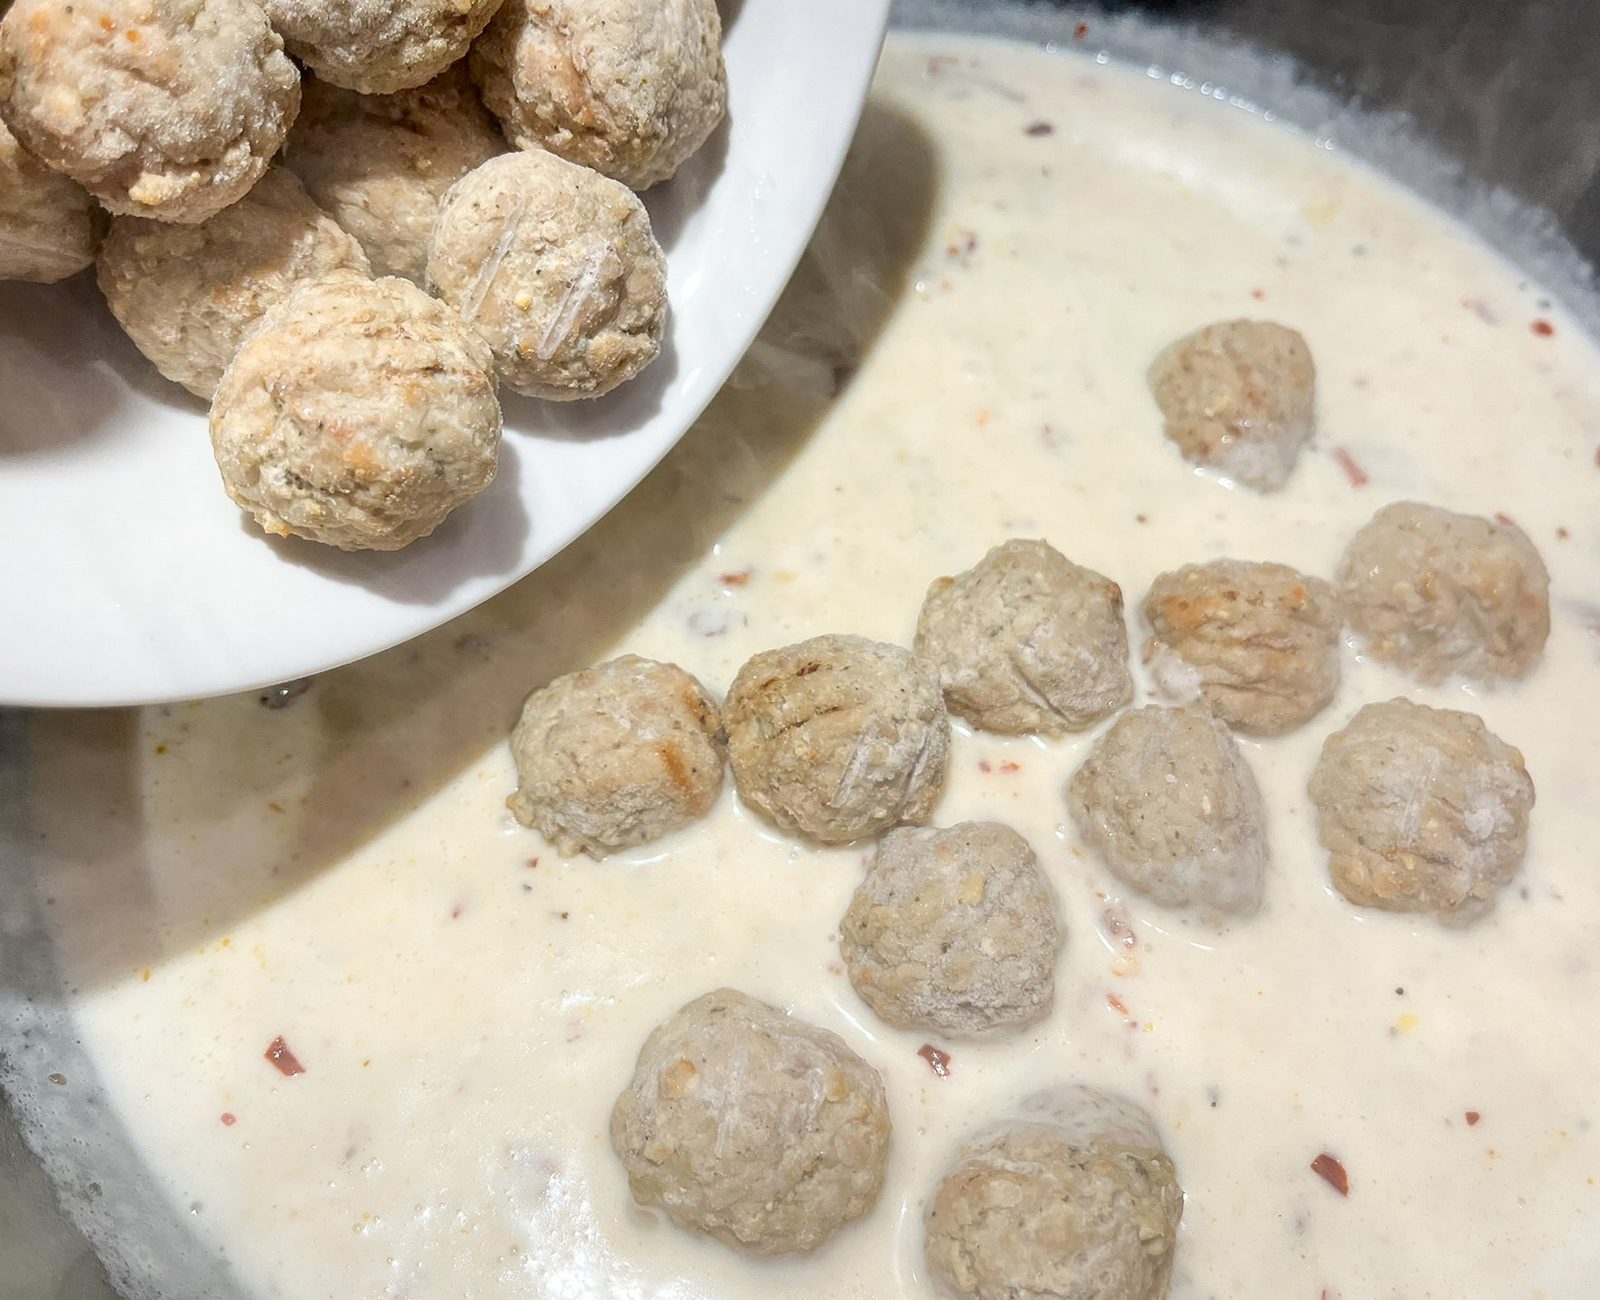
- Precooked, frozen meatballs (about 16): Convenient and great for quick meals, they are an effortless way to add protein to the dish.
- Daisy French Onion Dip (2/3 cup): A great shortcut to building big flavor, it contains the perfect mixture of caramelized onion flavor and spices. It adds a velvety texture to the sauce, making it luscious and delicious.
- Fresh Basil (1 tablespoon, optional): Adds a burst of herby goodness and adds a bit of color to the sauce.
Substitutions, Variations, and Tips
- All olive oil or all butter may be used instead of half of each.
- The chicken stock may be increased to 1 ½ cup and the cream reduced to ½ cup as a calorie savor, but it will make the sauce thinner.
- Replacing ½ cup of the chicken stock with white wine will add a touch of acidity and depth of flavor.
- Pecorino Romano or Asiago may be substituted for the parmesan.
- The amount of chili flakes may be adjusted to taste. Add more for a bit of heat, or less if you don’t want heat at all.
- Any flavor of frozen meatball will work well in this recipe.
- Or you can make your own: Combine 1 1/2-pound ground meat (chicken, beef, pork, turkey, or a combo), 1 tablespoon Italian seasoning, 1/2 teaspoon chili flakes, 1/2 cup grated parmesan cheese, and a pinch of salt and pepper until combined. Roll into 1 1/2-inch balls. Bake on a parchment lined baking sheet at 350°F. for 20-25 minutes or until the internal temperature reaches 165°F.
- Other cooked proteins may be substituted for meatballs.
- Allow the flour to cook for a full minute to remove the “raw” flavor.
- Adding a sprinkle of herbs will add a burst of freshness. Fresh basil, oregano, thyme, and parsley are good choices.
- Feel free to add fresh veggies such as fresh mushrooms, fresh spinach, or frozen English peas.
- Adding a few teaspoons of drained capers will add a salty, briny flavor.
How to Make Marry Me Meatballs
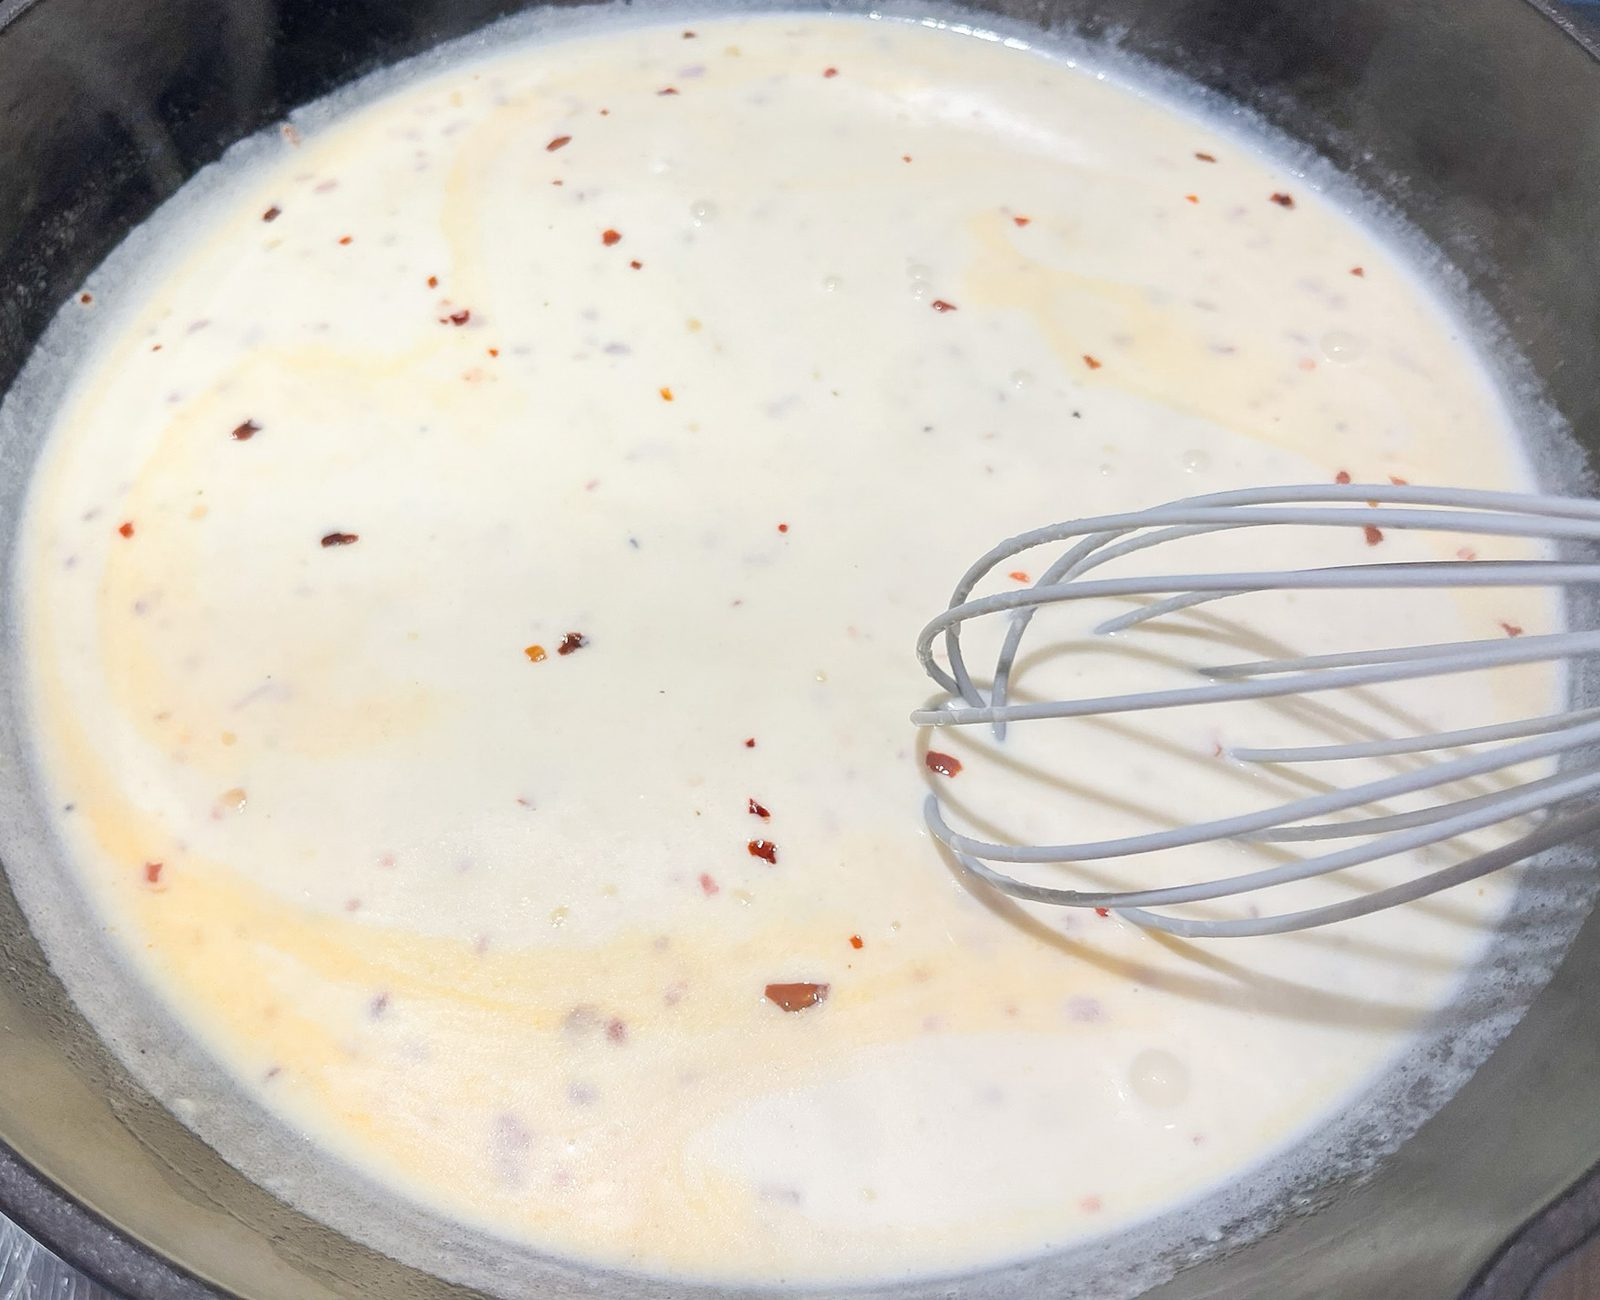
- Add olive oil and butter to a large pan. Once the butter melts, add flour and cook for 1 minute, stirring frequently.
- Whisk in broth, heavy cream, and garlic. Scrape any brown bits from the pan. Bring to a boil. Reduce heat to medium and gently cook uncovered, until slightly thickened (2-3 minutes).
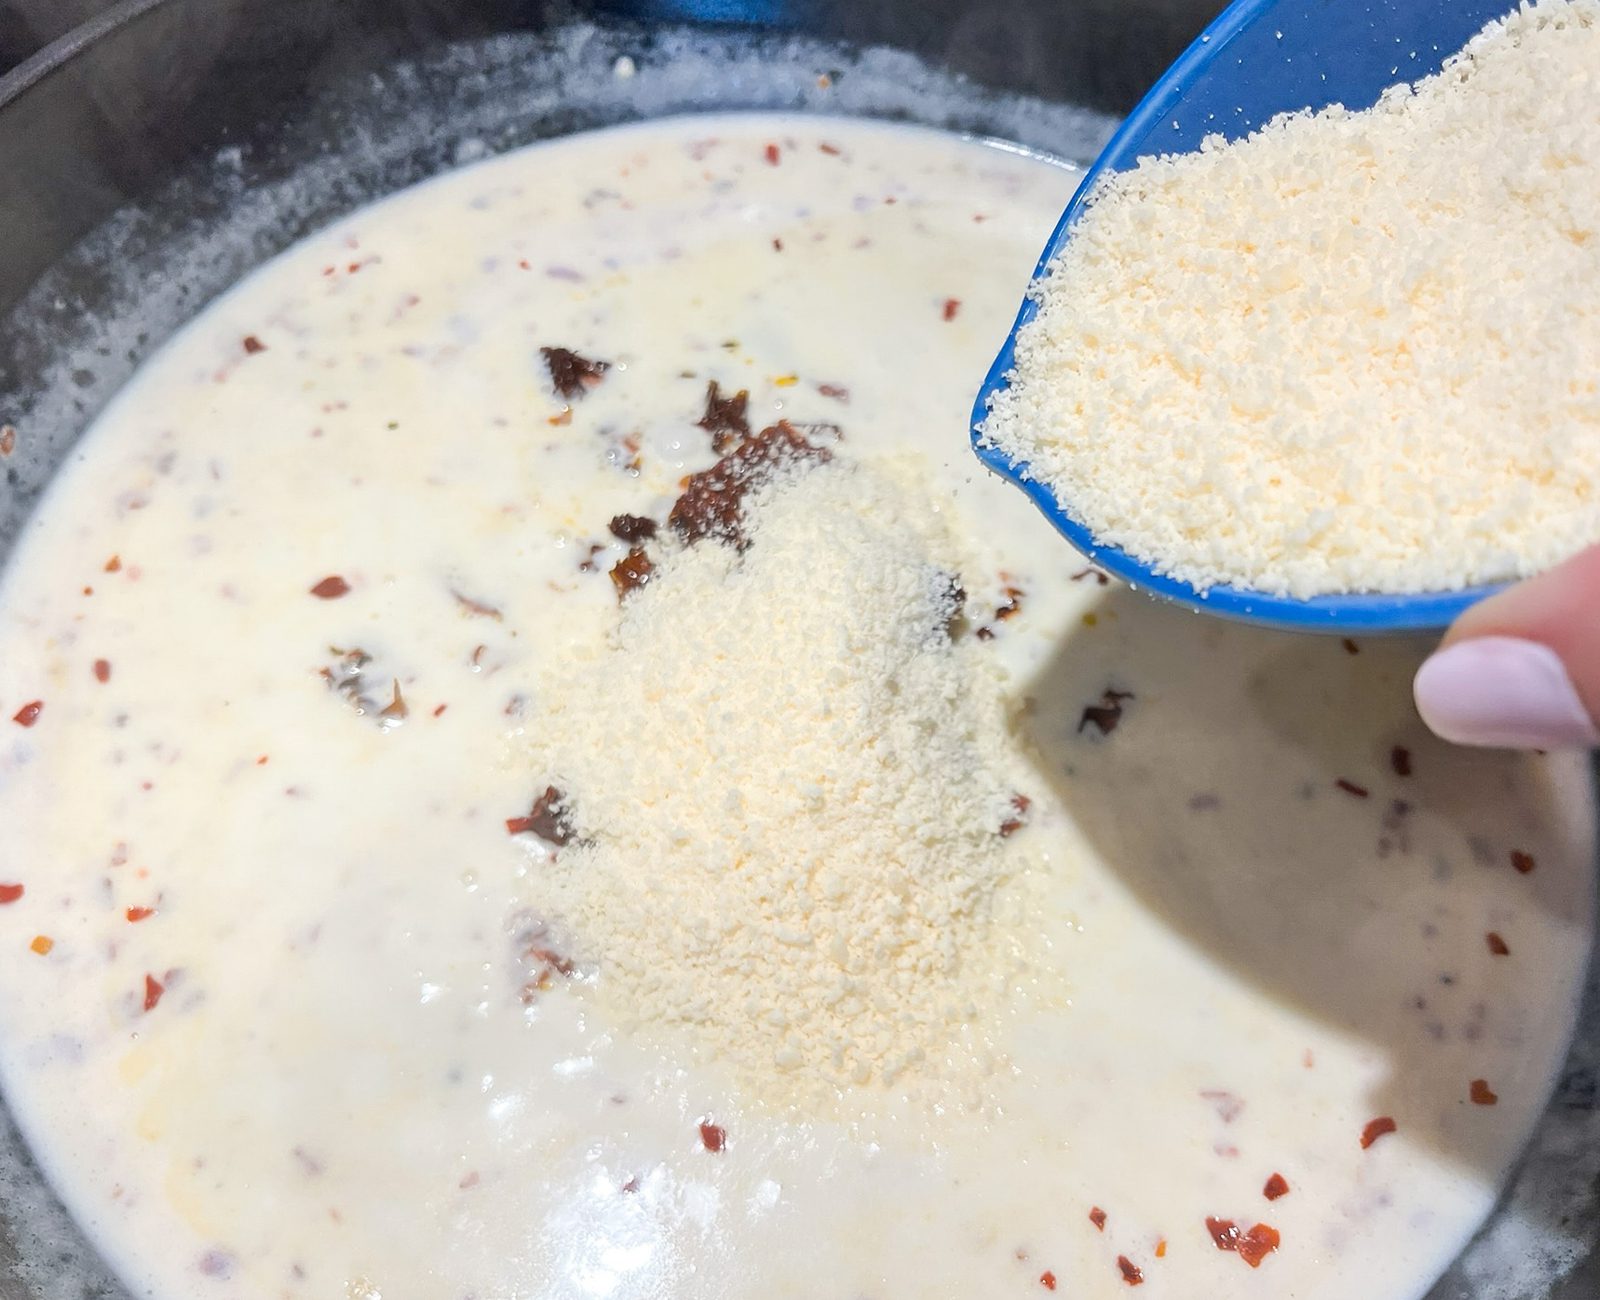
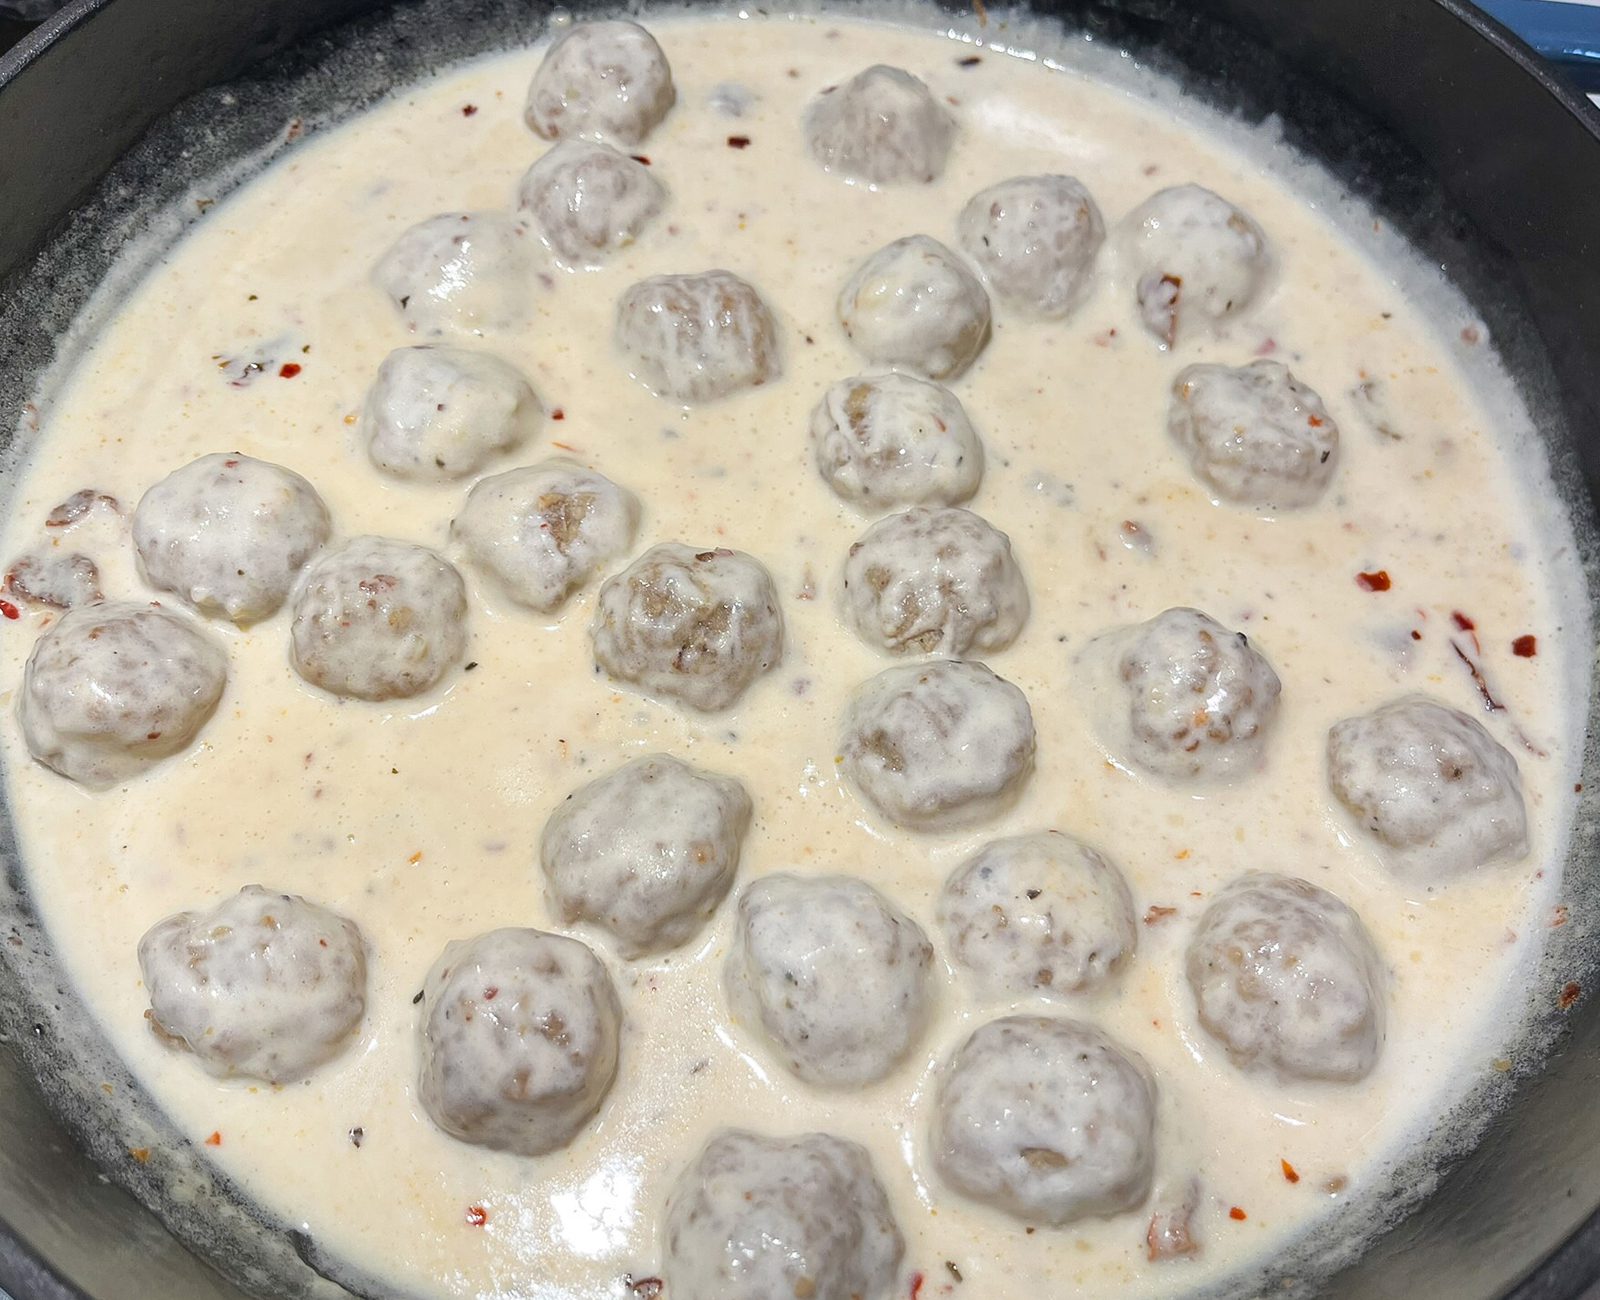
- Add sun-dried tomatoes, parmesan, chili flakes, and frozen meatballs. Set heat to low, cover with lid, and simmer until meatballs are heated through and sauce has thickened slightly (5-7 minutes).
- Place Daisy French Onion Dip in a small mixing bowl. Slowly whisk in 1 cup of hot sauce. Slowly pour back into pan and stir until evenly combined.
- Garnish with basil, if desired. Serve over pasta or mashed potatoes.


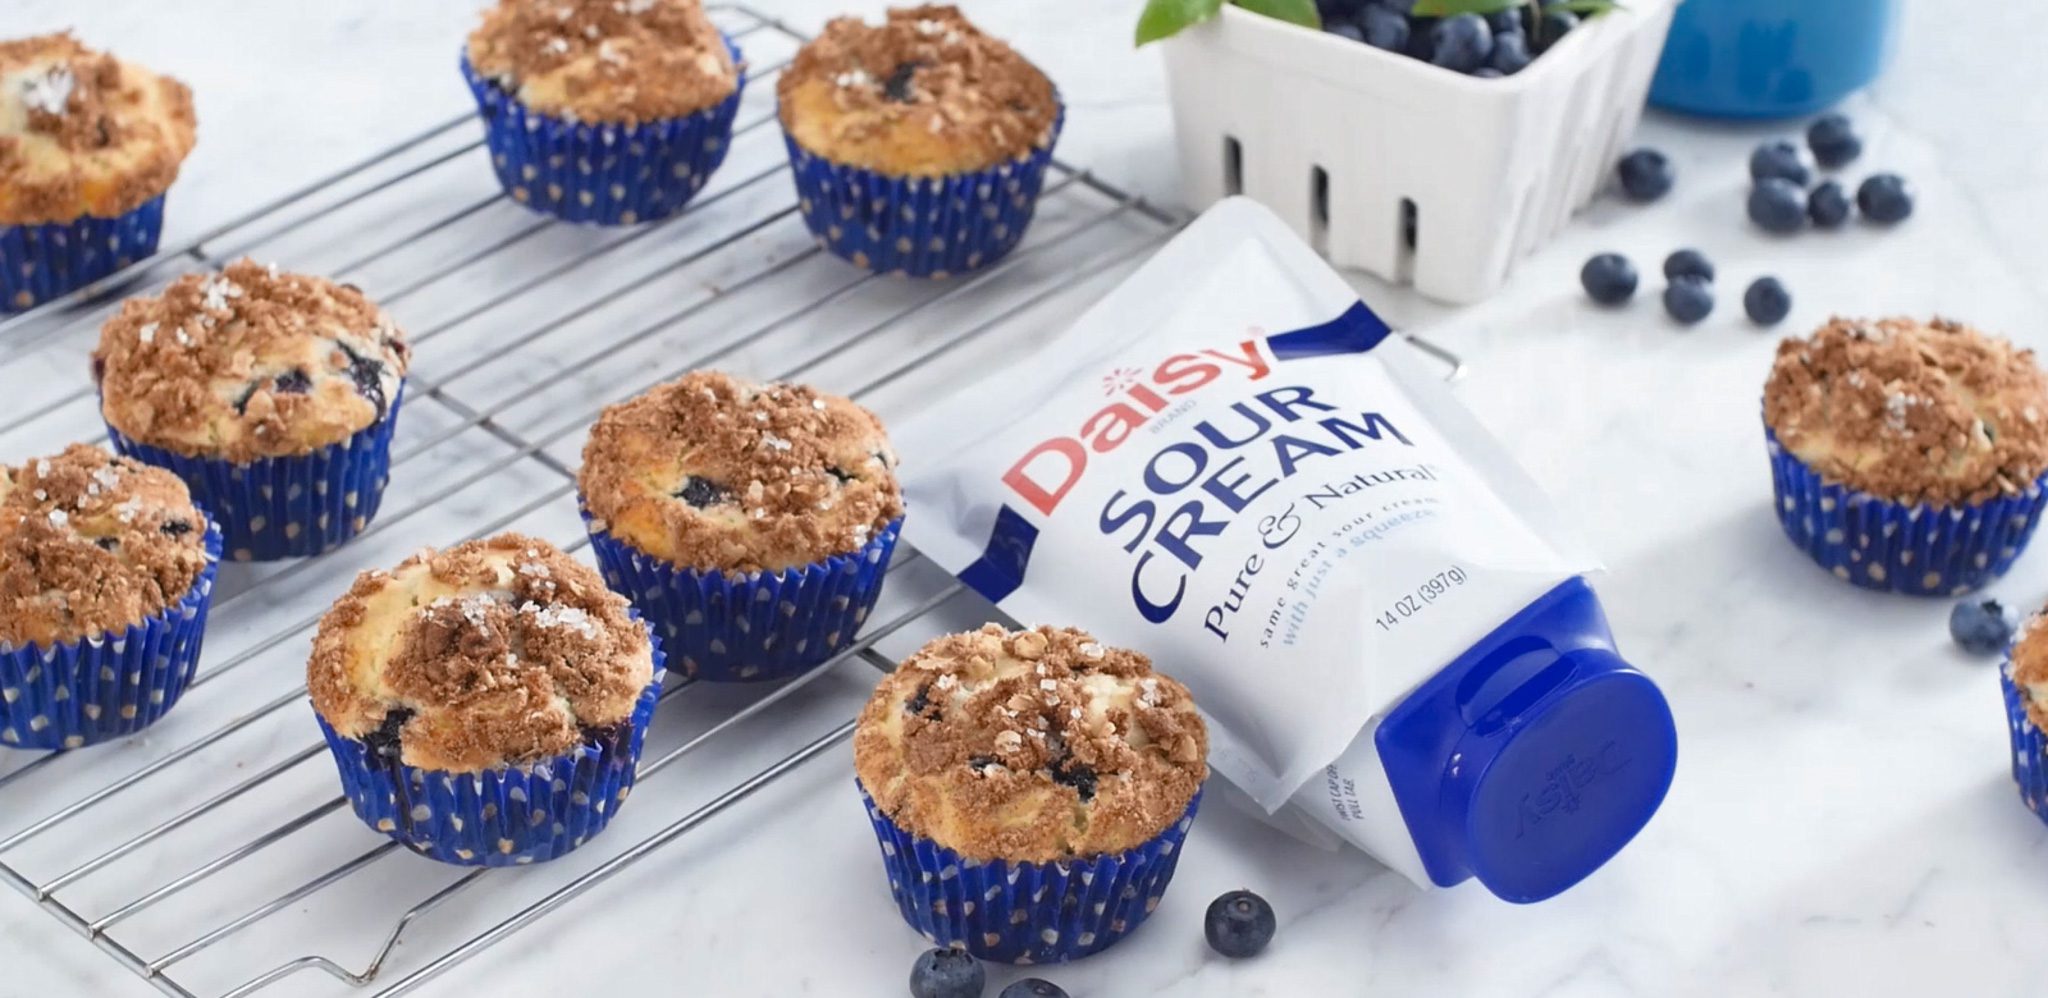
Blueberry Muffins
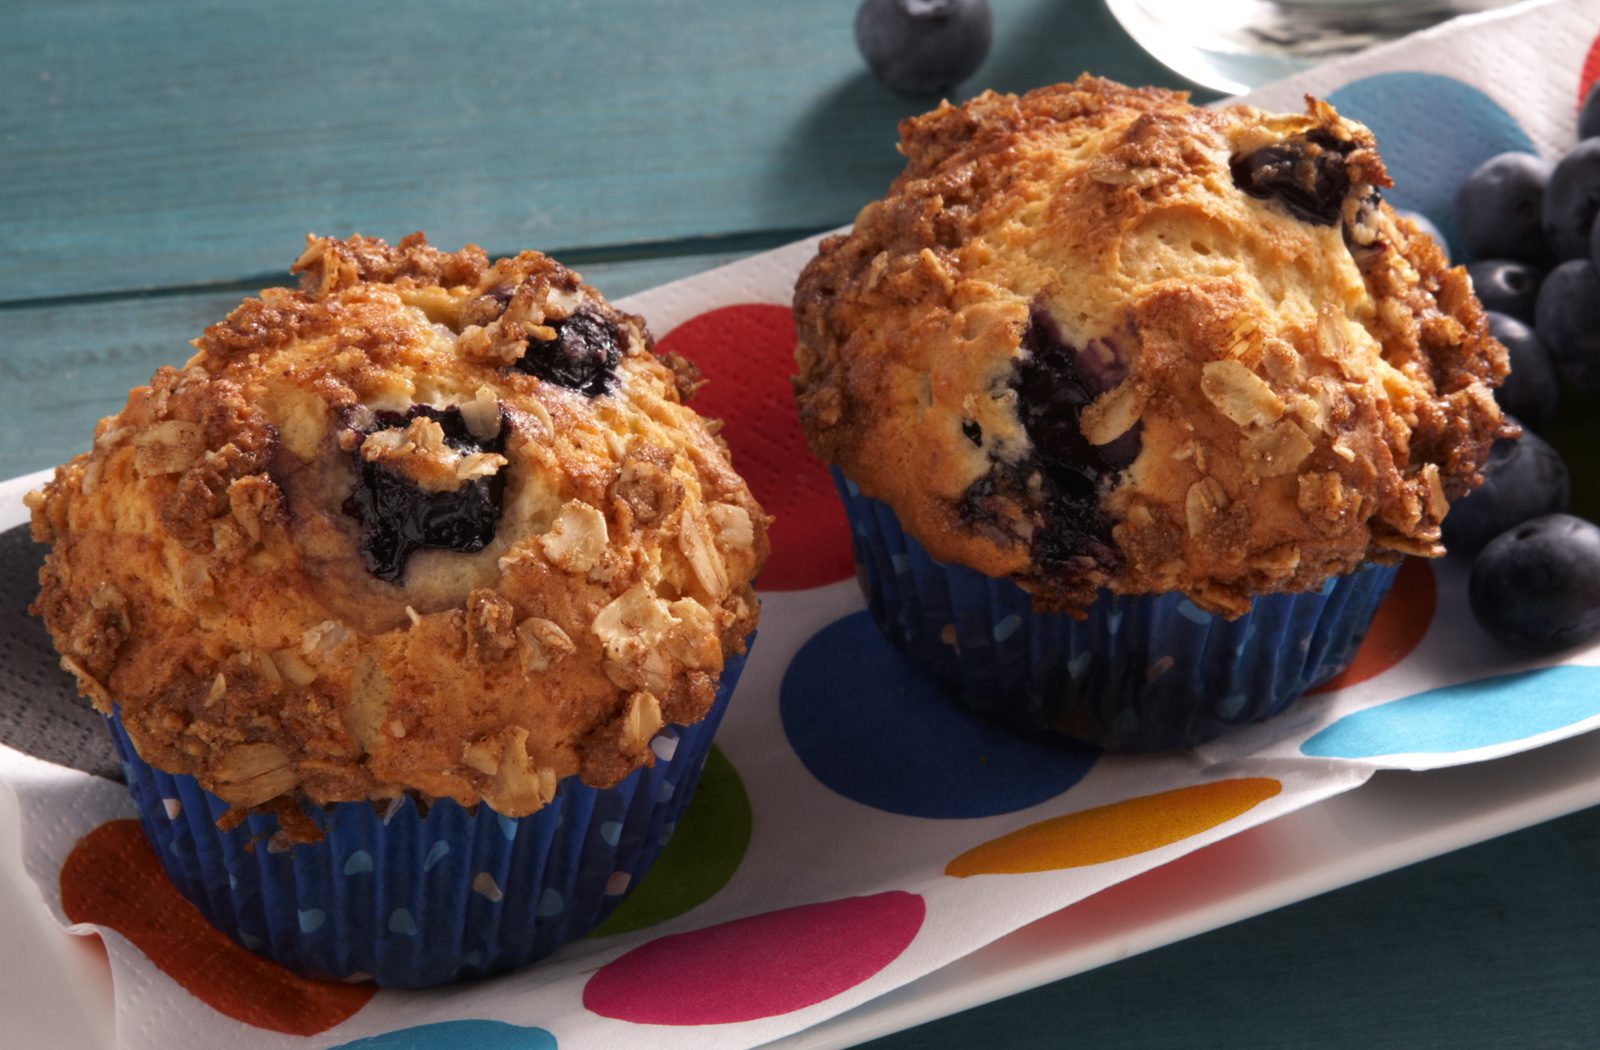
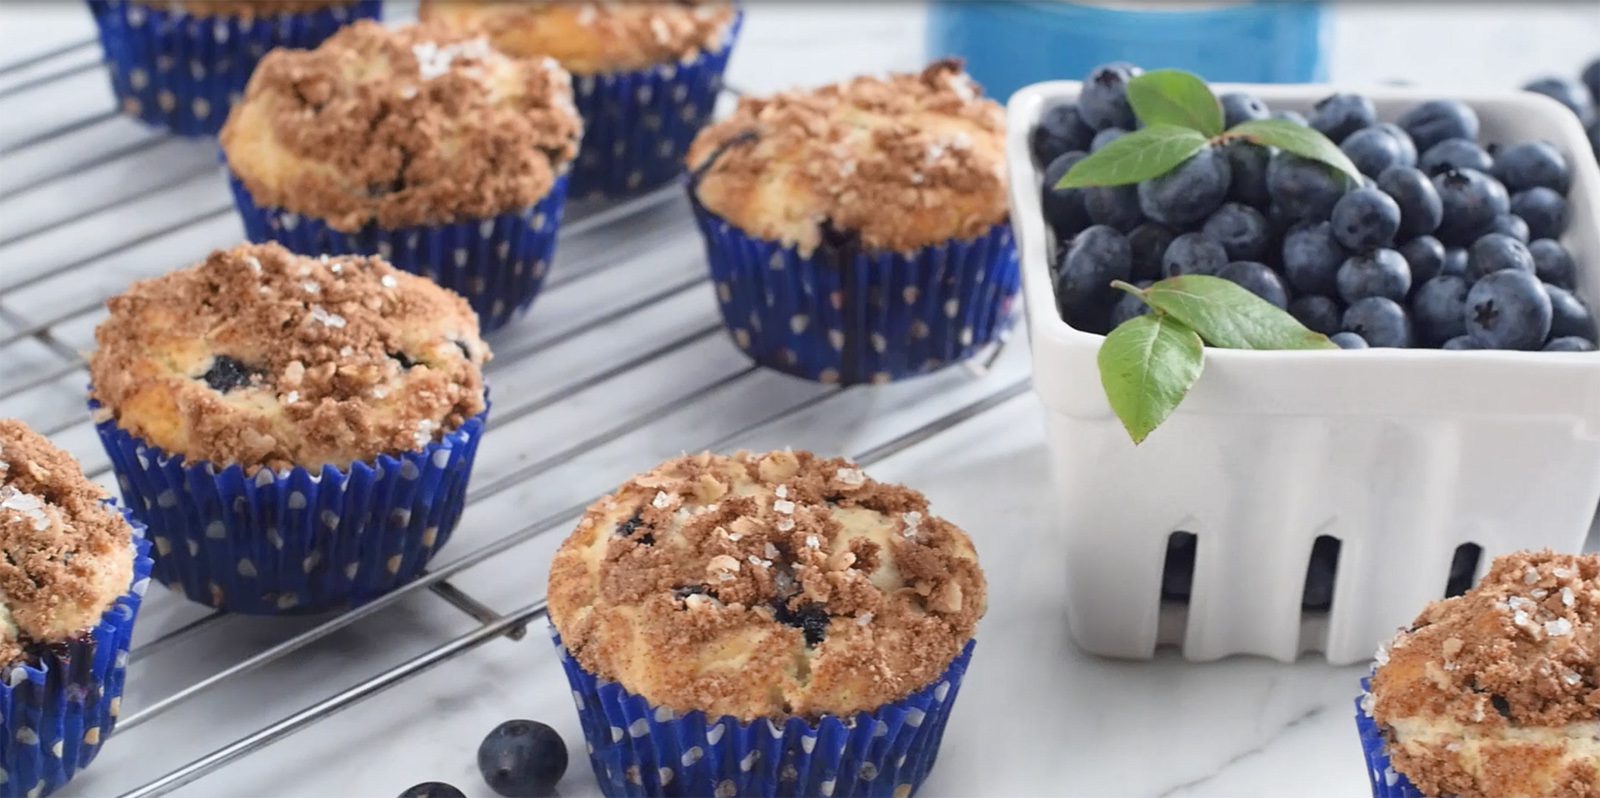
Blueberry Muffins
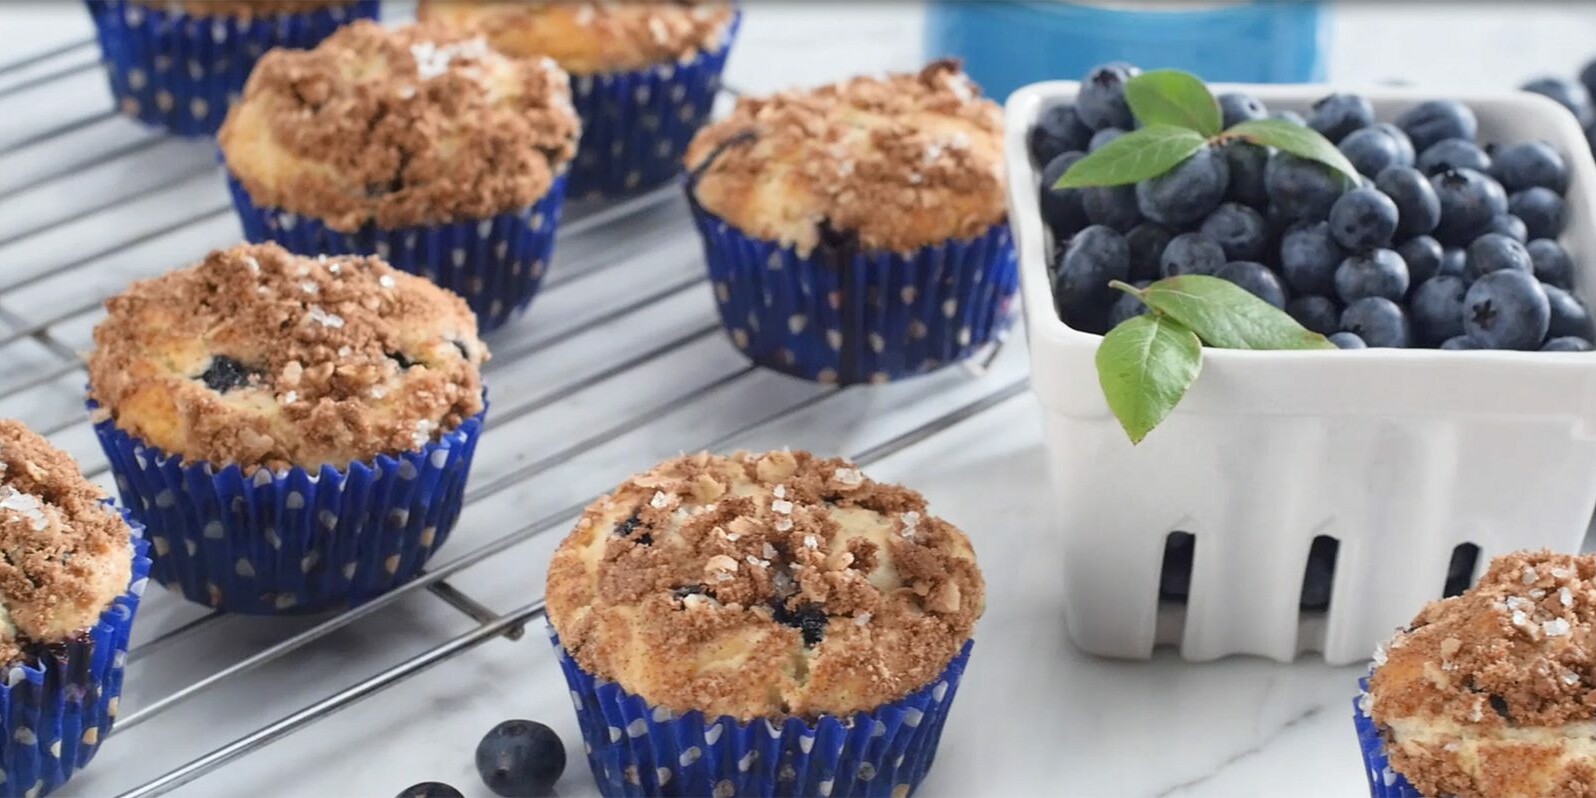
Bakery-style goodness right from your kitchen. These Blueberry Muffins are so easy to make and taste like they’re straight from the bakery. Perfect for lazy weekend brunch, busy weekday mornings, after-school snacks, or for sharing with friends, nothing compares to freshly baked Blueberry Muffins. The special ingredient is the Daisy Sour Cream which leads to a moist and soft in the center. Paired with the crunchy streusel topping, it’s bliss in a bite.
Easy to make with kitchen staples and a few mixing bowls, this recipe comes together quickly. There is no special equipment needed or complicated directions.
There are no secret ingredients, tricks, or complicated steps in this blueberry muffin recipe. You only need a few bowls and a mixer, which is perfect for hungry tummies in the morning.
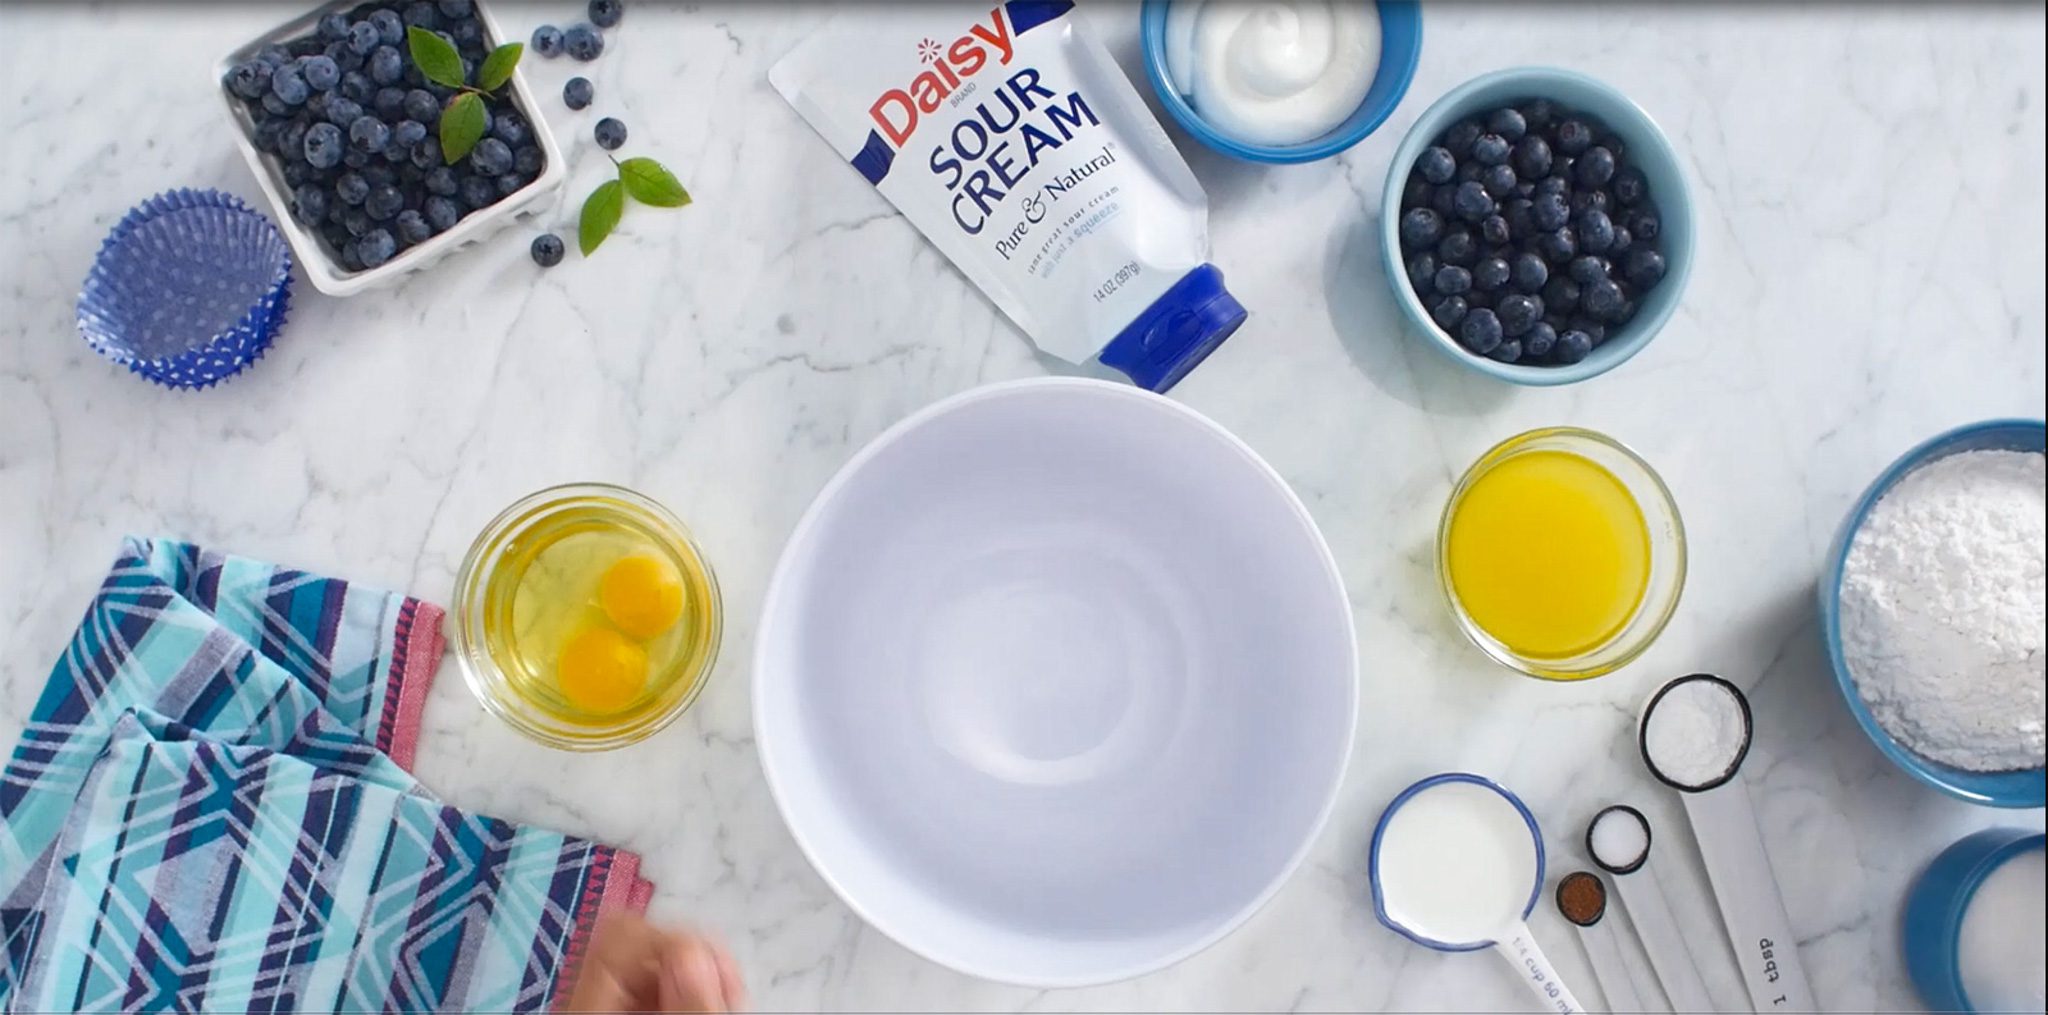
Blueberry Muffin Ingredients
- All-Purpose Flour (2 1/2 cups, divided): The flour found in most kitchens you’ll want to carefully measure flour. The easiest way to do this is to scoop it into your measuring cup and level off the top with a knife.
- Sugar (2/3 cup): Adds sweetness to the batter.
- Baking Powder (1 tablespoon): A main ingredient for leavening. It adds volume and lightness to the batter.
- Salt (1 teaspoon): Helps enhance the flavors and balances the sweetness of the batter.
- Nutmeg (1/2 teaspoon): A warm, earthy, and nutty spice that complements the berries.
- Daisy Sour Cream: The star ingredient that adds moisture and smoothness to the batter, giving the muffins a tender crumb and a slightly tangy taste.
- Milk (1/4 cup): Adds moisture to the batter, making it more tender.
- Unsalted Butter (1/2 cup, melted): The butter adds moisture and richness to the batters. It helps create the air pockets that helps give muffins their texture.
- Eggs (2 large, beaten): Creates the thickness and stability in the batter. Eggs bond with the flour to create the texture of the batter by forming a stronger gluten. The eggs also help add height to the muffins.
- Frozen Blueberries (1 ½ cups, unthawed): Picked at the peak of freshness, they are one of the two main ingredients giving the muffins their flavor.
- Salted Butter (1/4 cup, cold): A key ingredient to making the crumb topping, it helps bind the other ingredients together.
- Quick-cook Oatmeal (1/2 cup): Adds texture to the muffin topping and a touch of fiber.
- Brown Sugar (1/4 cup): Adds a rich buttery, caramel flavor to the strudel topping. Did you know that brown sugar is a combination of cane sugar and molasses? The molasses in the sugar is what adds the depth of flavor and adds a bit of chew to baked goods. Light or dark brown sugar may be used in this recipe. Use dark brown sugar for a deeper flavor or light brown sugar for a lighter flavor.
- Ground Cinnamon (2 tablespoons): The classic flavor from this aromatic spice adds a touch of sweet, slightly citrus warmth to the strudel topping.
- Sparkling Sugar (2 teaspoons): Adds a touch of crunch and sweetness to the muffin tops.
Substitutions, Variations, and Tips
- To reduce cleanup when you make muffins, spoon the batter into a zip-top bag, snip off a corner, and fill the muffin tins.
- Freeze muffins for up to 3 months. Cool completely and put in a zip-top bag. Thaw in room temp overnight. Warm in microwave for 20 seconds or wrap in foil and bake in preheated 300 oven for 6-10 min.
- Don’t pack the flour in your measuring cup. Packing the flour will lead to tougher, dense, or rubbery donuts. Overly dense is likely due to too much flour. Conversely, sticky batter is typically the result of too little flour.
- You can use all canola or vegetable oil in place of the butter.
- ½ cup applesauce may be used in place of the eggs. Please note, this will make a slight change the texture of the batter, so you’ll need to add an extra 1 teaspoon of baking powder to keep the dough from being too dense.

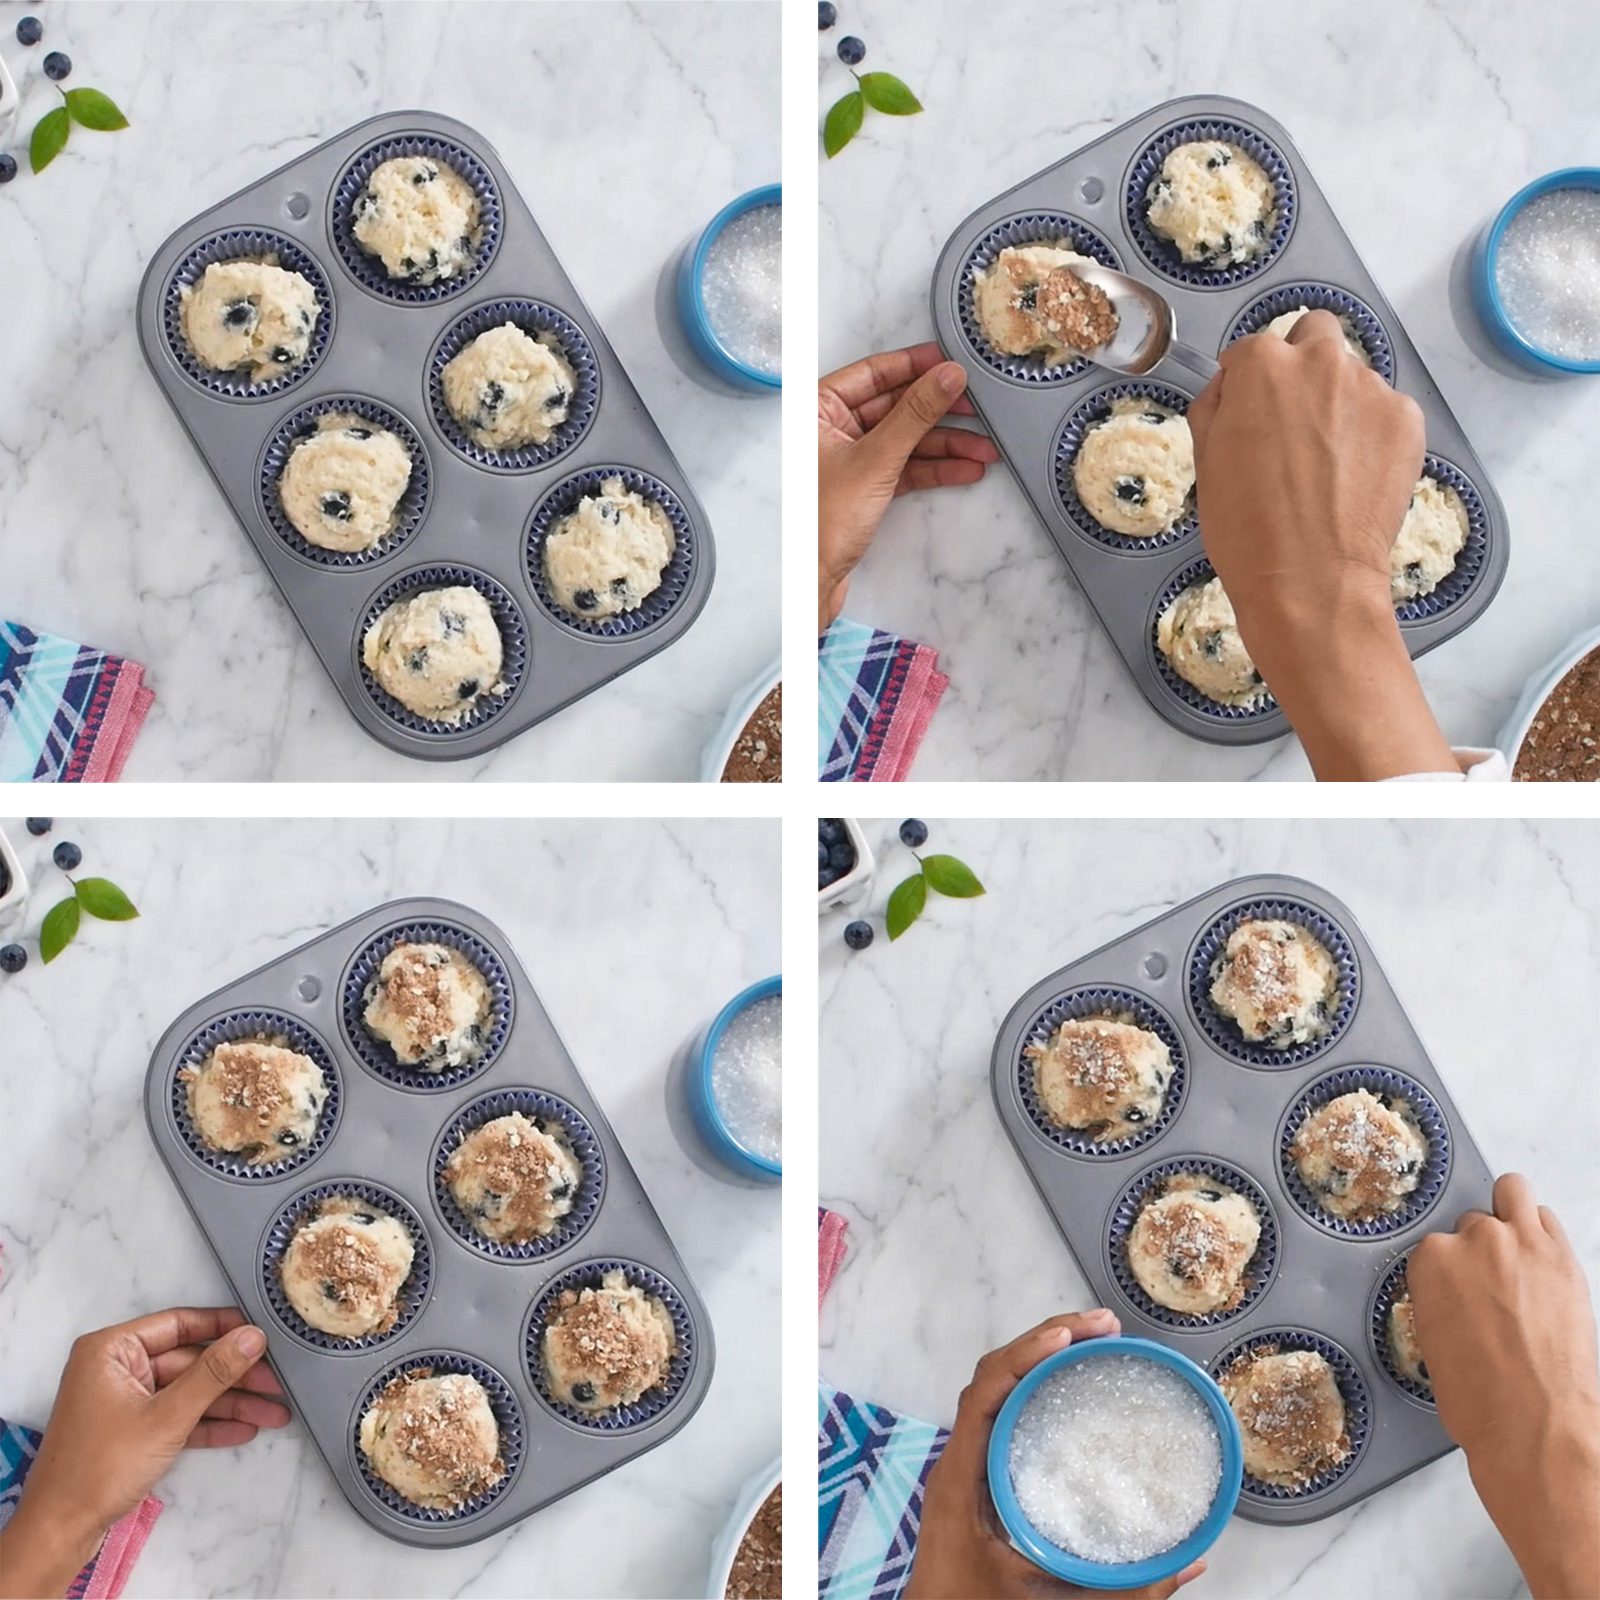
How to Make Blueberry Muffin Batter
- Preheat the oven to 400 degrees.
- Beat 2 cups flour, sugar, baking powder, salt, nutmeg, sour cream, milk, 1/2 cup melted butter, and eggs until thoroughly mixed. Fold in blueberries. Pour into muffin tins.
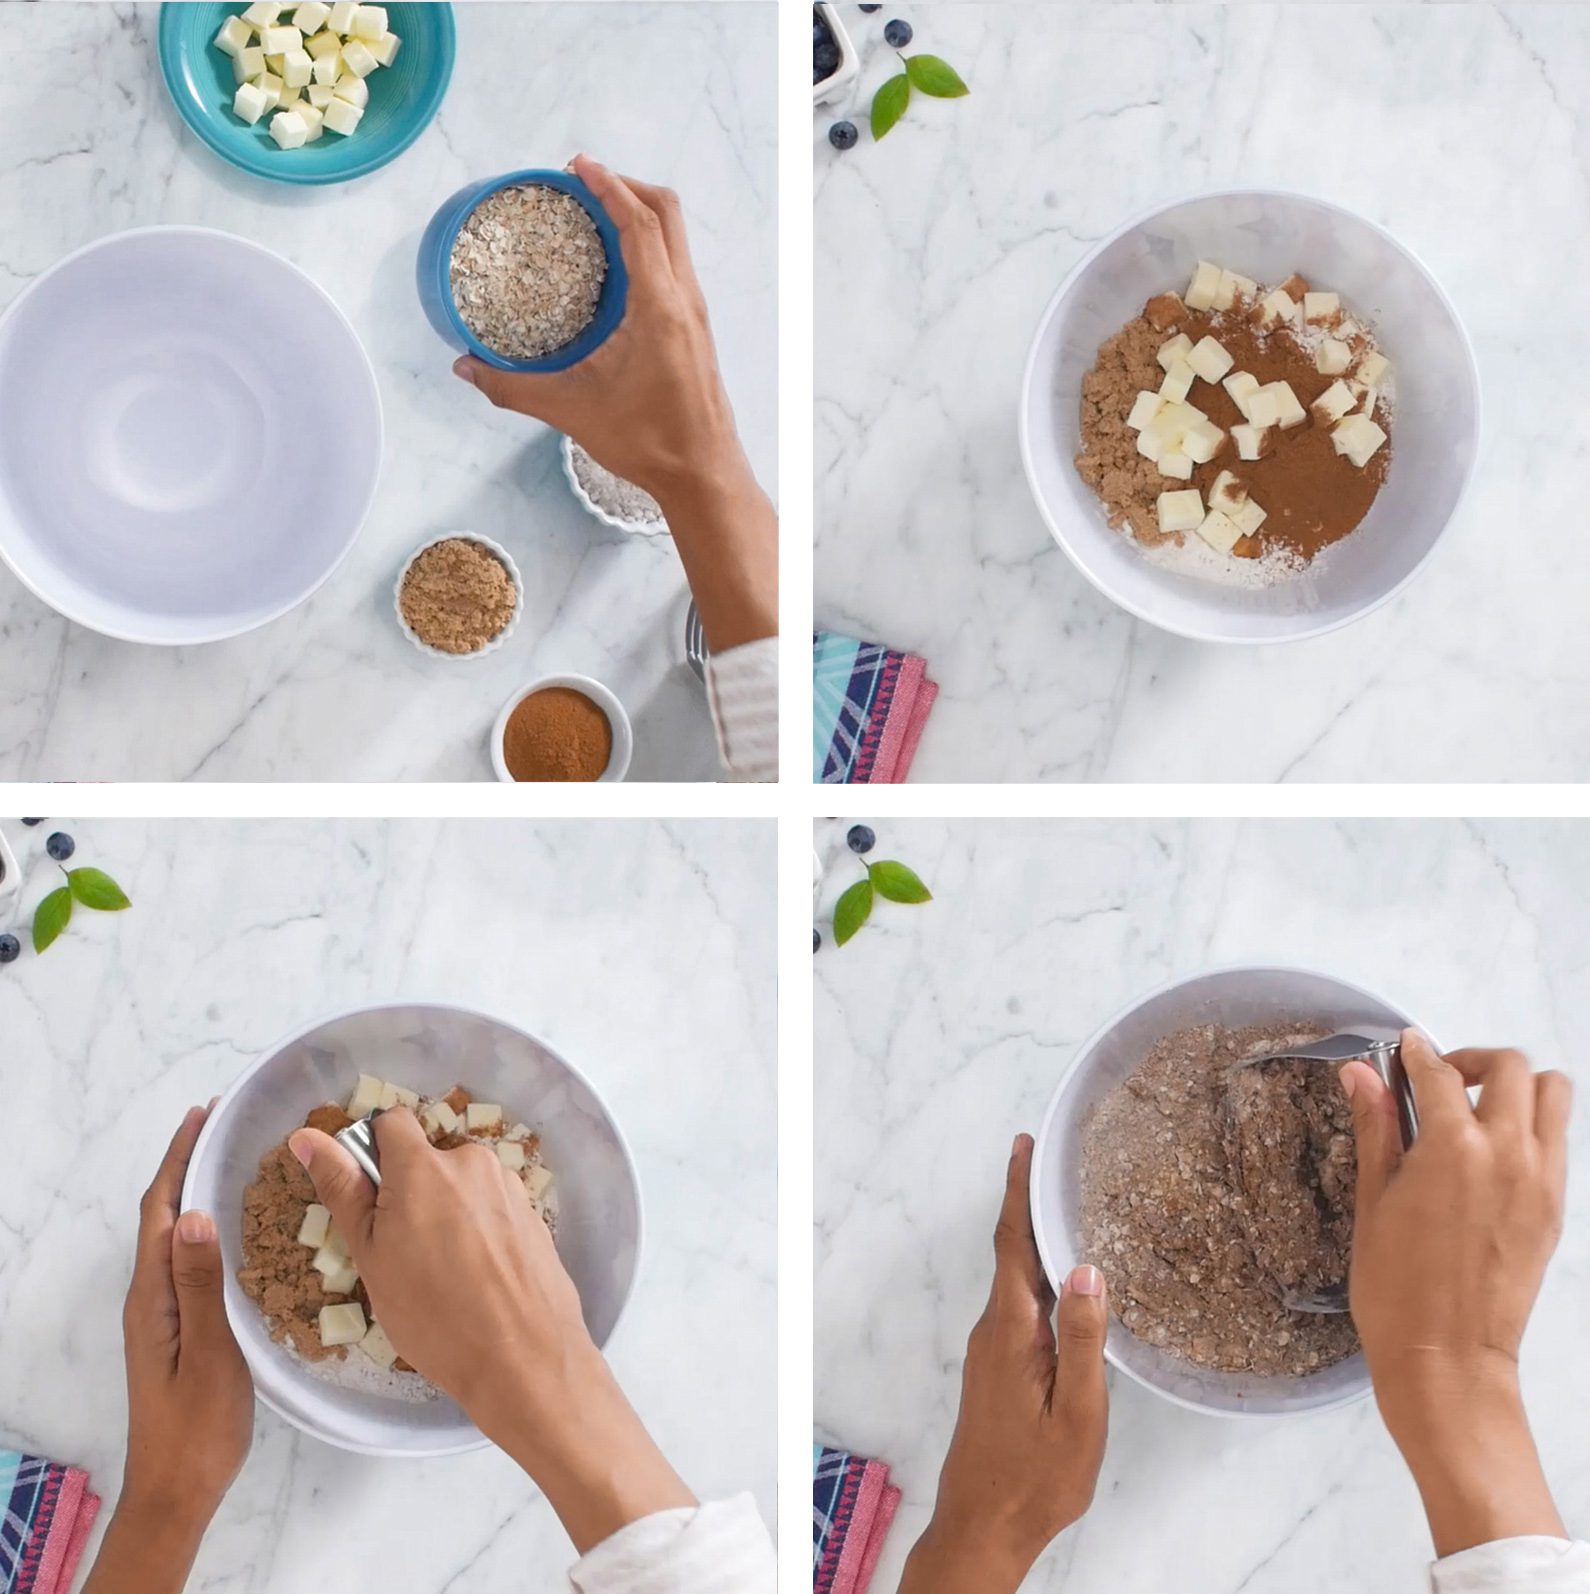
3. Cut the ¼ cup cold butter into small cubes. Mix the oatmeal, 1/2 cup flour, brown sugar, cinnamon, and cubed cold butter together with pie cutter until it forms small pebbles.
4. Sprinkle the topping mixture on top of the batter in each muffin tin. Sprinkle each with sparkling sugar.
5. Bake the muffins for 25-35 minutes. Serve hot.
Sour Cream Chicken Enchiladas
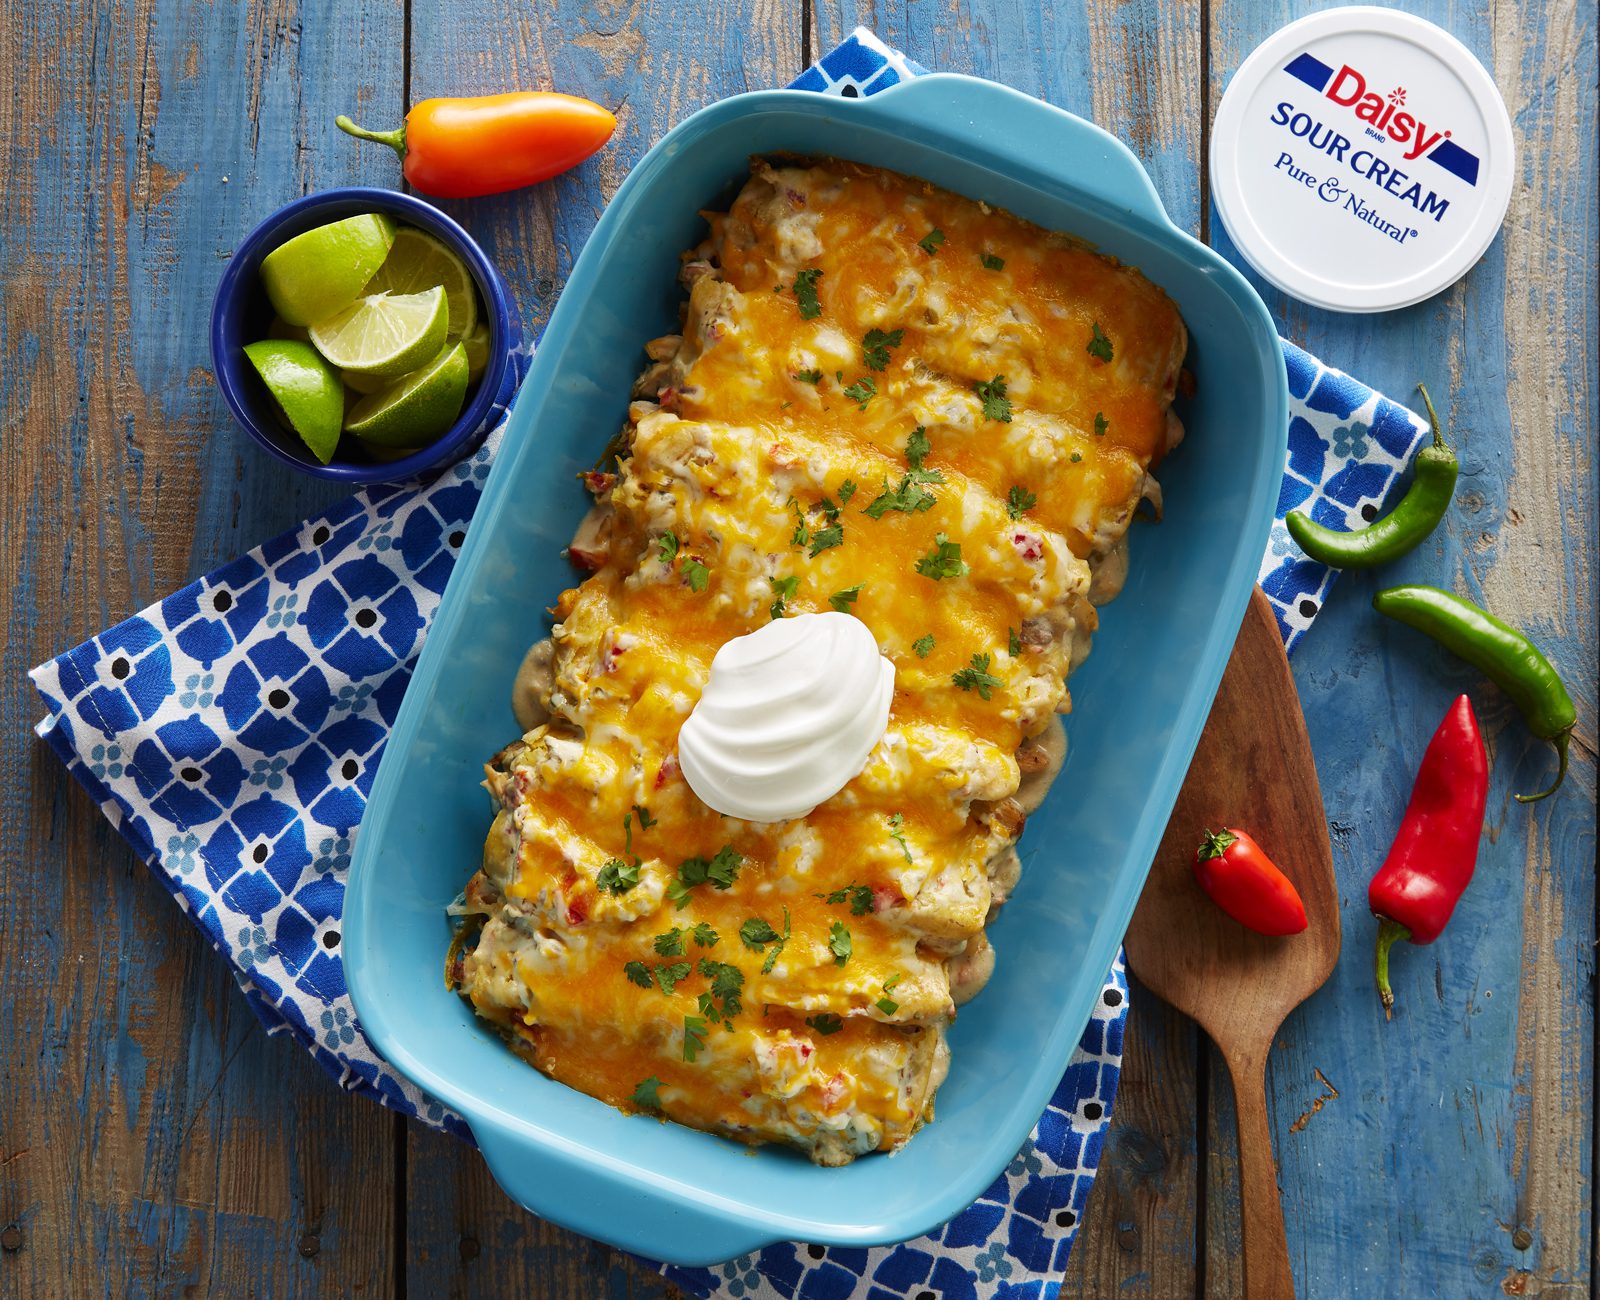
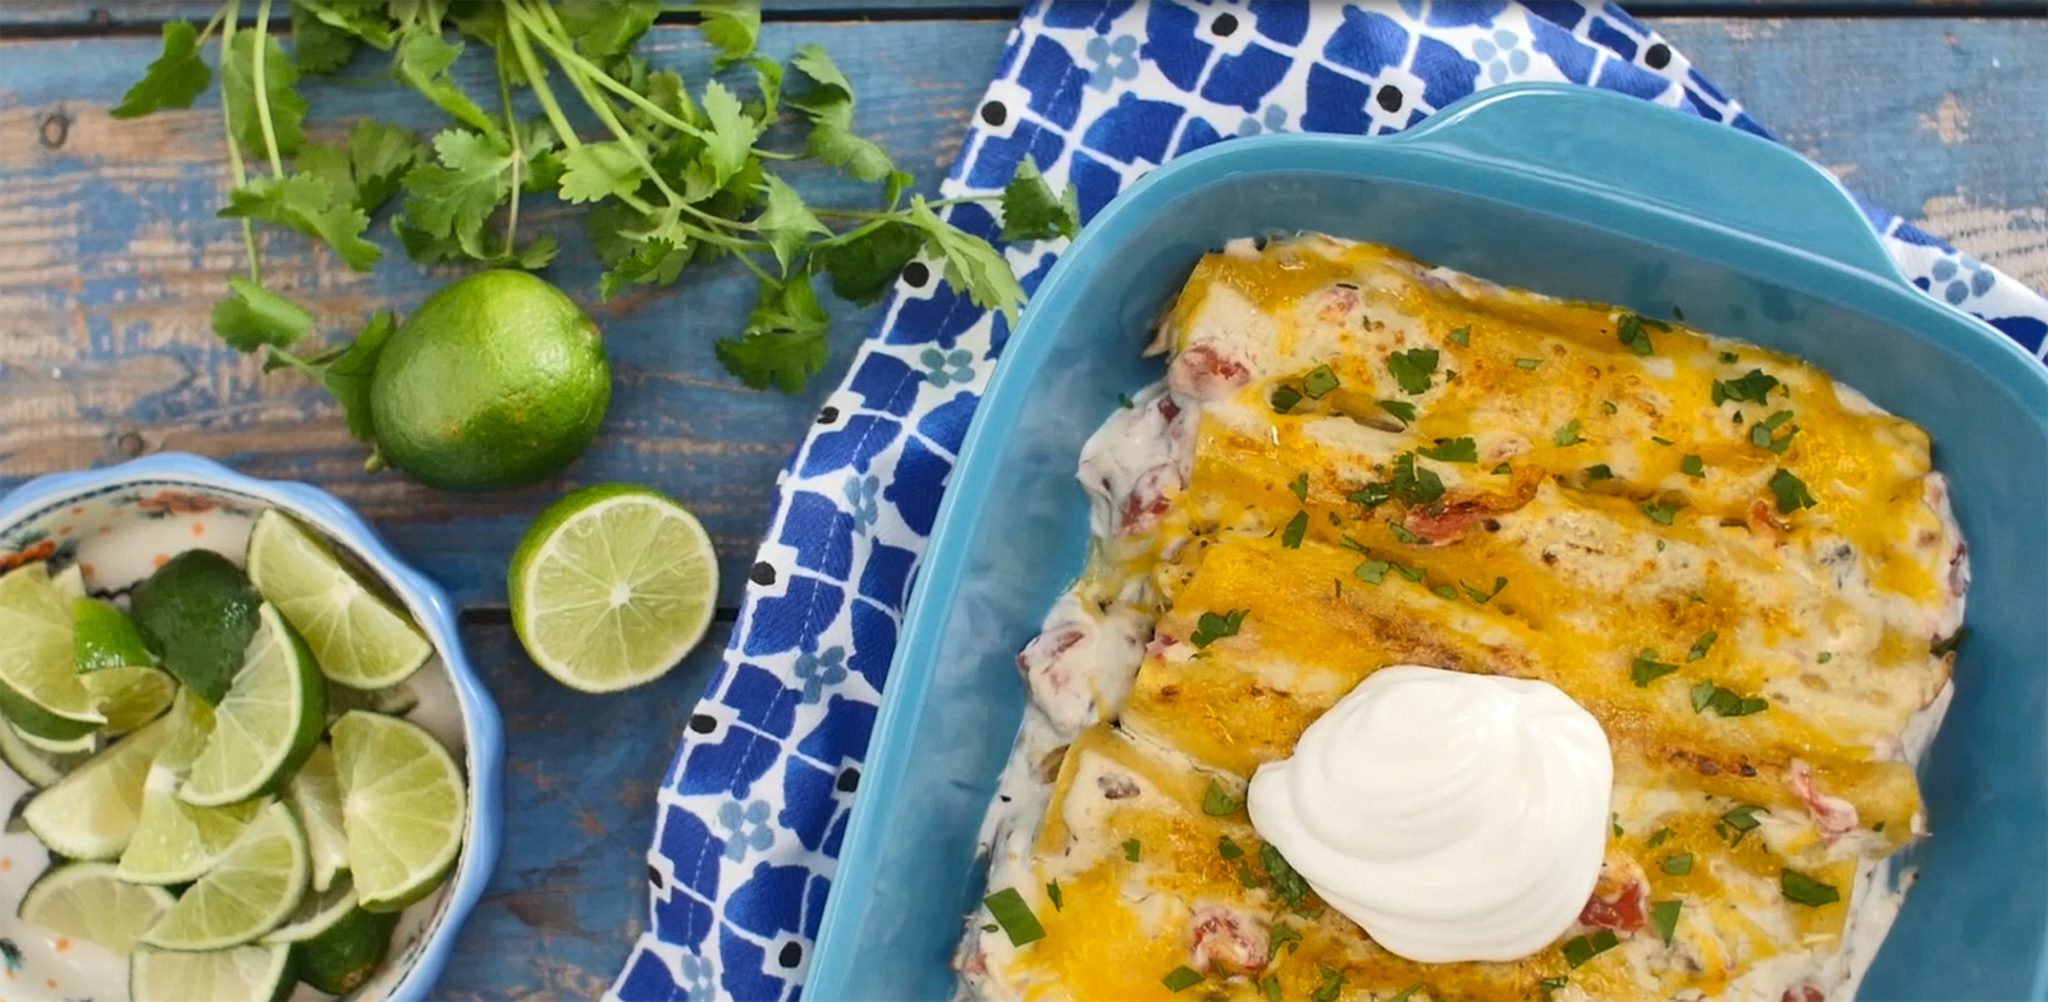
Sour Cream Chicken Enchiladas
These warm and comforting Sour Cream Chicken Enchiladas are packed with shredded chicken, oozy cheese, and a delicious sour cream sauce that you will crave long after the last bite. You will make these enchiladas again and again. Get ready creamy, cheesy, gooey goodness.
Easy to prep, these enchiladas are an excellent choice for weeknight dinners. Even better, they freeze wonderfully so you can make two batches at once, one for now and one for later. You can also easily double or half the recipe.
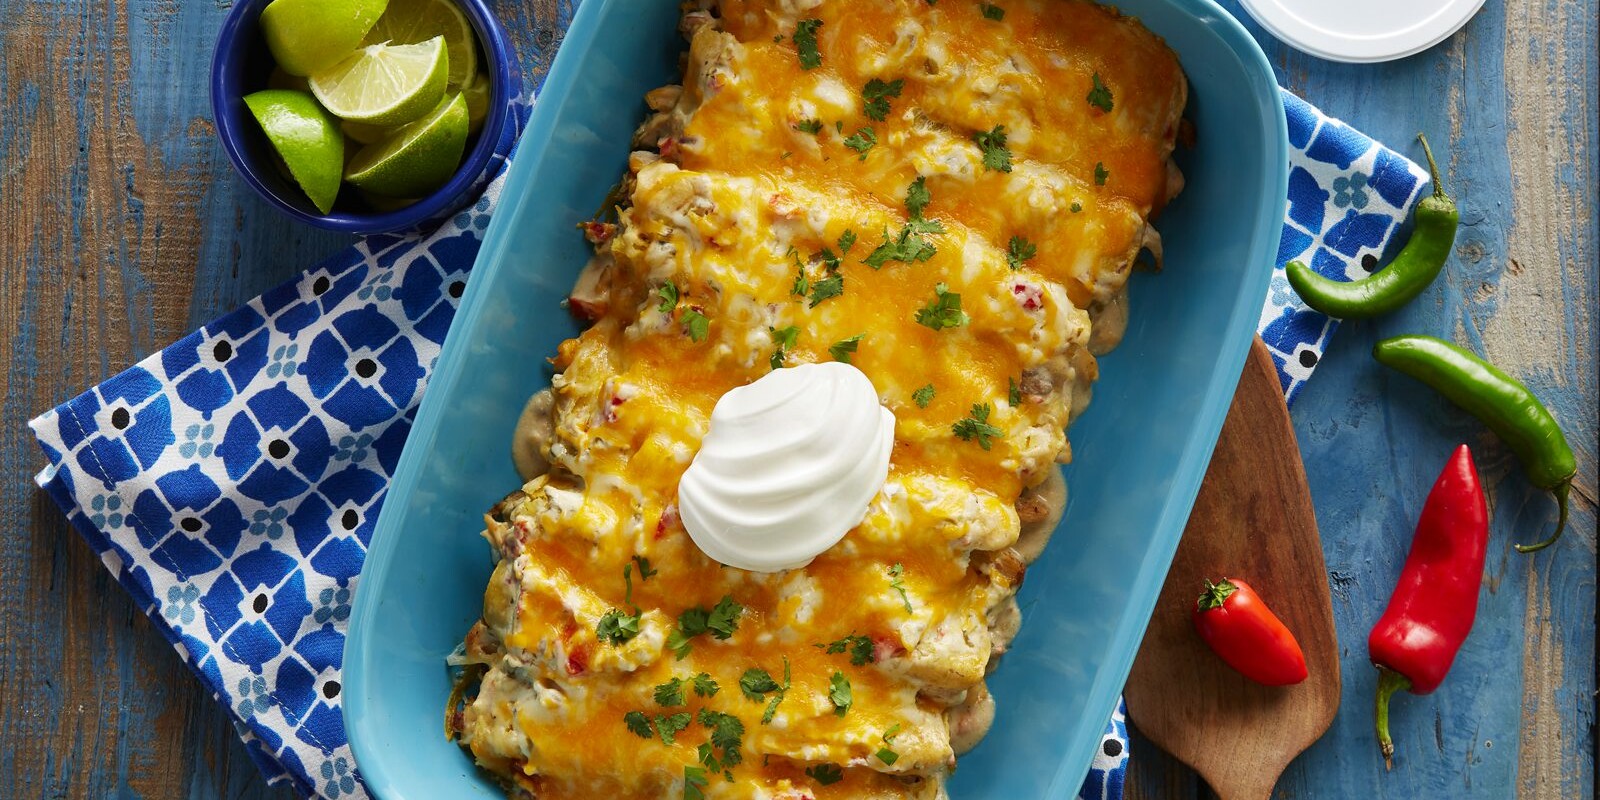
As the name suggests, Daisy Sour Cream is the key to this creamy, luscious sauce. It is the base of this sauce and lends a hint of tang, which pairs wonderfully with the green chiles. These enchiladas are so good, they will melt in your mouth.
Sour Cream Chicken Enchiladas Ingredients
- Spice Rub Ingredients
- Onion Powder (1 teaspoon): Adds a concentrated, punchy onion flavor to the rub.
- Ground Cumin (1 teaspoon): Earthy, warm, and slightly nutty in flavor, it is the dominant flavor of taco seasoning you know and love.
- Chili Powder (1 teaspoon): Adds a bit of smoky heat and kick to the spice rub.
- Oregano (1/2 teaspoon): Brings a warm, earthy, and aromatic flair to spice rub.
- Salt (1/2 teaspoon): Helps enhance other flavors.
- Black Pepper (1/4 teaspoon): Simple spice found in every kitchen, it elevates dishes and enhances the other flavors.
- Boneless, Skinless Chicken Breasts (1 ½ pounds): The protein in our enchiladas made delicious by the combination of the spice rub and a quick grilling.
- Cream Cheese (3 ounces, softened): A mild cheese that helps bind the sauce and, along with the sour cream, adds a velvety texture to the sauce.
- Verde Sauce (1 ¼ cups): A green sauce made of spicy green chiles and tangy tomatillos, spicy white onions, and spice. You can find Verde sauce in the produce section of many markets or in the Mexican food aisle.
- Canned Tomatoes with Chiles (10 ounce can, drained): Diced tomatoes picked at the peak of ripeness along with diced green chiles. They add a bit of kick to the sauce.
- Cream of Mushroom Soup (5 ounce can): Adds to the creamy base of the sauce and helps thicken the sauce.
- Daisy Sour Cream (1 cup): Adds a luscious richness and creaminess to the sauce, while also adding a slightly tangy component that balances the savory flavors.
- 6-inch Corn Tortillas (12): Corn tortillas are best for this recipe since they hold up better to baking than flour tortillas.
- Shredded Mexican cheese blend (2 cups): A mixture of shredded Mexican cheese works great adding the gooey texture to our enchiladas. Mexican cheese blend is usually made of a combination of Monterey Jack, Queso Quesadilla, Asadero, and cheddar cheese.

Substitutions, Variations, and Tips
- 1 ½ cups of shredded rotisserie chicken mixed with ¼ cup of Daisy Creamy Ranch Dressing may be used in place of grilled and shredded chicken.
- Seasoned ground beef may be used in place of the chicken.
- Drained and rinsed kidney or black beans may be added to the protein or used in place of the protein for a vegetarian option.
- To add a little heat, diced jalapenos may be added to the sauce.
- Any shredded cheese may be used in place of the Mexican blend.
- Fresh Pico de Gallo or prepared salsa may be used in place of canned tomatoes with chiles.
- Flour tortillas may be substituted for corn. They will absorb liquid quicker than corn so they may not hold their shape as well.
- Either yellow or white corn tortillas will work well in this recipe.
- To freeze enchiladas, prepare as recipe directs, then cover the pan with two layers of plastic wrap and then cover with foil. No need to thaw before cooking. Simply remove the plastic wrap, replace foil, and increase the cooking time by 1 hour. Cook covered with foil for the first 40 minutes.
- This recipe is easily halved or doubled.

How to Make Sour Cream Chicken Enchiladas
- Heat grill. Combine onion powder, cumin, chili powder, oregano, salt, and pepper. Coat each chicken breast thoroughly with seasoning blend. Grill on each side for 5 minutes or until cooked through. Allow it to rest for 10 minutes and then pull apart with two forks to shred.
- Cut softened cream cheese into chunks. Place cream cheese, Verde sauce, drained tomatoes with chiles, and cream of mushroom soup. Heat on medium-low, until cheese melts being careful not to bring to a boil. Remove from heat and fold in sour cream.
- Heat tortillas according to package directions. In each, spoon 1 1/2 tablespoons sauce and some shredded chicken. Roll up and place seam side down in a 9×13” baking dish.
- Pour remaining sauce over top of enchiladas. Sprinkle with cheese and bake at 350°F for 30 minutes, or until hot and bubbly.

Daisy Quiche
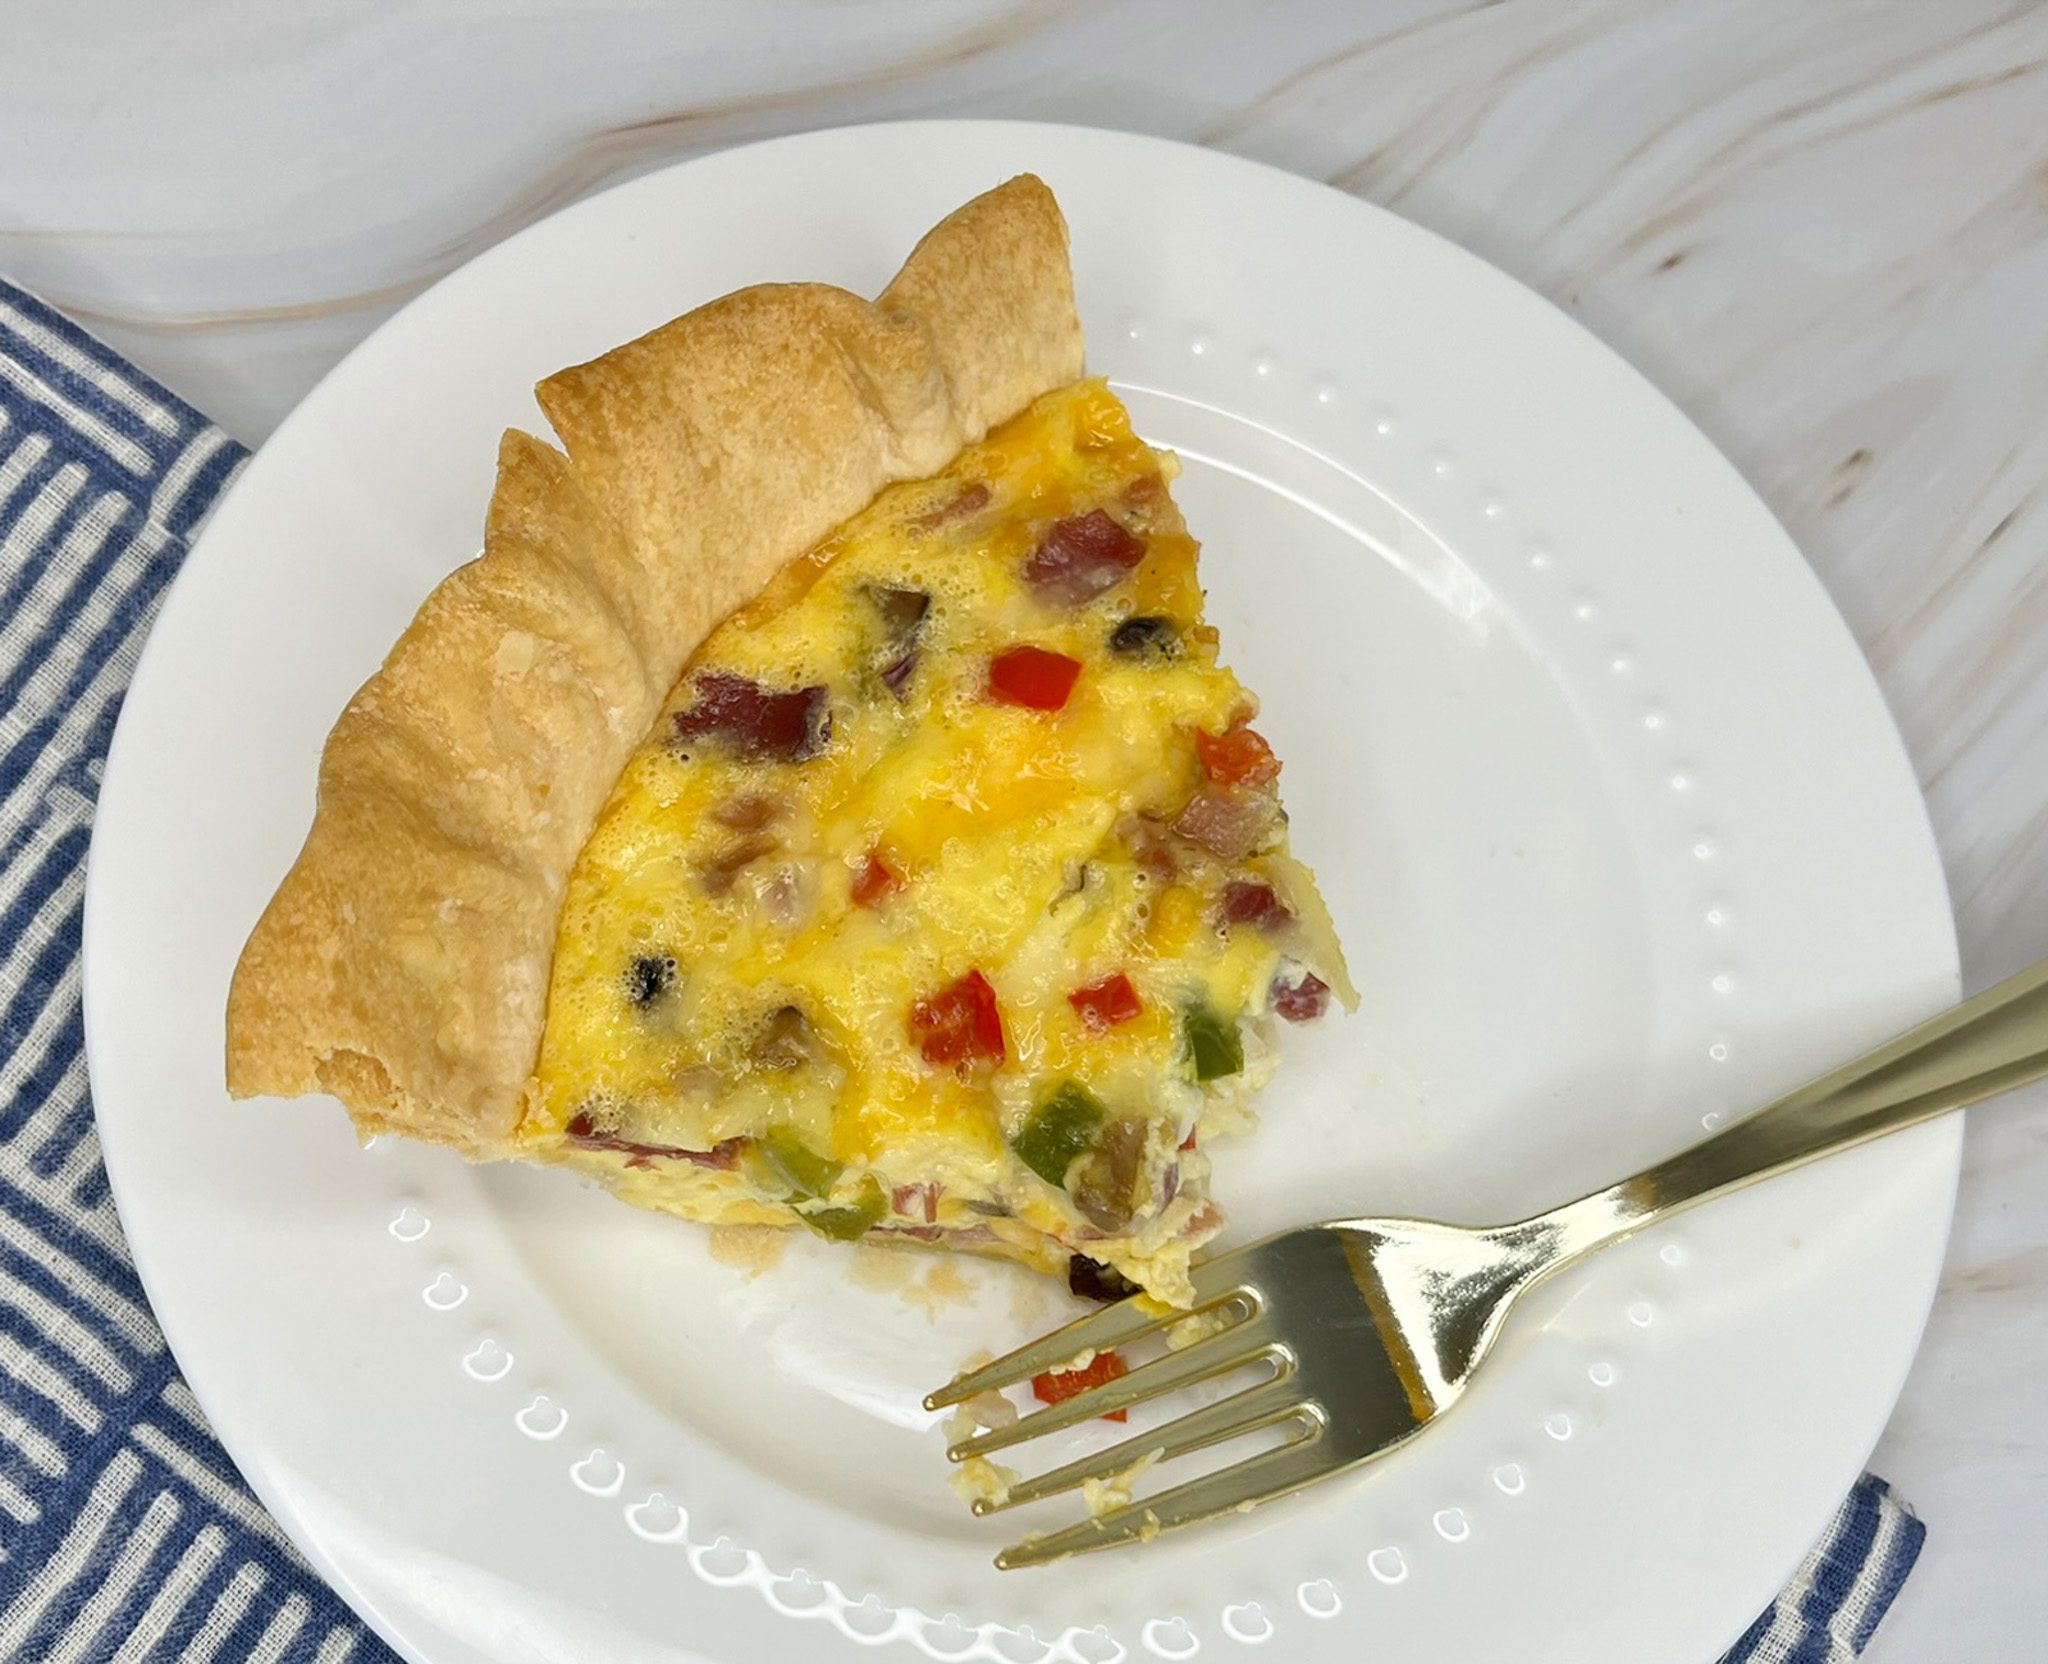
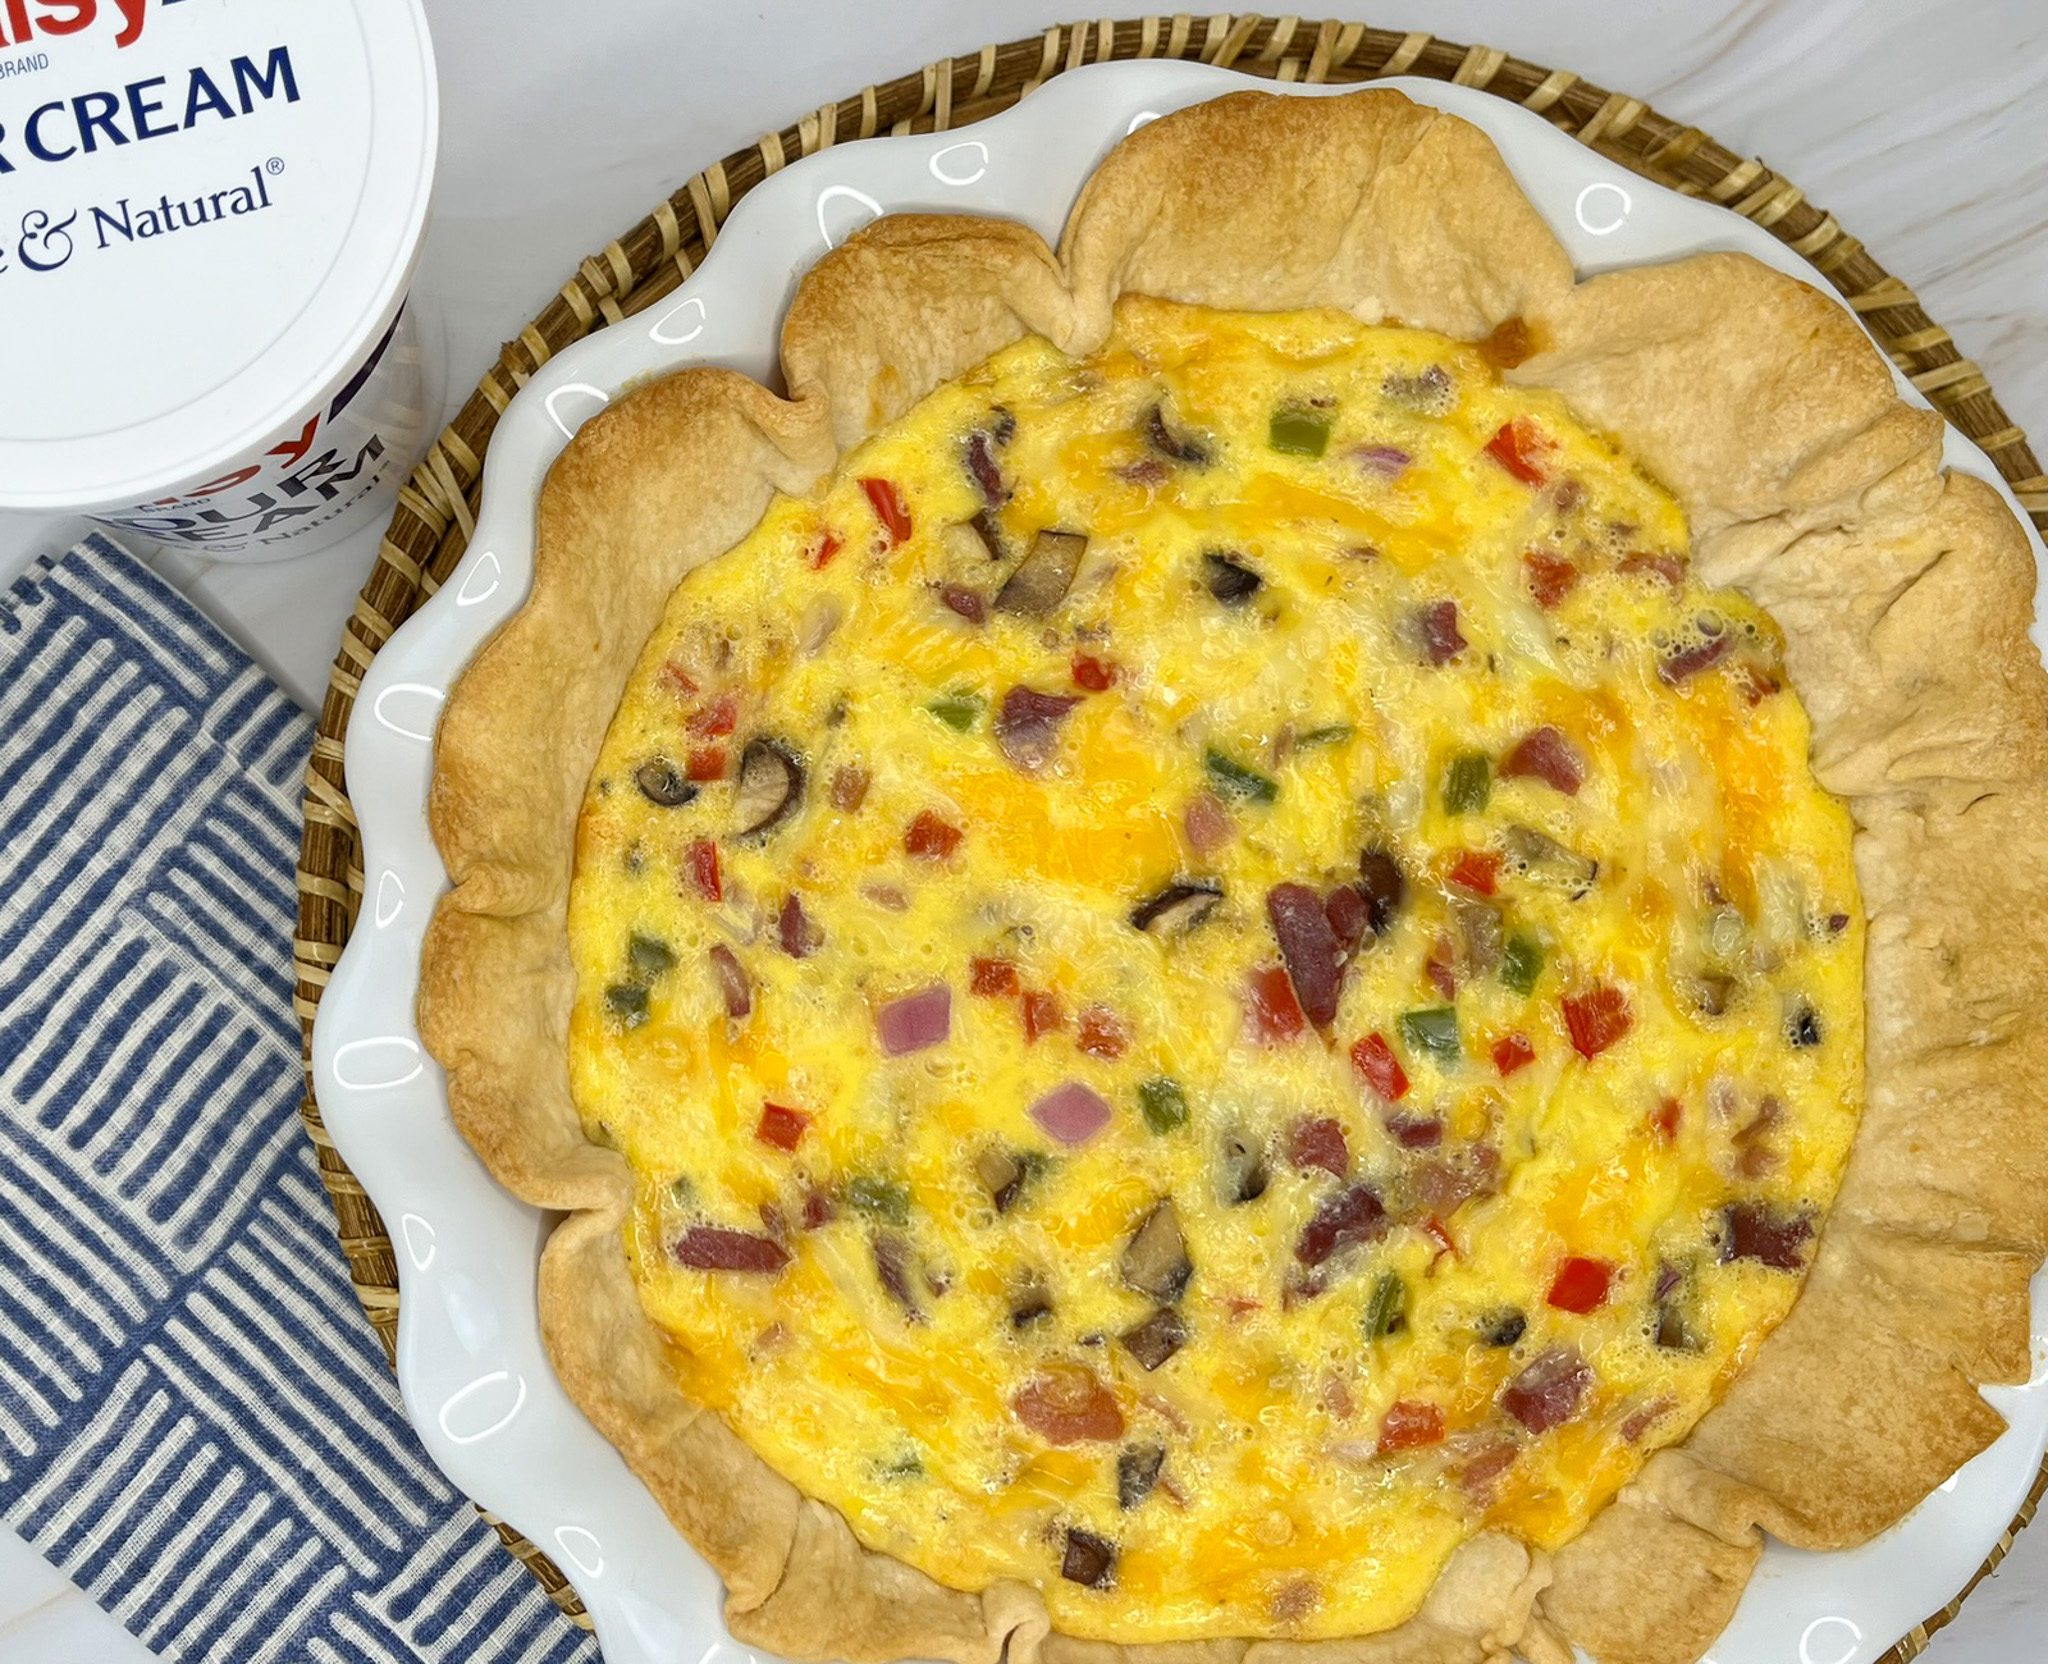
Daisy Quiche
Ideal for weeknight dinners, weekend brunch, entertaining, or for holiday gatherings, this Daisy Quiche will really hit the spot. Warm and comforting, this quiche comes together in about 30 minutes. Pop it into the oven to bake while you visit or prep other dishes.

The perfect balance of savory, smoky, cheesy, creamy goodness in this quiche is sure to be a crowd-pleaser. This recipe is easily doubled. It can also be made ahead so it is ready to go whenever you need a premade brunch recipe.
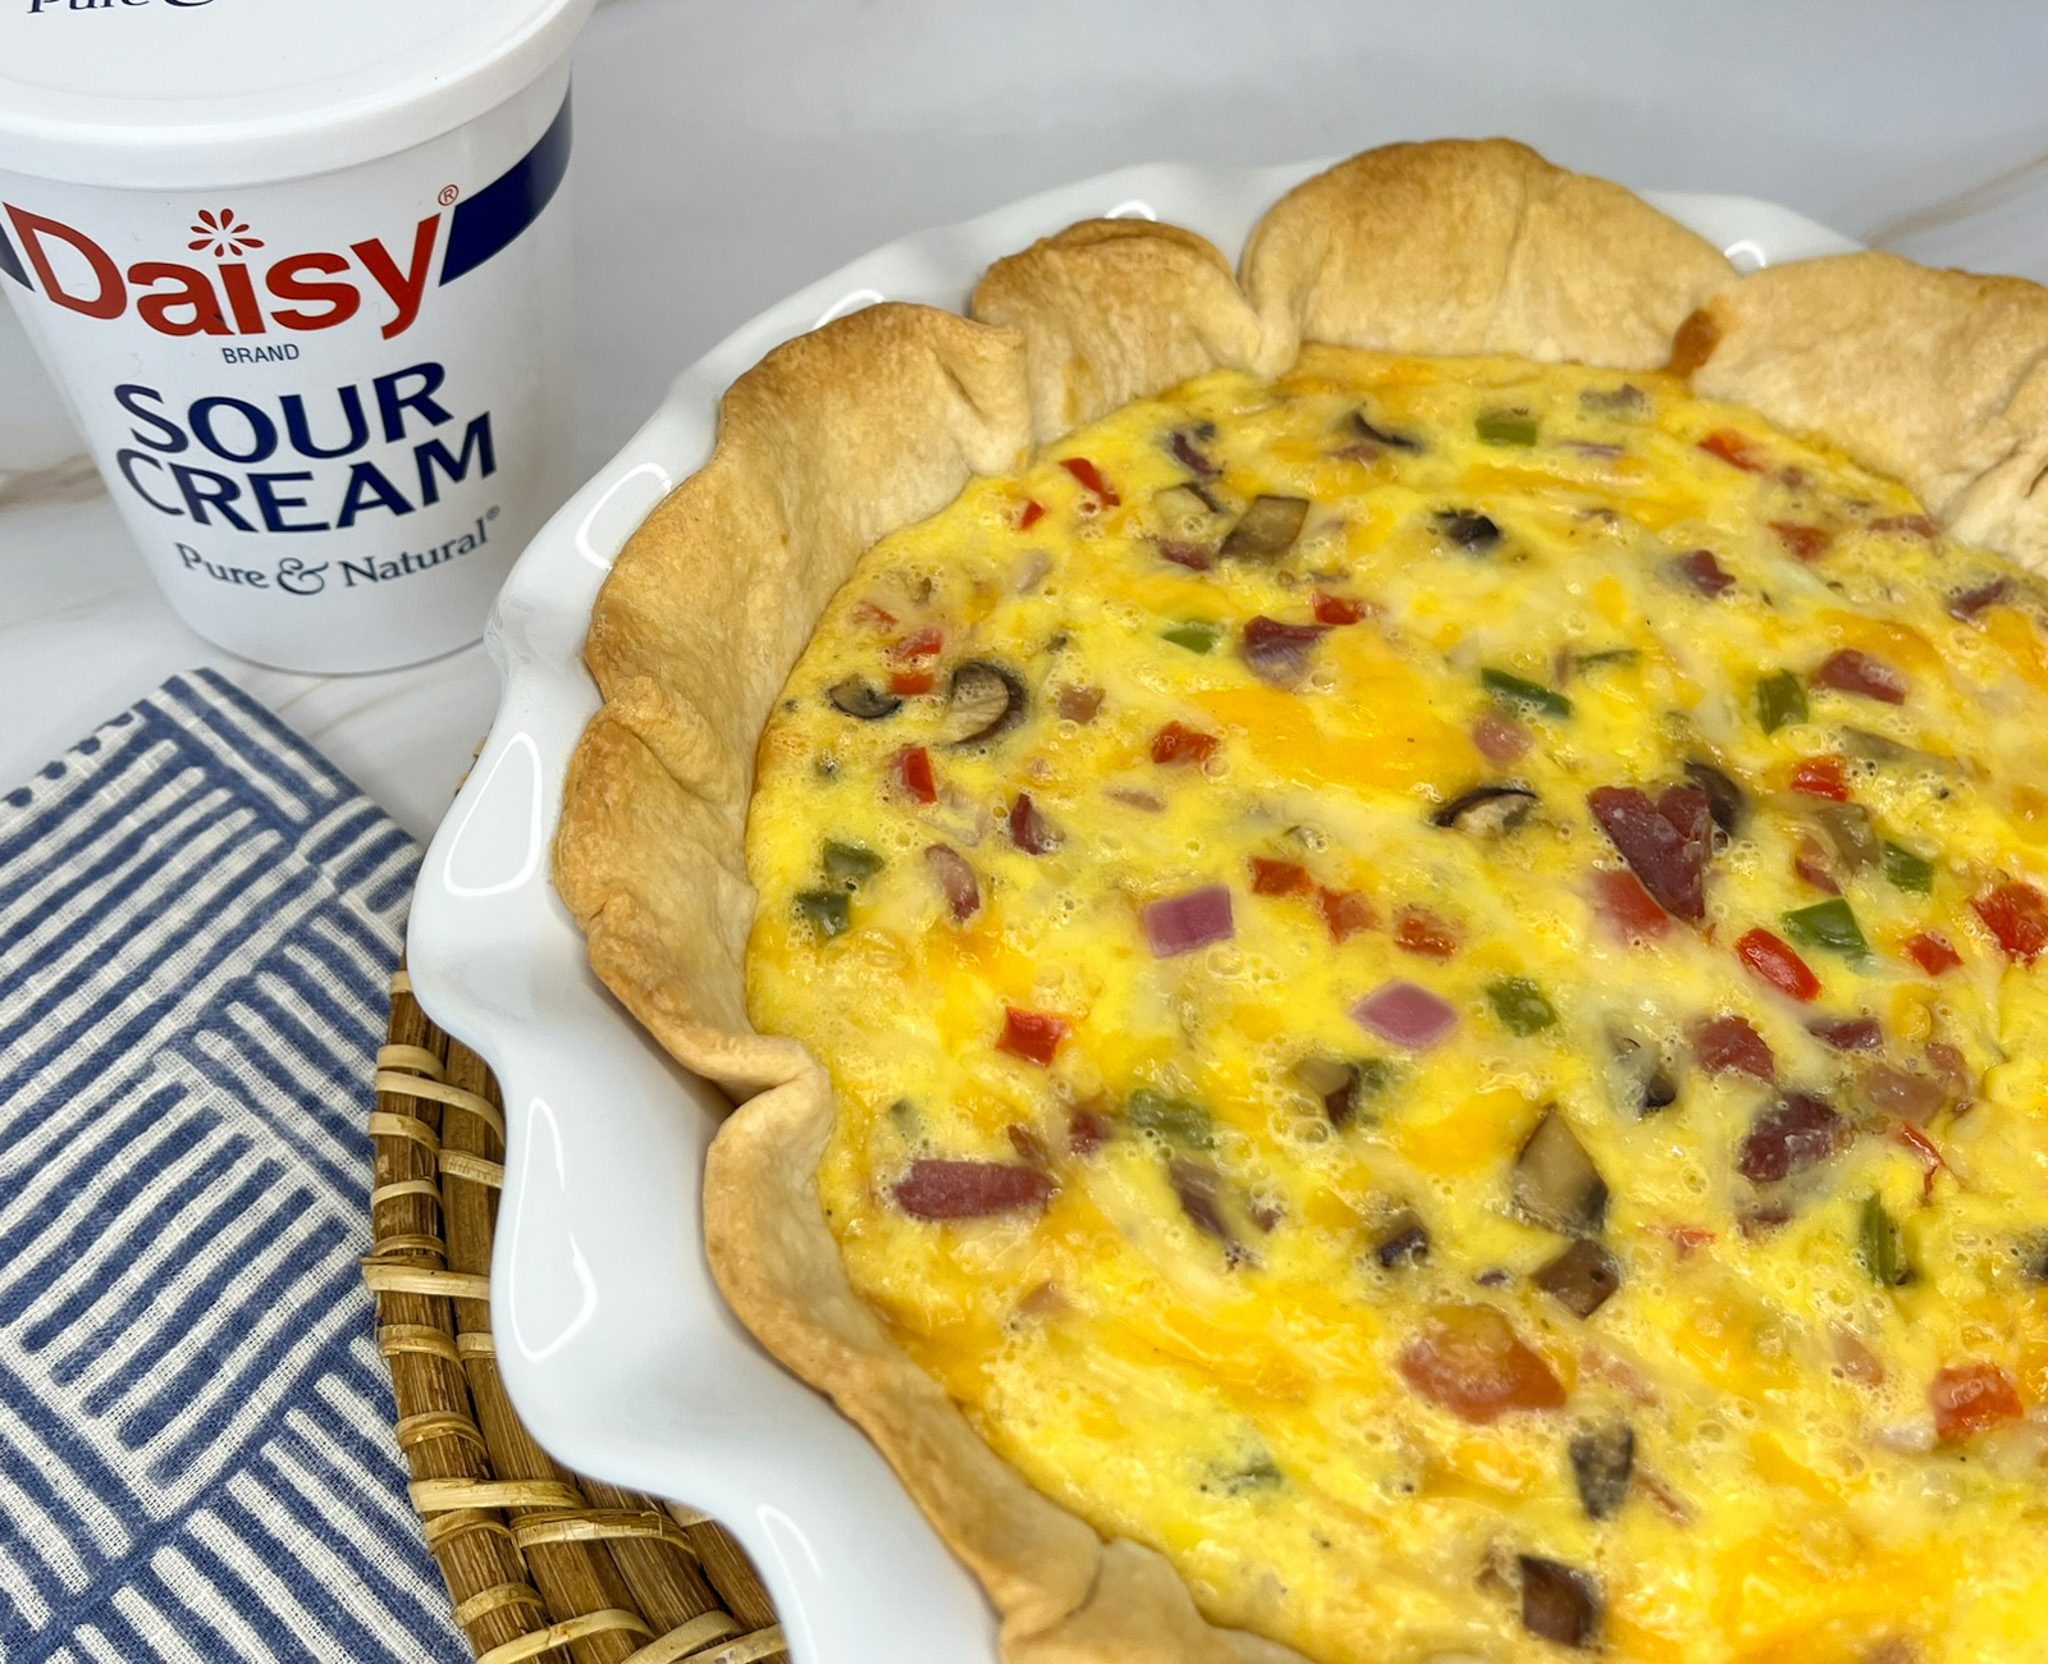
The sour cream in the filling adds a delicate creamy tartness to the quiche, while a dollop on top will add a touch of creamy freshness. Easily customizable to your liking, you can mix and match your veggies or add more depending on your taste.
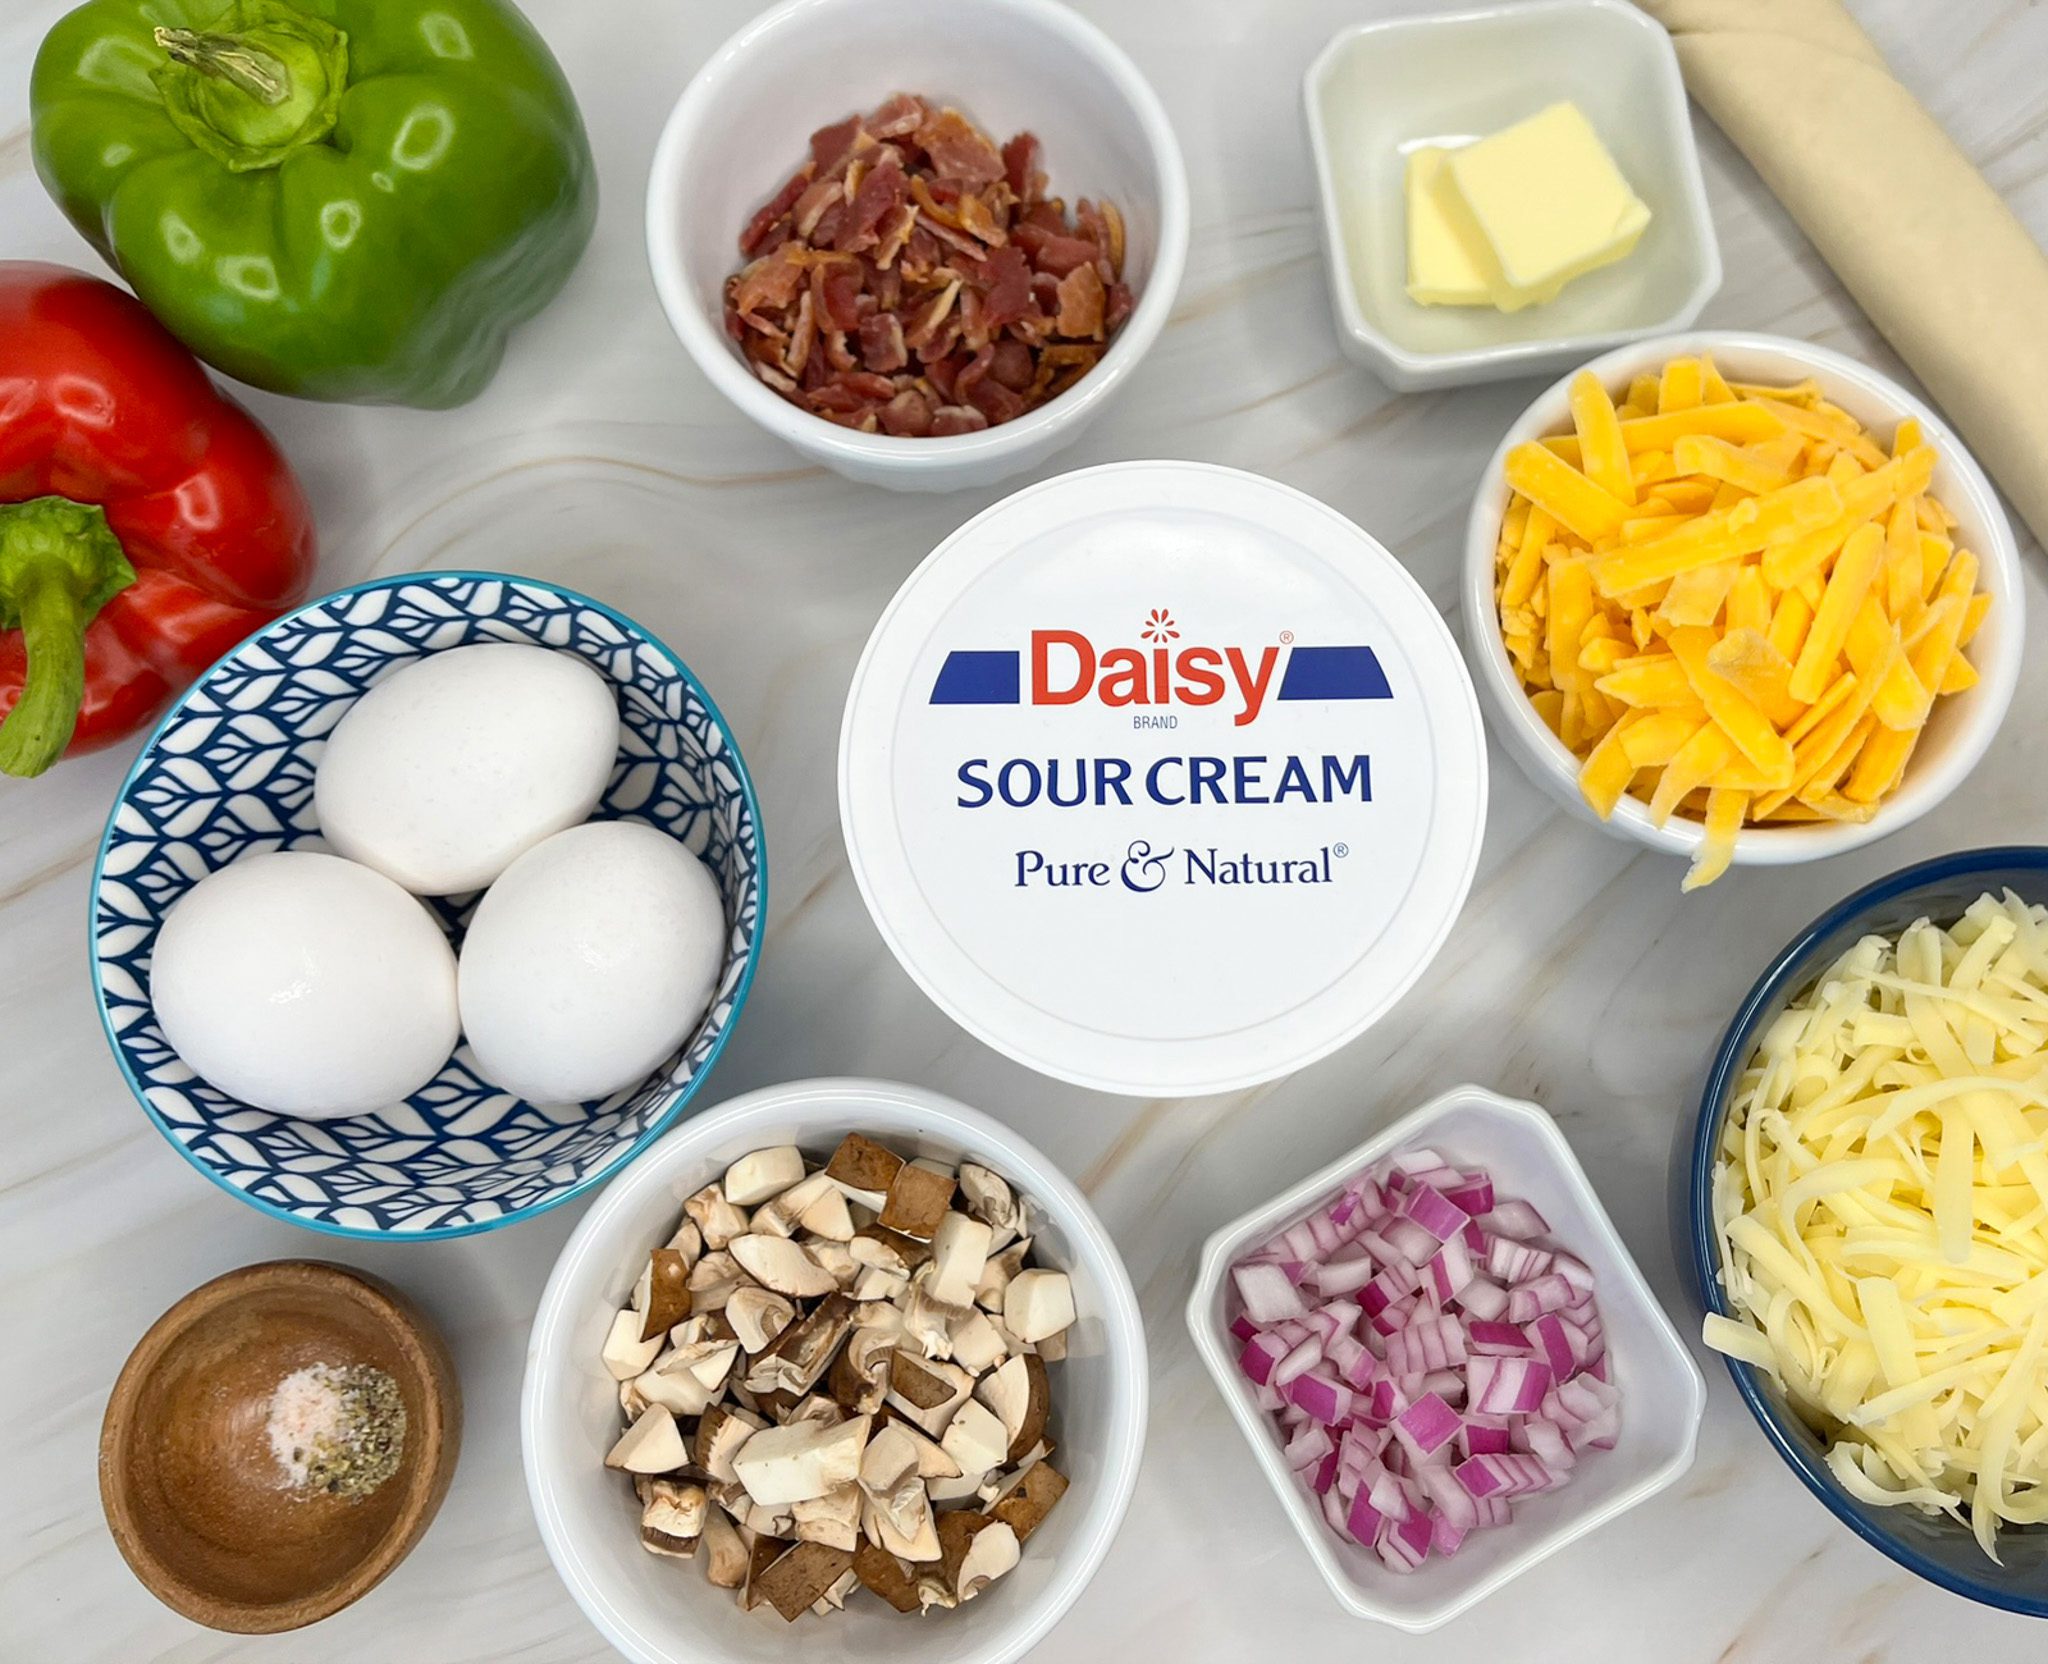
Daisy Quiche Ingredients
- Unbaked Pie Crust (9”): The shell of the quiche that holds the filling.
- Finely Diced Red Onion (1/3 cup): Adds a pop of color and a burst of bold, peppery flavor.
- Finely Diced Bell Peppers (3 tablespoons): Sweet and mild, they add color and a burst of mild peppery freshness.
- Diced Mushrooms (1/2 cup): Provides an earthy, woodsy flavor and meaty texture.
- Butter (2 tablespoons): Used for sautéing the vegetables, it adds flavor to the vegetables.
- Large Eggs (2): One of the main ingredients, the eggs bind the other ingredients together and help thicken the quiche.
- Daisy Sour Cream (1 cup): Adds richness and creaminess to the quiche, while also adding a slightly tangy component that balances the savory flavors.
- Crisp, Crumbled Bacon (5 strips): Adds a hint of smoky goodness, texture, and color.
- Shredded Swiss Cheese (1 ½ cups): Adds a complex mild flavor that is a mix of salty, sweet, and nutty, and is the first of the two cheesy components.
- Shredded Mild Cheddar Cheese (1 cup): Distinct flavor that is slightly tangy, it helps balance the Swiss cheese and is the second of the two cheese components.
Substitutions, Variations, and Tips
- When choosing mushrooms, look for ones that are firm and dry. Both white and brown mushrooms work well in this recipe. Brown mushrooms have a deeper, earthier flavor than white mushrooms which become more pronounced when cooked.
- Any color of bell peppers may be used. Green bell peppers are slightly bitter with a bite, while red, orange, and yellow bell peppers are sweeter, milder, and mellower.
- White or yellow onions may be used in place of red onions. Yellow and white onions are a bit sweeter and have less bite than red onions.
- Any type of mushroom may be used in place of brown or white mushrooms.
- Sautéing the mushrooms is a must. Mushrooms are full of moisture. Sautéing allows the moisture to be released and allows the flavors to intensify.
- Other cheese may be used in place of the Swiss. Good choices are gruyere, fontina or Jarlsberg.
- Sharp cheddar may be used in place of mild cheddar.
- Pancetta may be used in place of bacon for a similar smoky flavor.
- Fully cooked quiche freezes beautifully. Allow quiche to cool completely in refrigerator for several hours until firm. Wrap in plastic wrap and then in foil. Freeze for up to 3 months. Frozen quiche may be baked directly from freezer. Unwrap and back at 350°F until fully hot.
- Quiche will last for 3 days in the refrigerator. Individual slices of quiche may be reheated, covered with foil, in the oven at 325°F for 8-15 minutes.
- Reheating in the microwave is less than ideal as it will make the quiche rubbery.
- You may make the filling and crust ahead of time. Store the filling covered in the refrigerator overnight. Store the prebaked crust at room temperature until ready to use. When ready to cook, assemble and bake.
- Let the quiche cool for at least 10 minutes or up to several hours to make slicing easier. Quiche may be enjoyed piping hot or served at room temperature.
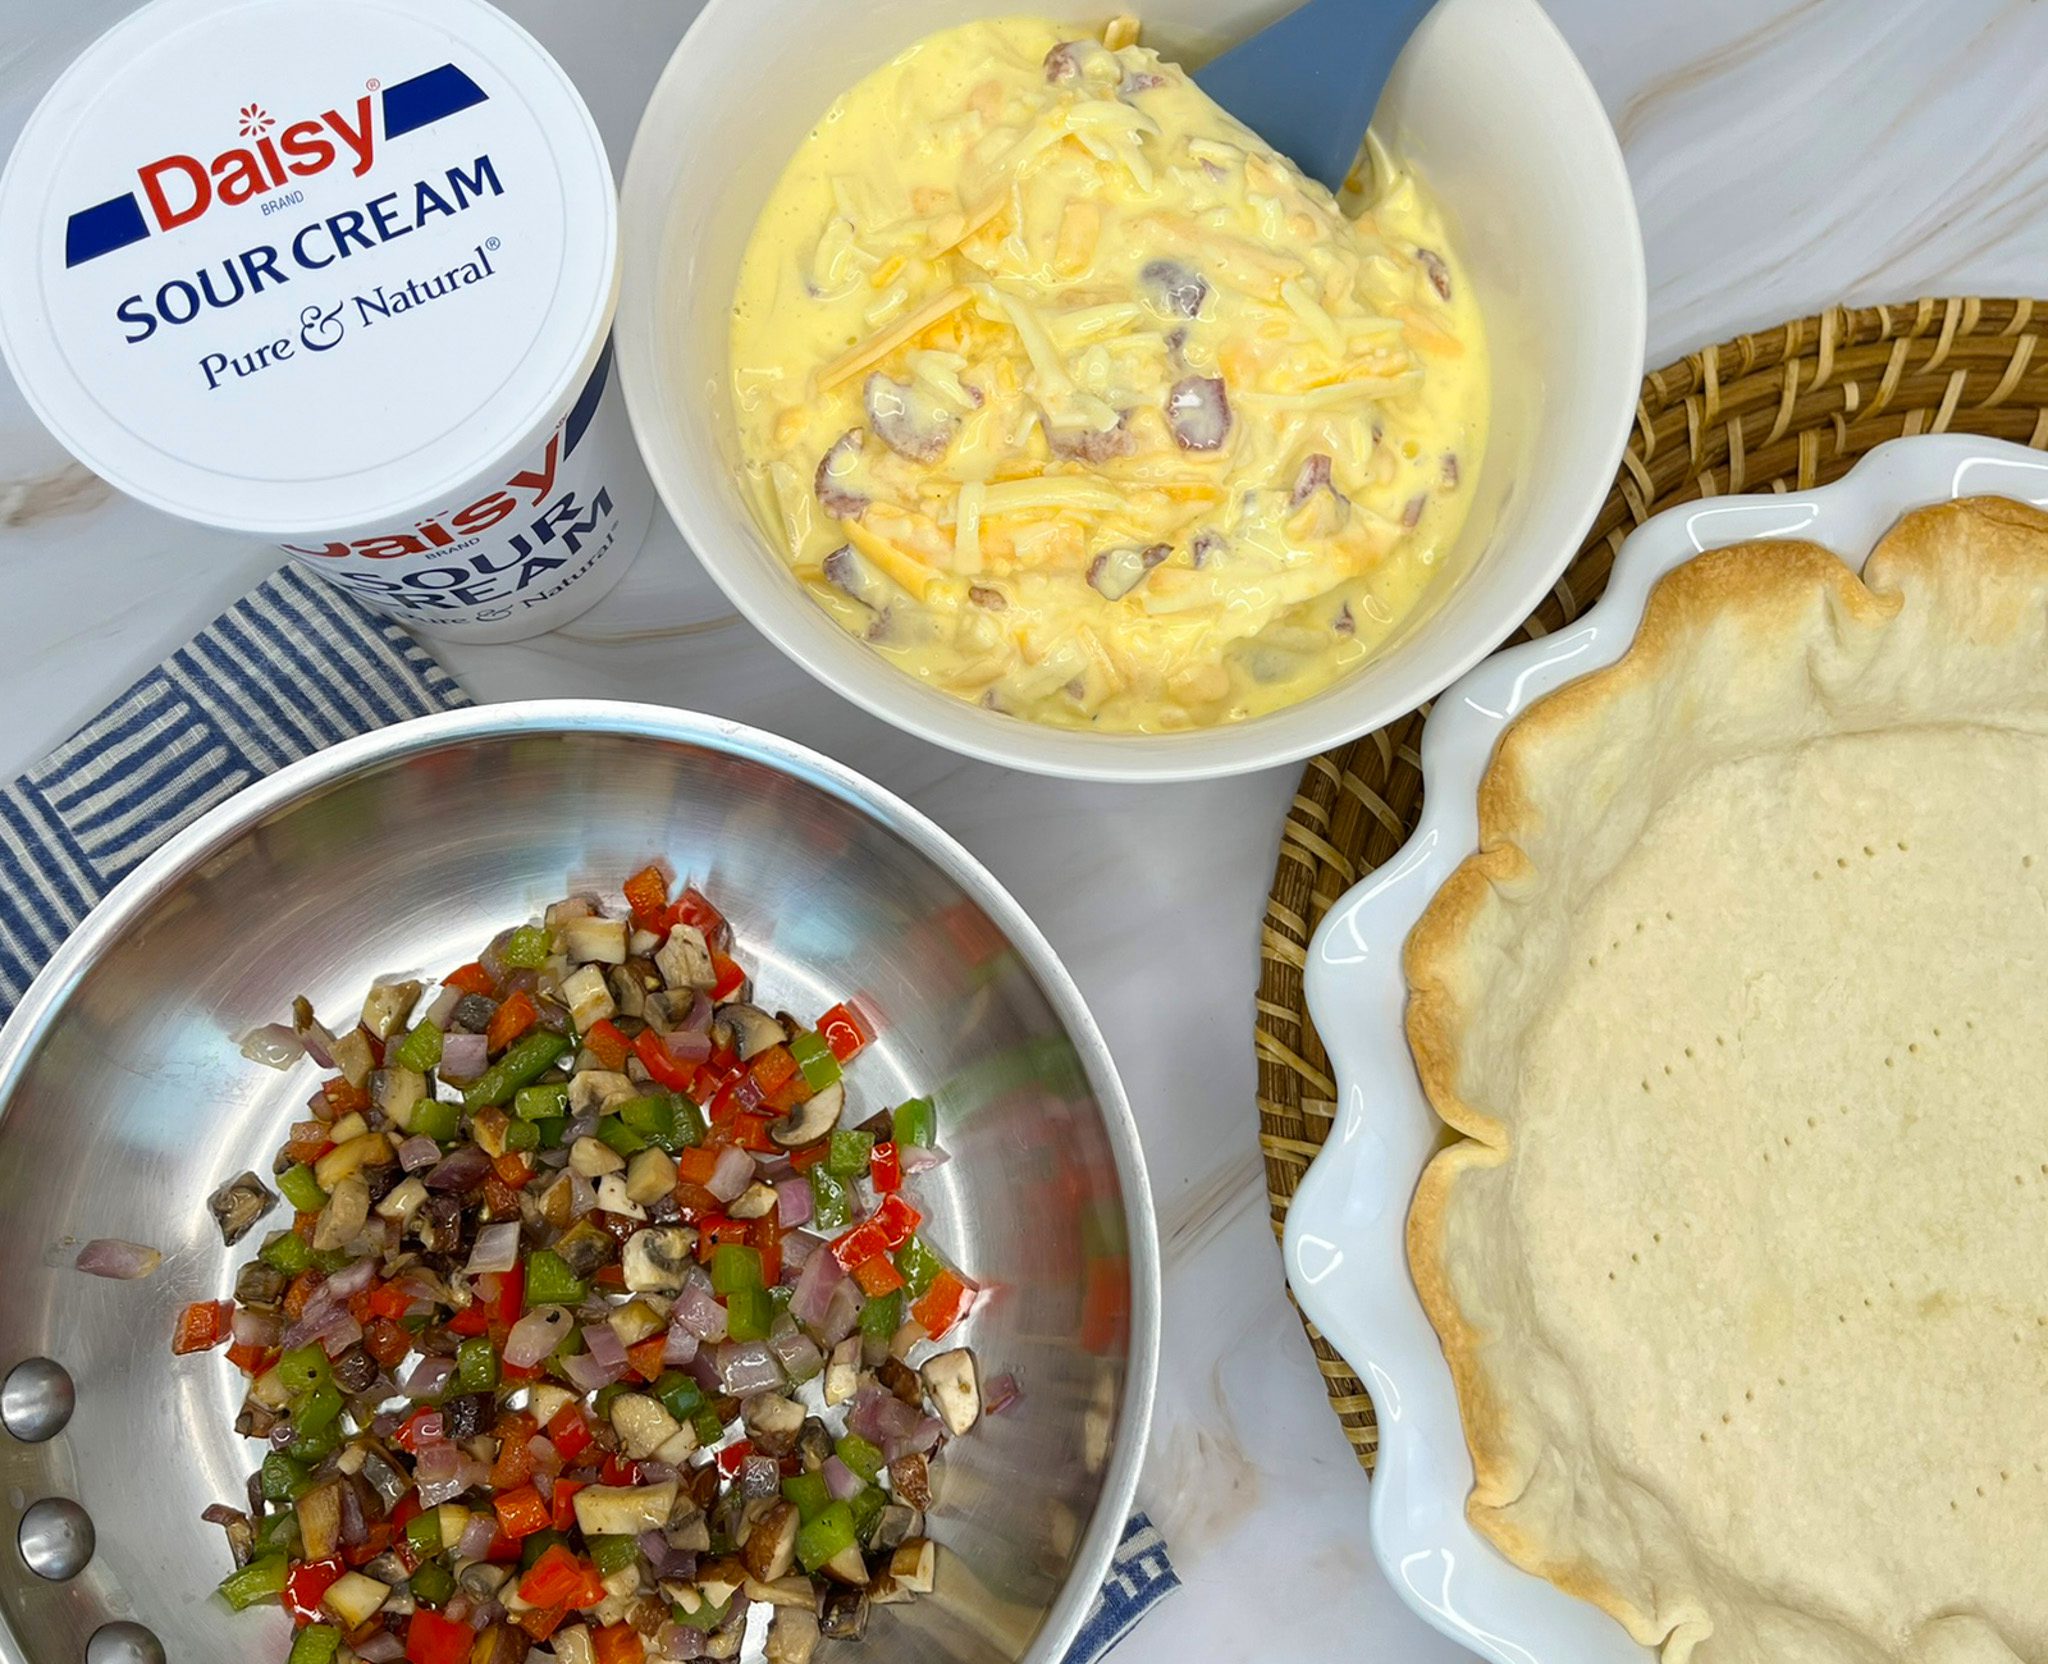
How to Make Daisy Quiche
- Poke holes inside of unbaked pie crust with fork. Line inside with foil and bake at 450°F for 8 minutes. Remove foil and bake an additional 5 minutes or until crust is set and dry. Remove and reduce the oven to 350°F.
- Sauté onions, peppers, and mushrooms in butter until softened.
- Combine vegetables with remaining ingredients. Pour into baked pie crust.
- Bake at 350°F for 40 minutes or until center is set. Let stand for at least 10 minutes before cutting.
- Top each slice with a dollop of Daisy if desired.
Potato Wedges
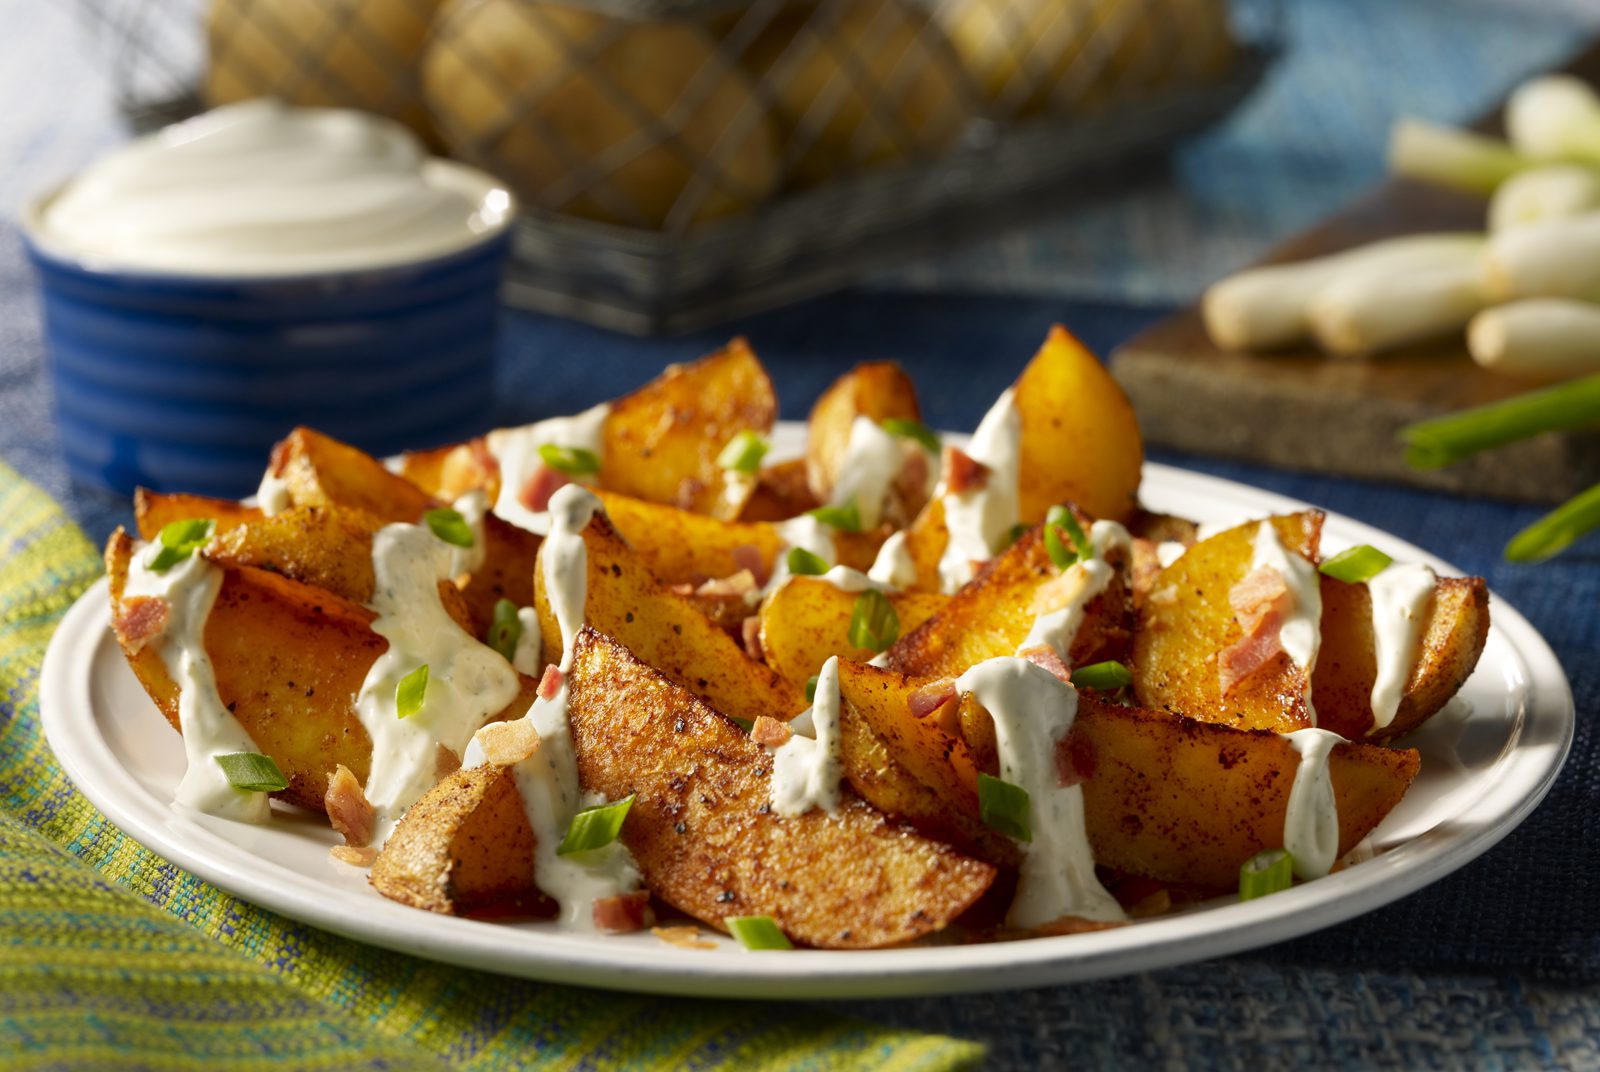
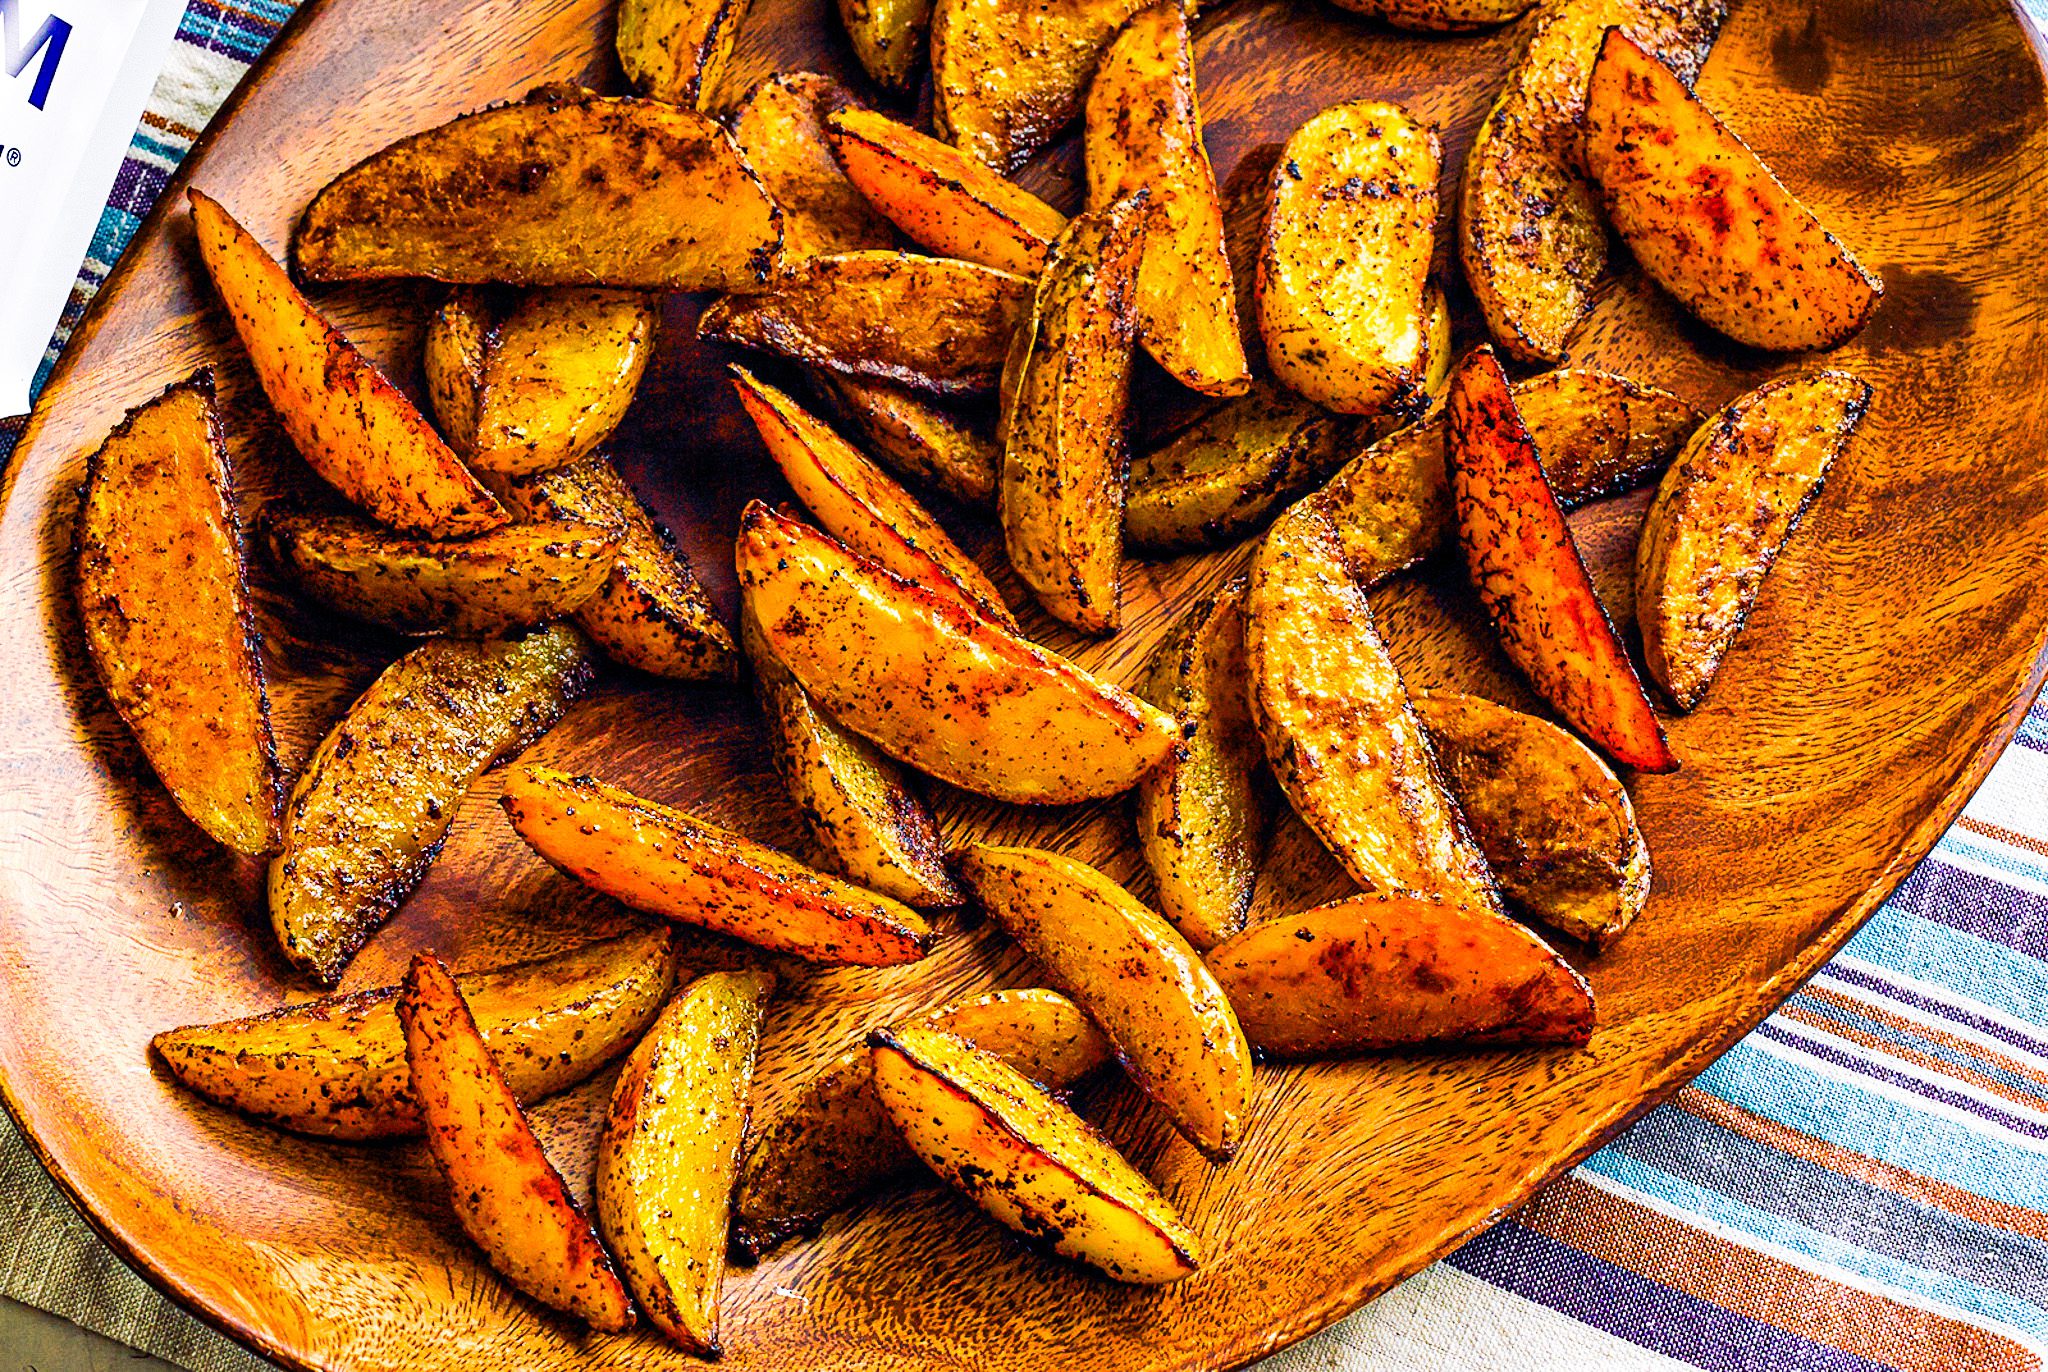
Potato Wedges
Comforting, hearty, and delicious, Potato Wedges can be eaten as a snack, side, breakfast, brunch, or appetizer. They are the perfect accompaniment to your favorite burgers and sandwiches and are great for party smorgasbords. Great for tailgating, parties, or a comfy evening in, you’ll devour these delicious wedges.

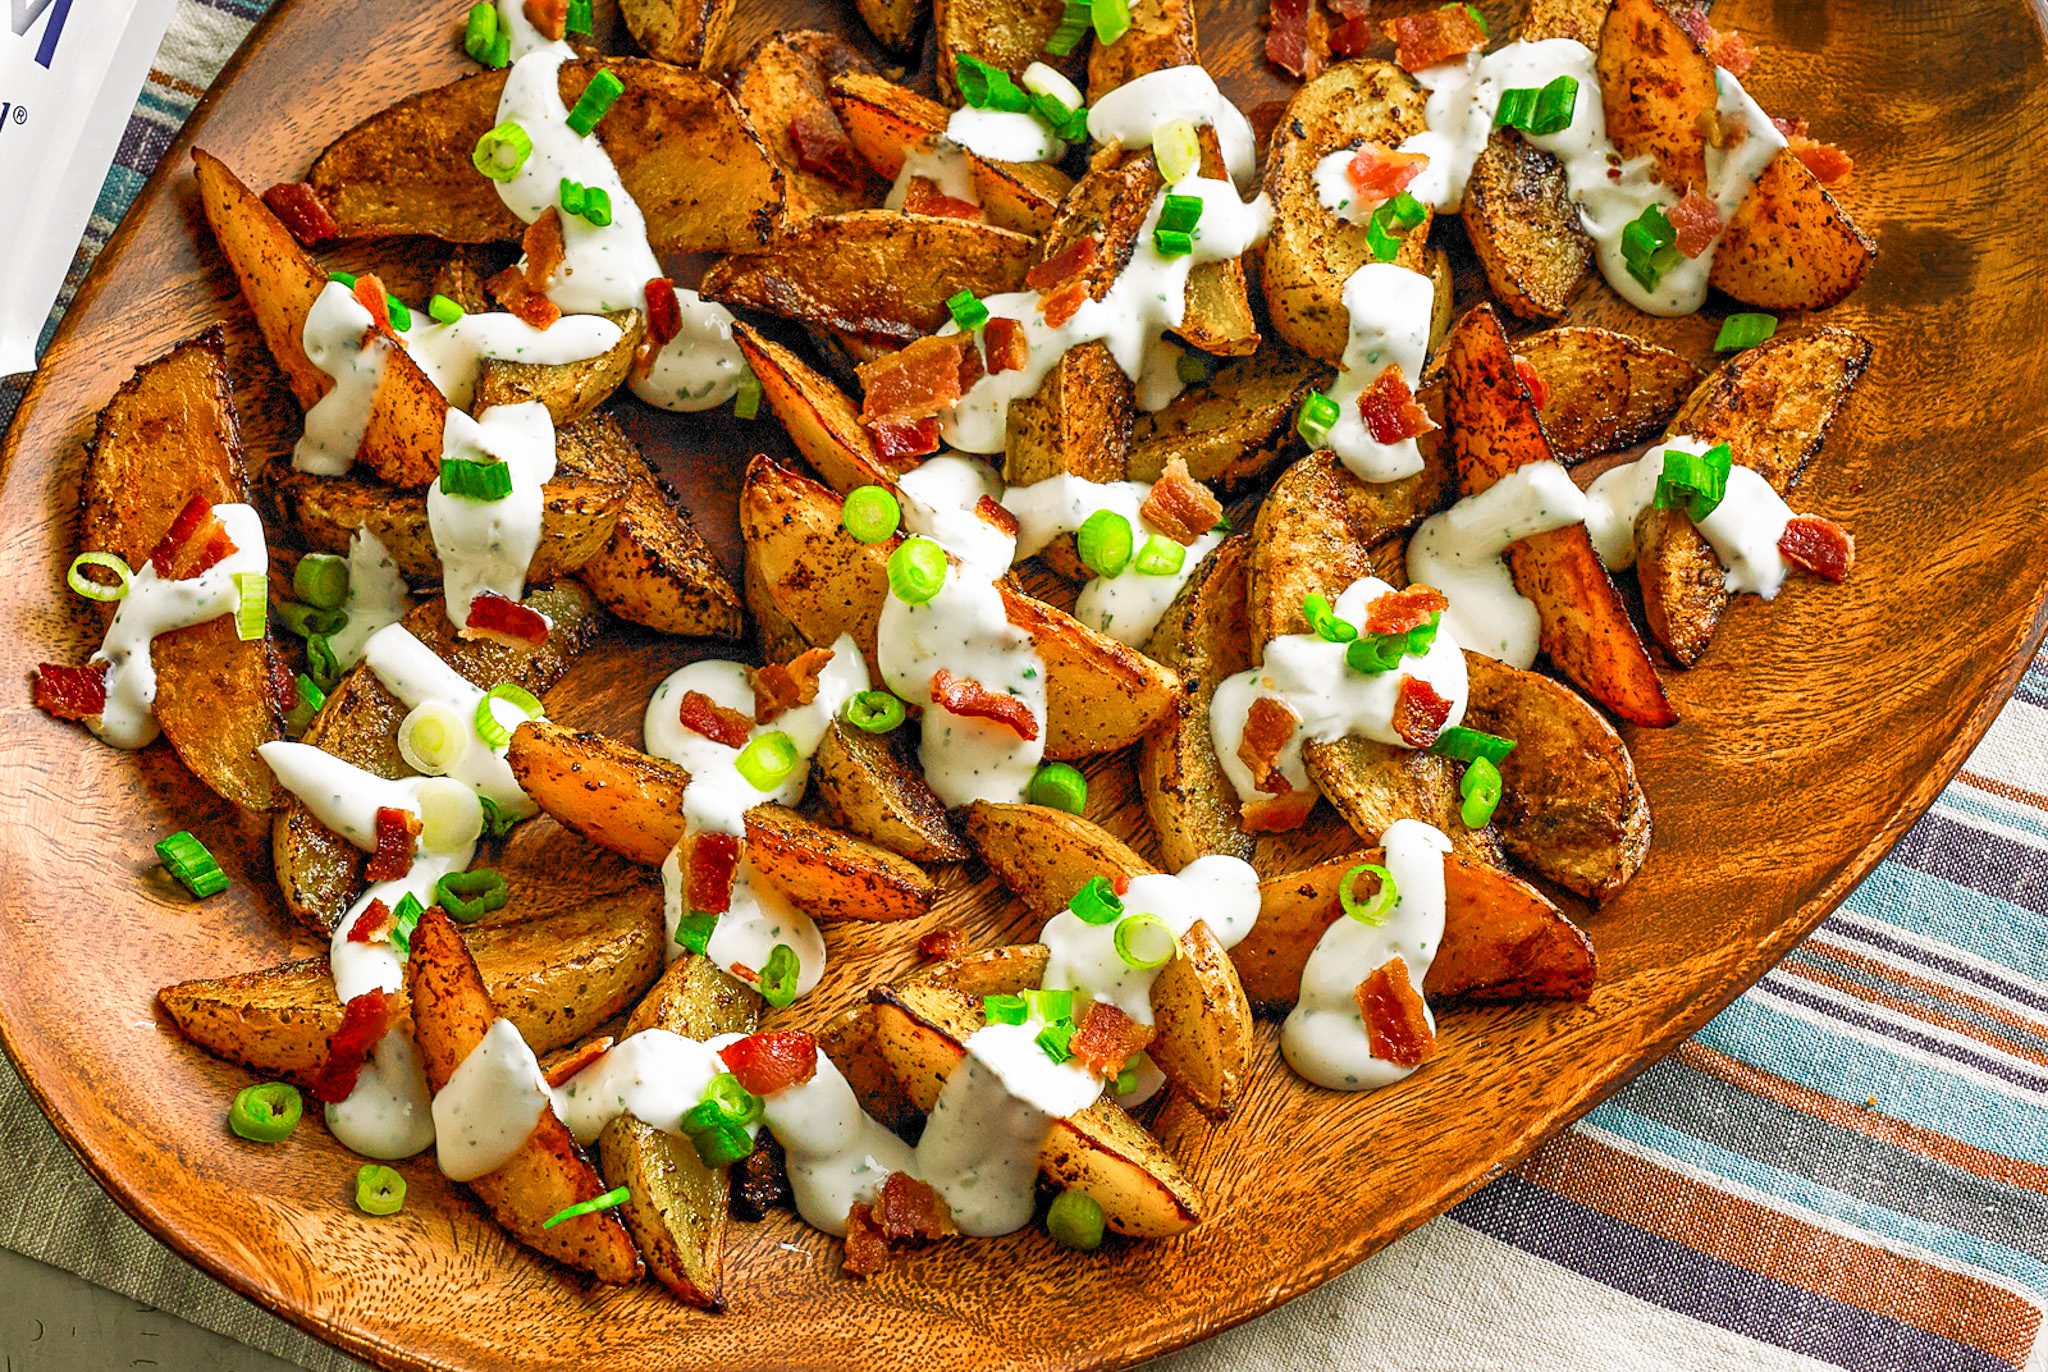
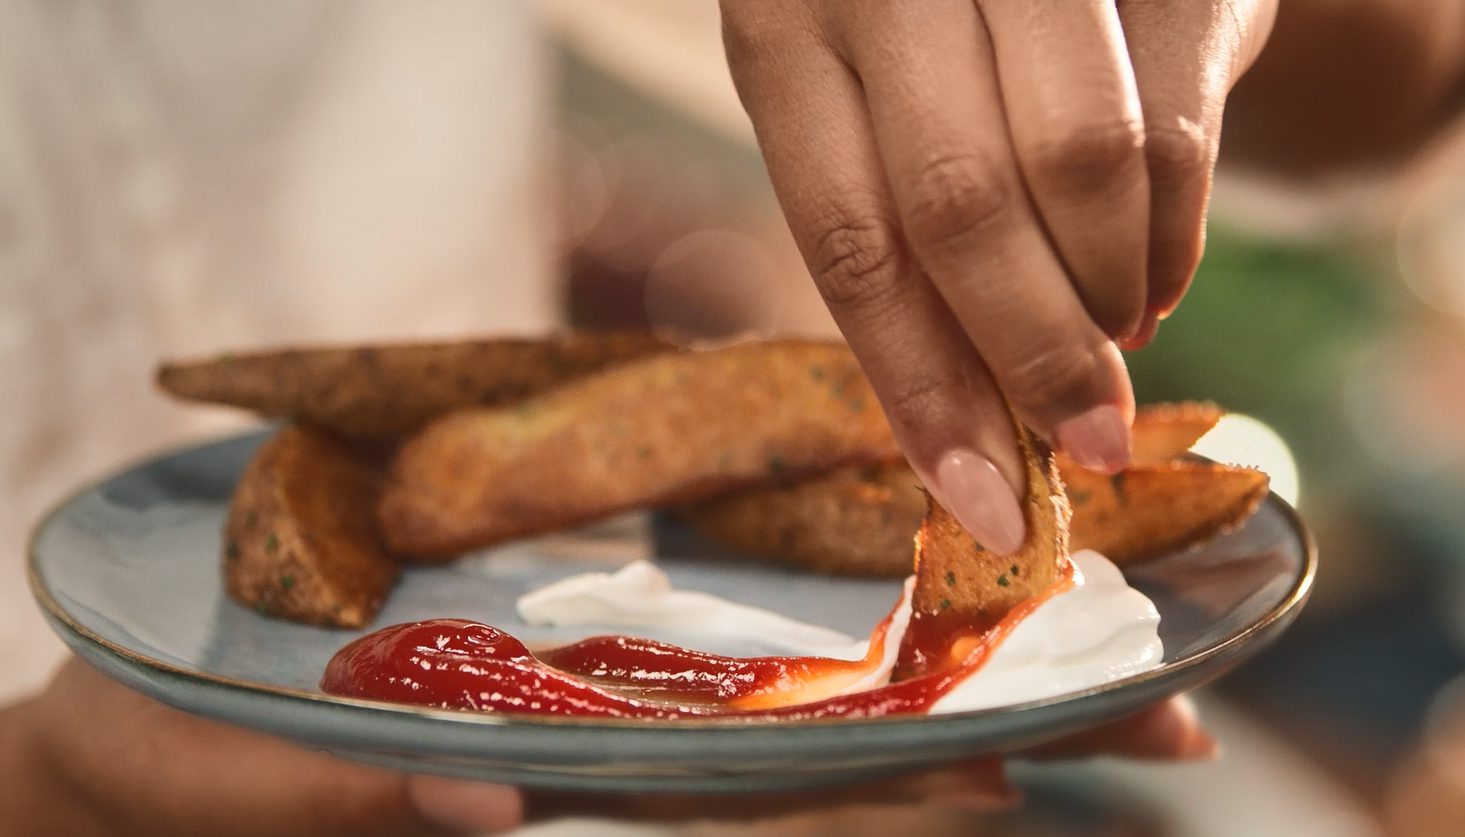
Unlike thinner fries, Potato Wedges are thicker, more satisfying and filling. With a golden crunch exterior and fluffy, creamy interior, they offer a great bite with a balance of textures. They can be baked or air-fried, making an indulgent treat without all the guilt. The seasoning options are endless from simple salt and pepper to garlic and herbs to your favorite spice blends. What goes better with potatoes than sour cream? The dipping options are endless. Our favorites are delicious and creamy Daisy Creamy Ranch Dip, and an easy, delicious dipper made with Daisy Sour Cream mixed with ketchup.
Potato Wedge Ingredients
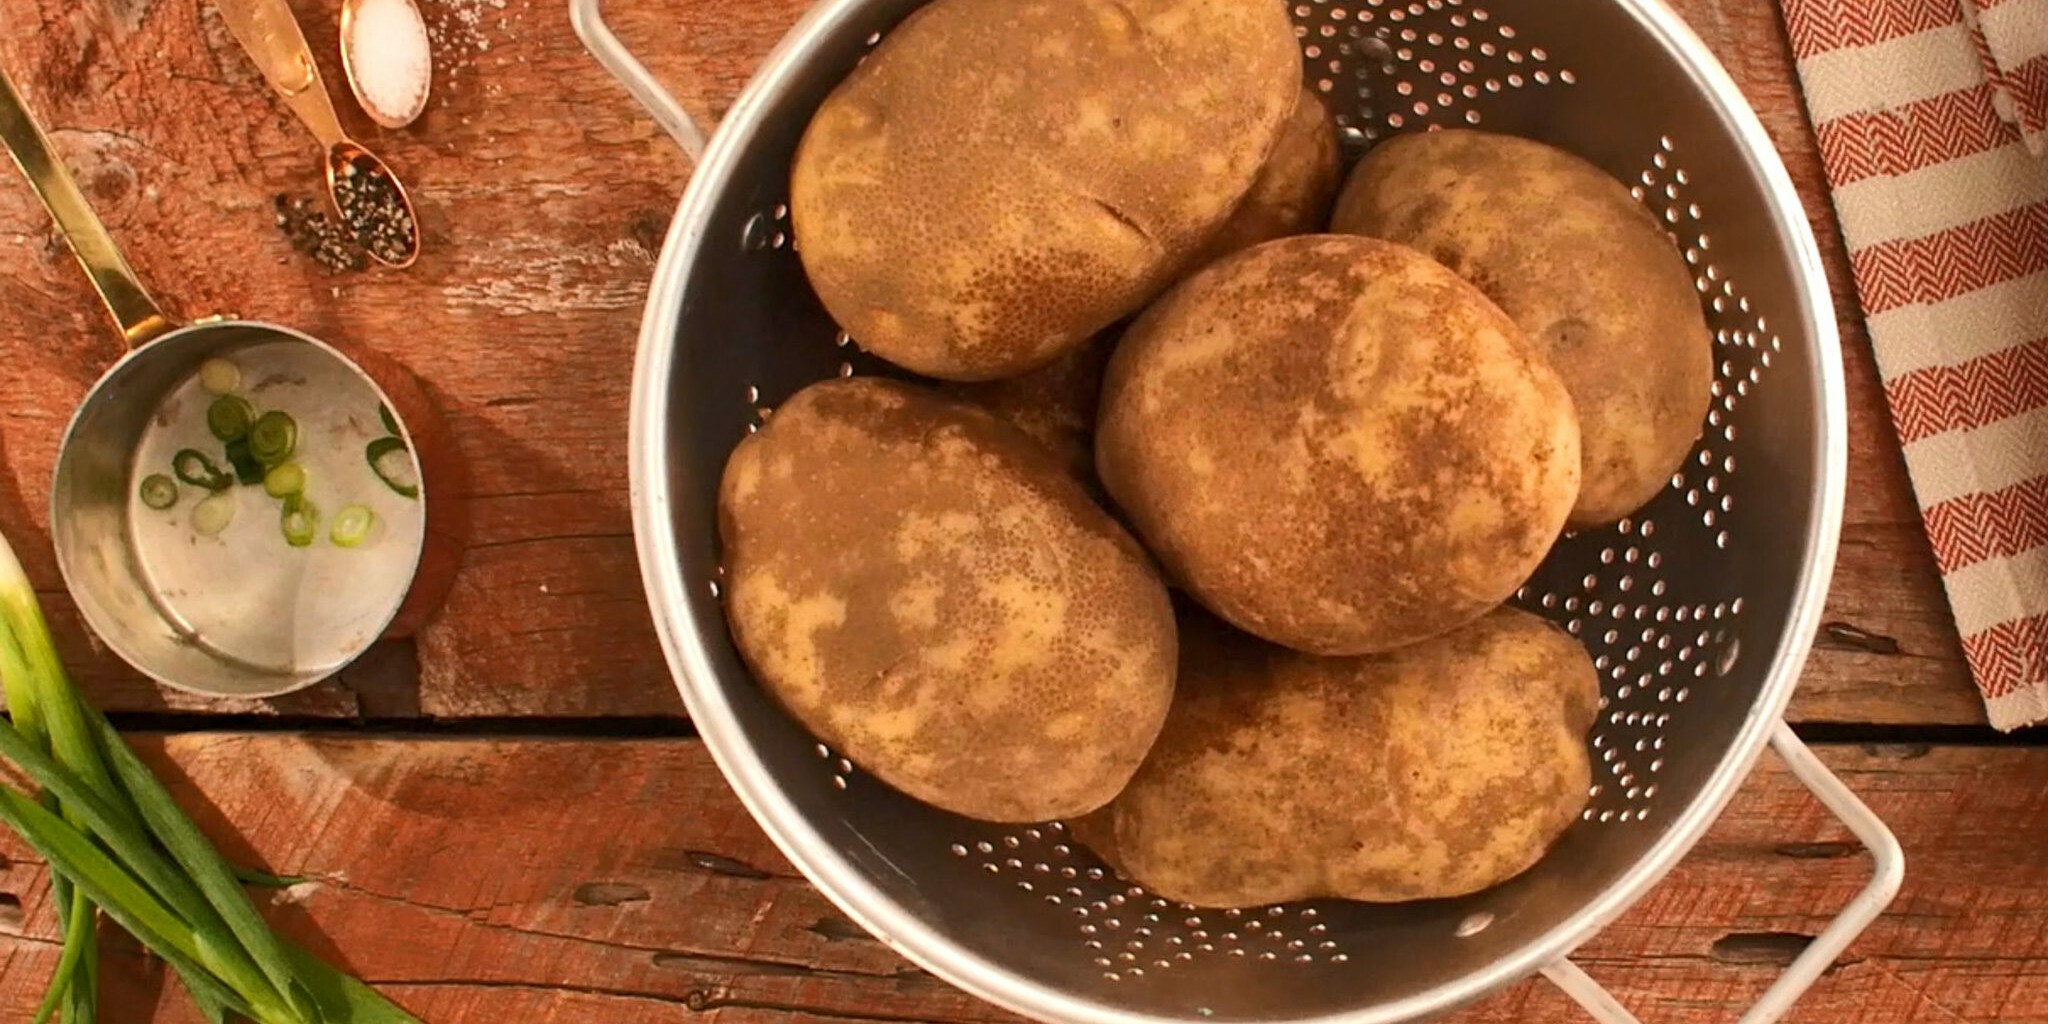
- Yukon Gold Potatoes (5 medium, cut into wedges): With creamy interior texture and buttery flavor, they are the perfect potato for oven frying and air frying for a crispy outside. Russet potatoes also work well for wedges and will crisp up nicely.
- Canola Oil (1/4 cup): Mild in flavor, it is used to create crispy, brown potato wedges without traditional frying.
- Salt (1 teaspoon): Table salt works great for this recipe. Kosher salt or finely ground “popcorn” salt may also be used. Your favorite seasoned salts would also make an excellent choice. Try experimenting with flavors for tasty twists.
- Black Pepper (1/2 teaspoon): The classic compliment to salt, it adds a slightly warm, floral flavor to the wedges.
- Chili Powder (2 teaspoons): Adds a hint of smoky heat to the wedges. The amount may be adjusted to less or more depending on your spice preference.
- Daisy Creamy Ranch Dip (2 cups): Rich, creamy, and delicious, it adds an herby, garlicy flavor and is the base of the dipping sauce.
- Heavy Cream (1/2 cup): Also called whipping cream, it combines with the creamy ranch dip to make the perfect dipping consistency.
- Bacon Bits (1/4 cup): Savory, salty, and full of smoky deliciousness, it adds textural contrast to the potatoes.
- Sliced Green Onions (1/4 cup): Adds a pop of color and adds a mild onion flavor.
Substitutions, Variations, and Tips
- Avoid using waxy red potatoes as they contain too much moisture. Too much moisture will prevent the potatoes from crisping, making soggy, limp wedges.
- Vegetable oil may be used in place of canola oil. Grapeseed oil may also be used. Both have a mild, neutral flavor.
- Non-stick cooking spray may be used liberally instead of canola oil for a lighter option.
- Try experimenting with your favorite seasoning. The possibilities are endless.
- Be sure cook the bacon to crispy and dice into small pieces.
- The easiest way to cook crisp bacon is to place on a baking sheet lined with foil in a single layer and place into a preheated 400°F oven. Bake for 15-20 minutes or until crispy. Store any leftovers in a zip-top bag in the refrigerator for future uses. To reheat, place individual slices on a paper towel on a microwave safe plate and microwave for 10 seconds per slice.
- Scallions or chives may be used in place of green onions.
- Try adding a sprinkle of finely grated salty cheese, such as parmesan, asiago, Manchego, or feta.
- The easiest way to cut the potatoes into wedges is by select similarly sized potatoes and cut into halves along the long side. Cut the halves into halves again by placing flat side down onto the cutting board and cutting at an angle towards the point. Each potato will yield 8 wedges.
- The key to extra crispy wedges? Soak the cut potato wedges in ice-cold water for 10-20 minutes to remove some of the starch. Make sure to completely dry the potatoes once removed from the water. Dry potatoes will yield crispier wedges.
- Wedges may be made in the air fryer instead of the oven. To air fry, reduce the amount of oil to 1 ½ tablespoons. Place in an air fryer basket in a single layer, preheated to 400° Air fry for 10 minutes, flip, and cook another 5 minutes.
- Leftovers may be stored in a zip-top bag for 3 days. They reheat well in the oven or air fryer (350°F for 10 minutes or until warm).
- They may also be frozen without the dipping sauce. Layer onto a baking sheet until frozen and then place in an airtight container. To enjoy. No need to thaw, just place frozen wedges onto a baking sheet and bake at 375°F for 15-20 minutes.
- No time for to make a dipping sauce? Try dipping the wedges into a mixture of Daisy Sour Cream and ketchup.
How to Make Potato Wedges
- Preheat oven to 425°
- In a large bowl, combine potatoes, oil, salt, pepper, and chili powder. Toss until evenly coated. Spread on a sheet tray lined with parchment paper or foil. Bake 25-30 minutes or until tender.
- Meanwhile, mix creamy ranch dip and heavy cream together until combined.
- Transfer wedges to a serving platter. Drizzle dipping sauce over wedges. Sprinkle with green onions and crumbled bacon.


Chicken Tinga Tacos
Chicken Tinga Tacos
Simple and spicy, these Chicken Tinga Tacos are a delicious and easy Mexican dish featuring shredded chicken in a smoky, tangy tomato and chipotle sauce. It is the perfect balance of smoky heat and tangy sweet sauce coating juicy, tender chicken.
Tacos are the crowd-pleaser that everyone enjoys and that are easily customizable to suit individual tastes. Rich, spicy and hearty, Chicken Tinga Tacos are easily doubled or tripled. The Chicken Tinga can be made ahead saving valuable time when entertaining, or for those busy weeknights when you need something hearty, filling, and quick. Chicken Tinga Tacos are perfect Taco Tuesdays, tailgating, game nights, movie nights, get-togethers, potlucks, and parties. Serve alongside chips, salsa, and guacamole for an easy meal that feeds a crowd.
Chicken Tinga Taco Ingredients
- Olive Oil (1 tablespoon): Perfect for sautéing onions.
- Sweet Yellow Onion (1 cups, thinly sliced): Mild and crisp with a touch of sweetness, the natural sugars allow for the perfect caramelization and are one of the main components of the sauce. They balance the acidity of the tomatoes. Vidalia’s are the perfect onion for tinga sauce.
- Minced Garlic (3 teaspoons): Pairs perfectly with tomatoes and onions, it’s another of the main flavors in the tinga sauce.
- Canned Fire-Roasted Tomatoes (5 ounce can): Picked and packed at the peak of ripe perfection to be the freshest tasting year-round, they are the smoky, acidic base of flavor of the sauce.
- Chipotle Peppers in Adobo Sauce (3, with sauce): Smoky, sweet, and spicy, they give the tinga sauce the signature flavor.
- Ground Cumin (1/2 teaspoon): A main staple Mexican spice, it adds a warm, earthy, and nutty flavor to the sauce.
- Dried Mexican Oregano (1 teaspoon): Twice as potent as regular oregano, it has a more pungent flavor citrusy lime flavor with a hint of heat.
- Kosher Salt (1/2 teaspoon): Less refined than other types of salt, it has a pure salty flavor without aftertastes.
- Chicken Broth (1 cup): Adds a rich, complex flavor to the sauce and thins it out.
- Shredded Rotisserie Chicken (3 cups): Found in the deli section of most grocery stores, it is a great shortcut for chicken tacos.
- Tortillas (8 6-inch): White or yellow corn tortillas work well for this recipe. Flour tortillas will also work well.
- Chopped Fresh Cilantro (2 tablespoons): Many people love this signature herb in Mexican cooking which tastes like a fresh burst of citrus, lemon, and pepper. However, some people find the taste more soap-like, due to genetics. Fresh parsley may be used in place of cilantro.
- Pico de Gallo (2/3 cup): Found premade in most produce sections, it’s made with fresh tomatoes, onions, cilantro, and lime juice, it adds a nice fresh taste and a textural contrast to the chicken in the tacos. It is fresher and less wet than salsa, making it the perfect topping for tacos.
- Daisy Sour Cream (1 cup): Adds a rich and creamy component to the tacos. It helps balance the spiciness of the tinga sauce.
Substitutions, Variations, and Tips
- Butter may be used in place of olive oil to sauté the onions.
- White or red onions may be used in place of the yellow onion and will add a slightly hotter, spicier flavor. Add a teaspoon of sugar if using a less sweet onion to replace some of the natural sugar found in the sweet yellow onions.
- Regular diced tomatoes may be used in place of fire-roasted tomatoes. Try adding ½ teaspoon of smoked paprika to keep the smokey flavor.
- Regular oregano may be used in place of Mexican oregano.
- Spice it up the tinga sauce by adding a dash of hot sauce, a sprinkle of red pepper flakes, fresh diced jalapeno, ancho chili powder, or smoked paprika.
- Fresh parsley may be used in place of cilantro.
- Drained salsa or picante may be used in place of Pico de Gallo.
- You can make your own Pico de Gallo by mixing 4 diced Roma tomatoes, ½ cup diced white or red onion, ½ cup chopped cilantro, ½-1 finely diced jalapeno, 2 tablespoons fresh lime juice (or lemon juice), and a sprinkle of salt. Make ahead so the flavors can develop before using. Store sealed tightly in the refrigerator.
- Try adding additional toppings to your tacos such as crumbled cotija or queso fresco cheese, sliced green onions, cubed avocado, and lime wedges.

How to Make Chicken Tinga Tacos
- Heat olive oil and onions in a large skillet over medium heat. Cook until soft, stirring often (about 5 minutes). Add garlic and cook another minute.
- Pulse tomatoes and chipotles in food processor until almost smooth. Pour into onions and garlic.
- Add cumin, oregano, salt, and chicken broth. Bring to a simmer and let cook for 15 minutes.
- Add the shredded chicken to the sauce. Cook another 10 minutes until the chicken is heated through.
- Warm tortillas per package directions. Add the chicken tinga mixture to the tortillas. Top with fresh cilantro, Pico de Gallo, and a dollop of sour cream.

Super Easy Creamy Mac & Cheese
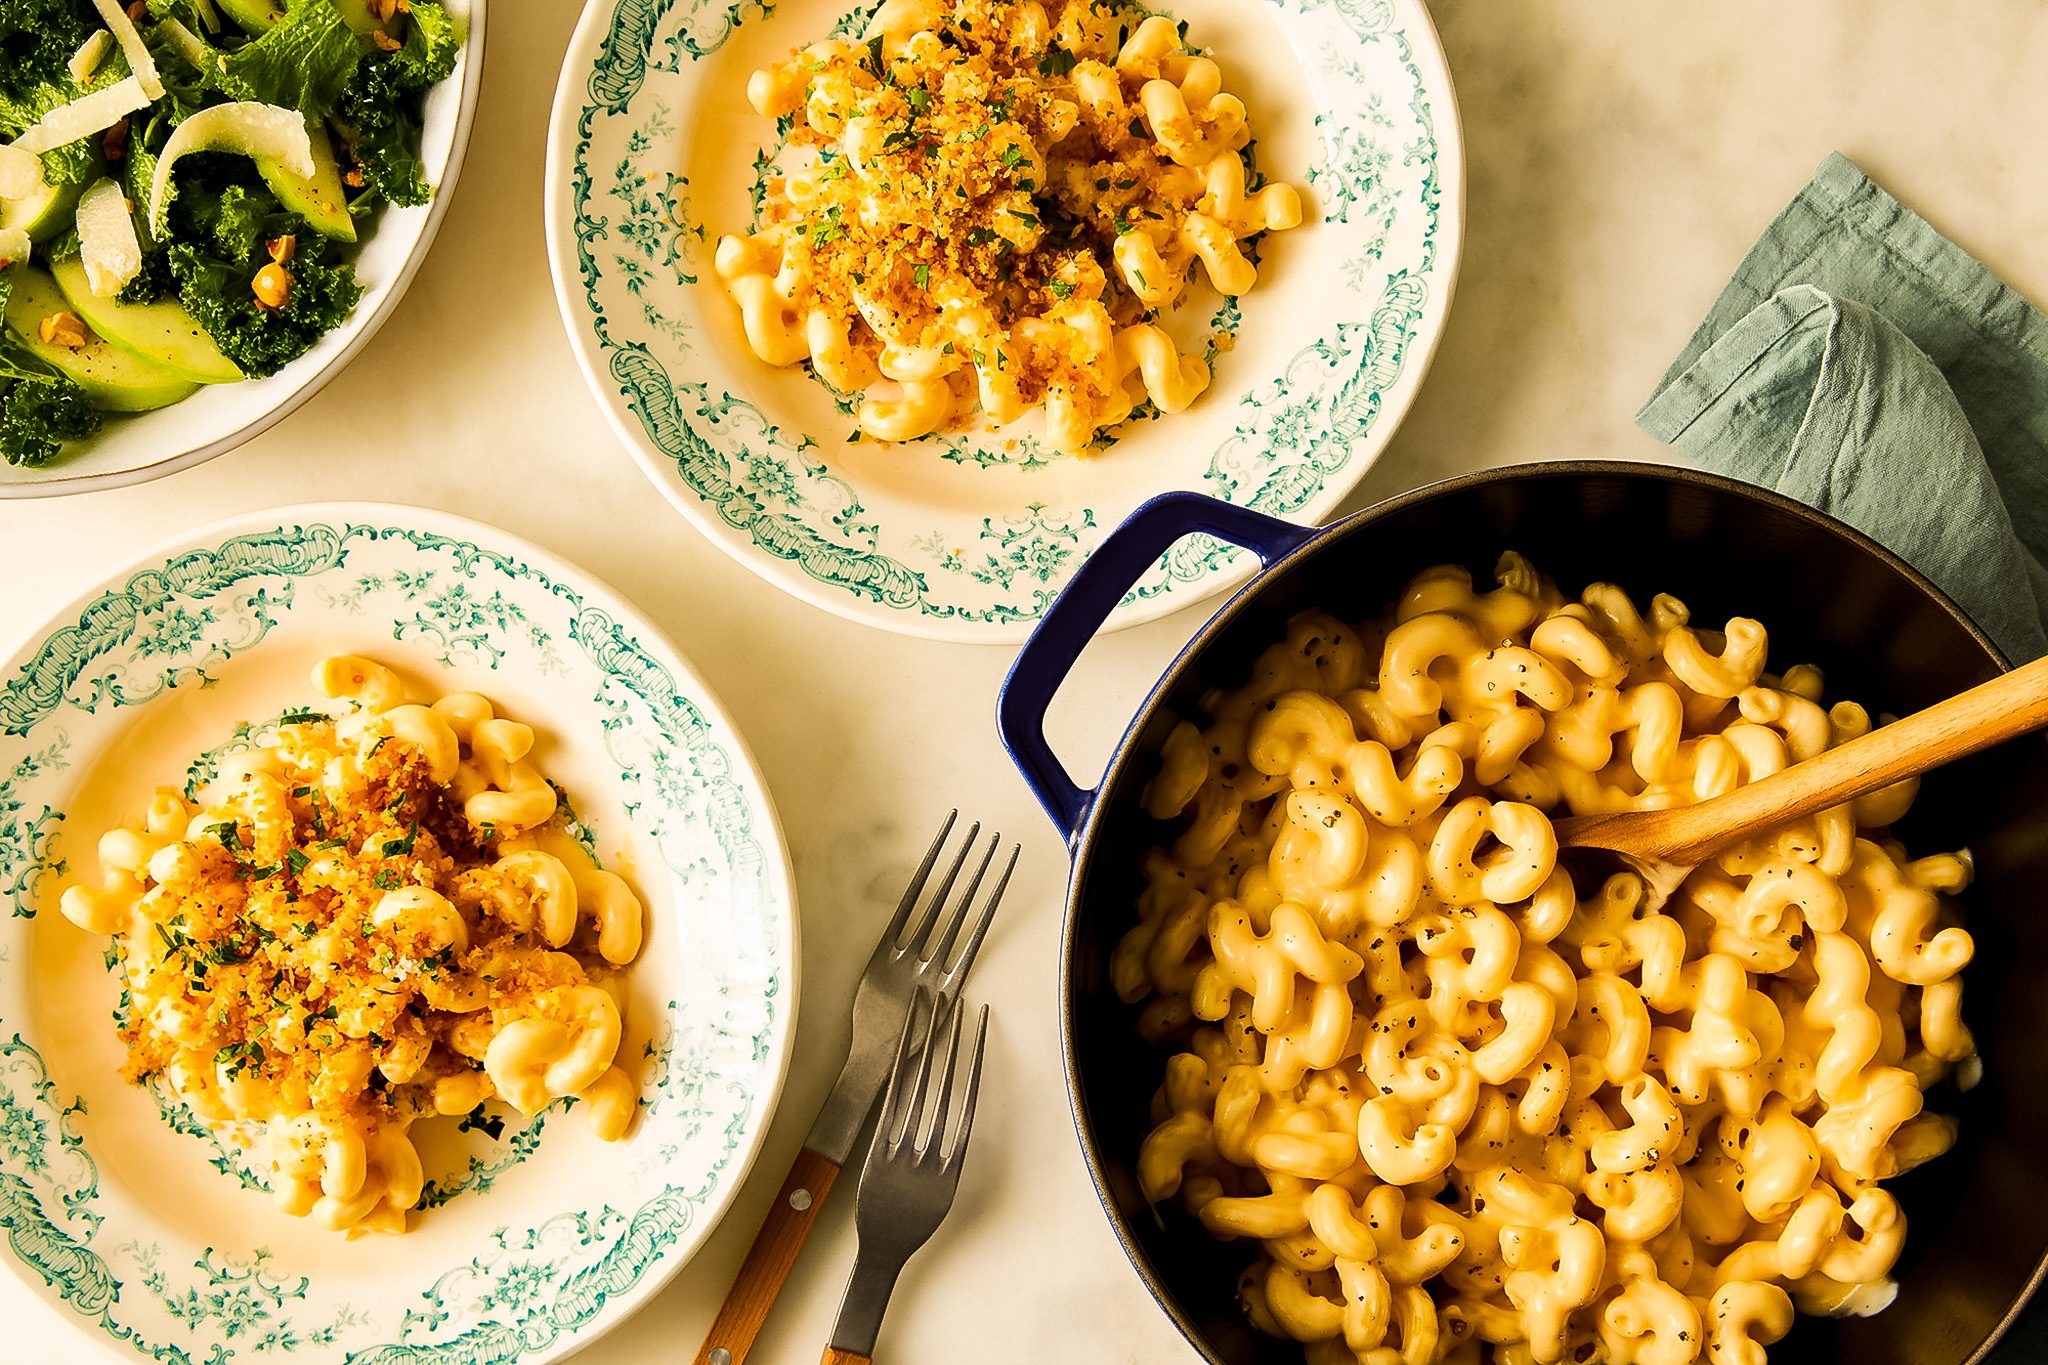
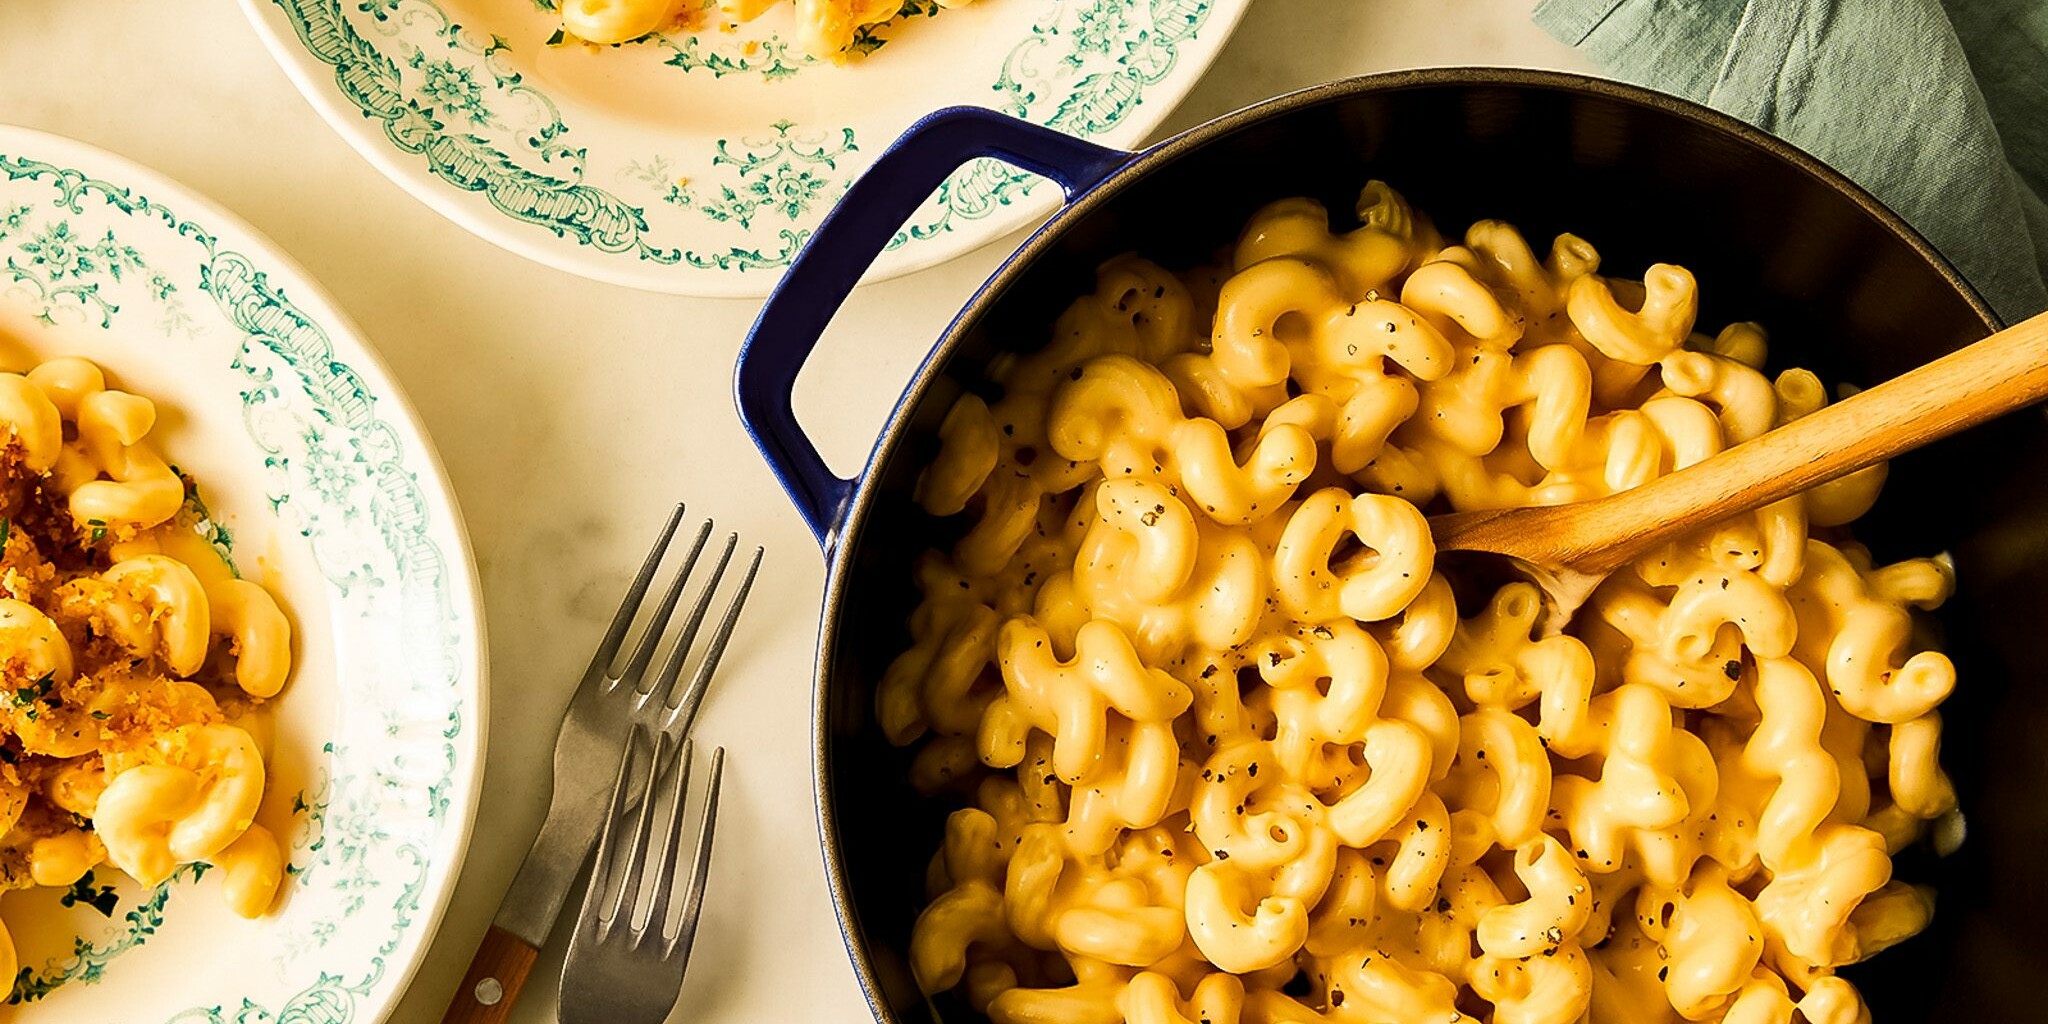
Super Easy Creamy Mac & Cheese
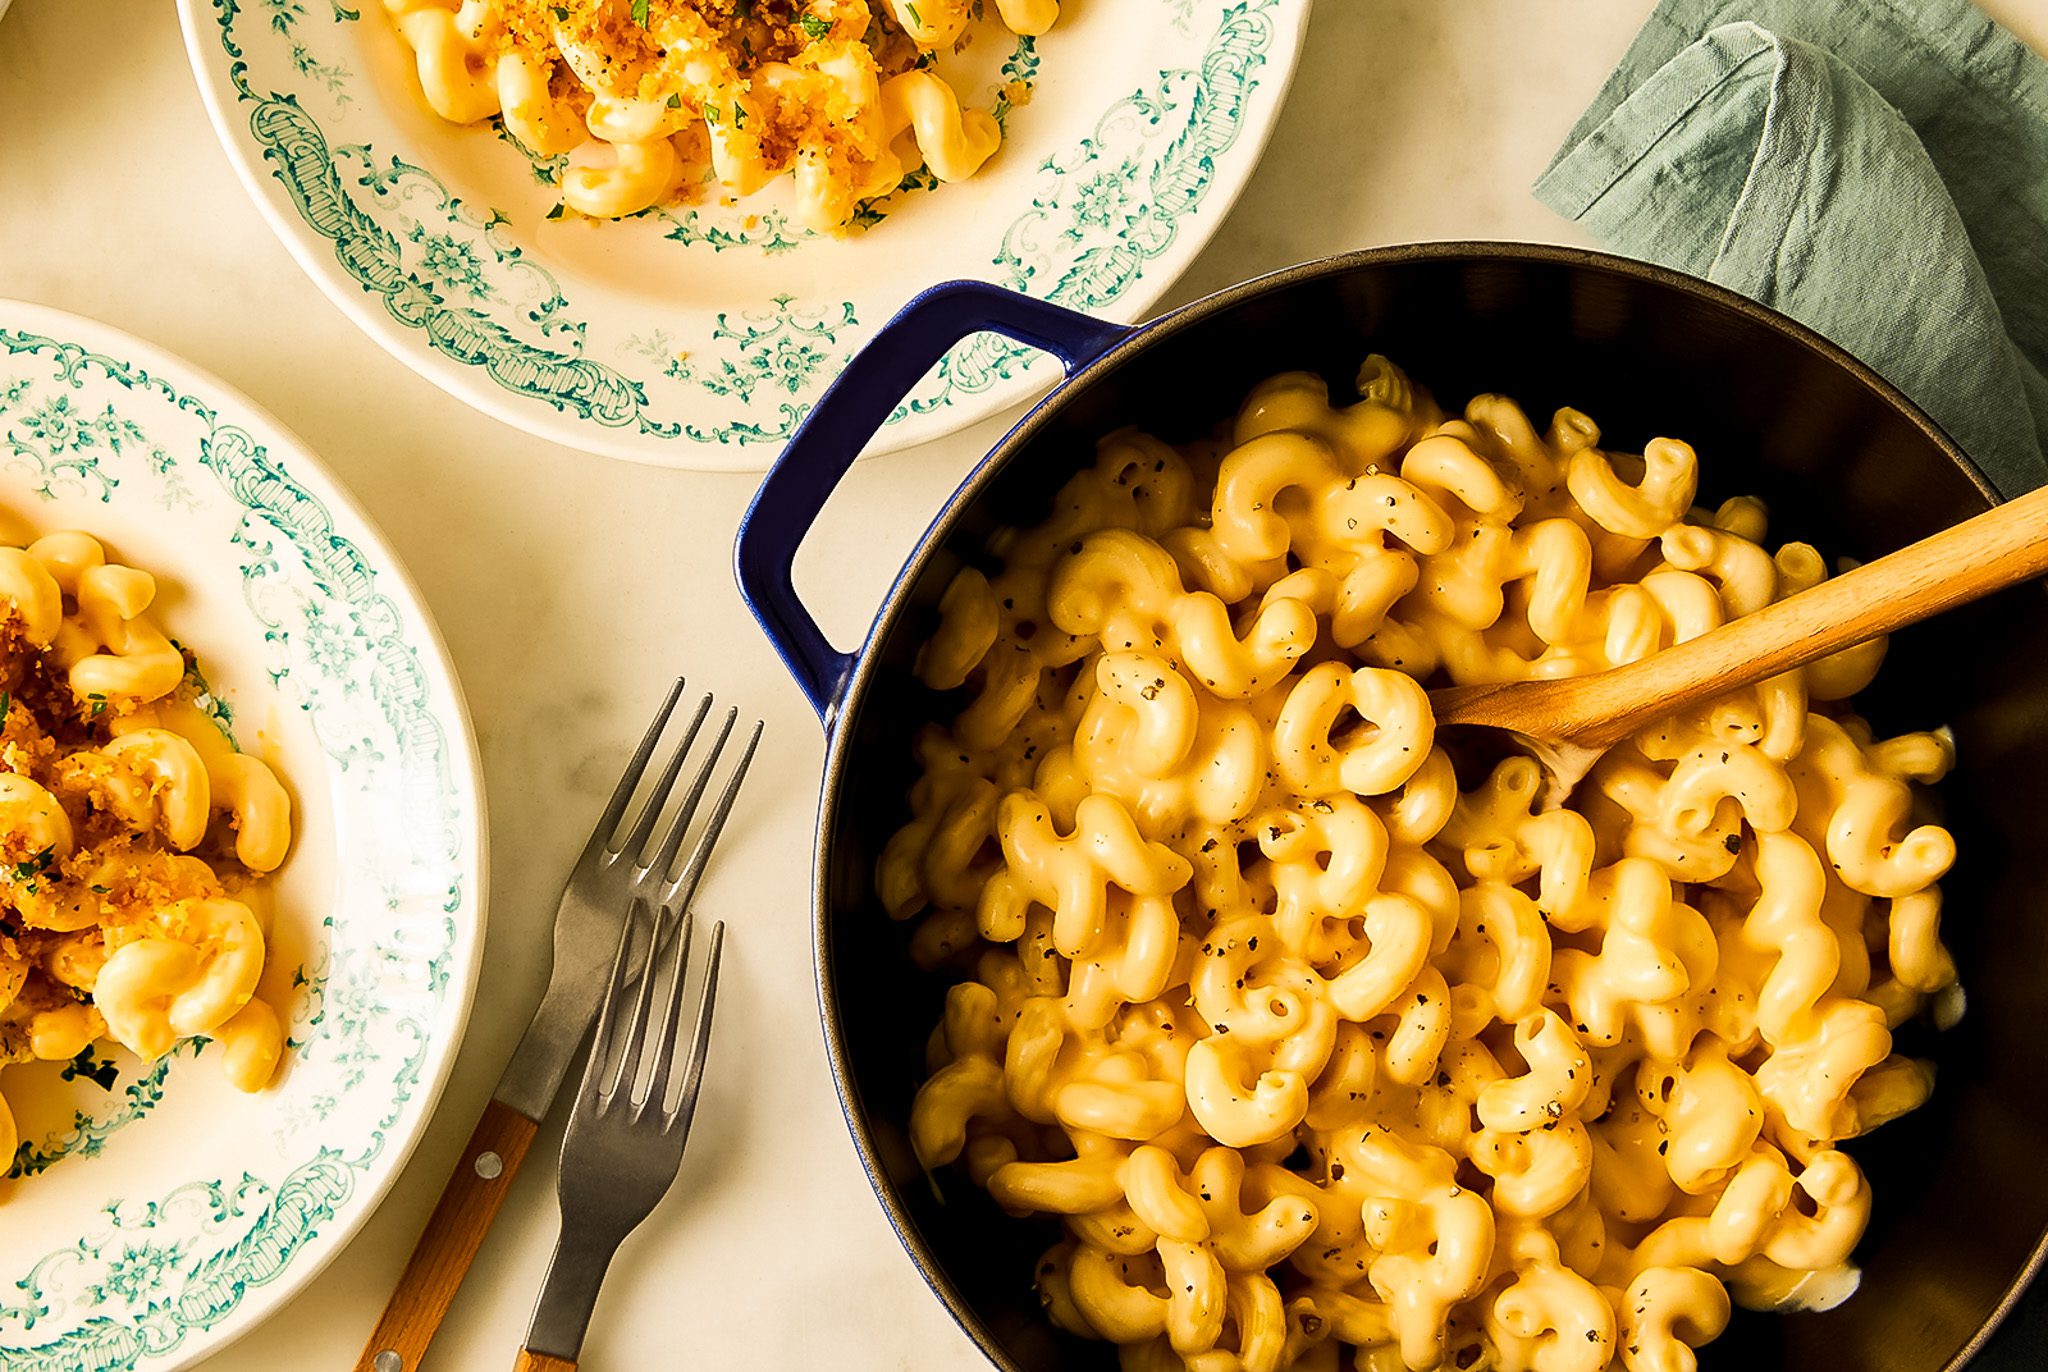
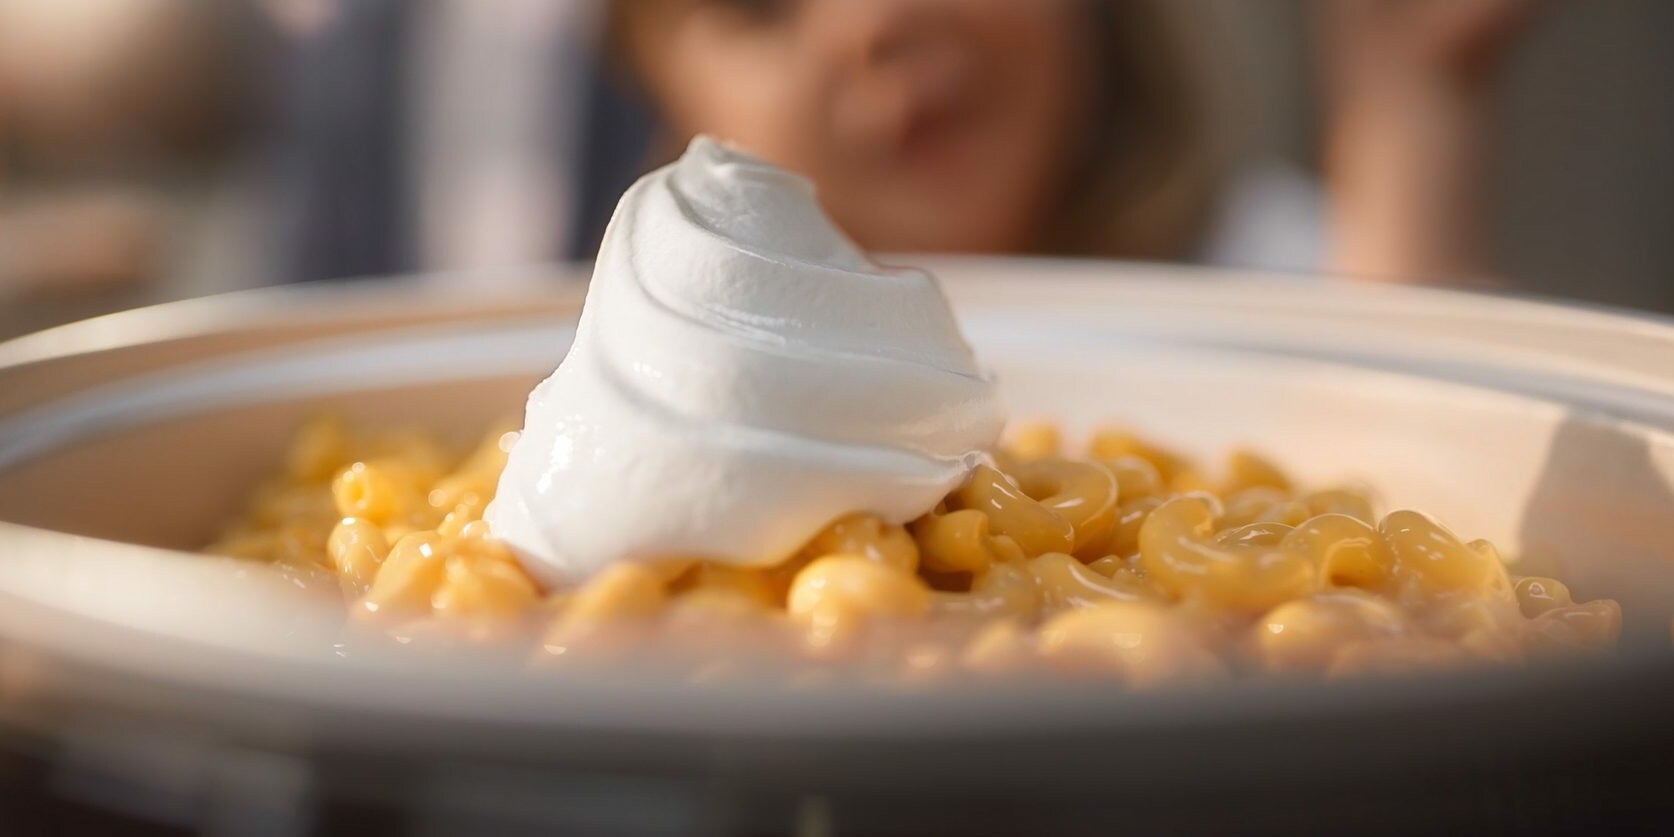
This Mac & Cheese is the ultimate comfort food. With the perfect al dente pasta and a silky, smooth sauce, you will love this delicious velvety mac & cheese that reminds you of childhood. The sour cream adds a rich, creamy, and slightly tangy flavor to the mac & cheese.
Mac & Cheese is super easy. It’s easy to make with minimal ingredients, ready in under 15 minutes, and a snap to clean up. It’s perfect for busy weeknights, yet elegant enough to serve alongside your holiday favorites.
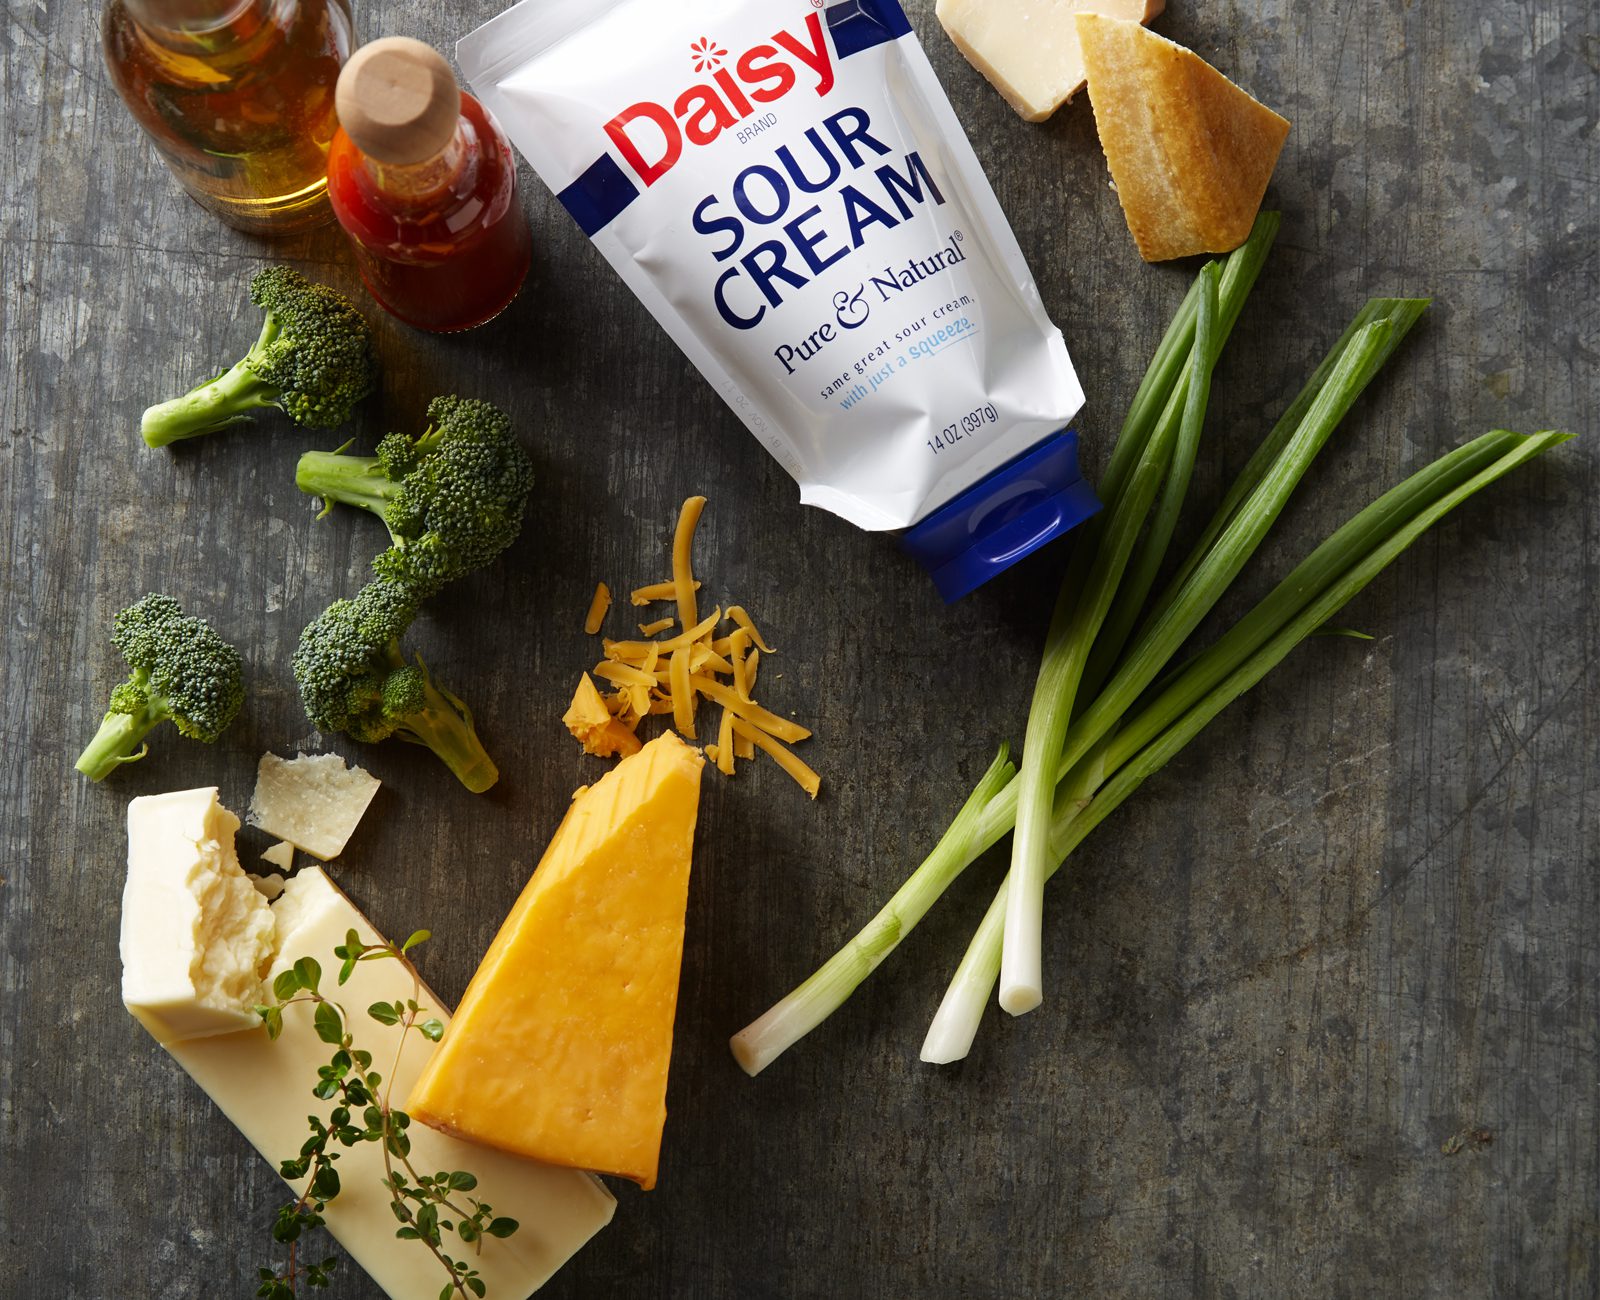
It’s perfect for quick dinners and is easily customizable. You can easily turn it from a side into a main dish by adding cooked protein such as ham or ground beef, and your favorite veggies. You can change the flavor profile by adding spices, different cheese blends, or extra mix-ins such as crunchy bacon, buttery, toasty breadcrumbs, or fresh herbs.

Super Easy Creamy Mac & Cheese Ingredients
- Elbow Macaroni (2 cups): The familiar pasta shape from childhood that makes the perfect al dente bite.
- Salted Butter (2 tablespoons): Adds a rich flavor to the sauce.
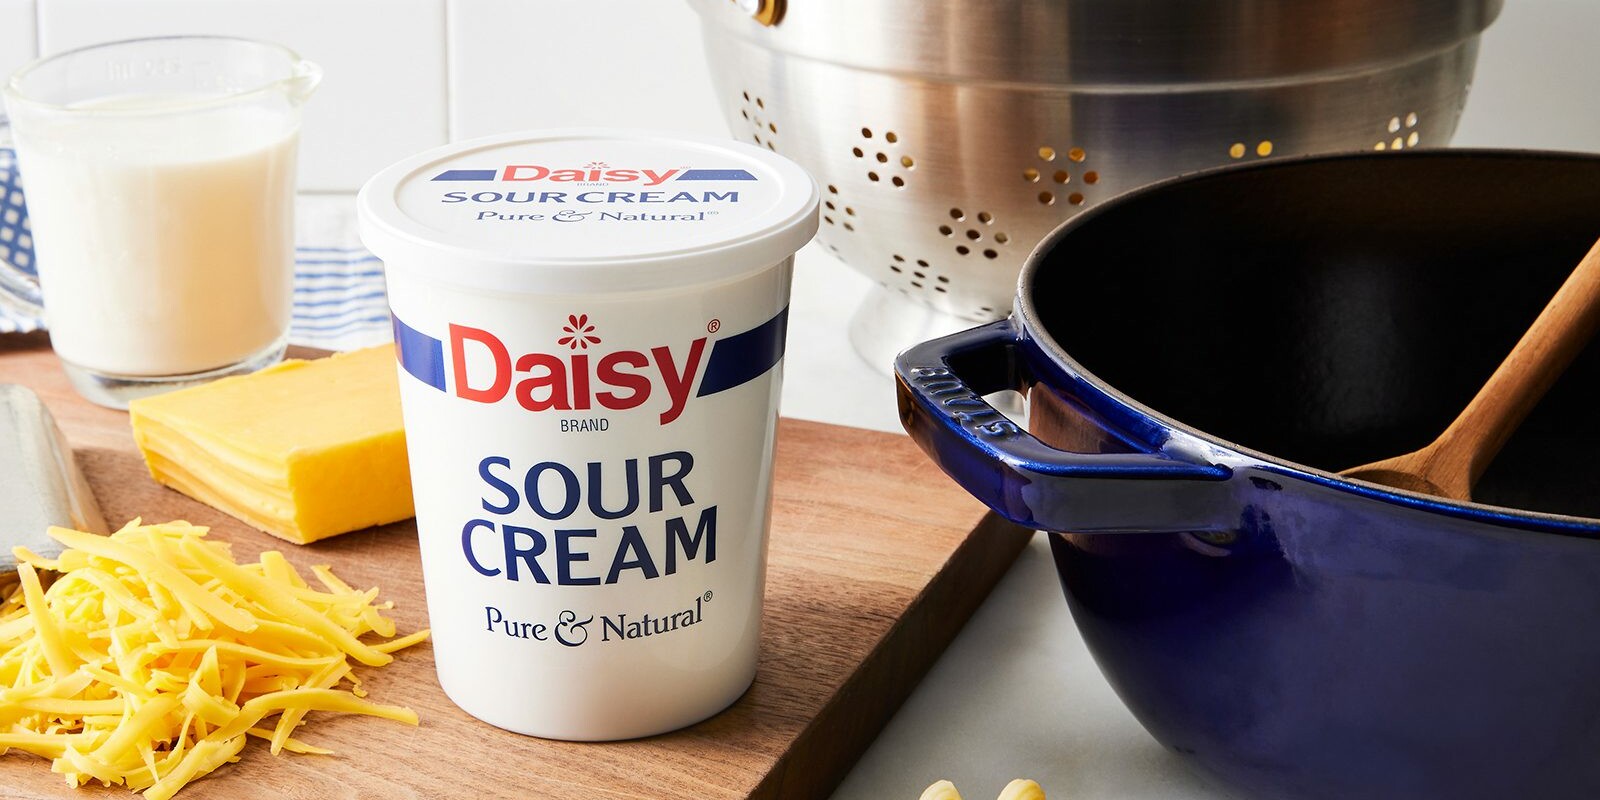
- Milk (¾ cup): Thins the sauce and helps the cheese melt into a velvety sauce.
- Shredded Melting Cheese (2 cups): Adds the cheesy base of the sauce. You can pick your favorite or try a blend of cheeses such as cheddar, Monterey Jack, Gruyere, Swiss, parmesan, or blue cheese.
- Daisy Sour Cream (¾ cup): Adds a rich, tangy flavor to the sauce and adds additional creaminess to the sauce.
- Salt and Pepper (to taste): The classic spice combo that elevates the flavors of savory foods.
- Optional Add-Ins (1-2 cups total): Try a combination of your favorite cooked proteins and veggies.
Substitutions, Variations, and Tips
- Any bite-size pasta will work well in this recipe, including gluten-free pasta. Feel free to use whatever you have on hand.
- Heavy cream (also called whipping cream) may be used in place of milk for a richer, creamier, sauce.
- Half the milk may be replaced with chicken broth for a flavor twist and to lighten up the sauce a tad bit.
- If your Mac & Cheese is too thin, let it sit for a few minutes to thicken. If the sauce is too thick, add milk, a tablespoon at a time until you reach the desired consistency.
- Feel free to use your favorite melting cheese, or combination of melting cheeses. Using a mixture of cheeses adds a depth of flavor to the sauce.
- Try adding precooked ground beef, Italian sausage, chicken, or cubed ham for a heartier dish.
- Add some veggies. Everyone could use some extra vitamins and minerals. Adding 1 tablespoon thinly sliced green onions will add flavor and a pop of color. Adding cooked veggies is a terrific way to get more nutrients without making an extra side. Broccoli and green peas are both delicious additions. Even the pickiest eaters will gobble it up.
- Spice it up by adding a dash of hot sauce, a teaspoon of seeded and diced jalapeno pepper, a sprinkle of cayenne pepper, or a 4 ounce can of drained and diced green chiles.
- Adding ¼ – ½ teaspoon of smoked paprika and other dried spices such as garlic powder or onion powder, or 1 teaspoon of fresh herbs such as thyme, basil, or rosemary will lend a more sophisticated flavor.
- Try sprinkling with toasted buttery breadcrumbs which will add flavor and a crunchy texture contrast.
- Quick and easy to make ahead, Mac & Cheese may be made ahead and kept warm in a slow-cooker set on low for up to 4 hours, making it ideal for potlucks or holidays.
- The easiest way to reheat is by adding 1 tablespoon of milk, covering and microwaving at 50% power for 1 minute. Stir. Then continue heating at 30 second intervals, stirring between each, until warmed through.
How to Make Super Easy Creamy Mac & Cheese
- Cook the pasta according to package directions.
- While the pasta is cooking, make the sauce. Melt butter in a saucepan. Add the milk until warm (not boiling). Slowly add the cheese, stirring constantly until fully melted.
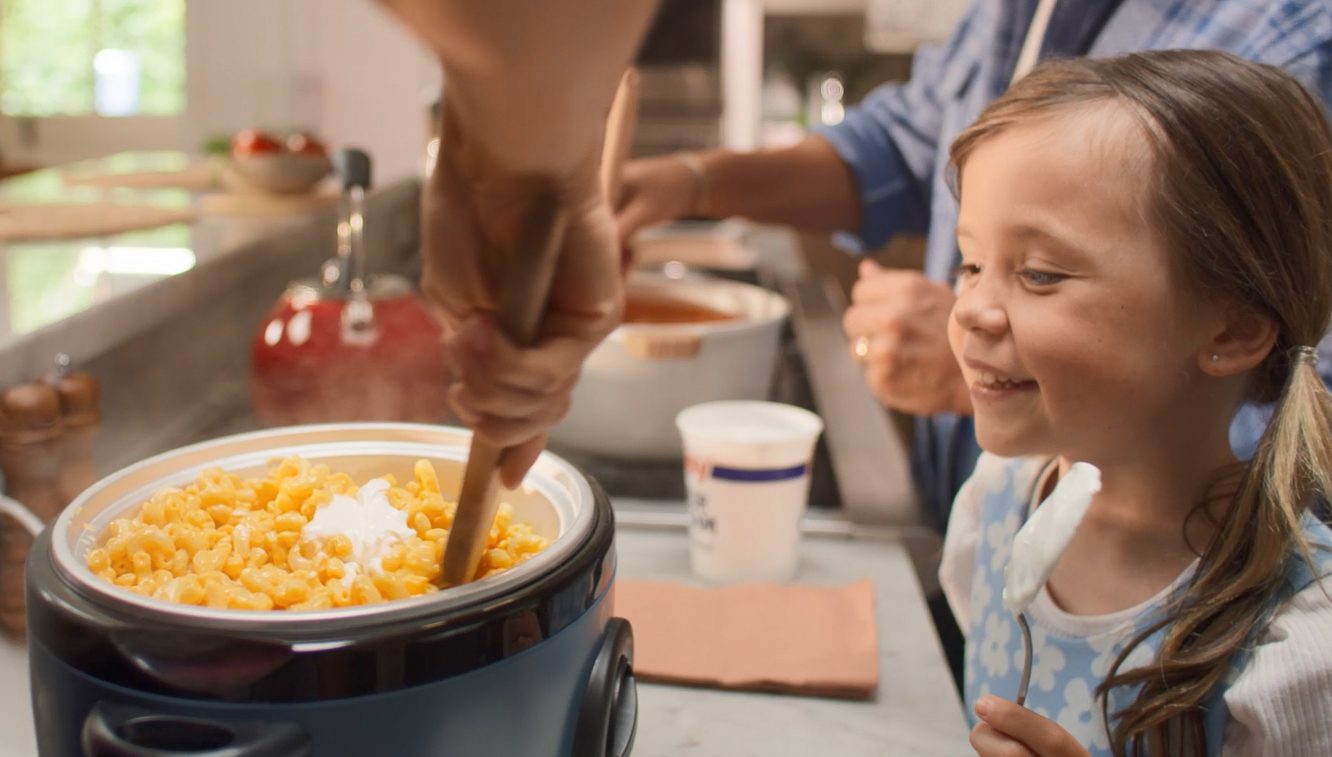
- Add the drained pasta to the sauce. Stir until combined. Remove from heat and stir in sour cream.
- Season with salt and pepper, to taste.