Creamy Ranch Coleslaw
Creamy Ranch Coleslaw
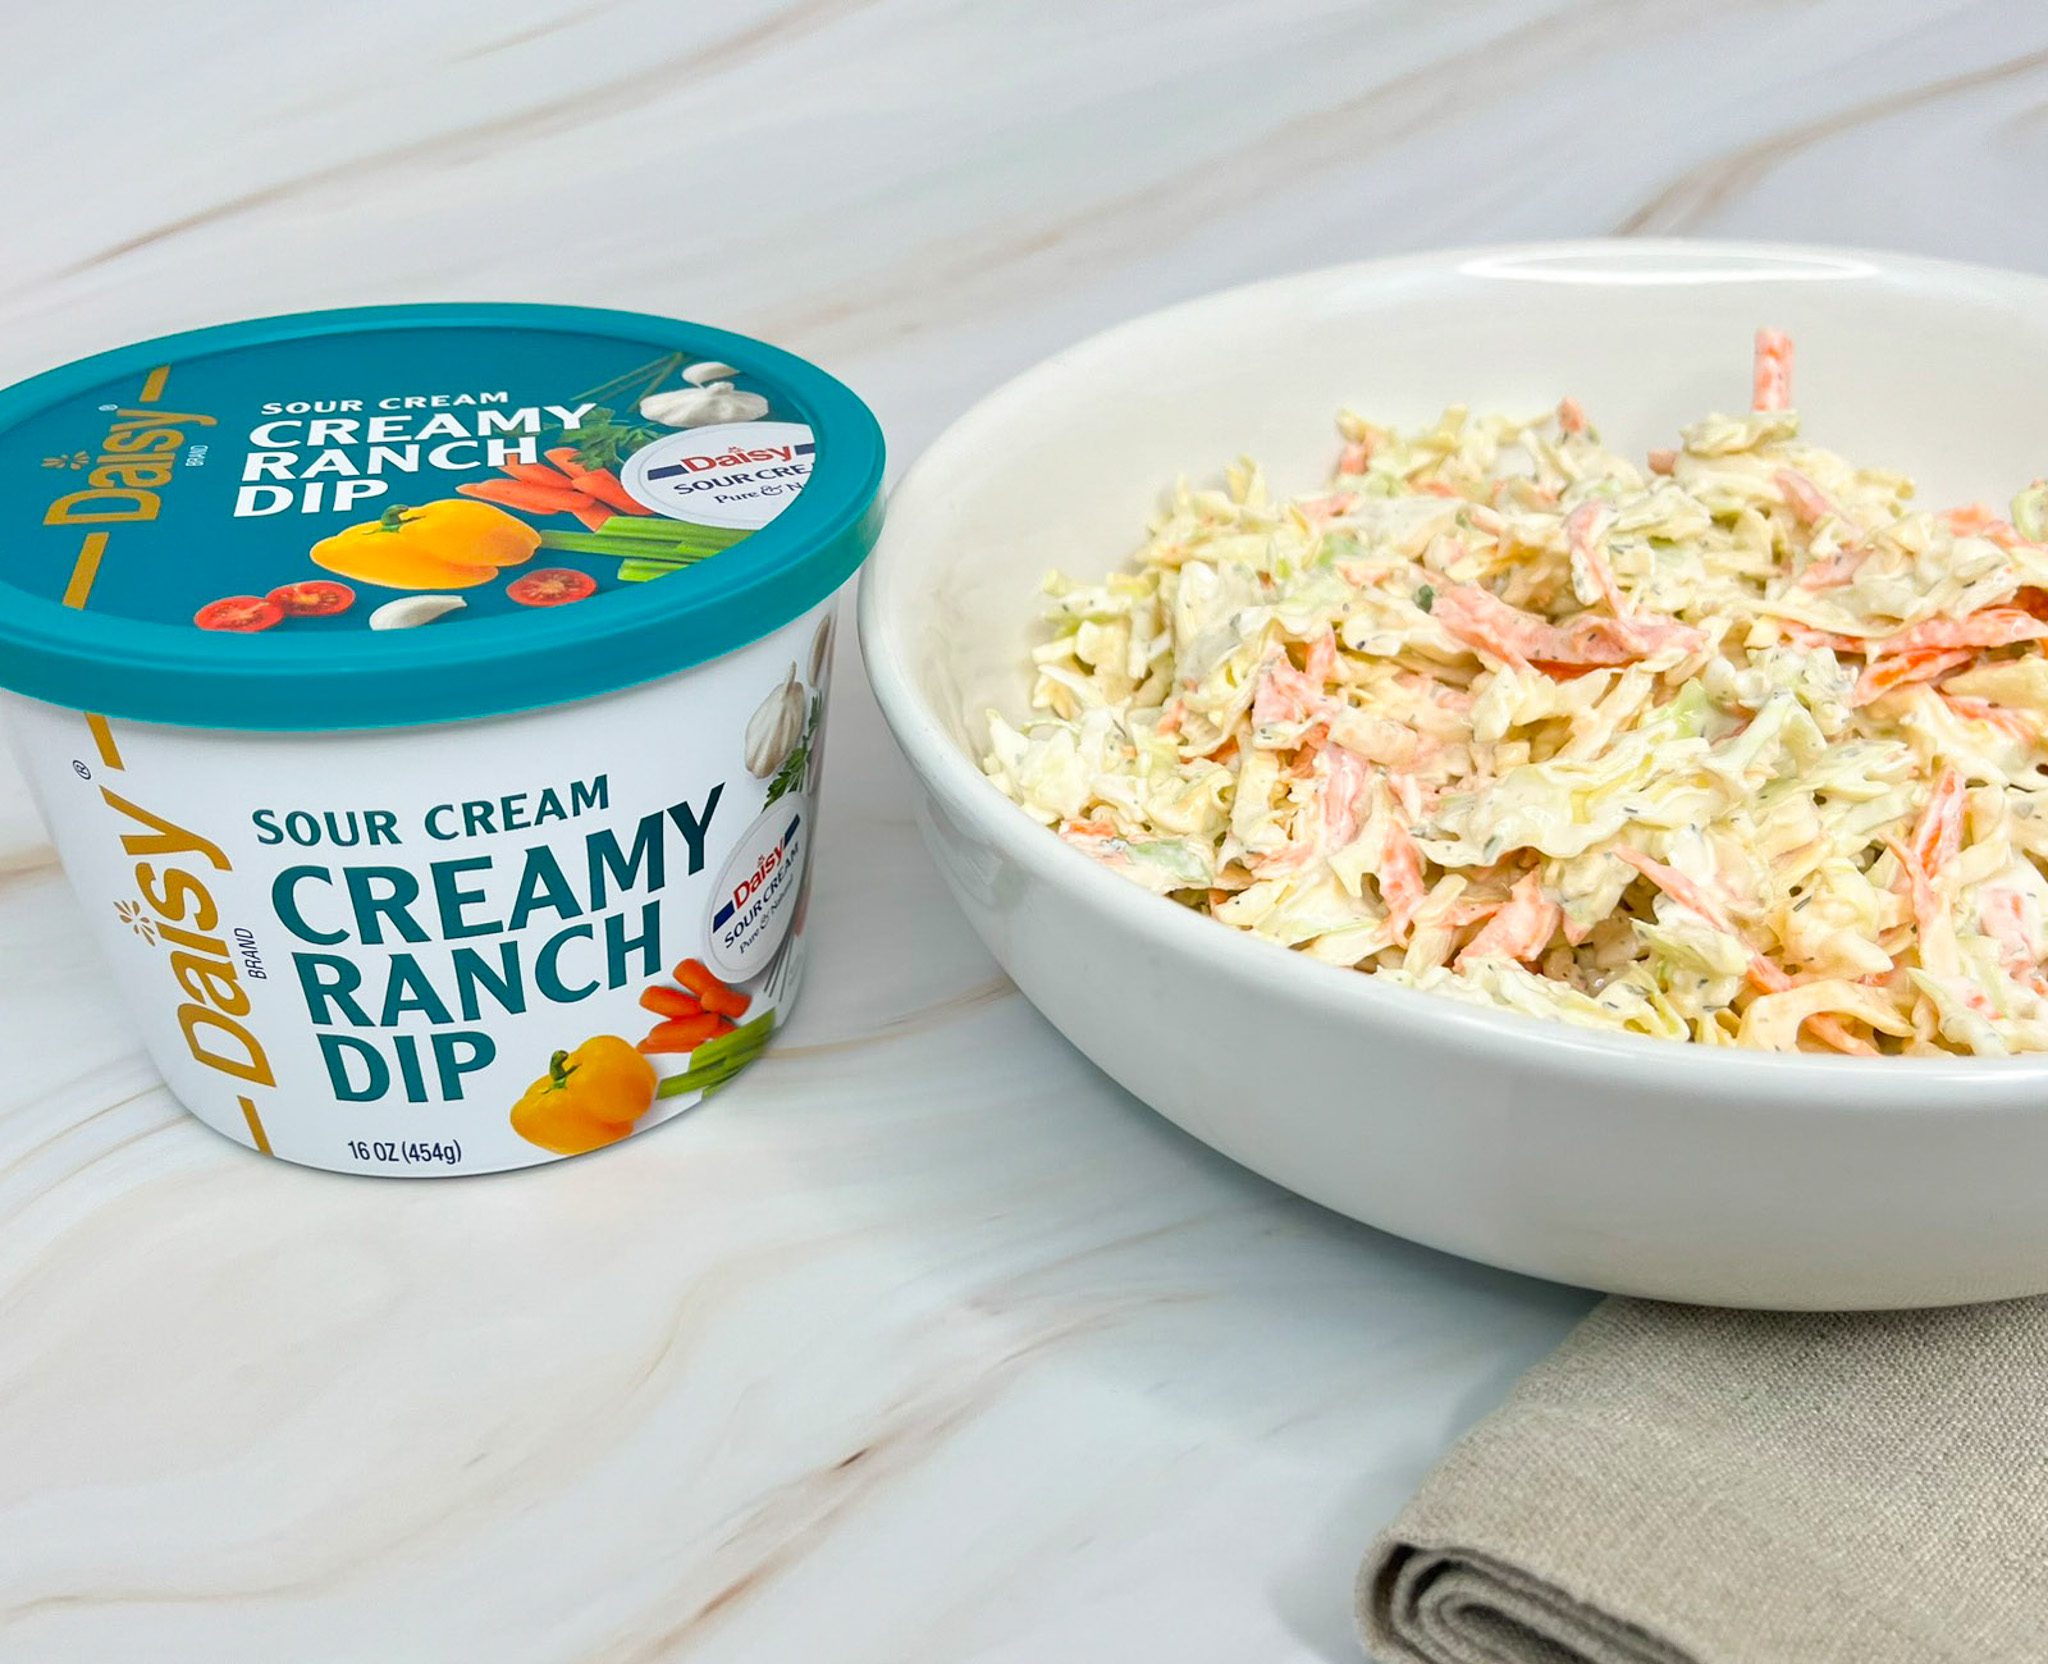
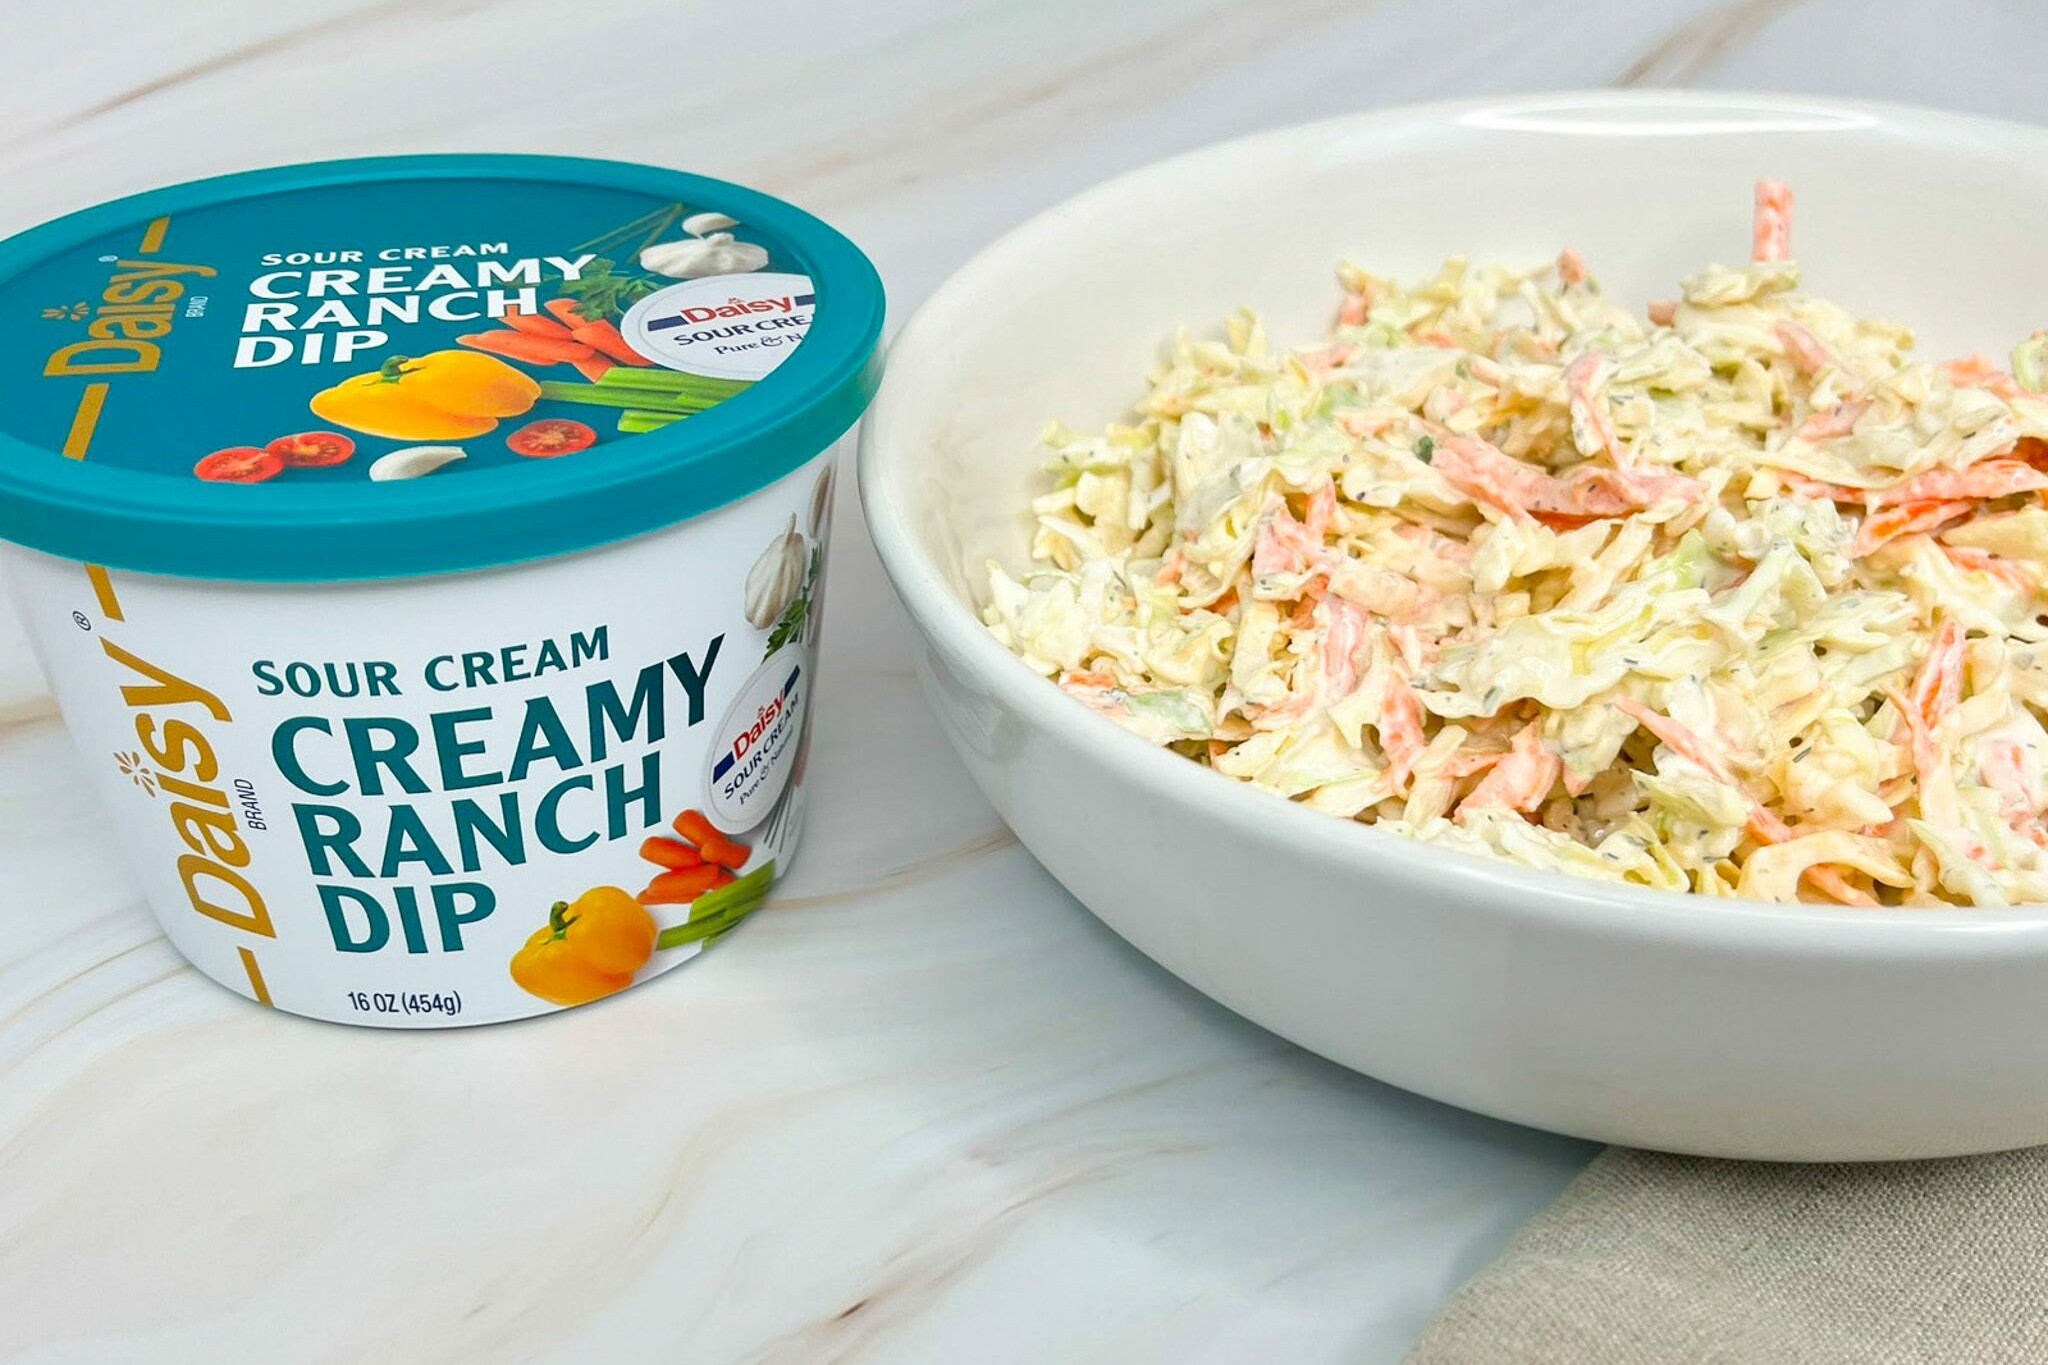
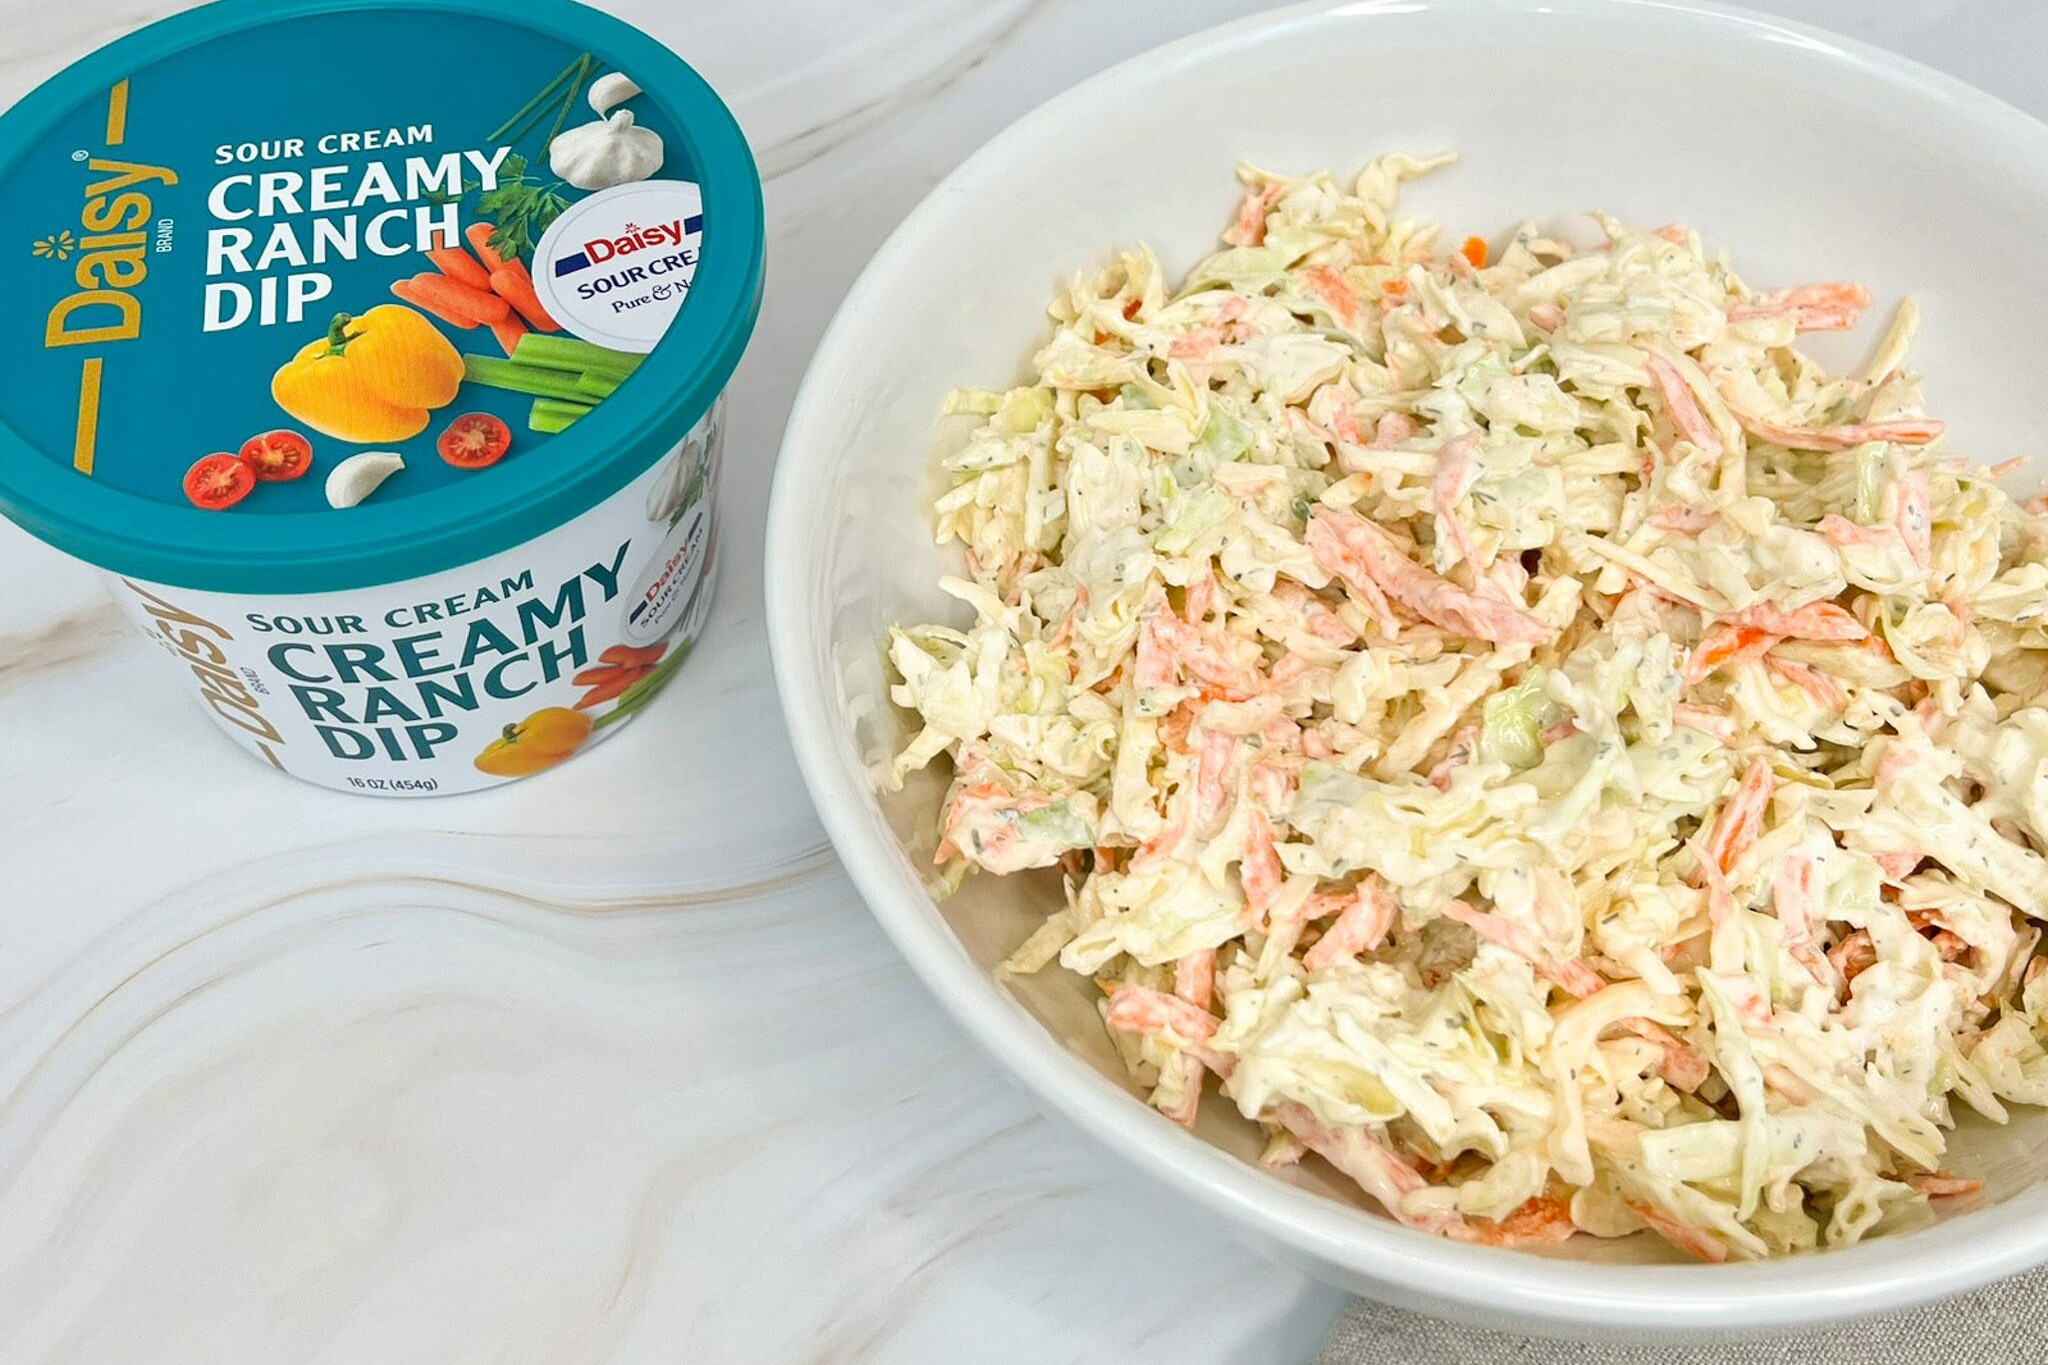
Quick, easy, and delicious, this Creamy Ranch Coleslaw will wow your family and friends. Perfect for potlucks, barbecues, and picnics, this coleslaw has a fresh and creamy taste and comes together in mere minutes. Made with only a handful of ingredients, the dressing is made rich, creamy, and tasty with Daisy Sour Cream Creamy Ranch Dip. All without the unpronounceable preservatives found in jarred commercial coleslaw dressings.
Easily scalable for a family dinner or to feed a large crowd, this coleslaw is sure to please. This is the perfect side to a variety of dishes, and it tastes just like summer.
Bursting with flavor, this coleslaw is made with only 5 ingredients and ready in 5 minutes. Our Creamy Ranch Coleslaw will delight your tastebuds.
Creamy Ranch Coleslaw Ingredients
- Daisy Creamy Ranch Dip (1 cup): The secret ingredient to this tasty side dish. It has a scratch-made ranch flavor straight from the tub. It creates the creamy element of this fresh and flavorful coleslaw.
- Mayonnaise (3 tablespoons): Helps bind the other ingredients together and adds a creamy richness to the dressing with just a touch of tang to the salad.
- Fresh Lemon Juice (3 tablespoons): Adds a burst of freshness and acidity, helping balance the creaminess of the dressing. Fresh squeezed lemon juice is best for this recipe. Fresh lemon juice is bright and lemony, whereas bottled lemon juice can taste stale and chemically.
- Bagged Coleslaw Mix (16 ounces): Available in the produce section of the grocery store, these pre-shredded and premixed vegetables are ultimate in convenience. The vegetables in the coleslaw mix are full of vitamins, nutrients, and fiber. ½ cup of classic cabbage coleslaw mix contains 35% of the daily dose of vitamin C and 75% of daily does of vitamin K.
- Scallions or Green Onions (2, thinly sliced): Milder in flavor than other onions, scallions and green onions are slightly sweet and add a bit of peppery zip to the coleslaw. Scallions and green onions may be used interchangeably.
Substitutions, Variations, and Tips
- Daisy Sour Cream may be used in place of the mayonnaise for a tangy twist.
- Bottled lemon juice can be used in place of fresh in a pinch.
- Chives may be used in place of the scallions or green onions. They may be substituted 1:1 (3-4 tablespoons).
- Broccoli slaw or Asian slaw may be used in place of coleslaw mix.
- 2 Tablespoons of finely diced yellow onions may be used in place of scallions or green onions.
How to make Creamy Ranch Coleslaw
- Combine dip, mayonnaise, and lemon juice in a large bowl.
- Add the shredded coleslaw vegetables and scallions to the dressing. Mix well and season with salt and pepper.
- Serve immediately or cover bowl with plastic wrap and store in refrigerator
French Onion Mushroom Ravioli
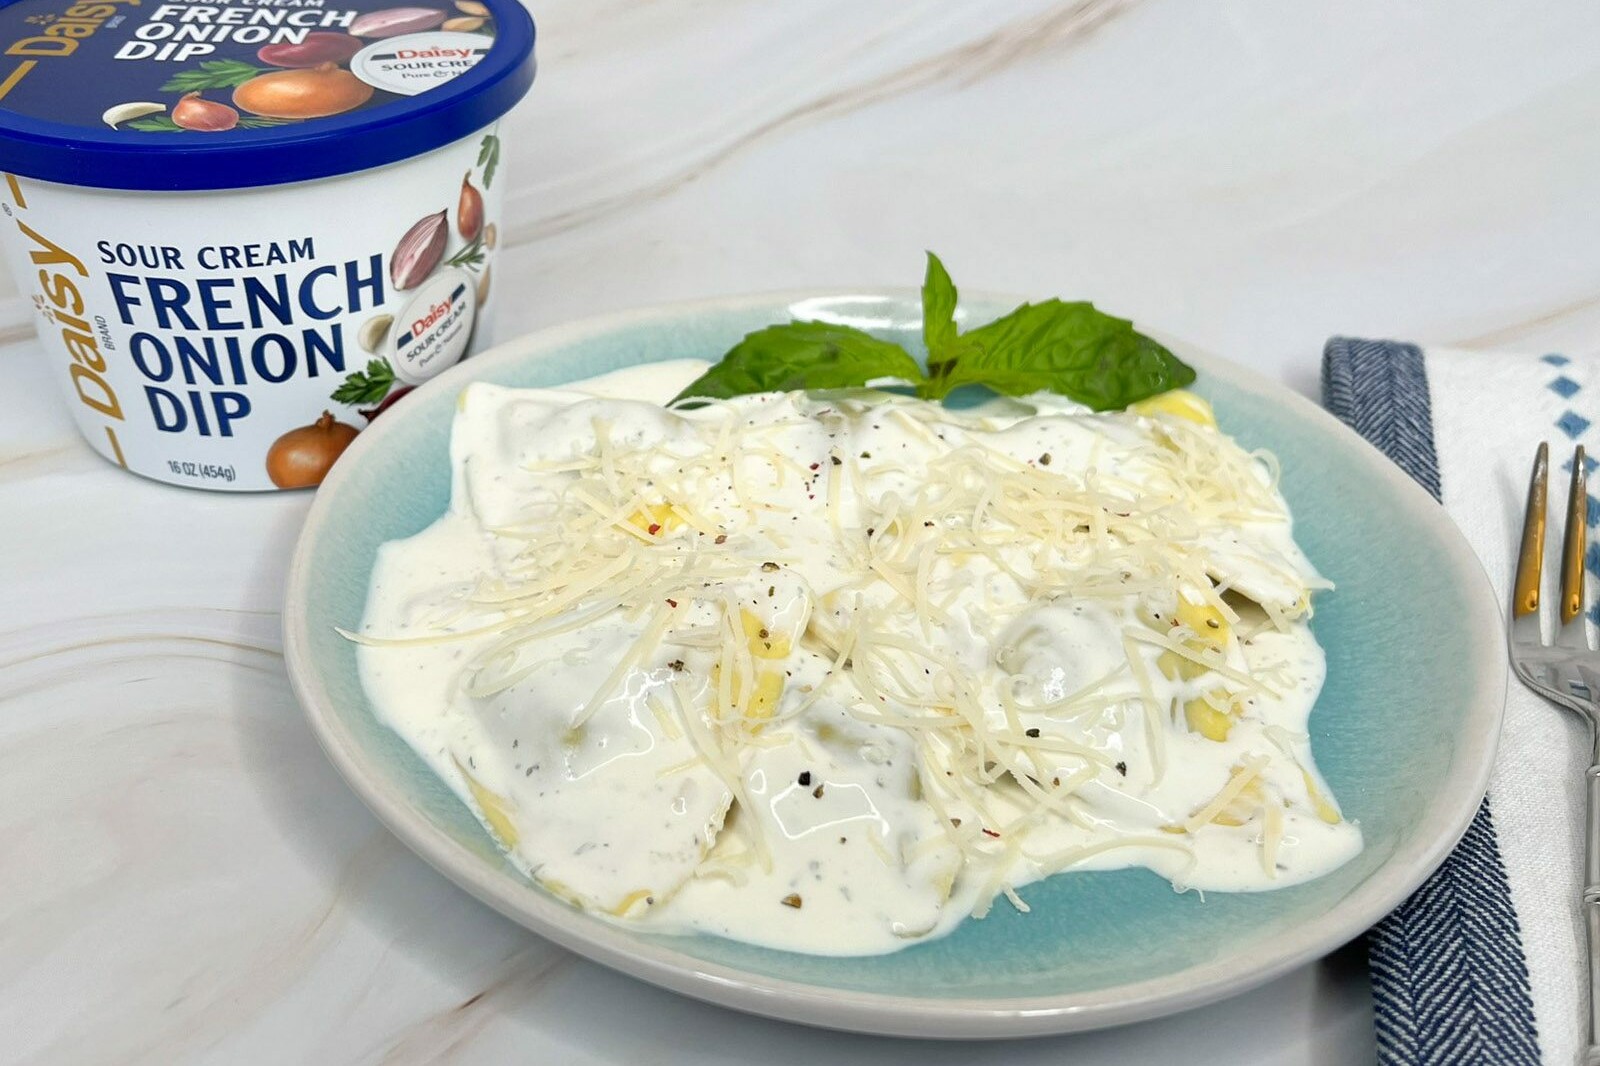
French Onion Mushroom Ravioli
This Mushroom Ravioli with French Onion Sauce takes less than 15 minutes to prepare. With only 5 ingredients it is the perfect dish for busy weeknight dinners. The secret to the delicious sauce? The creamy and silky French Onion Sauce is made with Daisy Sour Cream French Onion Dip. It has all the homemade flavor of caramelized onions and herby goodness with none of the work. The quick sauce is combined with fresh packaged ravioli, creating an impressive, yet super easy dinner in minutes.
Not only is the French Onion Sauce easy to make, it’s also easily customizable. Fresh herbs and extra Parmesan cheese add an elegant touch. Adding any precooked meat or veggies to the sauce will make a heartier dish sure to please your family and friends. This recipe is easily scalable. You can double it for larger groups or divide it in half for a couple.
You’ll enjoy this restaurant quality pasta with French Onion Sauce so much that it’s sure to become a staple in your recipe rotation. This easy but simple dish will impress your guests with minimal prep time.
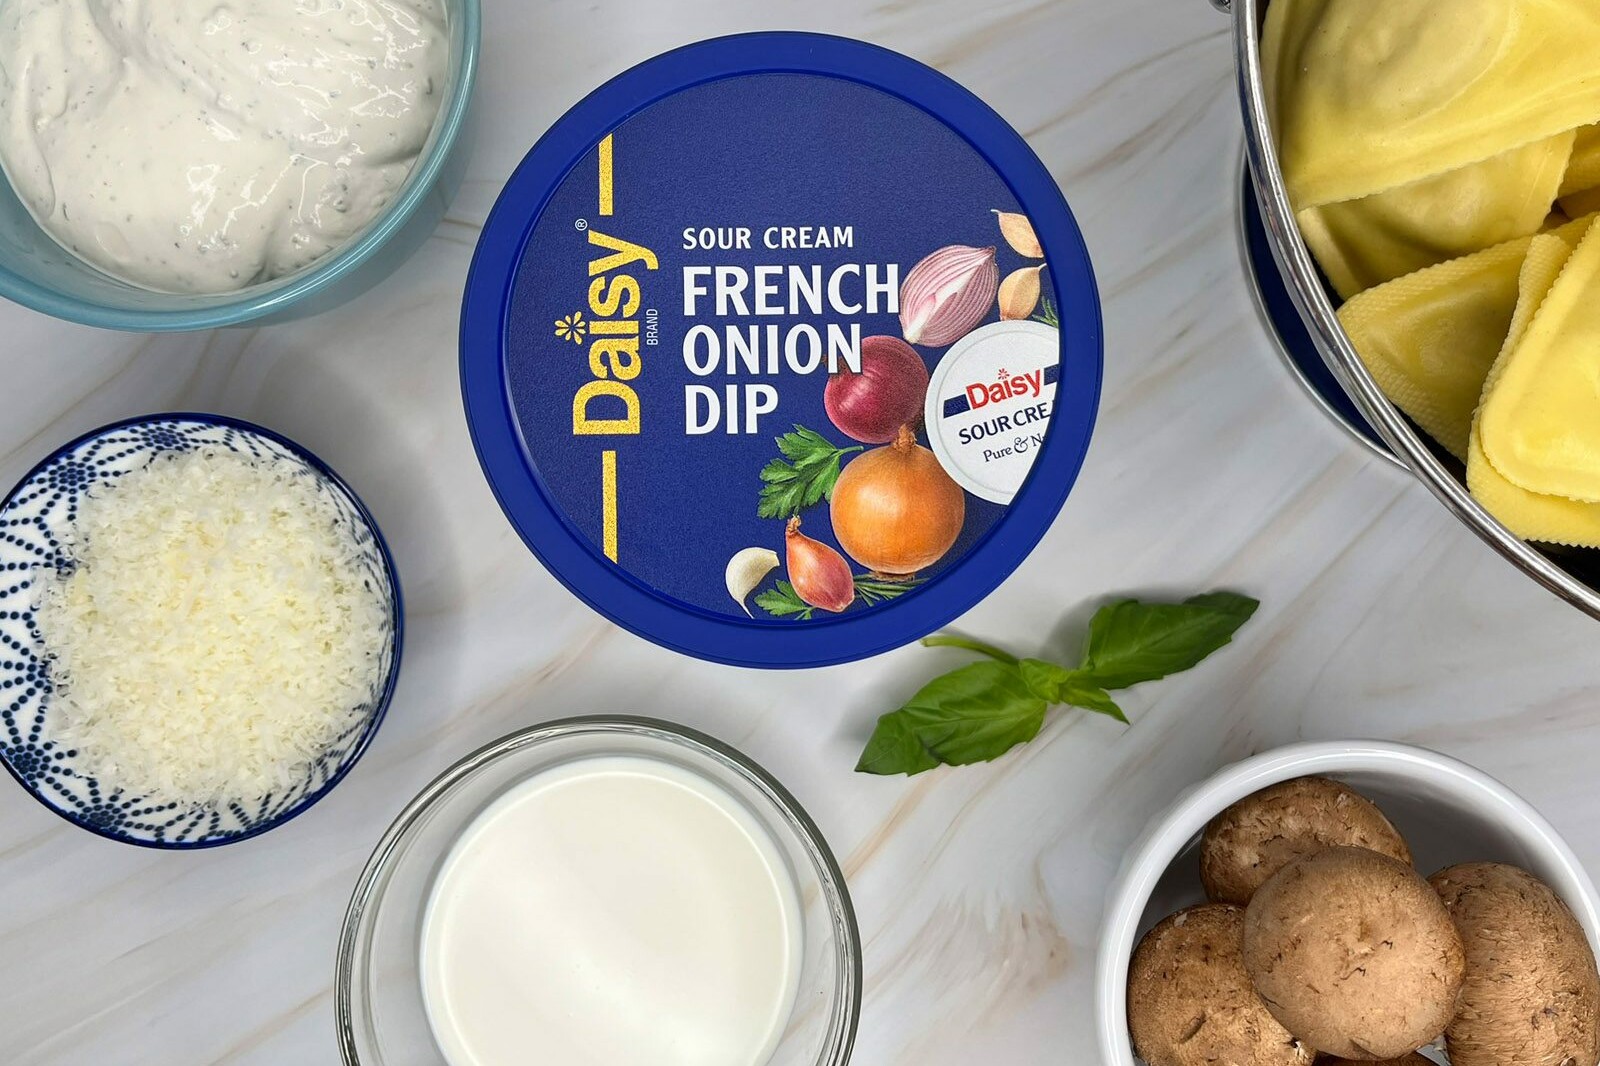
Mushroom Ravioli with French Onion Sauce Ingredients
- Premade Mushroom Ravioli (18 ounces): Easily accessible in your grocery refrigerator section, premade pasta cooks in only a few minutes and have the fresh taste that rivals homemade pasta without the mess. The texture of fresh pasta is more tender and chewier than frozen pasta.
- Daisy French Onion Dip (1 cup): The secret ingredient to this delicious dish, the dip, adds a creamy deliciousness. It has all the flavor of caramelized onions with none of the work. It makes the base of the sauce silky and creamy with a homemade taste like it took hours to develop.
- Heavy Cream (also called Whipping Cream, 1/2 cup): Adds a richness to the sauce and thins it to the perfect consistency.
- Parmesan Cheese (2 tablespoons, plus more for garnish): Best when freshly shredded, it adds a nutty saltiness to the sauce and is the classic finishing touch to pasta that you know and love.
- Salt and Fresh Cracked Black Pepper (to taste): These simple spices found in every kitchen, elevate your dishes, and enhance the other flavors. Easily customizable to individual tastes, each person can adjust the seasoning of their portion.
- Optional Fresh Basil (a few leaves): It adds a touch of freshness with the classic flavor for which Italian food is known.
Substitutions, Variations, and Tips
- Any flavor of prepared fresh ravioli may be substituted for mushroom ravioli.
- Frozen ravioli may be used in place of fresh, adjusting the cooking time per the directions on the package.
- Half and Half, whole milk, or chicken broth may be used in place of heavy cream. Note, the sauce will be thinner.
- Pecorino, Romano, or Asiago cheese may be substituted for Parmesan. Freshly shredded Parmesan is best. It’s more cost effective, tastes better, and melts better than pre-shredded cheese.
- Try swapping the optional fresh basil for other fresh herbs. Fresh thyme or fresh rosemary would complement the mushroom ravioli well.
- A sprinkling of dried Italian herbs is also a good compliment to the sauce.
- Try adding fresh sauteed mushrooms for a heartier pasta.
- Easily customizable by adding your favorite precooked protein such as grilled chicken, sun-dried tomatoes, or roasted veggies.
- If the sauce is too thick, you can add a spoonful of hot pasta water, one spoon at a time until you reach the desired consistency.
- If you’re serving a larger group, this recipe is easily doubled. Simply double the ingredients and follow the directions for preparation. Likewise, the recipe can be halved to serve a couple
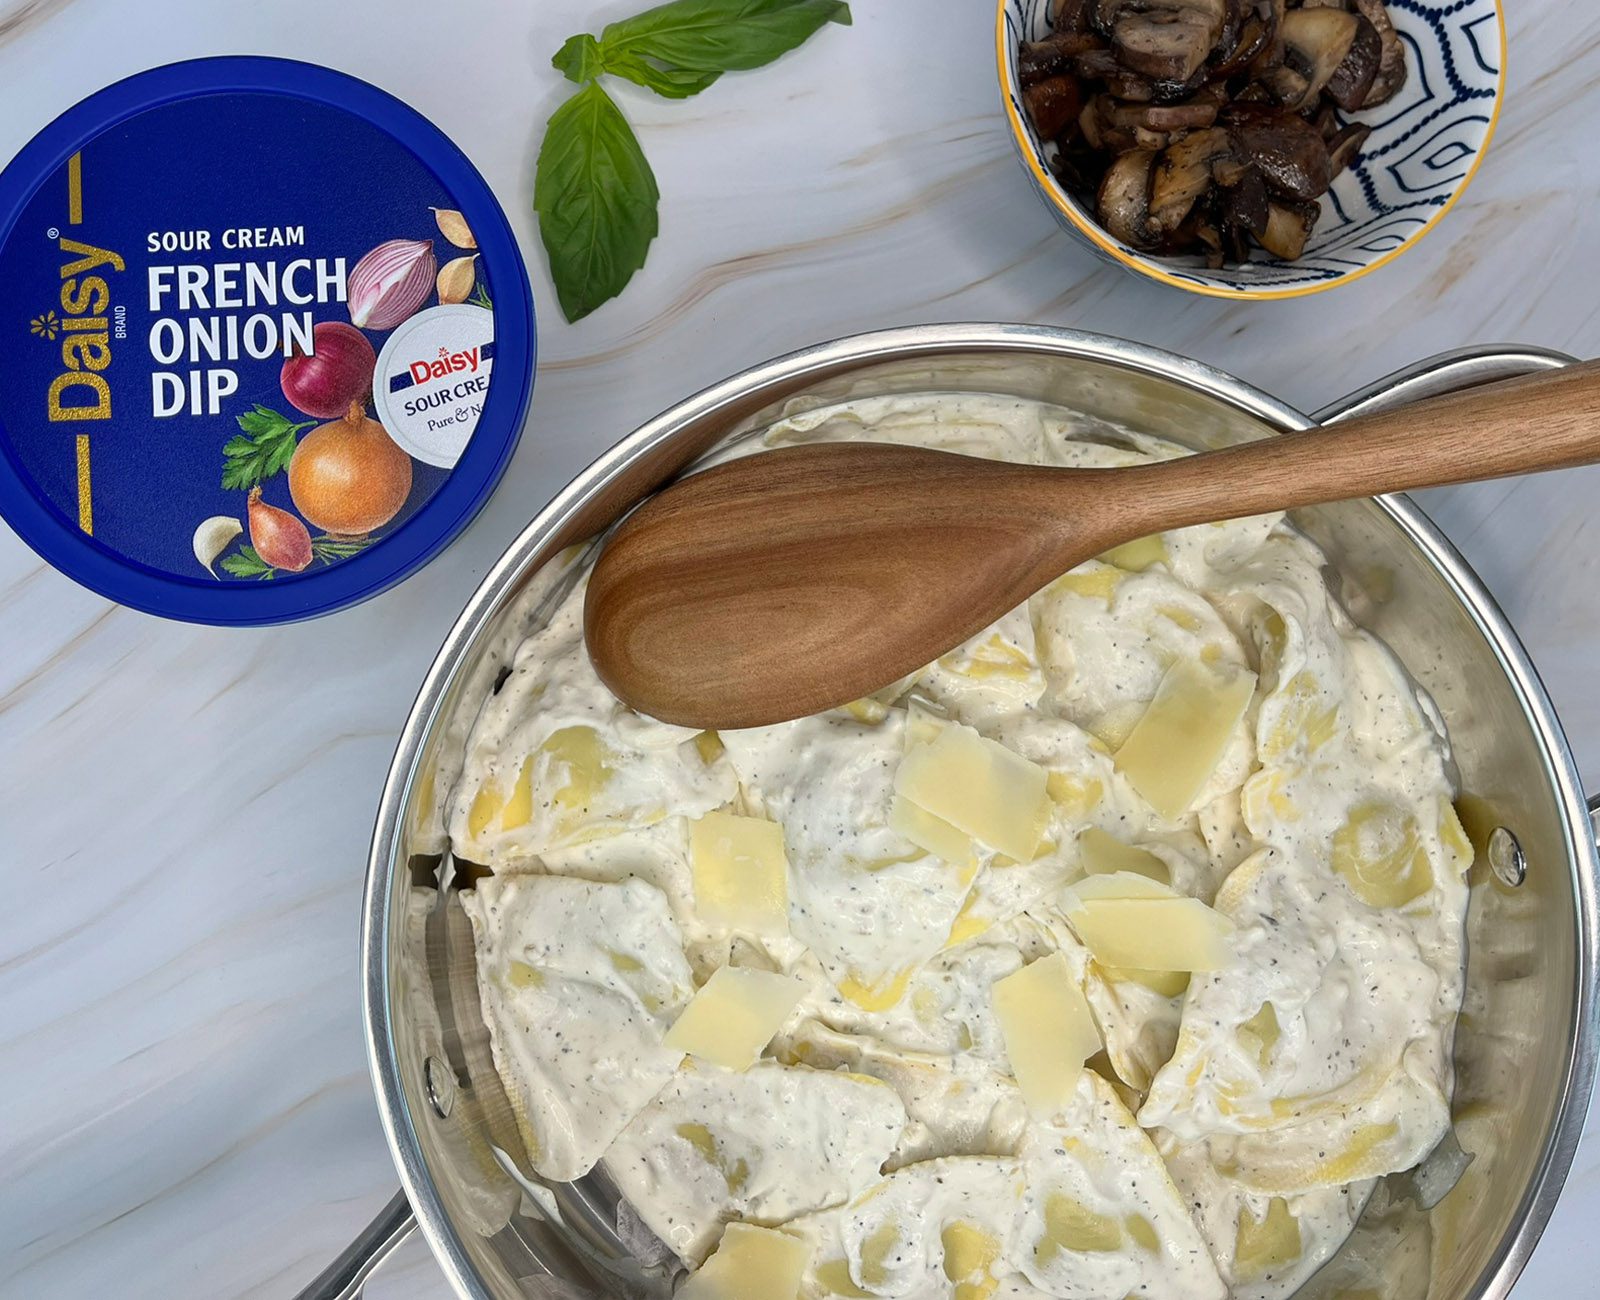
How to make Mushroom Ravioli with French Onion Sauce
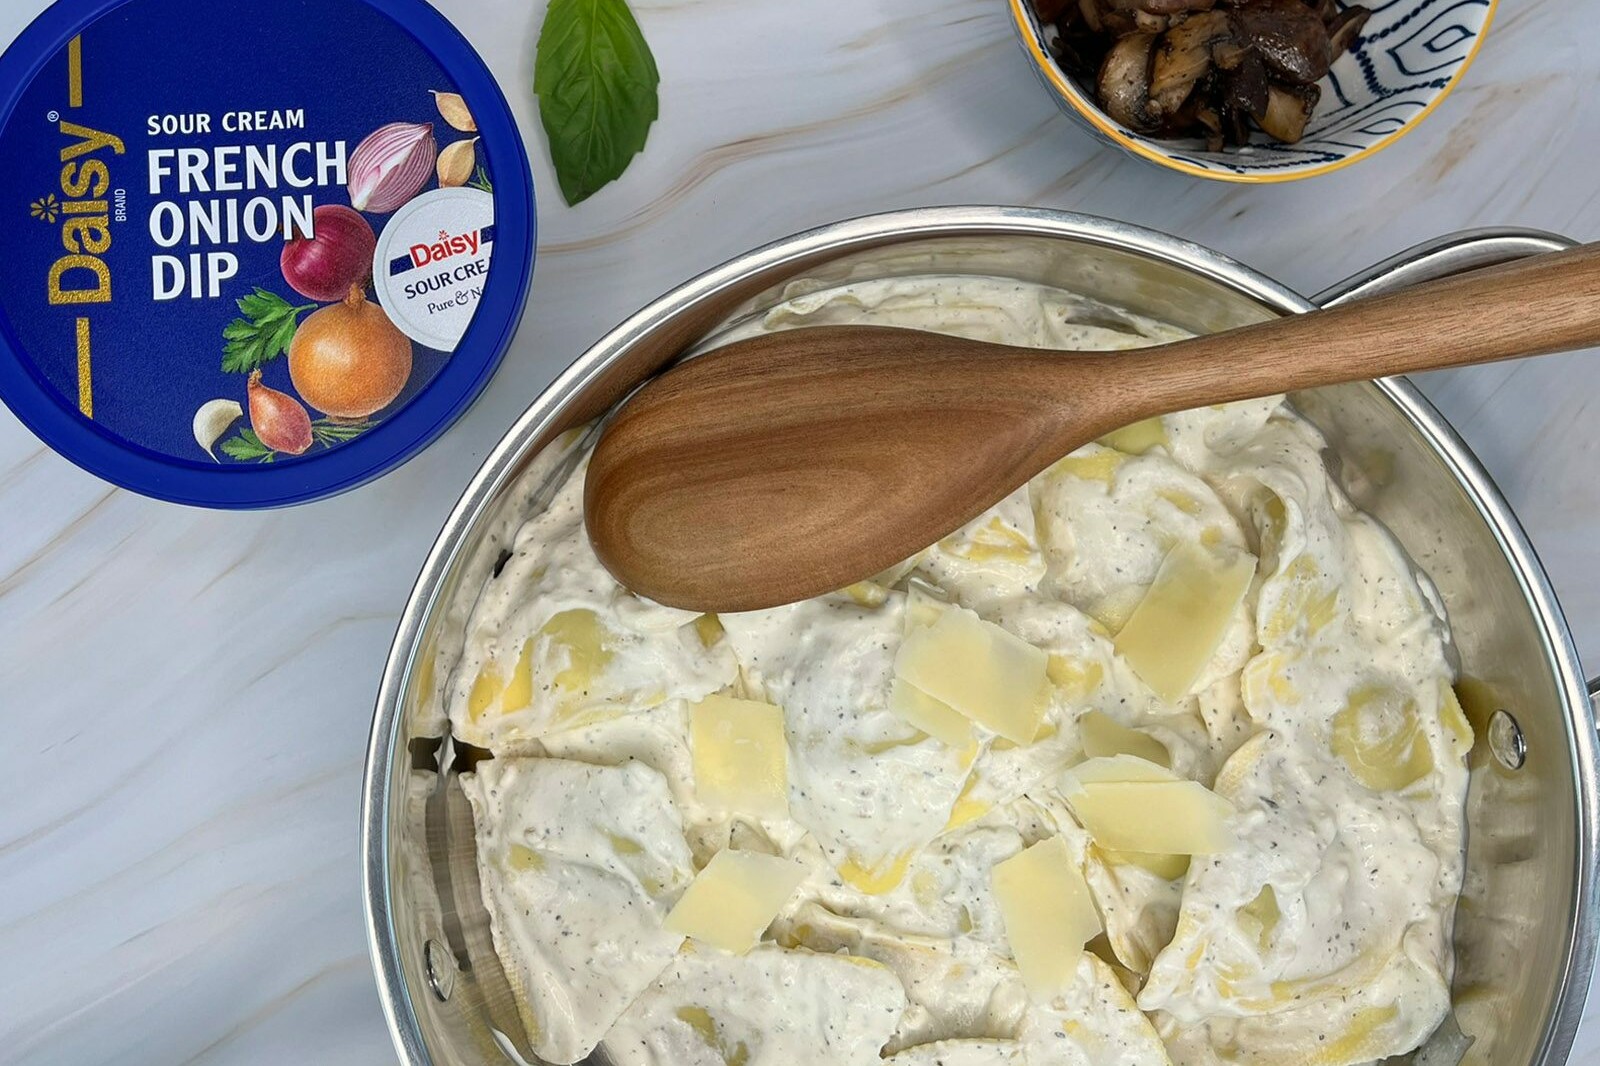
- In a large pan combine Daisy French onion, heavy cream, and parmesan, slowly bring to a simmer (approximately 4-6 minutes). Stir often. Do not boil.
- Meanwhile, cook the ravioli according to the package instructions in a large pot with salted water. Drain the ravioli.
- Gently stir the drained ravioli into the warm sauce to coat.
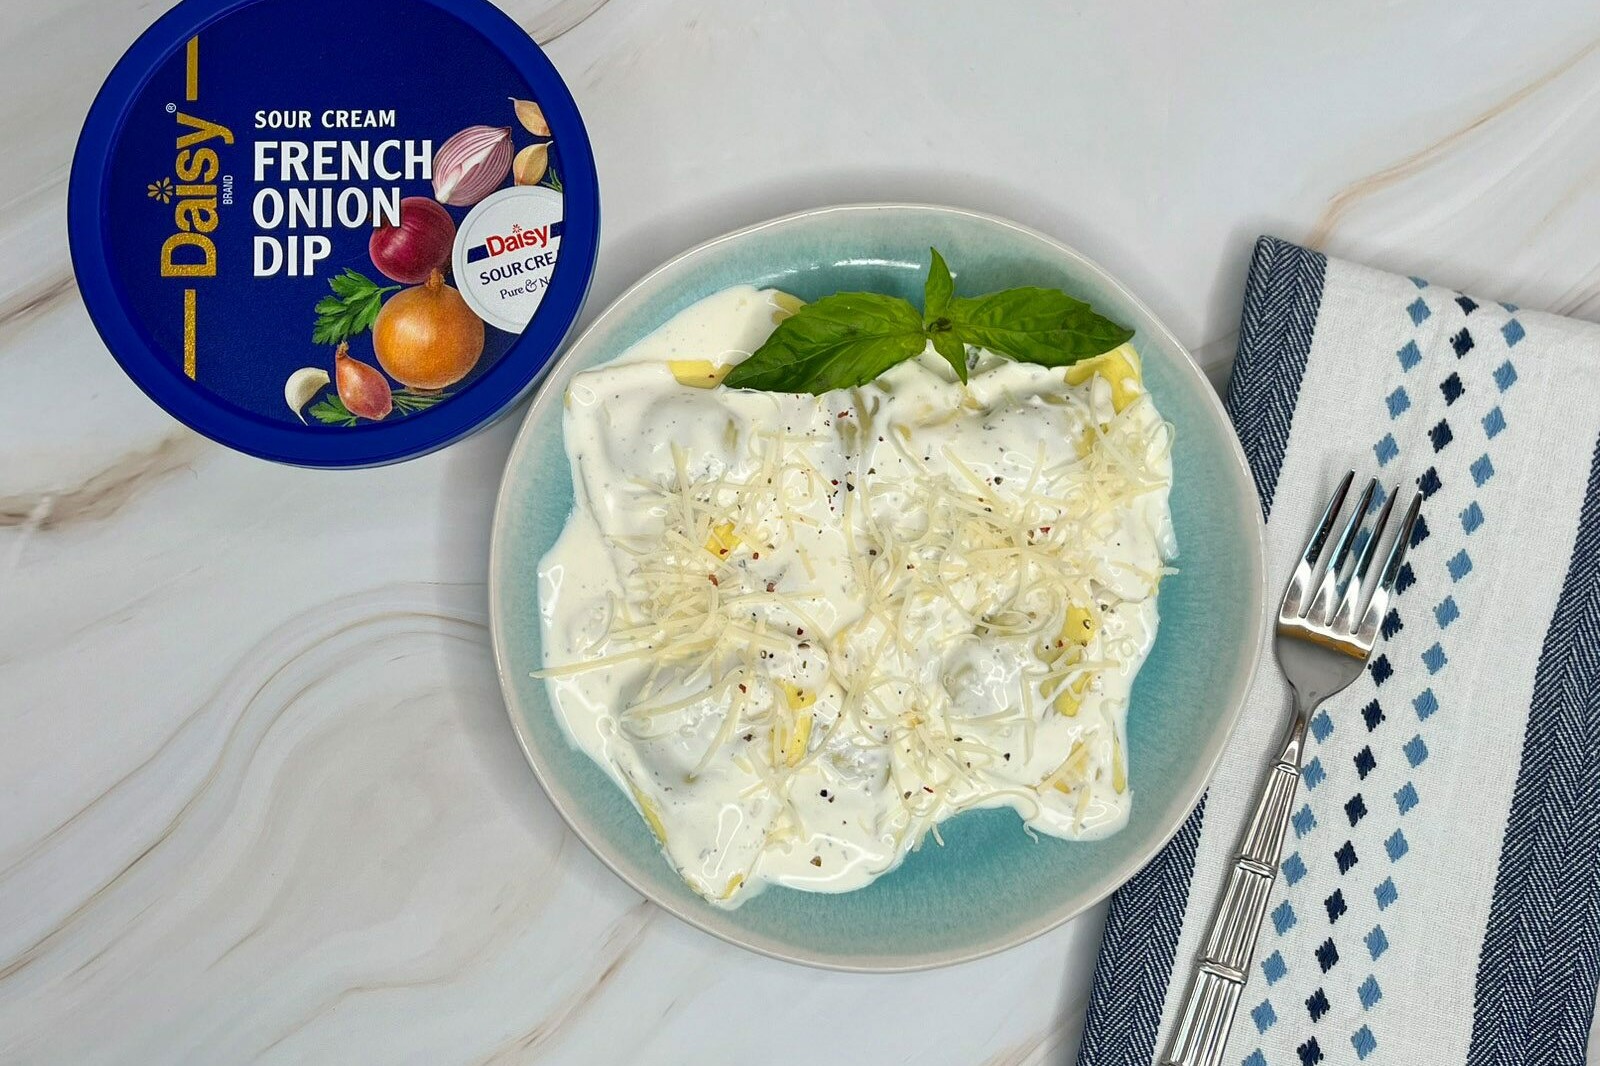
- If desired, season with salt and pepper to taste, and then garnish with fresh basil and additional parmesan cheese.
No Bake Strawberry Cottage Cheese Cheesecake
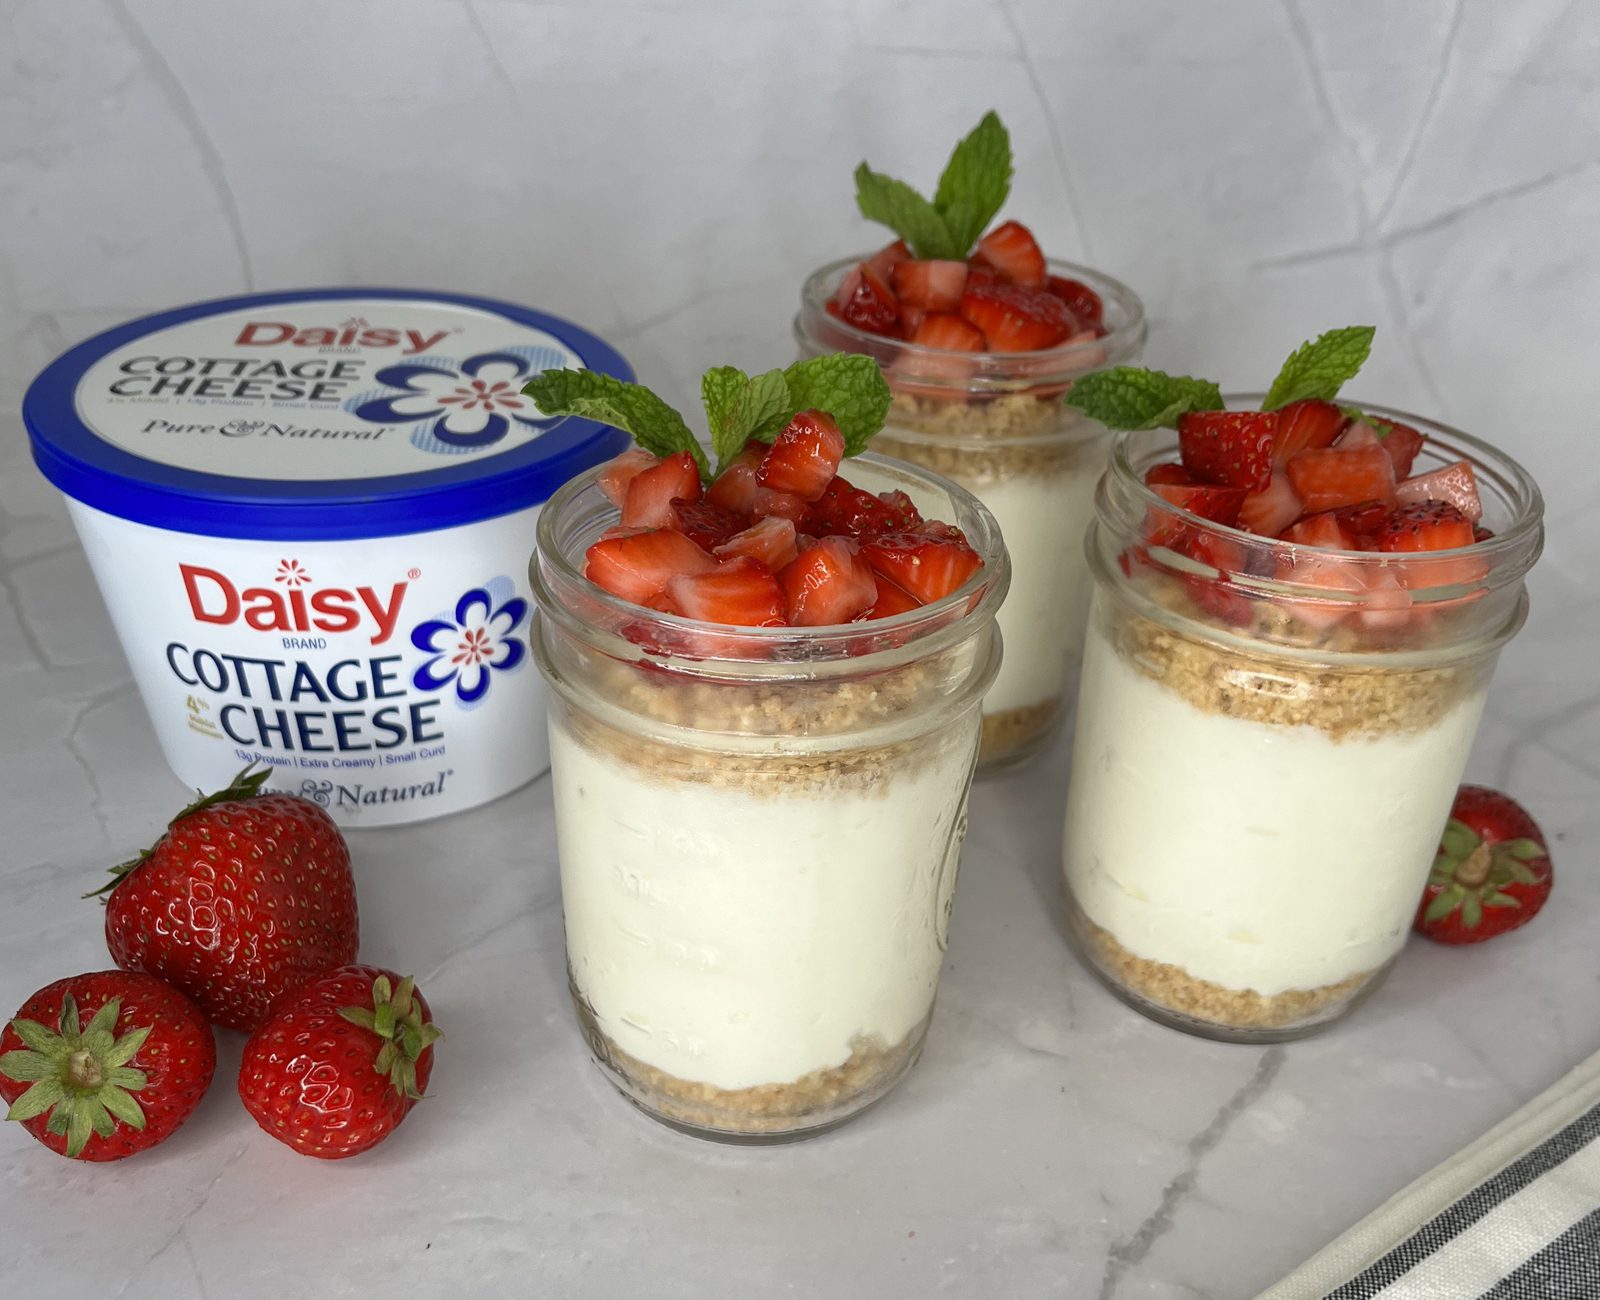
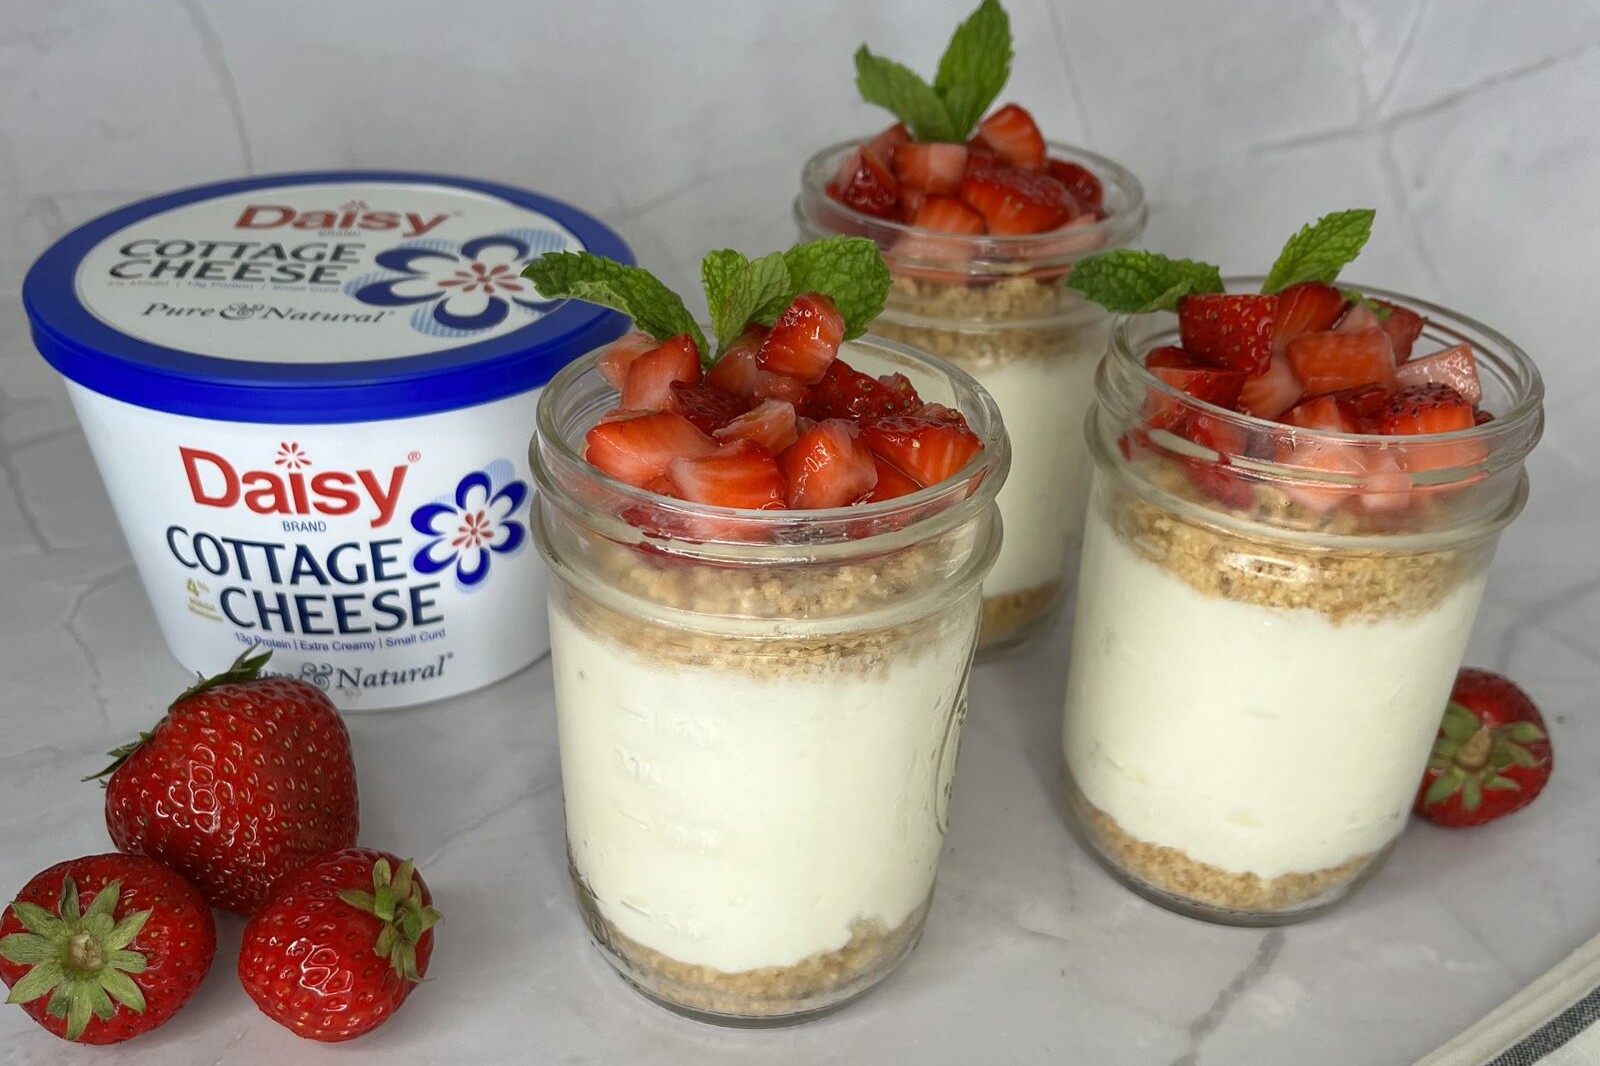
No Bake Strawberry Cottage Cheese Cheesecake
These rich and creamy No Bake Cheesecake Jars with Strawberries are so delicious you’ll crave them again and again. With cottage cheese replacing the heavier cream cheese in traditional cheesecake, these are not only lighter and fluffier, but they are also significantly lower in calories, fat, and carbs than traditional cheesecake. Now you can enjoy a delicious, decadent dessert without the guilt.
Quick and easy to make, these cheesecakes are perfect for date night, impressing your guests during the holidays, or as a simple weeknight snack.
Made with only a handful of ingredients, this dessert packs creamy deliciousness in every bite. These cheesecakes have 50% less calories and 60% less fat than a slice of traditional cheesecake that is made with cream cheese. Made with a few simple, high-quality ingredients, you can whip up these desserts in under 5 minutes.
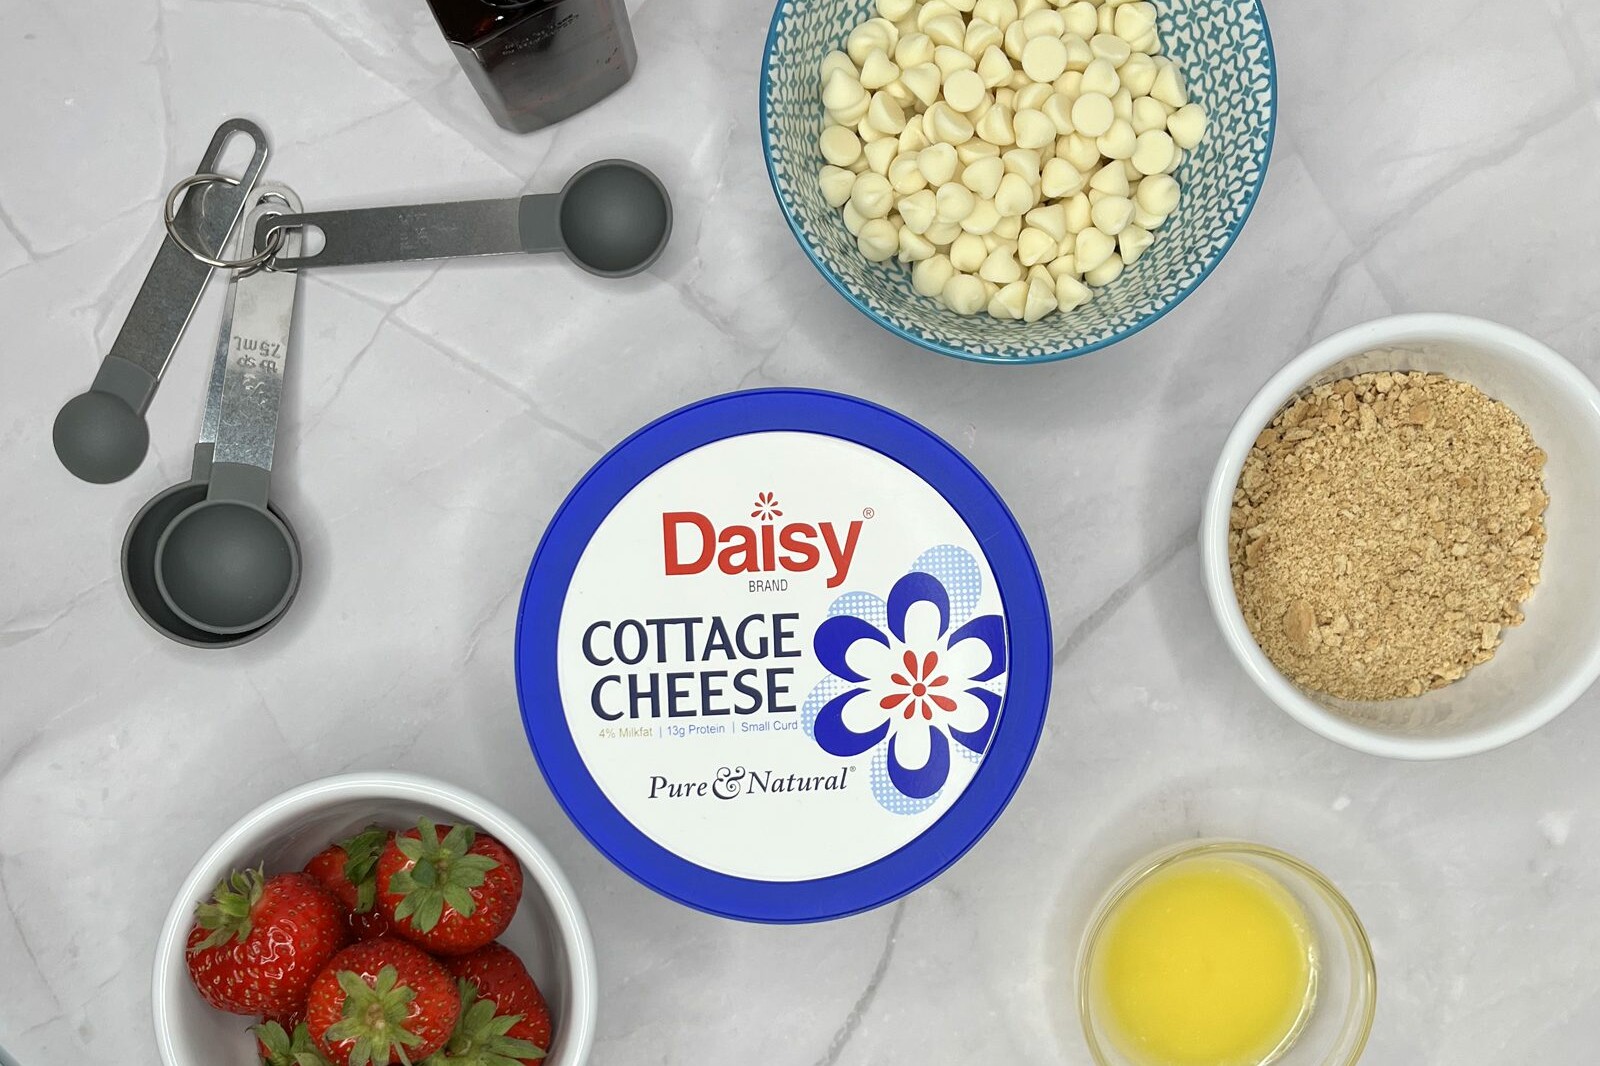
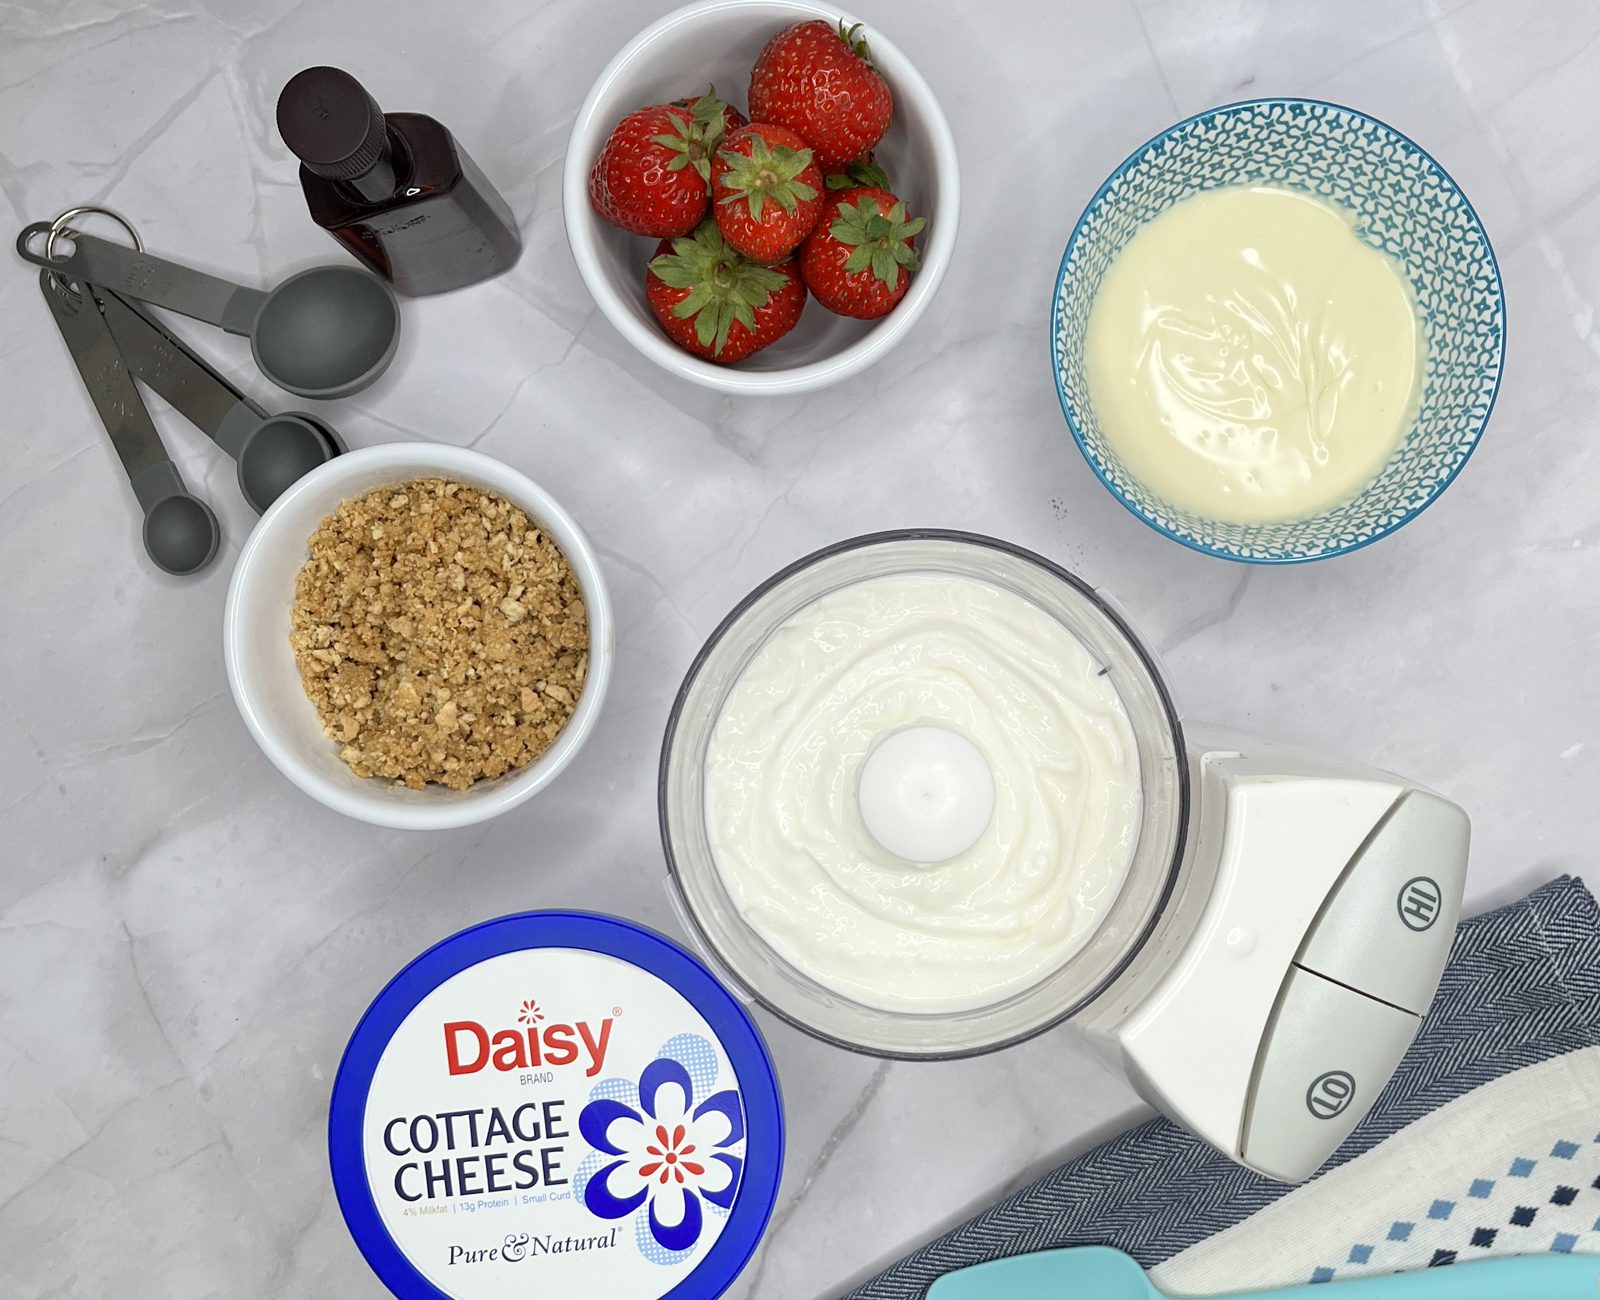
No Bake Cheesecake Jars with Strawberries Ingredients
- Sugar (1 teaspoon): Adds a touch of sweetness to the strawberries.
- Strawberries (4): Look for bright red berries with bright green caps that smell fragrant. Naturally full of vitamins, including Vitamin C and nutrients, fiber, and antioxidants. They are also an excellent source of magnesium.
- Graham Crackers (6 tablespoons): Adds a light, sweet, crunchy texture that you know and love from classic cheesecake.
- Salted Butter (2 tablespoons, melted): Adds a bit of flavor and holds the graham crackers together.
- White Chocolate (2/3 cup): Good quality white chocolate provides a sweet, buttery, slightly milky flavor to the cheesecakes.
- Daisy Cottage Cheese (1 1/4 cup): The secret ingredient in these delicious cheesecakes. It lightens the cheesecakes and adds a silky, creamy texture that you love in cheesecake.
- Vanilla Extract (1/2 teaspoon): Enhances the flavor of desserts.
Substitutions, Variations, and Tips
- Feel free to use other fresh fruit toppings or swap the fresh fruit and sugar for your favorite jam (i.e., cherry).
- Animal Crackers, chocolate wafers, or gluten-free graham crackers may be used in place of traditional graham crackers.
- An immersion blender may be used in place of the food processor to create the creamy, light, fluffy cheesecake filling.
- Microwave white chocolate chips in short time increments to avoid scorching.
- Semisweet chocolate may be used in place of white chocolate, with chocolate wafers in place of graham crackers for the classic chocolate strawberry combination.
How to make No Bake Cheesecake with Fresh Strawberries Jars
- Gently stir together diced strawberries and sugar. Set aside.
- Mix graham crackers with melted butter. Set aside.
- Place the white chocolate chips in a microwave safe container. Microwave at 30 second intervals until just melted (about 1 ½ minutes).
- Pour blended cottage cheese and vanilla mixture into a medium mixing bowl then use a rubber spatula to gently fold-in melted white baking chips.
- Sprinkle 1 tablespoon of the graham mixture into the bottom of a mason jar, scoop ½ cup of cheesecake filling on top and smooth with the back of a spoon.
- Sprinkle 1 more tablespoon of the graham mixture on top.
- Garnish with the strawberries.
- Repeat with remaining jars. Chill for 2 hours in refrigerator before serving.
Sour Cream Strawberry Dip
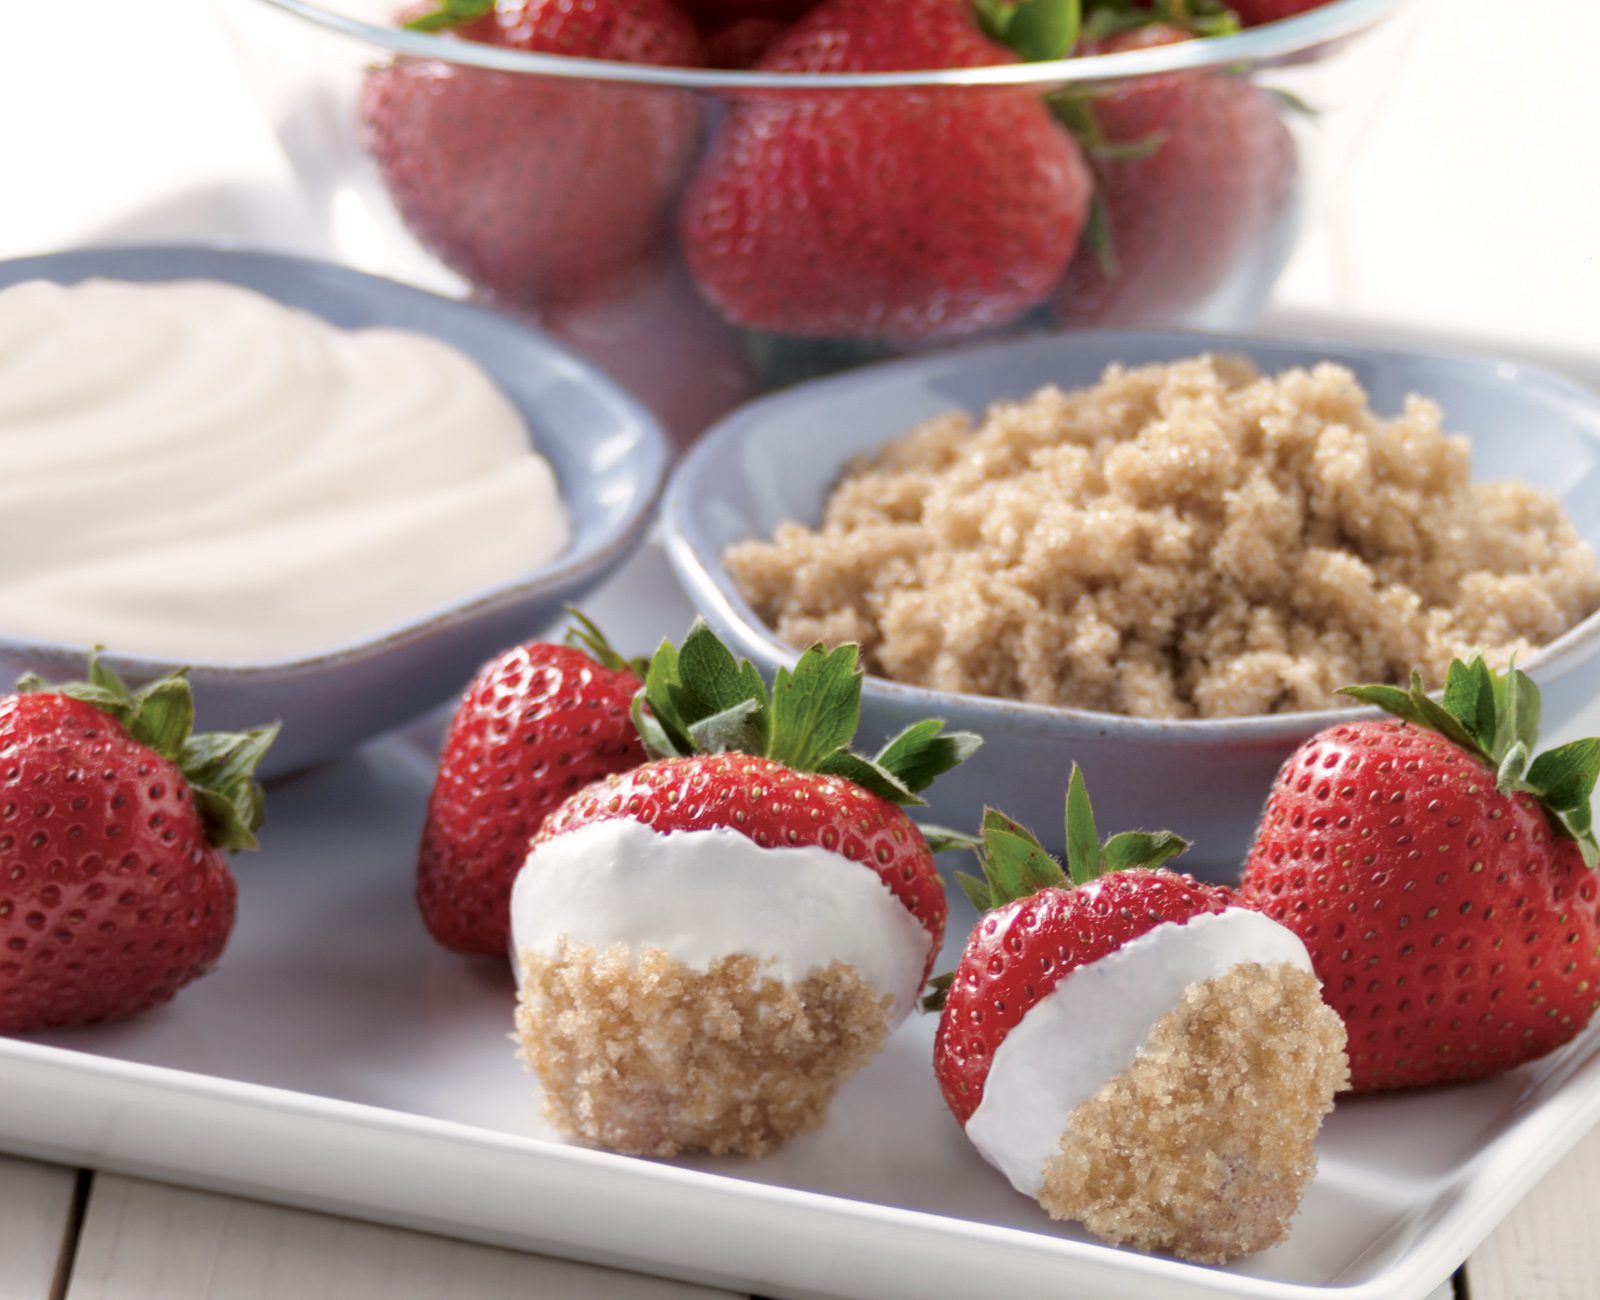
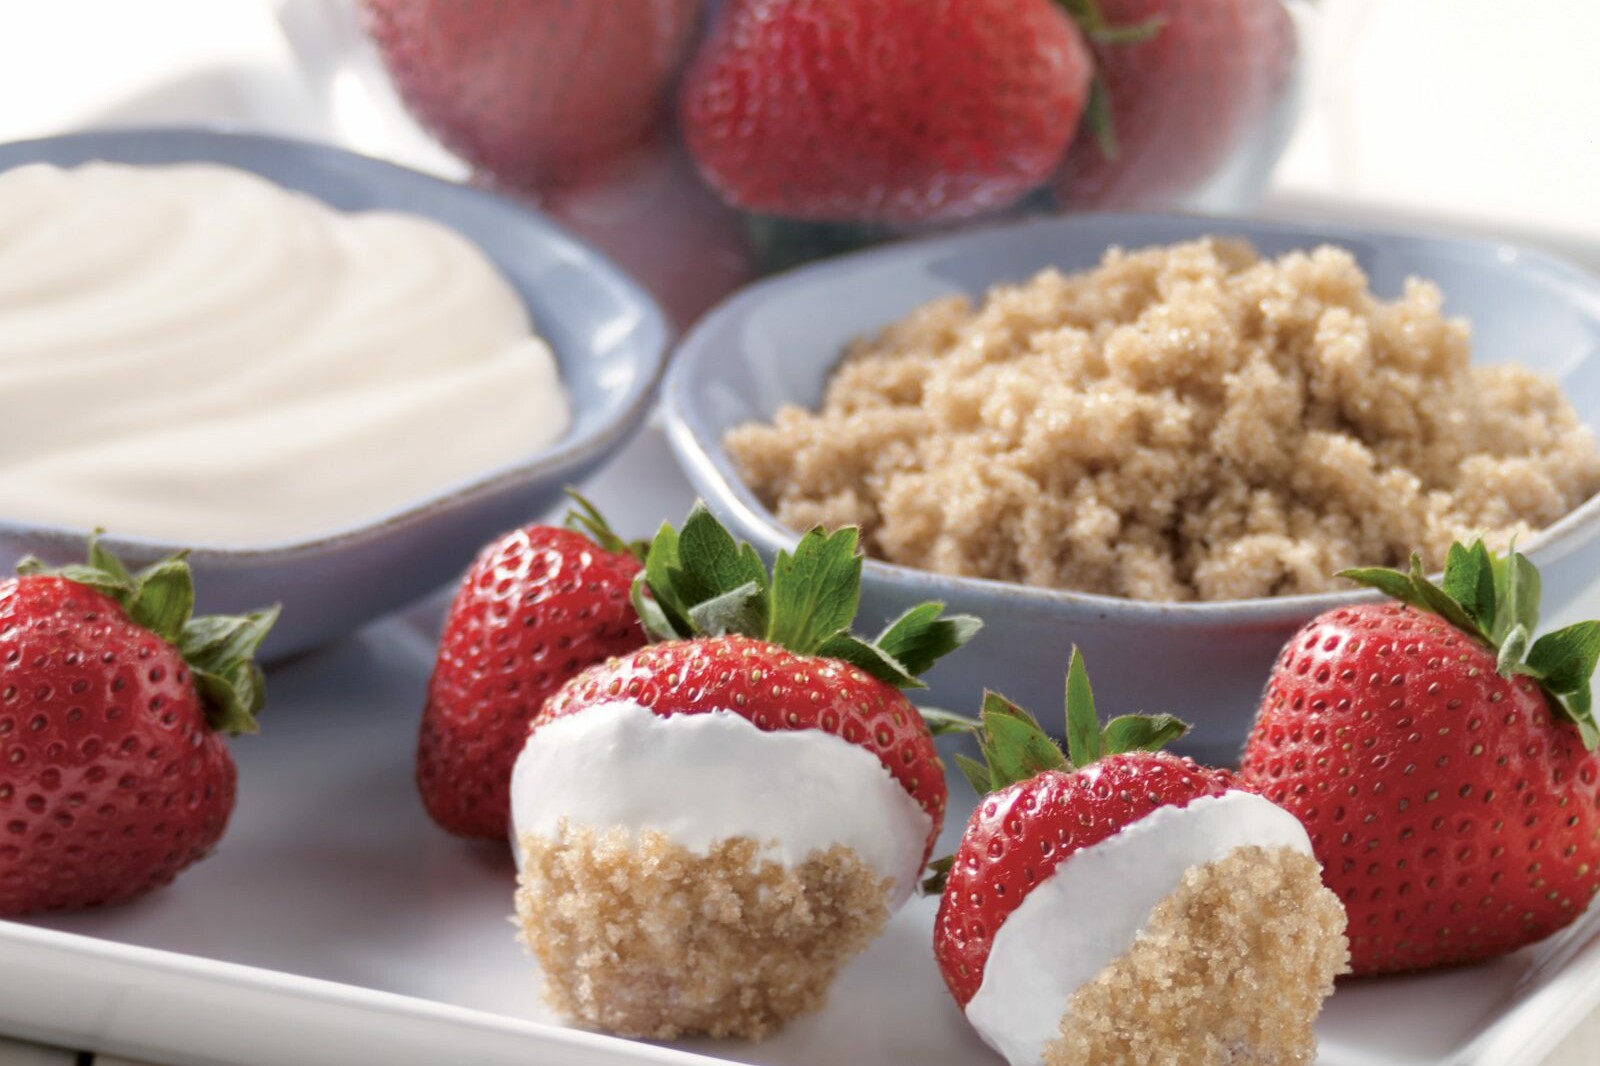
Sour Cream Brown Sugar Berry Dip
You may not have heard of this quick and easy treat, but Sour Cream Brown Sugar Berry Dip is the perfect combination of tart and sweet. Full of juicy flavor and creamy goodness, this combination is perfect for entertaining or for a tasty treat to enjoy any time of the day.
Made with a few ingredients you likely already have in your kitchen; Sour Cream Brown Sugar Berry Dip is a cinch to throw together when your family and friends need a spur of the moment treat. Feel free to customize if you want to swap out the strawberries for other fruits. Perhaps even consider setting up a dipping station for more fun. Family and friends will love dipping their own berries. Just make sure they don’t double dip.
Sour Cream Brown Sugar Berry Dip Ingredients
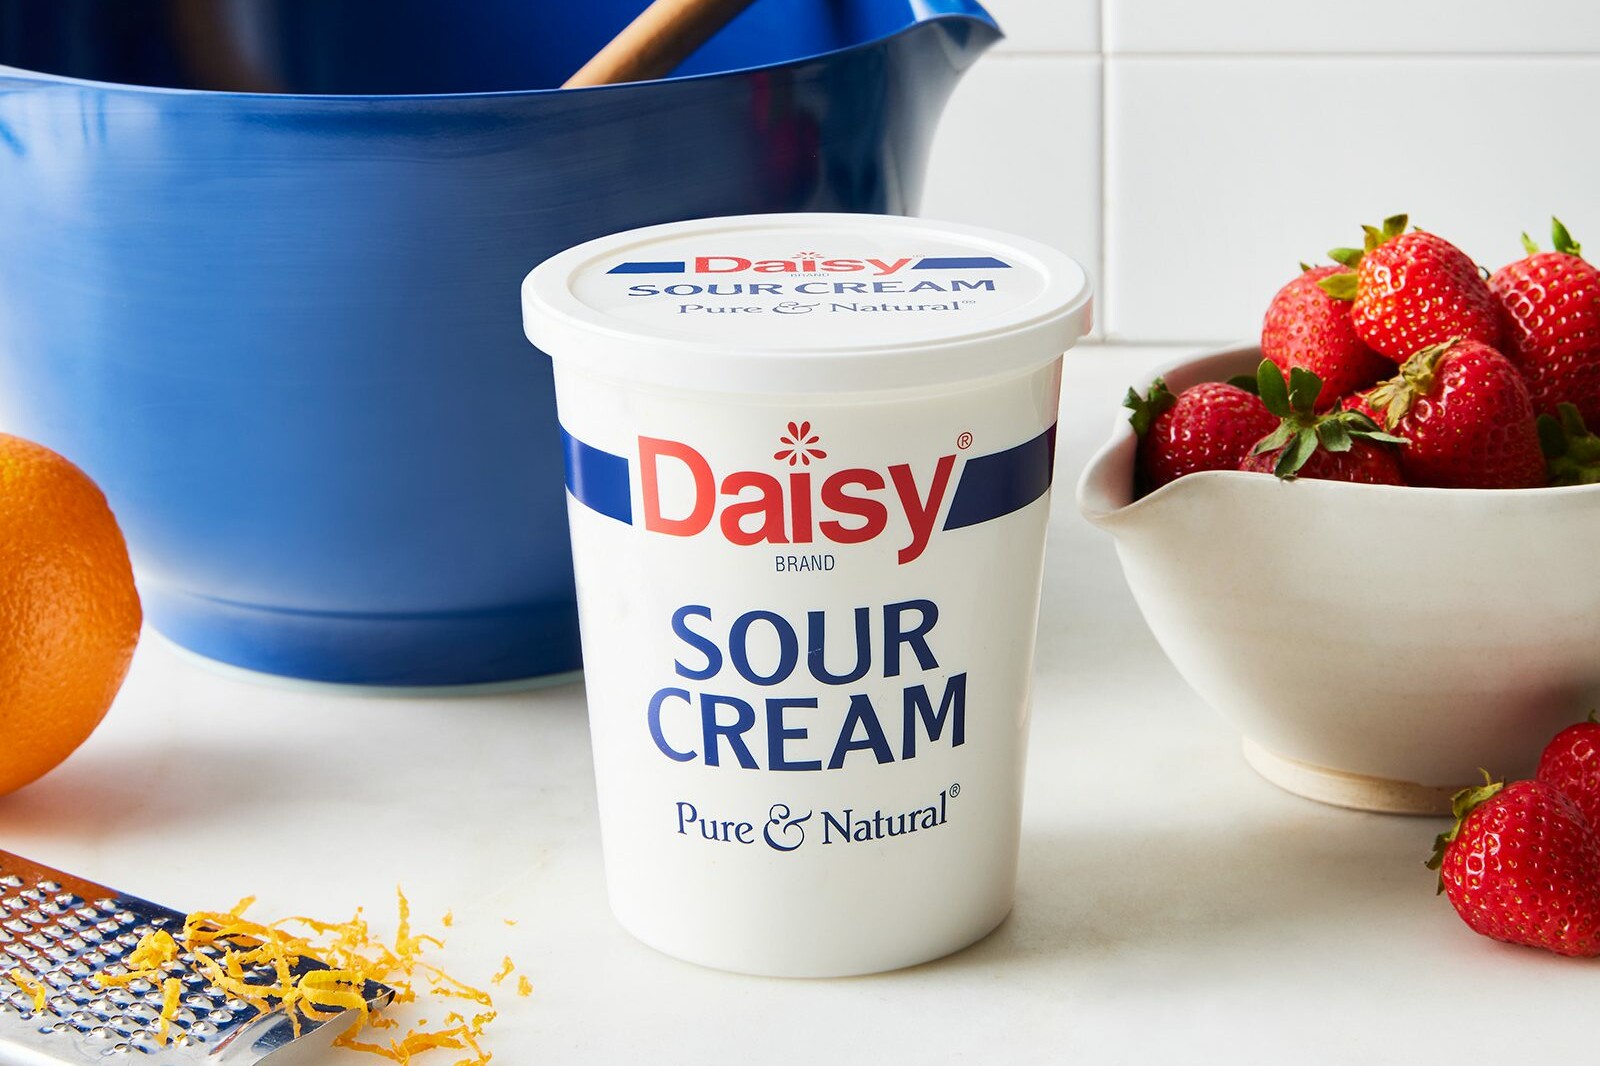
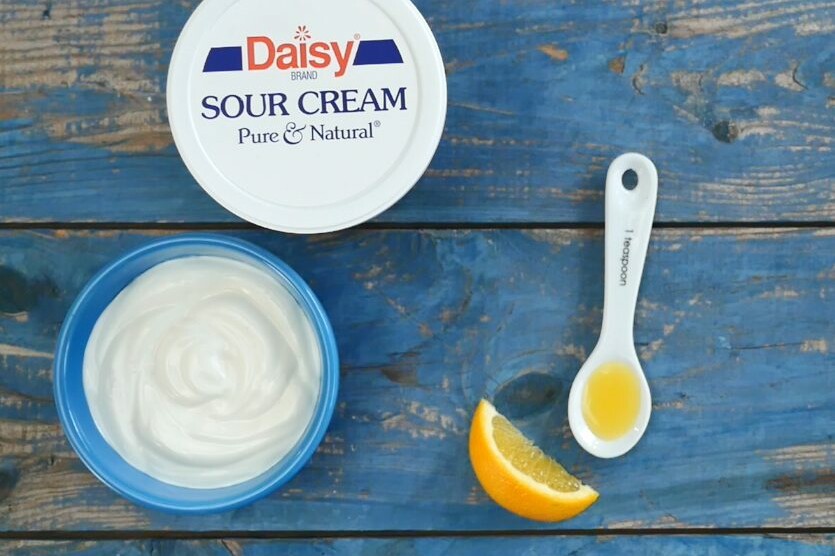
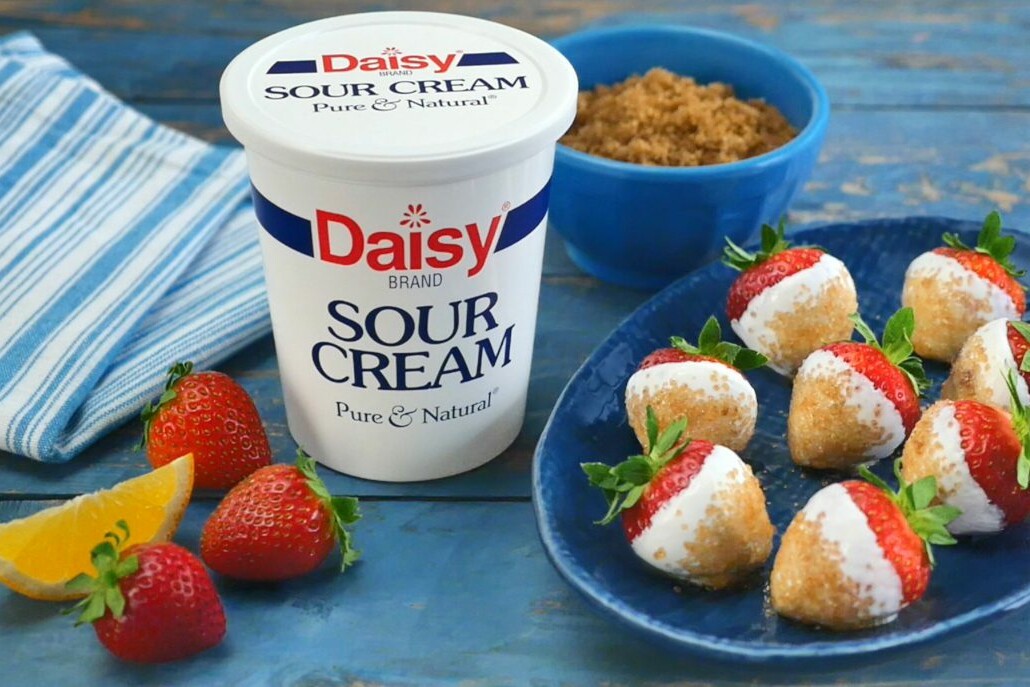
- Daisy Sour Cream (3/4 cup): The creamy and decadent base of the dip, the slightly tangy sour cream complements the sweetness of the fruit.
- Orange Juice (1 teaspoon): Adds a citrus note to the dip without being overpowering.
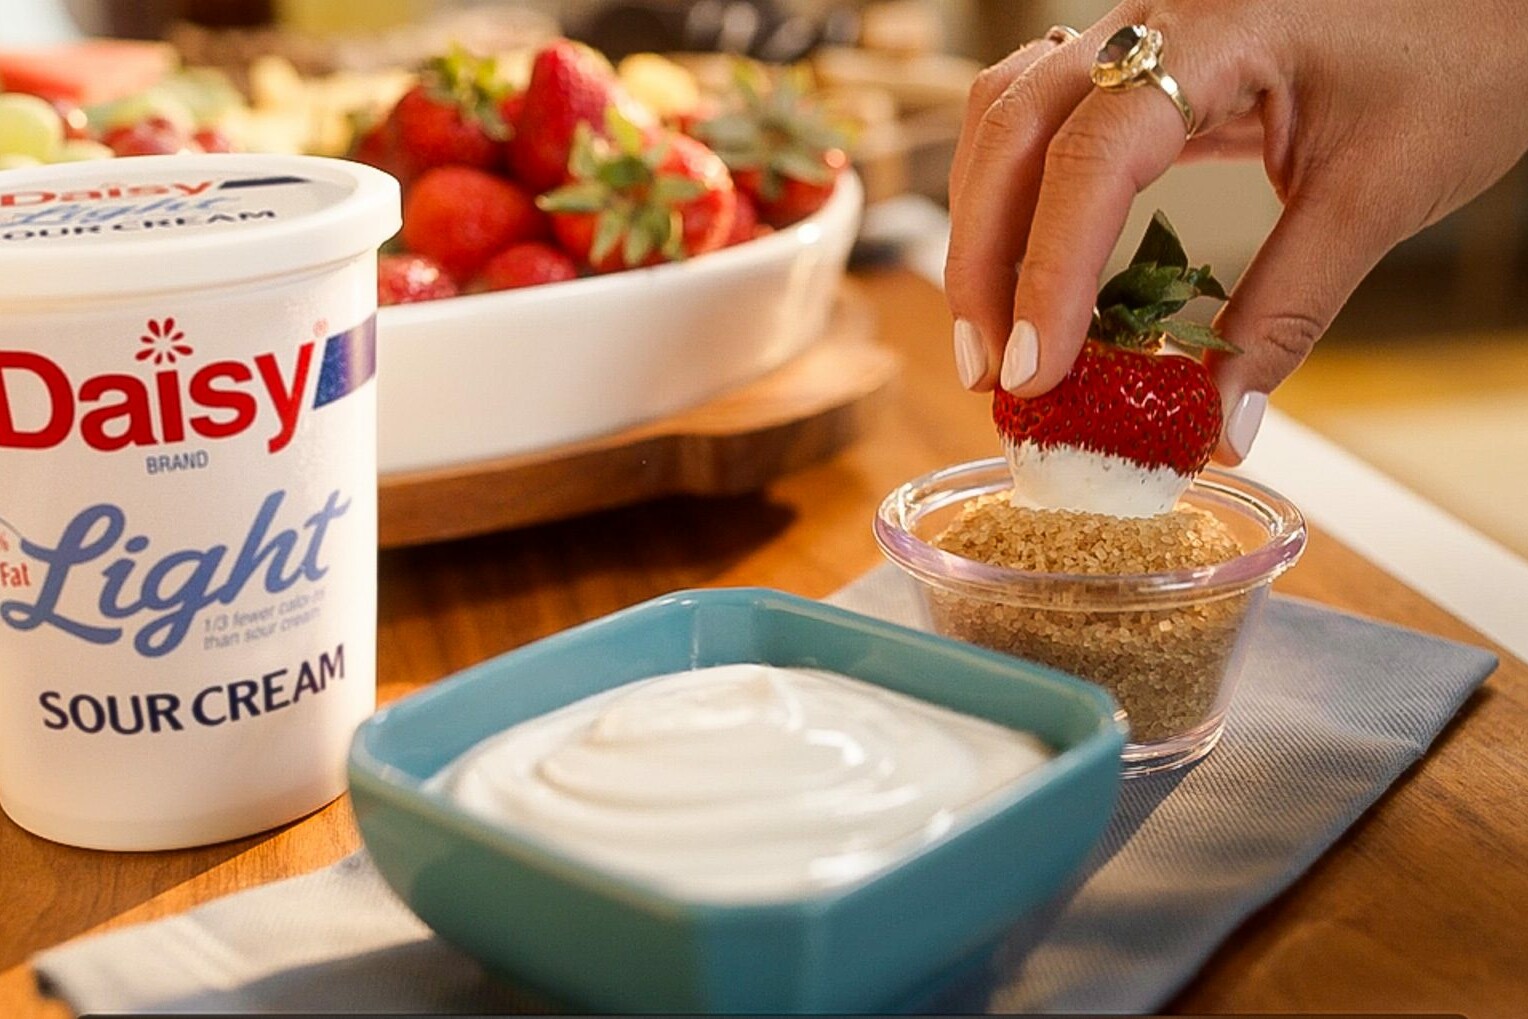
- Brown Sugar (1/2 cup): Adds a rich buttery, caramel flavor to the dip. Light or dark brown sugar may be used in this recipe. Use dark brown sugar for a deeper flavor or light brown sugar for a lighter flavor.
- Strawberries (36 medium, about 1 1/2 pounds): Look for bright red berries with bright green caps. Medium to small strawberries work best for this recipe.

Substitutions, Variations, and Tips
- Keep strawberries and other berries refrigerated before use. Wash with cool water, and then dry before using.
- This dip is also great with apple or pear slices, as well as grapes!
- Either fresh or prepared orange juice may be used in this recipe.
- Try substituting lime juice for the lemon juice.
- Turbinado sugar (raw sugar) may be used in place of light brown sugar.
- Or you can leave out the brown sugar altogether.
How to make Sour Cream Brown Sugar Berry Dip
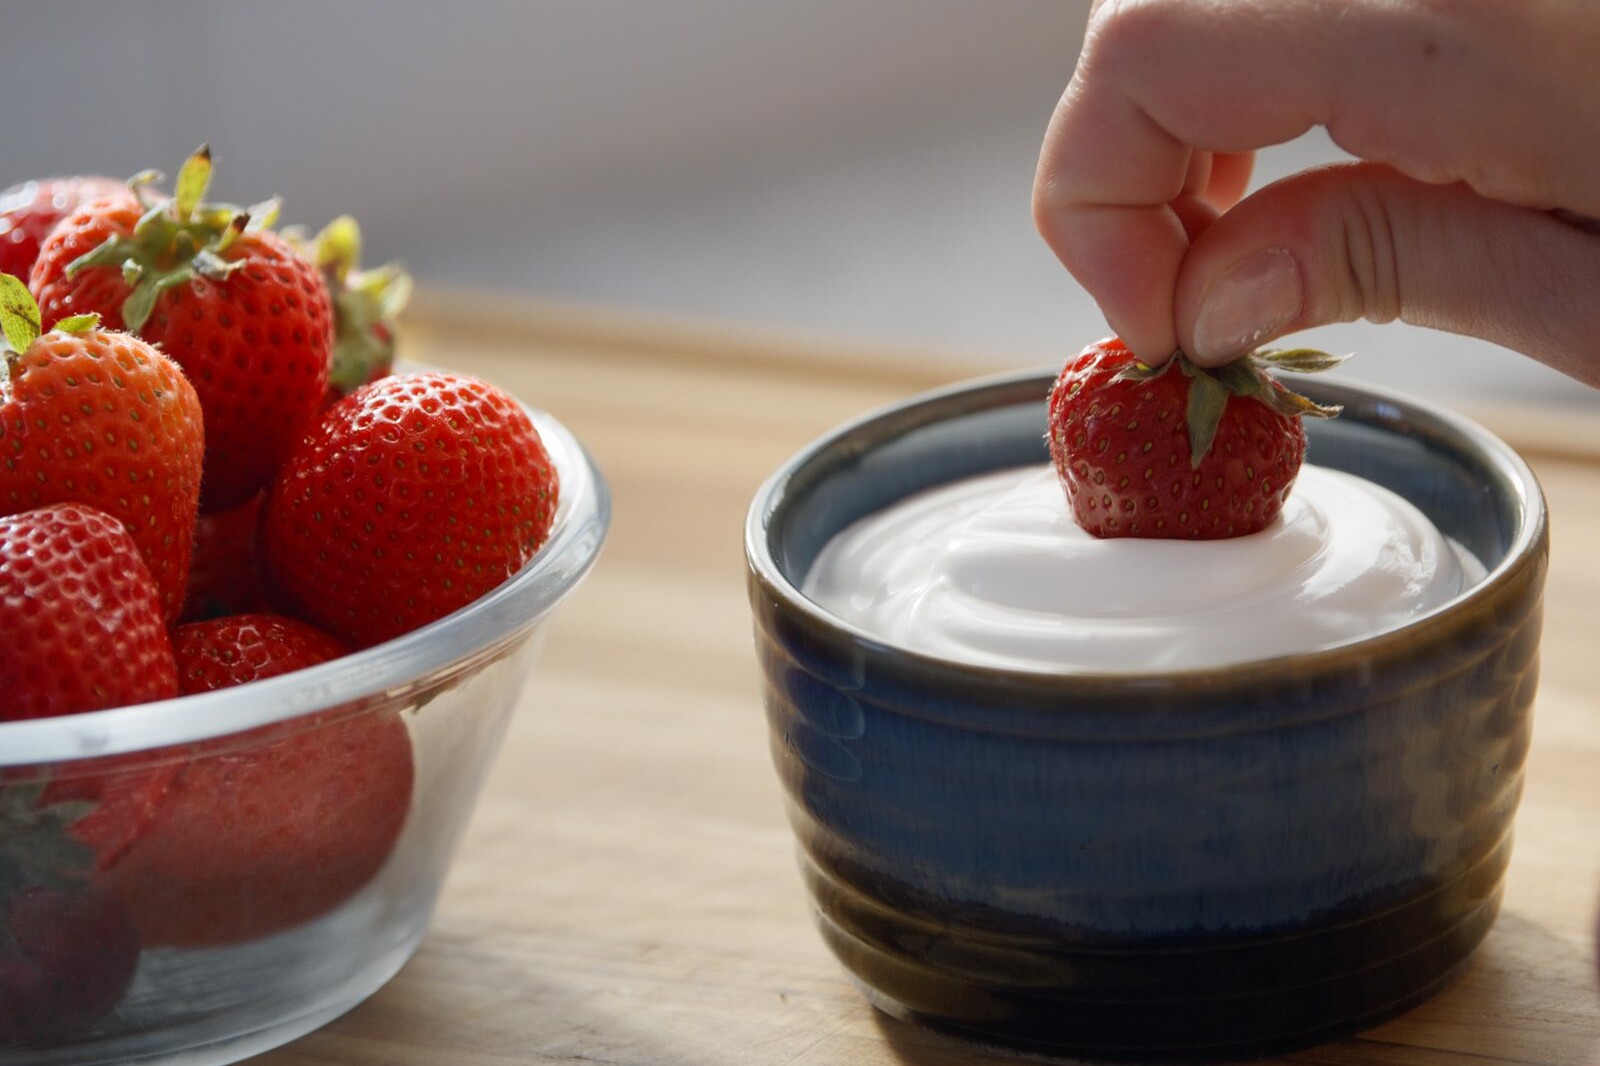
- Combine the sour cream and orange juice in small bowl; mix well.
- Place the brown sugar in another small bowl.
- Dip the strawberries in the sour cream mixture and then roll in the brown sugar.

Easy Cottage Cheese Pizza
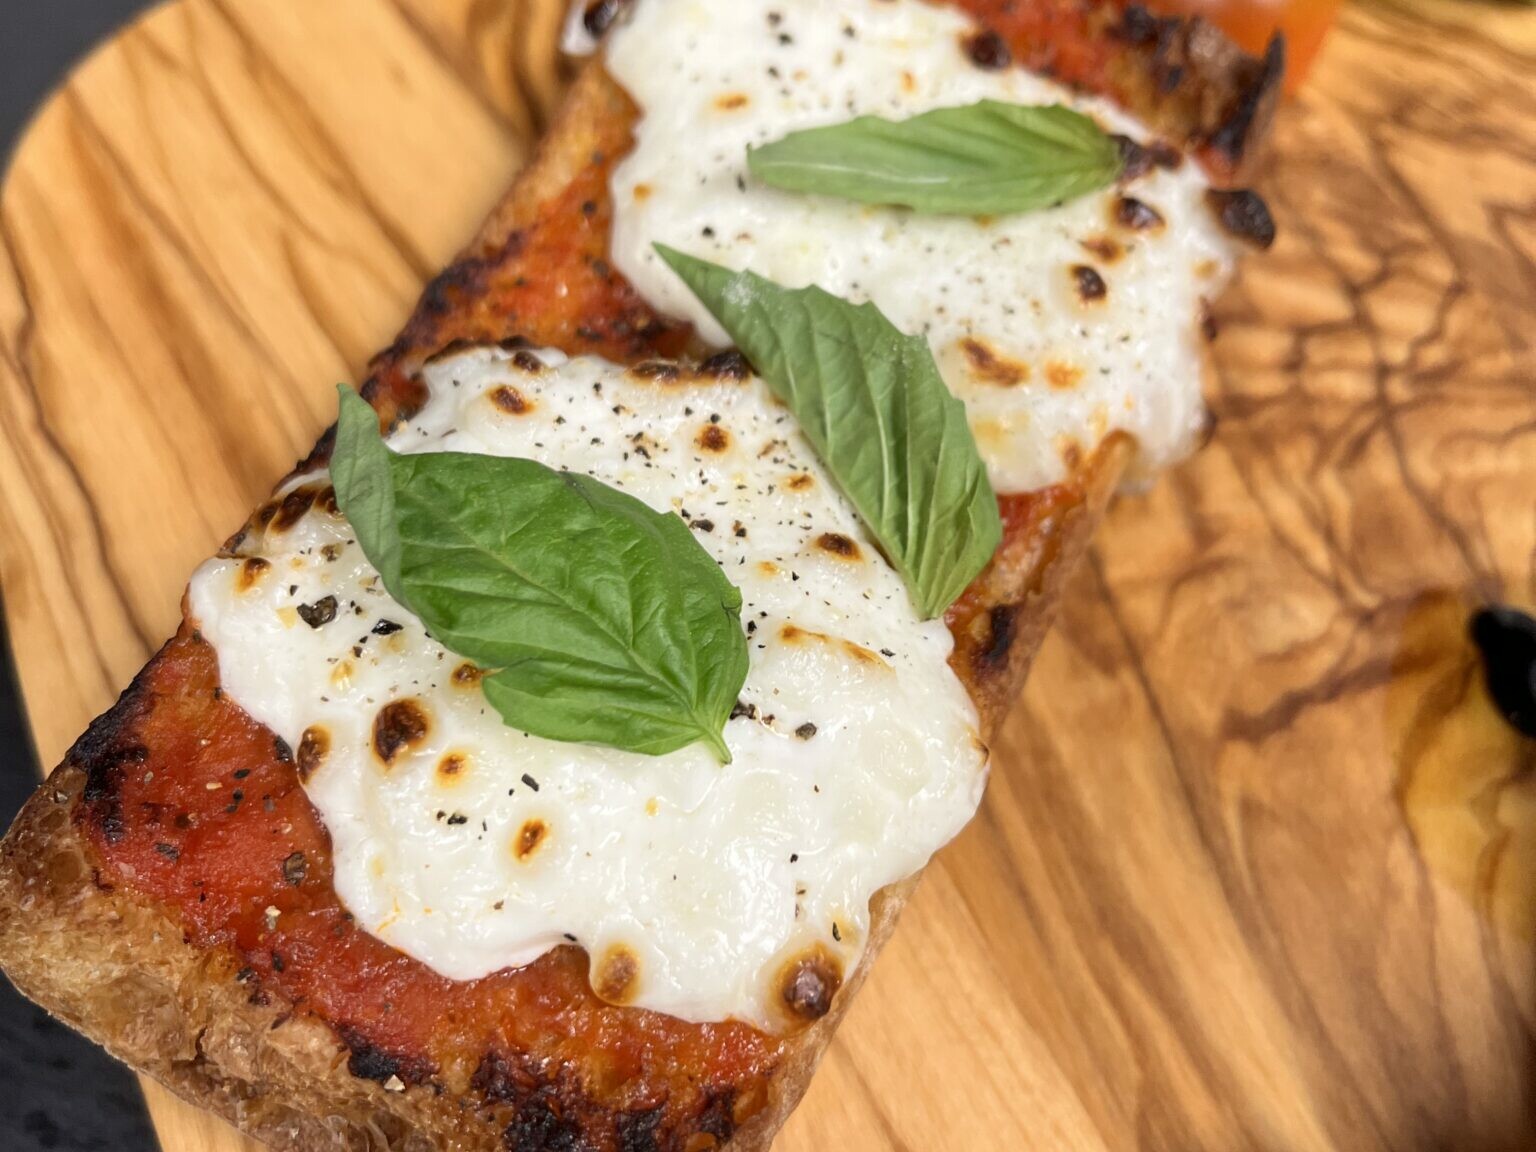
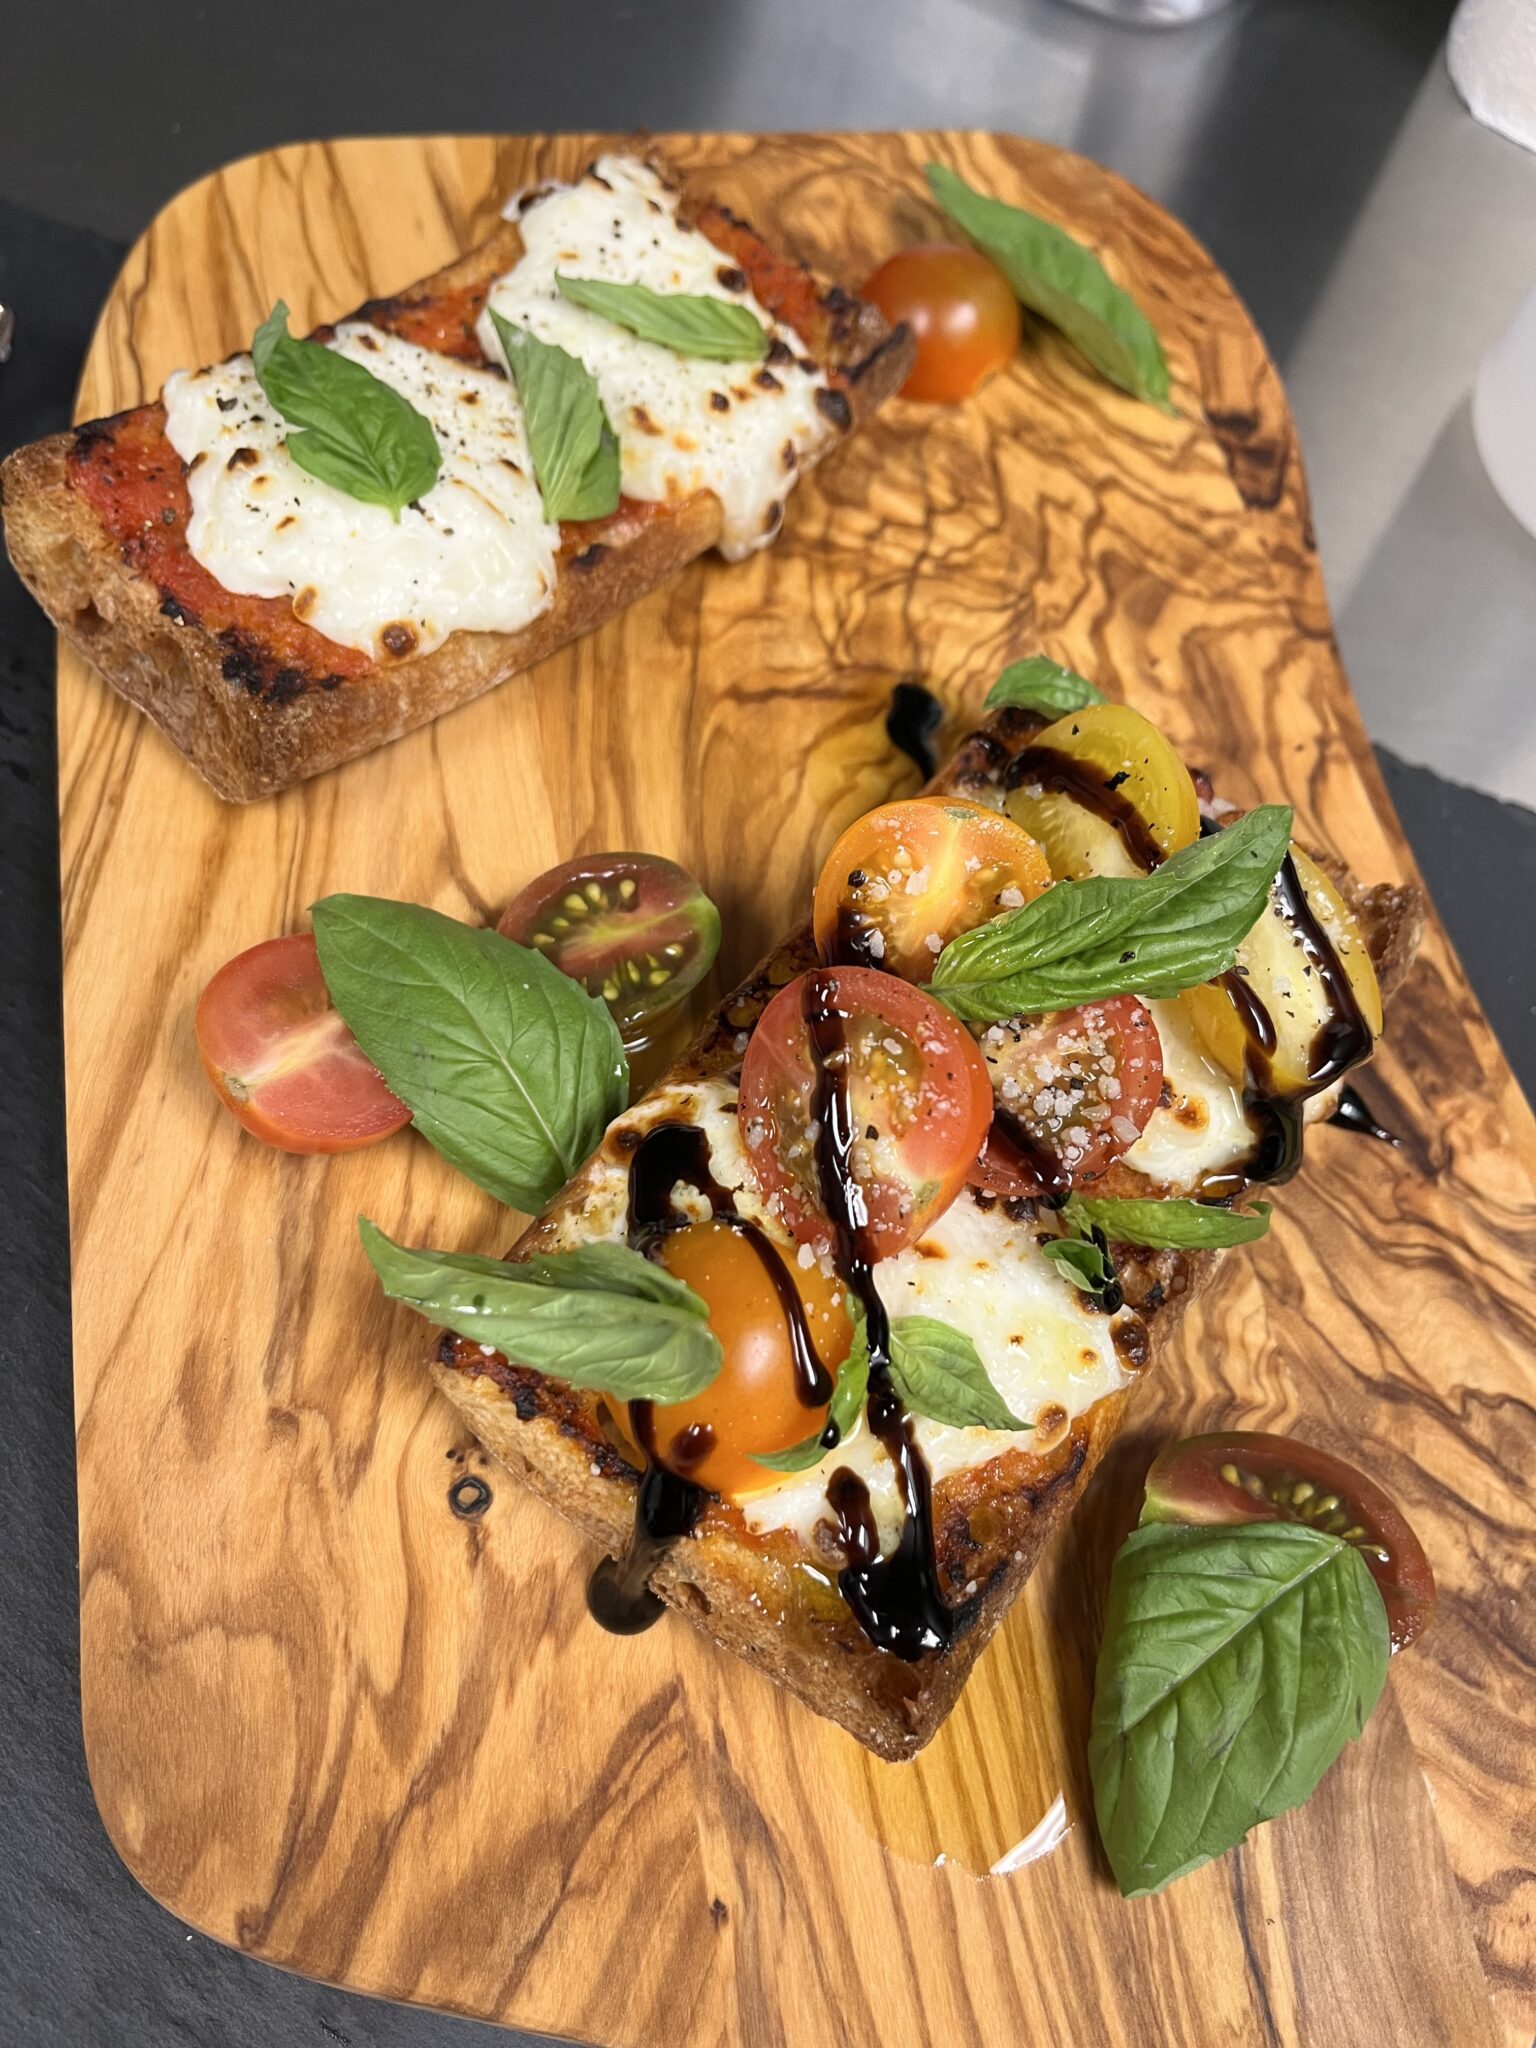
Quick and Delicious Cottage Cheese Baguette Pizza
The tasty and air-fryer made Easy Cottage Cheese Pizza comes together in about 5 minutes. It’s loaded with protein from the cottage cheese and has a crispy crunch thanks to the toasted baguette base. Explore all your favorite options with this versatile pizza, from pepperoni to grilled chicken, and pesto to grilled veggies.
This delicious pizza can be eaten as a quick snack or an easy dinner. The whole family will love it. Great for both game days and after school snacking.

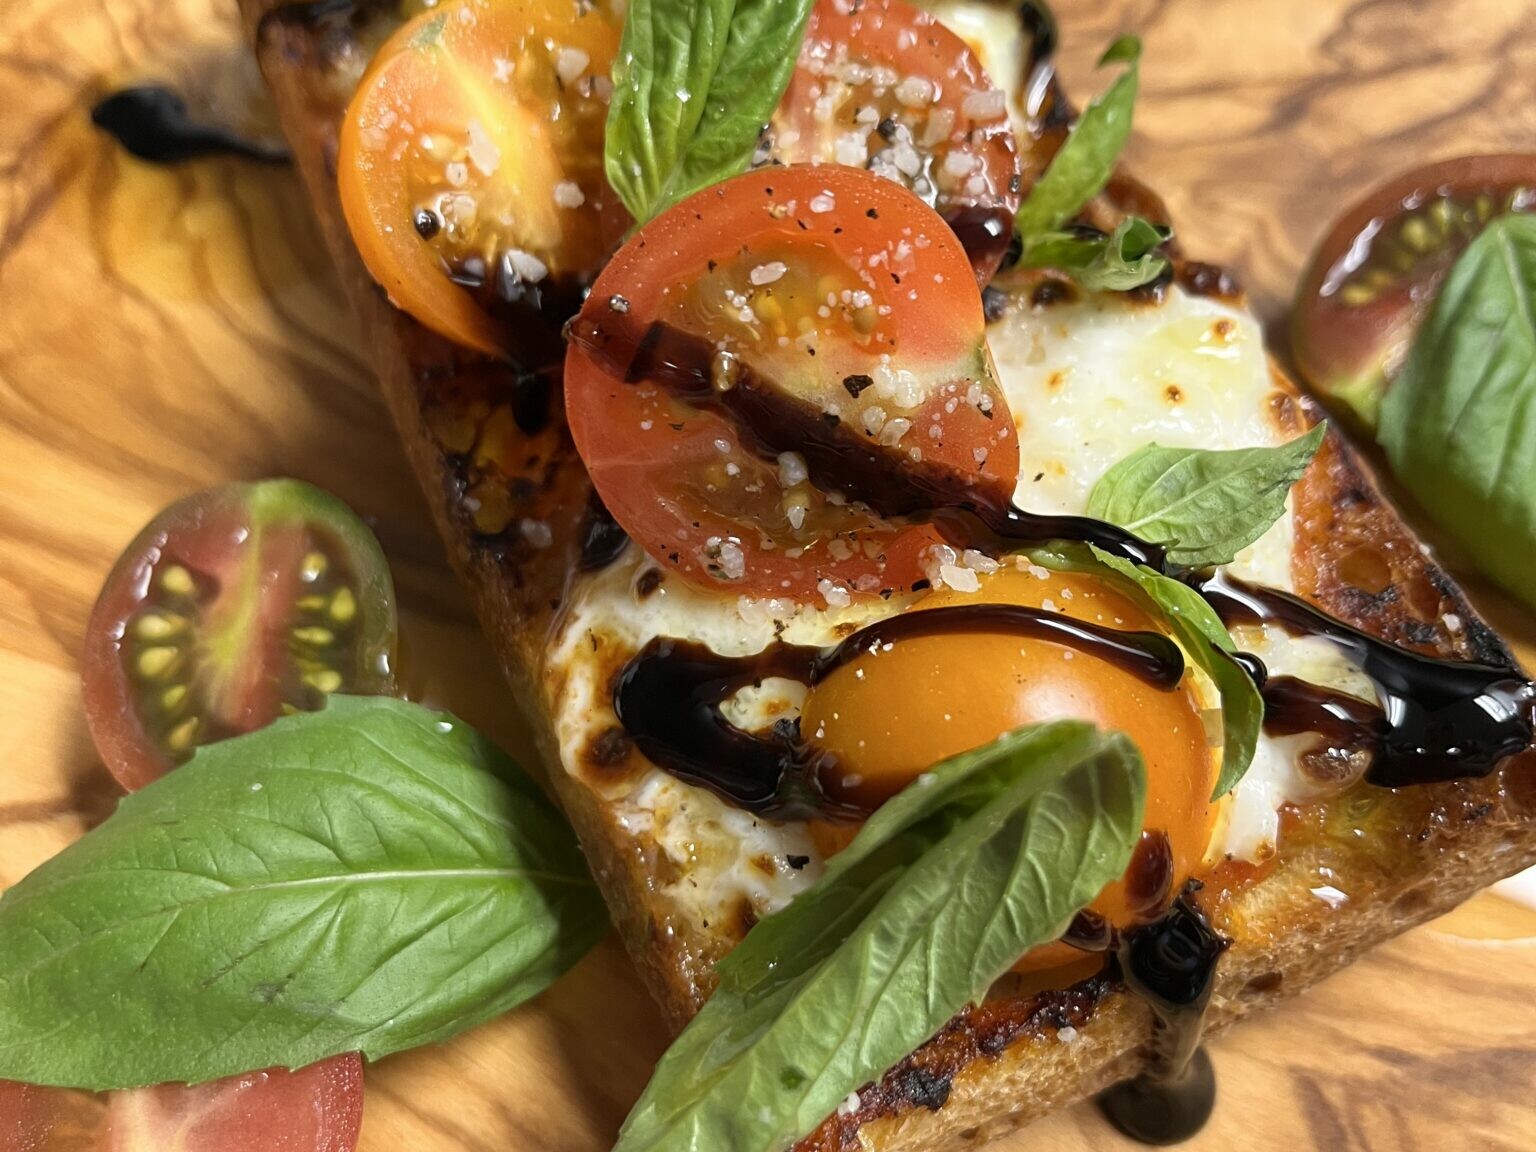
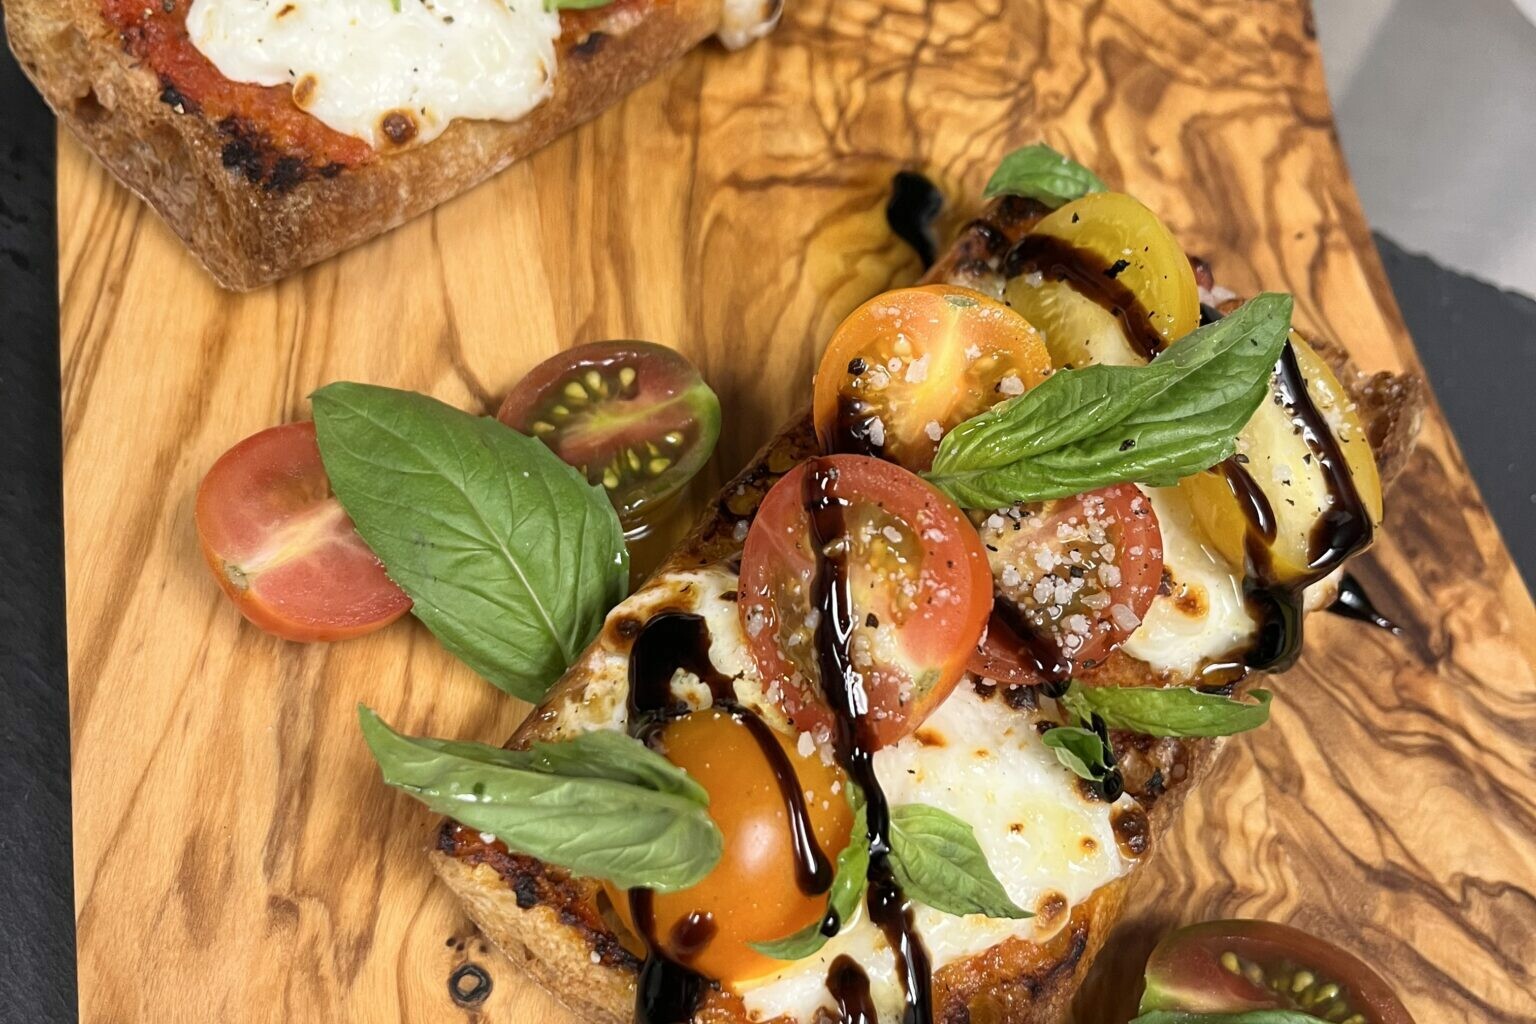
The star of this quick and easy pizza is the cottage cheese which adds a creamy texture and a boost of protein to satisfy your pizza craving, without adding the extra fat and calories from traditional pizza. The toppings are endless. Make it even healthier with added fresh vegetables. Our favorite is colorful tomatoes and balsamic glaze.
Easy Cottage Cheese Pizza Ingredients
- French Baguette (1/4 loaf): You’ll need a hearty, crusty loaf.
- Olive Oil (1 teaspoon): You’ll want a good quality olive oil for toasting the bread.
- Pizza Sauce (2 tablespoons): Your favorite jarred pizza sauce or marinara works great for this recipe.
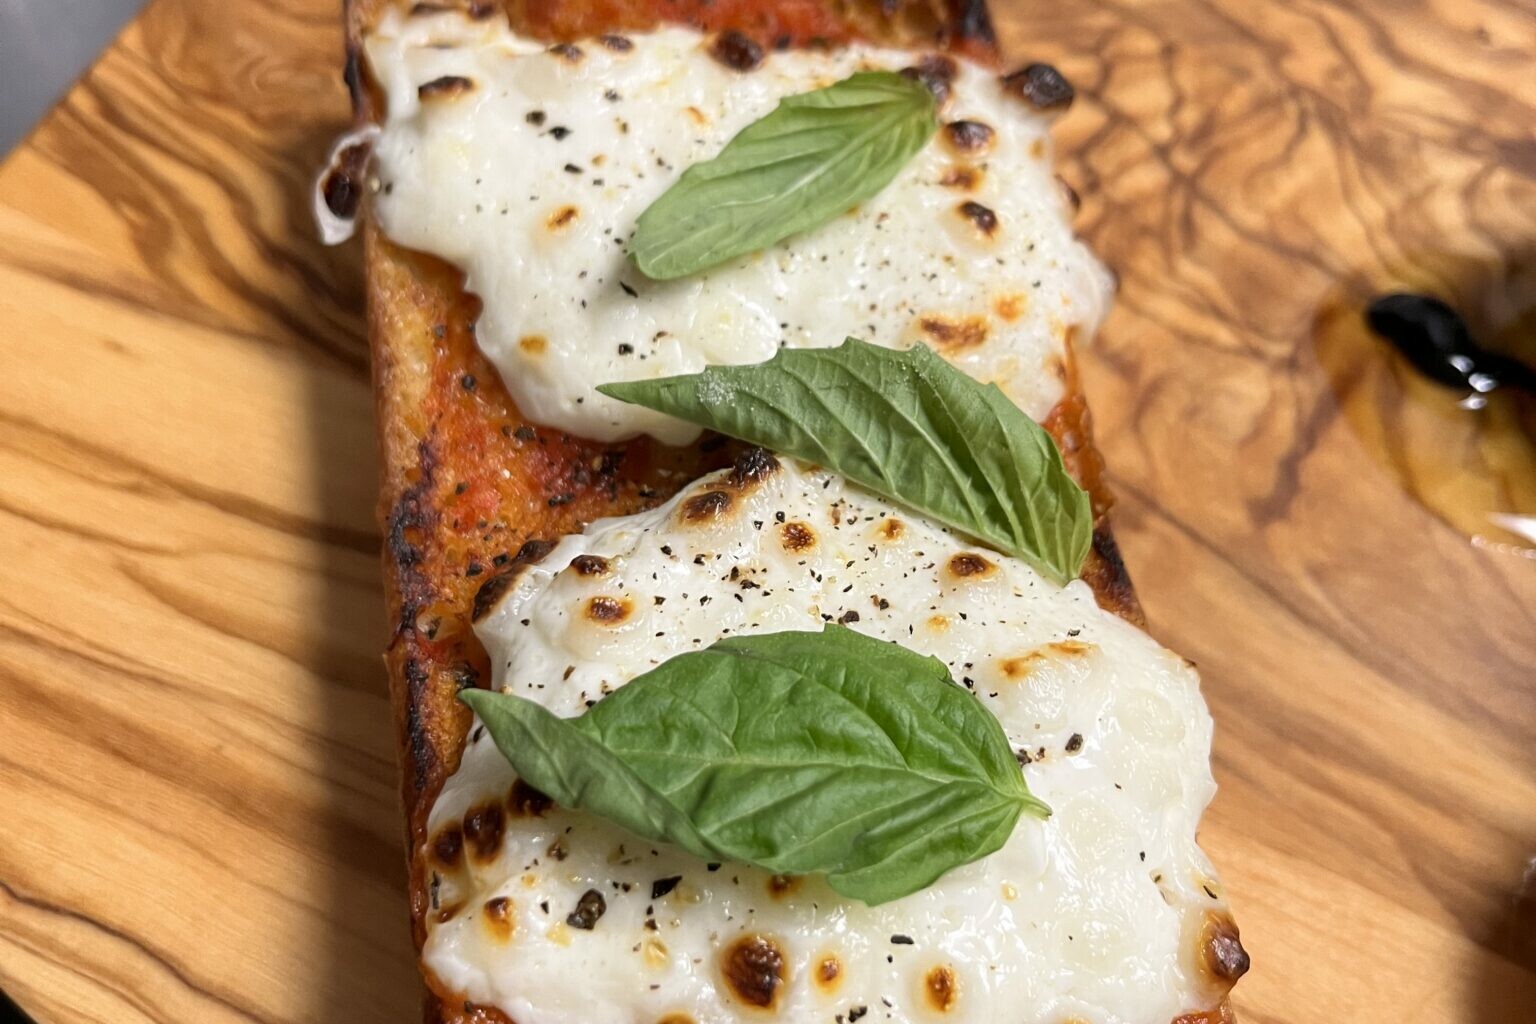
- Daisy Cottage Cheese (1/3 cup): The star ingredient for this delicious pizza. It’s creamy, delicious, and packed with protein. The best part, Daisy Cottage Cheese has 65% less fat than mozzarella and 68% less saturated fat.
- Fresh Basil (3 leaves, torn): For a fresh burst of flavor.
- Optional Fresh Cracked Pepper: Adds a rounder and deeper flavor than ground pepper.
- Optional Parmesan Cheese: Best when freshly grated, it adds a nutty saltiness as a finishing touch.
- Optional Fresh Grape or Cherry Tomatoes: Rich, sweet, and juicy, fresh tomatoes add a burst of flavor.
- Optional Balsamic Glaze: A classic finish to many Italian dishes, it enhances the flavors of the recipe.
Substitutions, Variations, and Tips
- Feel free to add additional pizza toppings such as pepperoni, mushrooms, onions, and green onions.
- Add some non-traditional veggies such as spinach, zucchini, or asparagus. Most fresh veggies will taste great.
- Try subbing prepared pesto, alfredo, or barbeque sauce for the pizza sauce for a twist.
- Try topping with basil leaves for a burst of freshness.
- Don’t skip baking the bread before adding the toppings. It helps develop the crispy, crunchy crust!
How to make Easy Cottage Cheese Pizza
- Set-up crisper basket inside of air fryer and preheat to 400°F.
- Cut the loaf of baguette in half lengthwise. Brush the cut surface with olive oil.
- Place bread inside of air fryer, cut side up, and bake for 2 minutes until surface is lightly toasted.
- Remove the toasted bread and spread pizza sauce evenly over surface.
- Top sauce with dollops of cottage cheese. Bake for 4 to 5 minutes more.
- Remove pizza from air fryer. Cool for 1 minute.
- Add the fresh basil.
- Top with the optional pepper, Parmesan, tomatoes, and balsamic glaze, if desired.