
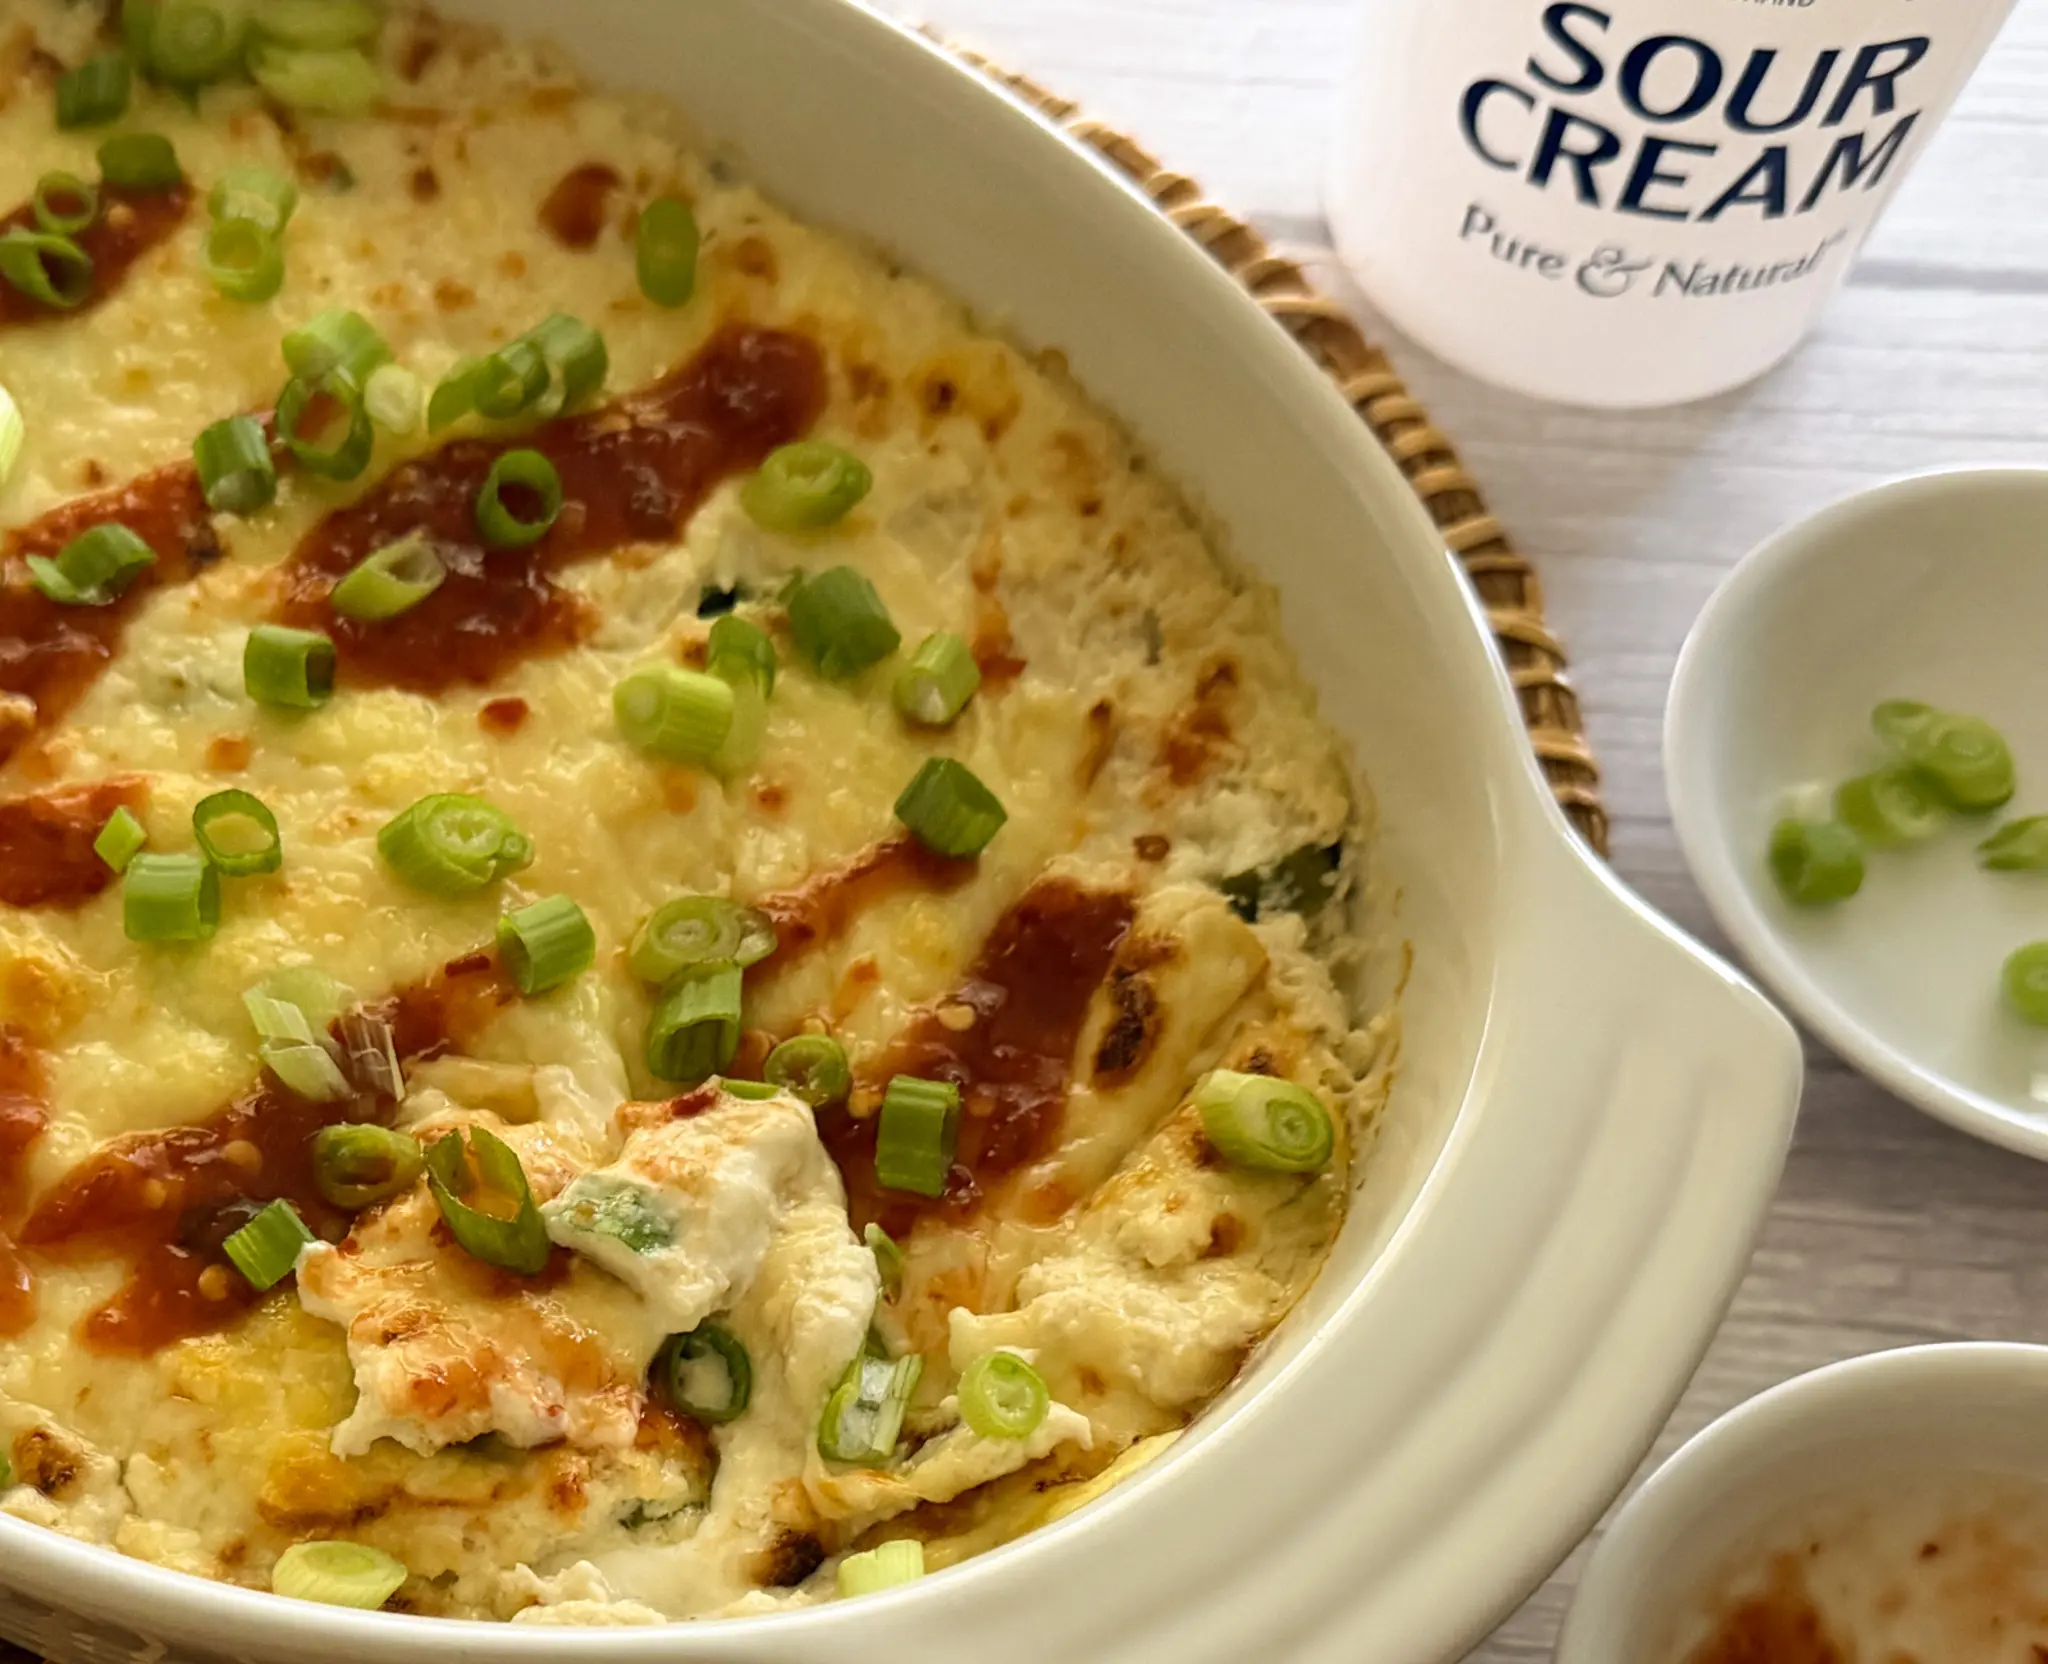
Crab Rangoon Dip
Crab Rangoon Dip
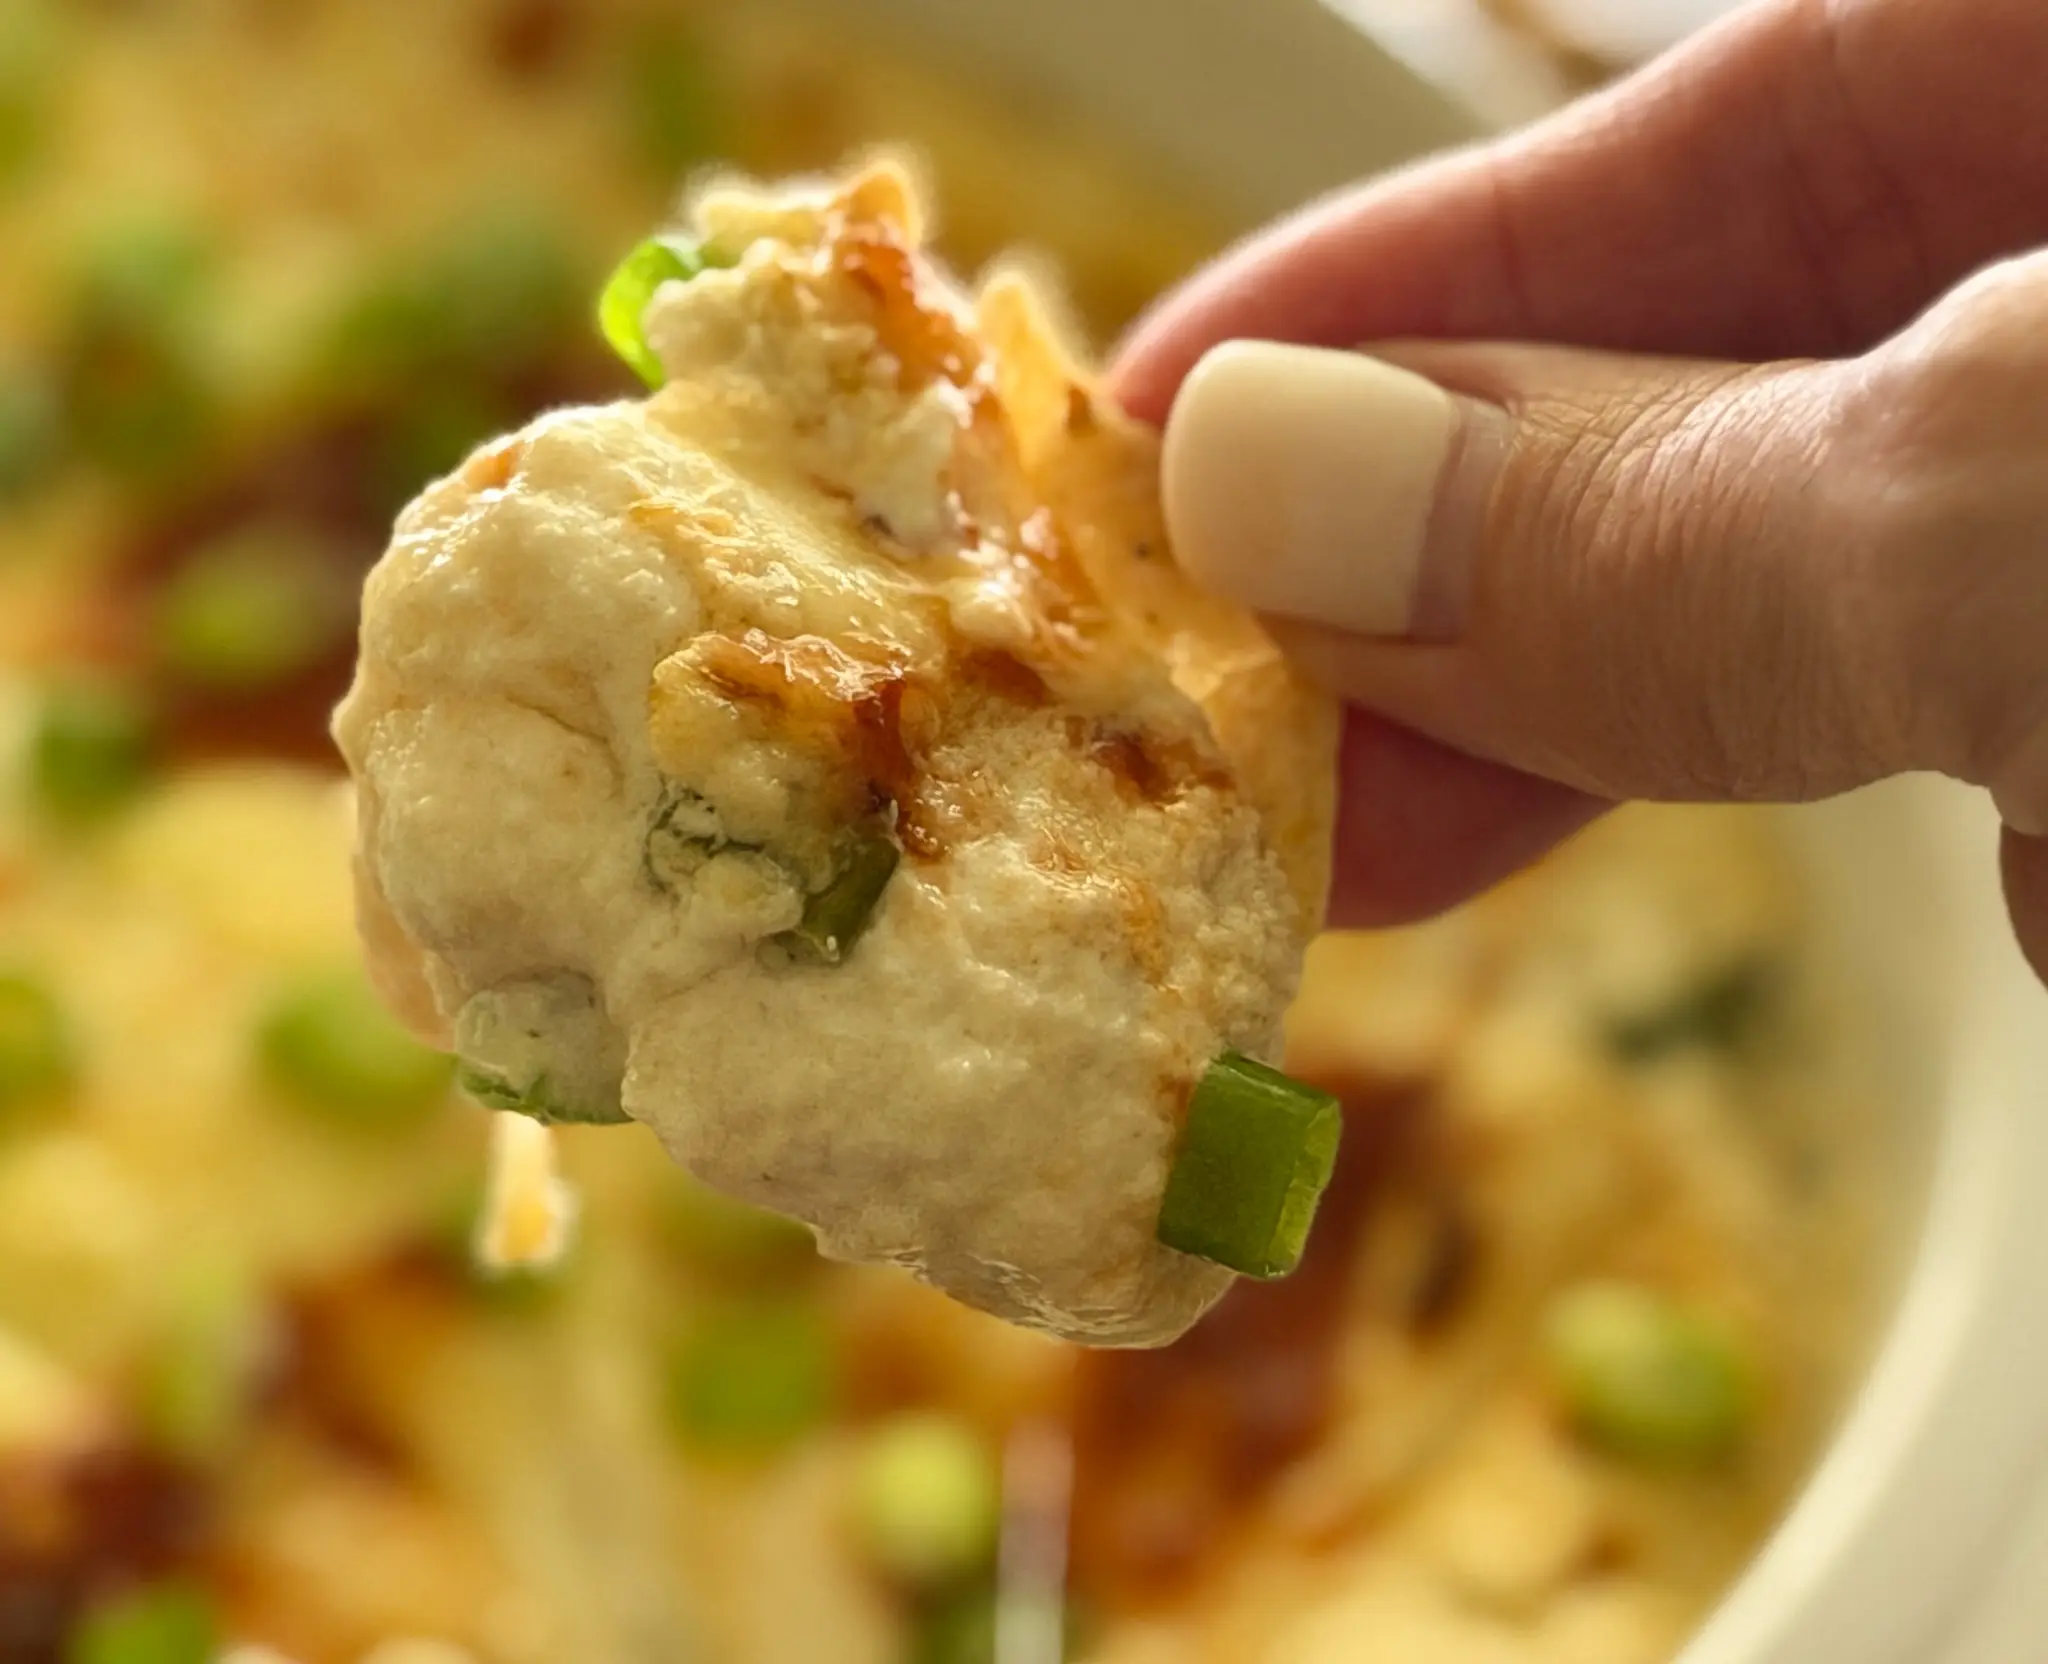
Love the crispy, creamy goodness of crab rangoon? This easy Crab Rangoon Dip brings all those delicious flavors to the table in a warm, scoopable dip that’s perfect for parties, game days, or a cozy night in. Daisy Sour Cream adds a rich, creamy texture and a delicious tang that pairs perfectly with crab, cream cheese, and savory green onions.
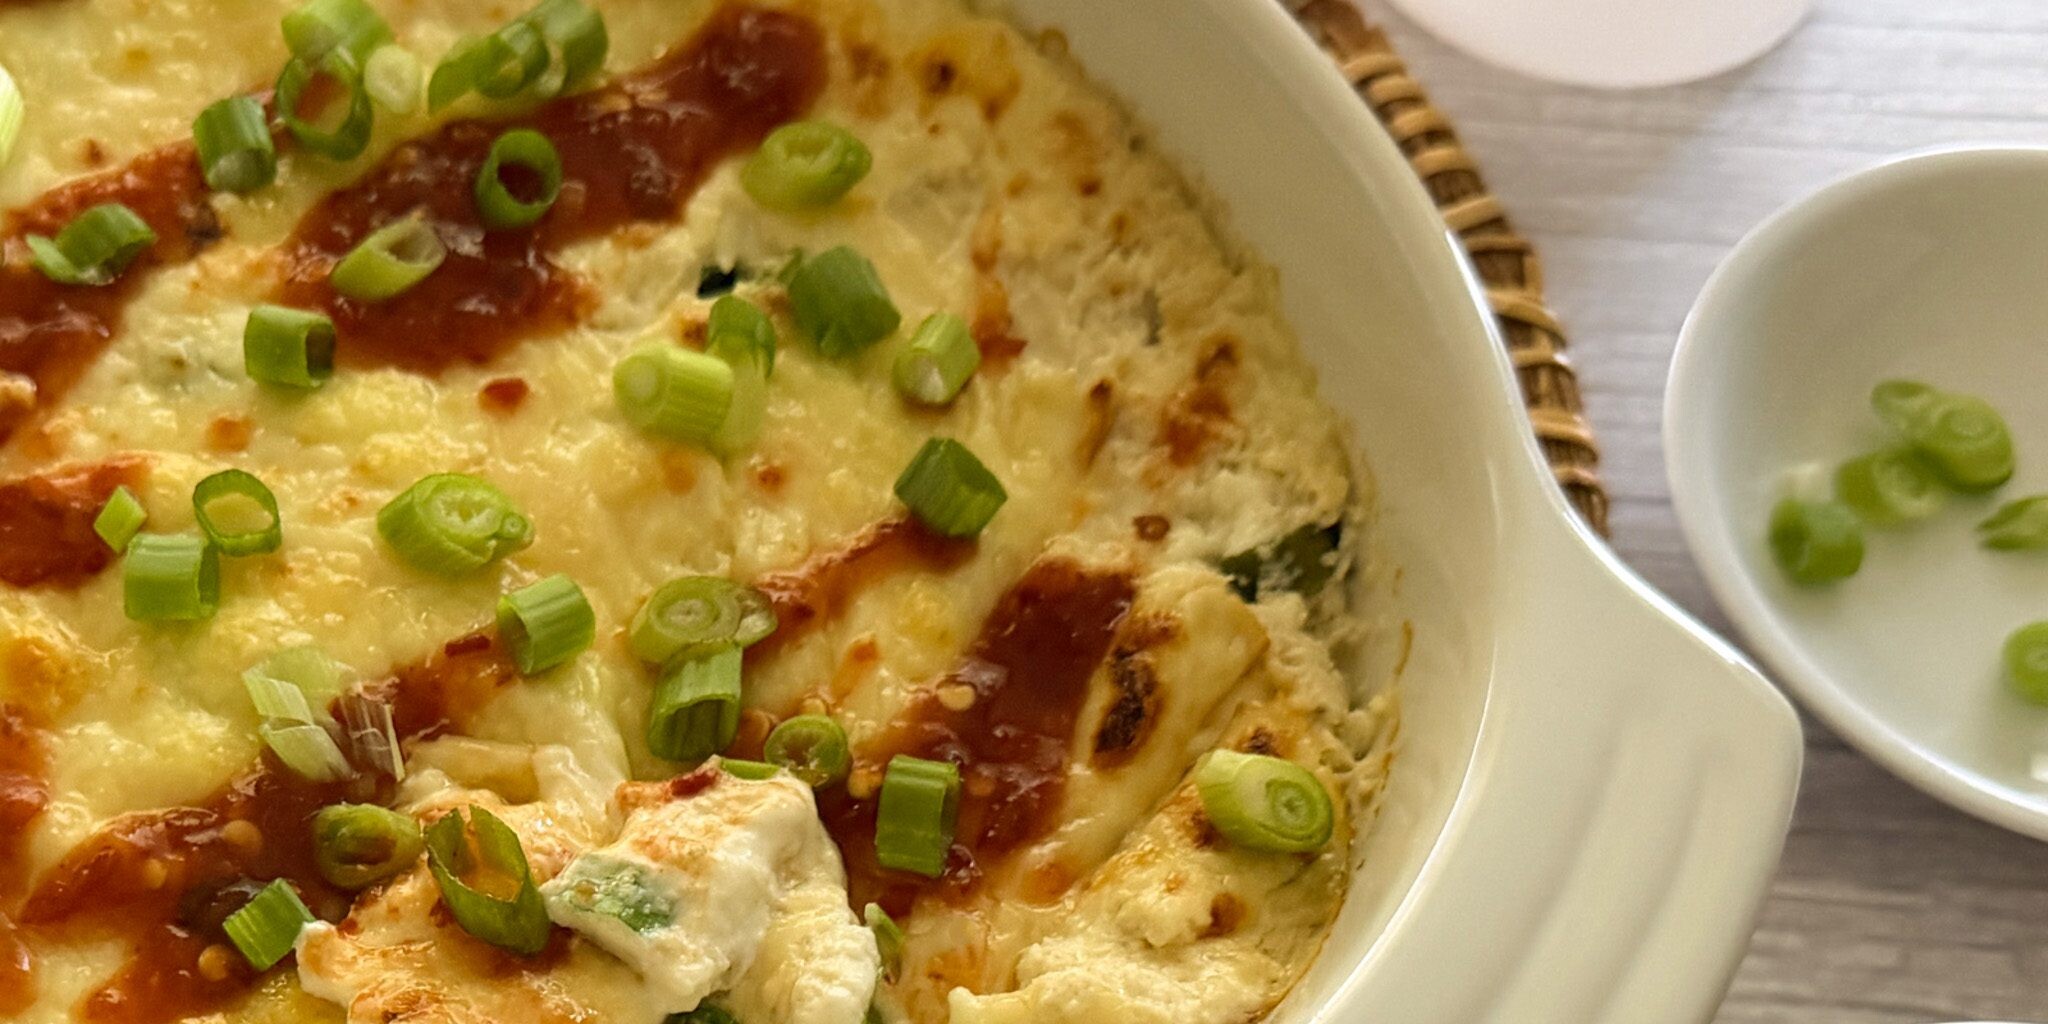
Loaded with tender crab, melty cheese, and plenty of flavor, this crowd-pleasing dip is easy to mix and bake until hot and bubbly. Serve it with crispy wonton chips, crackers, or fresh vegetables for an irresistible appetizer everyone will want to dig into. It’s all the flavor of your favorite takeout appetizer.
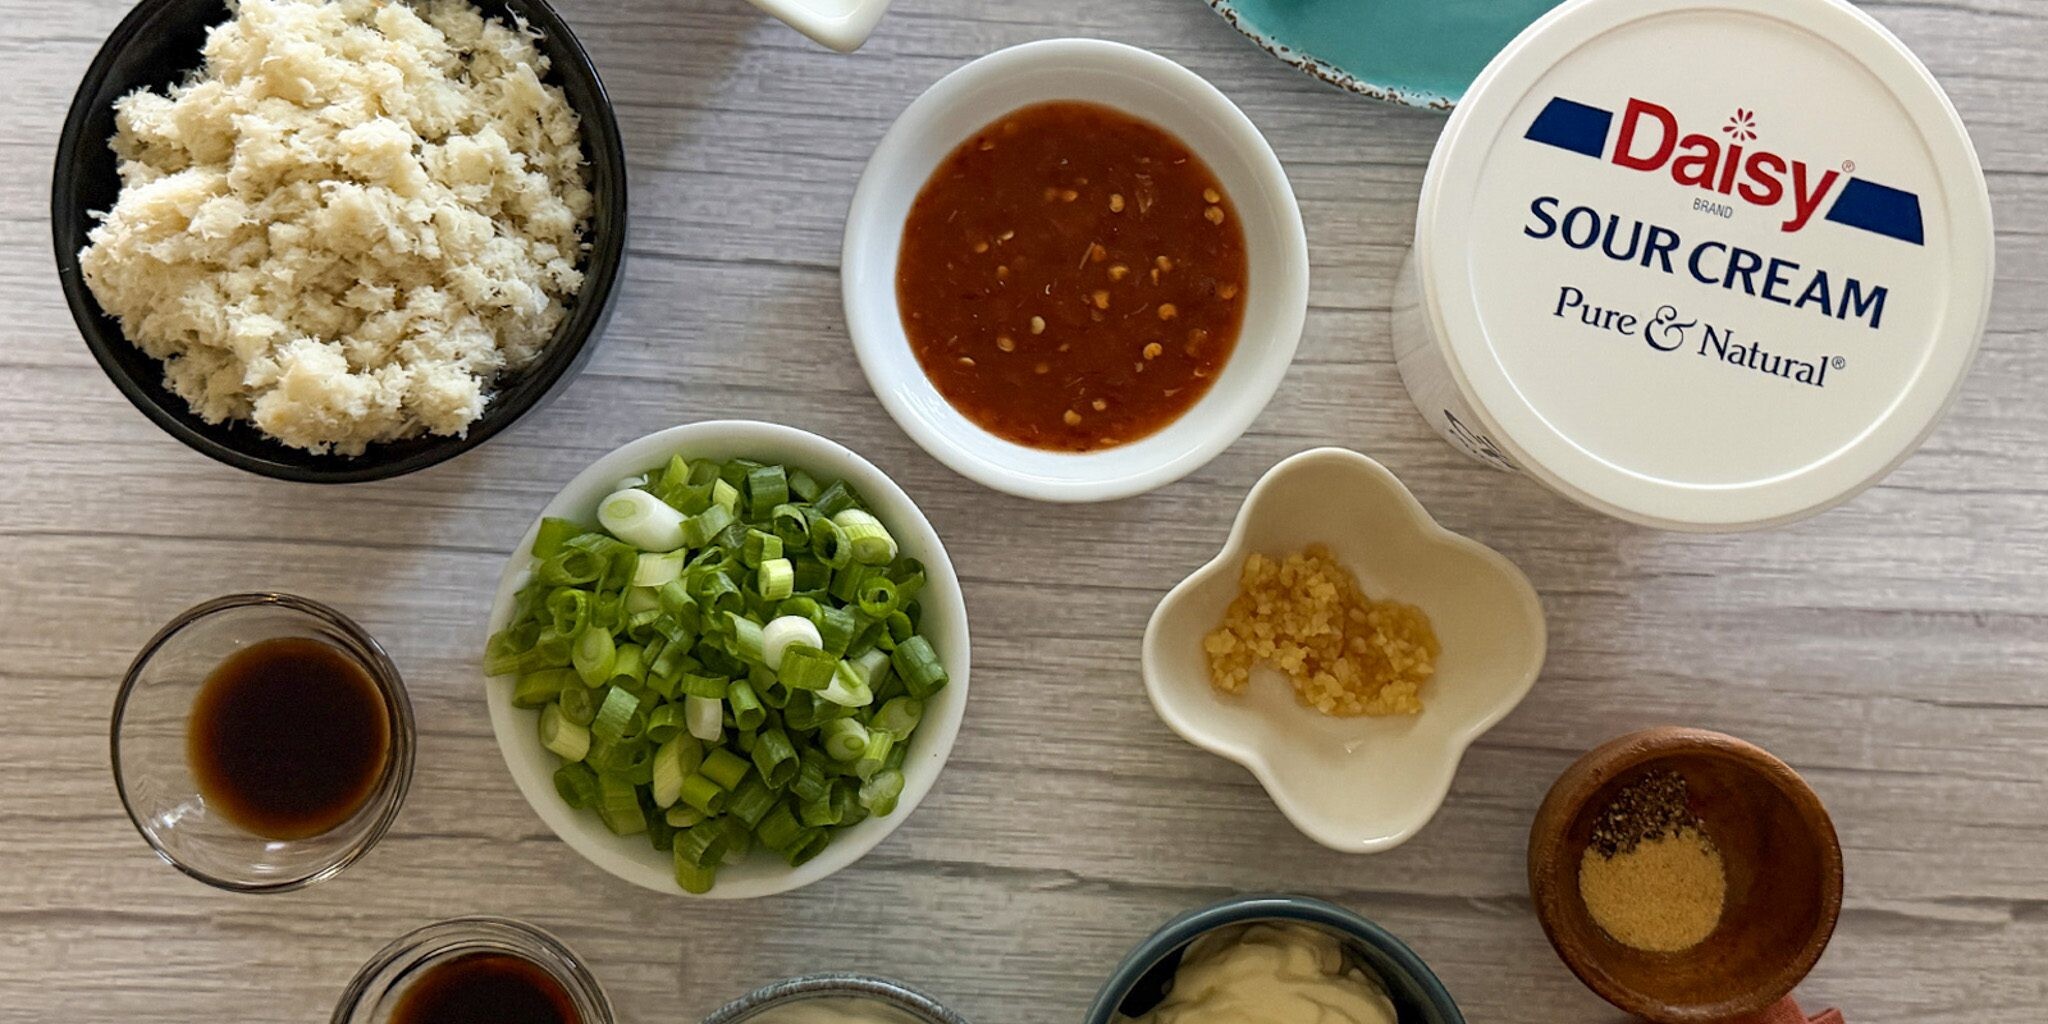
Crab Rangoon Dip Ingredients
- Cream Cheese (8 ounces, softened): The creamy base of the dip that adds a smooth, thick texture with a slight tangy taste.
- Daisy Sour Cream (1/2 cup): Provides a rich, velvety, creaminess and tangy flavor that balances the heavier cheeses.
- Mayonnaise (1/4 cup): Acts as a stable binder and adds rich moisture to the dip.
- Worcestershire Sauce (1 teaspoon): Provides a deep, savory, and tangy flavor boost to the dip.
- Soy Sauce (1 teaspoon): Adds umami (deep savory) flavor and saltiness to the dip.
- Minced Garlic (1 teaspoon): Delivers a punchy, fresh bite. Combined with the garlic powder, it provides a rounded garlic flavor to the dip.
- Garlic Powder (½ teaspoon): Provides a mellow, rounded, and uniform background flavor that saturates the entire base of the dip.
- Black Pepper (¼ teaspoon): Adds a sharp, woody, and warm flavor with a mild heat.
- Sliced Green Onions (¼ cup): Provides a mild, fresh onion taste and a pop of bright color that balances the rich ingredients.
- Shredded Mozzarella Cheese (¾ cup): Perfect for hot dips, it melts smoothly into a stretchy, gooey texture and has a mild, milky flavor that carries bold ingredients without overpowering them.
- Shredded Parmesan Cheese (¼ cup): Adds a deep, savory, nutty, and salty punch that balances rich dips.
- Canned Crab (12 ounces, drained and chopped): A budget friendly option for seafood that is already cooked, cleaned, and ready to enjoy, it has a mildly sweet, tender, and briny flavor with a clean note of the sea.
- Sweet Chili Sauce (2 tablespoons): Its sweet, tangy, and mildly spicy flavor cuts through the rich, heavy taste of the creamy filling.
Substitutions, Variations, and Tips
- Make sure cream cheese is at room temperature to ensure a smooth and lump-free texture.
- To quickly bring cream cheese to room temperature try one of these three methods.
- Cut into small cubes and let sit for 15-20 minutes.
- Leave in original wrapping and submerge in a bowl of warm water for 15 minutes.
- Place unwrapped cream cheese on plate and microwave for 15 seconds, repeating in 10-15 second bursts until soft.
- For quicker mixing, try mixing creamy ingredients with an electric hand mixer before folding in the crab, green onions, and cheese.
- Fresh lump crab offers a delicate, sweeter flavor and may be used in place of drained, canned crab.
- Imitation crab may also be used in place of drained, canned crab and is more budget friendly than real crab. It has a slightly sweeter taste than canned crab or fresh lump crab.
- Be sure to pick through both fresh and canned crab meat to remove any stray shell fragments.
- Monterey Jack may be used in place of mozzarella.
- Chives may be used in place of green onions for a similar flavor.
- No sweet chili sauce? Try mixing 1 tablespoon hot honey with 1 teaspoon sriracha.
- Sweet and sour sauce may also be used in place of sweet chili sauce. Add a dash of hot sauce or a pinch of red pepper flakes to add heat.
- Hot sauce or red pepper flakes may be added to the dip base if you prefer spicier dips.
- To make wonton chips, cut wonton wrappers in half and brush them with oil and bake at 350°F for 6-10 minutes or air-fry for crispier chips.
- This delicious dip is easy to make ahead. Assemble unbaked dip up to two days before serving. Store in the fridge until you’re ready to bake. Add 3-5 minutes to baking time if putting into the oven directly from the fridge.
- Leftovers may be stored in the refrigerator for up to 3 days.
How to Make Crab Rangoon Dip
- Preheat the oven to 375°F. Spray a small baking dish with nonstick spray.
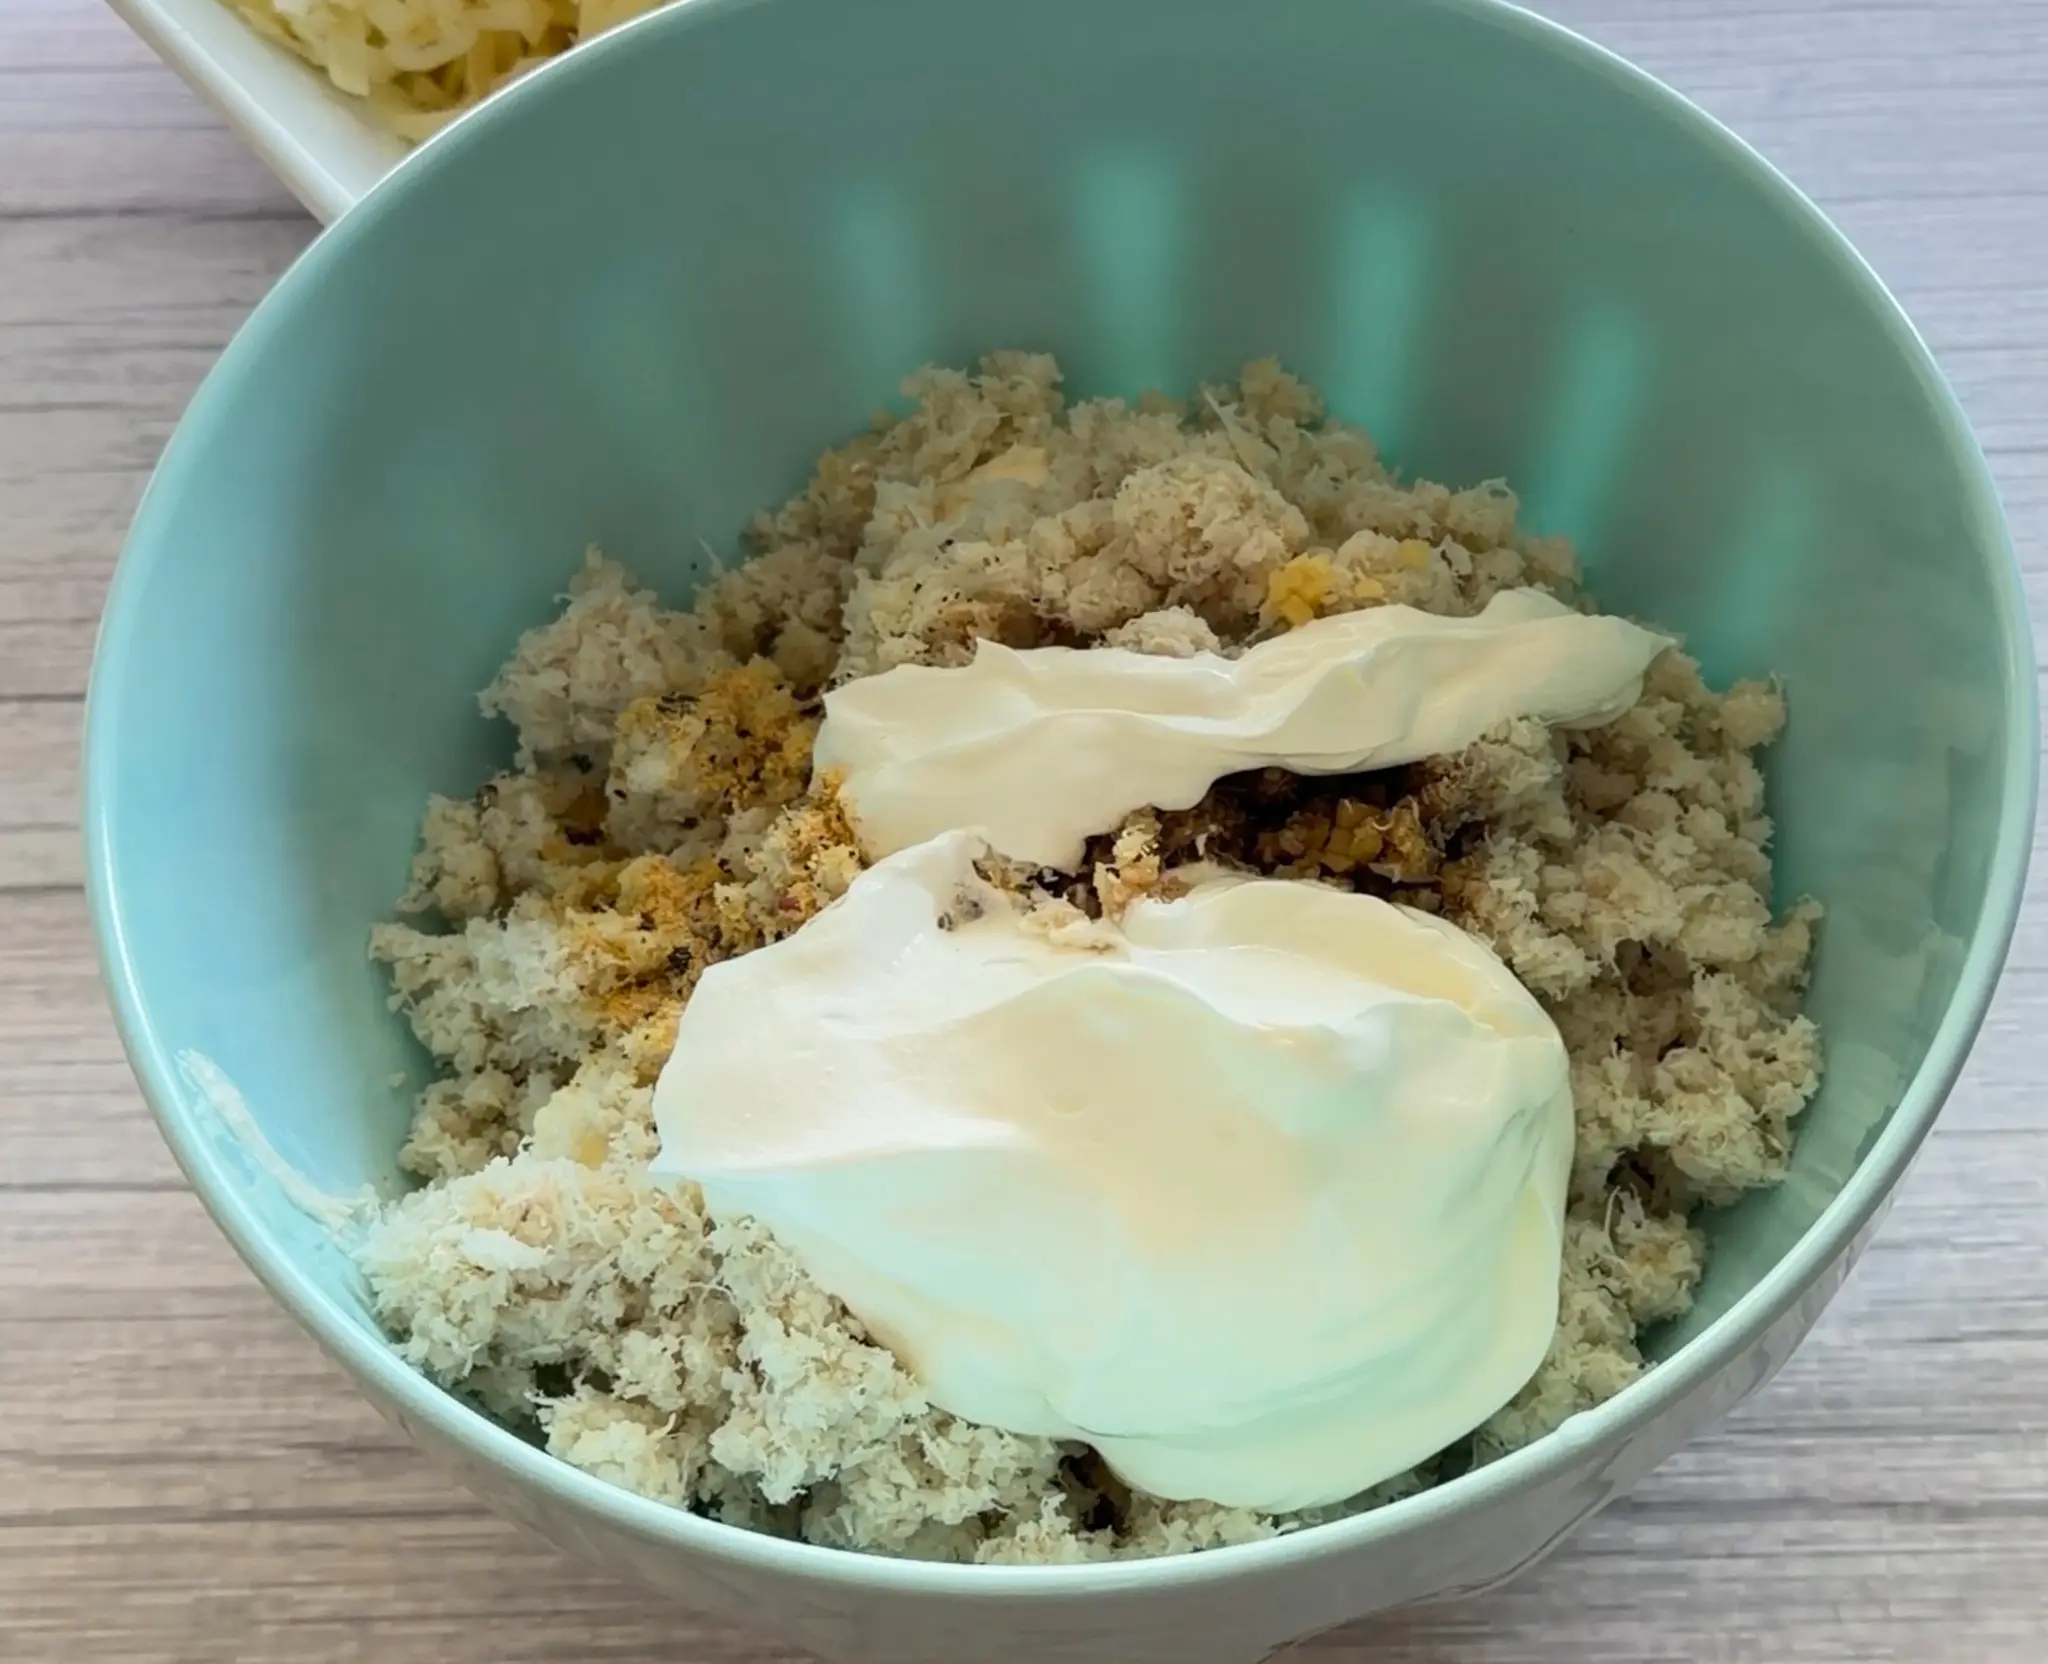
- Mix softened cream cheese, sour cream, mayonnaise, Worcestershire sauce, soy sauce, minced garlic, garlic powder, and black pepper until smooth and creamy.
- Mix the mozzarella and parmesan cheese together. Reserve ¼ cup of cheese.
- Reserve 1 tablespoon green onions.
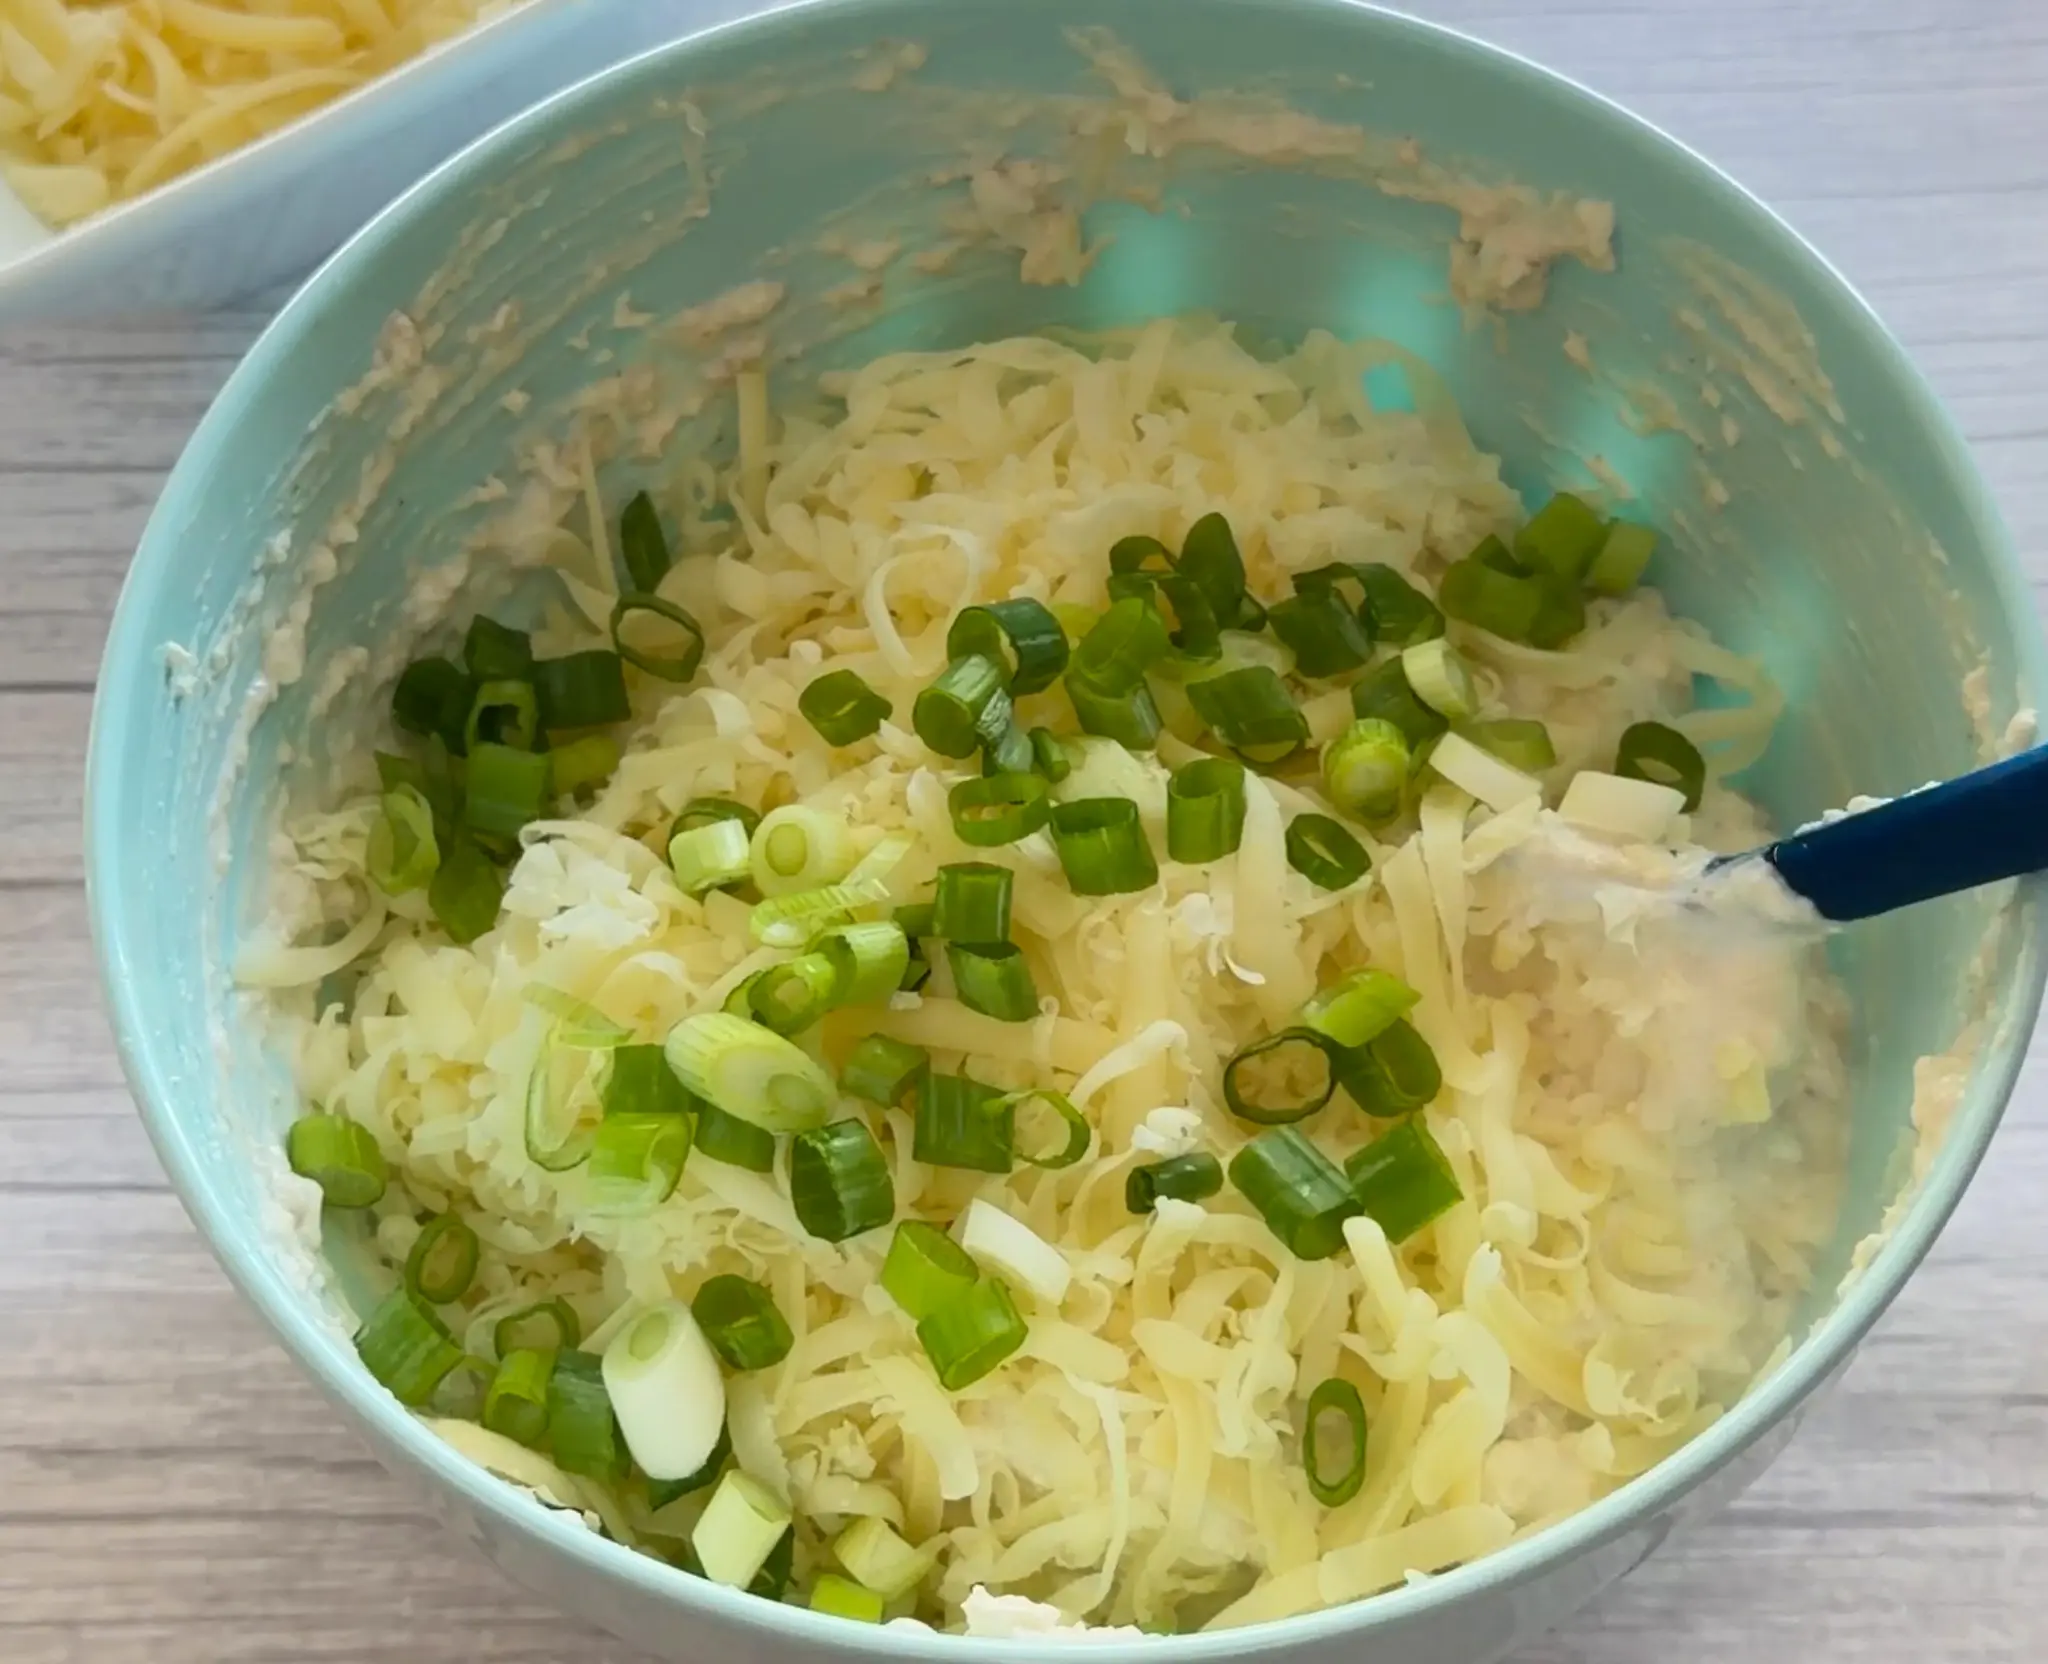
- Add ¾ cup of the cheese mixture to the cream base along with the remaining green onions and crabmeat.
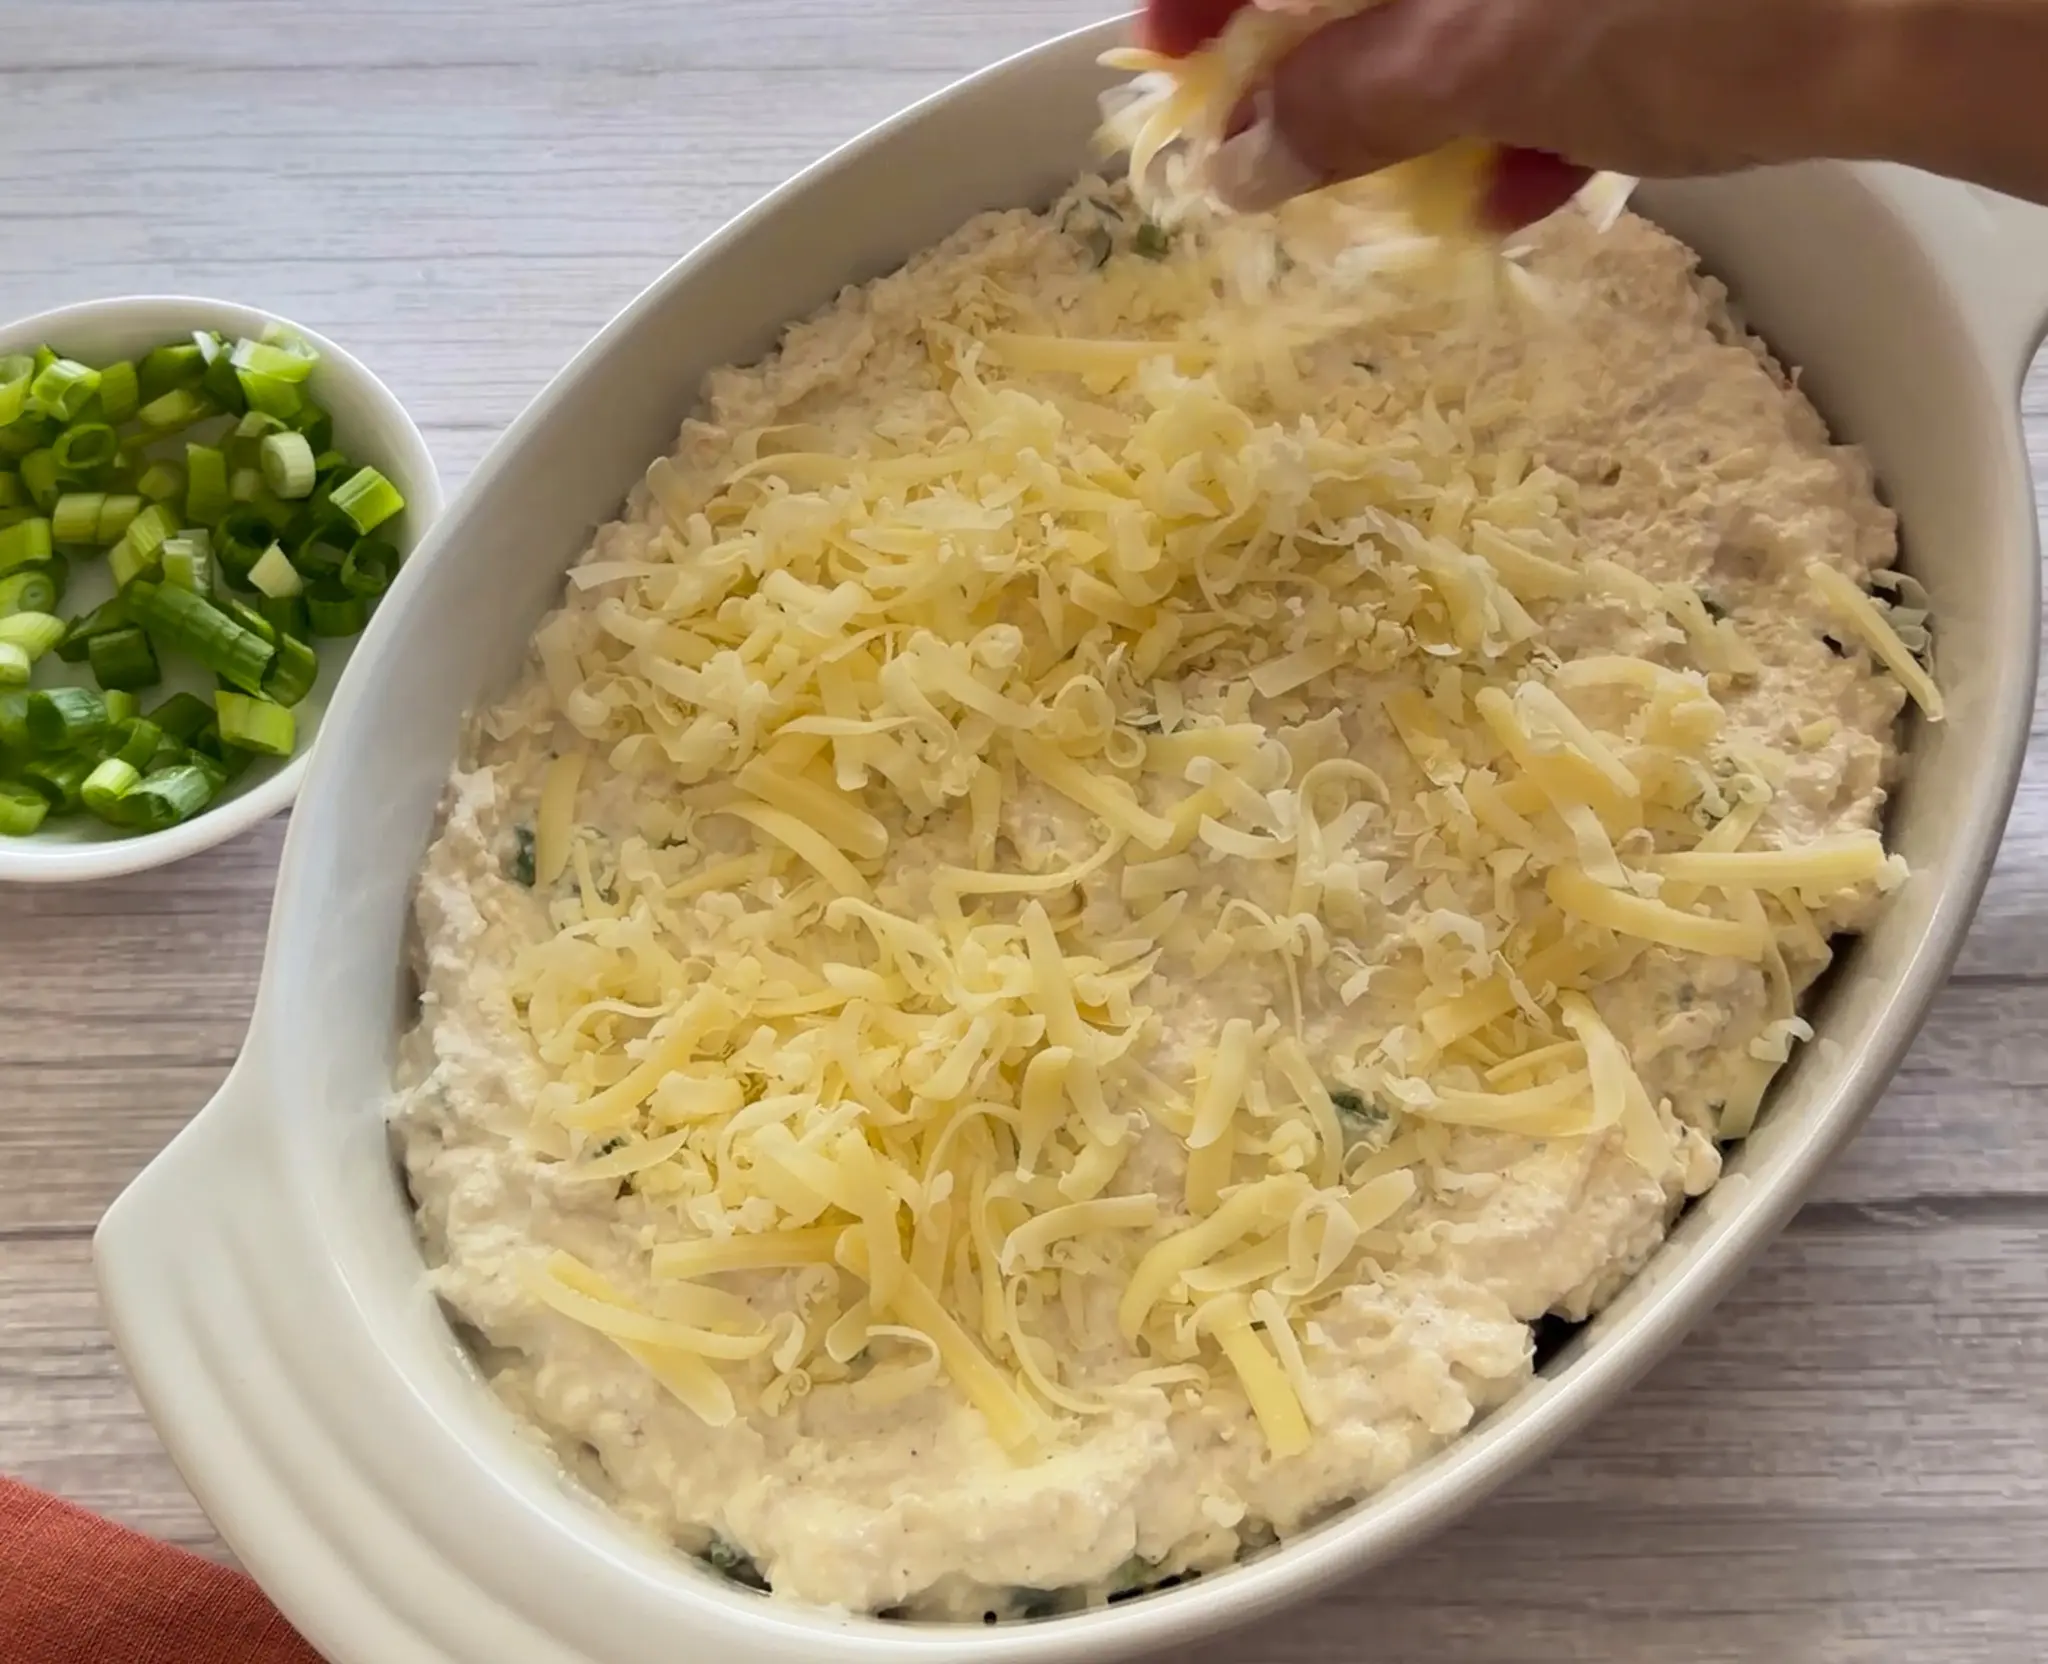
- Spread into the baking dish and top with the remaining cheese. Bake for 25 minutes, until hot and bubbling around the edges. Broil for a minute or two, if desired, to brown the top.
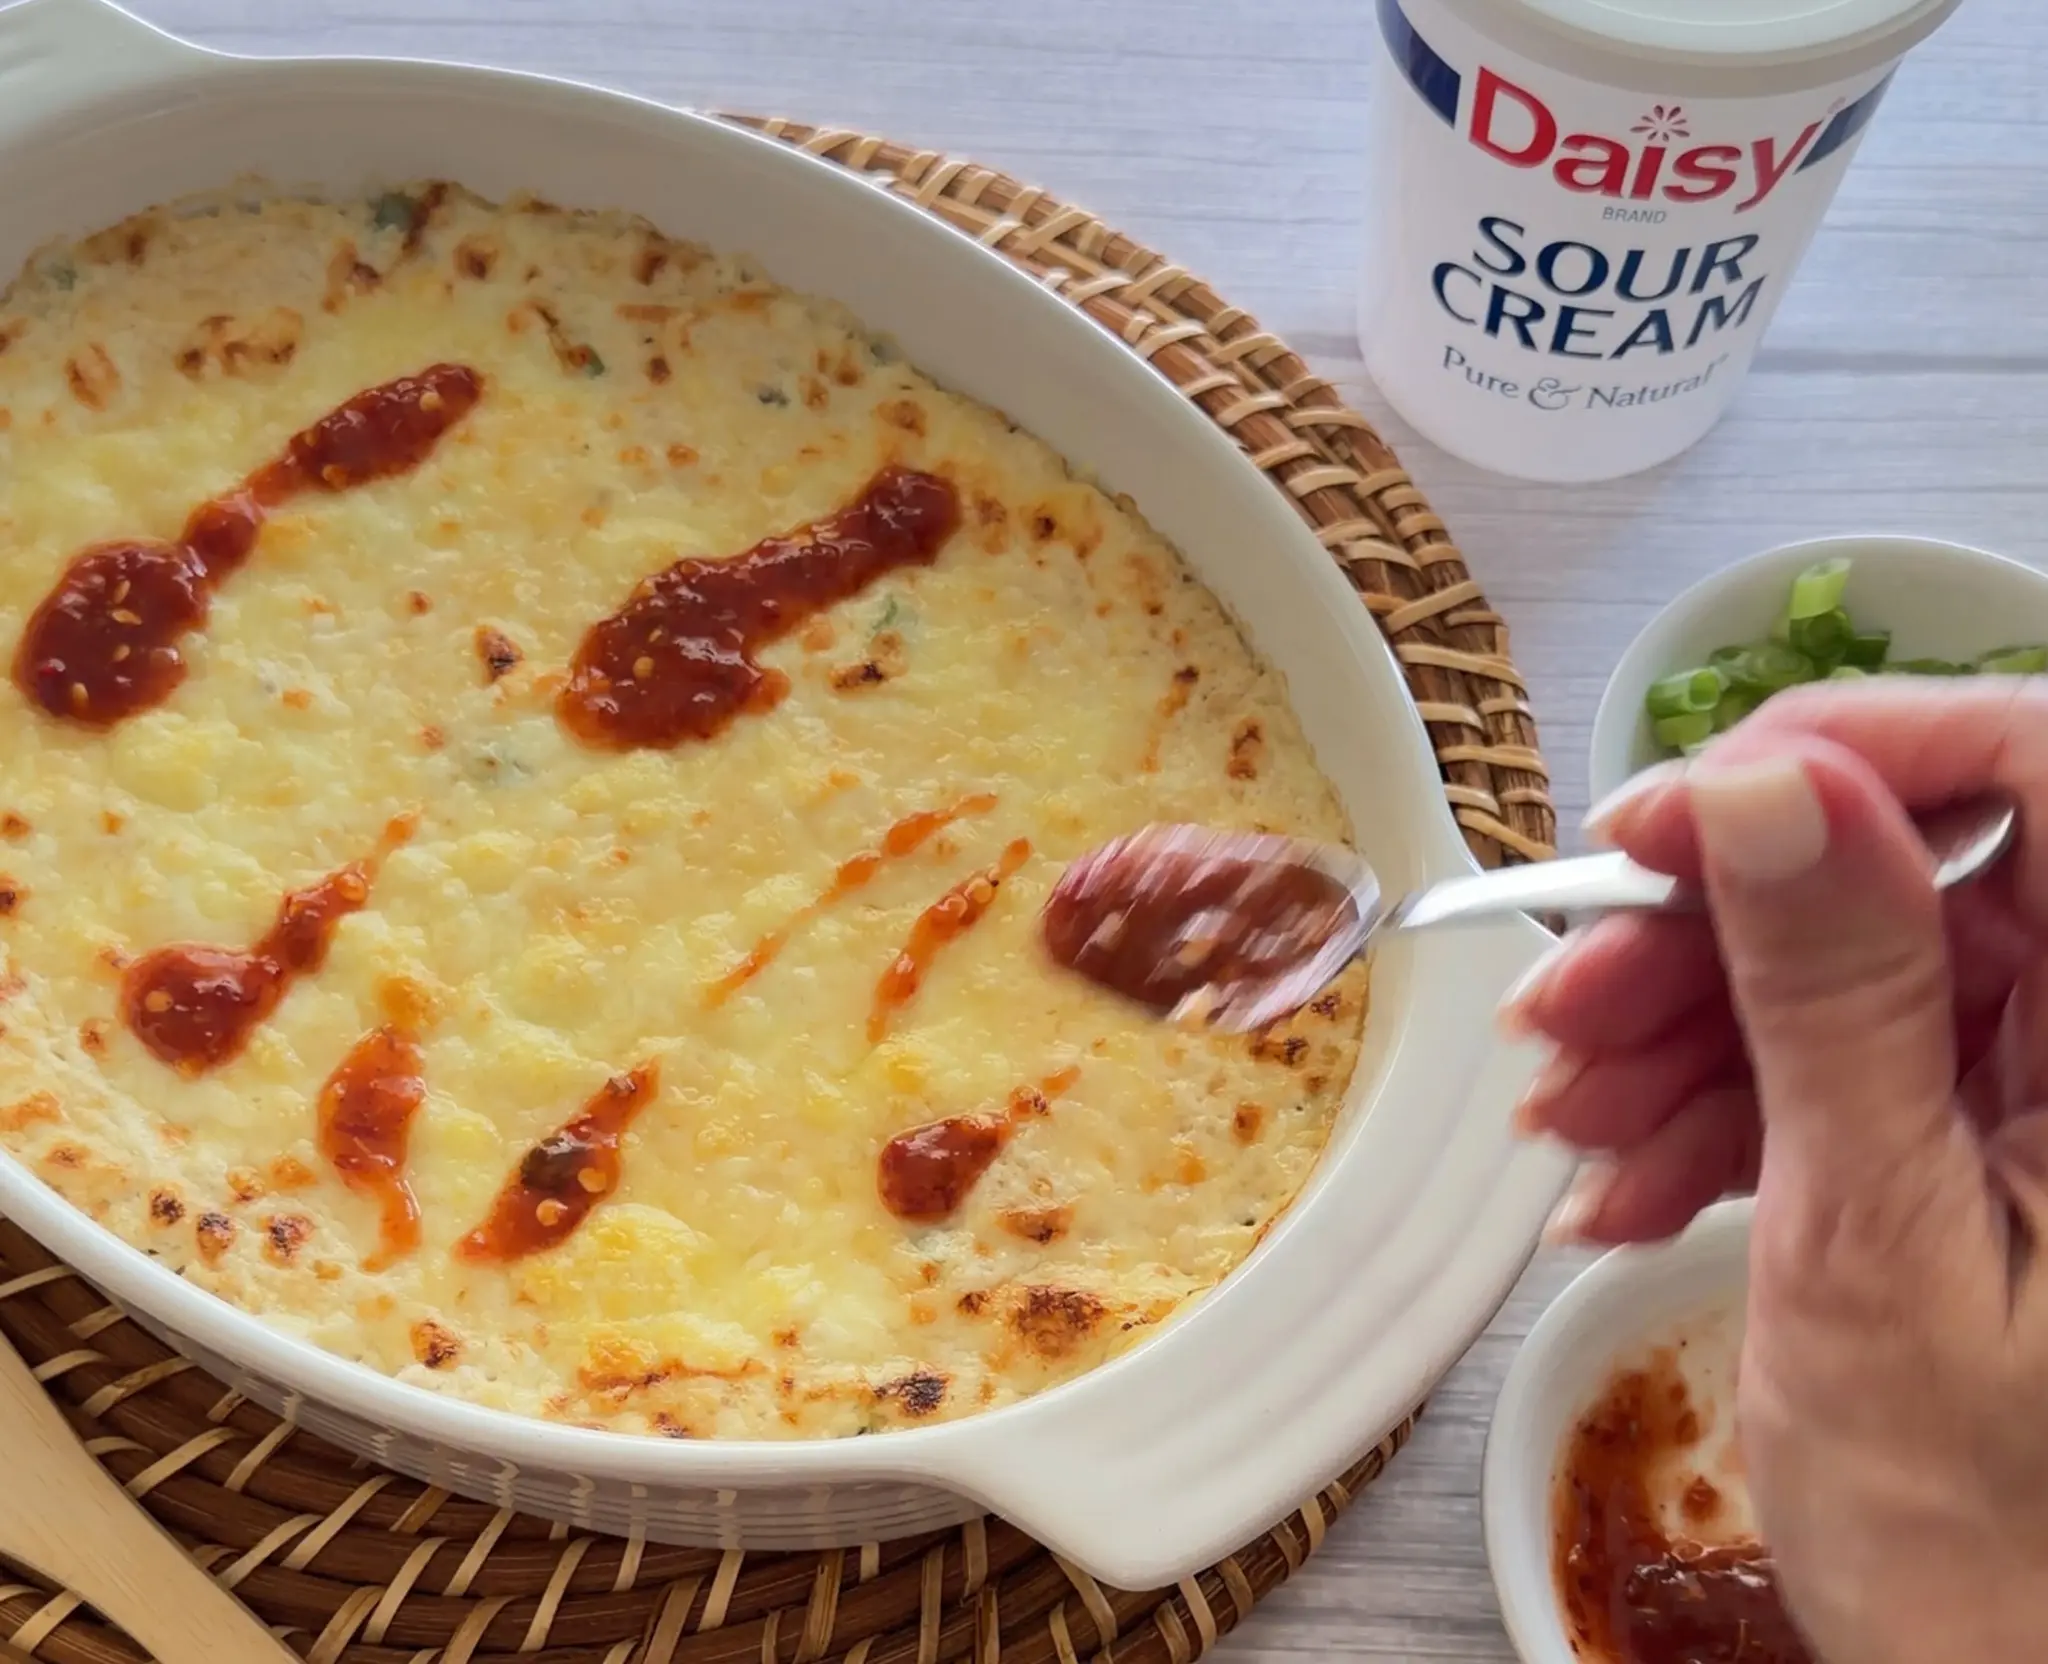
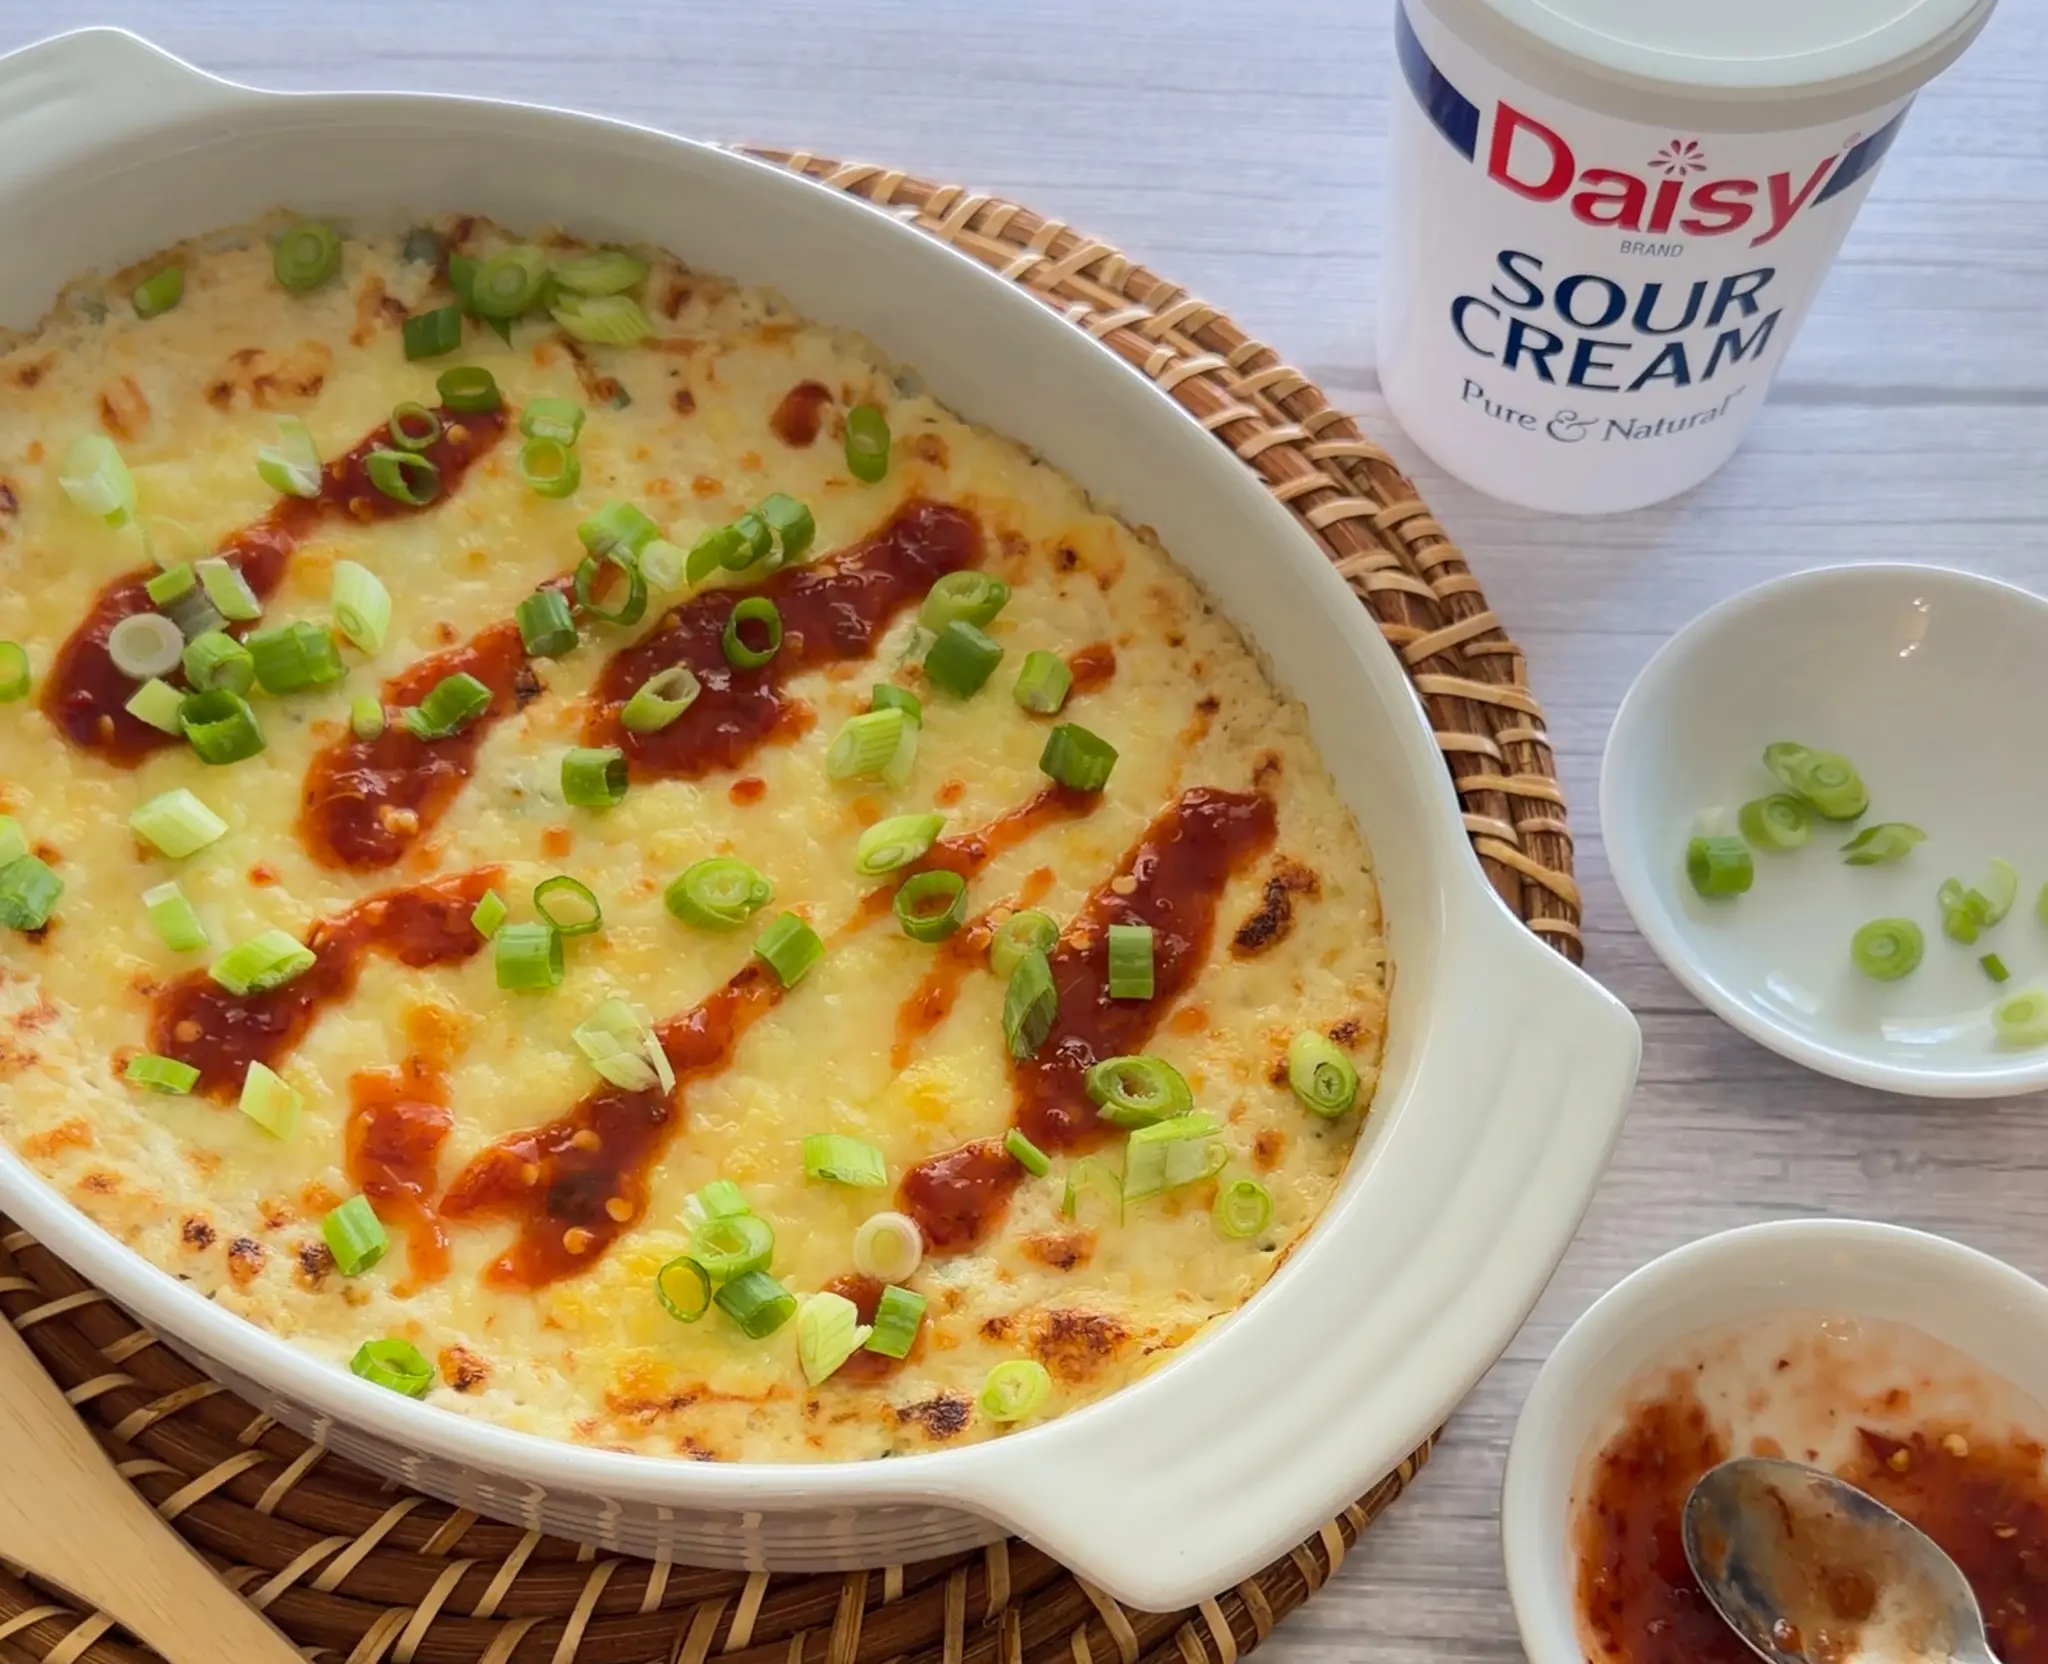
- Drizzle with the chili sauce and sprinkle with the reserved green onions. Serve with your favorite dippers.

Strawberry Pretzel Dessert
Strawberry Pretzel Dessert
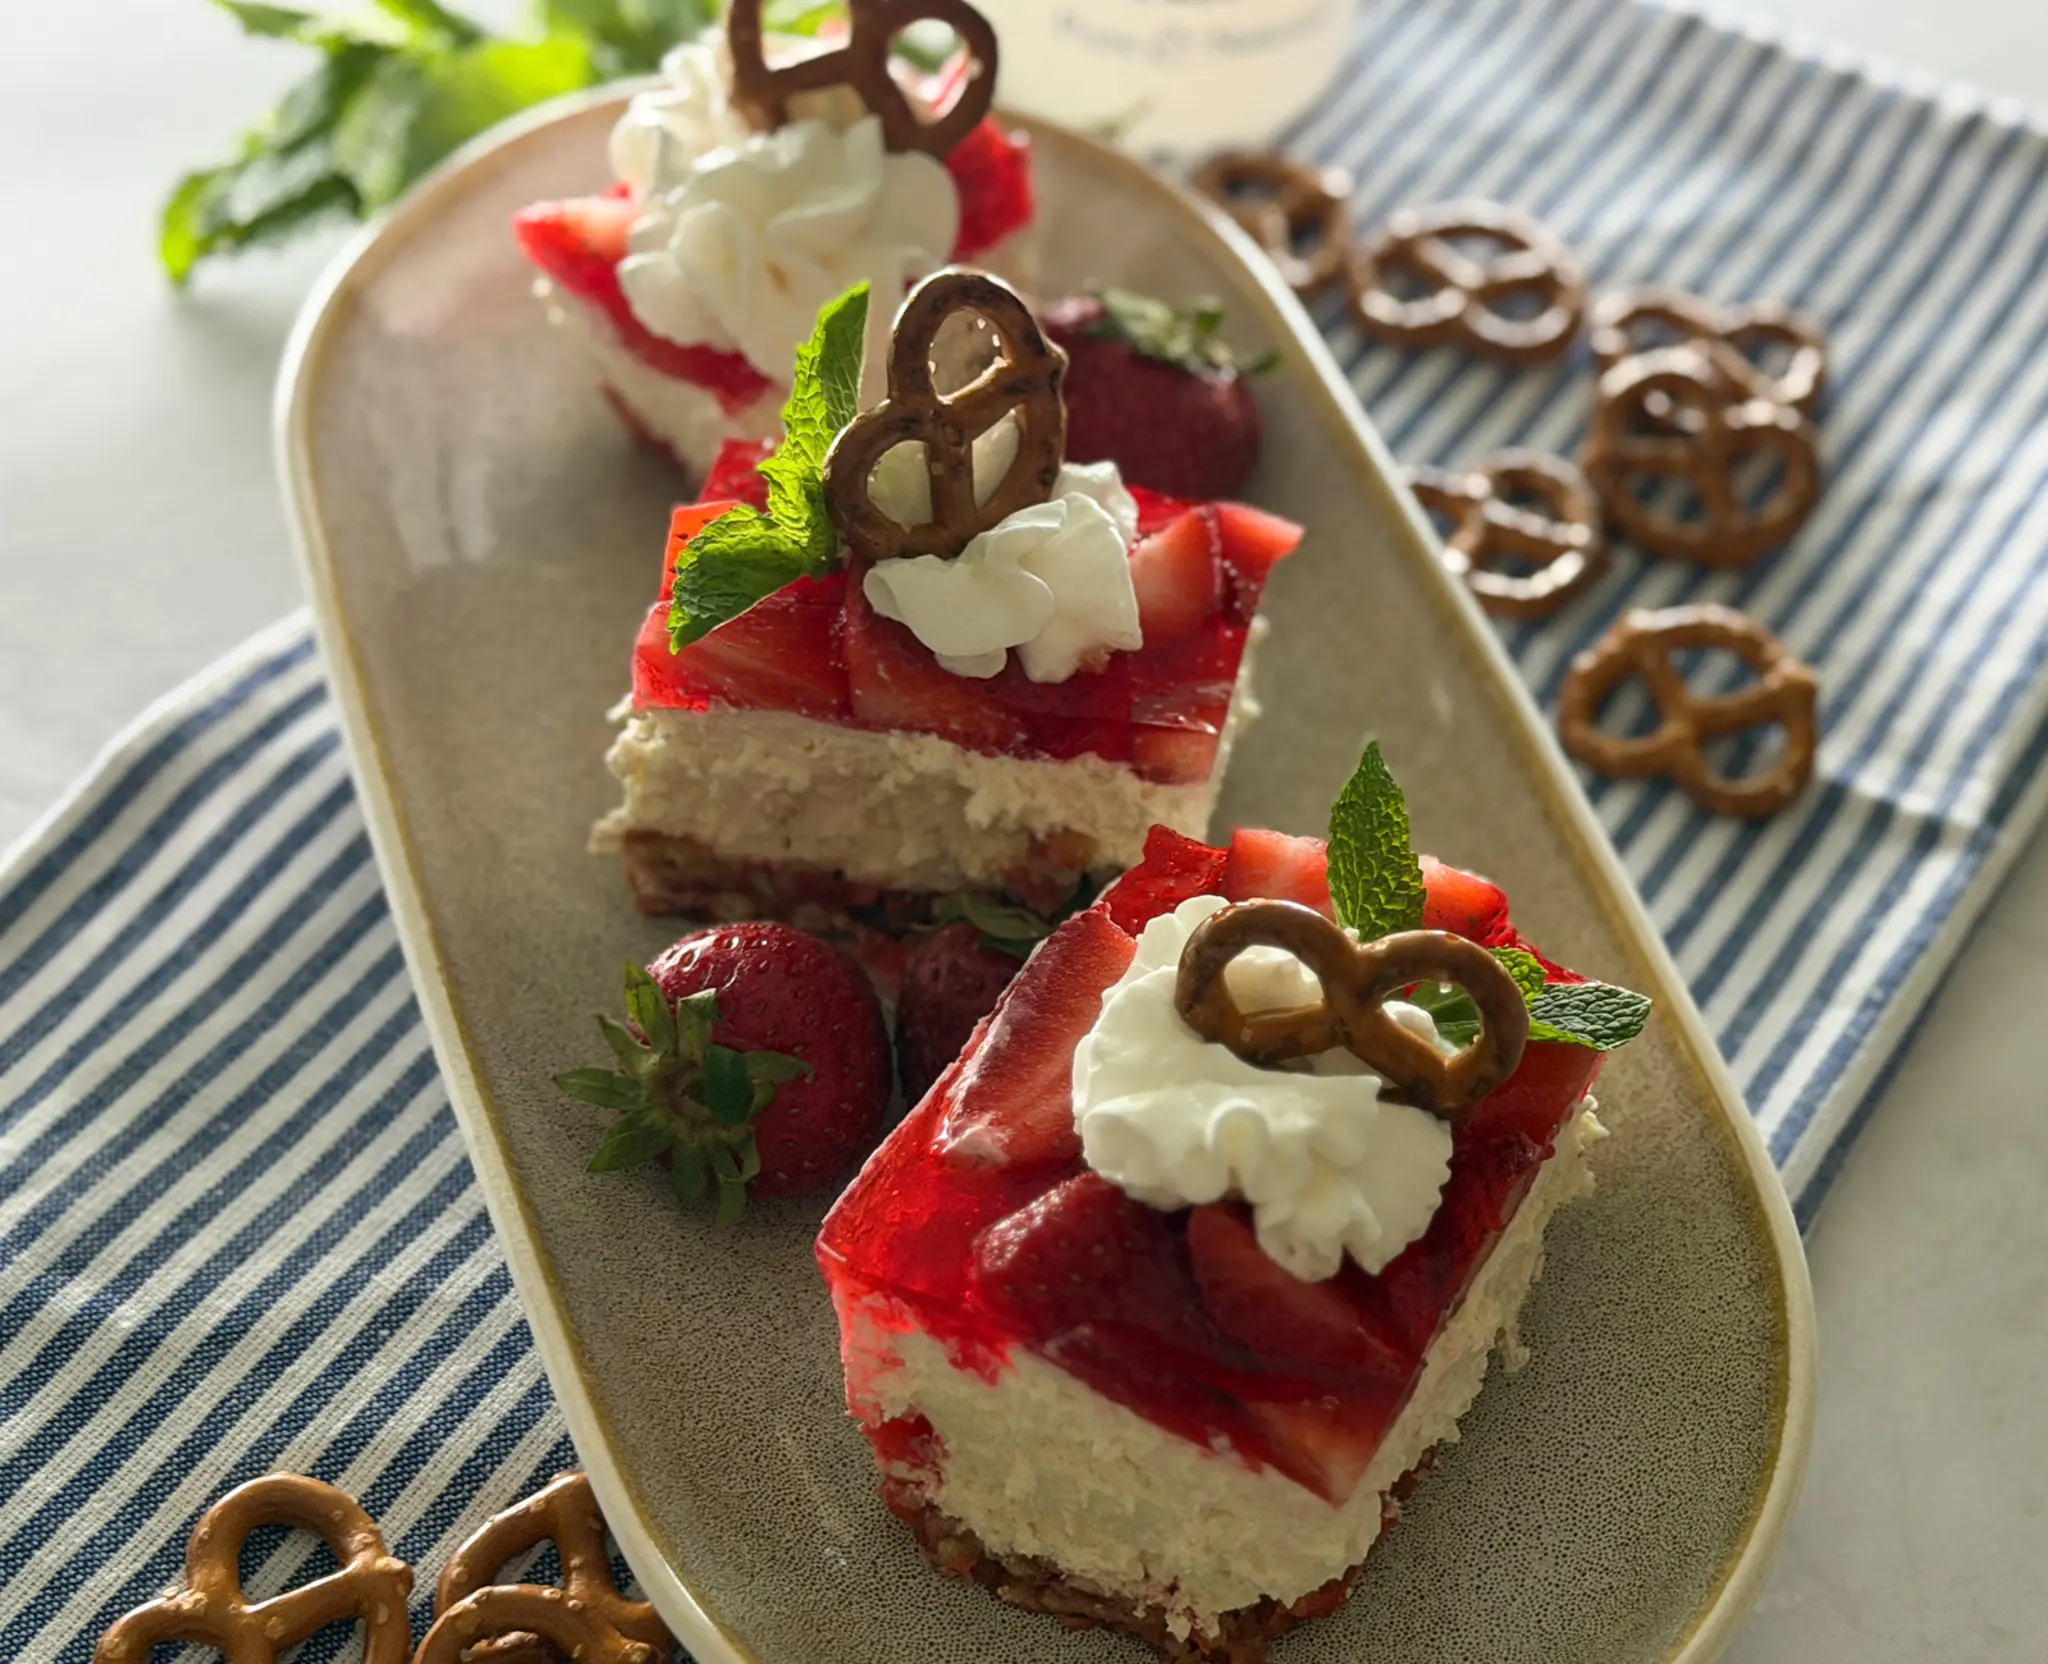
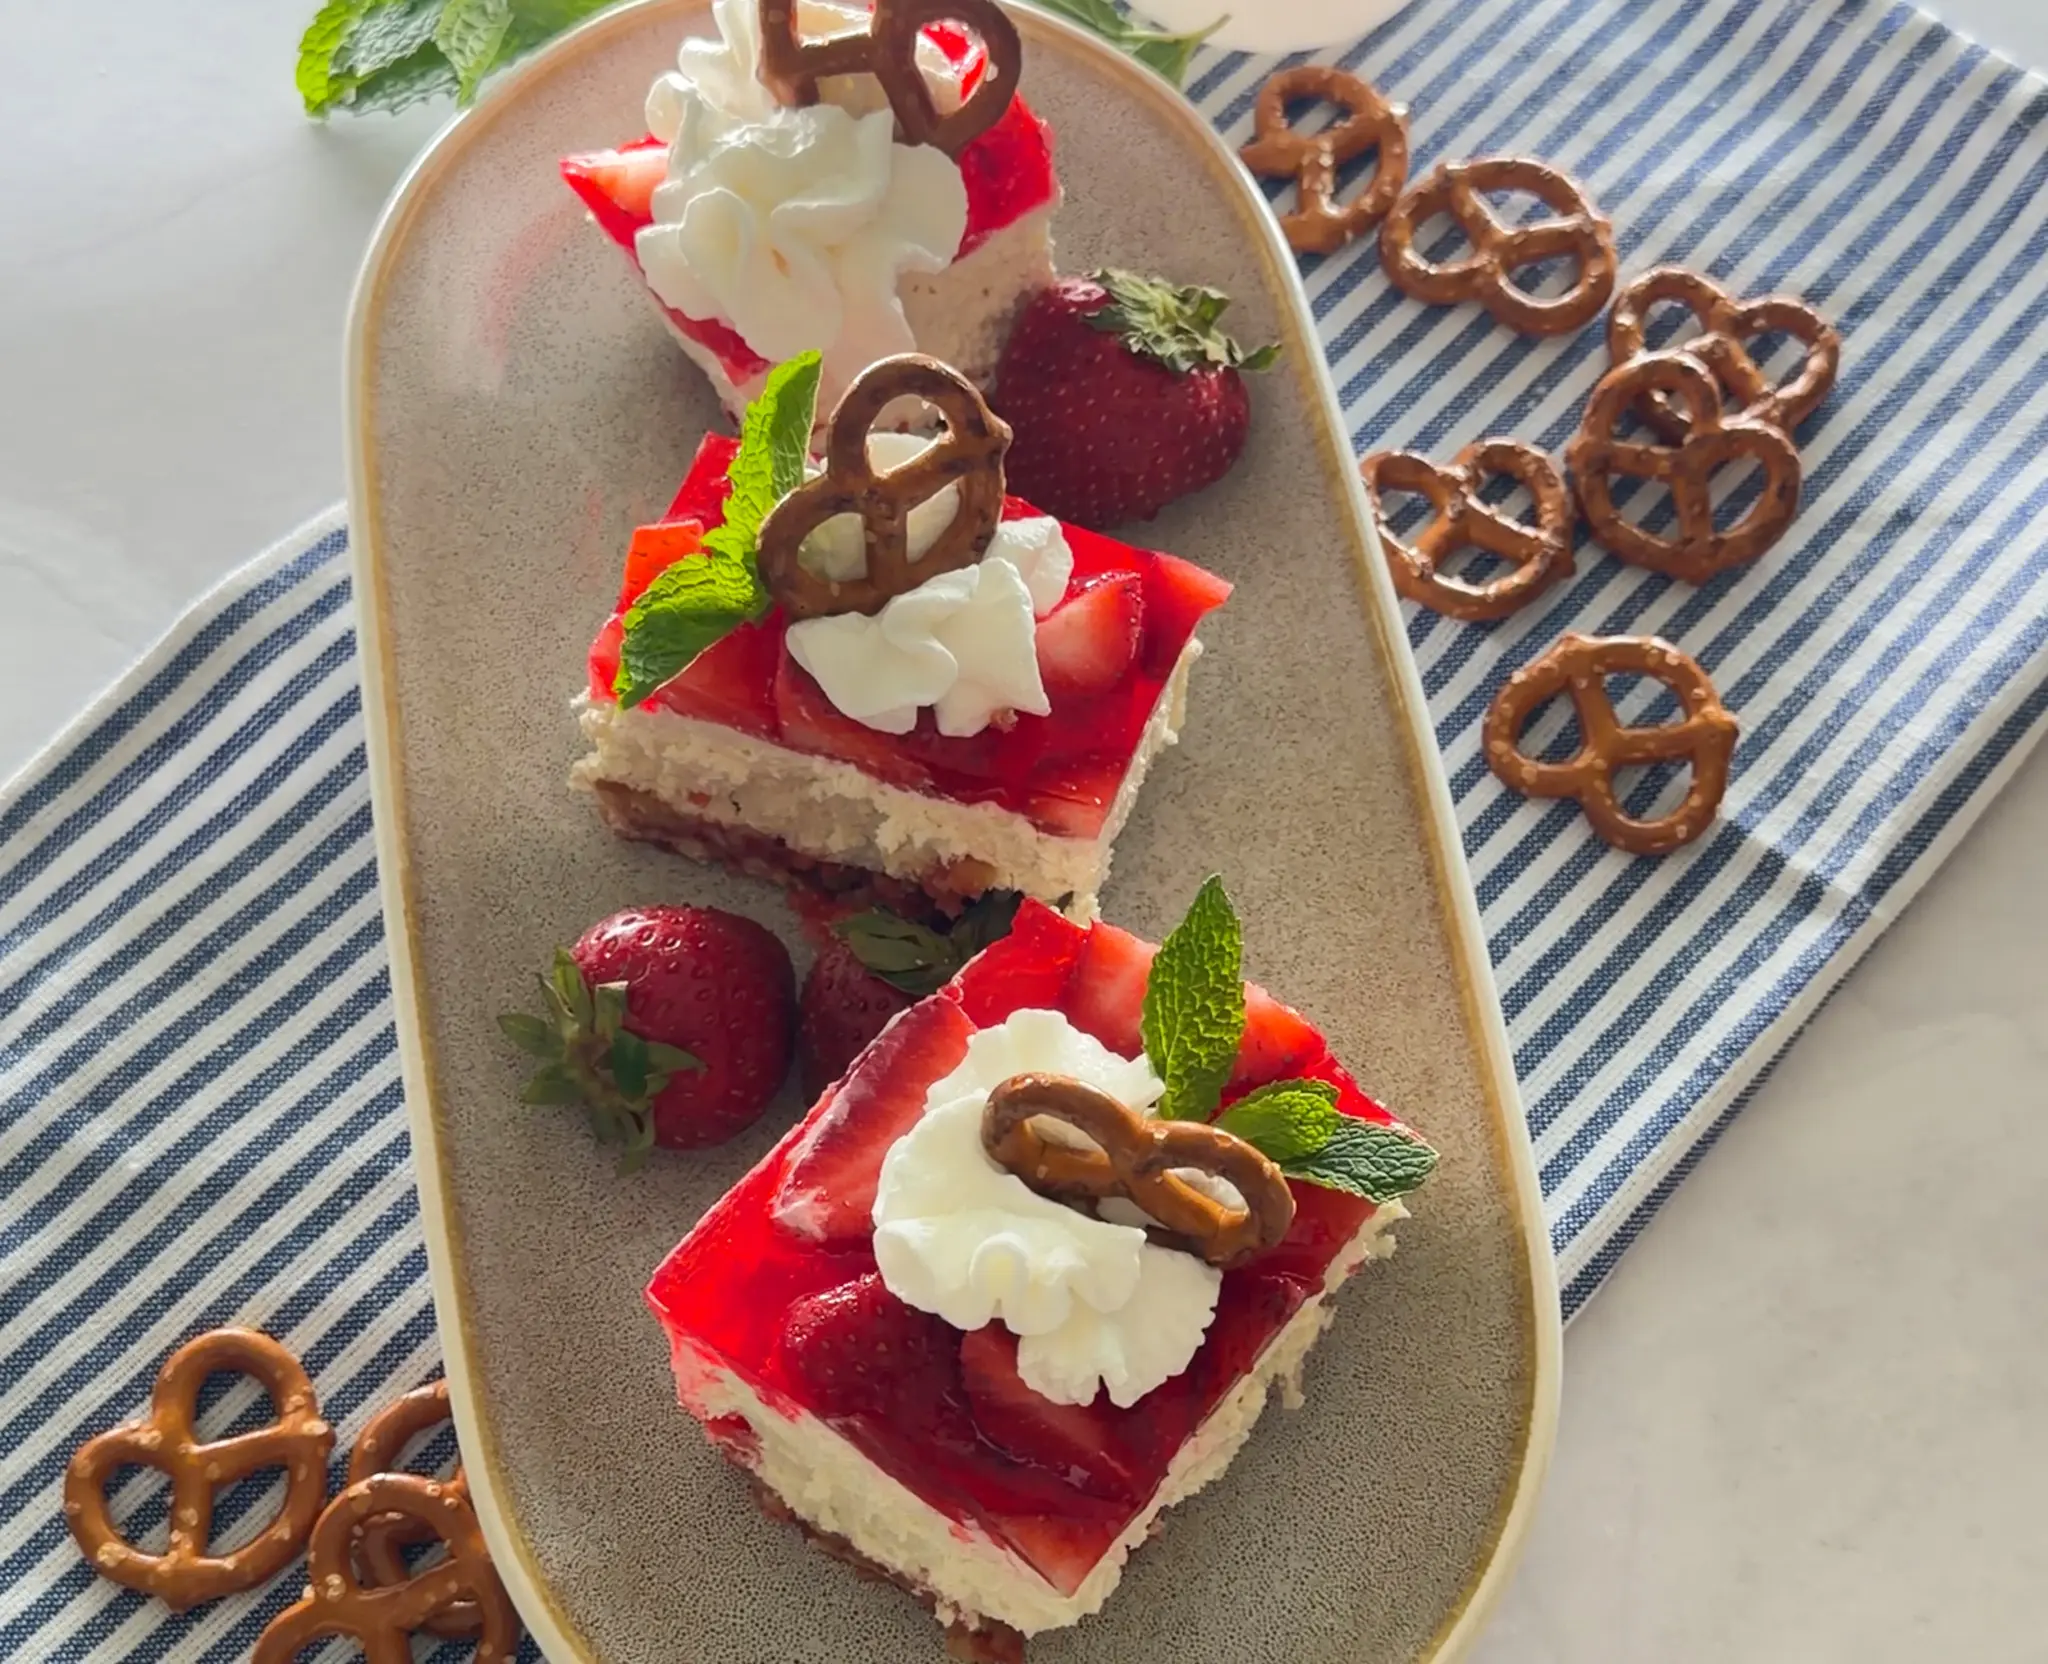
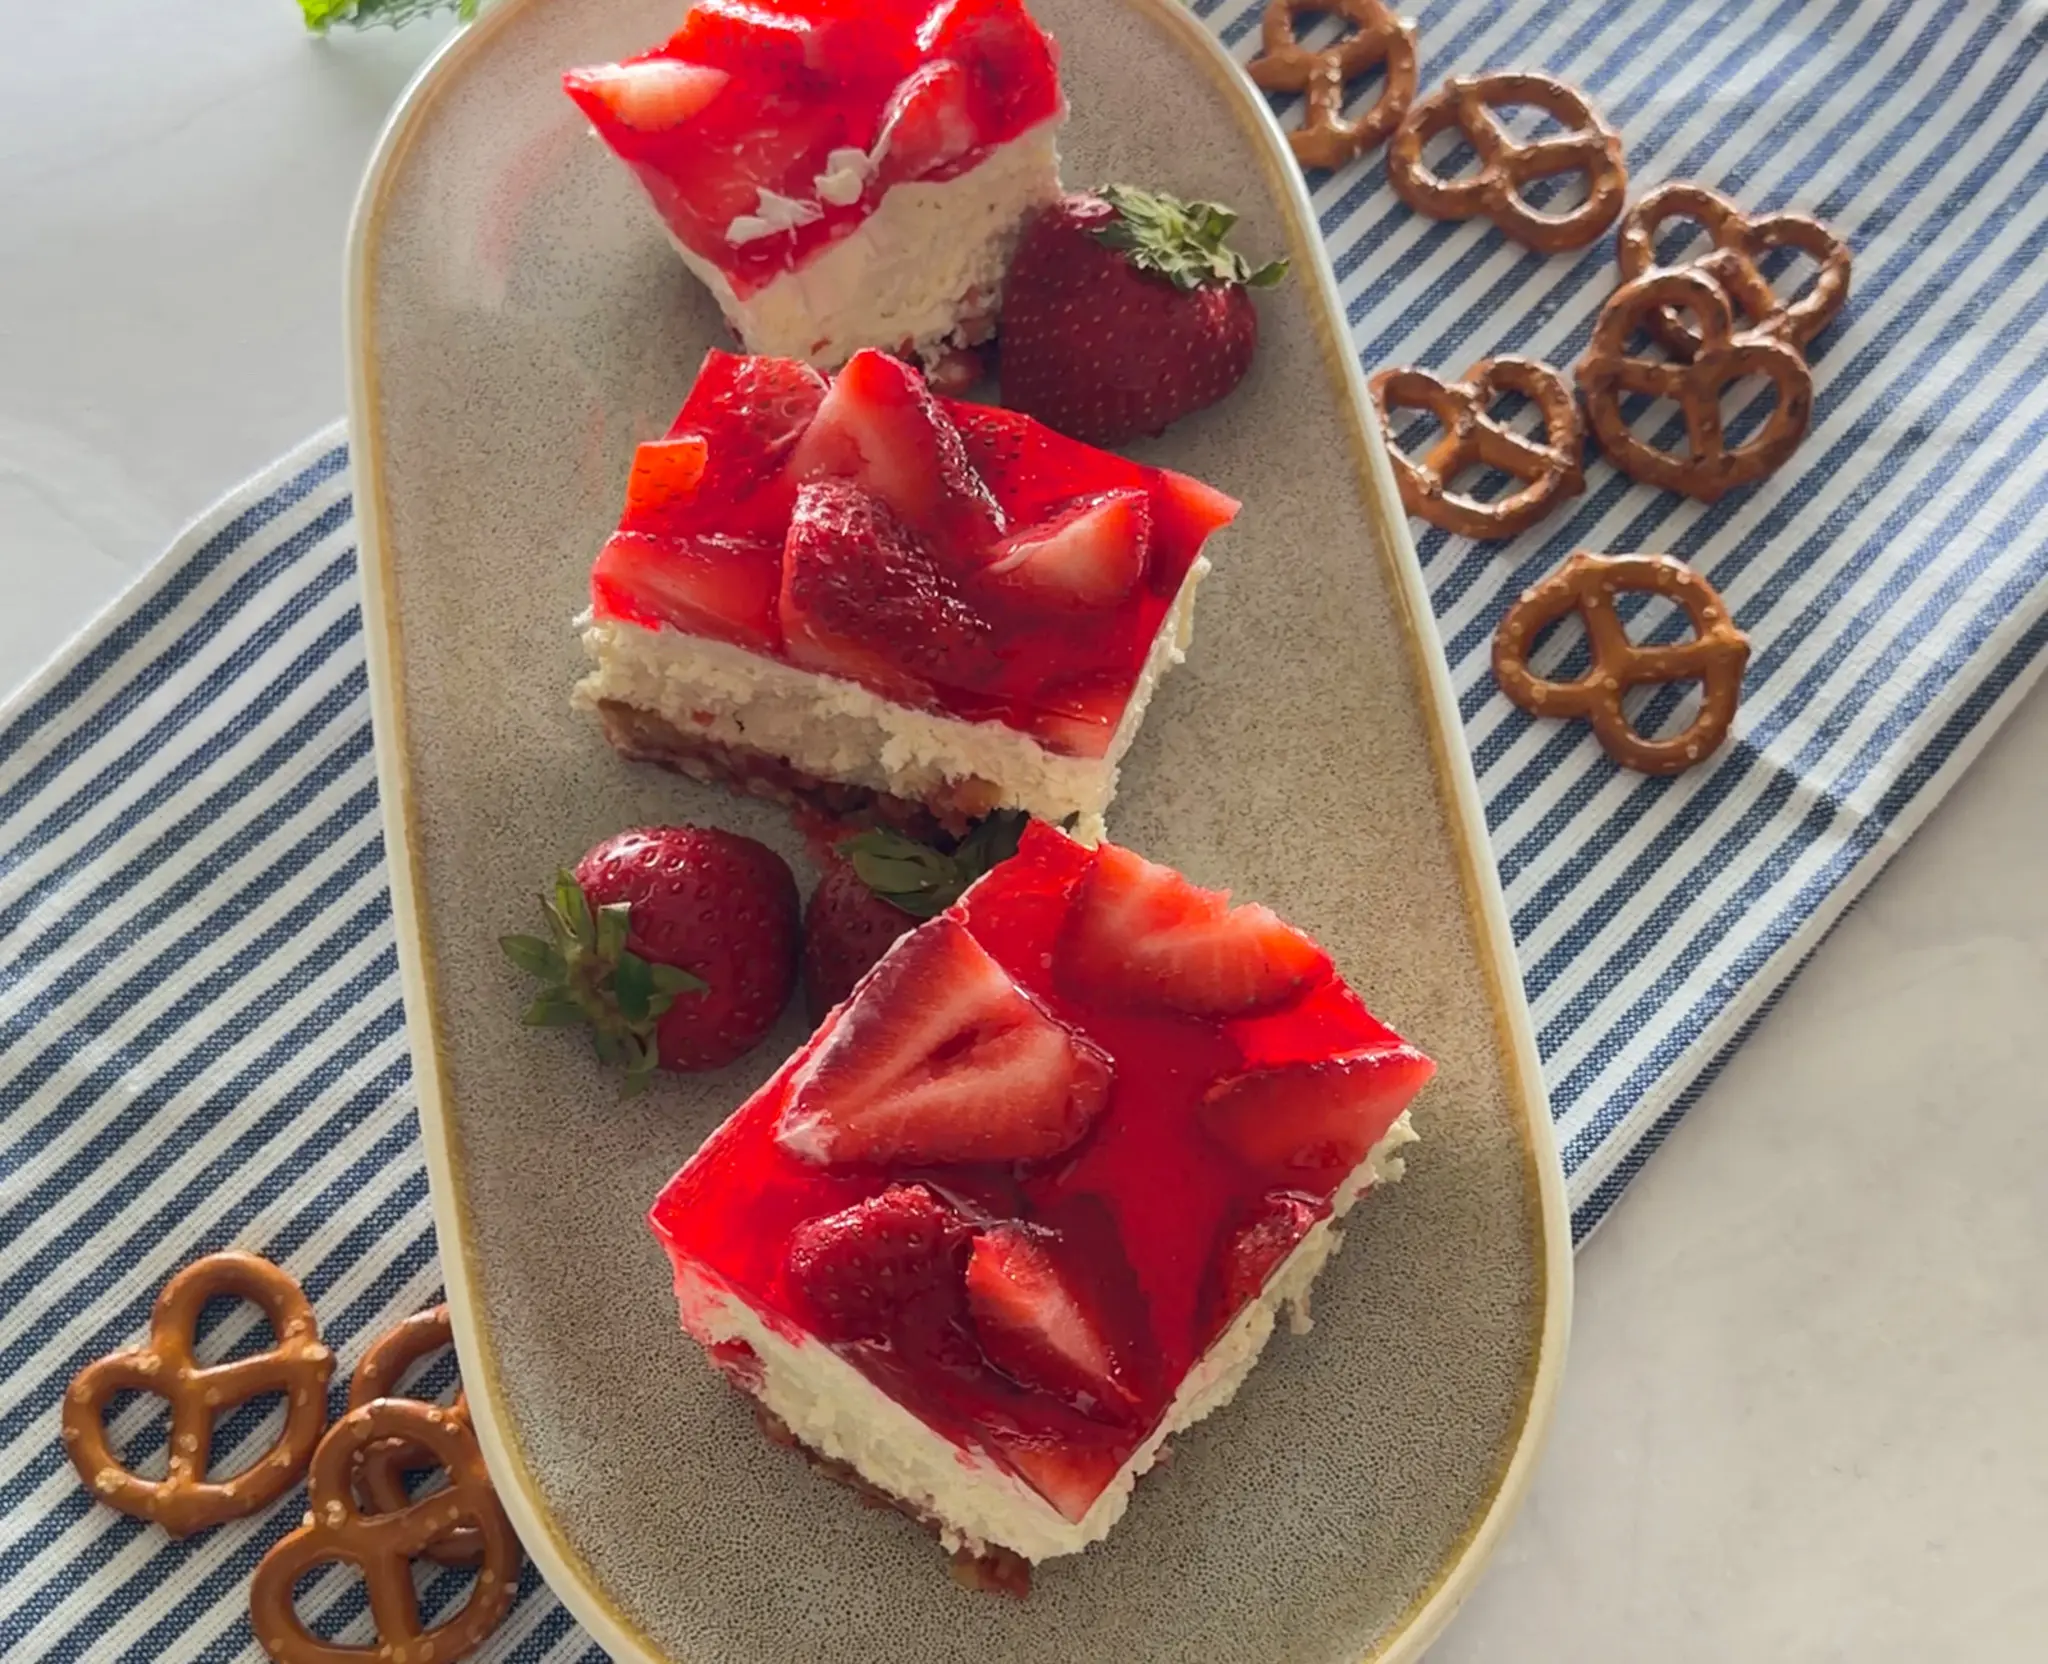
Strawberry Pretzel Dessert is a classic crowd-pleaser that brings together the perfect combination of sweet, creamy, salty, and crunchy. With a buttery pretzel crust, a smooth and creamy filling made with Daisy Sour Cream, and a bright strawberry topping, every bite is packed with delicious contrast.
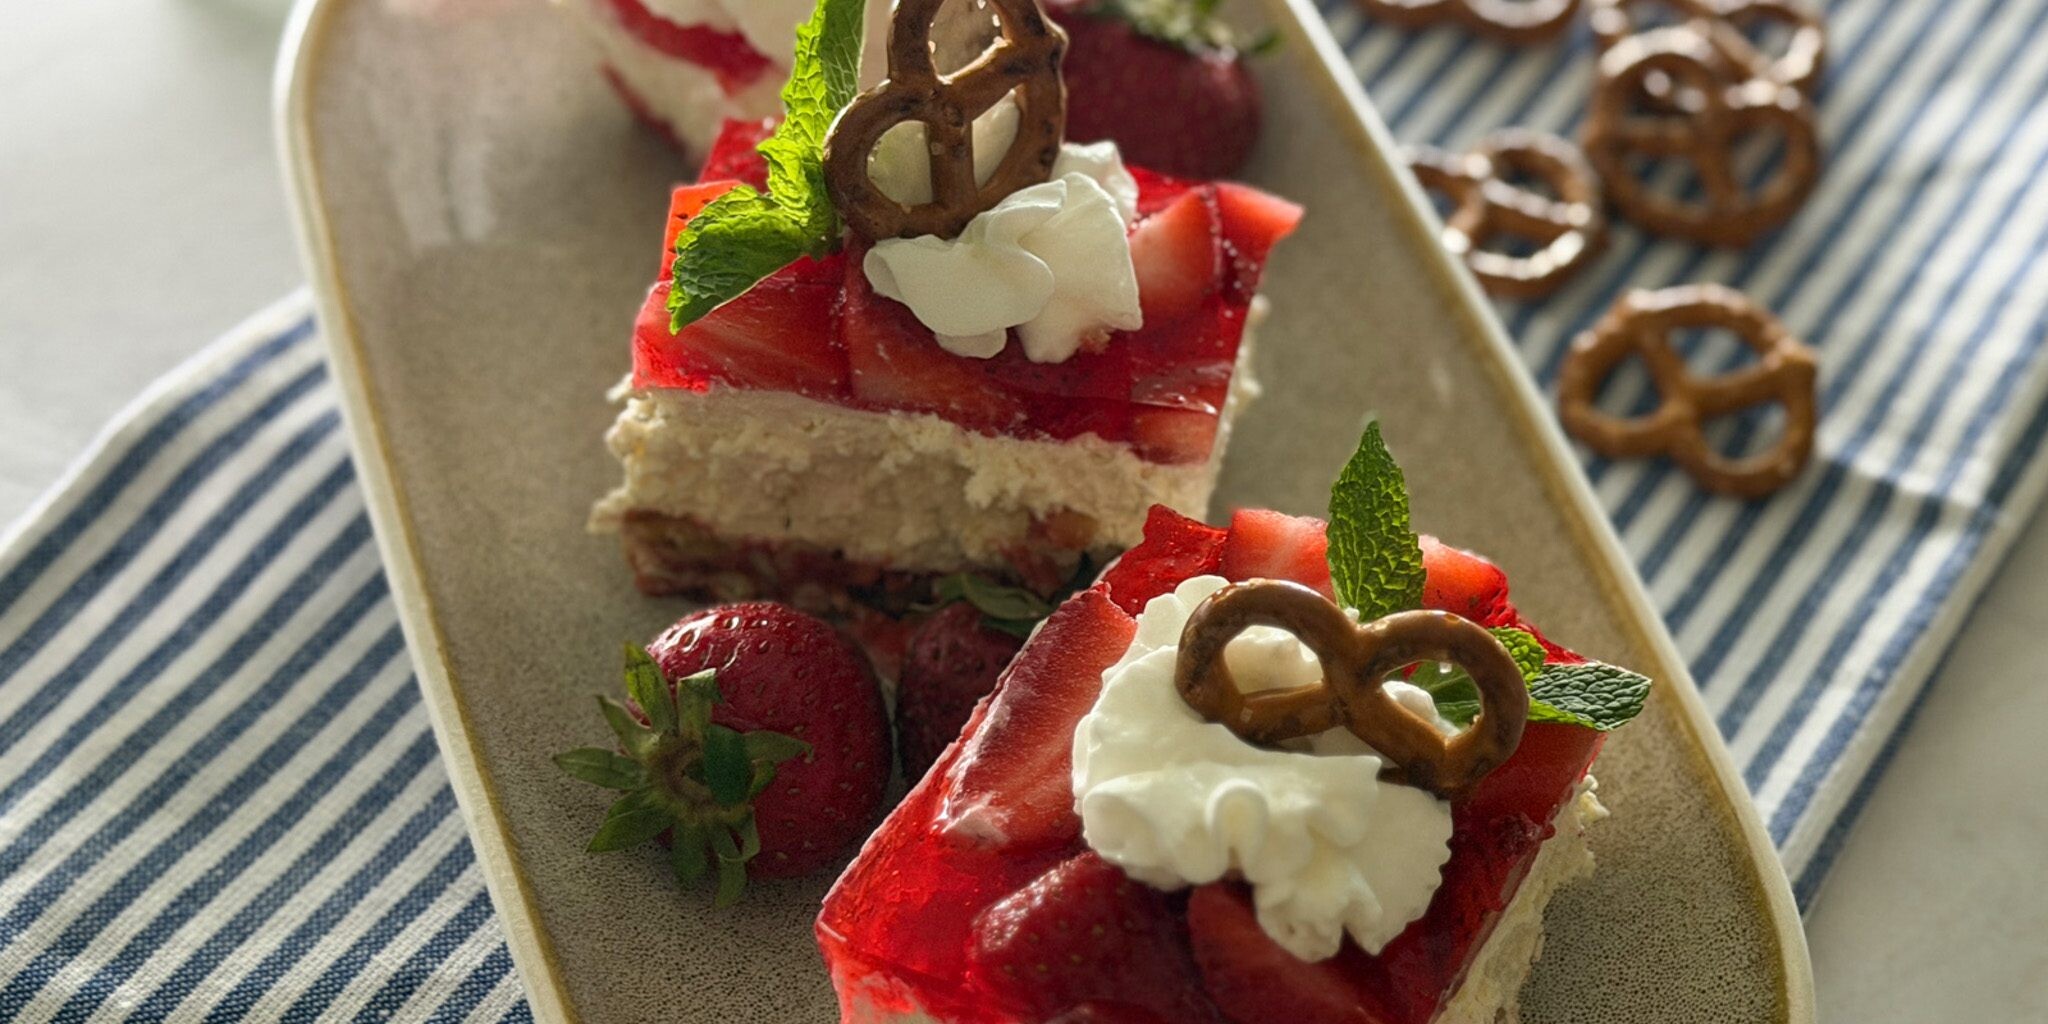
Daisy Sour Cream adds a subtle tang that balances the sweetness and gives the creamy layer an irresistibly smooth texture. Topped with juicy strawberries and a sweet gelatin layer, this colorful dessert is as pretty as it is delicious.
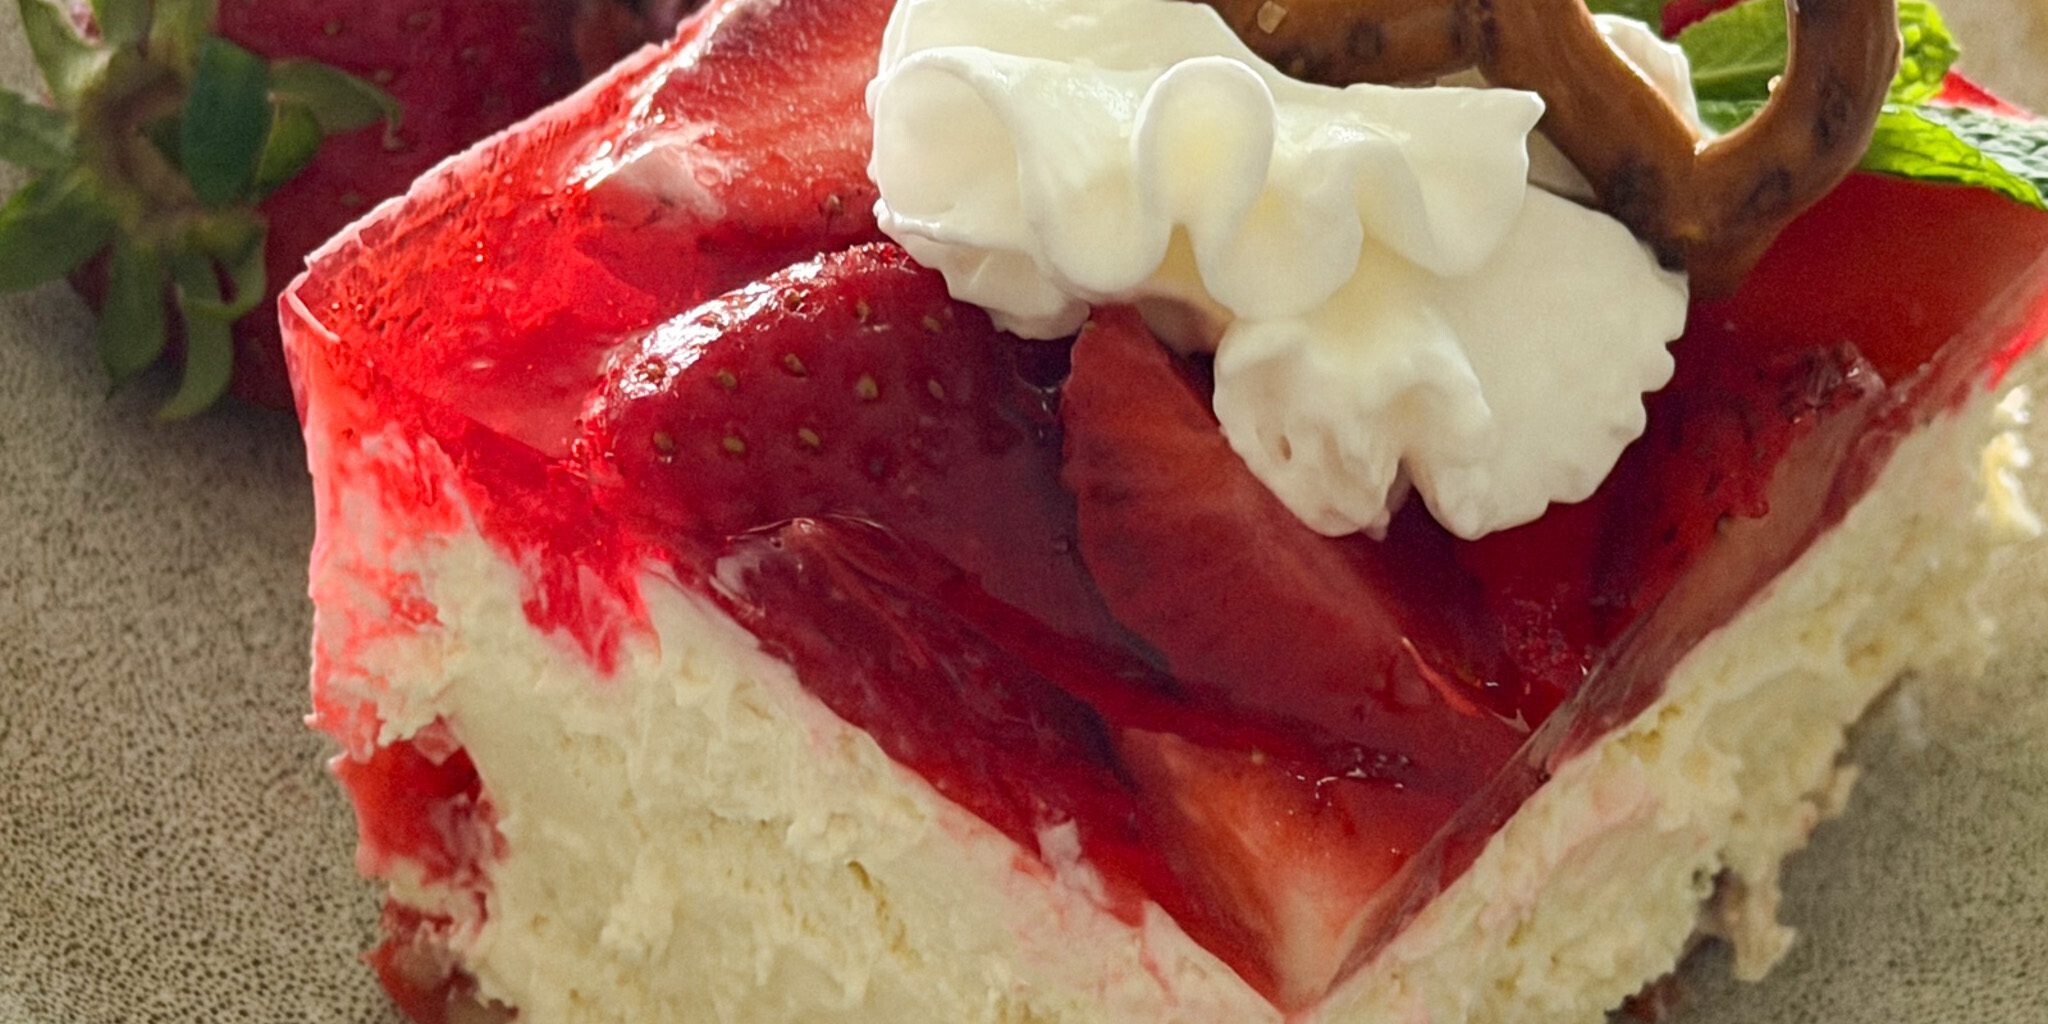
Perfect for potlucks, holidays, family gatherings, or summer celebrations, this easy make-ahead dessert is always a welcome addition to the table. Just slice, serve, and enjoy a sweet treat that brings everyone back for seconds!
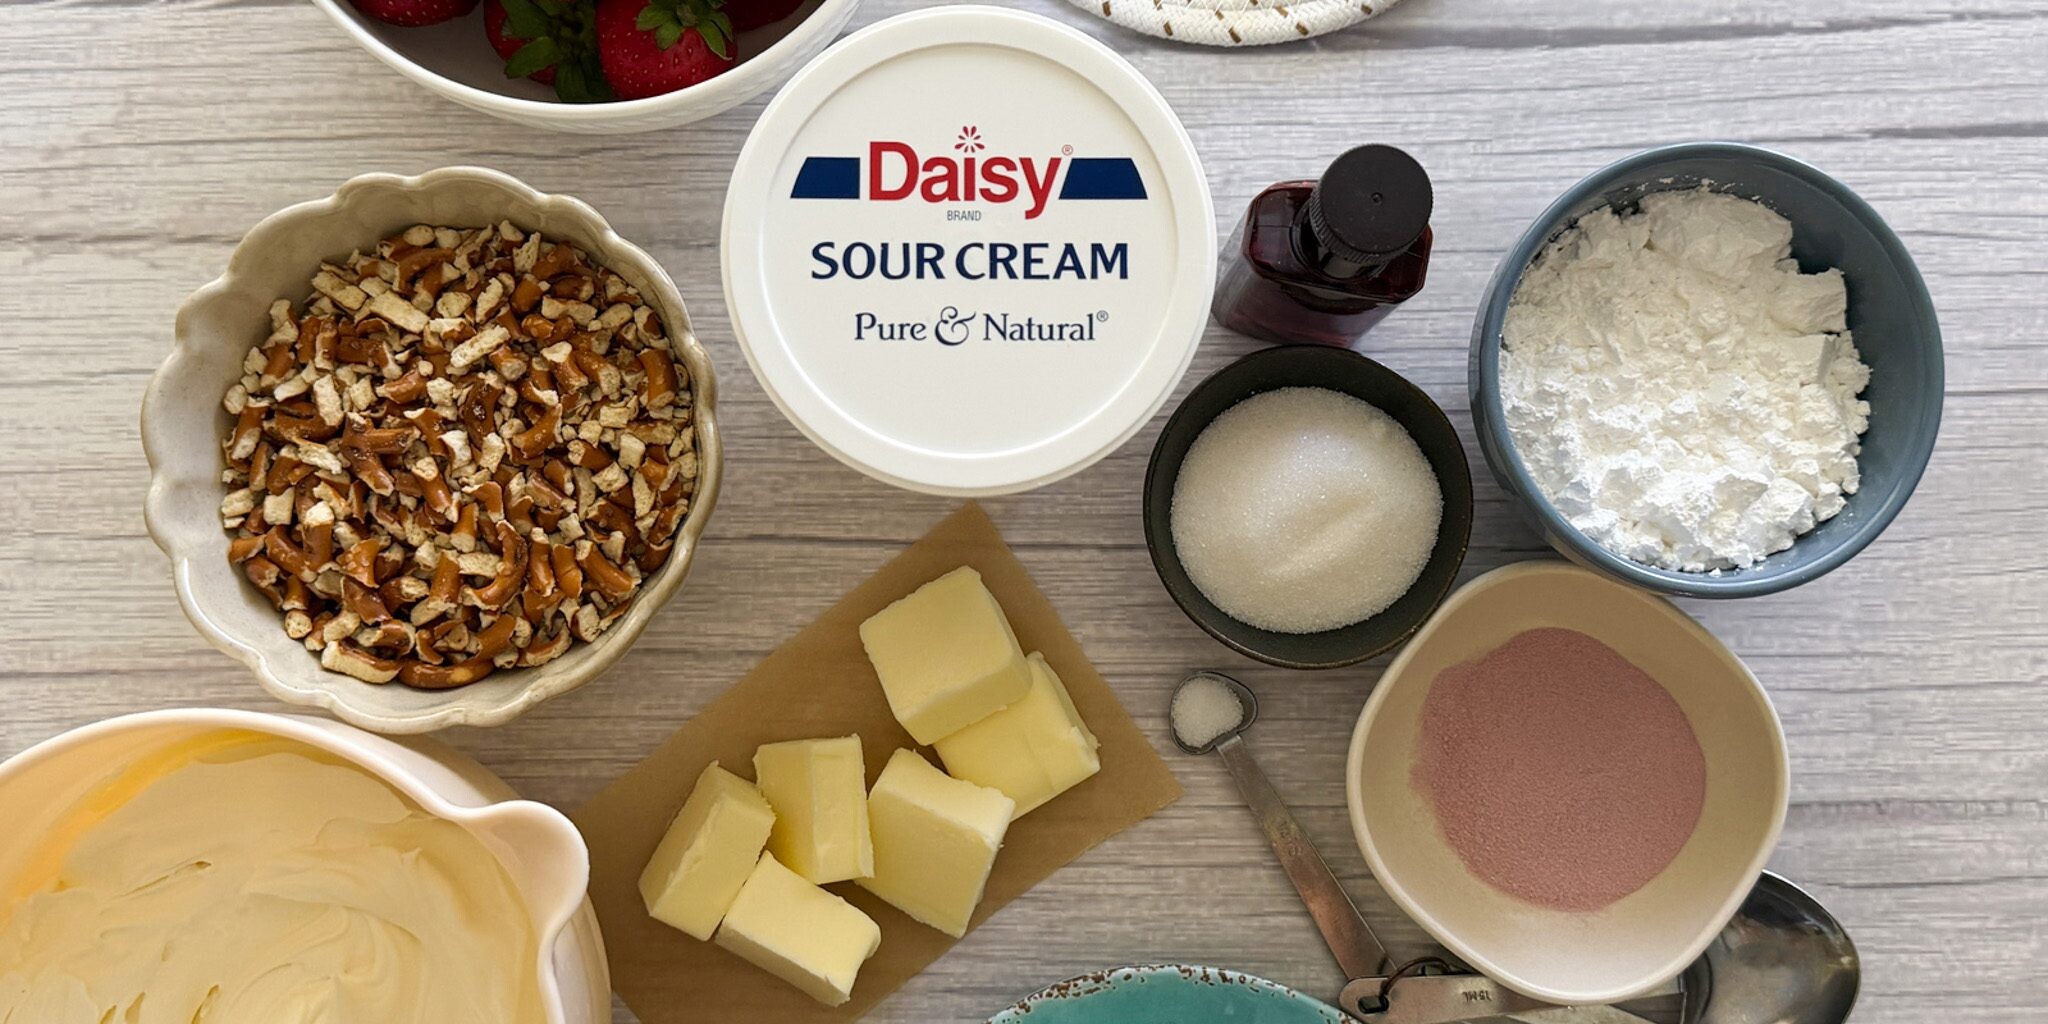
Strawberry Pretzel Dessert Ingredients
- Strawberry Gelatin (6 ounces): Acts as the binding glue and flavor booster for the fruit layer in a strawberry pretzel dessert. Both regular and sugar-free gelatin work well in this recipe.
- Boiling Water (2 cups): Used to dissolve and provide the liquid for the gelatin layer.
- Crushed pretzels (1 cup, about 2 cups whole pretzels): Creates the salty, crunchy base of the crust.
- Melted Unsalted Butter (6 tablespoons): Binds the pretzels together for the crust and adds a rich flavor.
- Sugar (2 tablespoons): Adds a touch of sweetness to the crust layer.
- Cream Cheese (8 ounces, softened): The creamy base of the cheesecake layer that adds a slight tang.
- Powdered Sugar (1/2 cup): The sweetener for the cheesecake layer, it blends easily with the cream cheese and sour cream.
- Vanilla Extract (1 teaspoon): Enhances the flavor of the other ingredients.
- Daisy Sour Cream (1 cup): Provides a rich, velvety, creaminess and tangy flavor that balances with the cream cheese and powdered sugar to create the cheesecake layer.
- Whipped Topping (2 cups): Lightens the cheesecake layer and adds a creamy sweetness to the filling.
- Strawberries (1/2 pound, sliced): Provides a firm texture and natural fresh fruit flavor that combines perfectly with the gelatin to form the jewel topping layer.
- Optional Whipped Topping and Pretzel Twists: Used to decorate each serving.
Substitutions, Variations, and Tips
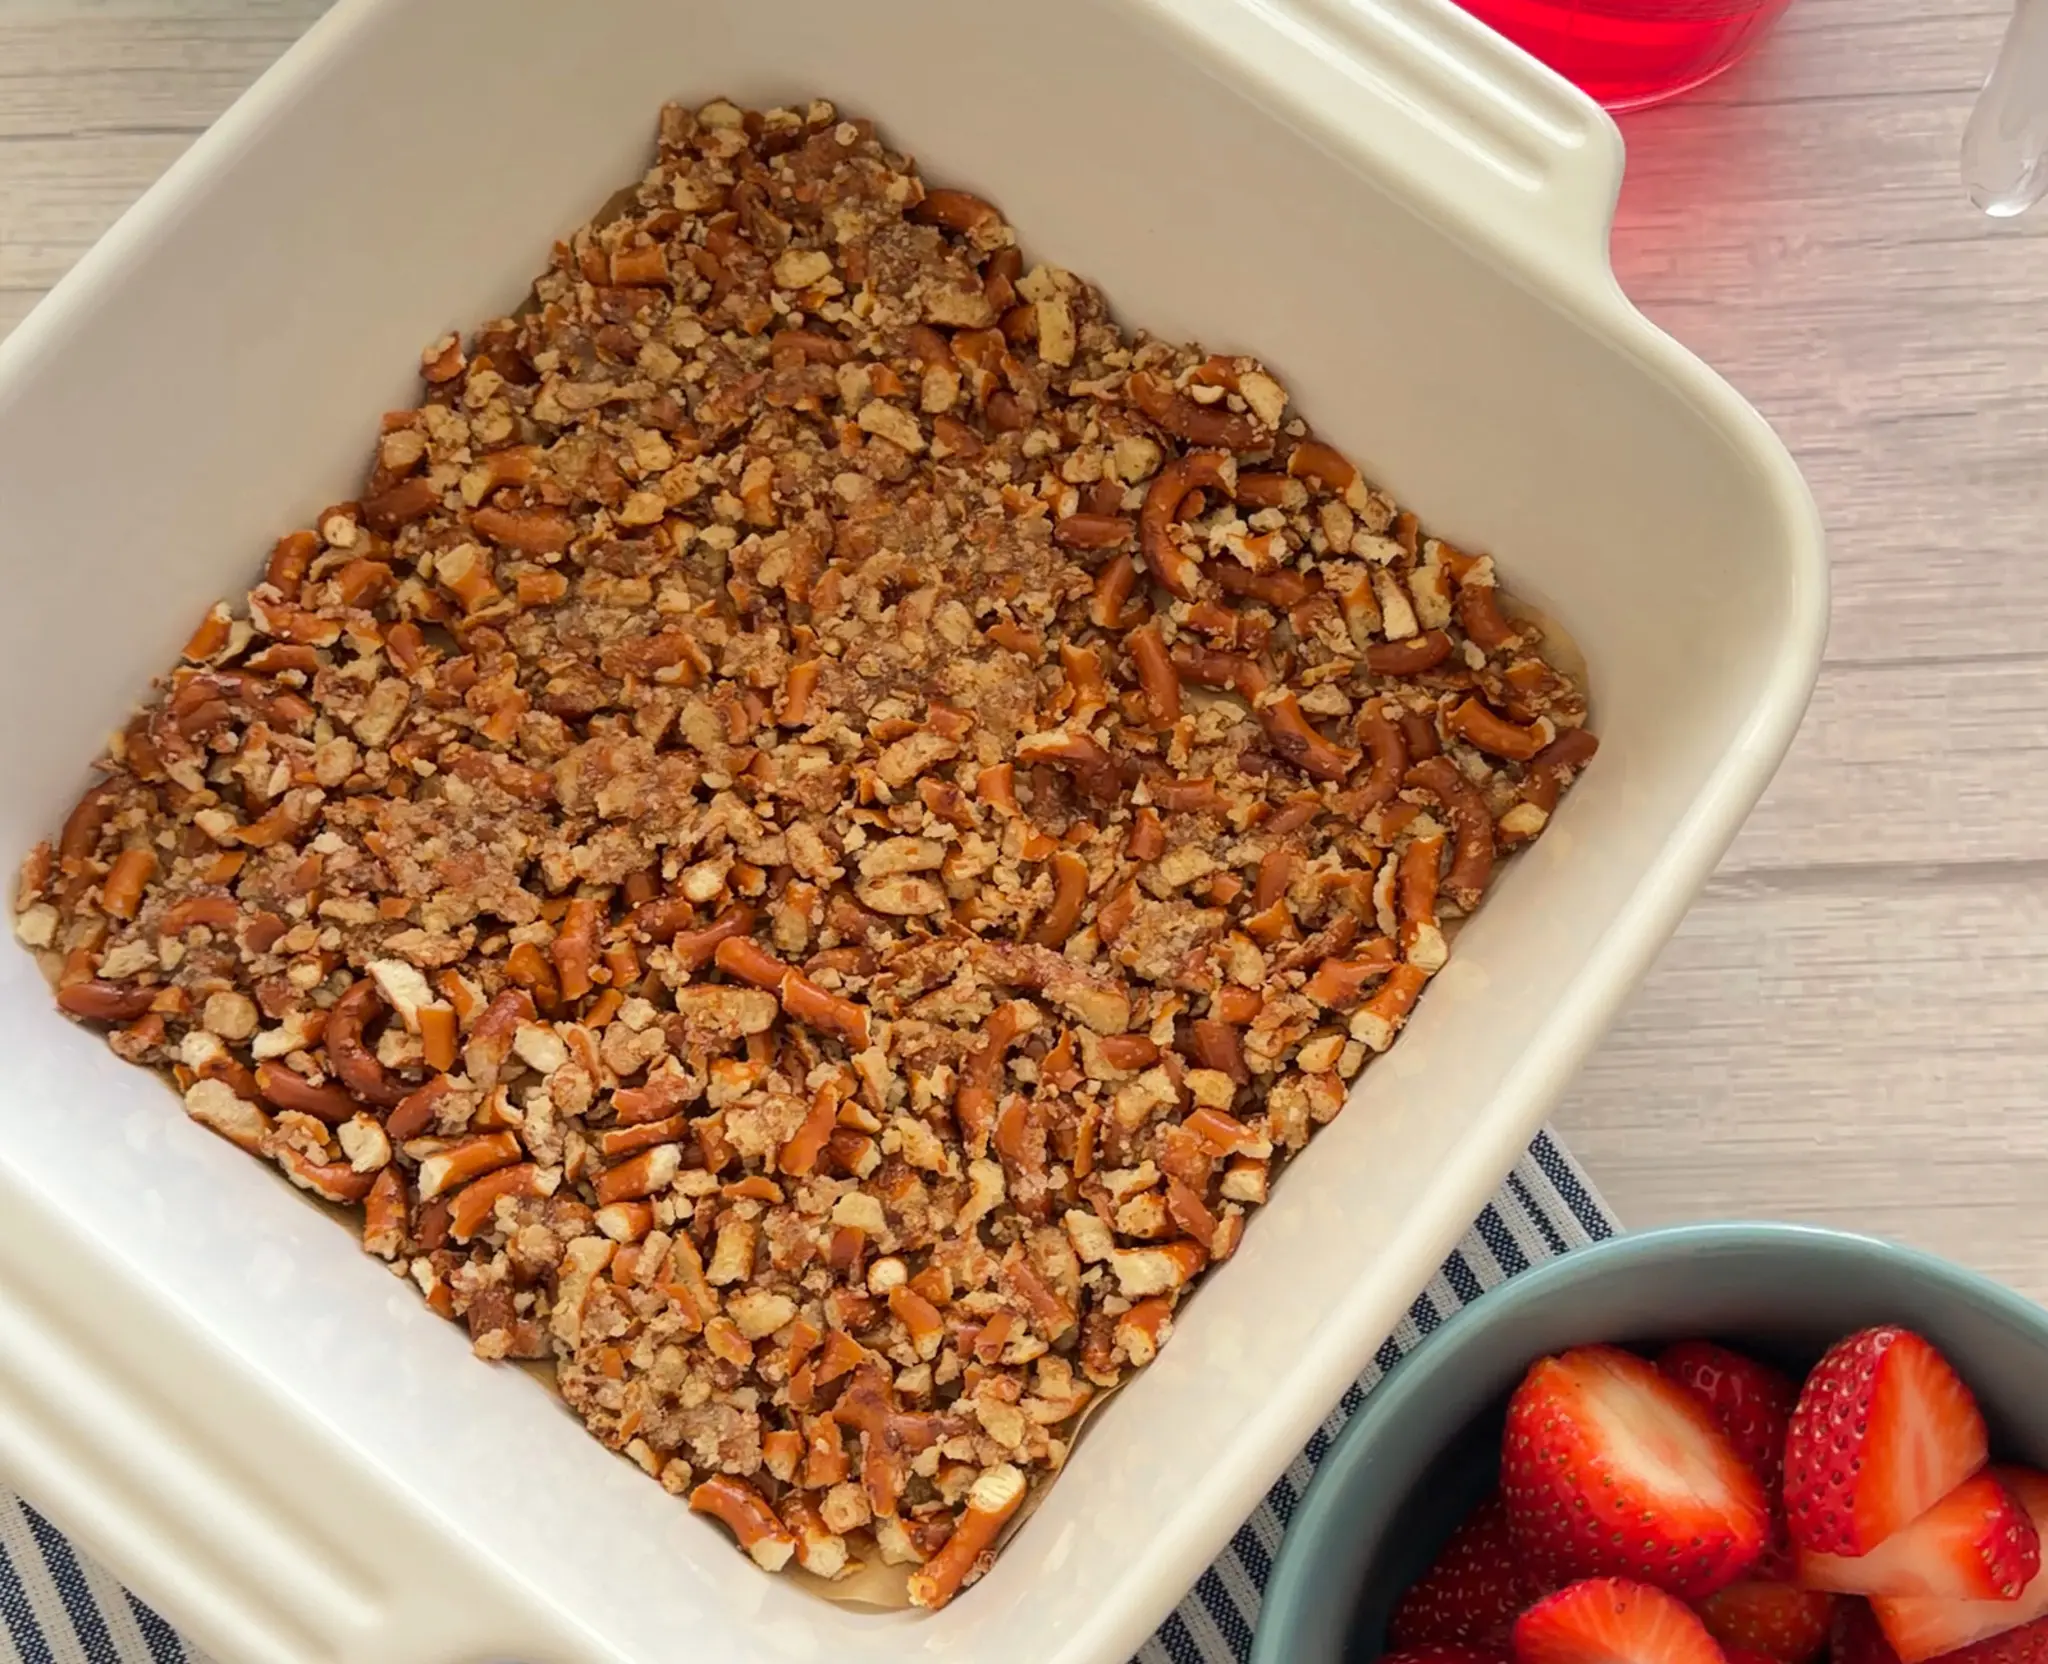
- To easily crush pretzels, pulse in a food processor or place in a zip-top bag and crush with a meat mallet or rolling pin. Stop when the pieces are the size of small peas.
- Don’t overbake the crust. It will look wet when it comes out of the oven. It will harden as it cools.
- Make sure the crust layer has cooled completely before adding cream cheese layer.
- Make sure cream cheese is at room temperature to ensure a smooth and lump-free texture.
- To quickly bring cream cheese to room temperature try one of these three methods.
- Cut into small cubes and let sit for 15-20 minutes.
- Leave in original wrapping and submerge in a bowl of warm water for 15 minutes.
- Place unwrapped cream cheese on plate and microwave for 15 seconds, repeating in 10-15 second bursts until soft.
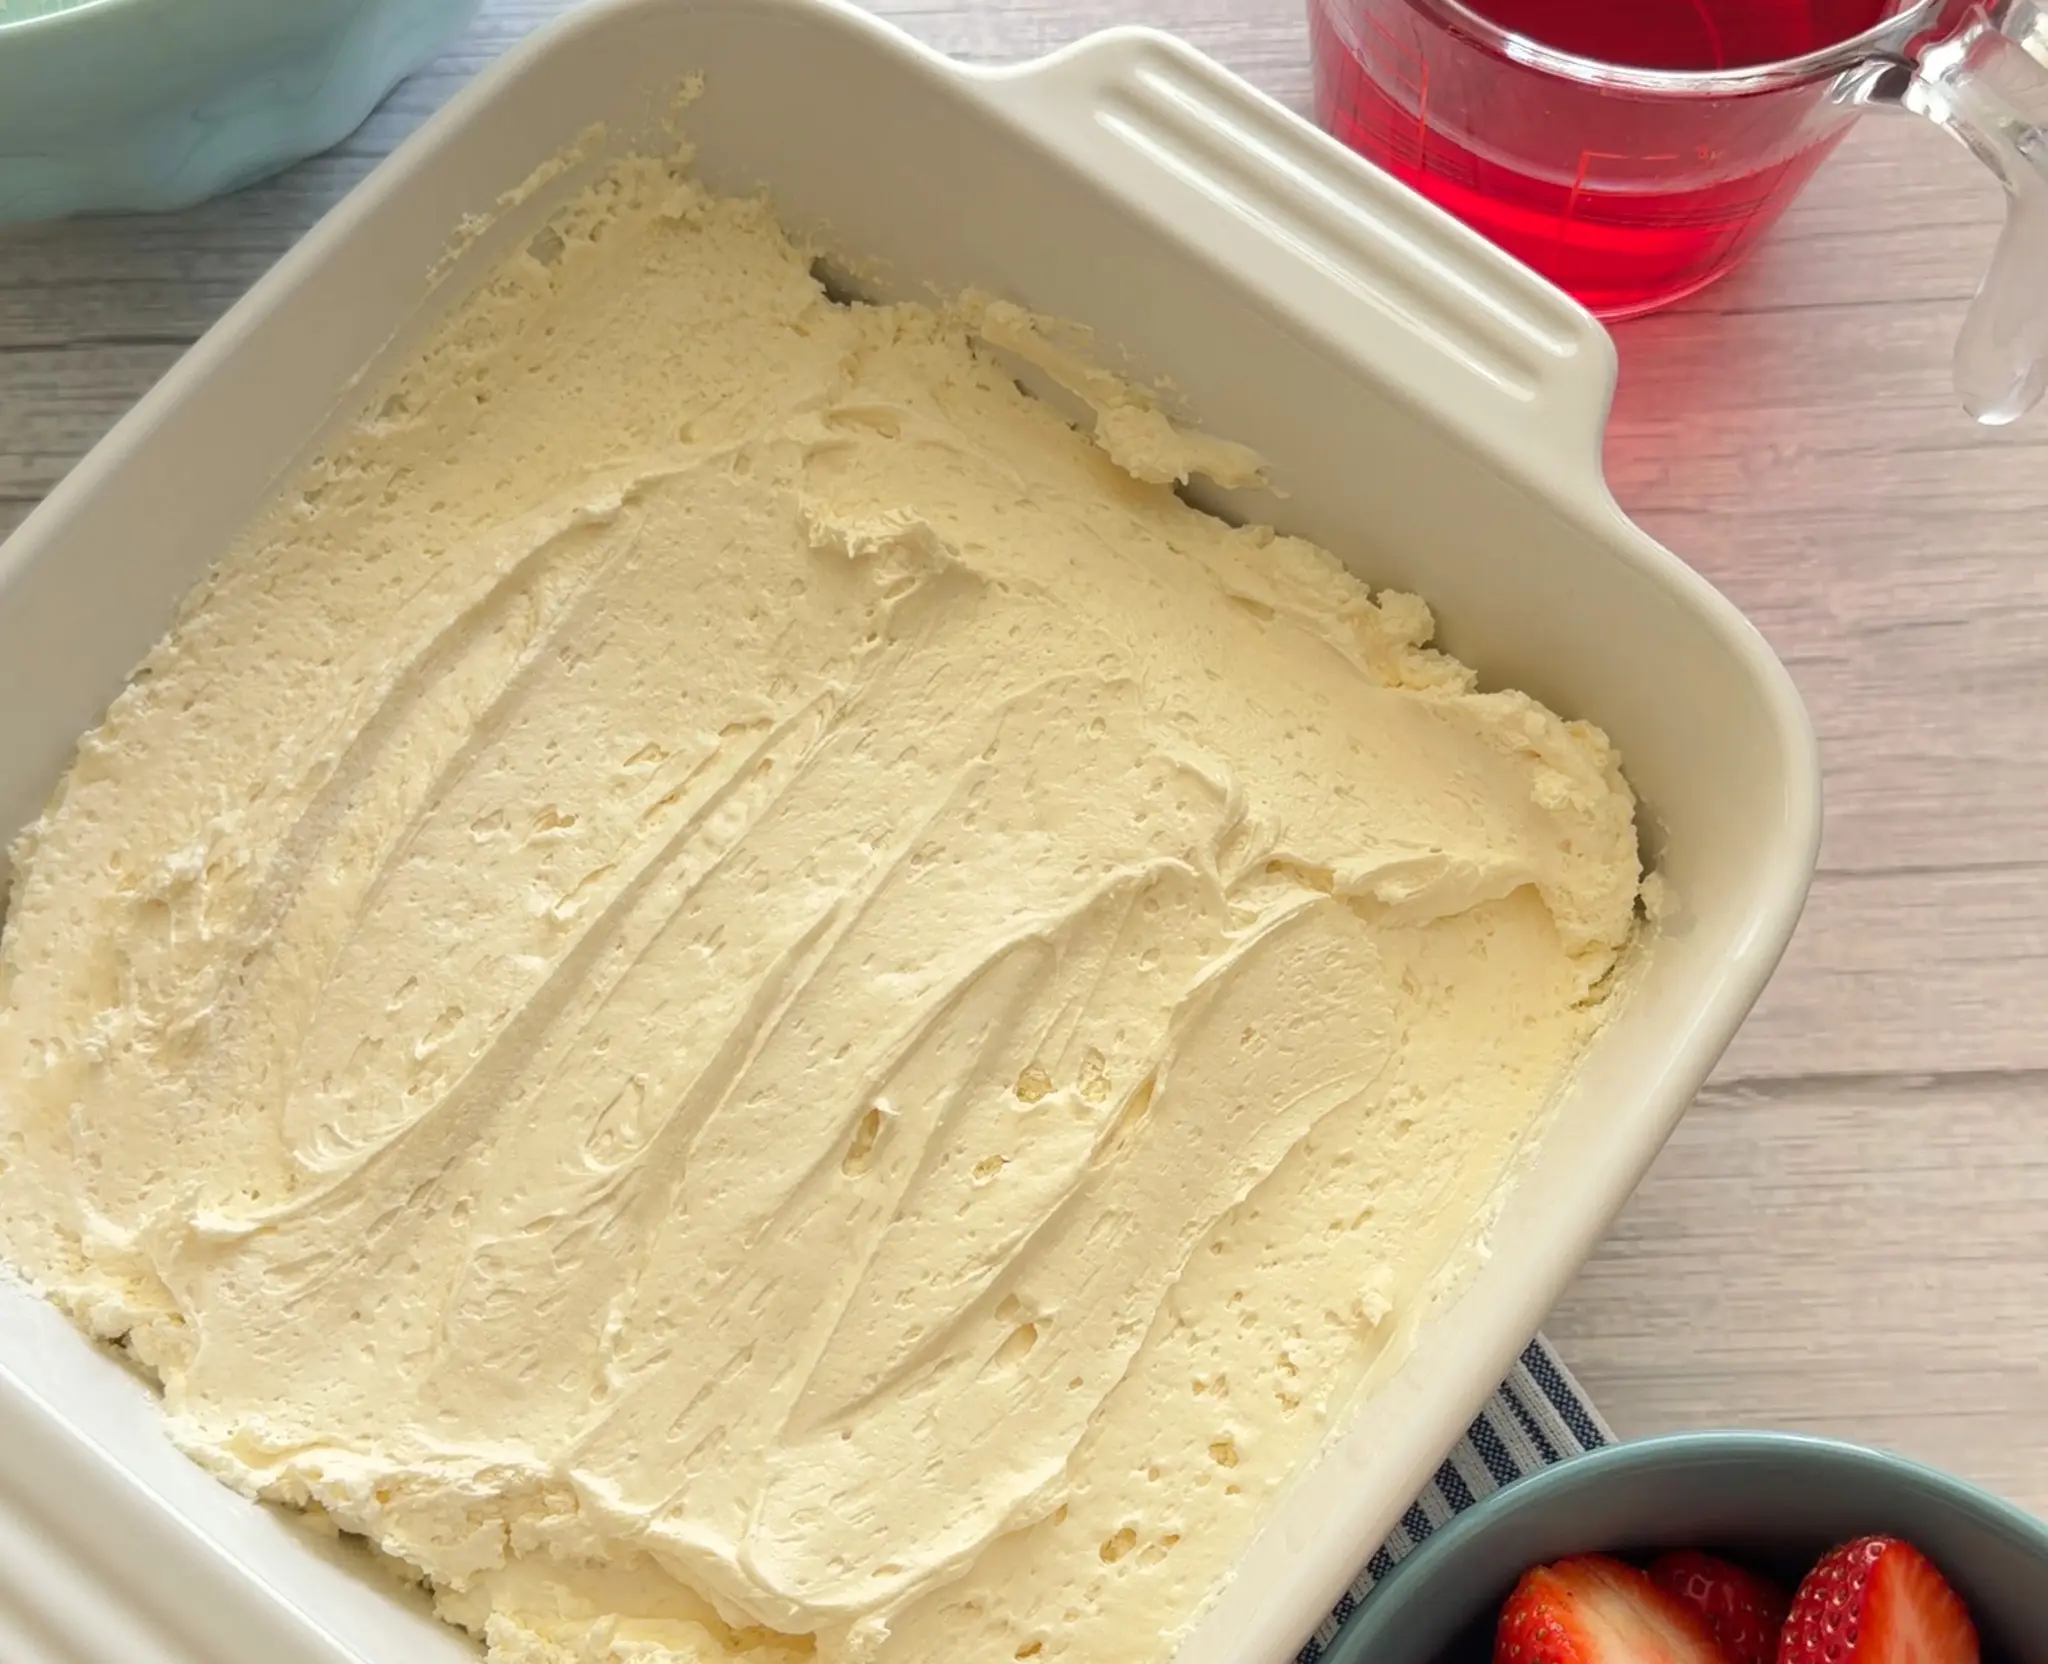
- Spread the cheesecake layer edge-to-edge to keep the crust from becoming soggy.
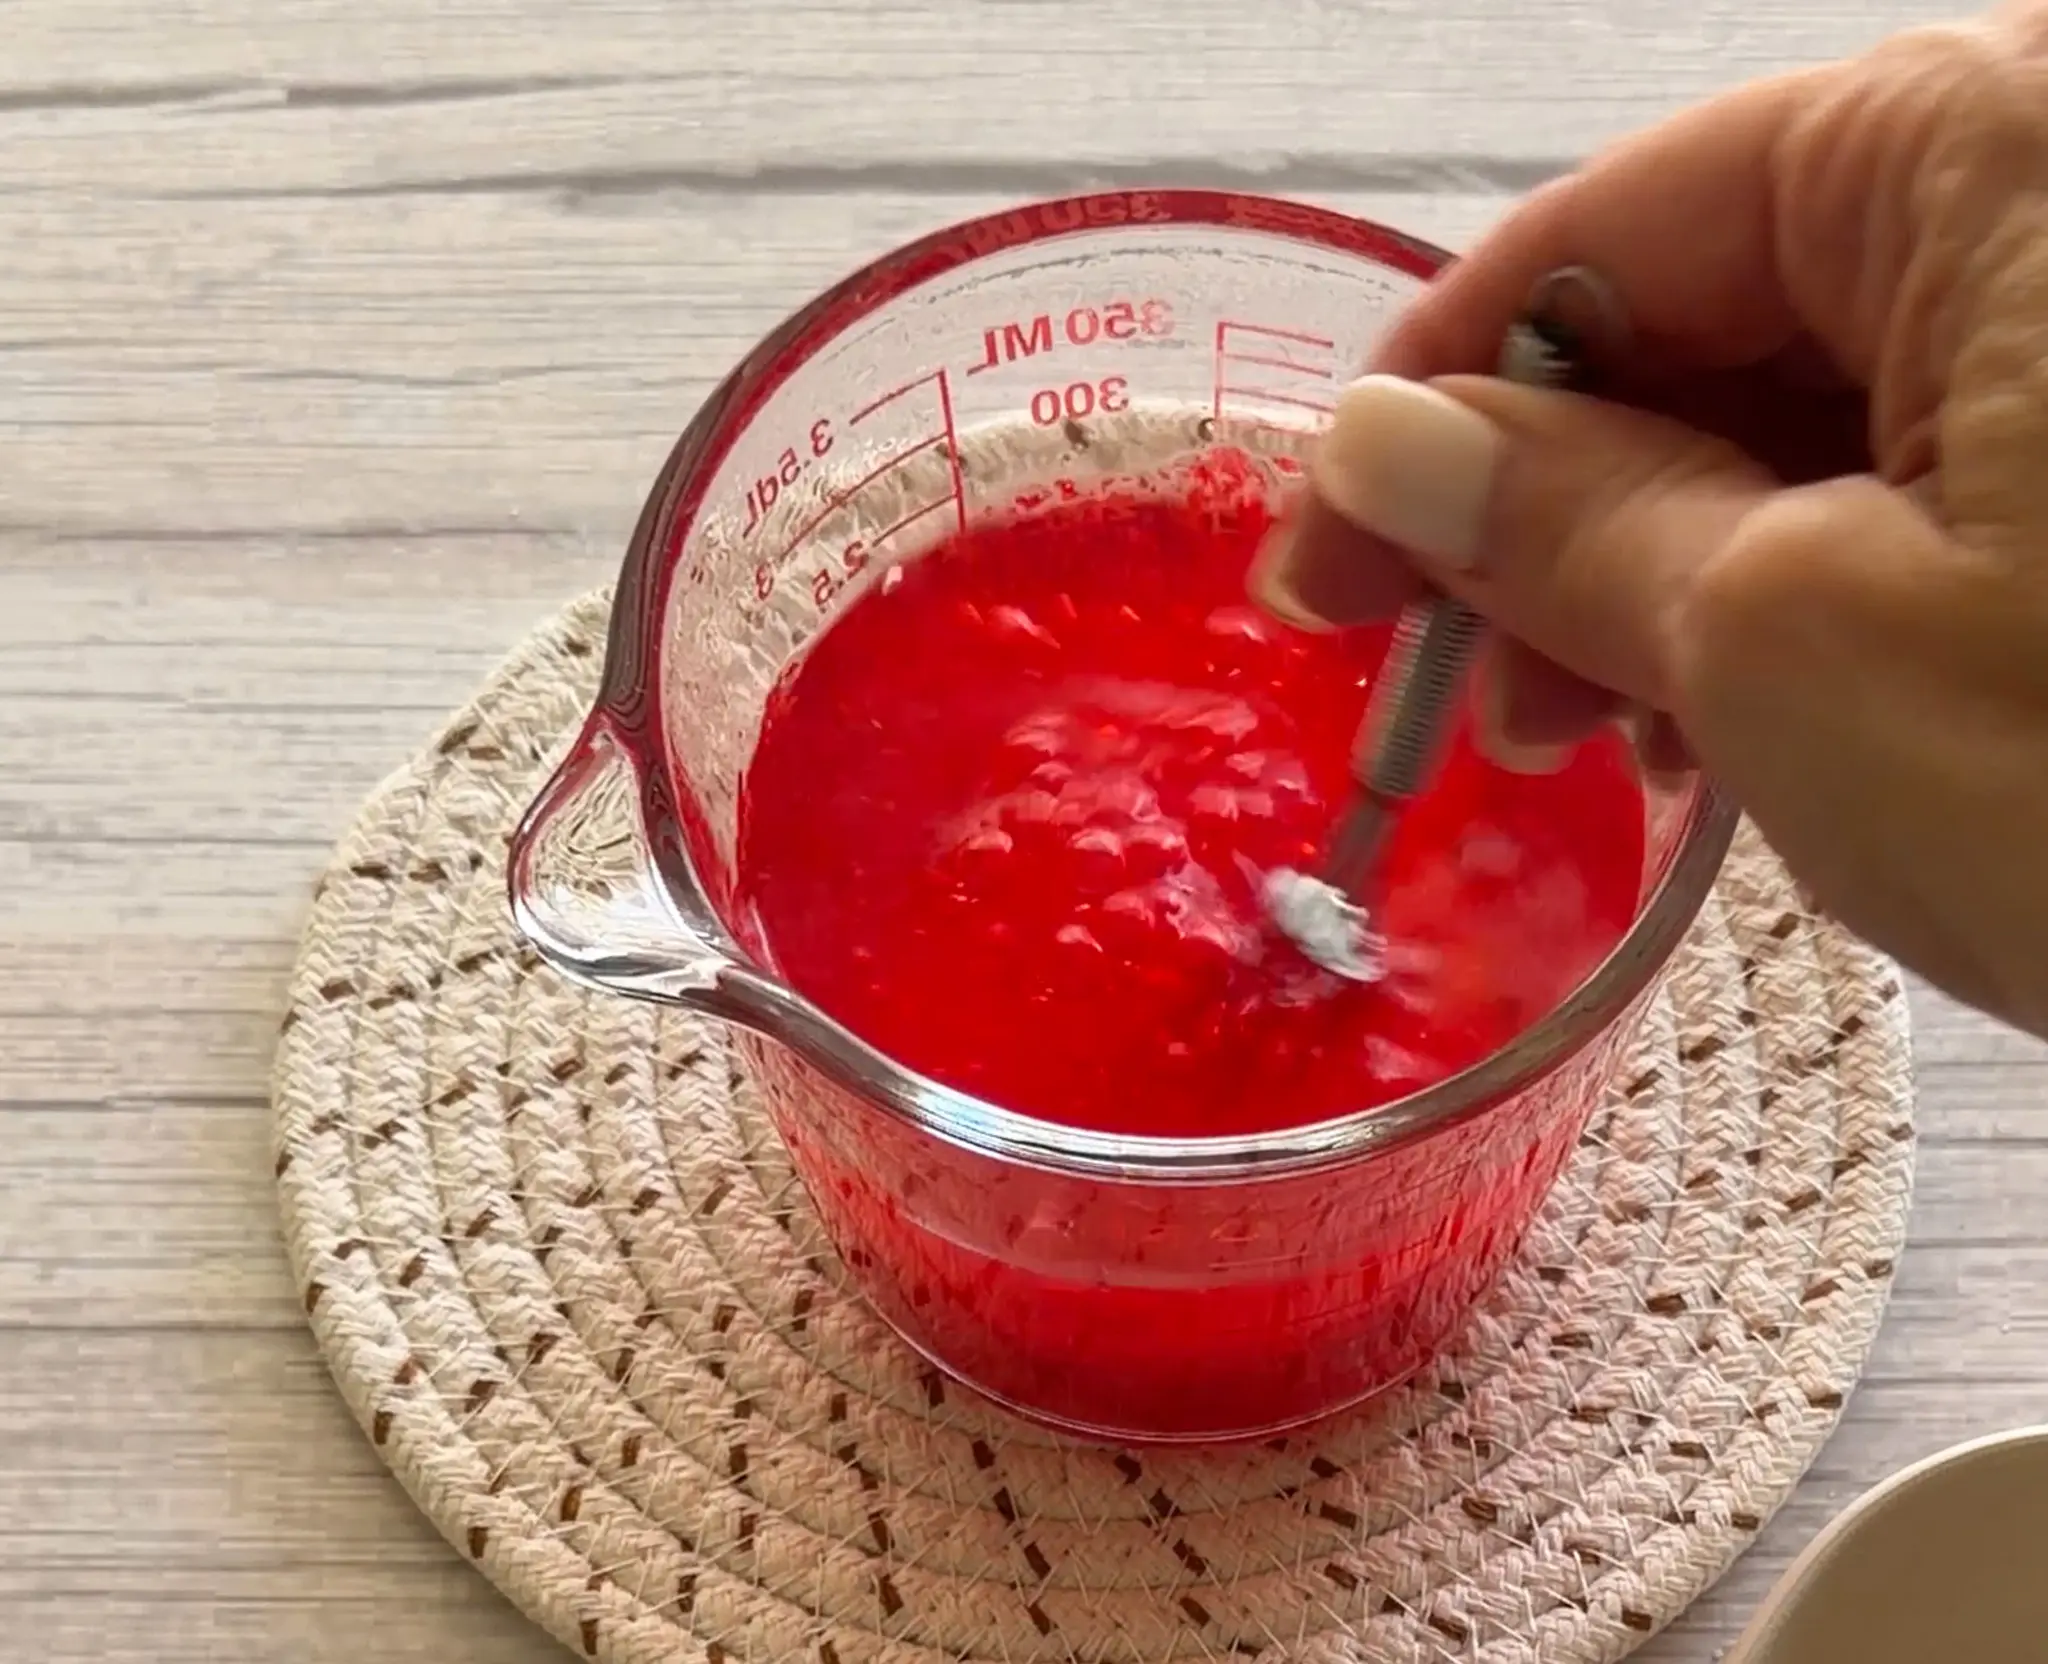
- Follow the water/gelatin ratio in the recipe, not on the box. The recipe needs less water than the box directions call for in order to properly set.
- Cool gelatin to room temperature before pouring over strawberries.
- Pour the gelatin gently over the strawberries to avoid splashing or disrupting the cheesecake layer.
- Frozen strawberries may be used in place of frozen. If using frozen strawberries, thaw, drain, and dry them completely. Extra juice from the thawed strawberries can inhibit the gelatin layer from setting properly.
- Other berries may be used in place of strawberries, such as blueberries, raspberries, or blackberries.
- Best made the day before you plan to serve to allow the gelatin layer time to set properly.
- The dessert will keep in the refrigerator for up to three days after preparation.
- Do not freeze dessert. The gelatin and cheesecake layers will separate if frozen.
- For easy slicing, run your knife under hot water and wipe between each cut. Lift slices out with a wide spatula.
How to Make Strawberry Pretzel Dessert
- Preheat the oven to 350°F. Line the bottom of an 8×8-inch square pan with parchment paper cut to fit the bottom only (do not bring parchment up the sides of the pan).
- Combine the strawberry gelatin with the boiling water and stir until completely dissolved. Cool to room temperature.
- Mix the pretzels, melted butter, and sugar. Transfer to the pan and press evenly over the bottom. Bake for 10 minutes (crust will look wet, it will harden as it cools). Cool to room temperature.
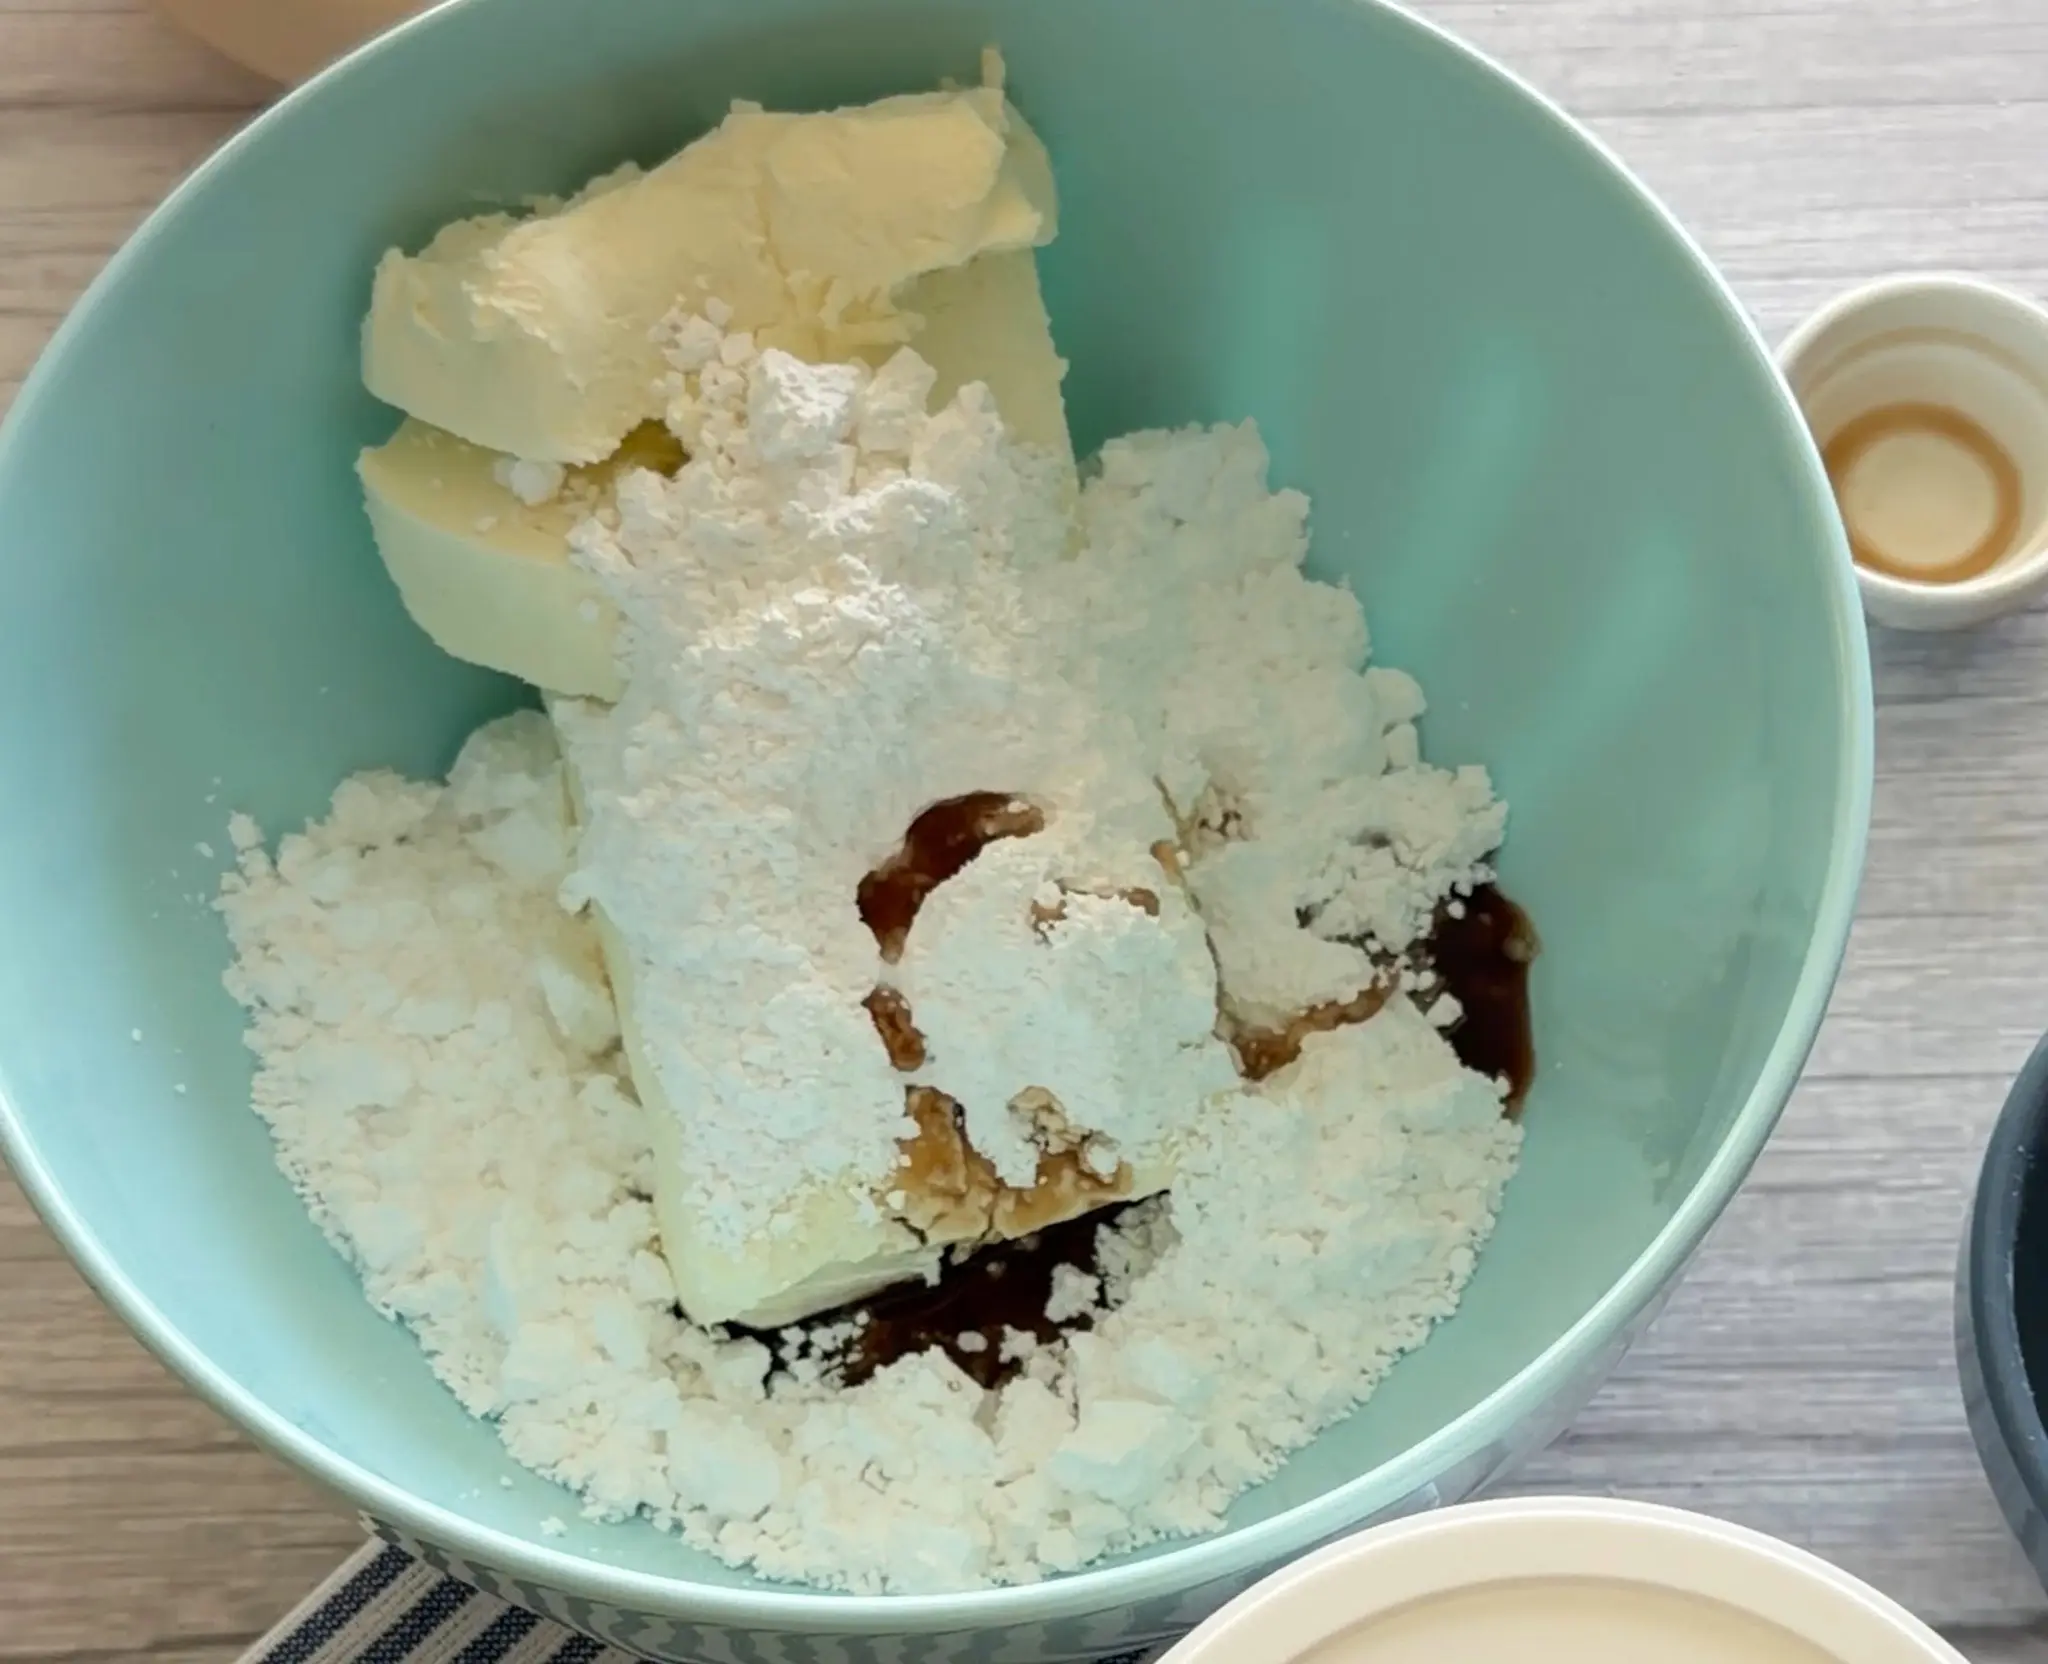
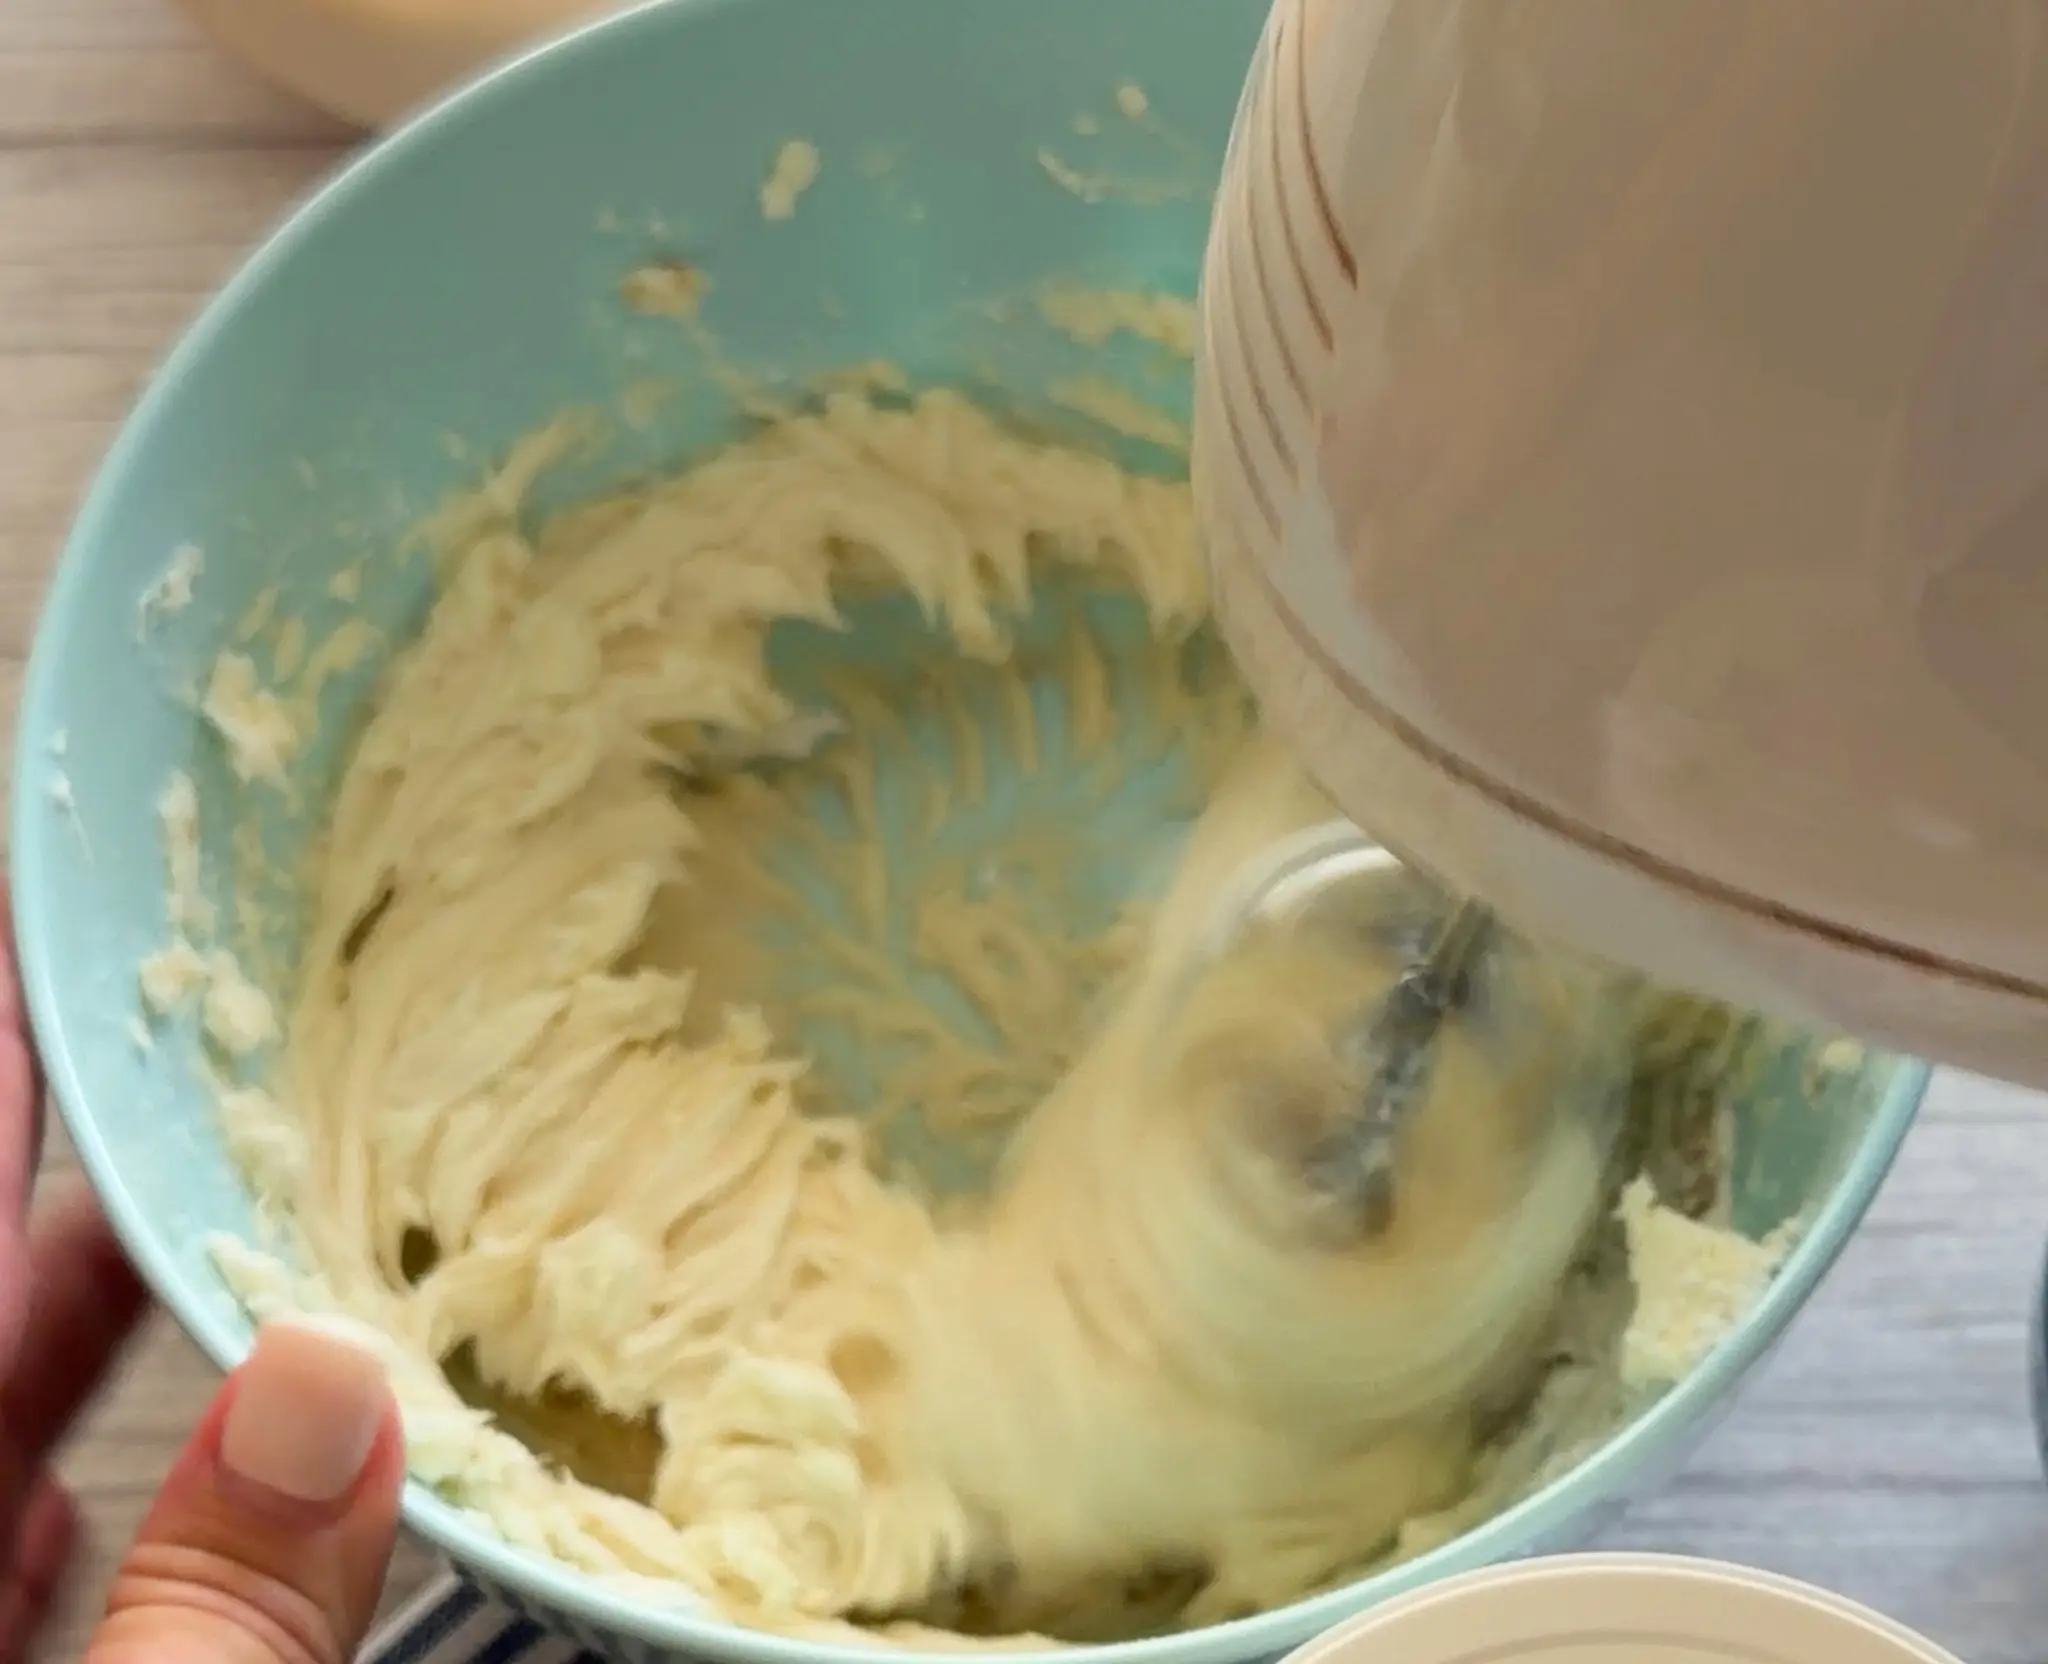
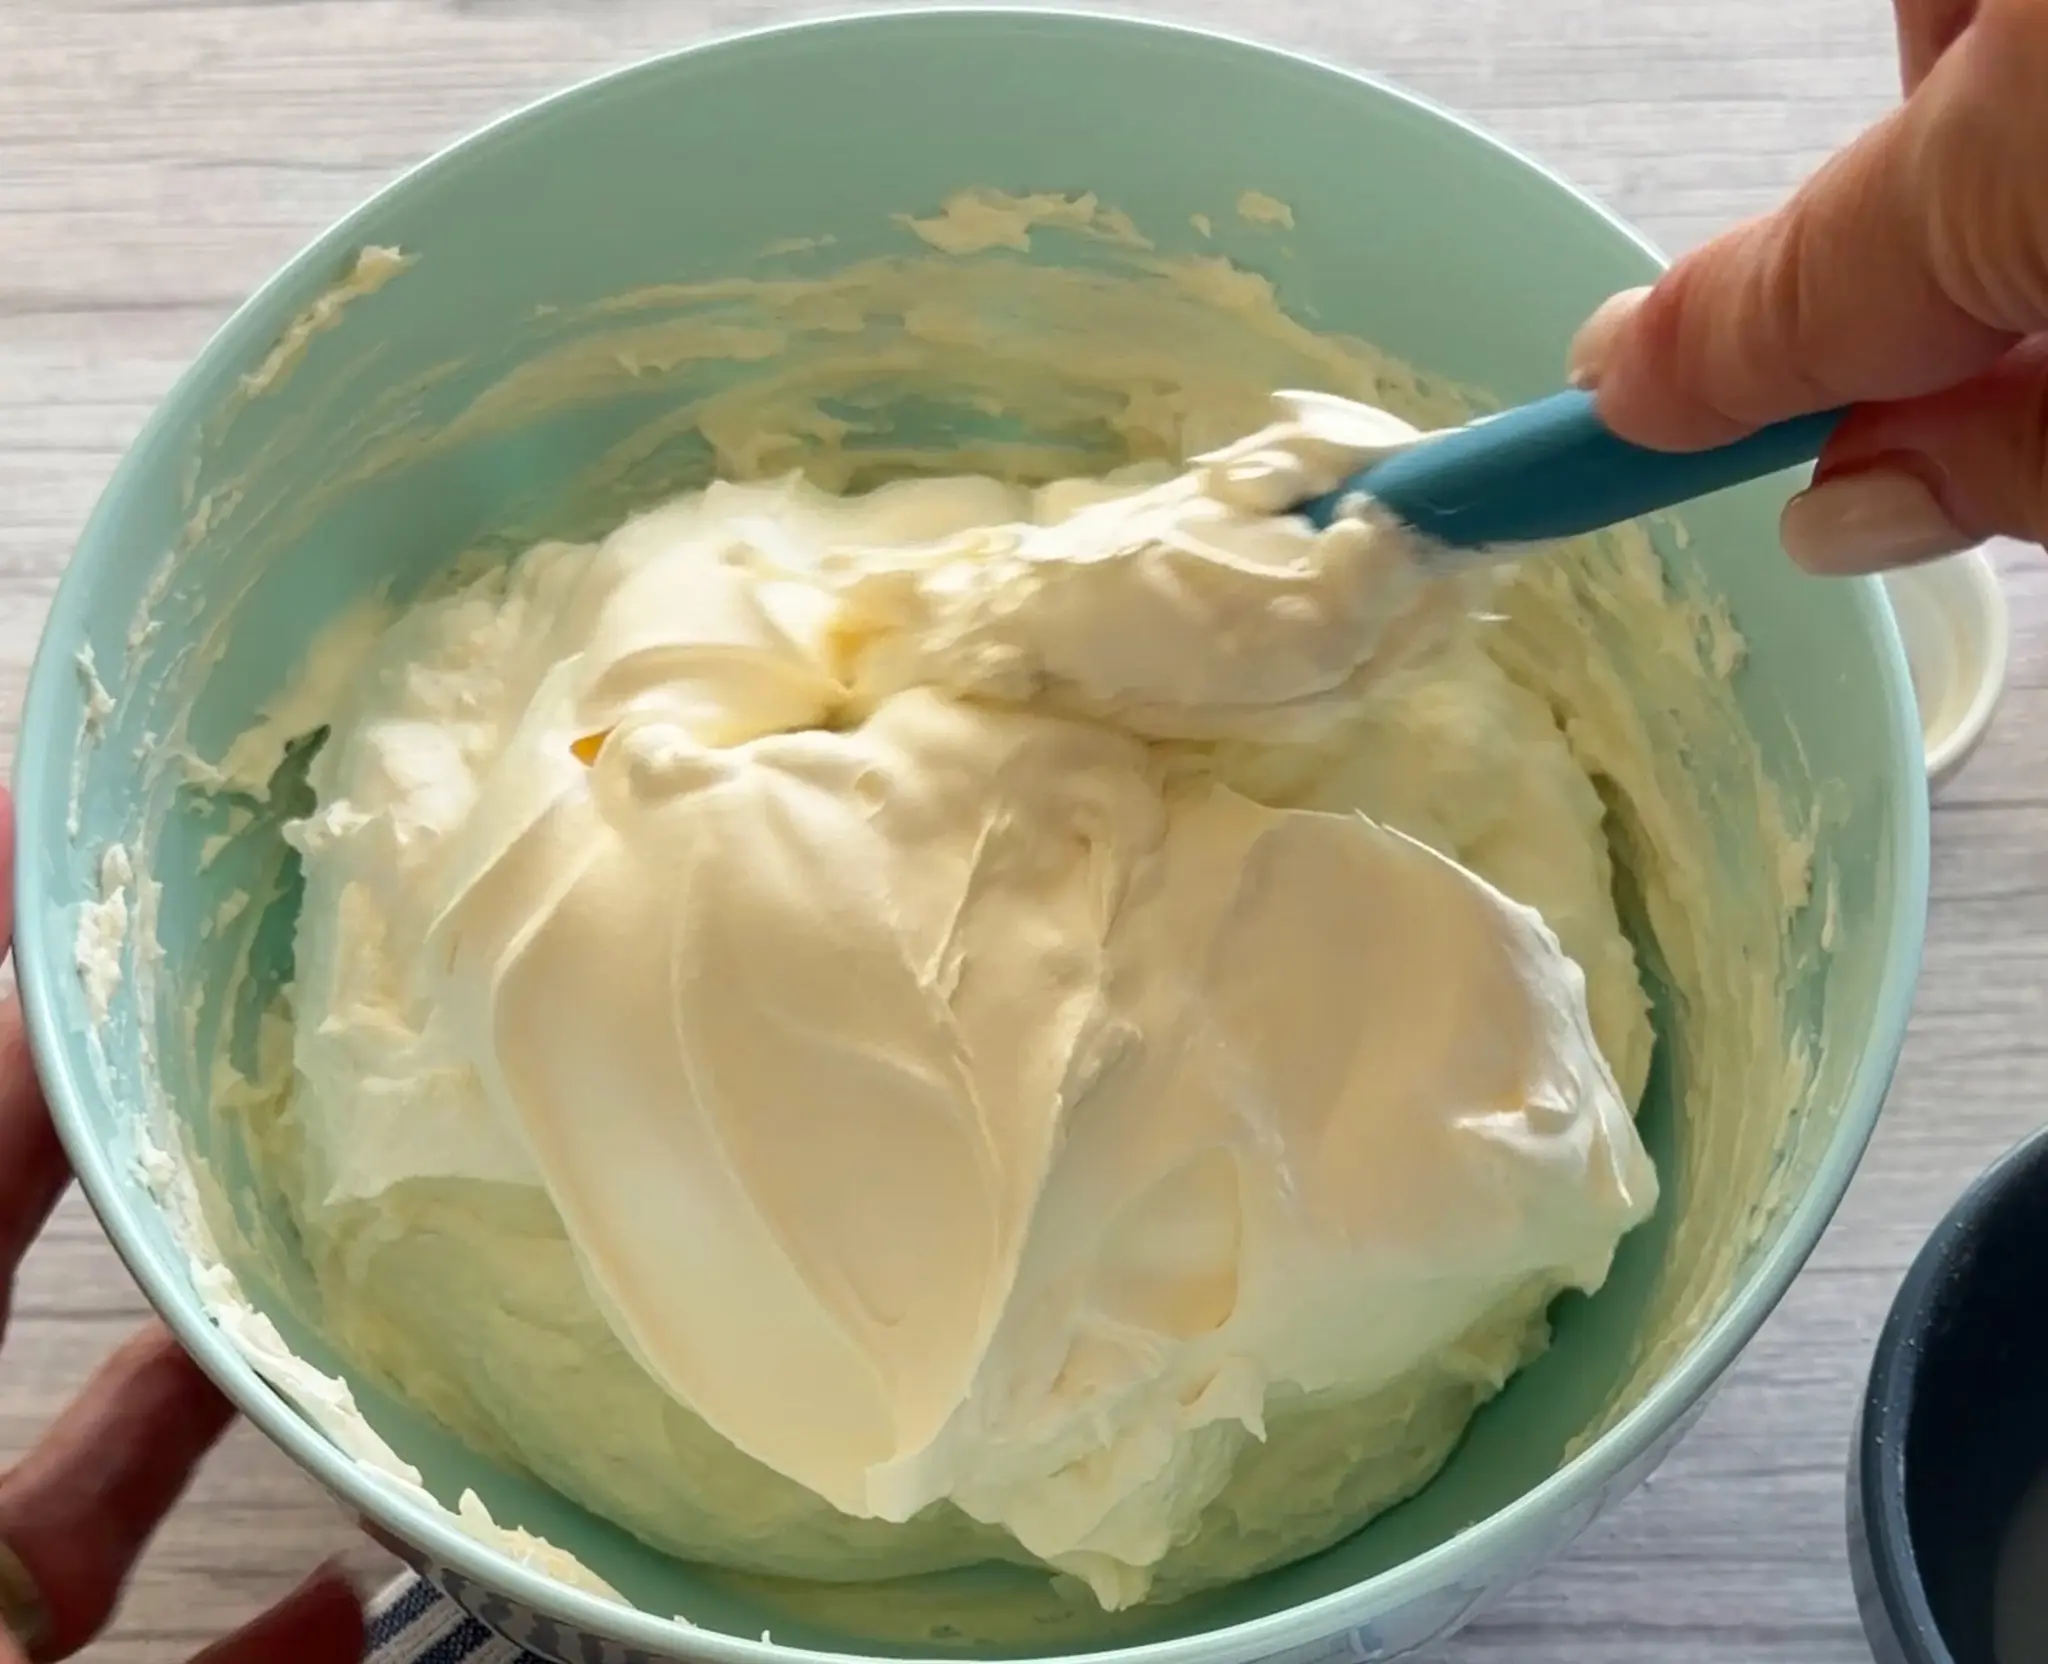
- Beat the cream cheese with powdered sugar and vanilla on medium speed until fluffy and smooth. Add the sour cream and beat until completely incorporated. Gently fold in the whipped topping. Spread over the cooled crust, spreading to the edges to completely cover from side to side. Refrigerate for 30 minutes.
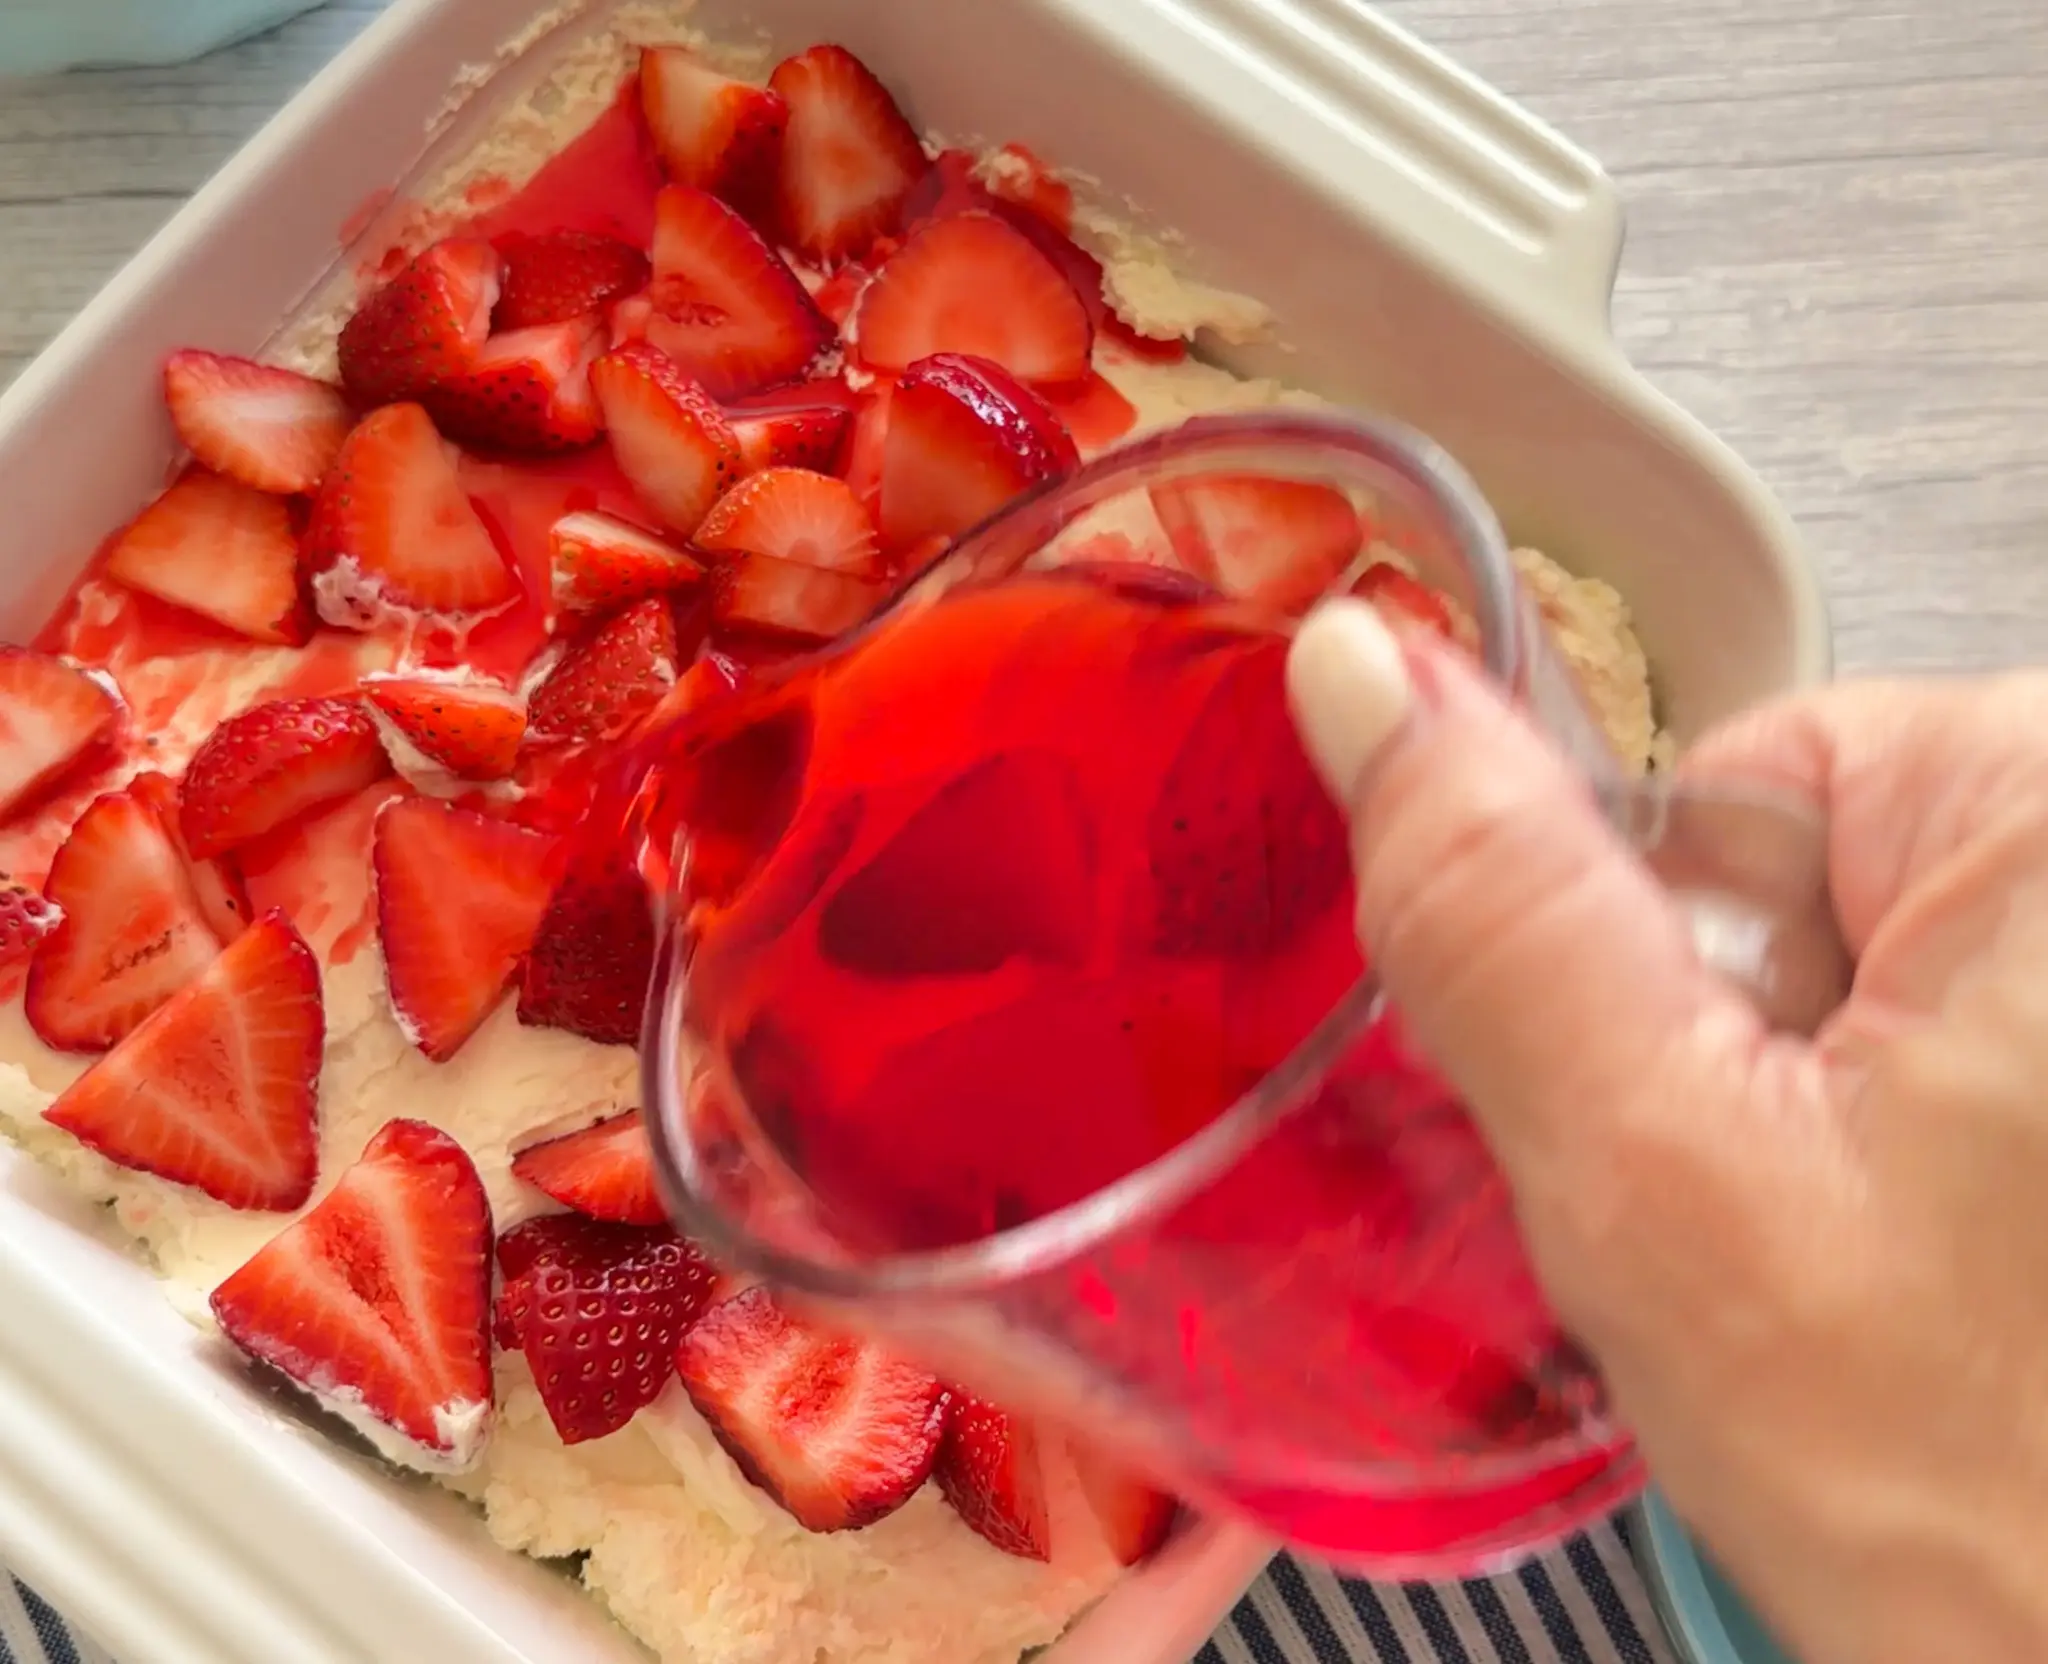
- Hull and slice strawberries. Spread on top of the cheesecake layer. Gently pour the cooled gelatin over the cheesecake layer and refrigerate until set (at least 3-4 hours).
How to Make Pourable Sour Cream
How to Make Pourable Sour Cream
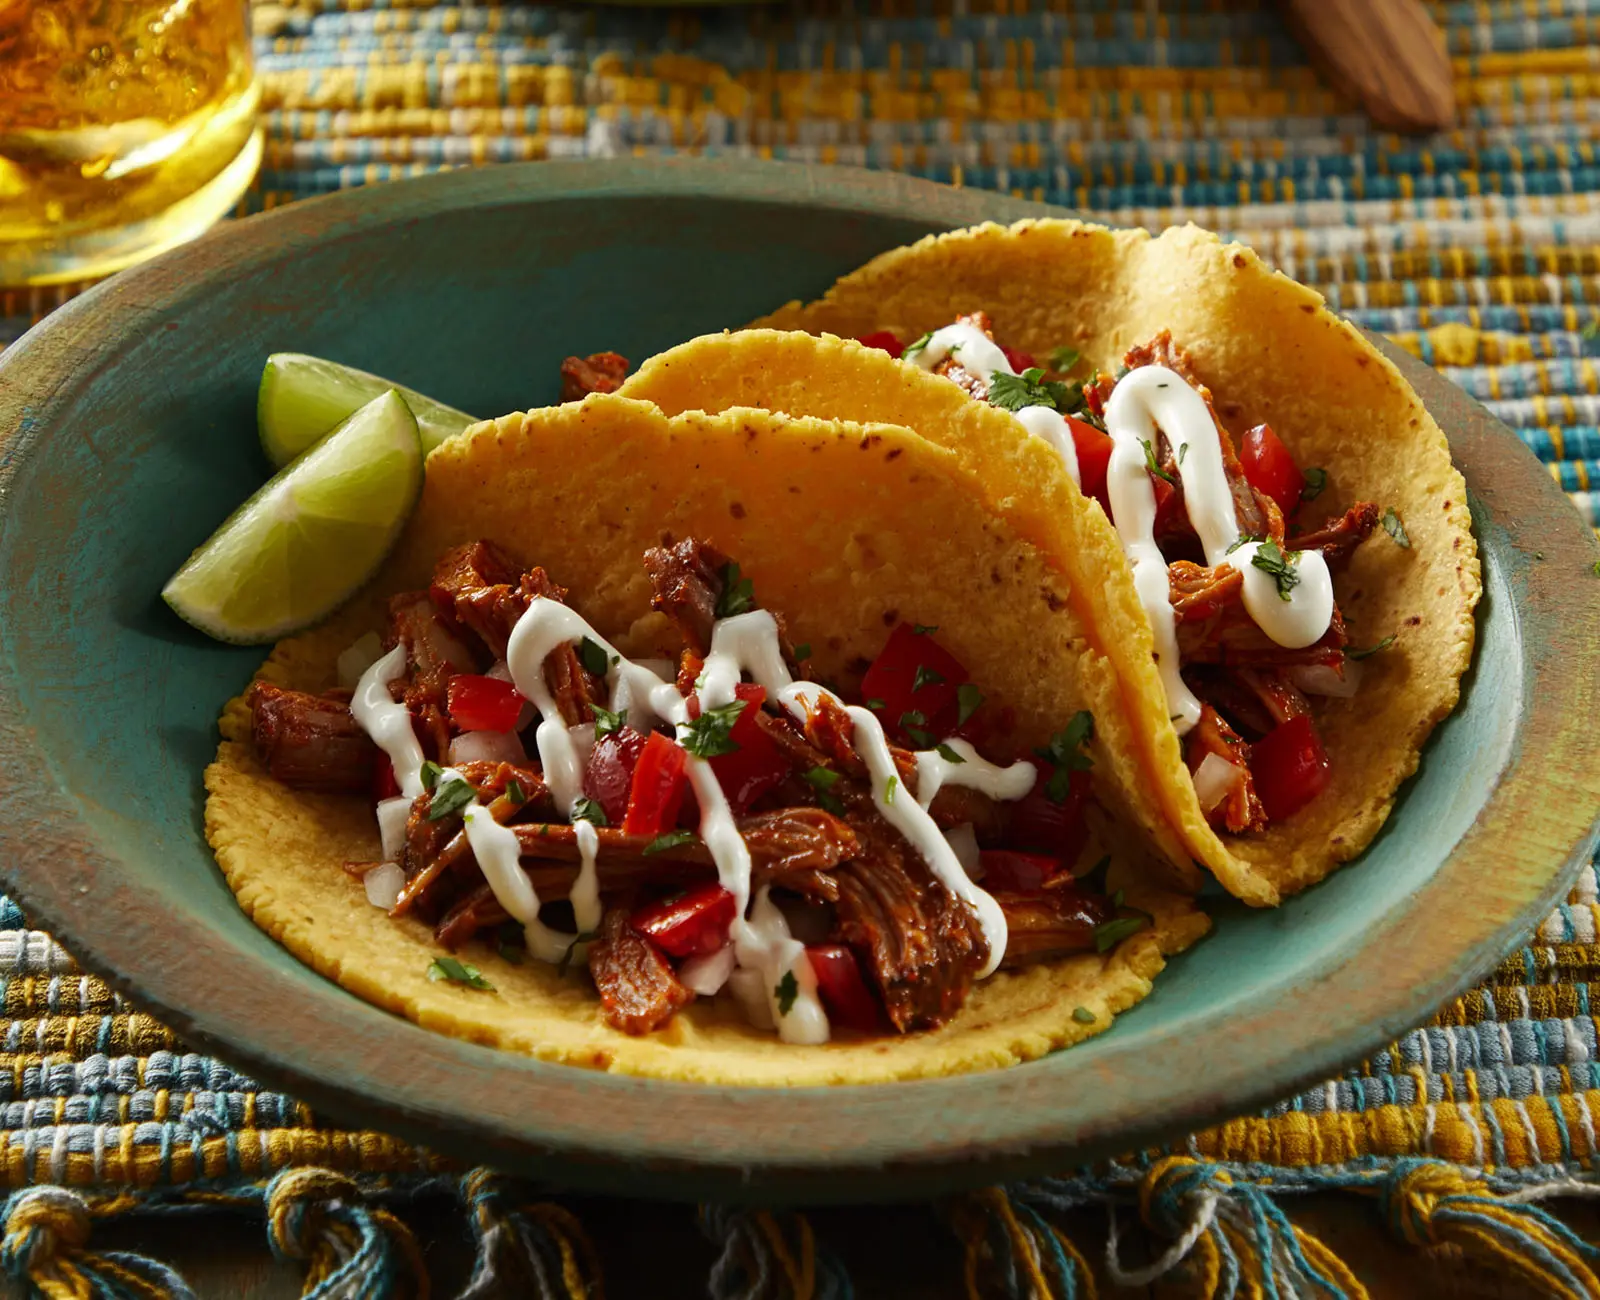
If you’ve ever tried to drizzle or pour sour cream over tacos, enchiladas, baked potatoes, or burrito bowls, you know that sour cream is too thick to pour. The good news? You don’t need to buy a special product. You can easily make pourable sour cream at home using Daisy Sour Cream in just a few minutes.
From taco night to baked potatoes and everything in between, this simple method helps you create restaurant-style presentation while enjoying the fresh, delicious taste of Daisy Sour Cream at home.

What Is Pourable Daisy Sour Cream?
Pourable Daisy Sour Cream is simply Daisy Sour Cream that’s been thinned to a silky, drizzle-friendly consistency. It creates clean lines, elegant swirls, and even coverage on your favorite recipes while maintaining the creamy tang that makes Daisy Sour Cream so delicious.
When making a pourable version, the quality of your sour cream matters. Daisy Sour Cream is made with simple ingredients and delivers a rich, creamy texture that blends beautifully. Because it starts with a thick, smooth consistency, it thins evenly while retaining its fresh dairy flavor.
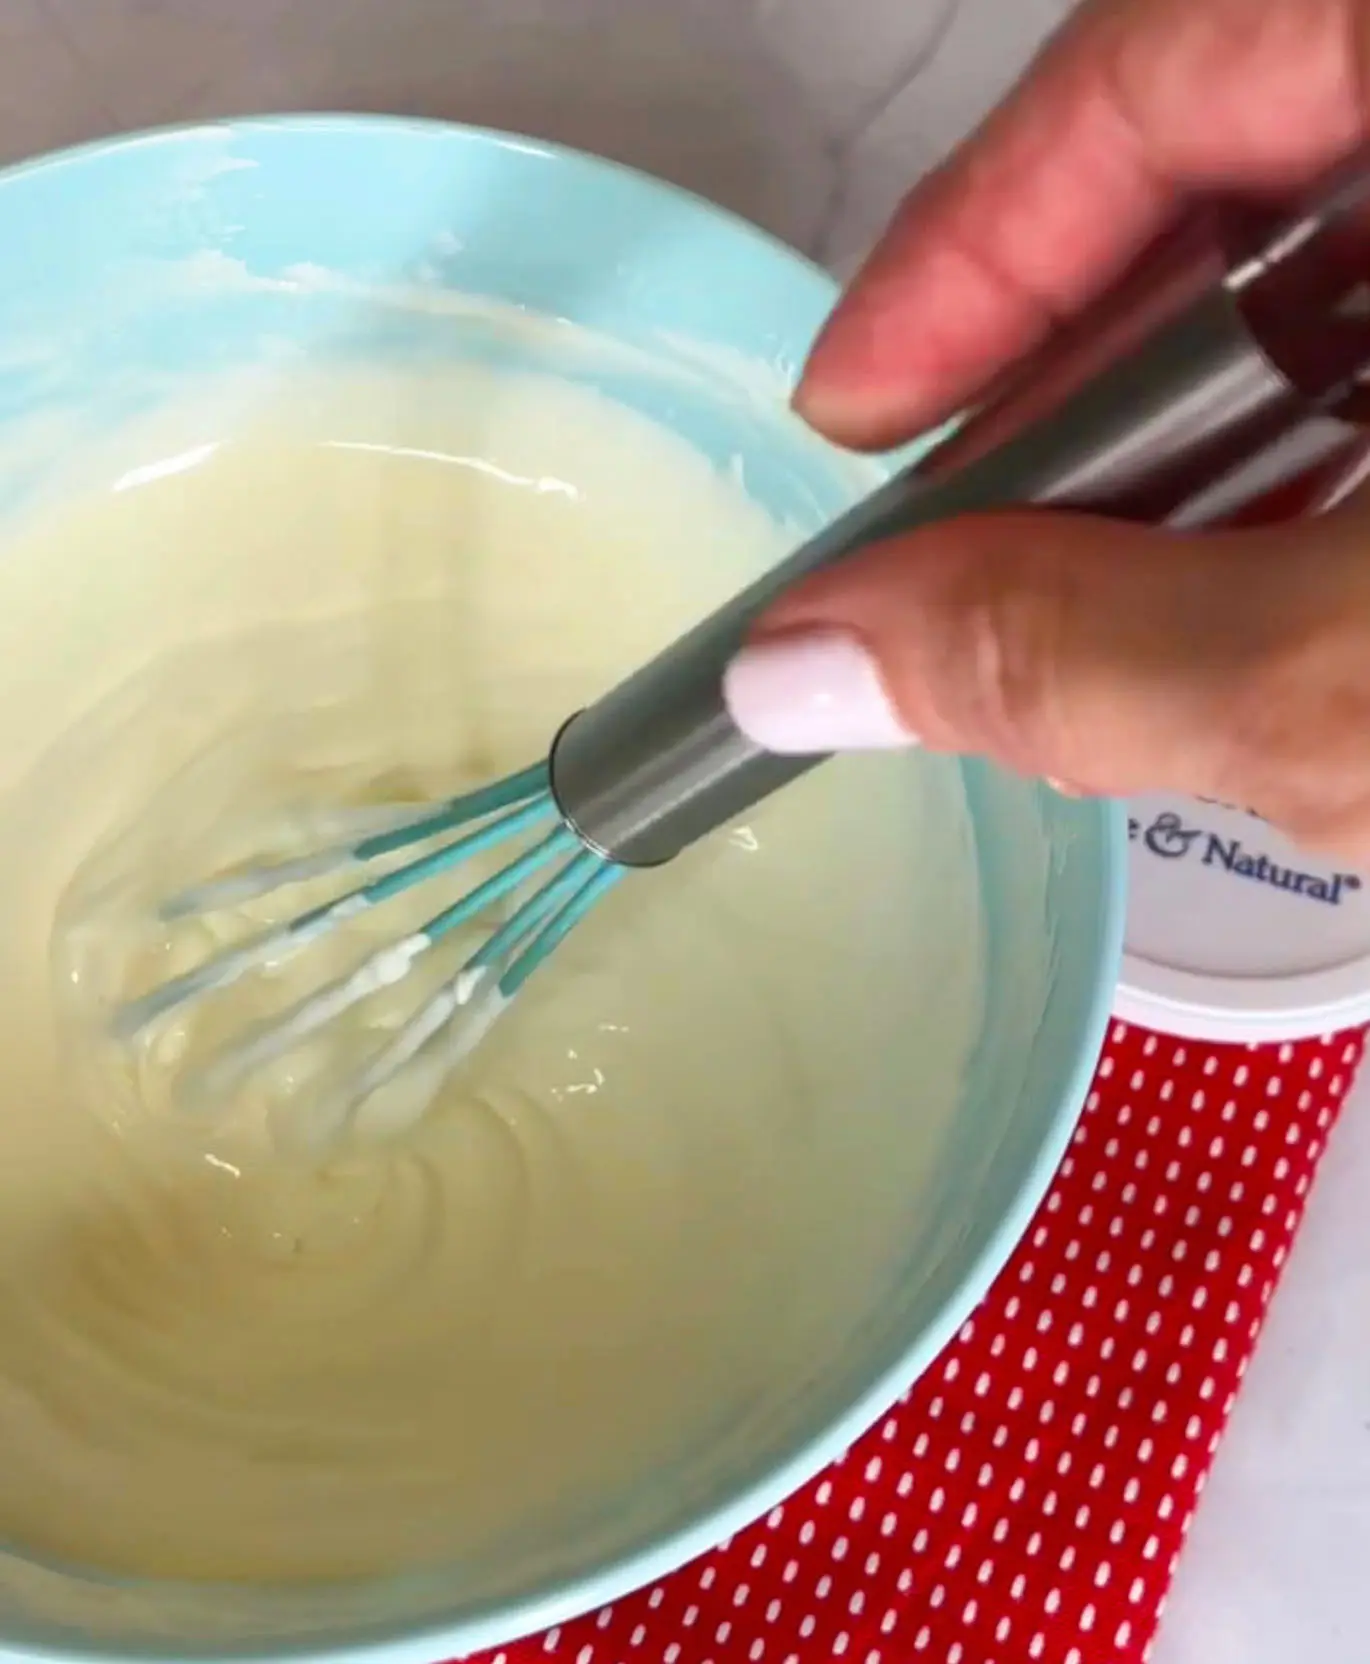
How to Make Pourable Daisy Sour Cream
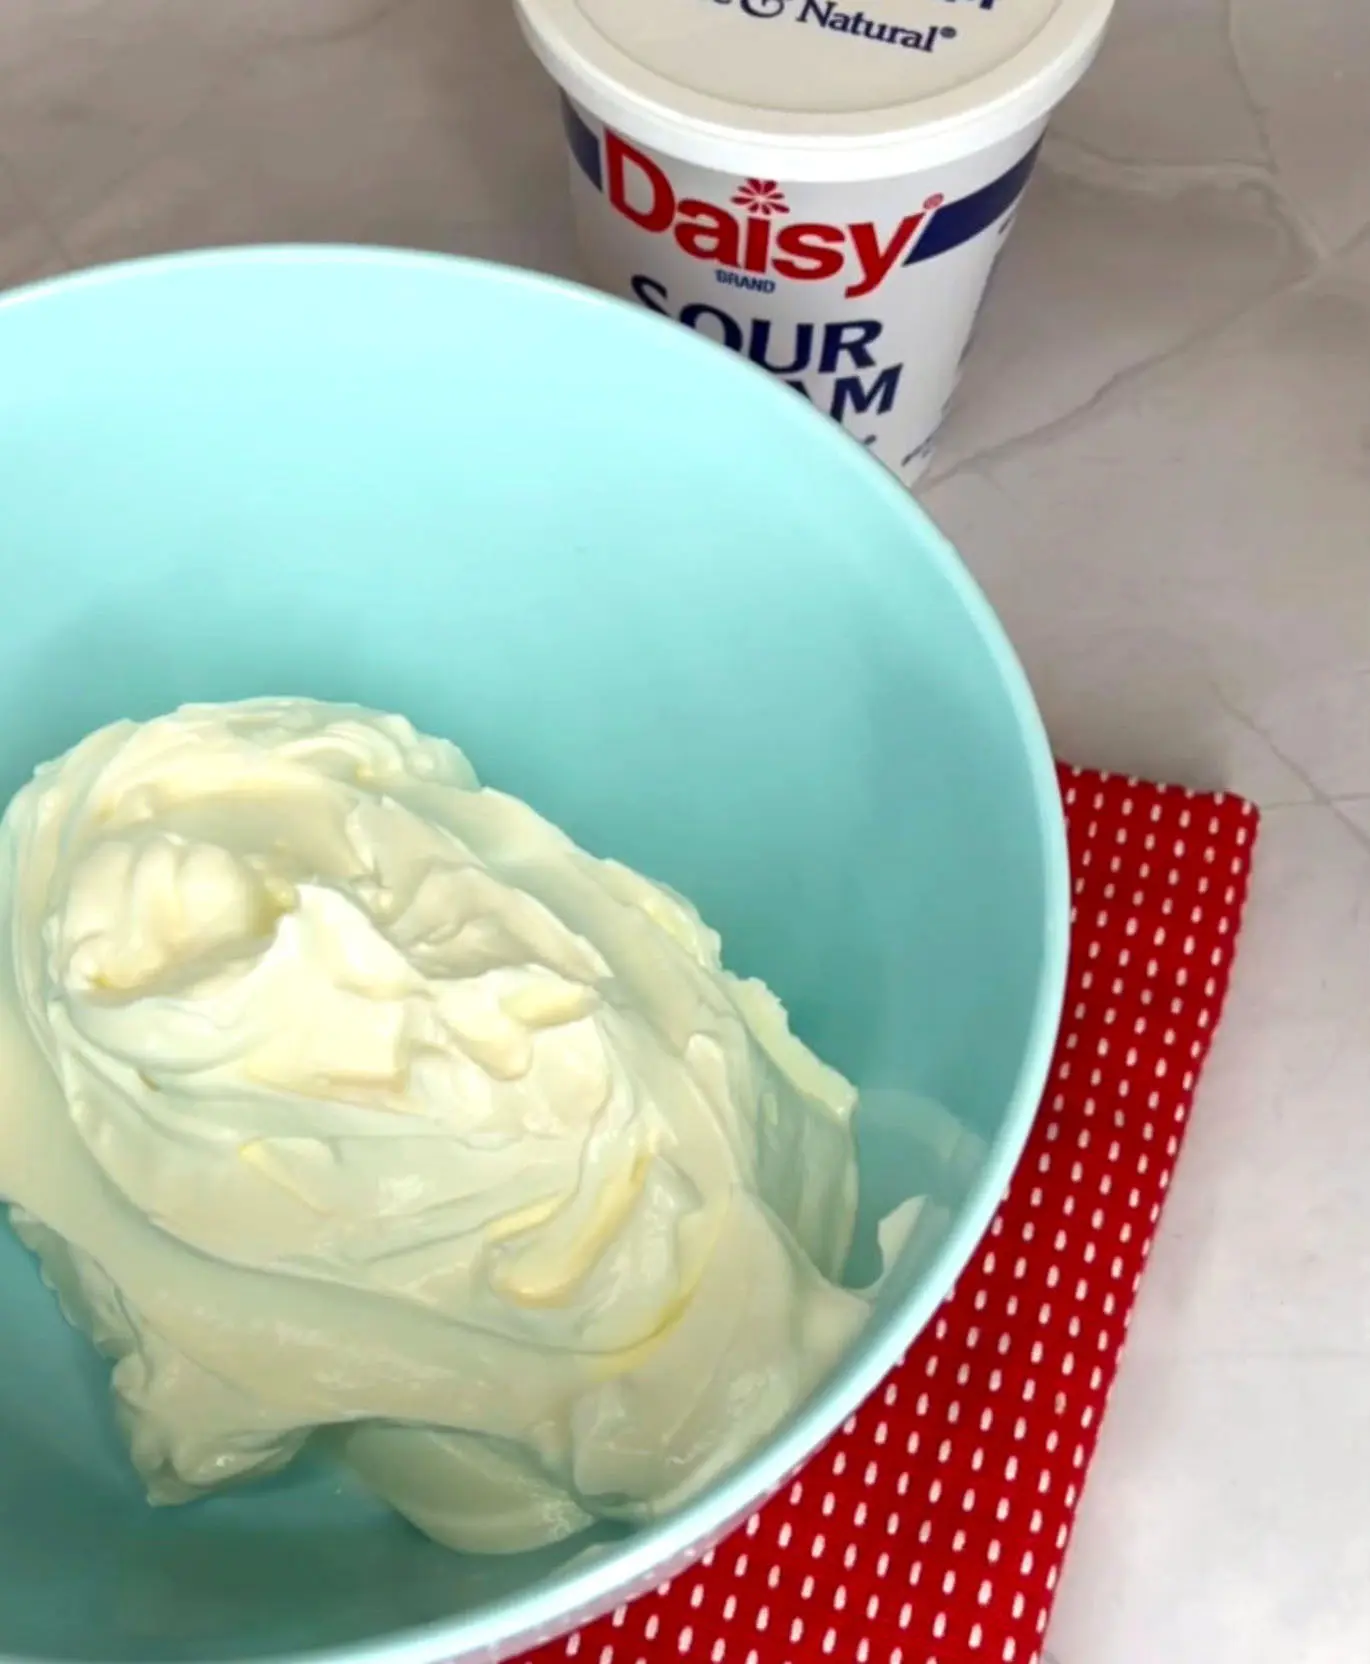
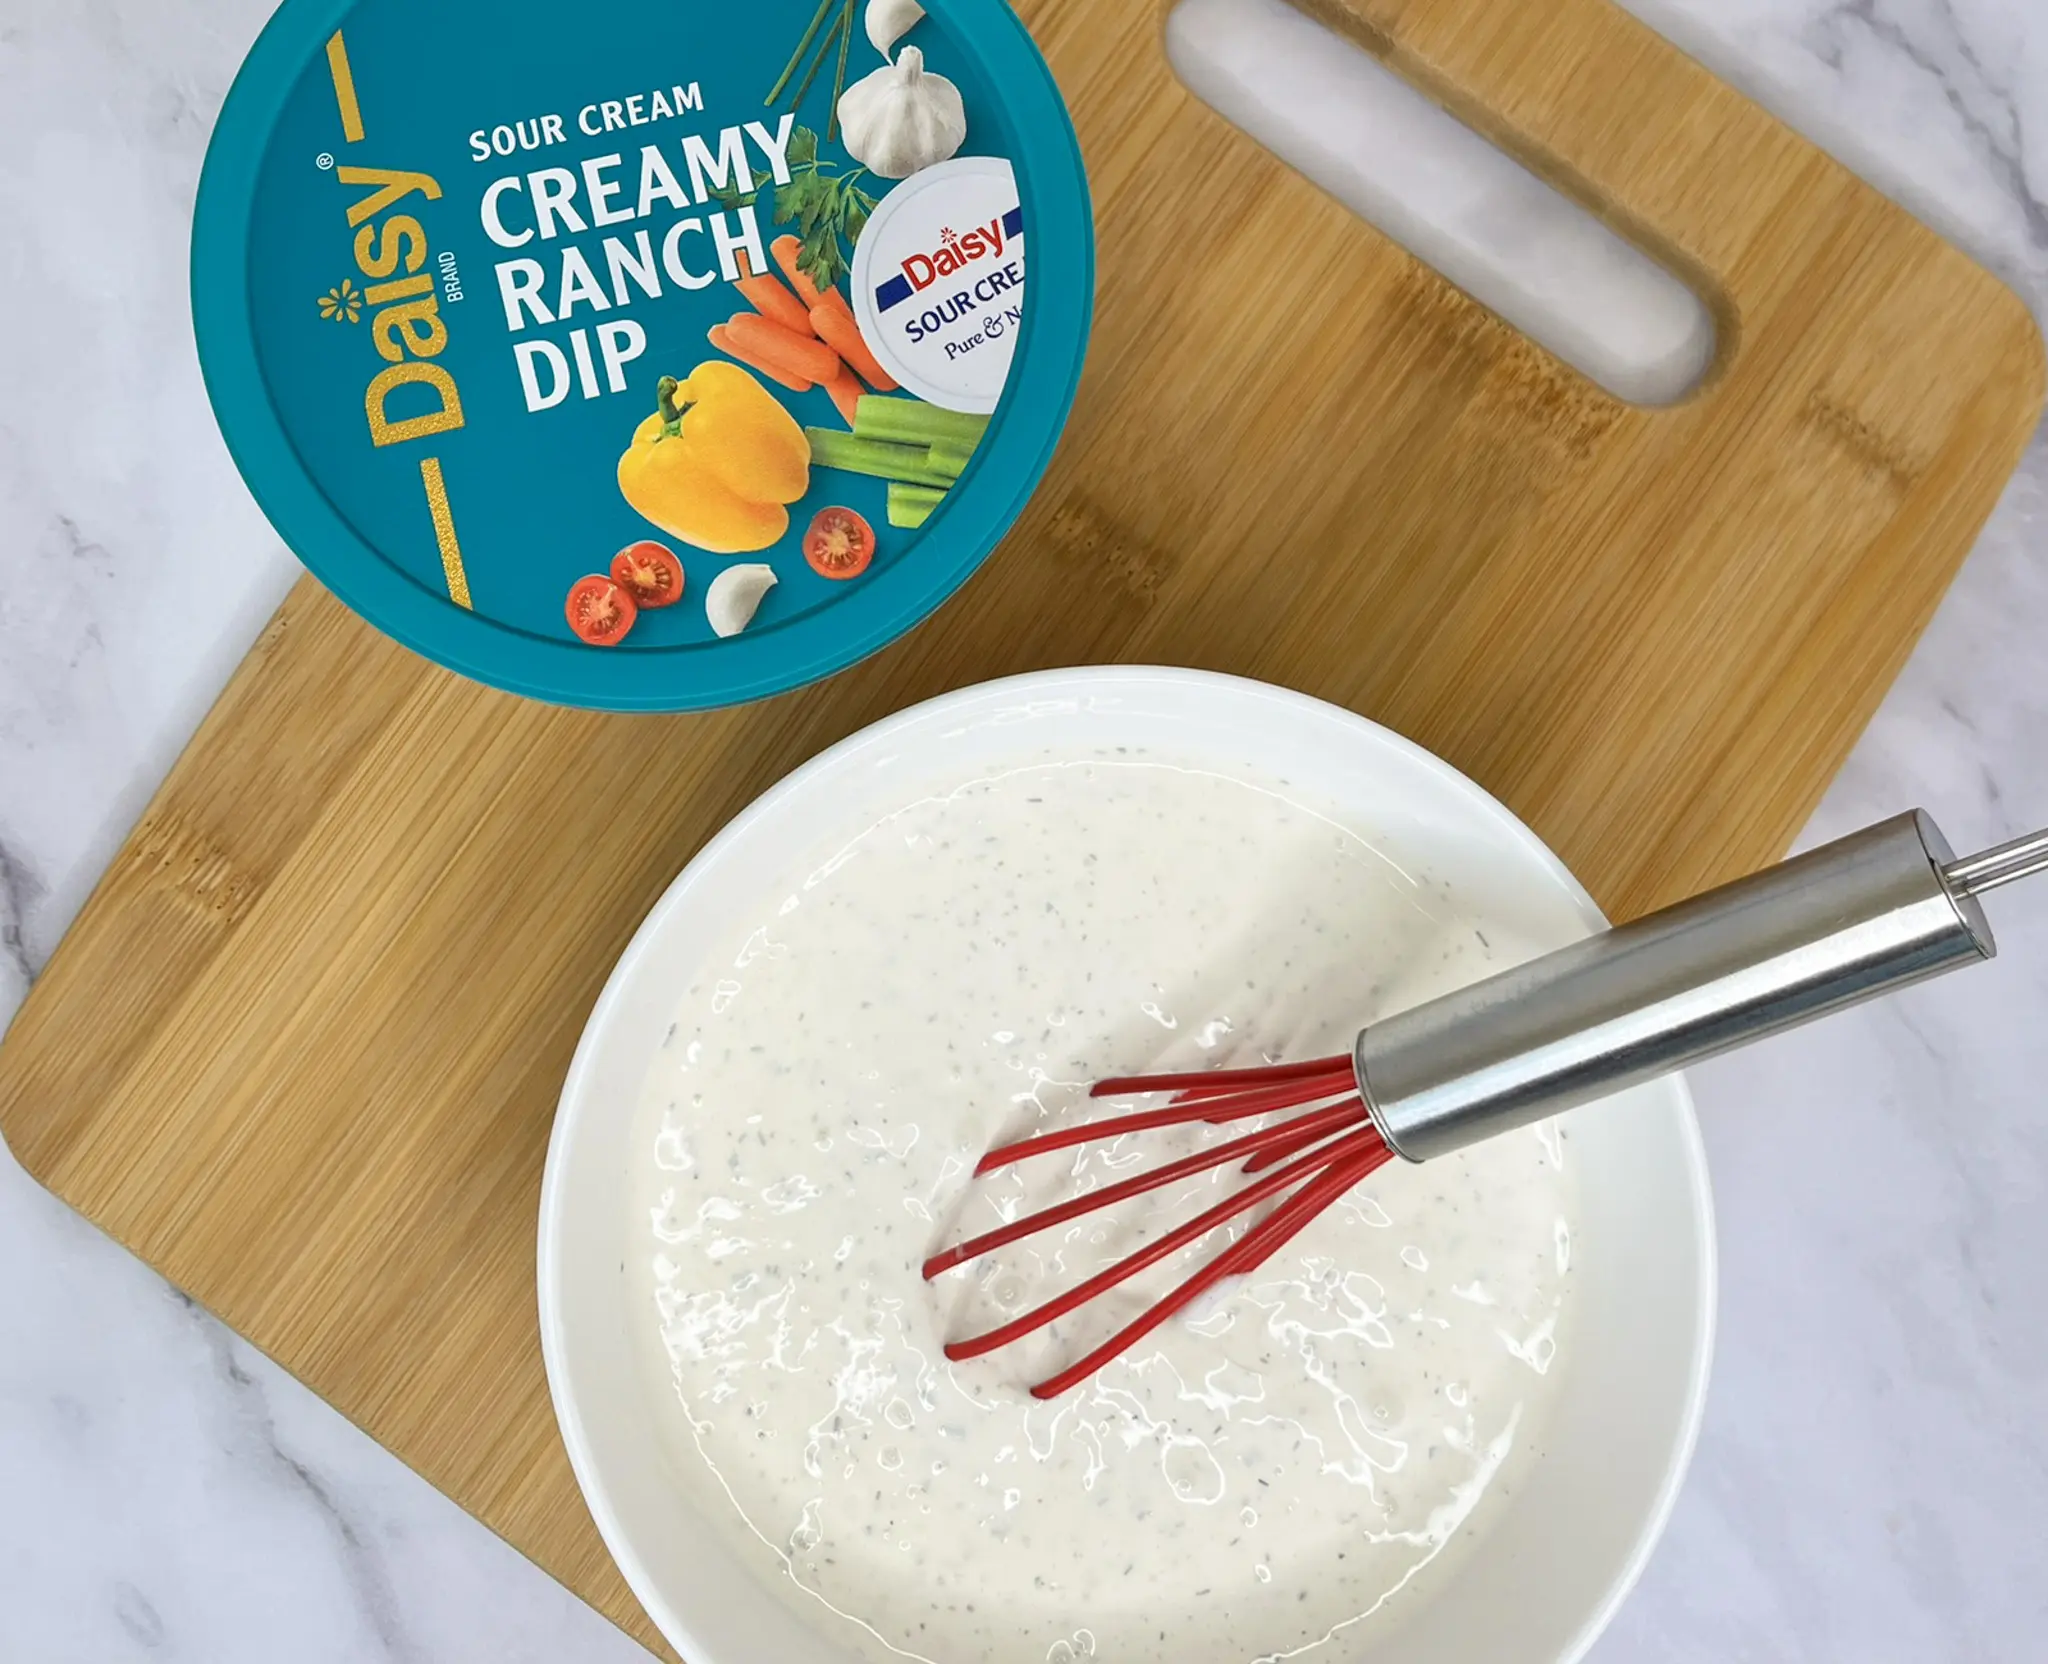
- Add Daisy Sour Cream to a mixing bowl or keep in the original tub minus an inch or two.
- Whisk briskly with a whisk or use an immersion blender until desired consistency is reached. You’ll want a consistency similar to heavy cream for drizzles and you’ll want it slightly thicker for dressing and saucing.
- Spoon directly over your dish or pour into a squeeze bottle to make fancy swirls and drizzle patterns.
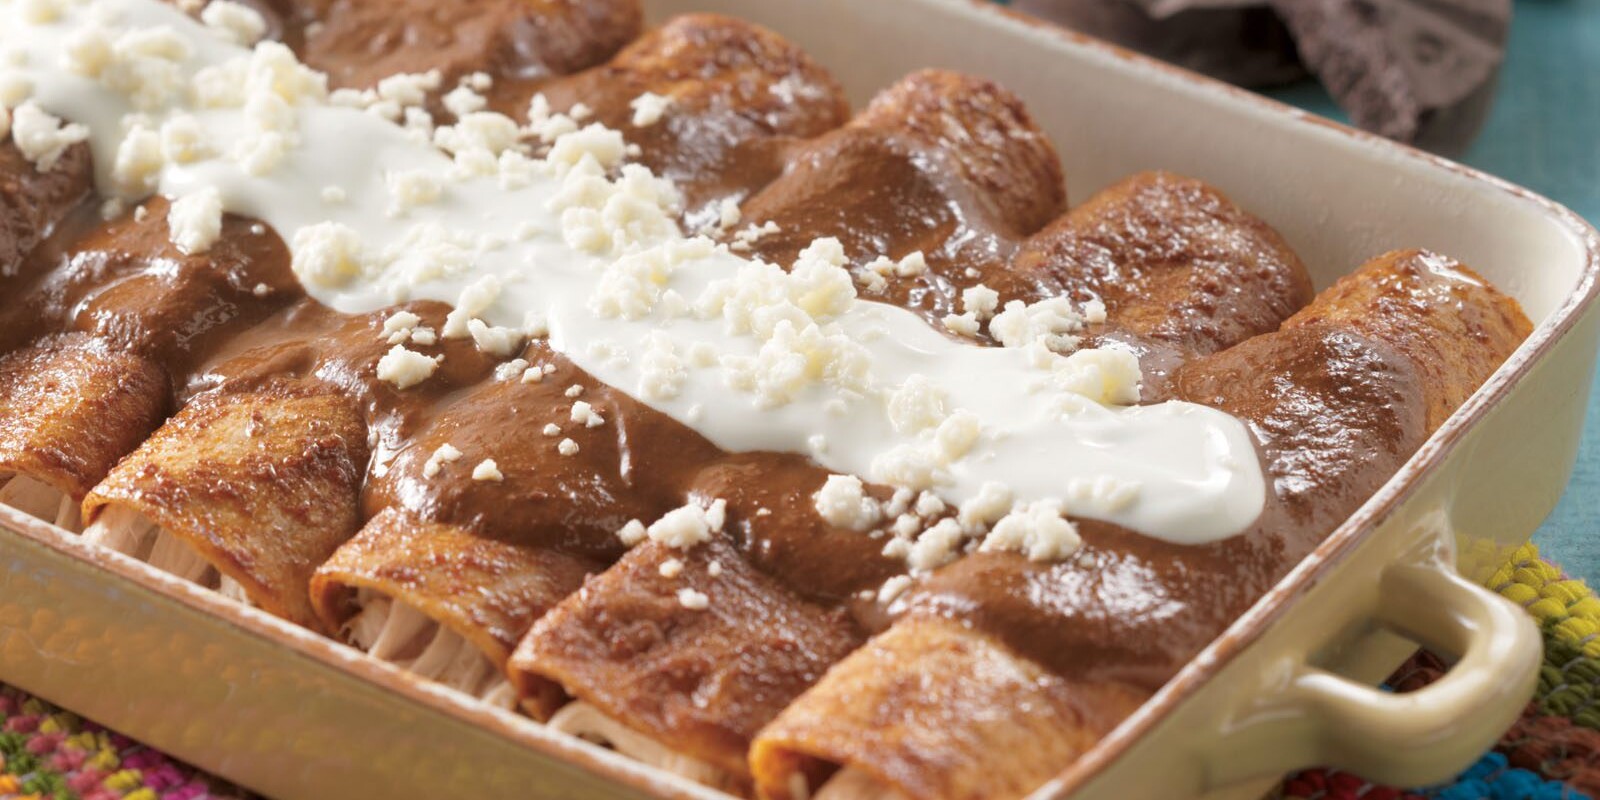
Tips for the Best Pourable Daisy Sour Cream
- Use cold Daisy Sour Cream for the freshest flavor.
- Add a teaspoon of milk or water to thin it quicker.
- Whisk thoroughly for the perfect pourable consistency.
- Store leftovers in a clean, air-tight container in the refrigerator for up to 2 days and give a stir before using.

Delicious Ways to Enjoy Daisy Pourable Sour Cream
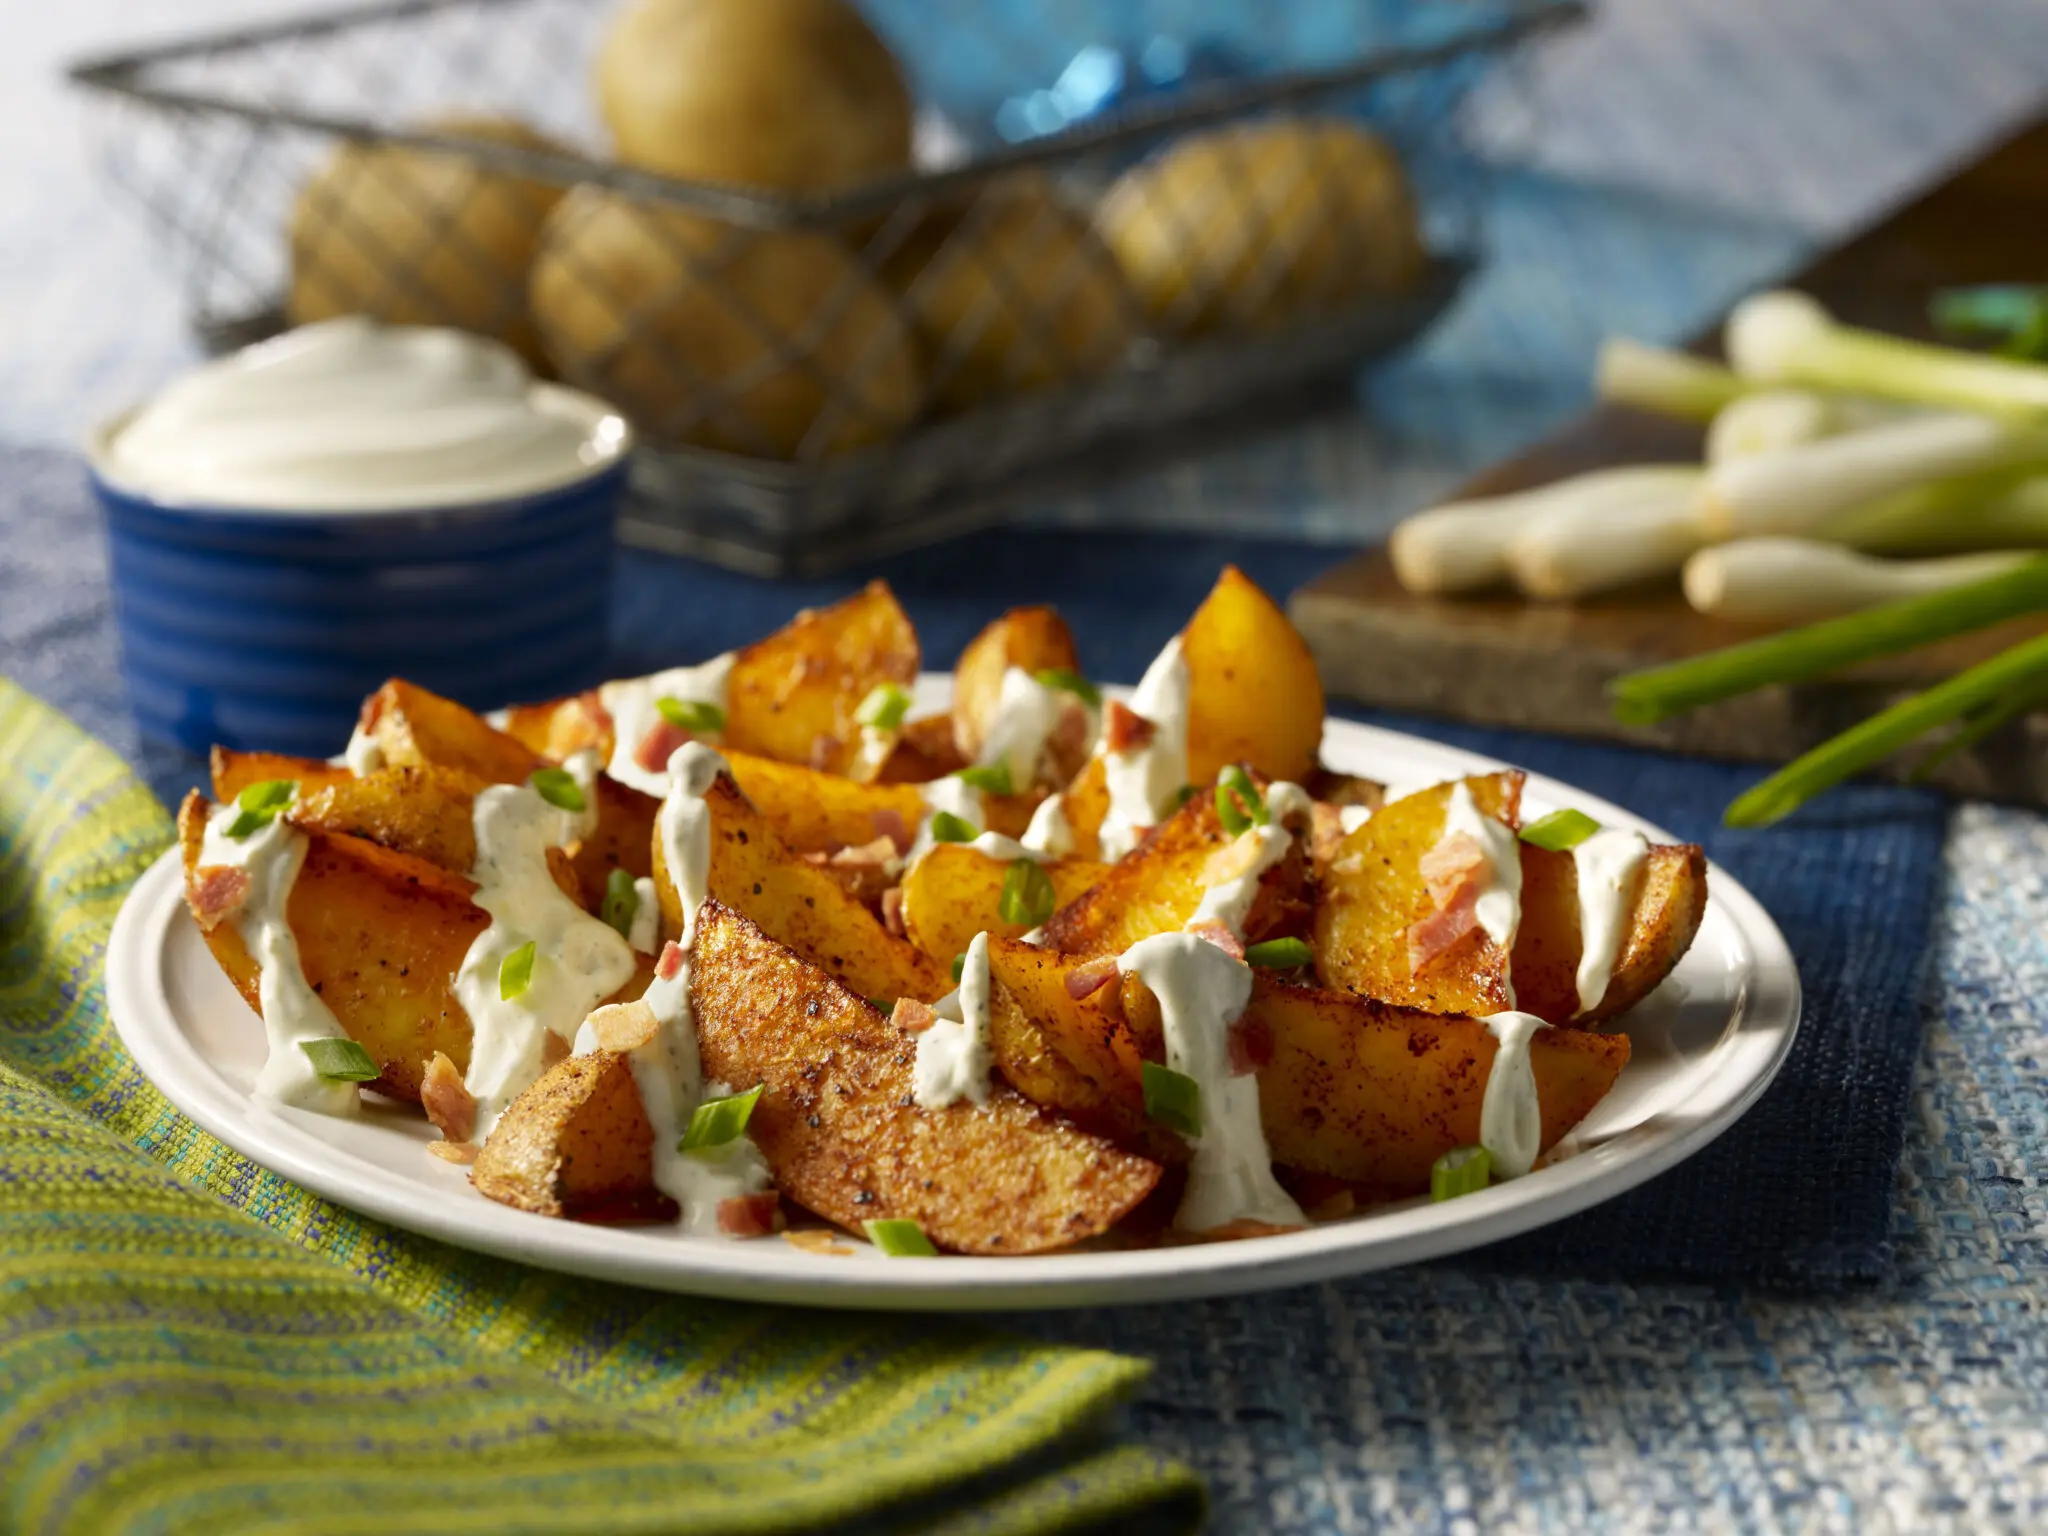
Try it on tacos, nachos, burrito bowls, grain bowls, enchiladas, chili, baked potatoes, roasted vegetables, potato skins, quesadillas, grilled corn, burritos, and soups. It also makes an excellent finishing drizzle for party platters and appetizer boards.
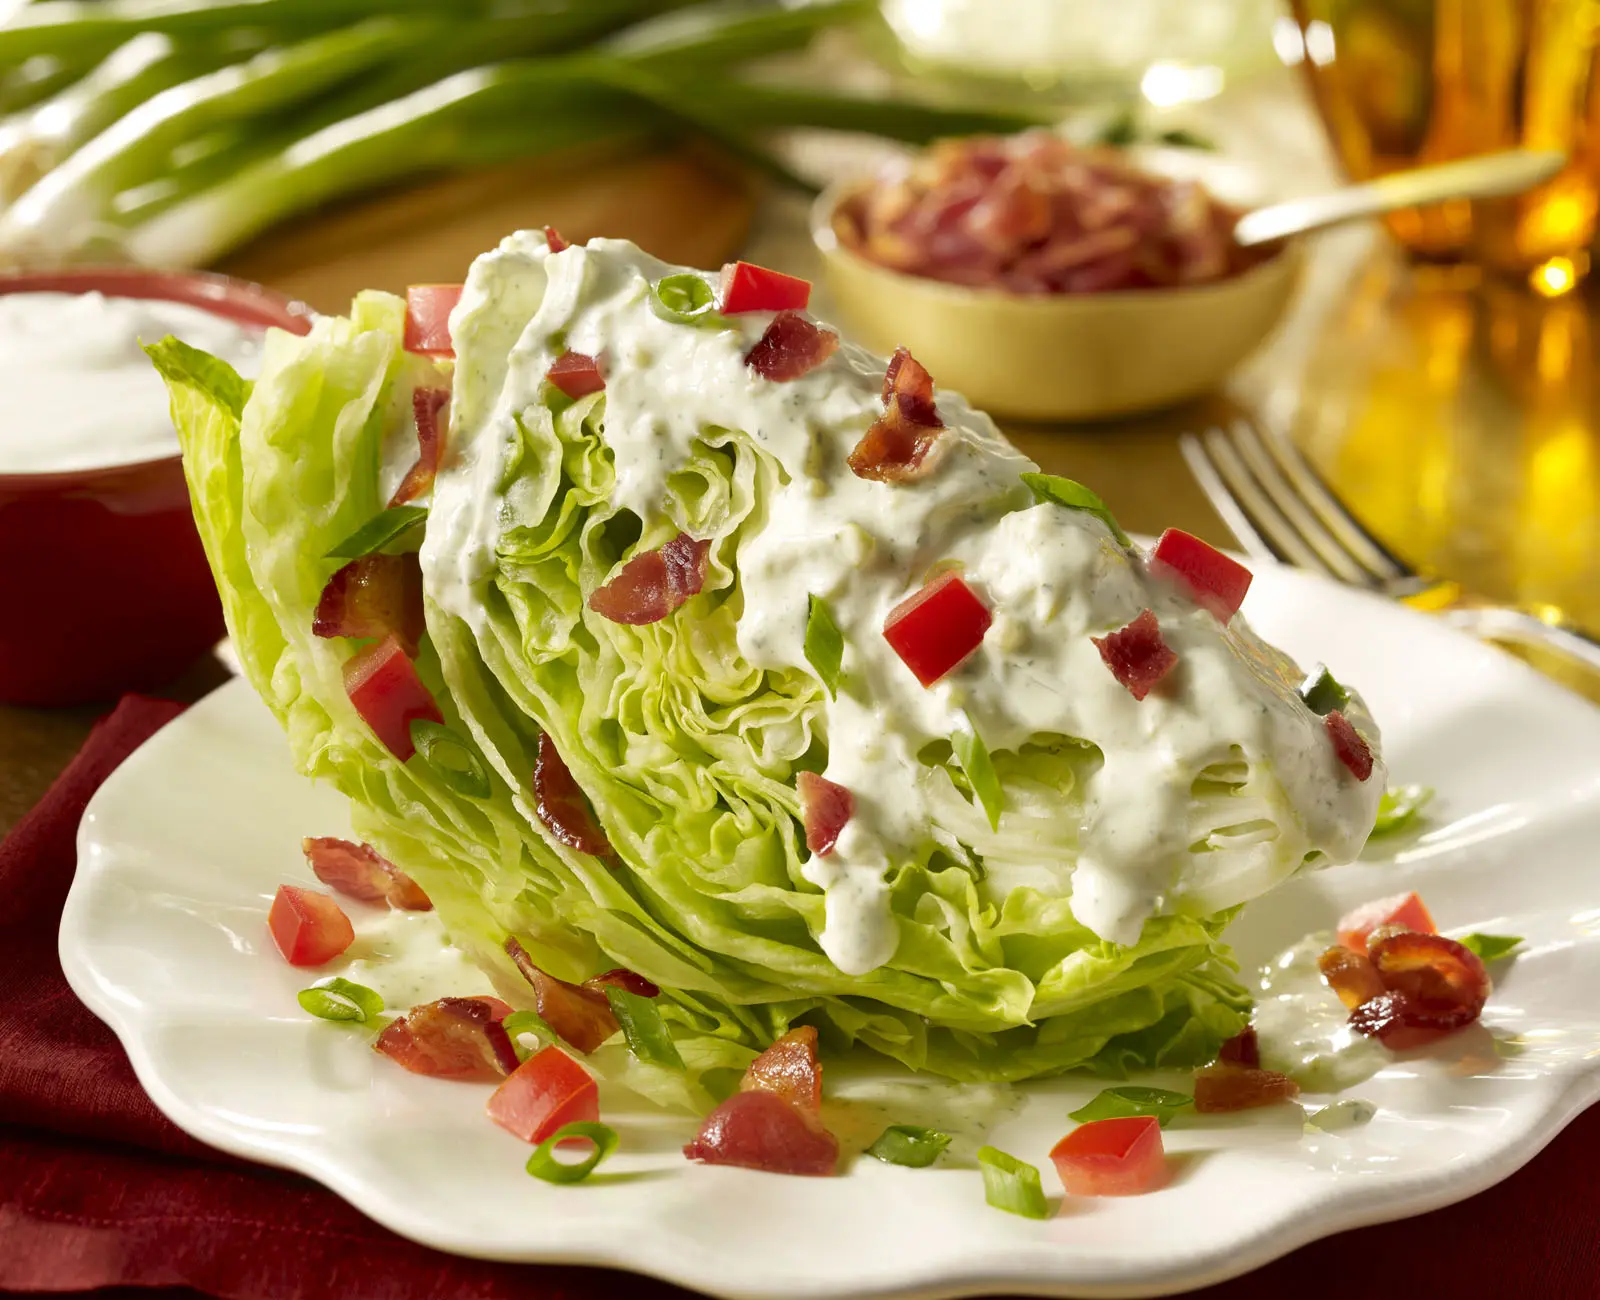
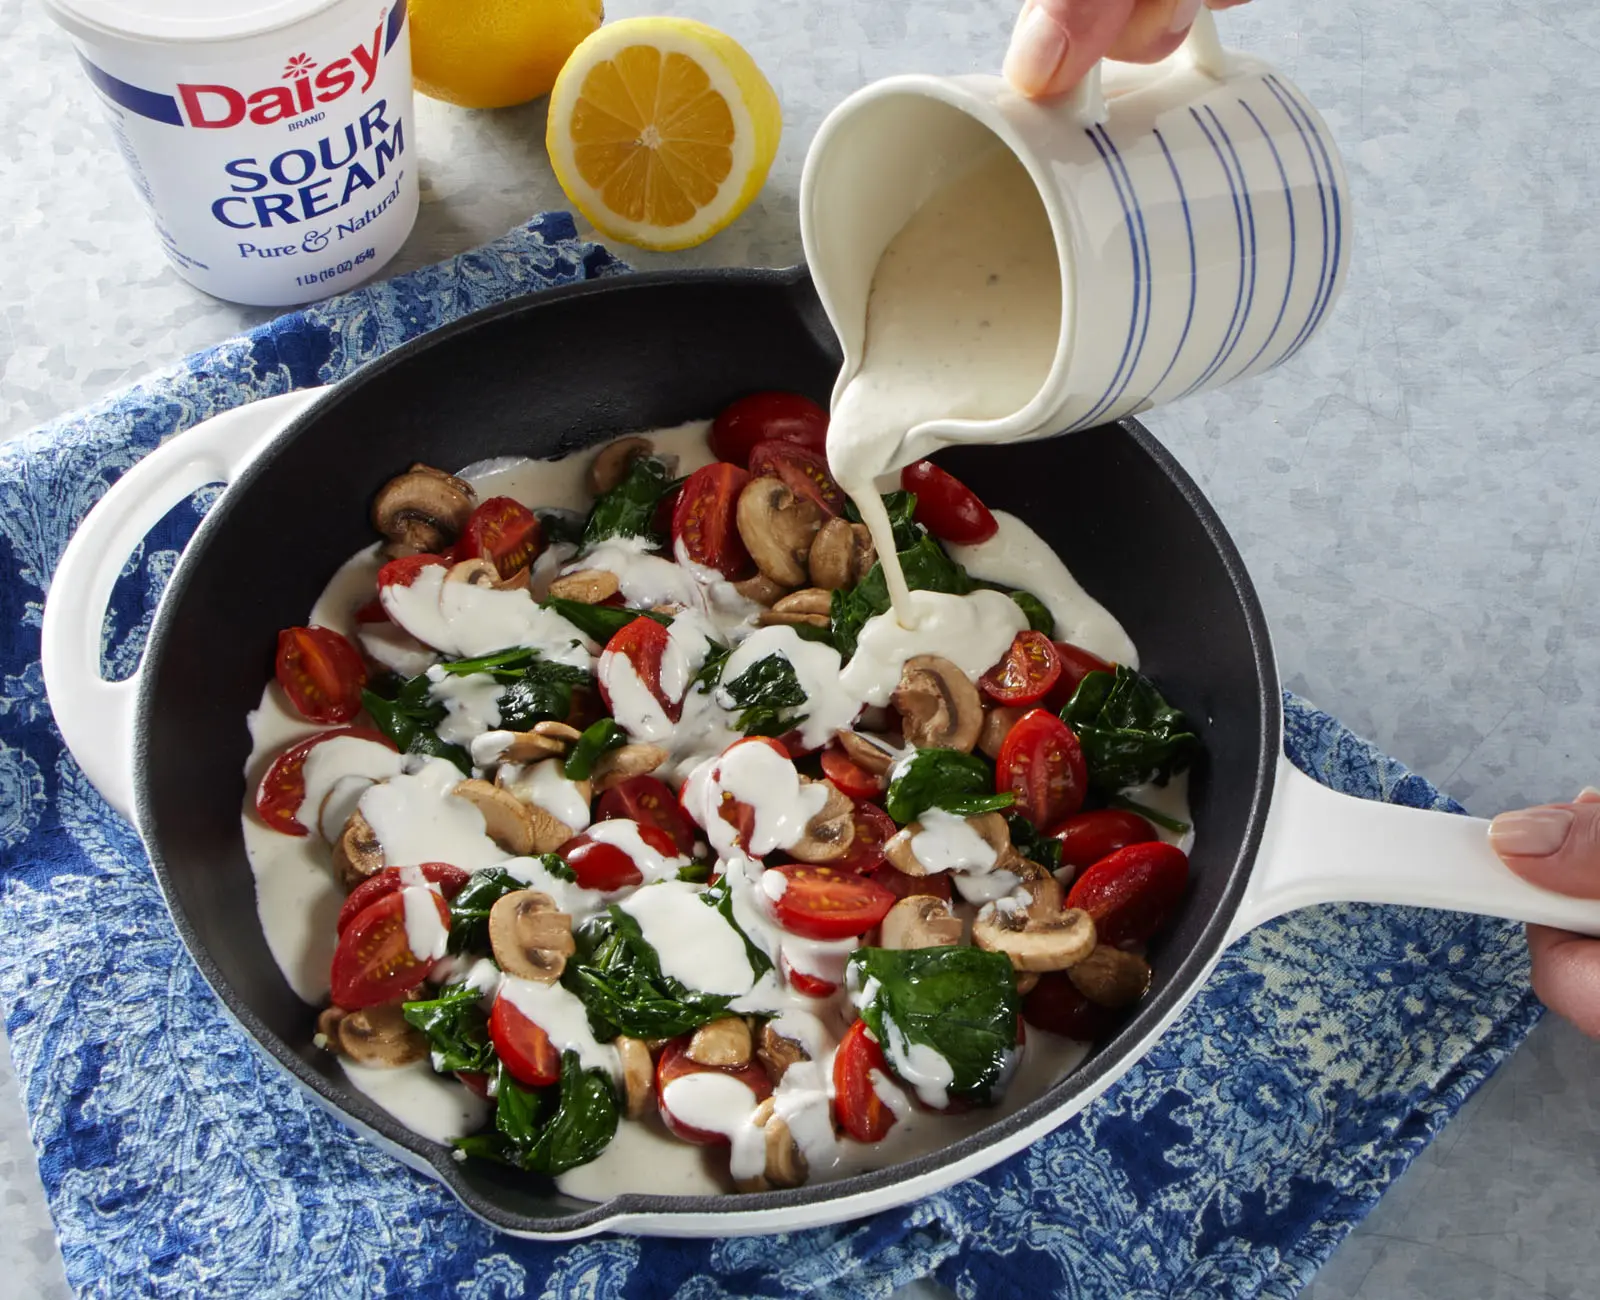

For a Quick Salad Dressing and Flavored Sauces
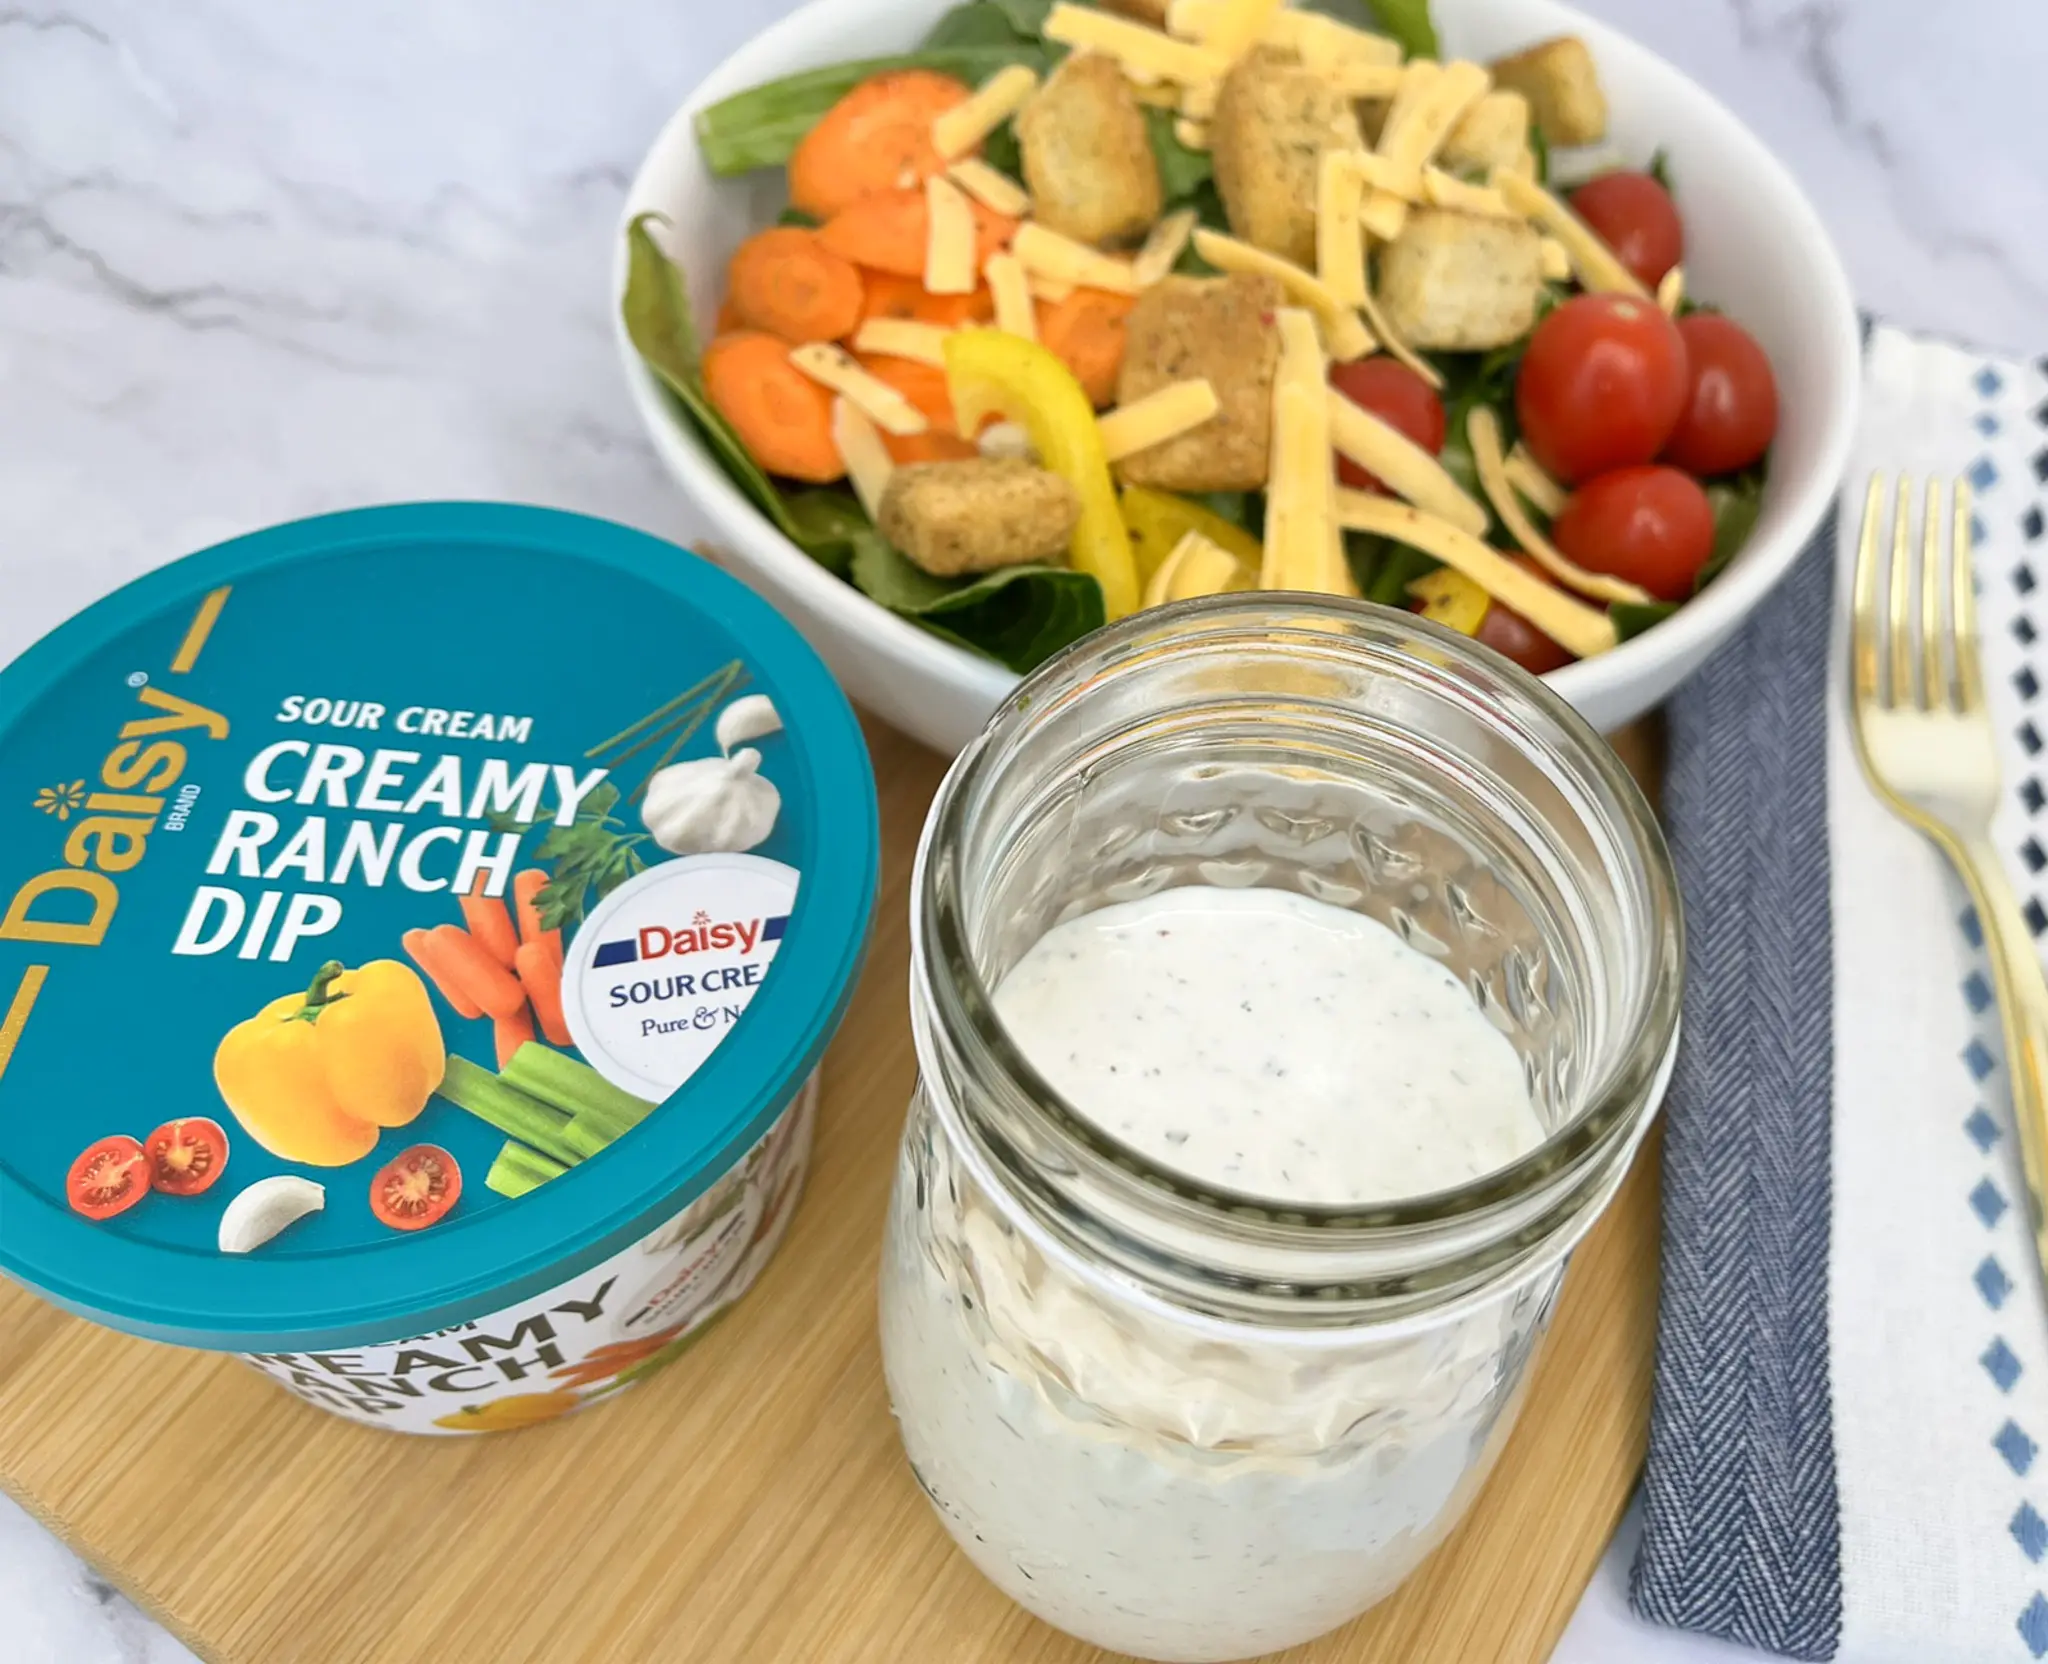
Daisy Creamy Ranch Dip or Daisy French Onion Dip may be thinned the same manner as Daisy Sour Cream to make a delicious, creamy salad dressings.
Delicious Deviled Egg Flights
Delicious Deviled Egg Flights
Looking for a fresh twist on a classic favorite? These Creamy Deviled Eggs made with Daisy Sour Cream and Daisy Cottage Cheese deliver everything you love about traditional deviled eggs with an extra boost of rich, creamy flavor and protein. Perfect for holidays, potlucks, brunches, picnics, or everyday snacking, this easy recipe creates a smooth, velvety filling that’s both satisfying and delicious.
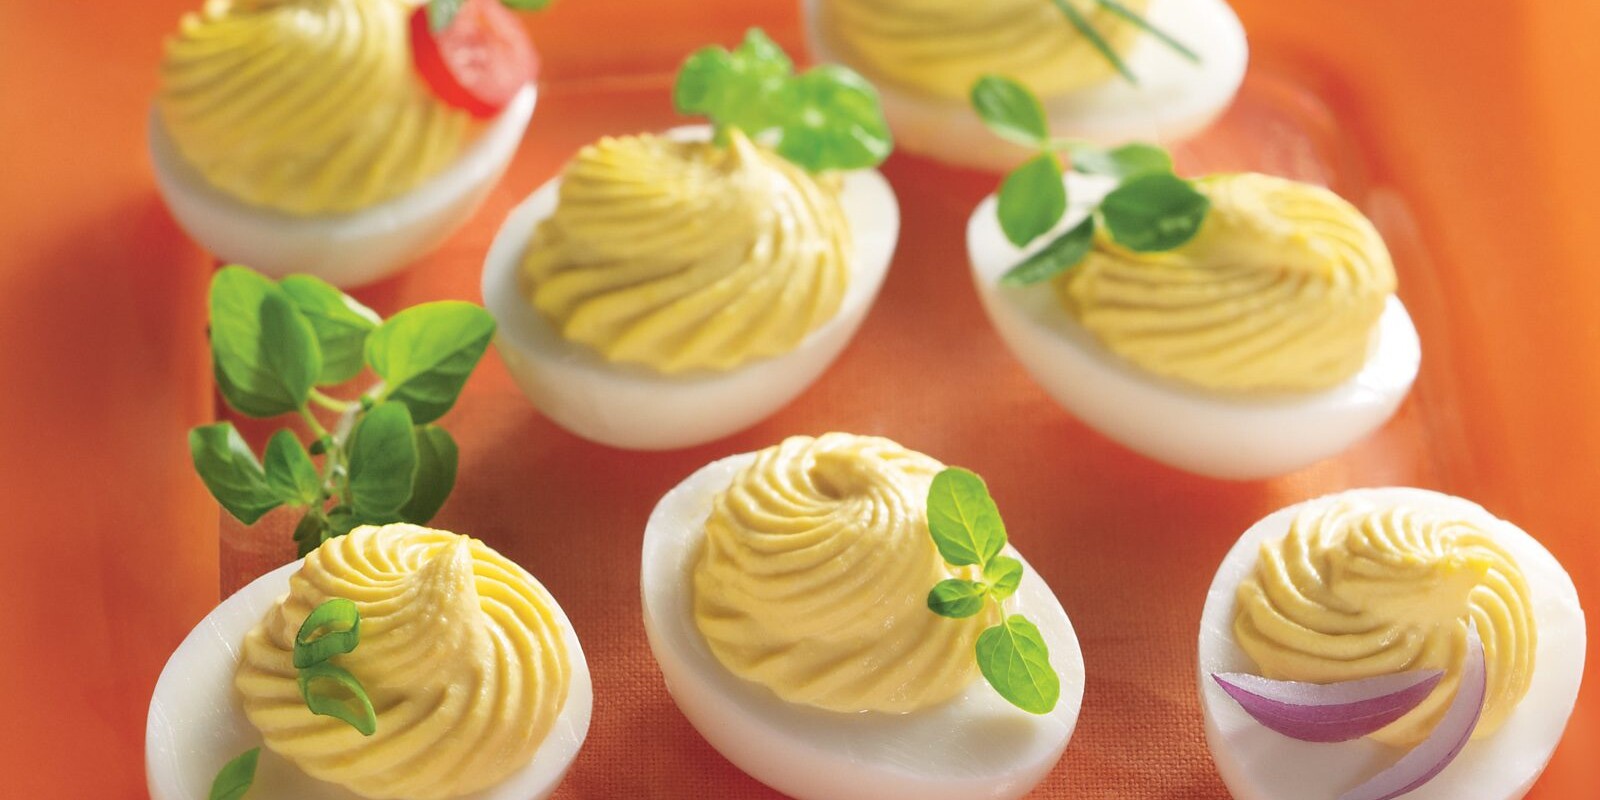
Daisy Sour Cream adds a tangy, creamy texture while Daisy Cottage Cheese blends seamlessly into the filling, creating an irresistibly light and fluffy bite with a boost of protein. These deviled eggs are a crowd-pleasing appetizer that comes together in minutes and can be prepared ahead of time for easy entertaining. Whether you’re bringing them to a summer barbecue or adding them to a protein-packed snack platter, these deviled eggs are sure to disappear fast.
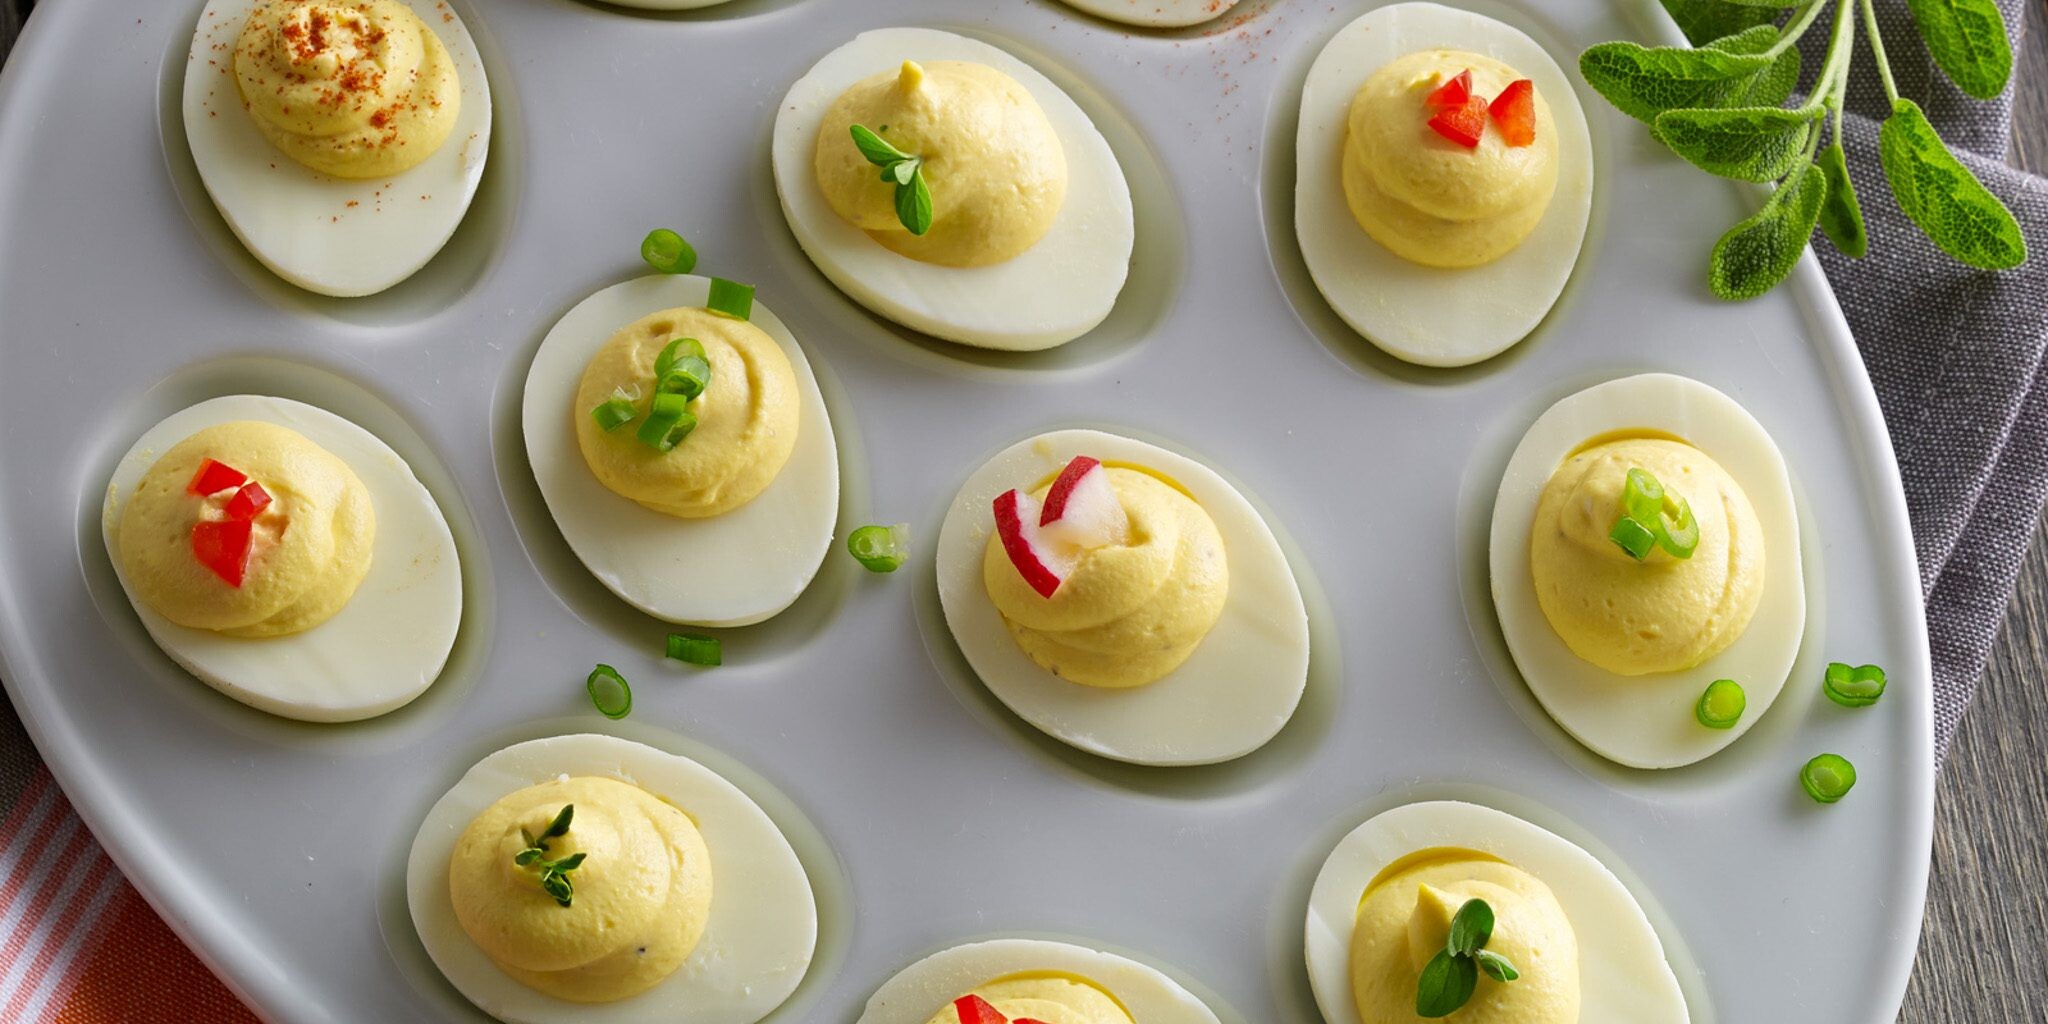
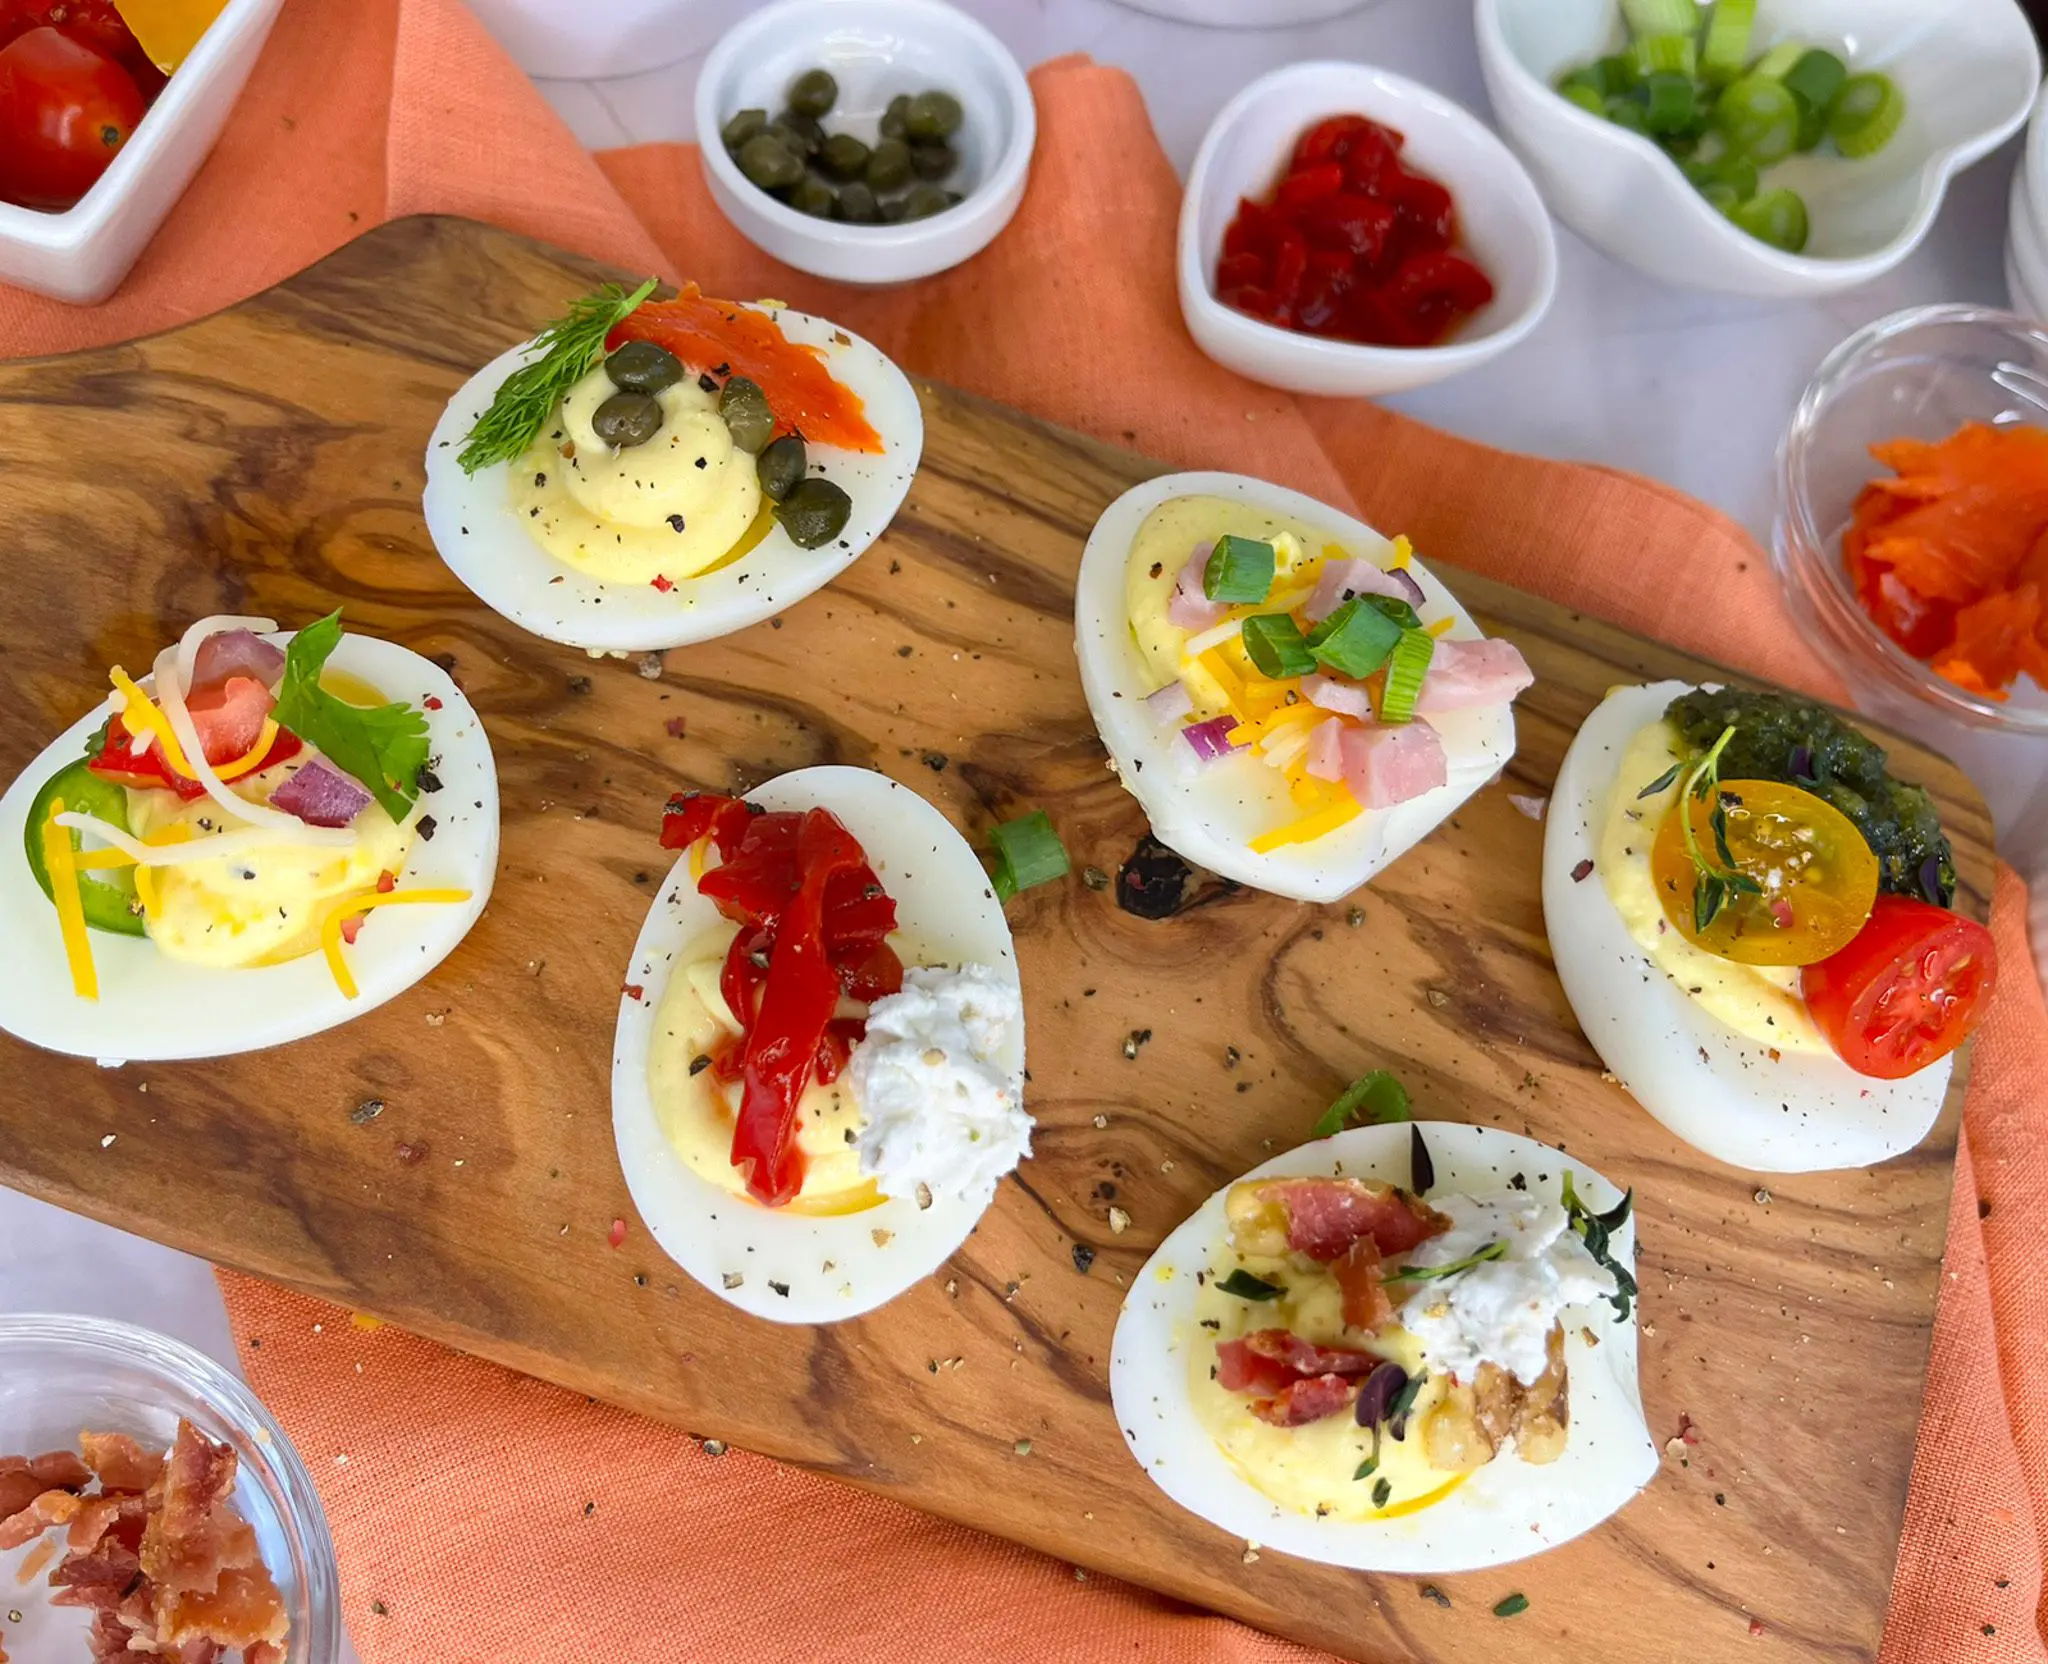
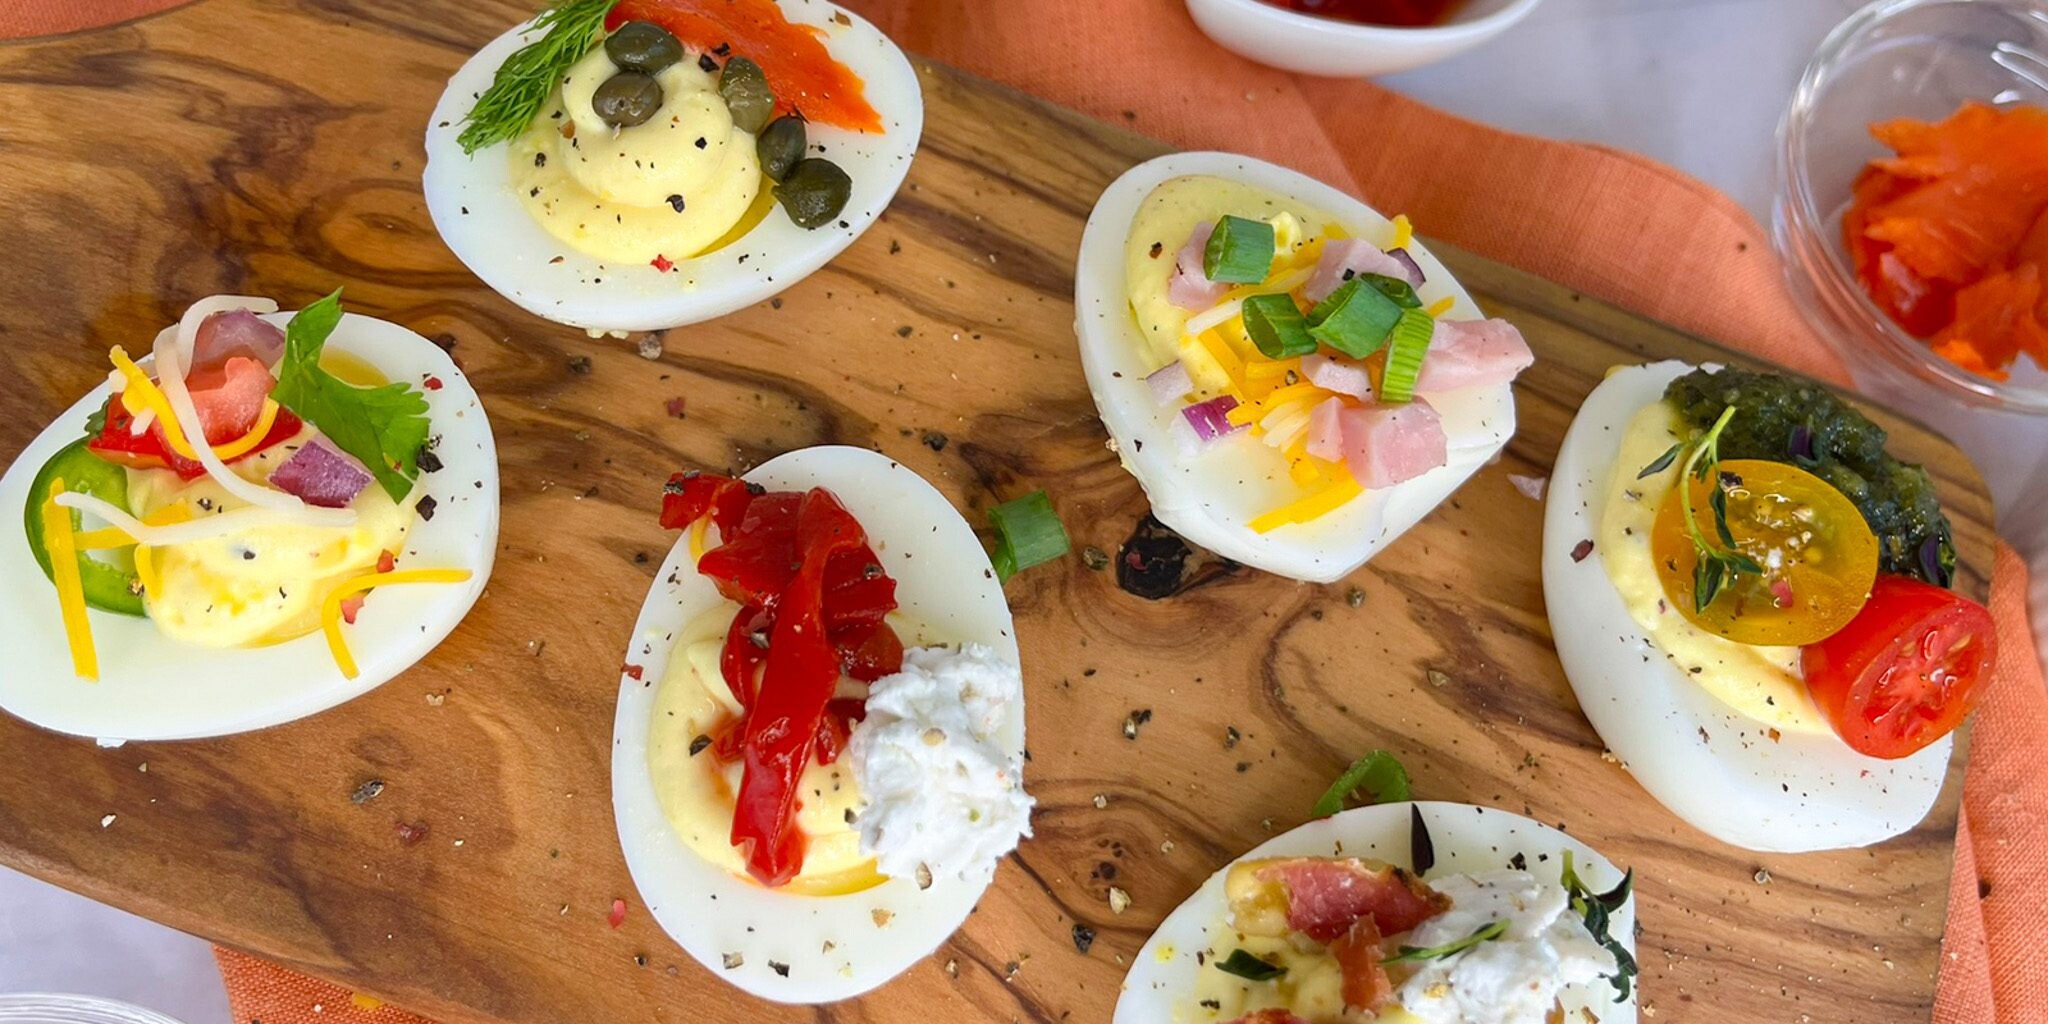
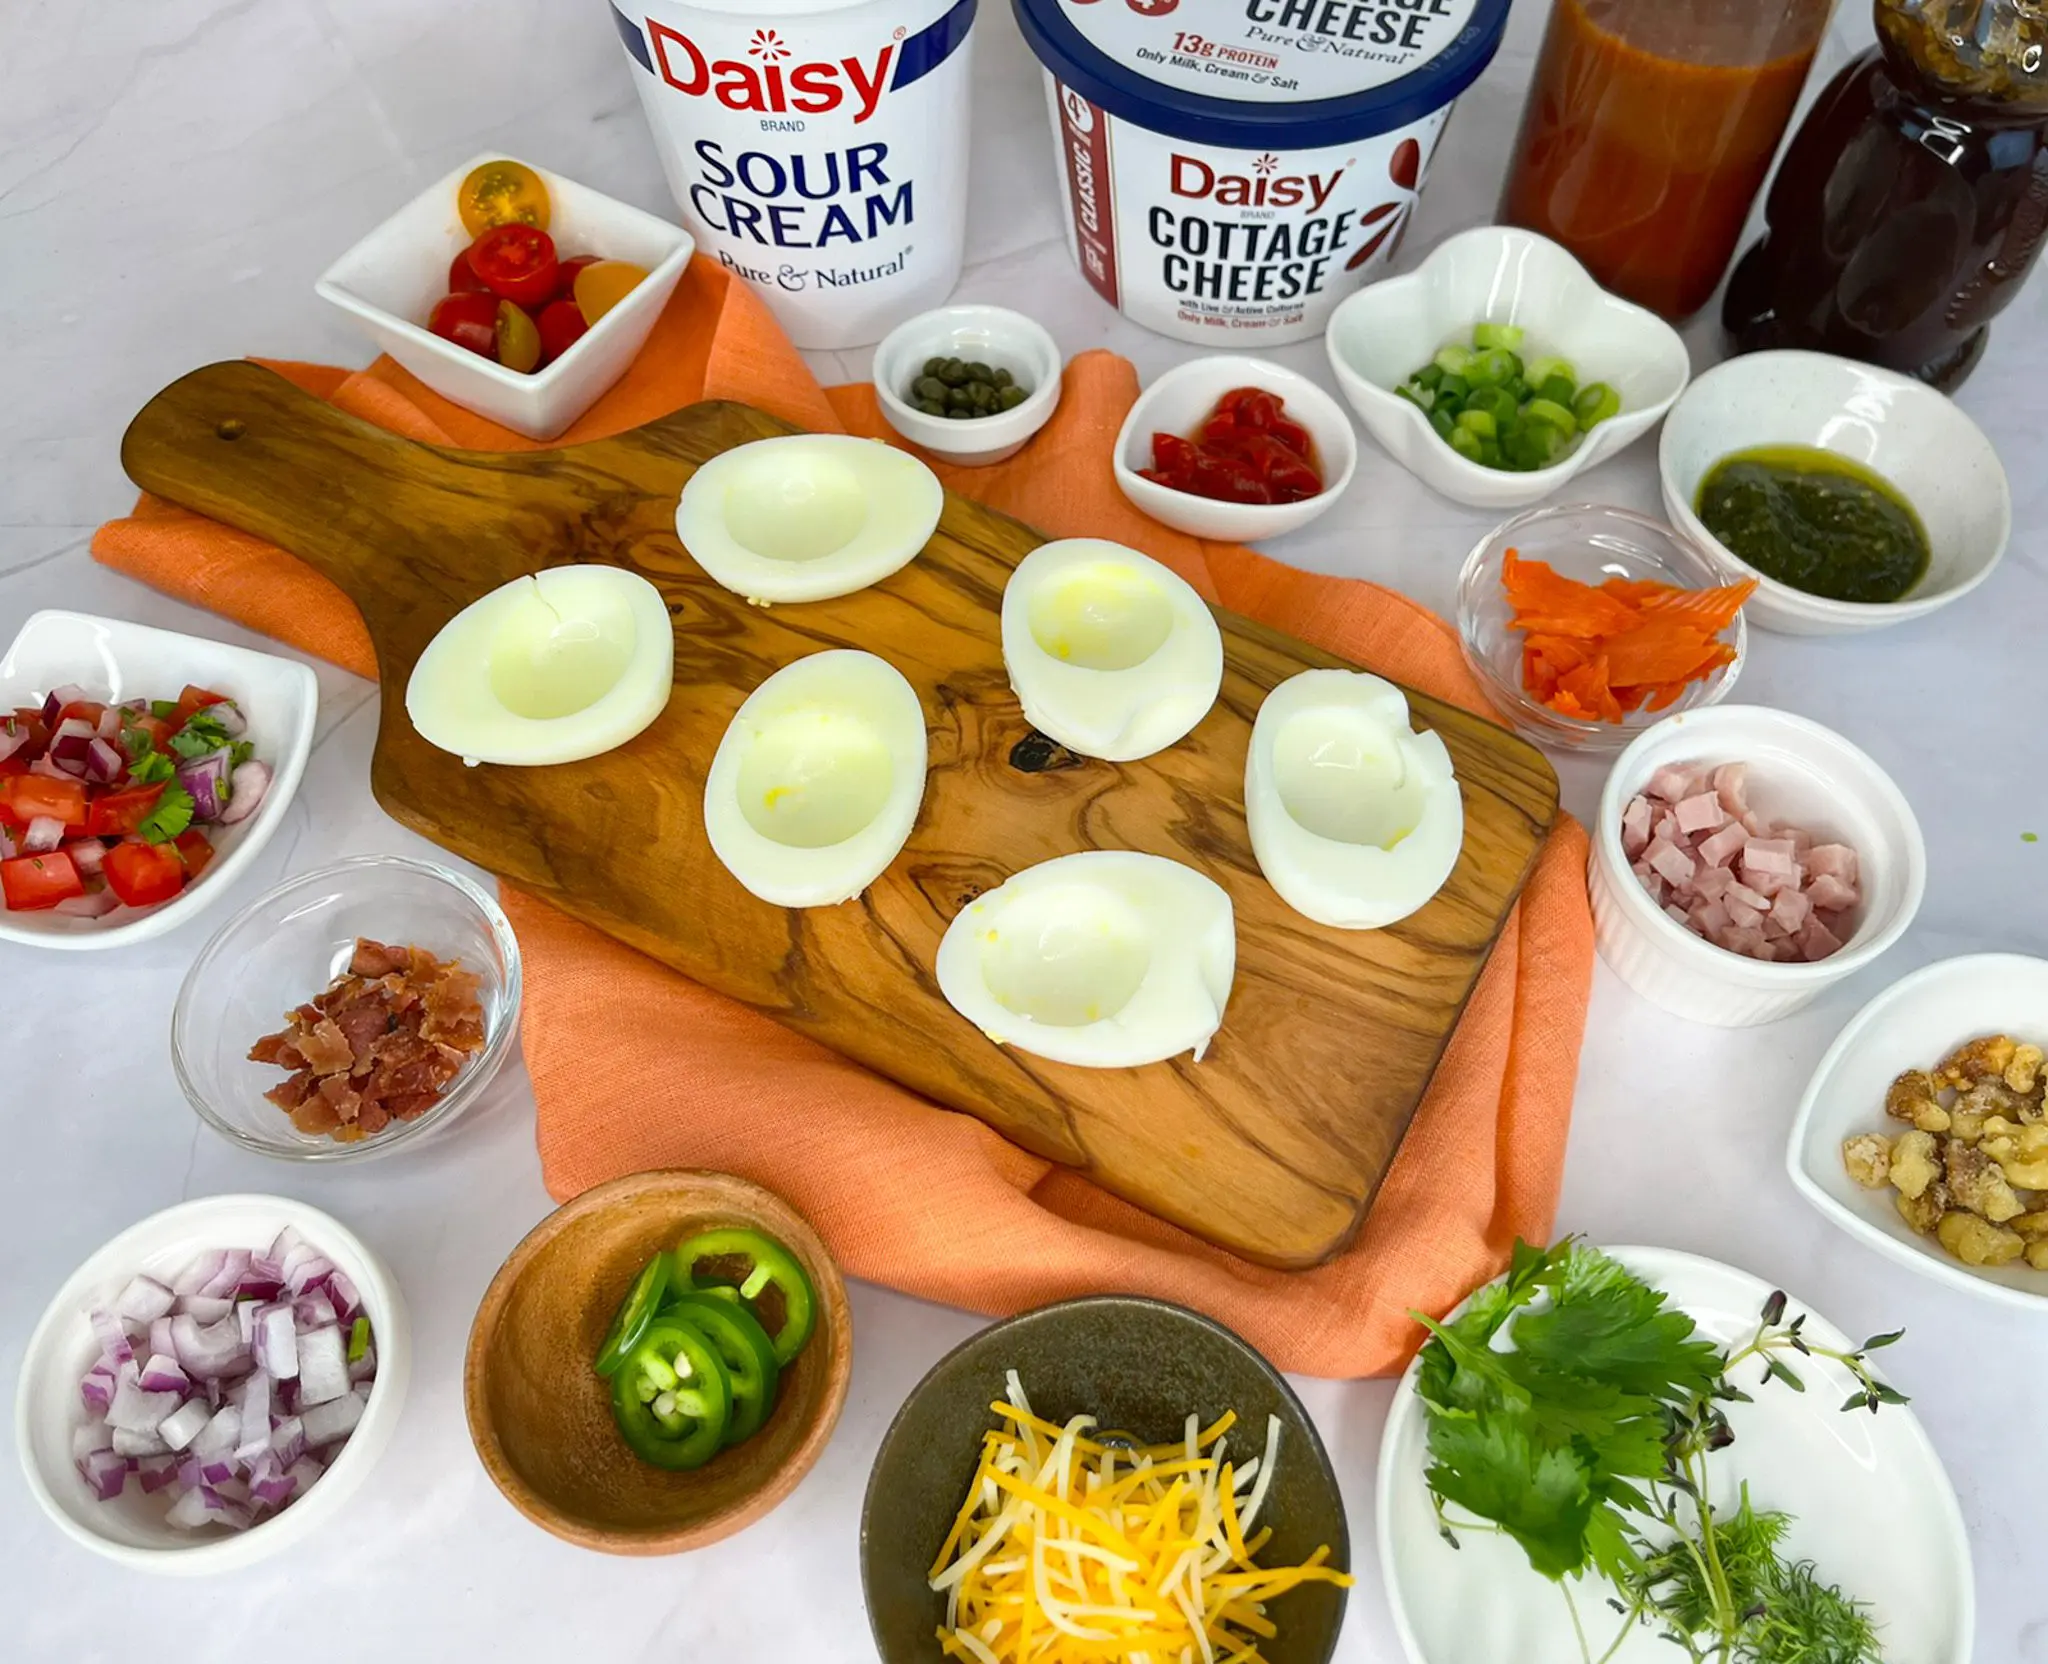
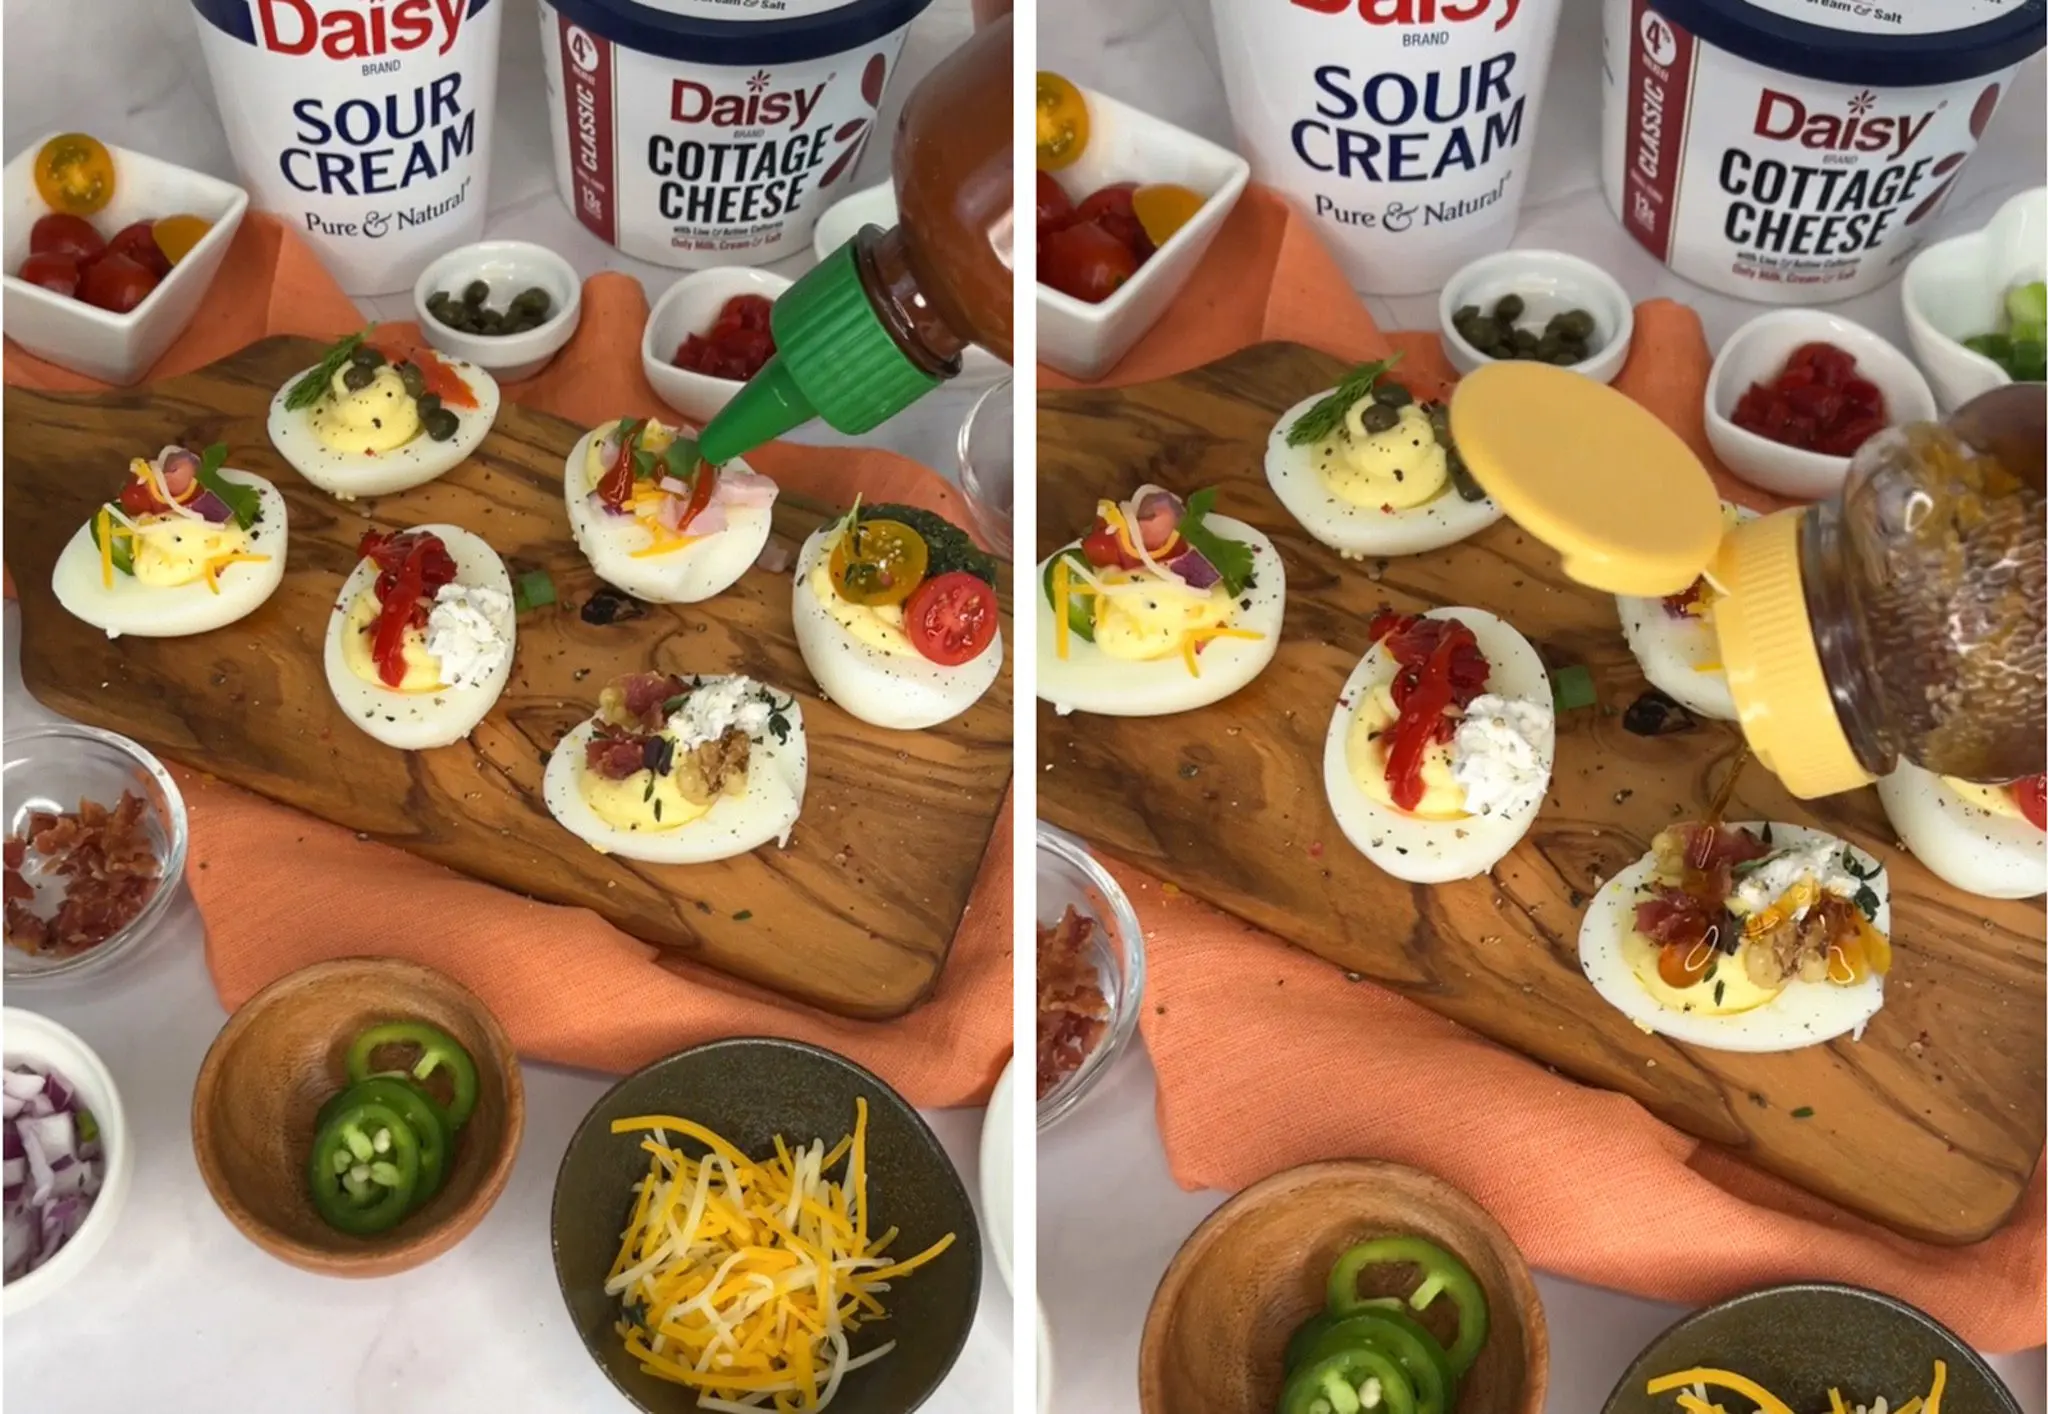
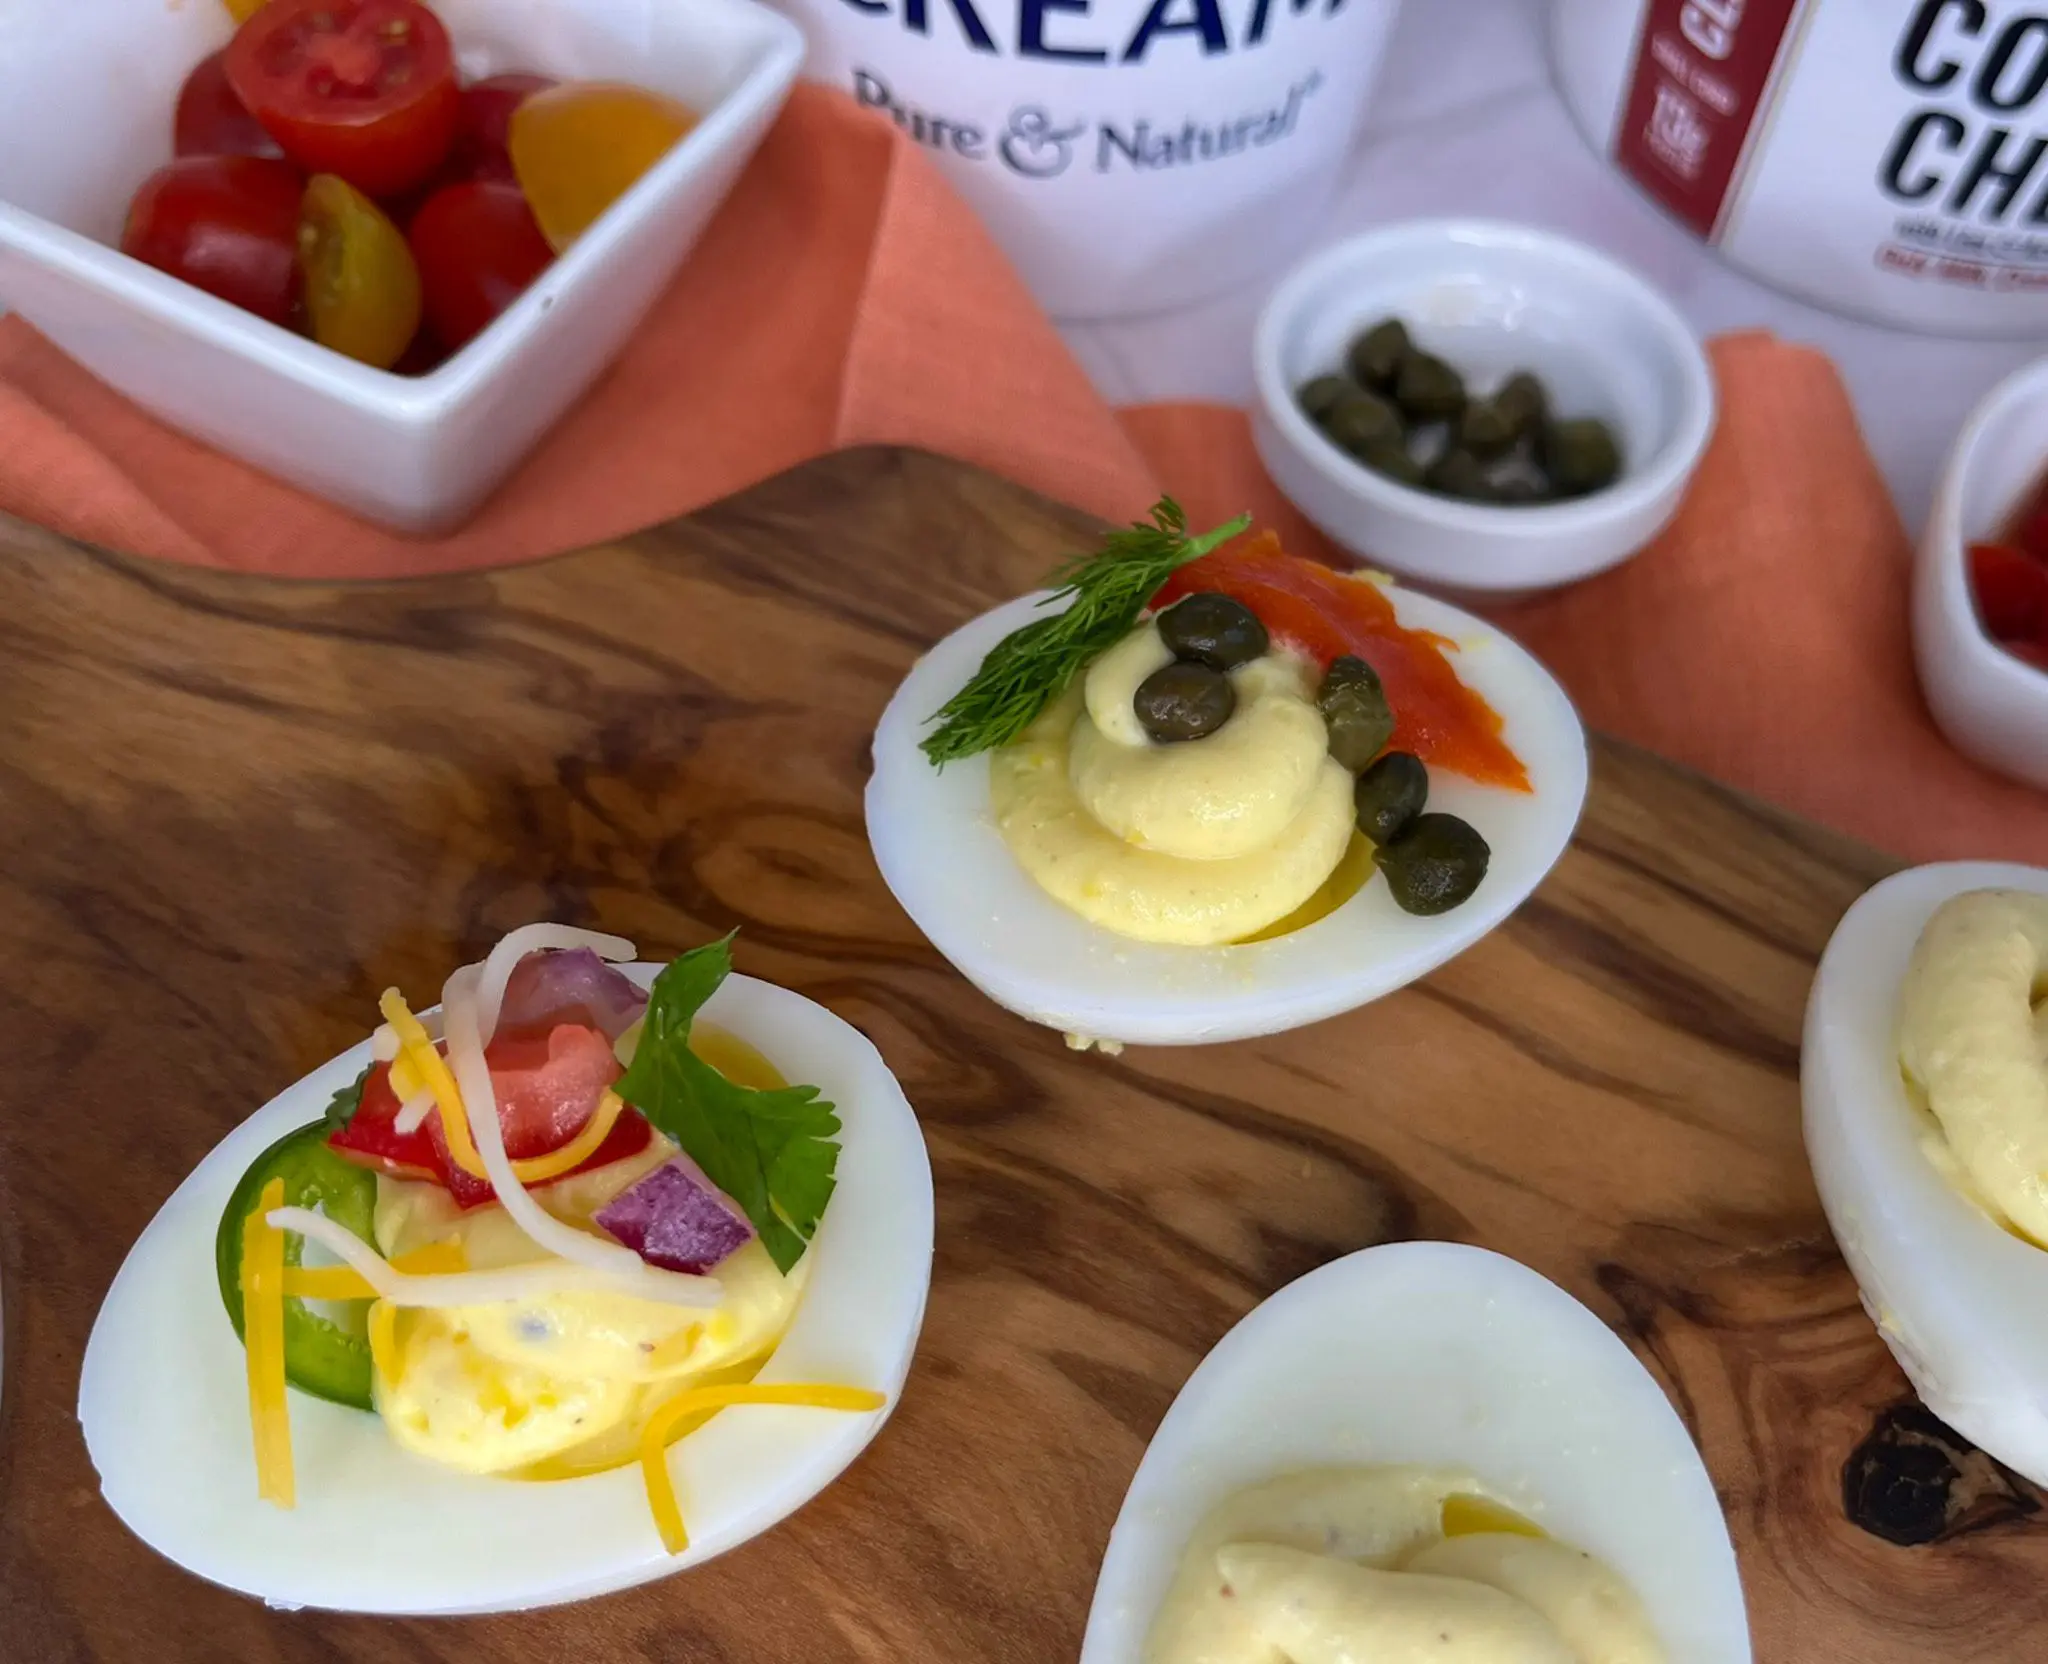
Take your appetizer game to the next level with a Deviled Egg Flight. They are a fun, creative and crowd-pleasing way to serve everyone’s favorite party snack. Go wild with the garnishes. Garnish with paprika, fresh chives, bacon crumbles, or your favorite toppings for a customizable appetizer everyone will love. Some fun ideas are bacon and chives, buffalo chicken, everything bagel seasoning, jalapeño cheddar, ranch, smoked paprika, or dill pickle. The result is an eye-catching appetizer that encourages guests to sample and discover their favorite flavor.
Deviled Egg Ingredients
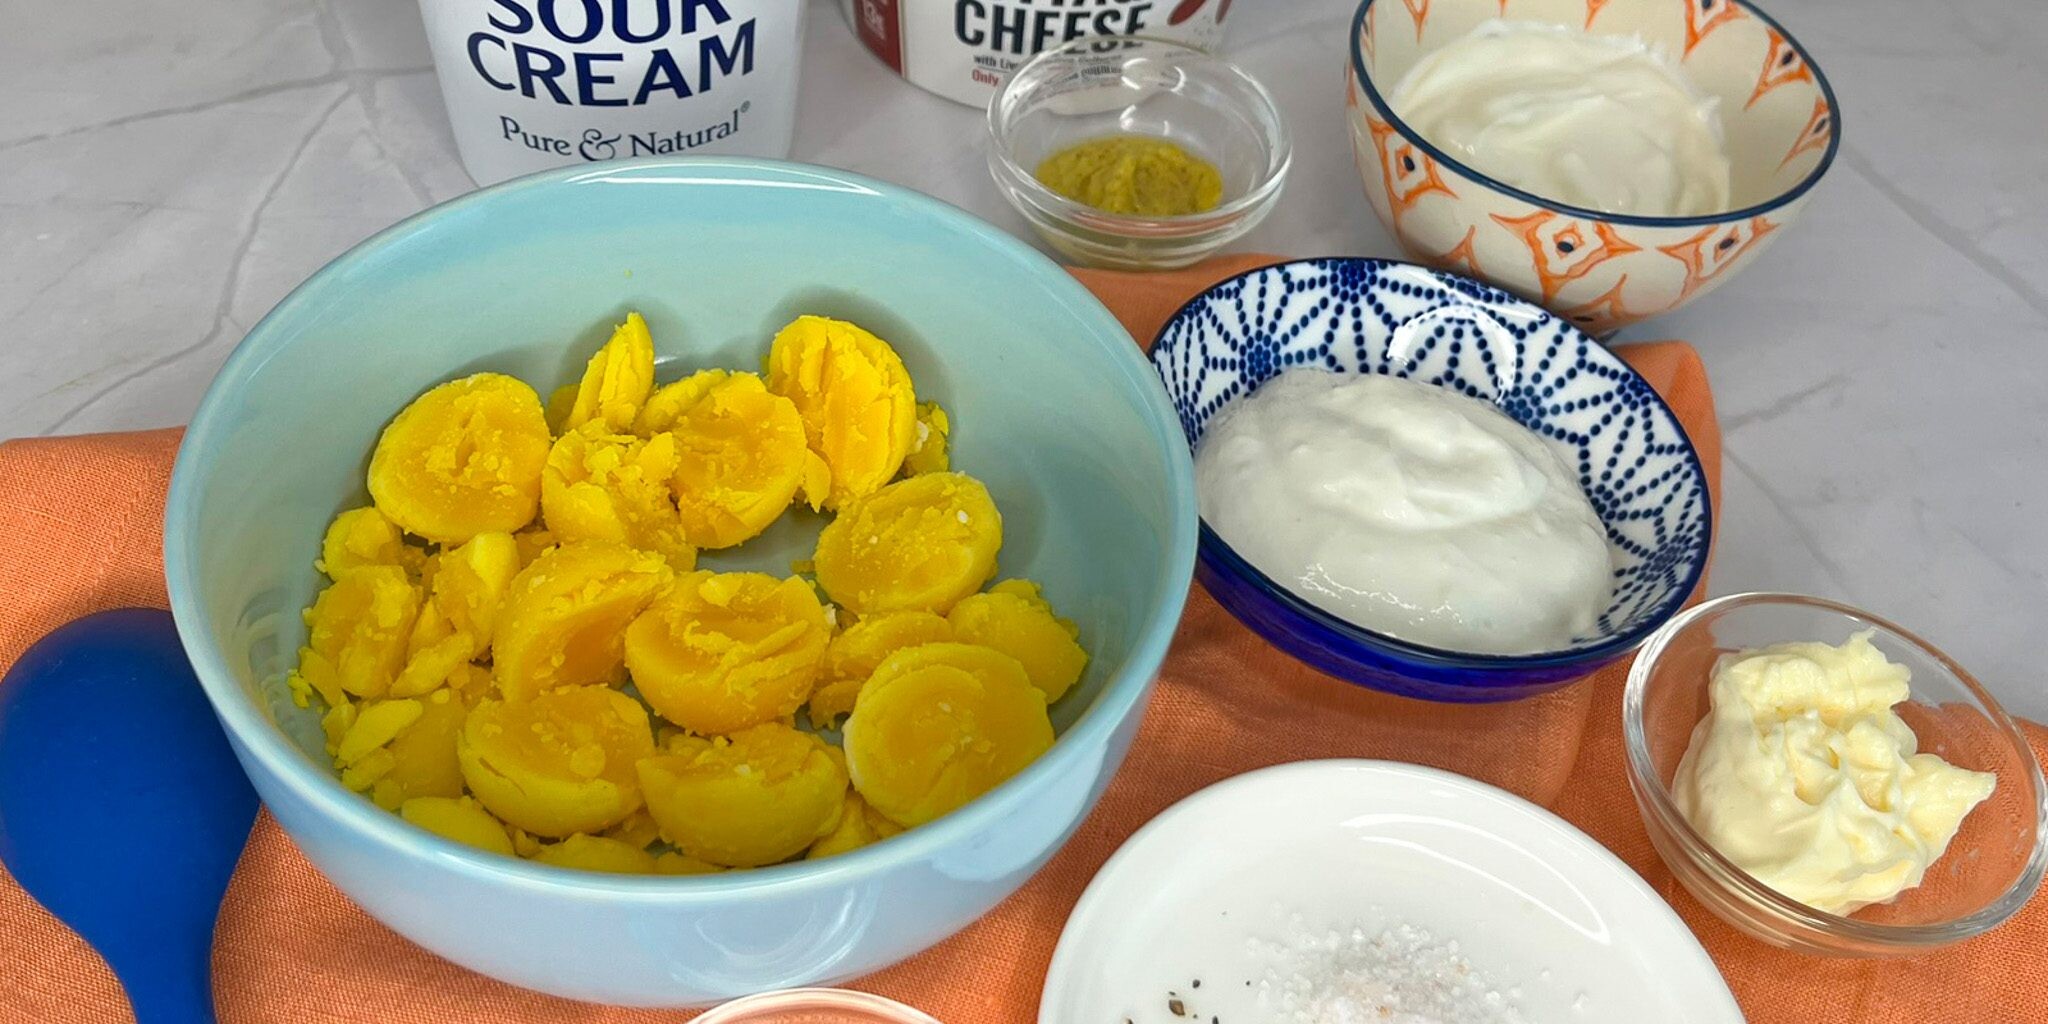
- Boiled Eggs (6, large): The egg whites provide the base for our luscious filling. The egg yolks are the foundation for the creamy, rich filling.
- Daisy Cottage Cheese (1/4 cup, blended): Adds a boost of additional protein to the creamy filling and helps cut the fat and calories from additional mayo.
- Daisy Sour Cream (1/4 cup): Adds richness and a slight tang to the creamy filling.
- Vinegar (1 teaspoon): It helps balance the richness of the sour cream, egg yolks and mayo.
- Mustard (1 teaspoon): Adds a brightness and a zesty, subtle heat to the filling.
- Mayonnaise (1 tablespoon): Acts as a binder to hold the fluffy egg yolk together.
- Salt & Pepper (to taste): The classic flavor combo that elevates savory dishes.
- Assorted Toppings: The possibilities are endless from cooked meats, veggies, sauces, cheese, spices, and fresh herbs.
How to Make Deviled Eggs
- Cut the boiled eggs lengthwise, being careful to remove the yolks. Place the egg whites cut side up on a serving platter.
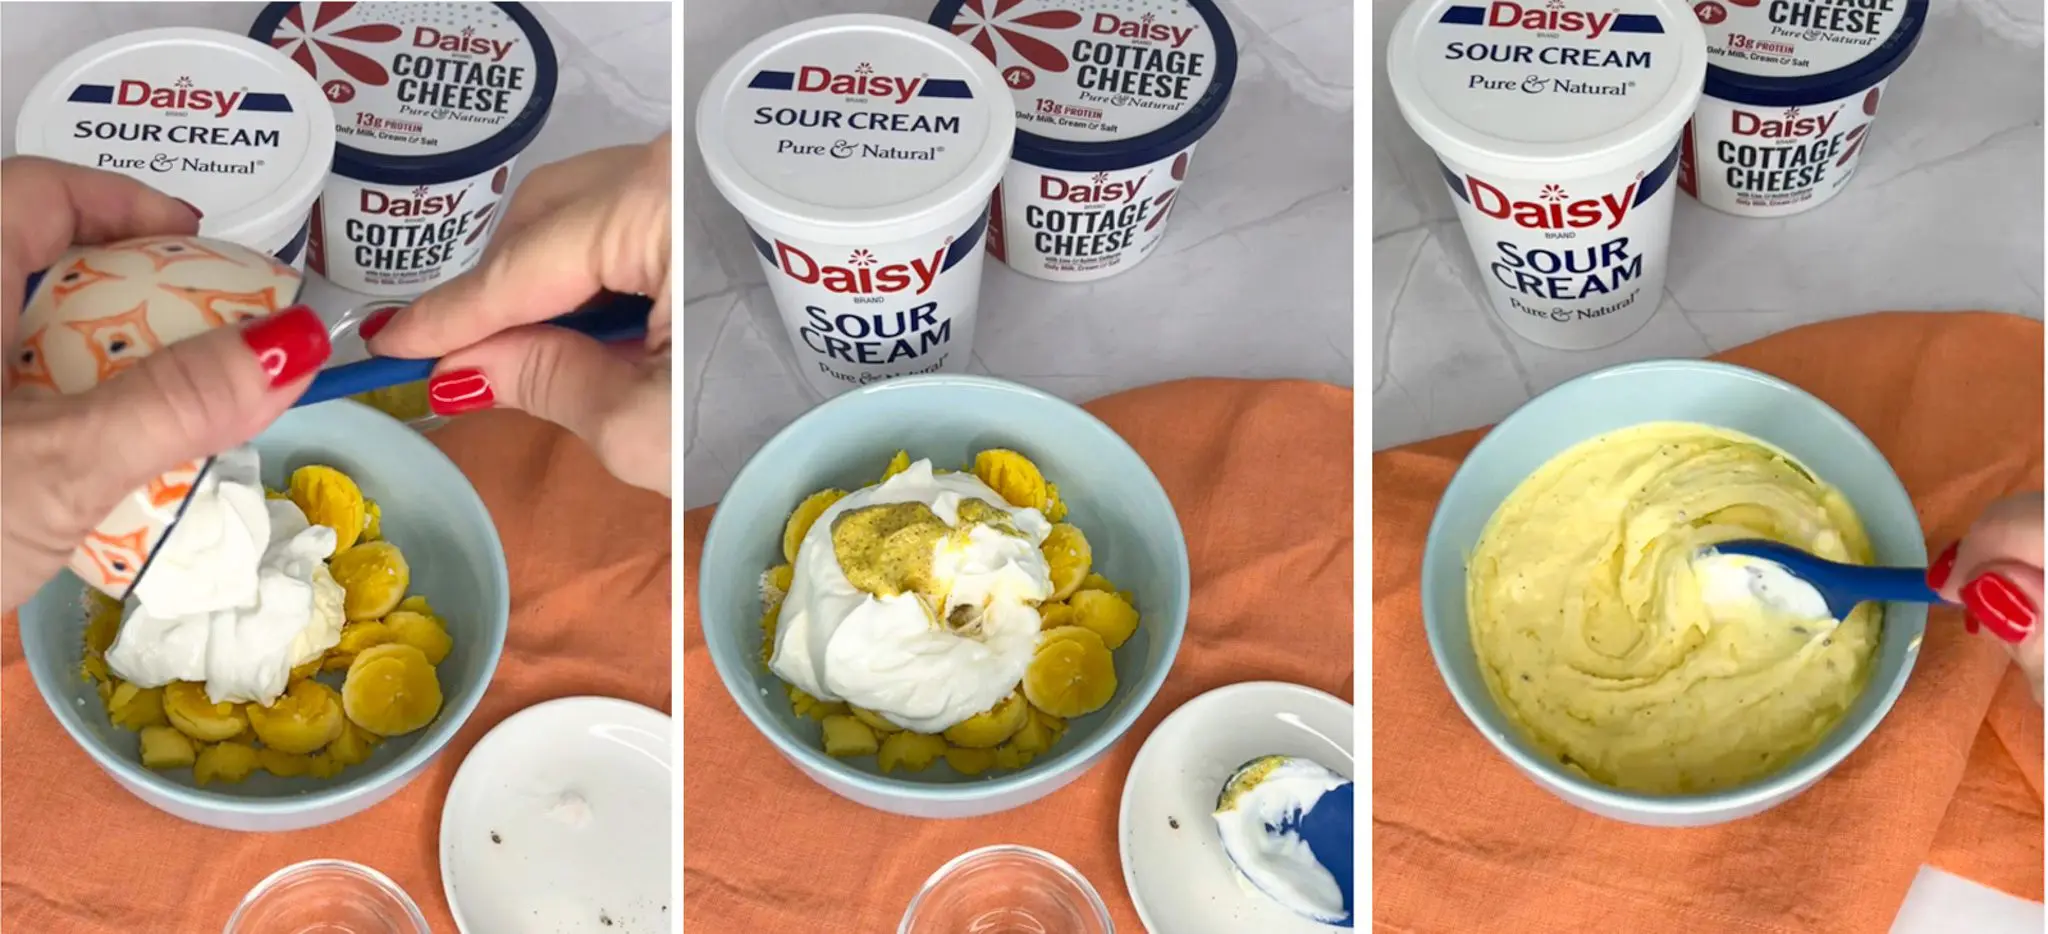
- Place the yolks in a small bowl. Add the cottage cheese, sour cream, vinegar, mustard, mayonnaise, and seasoning. Mix until smooth. Spoon or pipe the mixture into each egg white.
- Top with your favorite toppers and enjoy.
Easy Street Corn Chicken Bowl
Easy Street Corn Chicken Bowl
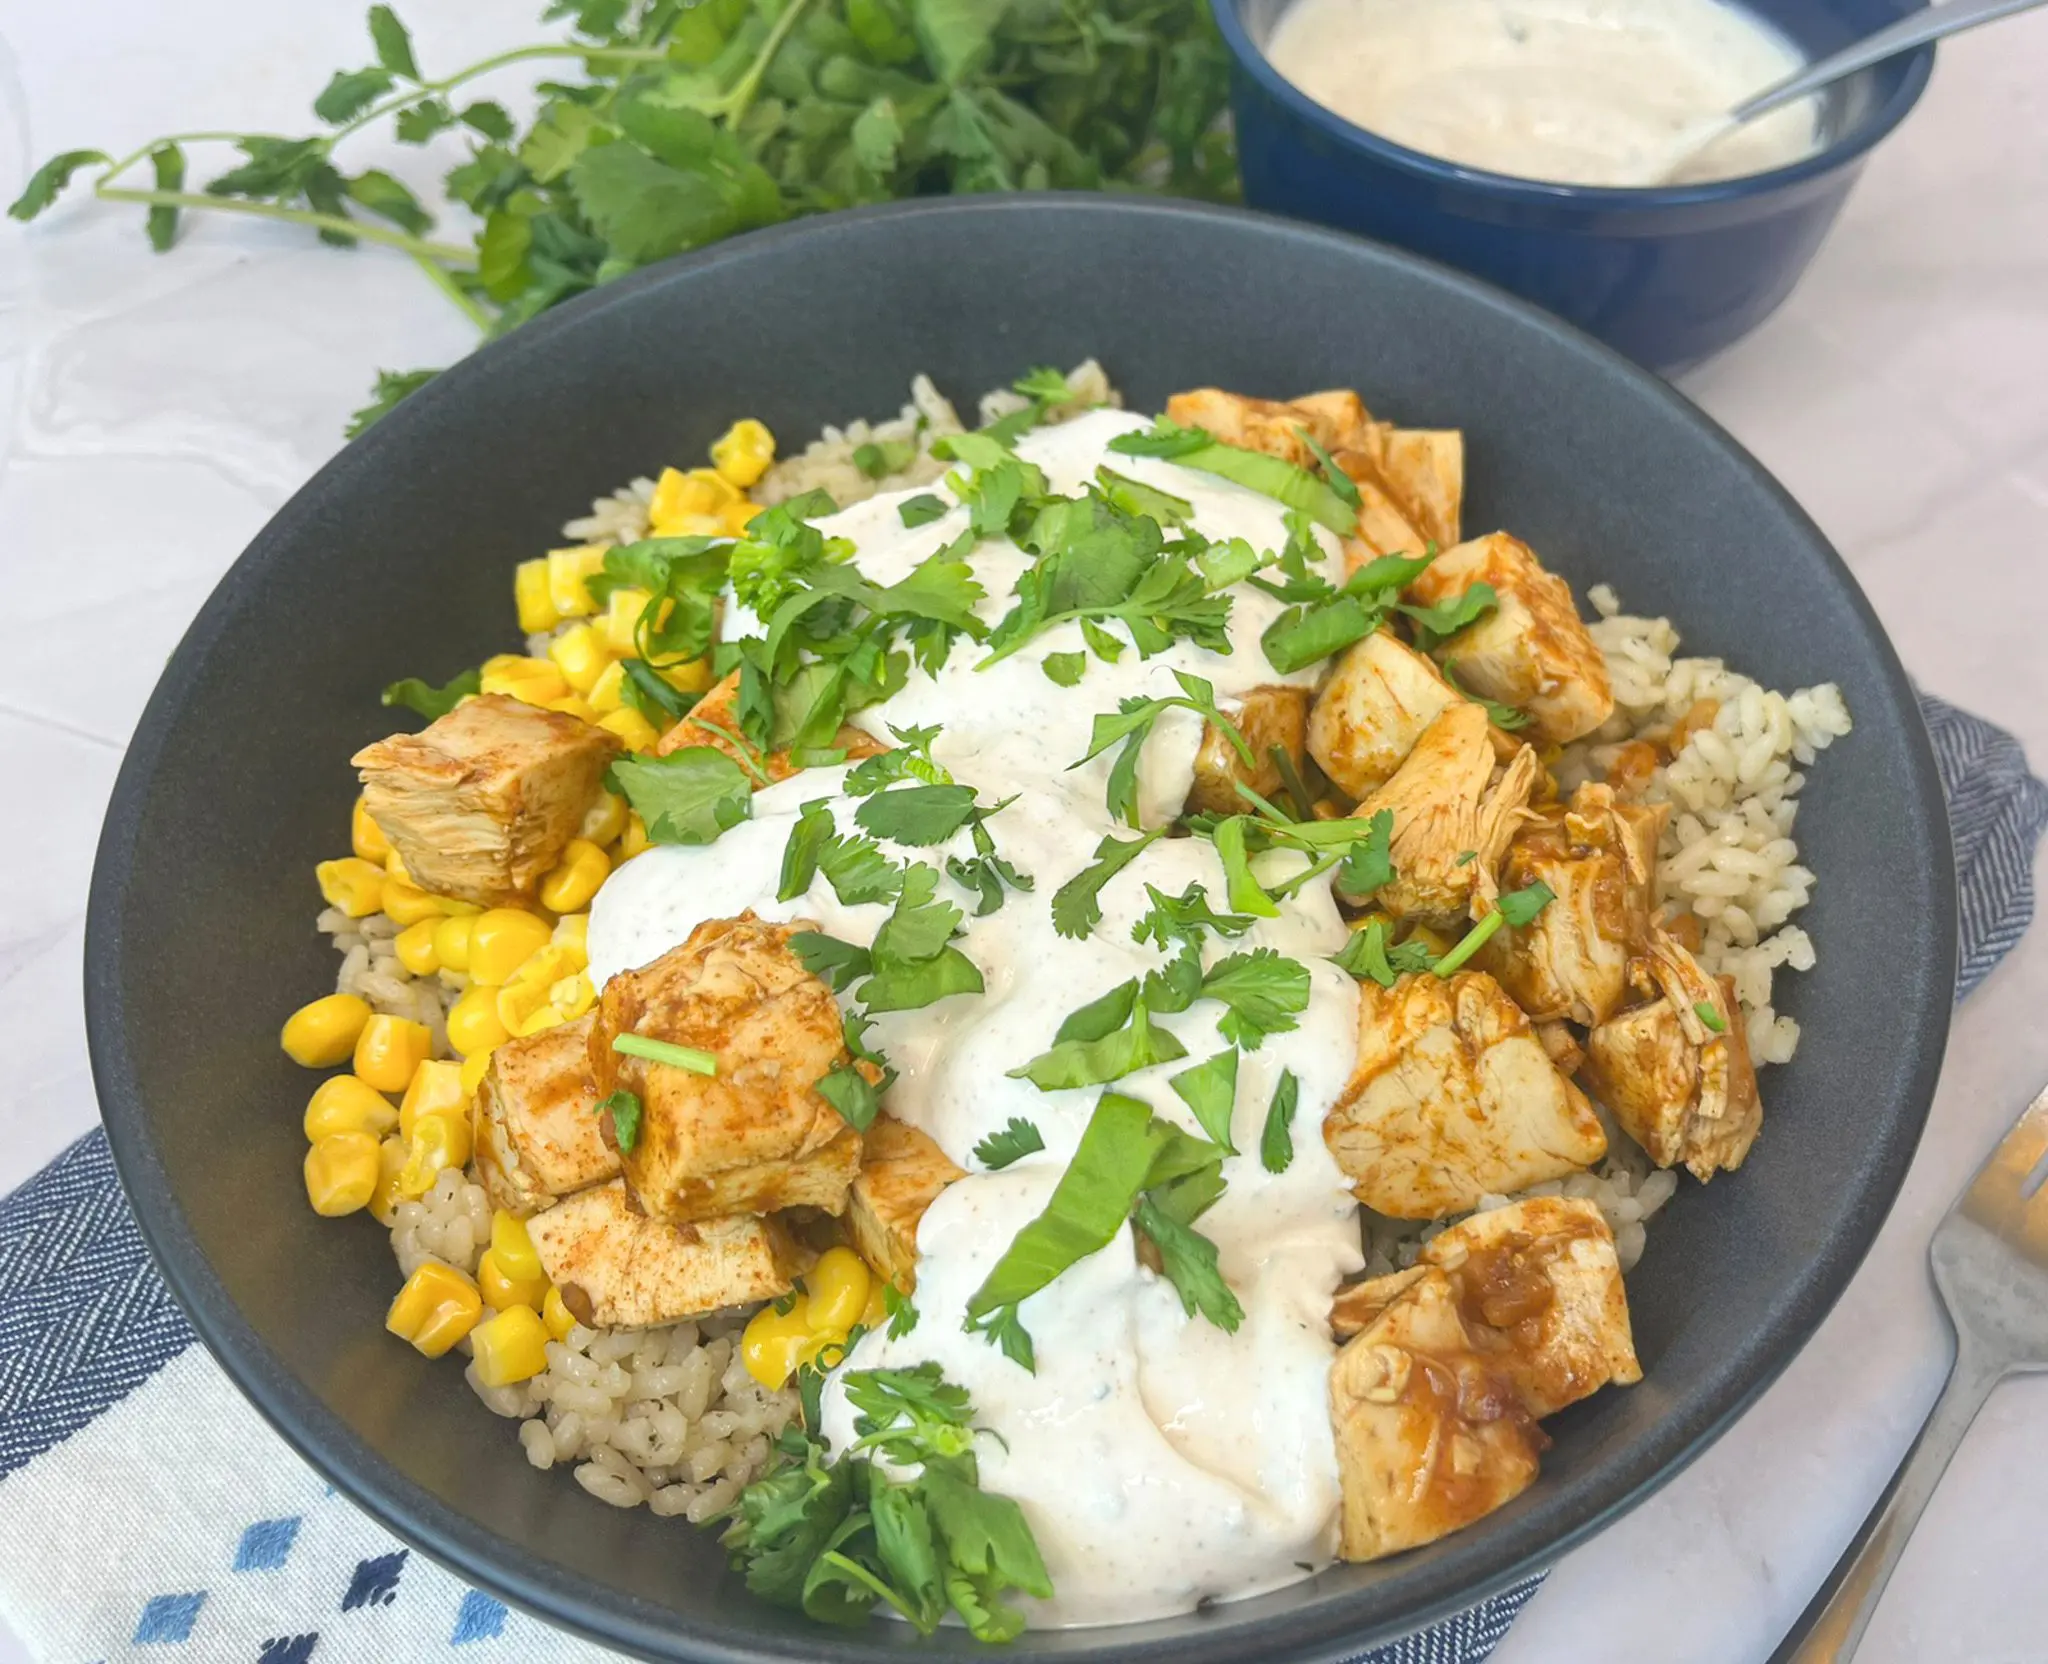
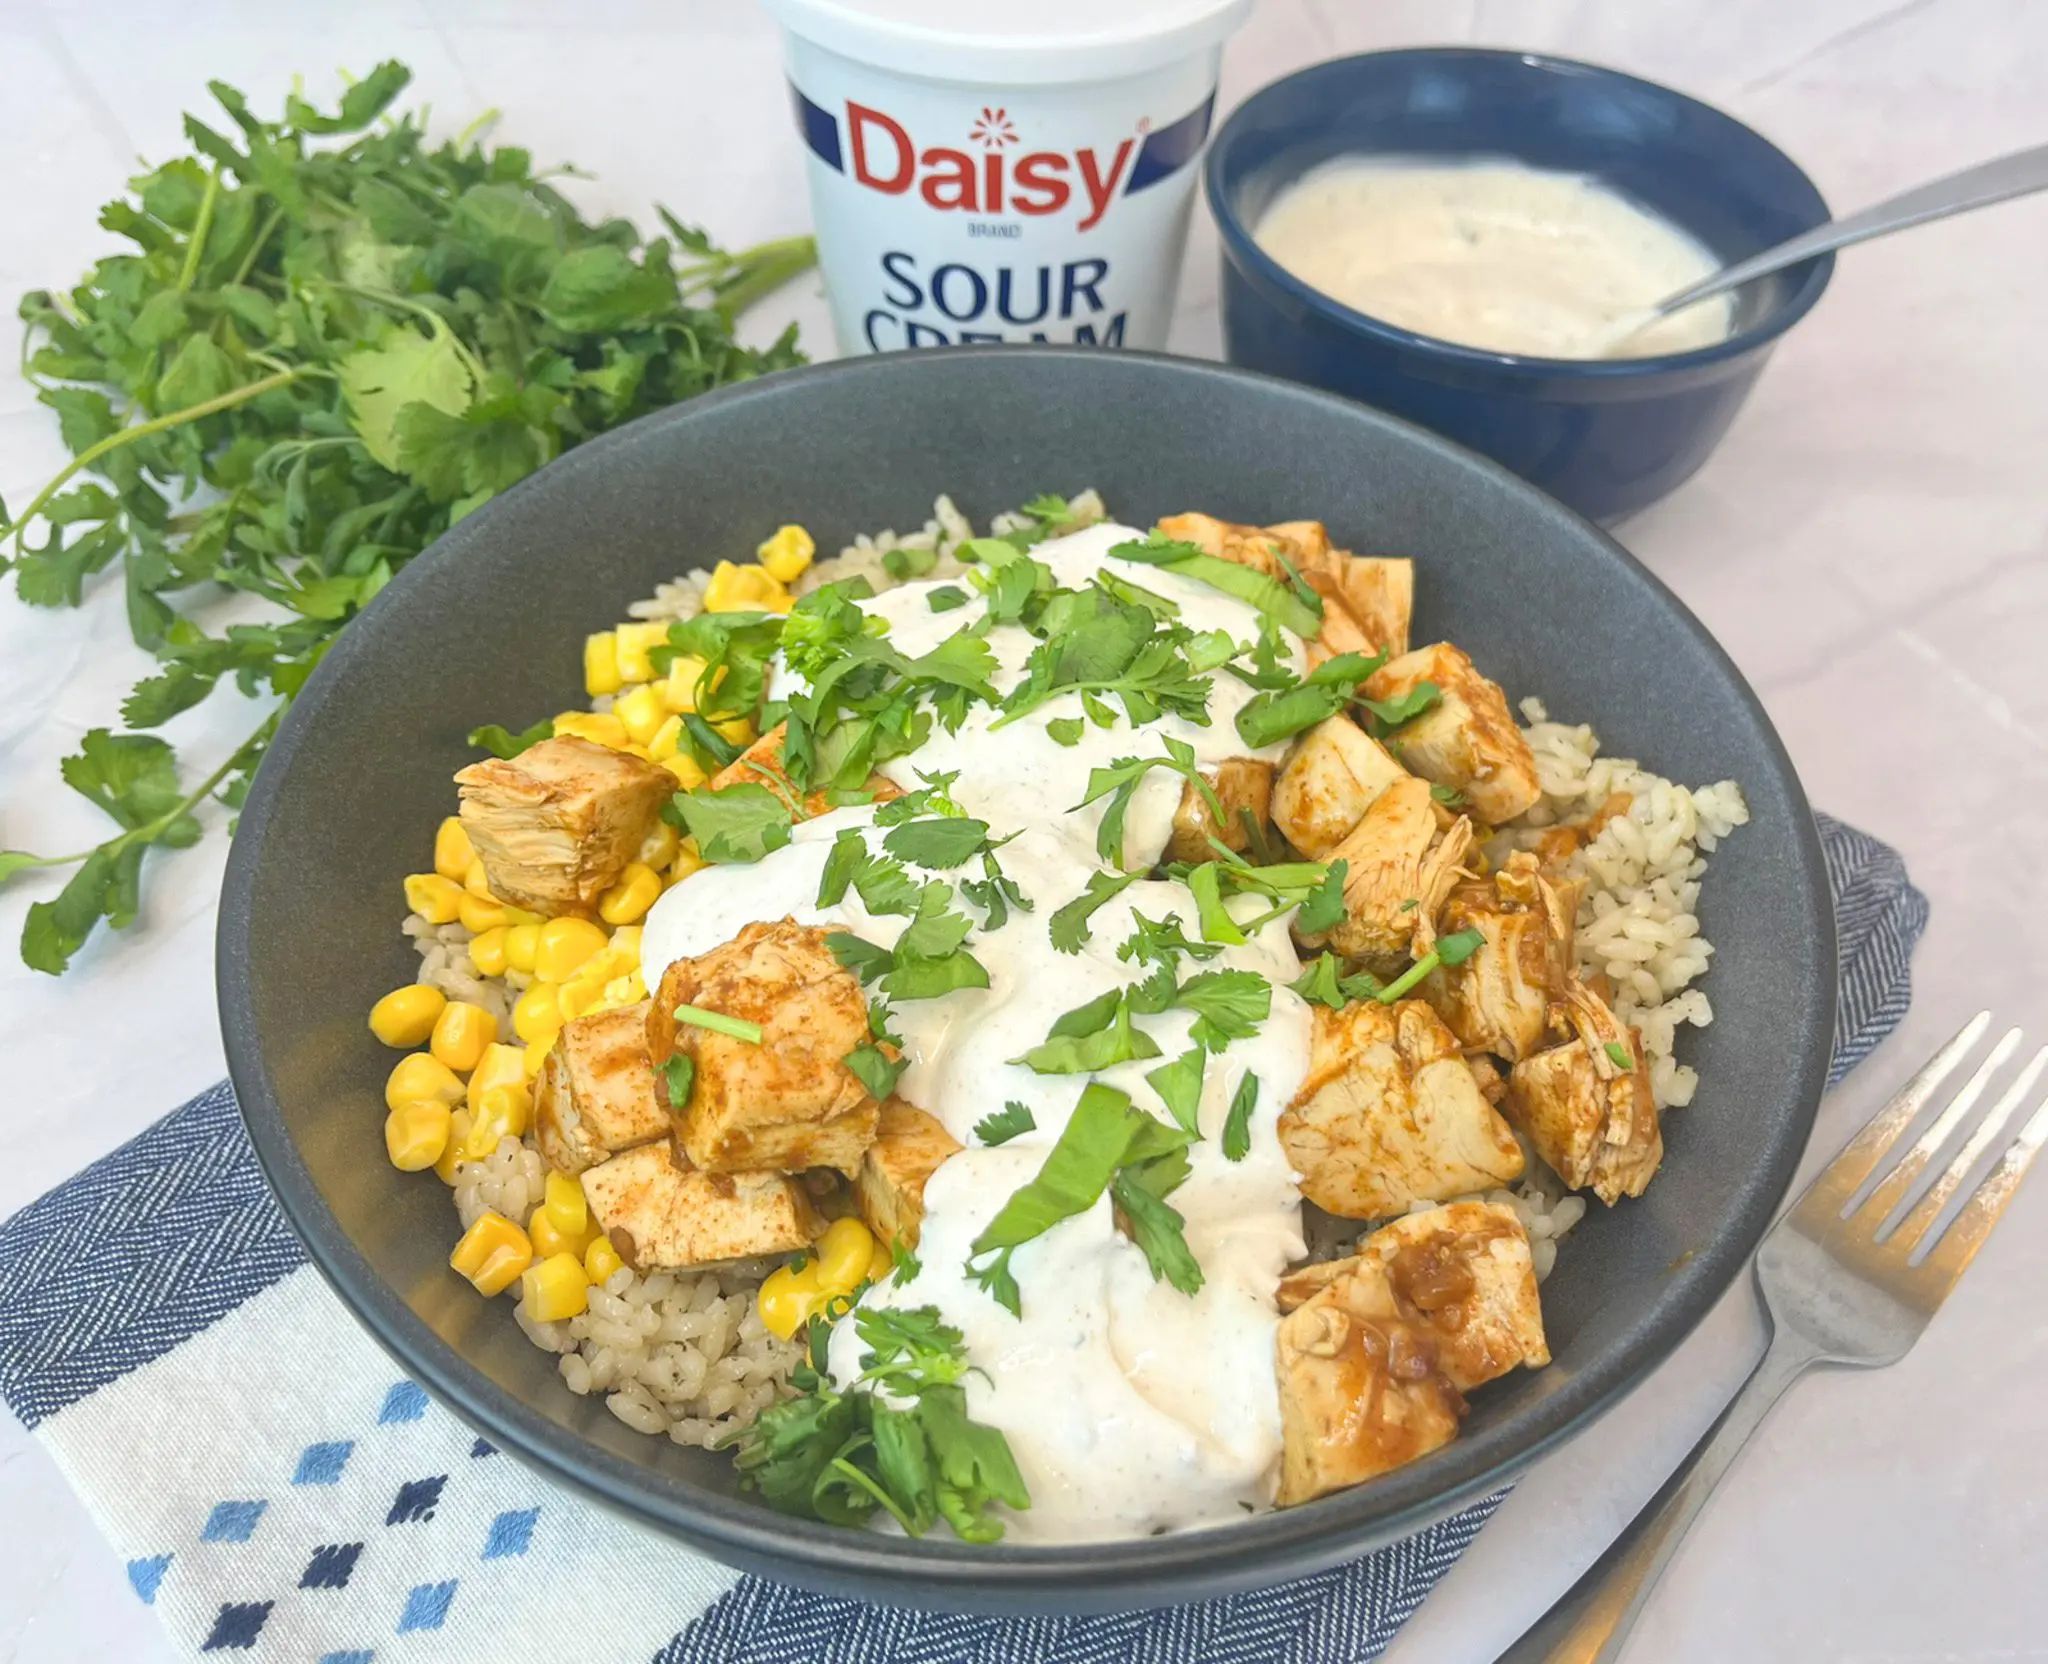
Bring bold, summery flavor to your table with this Easy Street Corn Chicken Bowl, an easy, satisfying meal inspired by classic Mexican street corn. Juicy, seasoned chicken is paired with sweet corn and served over a hearty base of rice, creating a bowl that’s packed with texture and flavor in every bite.
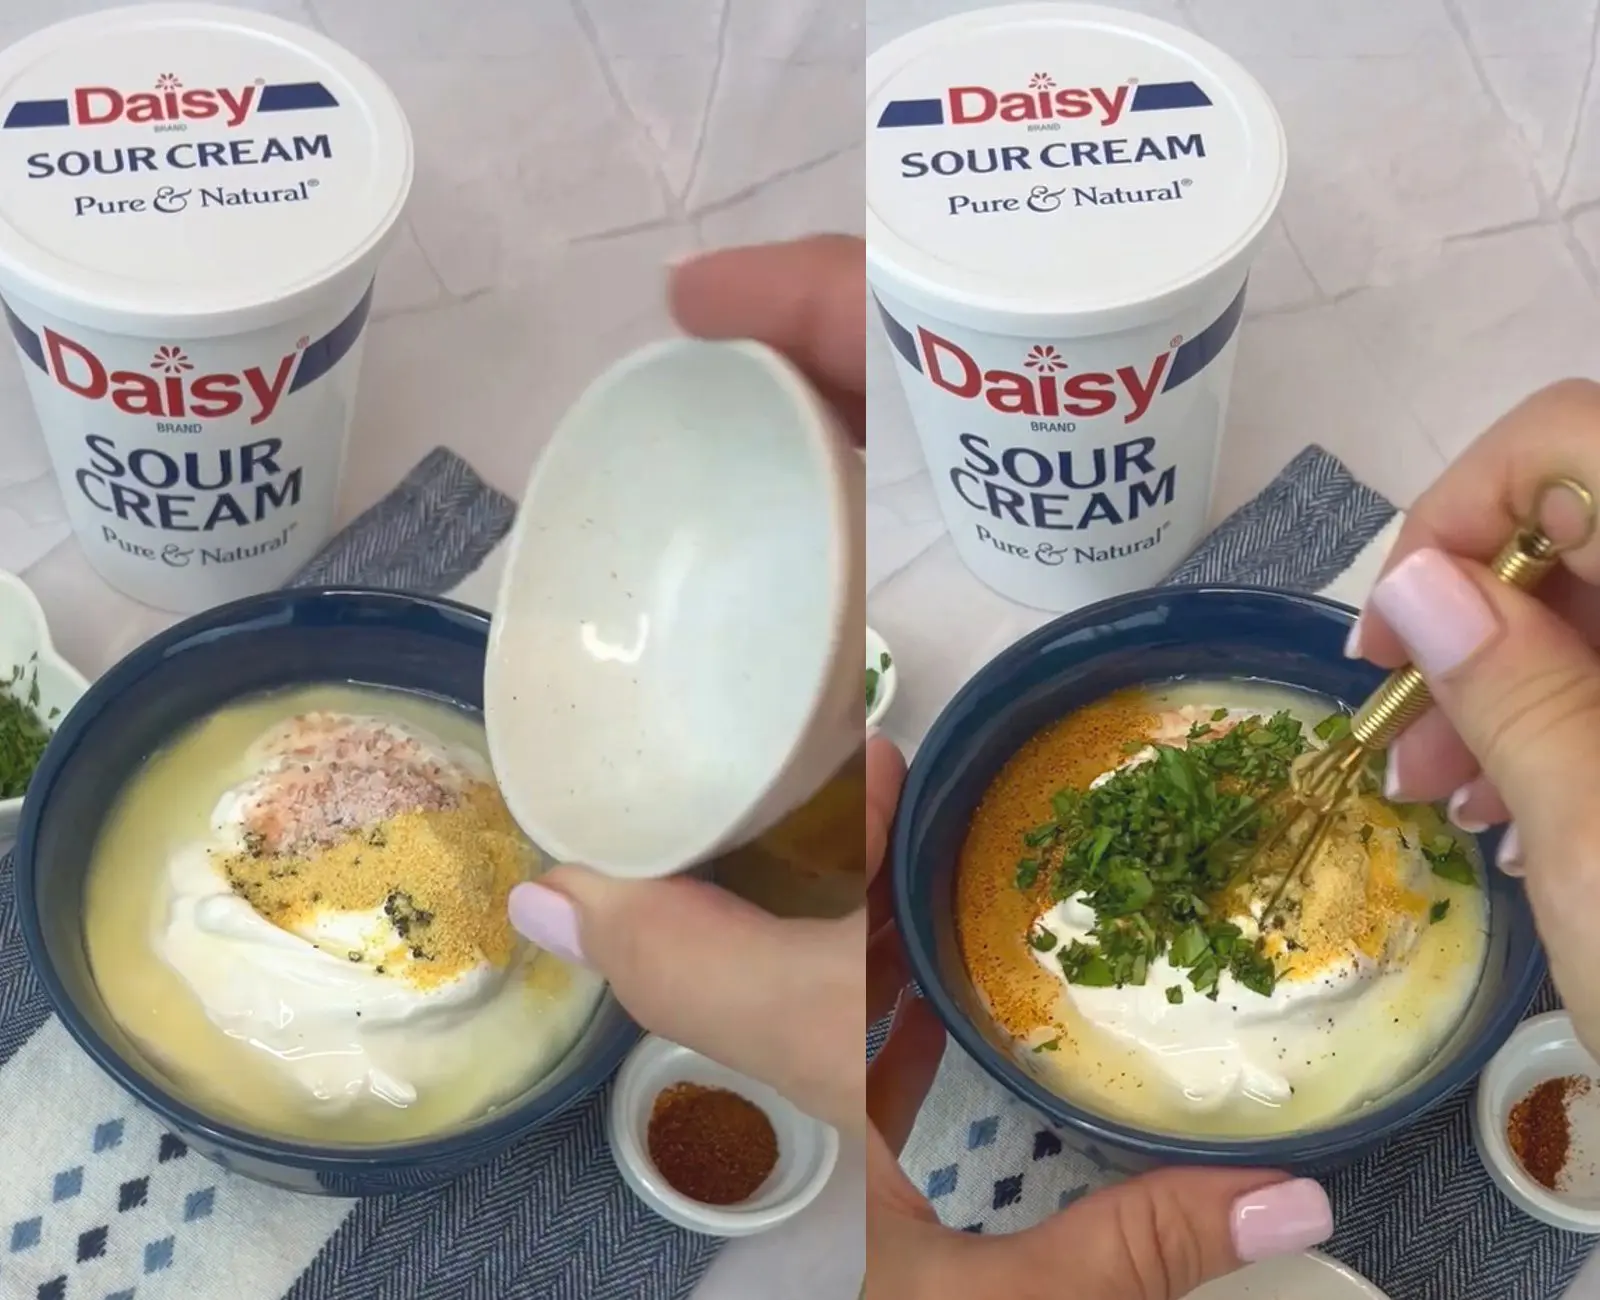
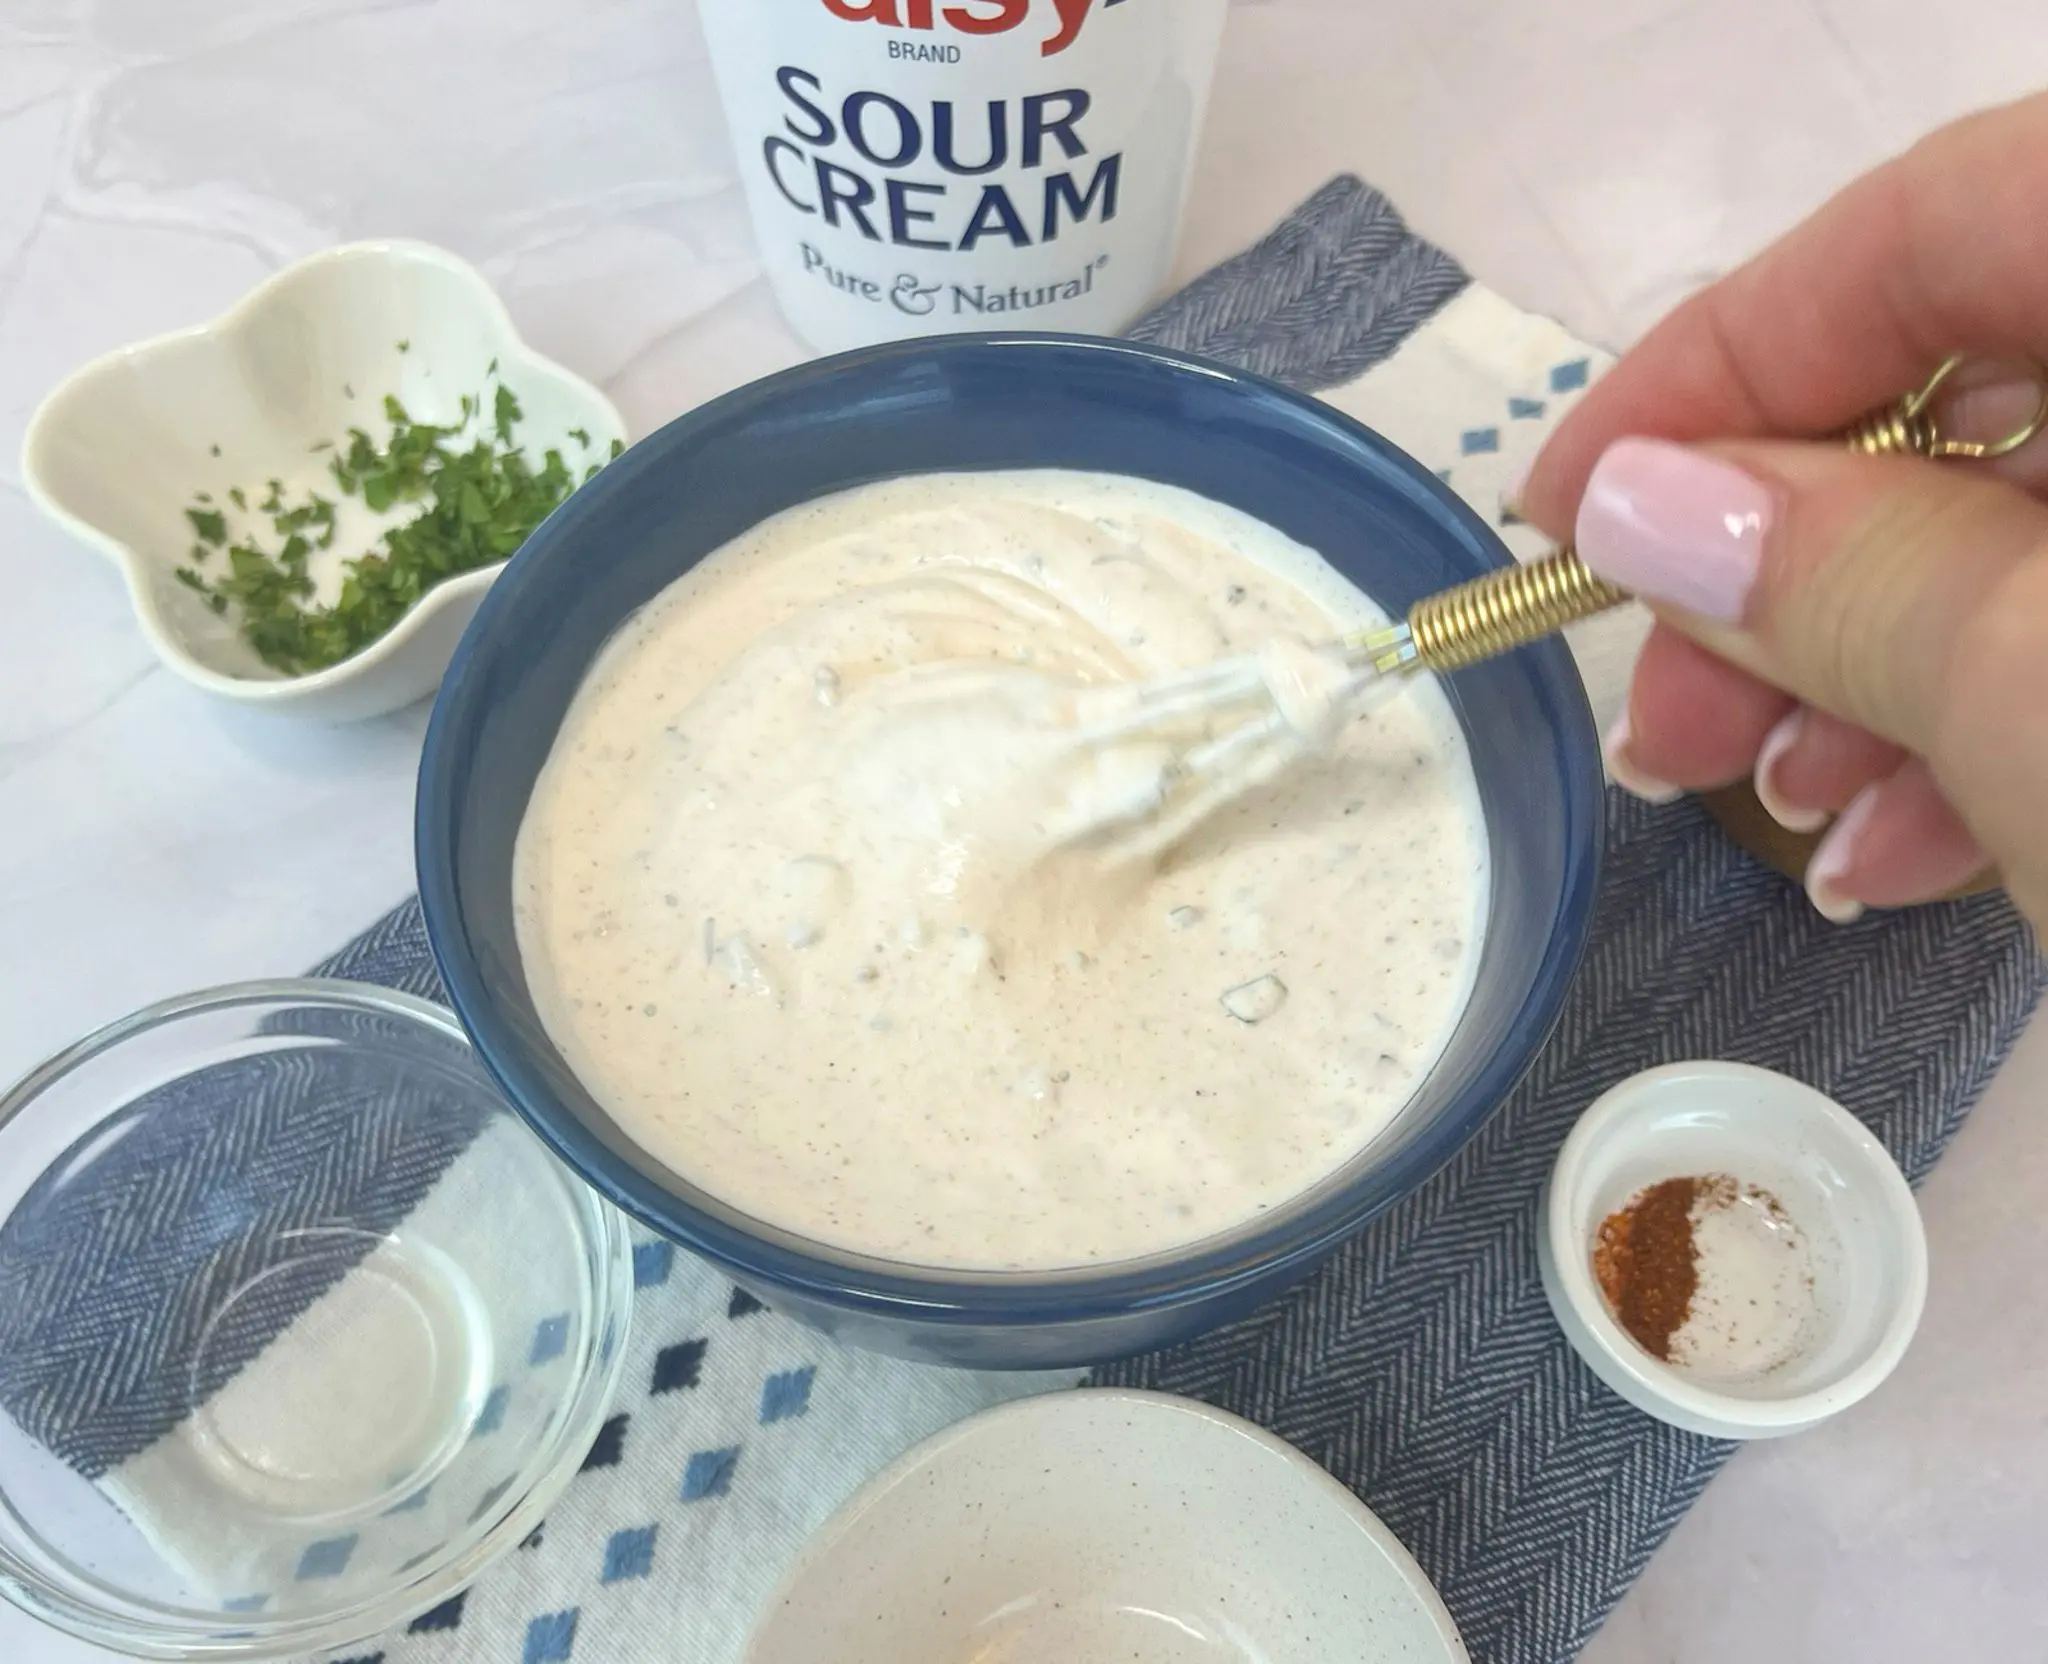
The finishing touch is a creamy dressing made of pantry spices and Daisy Sour Cream which adds a cool, creamy contrast that perfectly balances the chicken and corn. Its rich, smooth texture ties all the ingredients together, while a hint of tang brightens the entire dish.
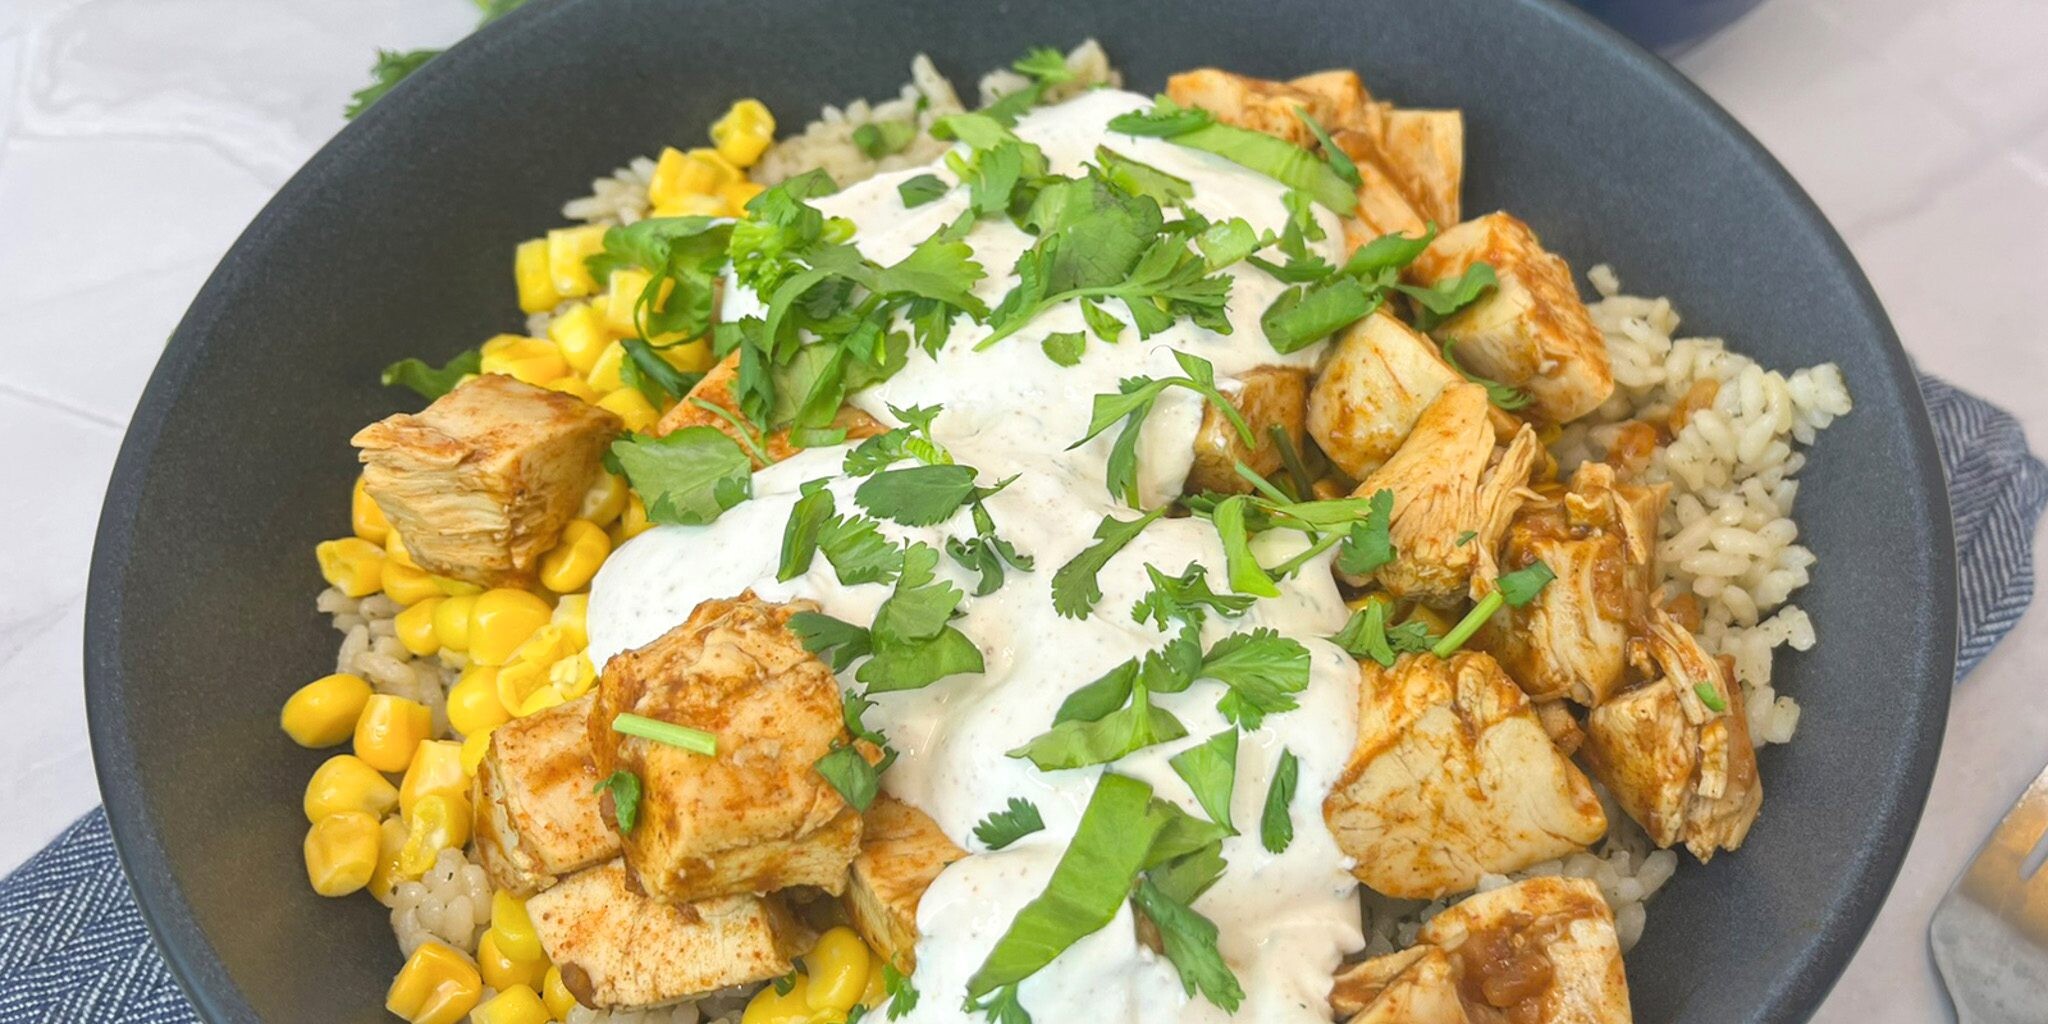
Top it off with fresh cilantro for a vibrant, customizable meal that’s perfect for weeknights, meal prep, or casual entertaining. It’s everything you love about street corn—transformed into a delicious, protein-packed bowl.
Easy Street Corn Chicken Bowl Ingredients
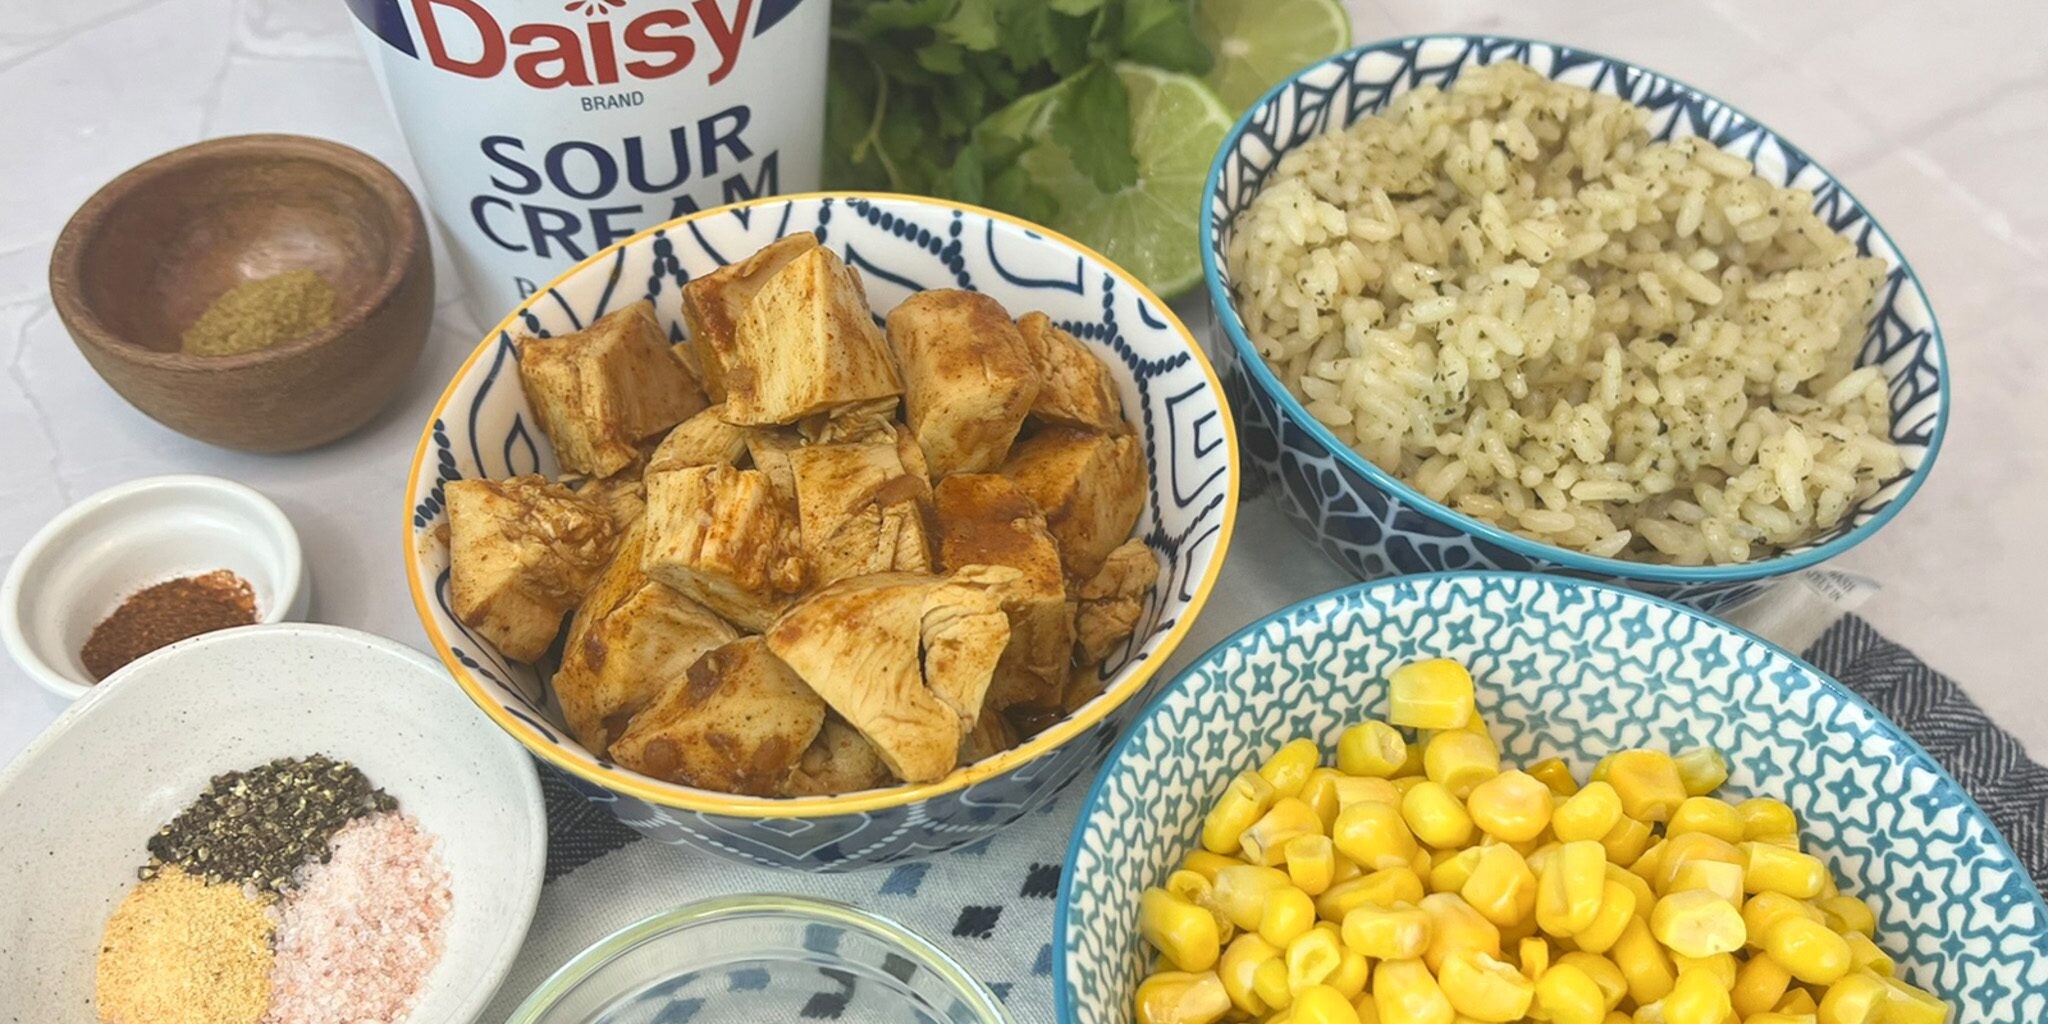
- Daisy Sour Cream (½ cup): The base of the dressing, it brings a creamy, tangy balance to every bite with a rich, smooth texture.
- Cumin (1 teaspoon): A warm, earthy, and slightly nutty flavor with a pungent, smoky smell. It flavors the dressing.
- Chili Powder (1 teaspoon): Earthy and savory, it’s smoky and sweet, but not overly hot. It also flavors the dressing.
- Garlic Powder (1 teaspoon): Provides a concentrated, mellow, and slightly sweeter without the pungent bite of raw garlic. It helps flavor the dressing.
- Lime Juice (2 teaspoons): Adds a bright, acidic tang to balance the richness of the sour cream.
- Cooked Rice (1/2 cup): Rice, farro, and quinoa are all great choices. Feel free to use whatever you have on hand.
- Taco Seasoned Chicken (2 cups): Seasoned rotisserie chicken works great in this recipe as does any leftover seasoned chicken. It provides the main protein in the bowl.
- Frozen Corn (1 cup, thawed): Provides sweetness, a pop of color, and a nice texture contrast to the chicken and rice.
- Cilantro (1/4 cup): Provides a bright, fresh, and citrusy flavor to the bowl.
Substitutions, Variations, and Tips
- Any type of cooked meat will work great in this recipe. Chicken, brisket, ground beef, shrimp, or fish are all great options.
- For a plant-based protein alternative, try adding toasted tofu or additional beans or lentils.
- The protein may be served cold or heated to your preference.
- Any type of cooked grain works great for burrito bowls to add fiber and to give you extra energy.
- Cauliflower rice is also a great choice if you’d prefer a lighter option.
- Sauteed bell peppers and onions make a great fajita-type addition.
- Chopped lettuce and halved cherry tomatoes may be used as a base instead of rice for a salad option instead of a bowl.
- Hot sauce or jalapenos may be added for those who like their bowls with more heat.
- Cotija cheese will add a nice touch of traditional street corn.
- If you prefer charred corn, toast frozen or fresh corn for 3-4 minutes in a dry skillet or char fresh corn on the cob on the grill.
How to Make Easy Street Corn Chicken Bowl
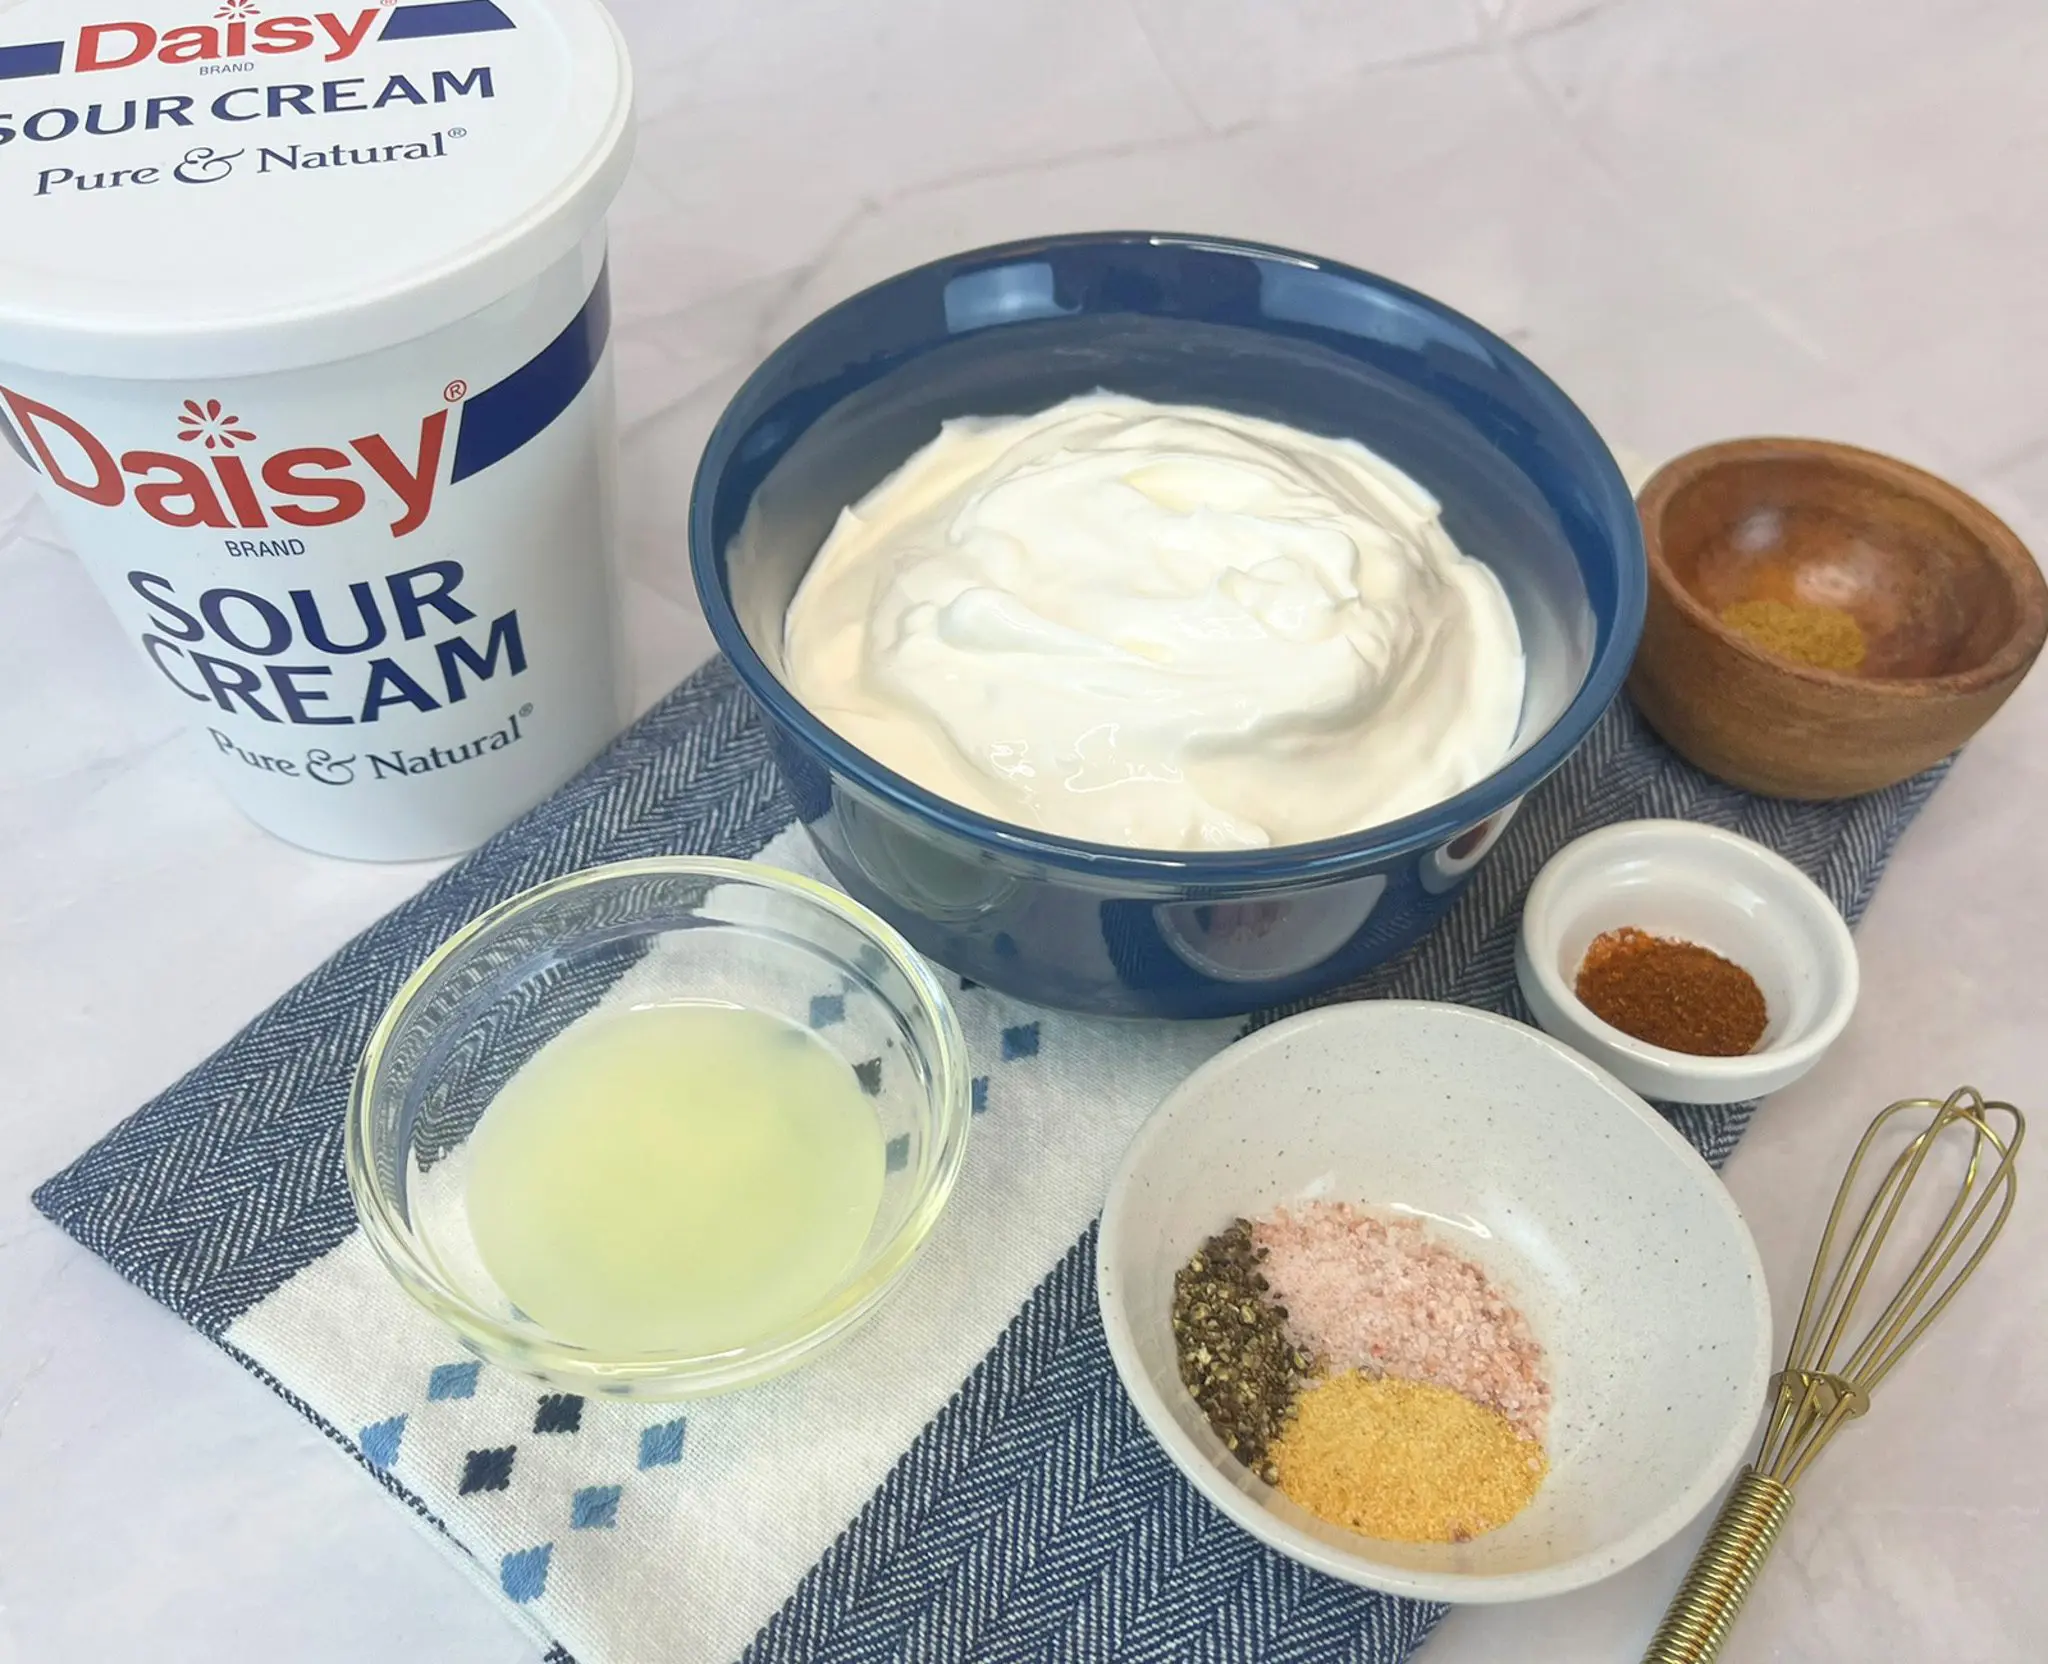
- Mix sour cream, cumin, chili powder, garlic powder, and lime juice in a small bowl.
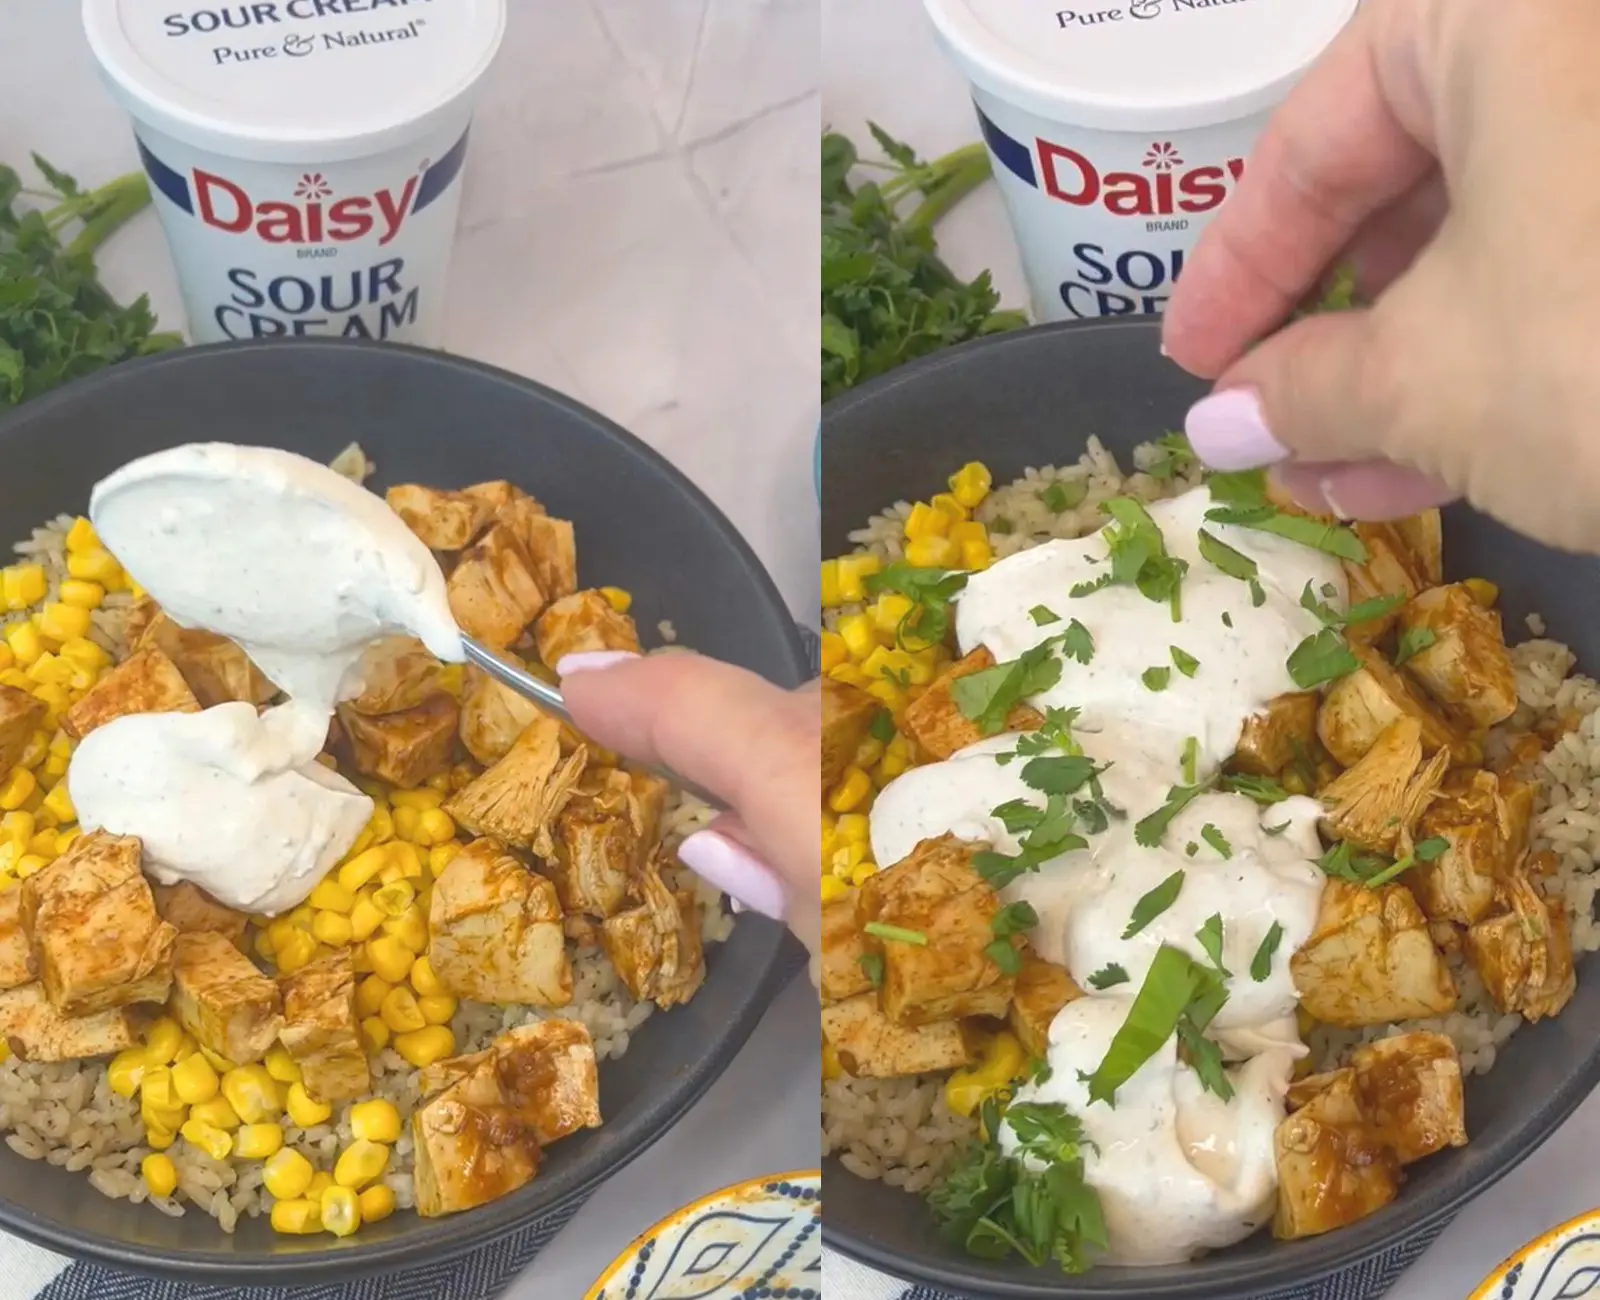
- Layer rice, seasoned chicken, and corn into 2 bowls. Top with sour cream mixture and sprinkle with cilantro.
Street Corn
Easy Street Corn
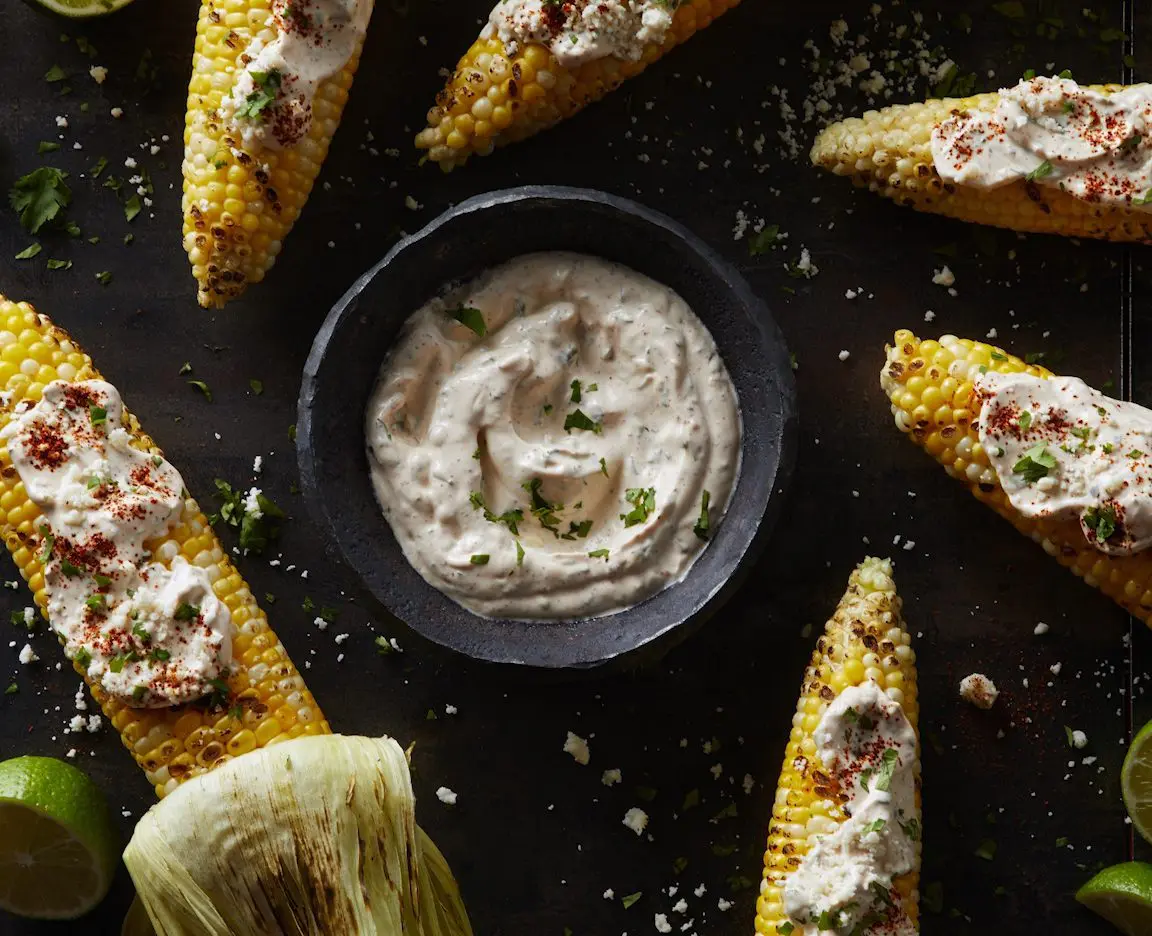
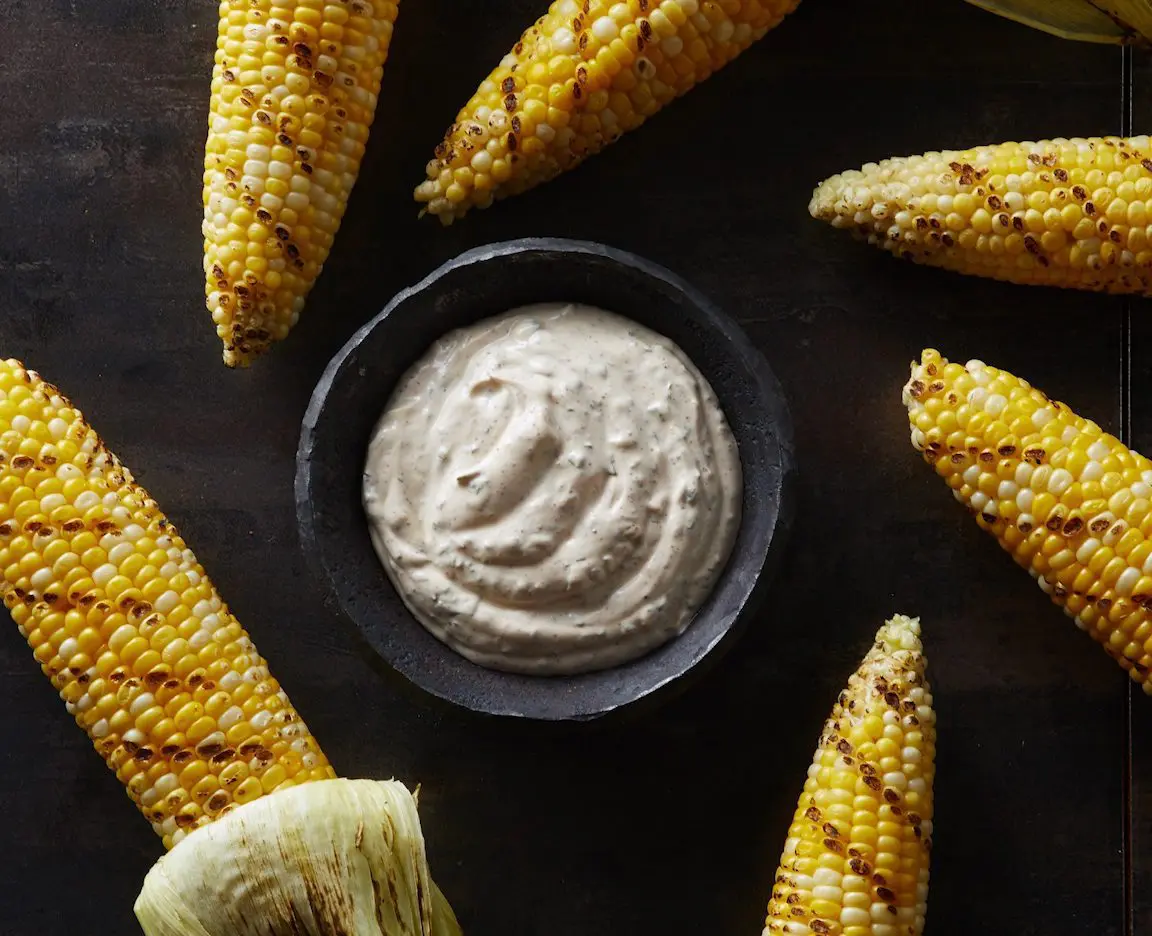
Street Corn is a bold, flavorful favorite inspired by classic Mexican elote, sweet corn grilled to perfection and coated in creamy, tangy, and savory goodness. It’s the perfect side dish for cookouts, taco nights, or anytime you want something simple but packed with flavor.
The real secret to making it extra delicious is Daisy Sour Cream. Its rich, creamy texture blends beautifully with the warm grilled corn, adding a cool tang that balances the smoky sweetness. Daisy Sour Cream helps create that irresistible street corn coating everyone loves.
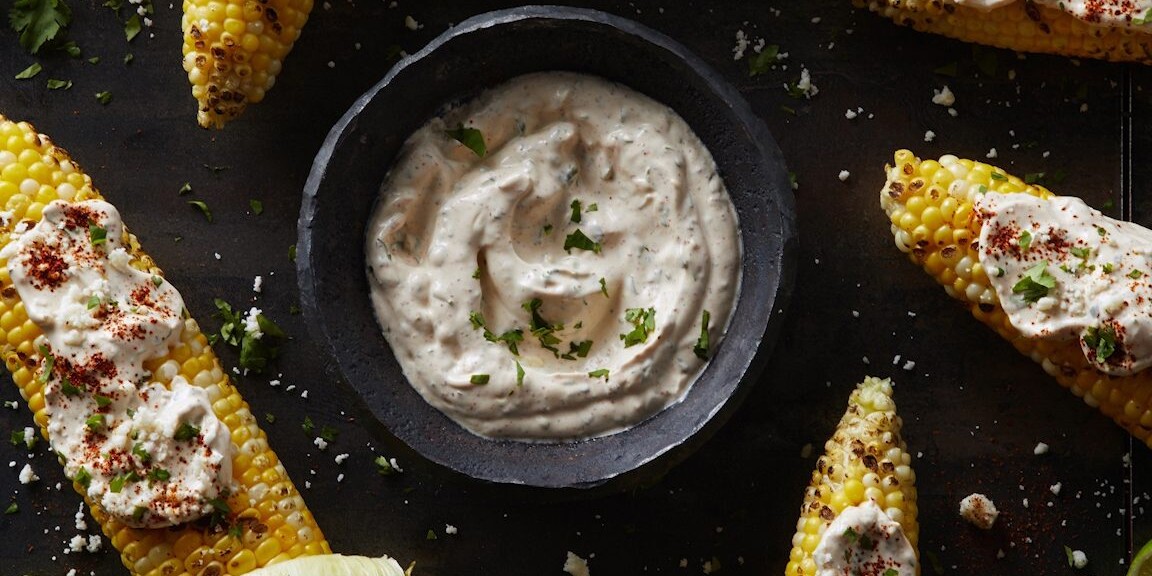
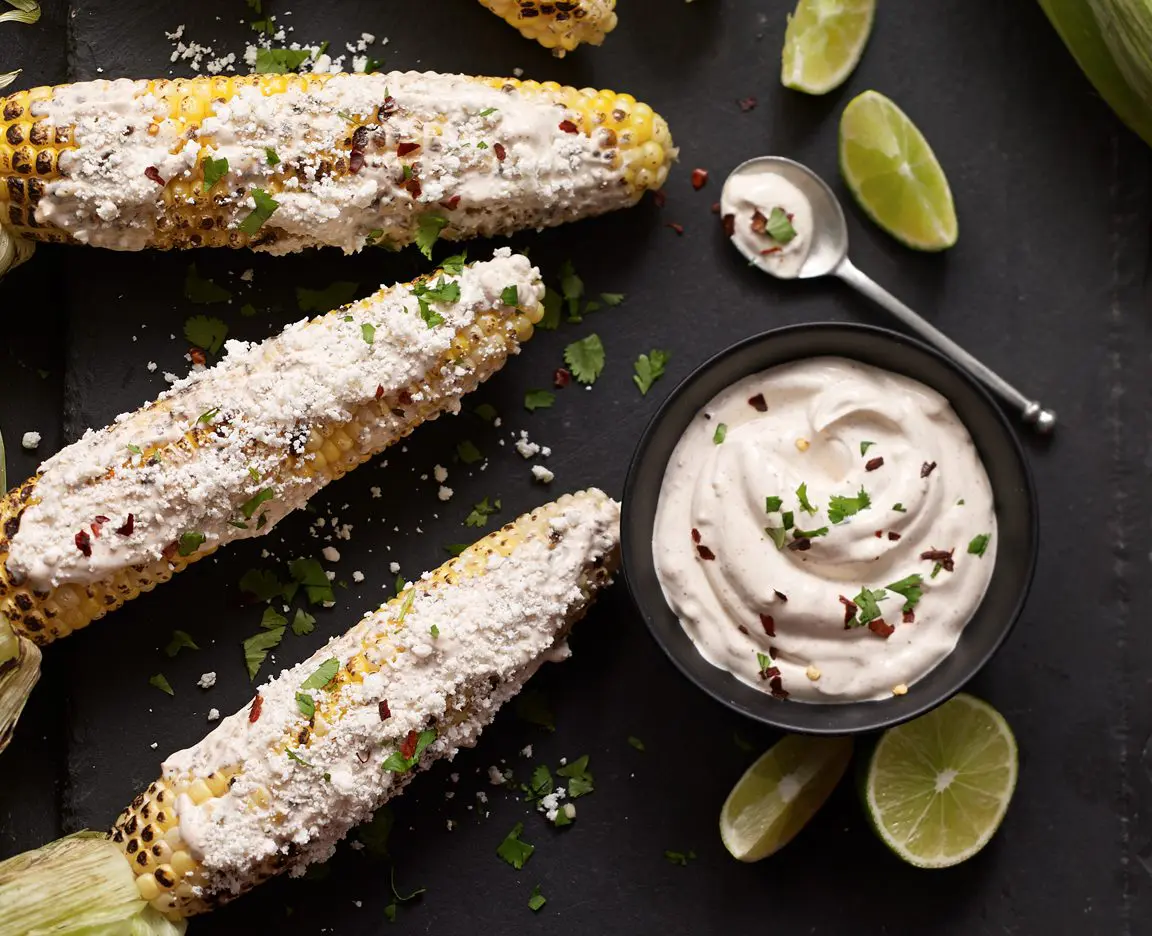
Top it off with a sprinkle of chili powder, cotija cheese, fresh lime juice, and chopped cilantro for the perfect mix of creamy, spicy, and zesty flavors. Every bite is bright, satisfying, and full of texture.
Whether served on the cob or in a bowl, Street Corn is an easy, crowd-pleasing side dish that brings big flavor to any meal.
Street Corn Ingredients
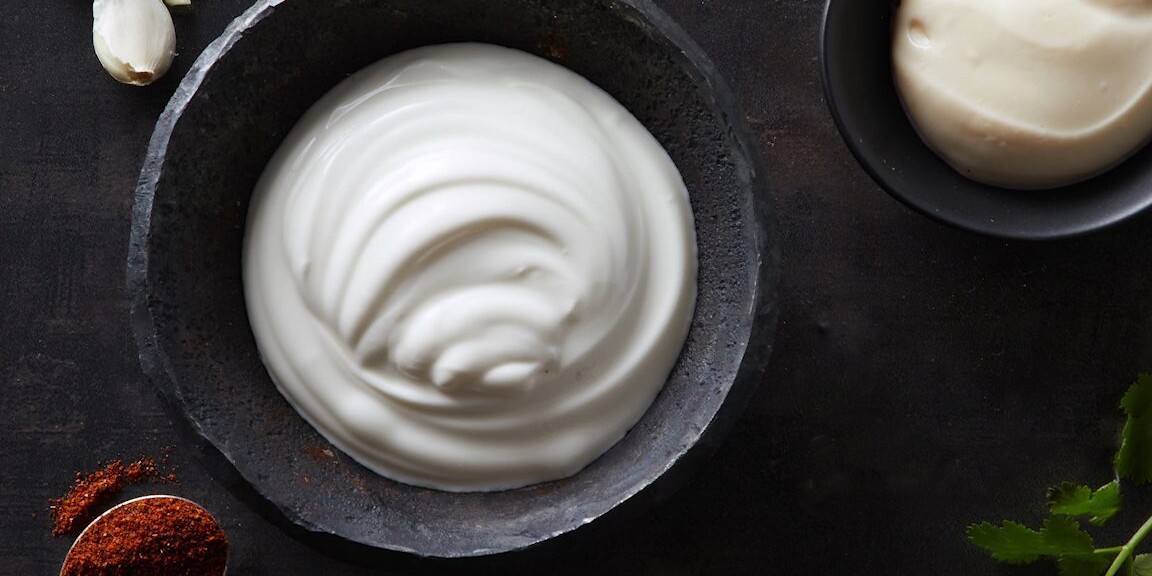
- Daisy Sour Cream (3/4 cup): Adds a cool, creamy contrast to the sweet, smoky flavor of grilled corn. It also balances the heat from chili powder and the brightness of lime, tying all the flavors together in every bite, resulting in a sauce that’s creamy, zesty, and perfectly well-rounded without overpowering the natural sweetness of the corn.
- Mayonnaise (1/4 cup): Lends an extra layer of creaminess and fat to the sauce.
- Chopped Cilantro (1/4 cup): Provides a bright herbiness and a fresh, citrusy note to the corn.
- Minced Garlic (1 clove): Adds a savory, earthy flavor to the sauce.
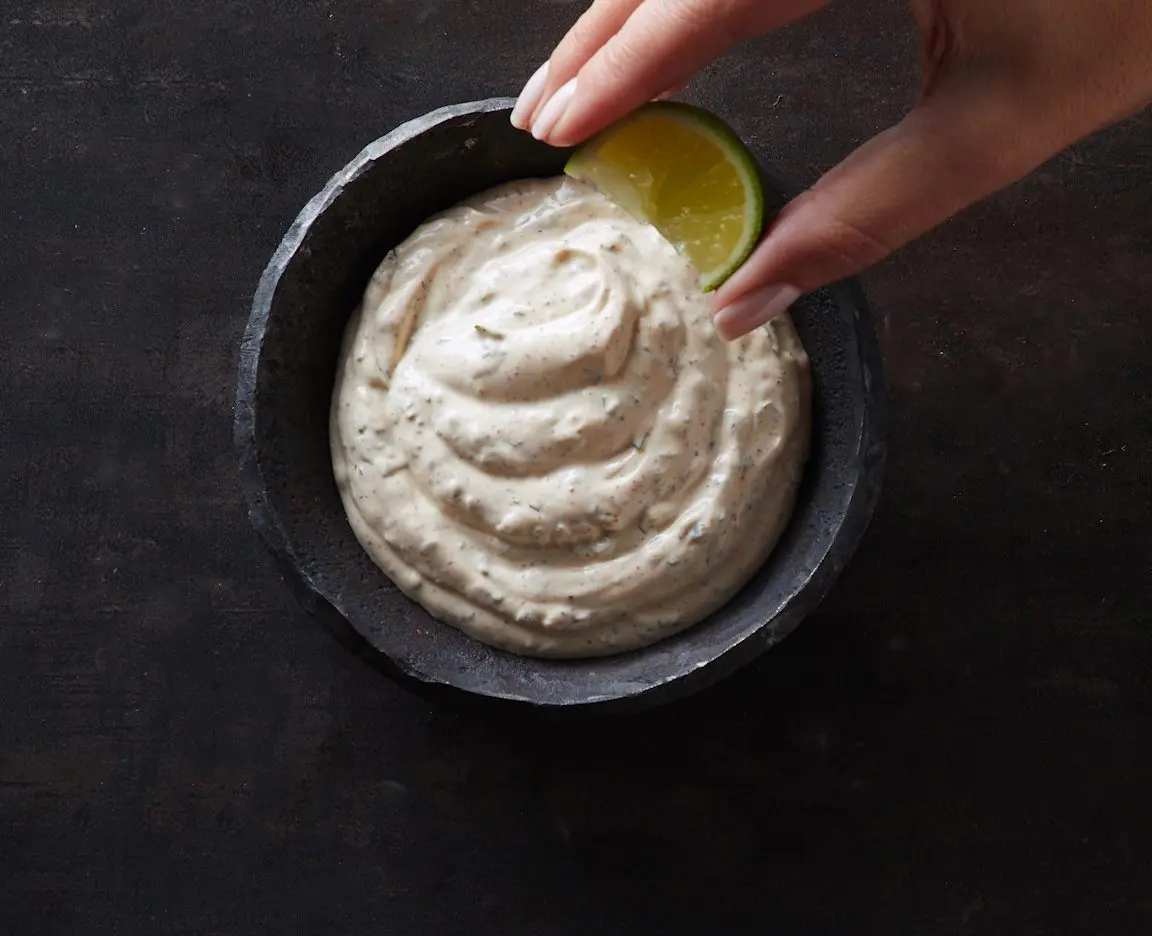
- Fresh Lime Juice (1 tablespoon): Supplies a bright, citrus burst of flavor that complements the sweetness of the corn.
- Chili Powder (1 teaspoon): Adds a touch of smoky heat and a pop of color to the corn.
- Fresh Corn (6 ears, cleaned): The sweet and charred base of the recipe. The grilling brings out the natural sweetness of the corn.
- Cotija Cheese (1/3 cup): Salty and crumbly, it provides a flavor boost to the sauce.
Substitutions, Variations, and Tips
- Fresh lime juice is best. Bottled lime juice may taste artificial.
- Feta may be used in place of cotija.
- Adding smoked paprika or tajin to the sauce will lend additional flavor.
- Sprinkle with red pepper flakes for a touch of heat.
- If you don’t like grill marks on corn, wrap in aluminum foil or keep the husks on while grilling. Increase the cooking time to 20-25 minutes, turning frequently.
- Make sure the grill is hot before placing corn on the grill. Turn frequently, every 2-3 minutes, to ensure perfect charring without burning.
- Serve with a spritz of fresh lime juice, if desired.
How to Make Street Corn
- Heat the grill.
- Combine sour cream, mayonnaise, cilantro, garlic, lime juice, and chili powder in a small bowl.
- Grill the corn, covered, over medium heat or coals for 10 to 12 minutes or until tender and slightly charred, turning occasionally to grill all sides (about 2-3 minutes per side).
- Spoon the sour cream mixture over the corn and sprinkle with the cheese. Serve with lime wedges and additional chili powder, if desired.
Lemon Crumble Bars
Lemon Crumble Bars
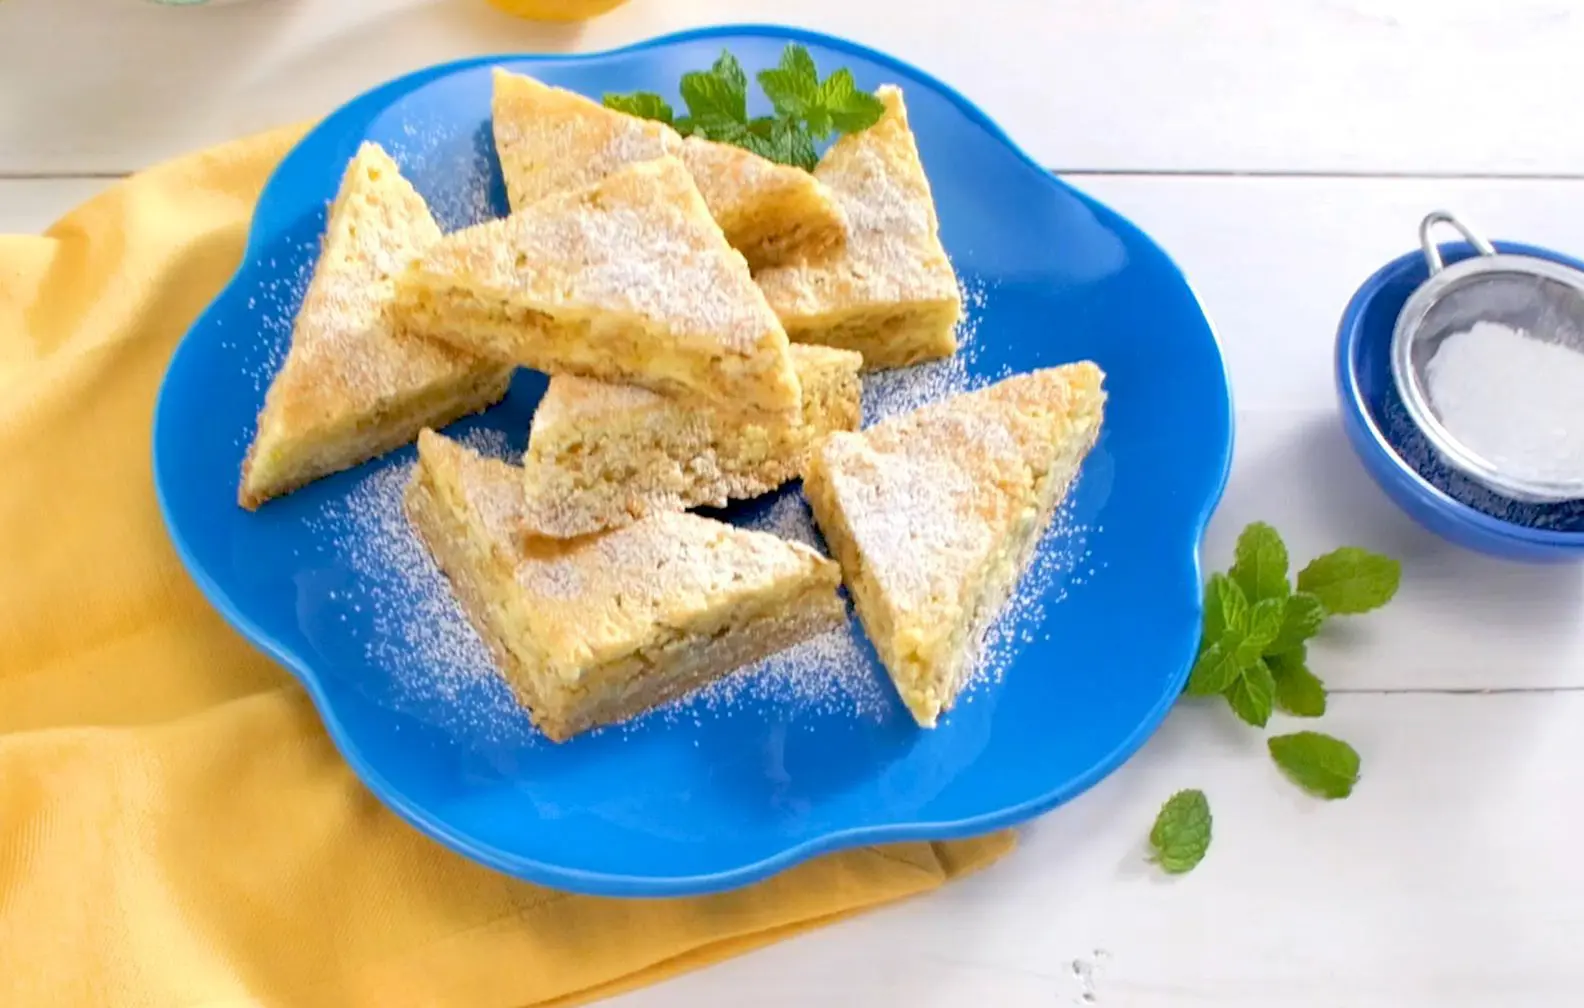
If you love easy desserts with bright citrus flavor, these Lemon Crumble Bars are about to become your new favorite treat. Made with boxed lemon cake mix and Daisy Sour Cream, this simple recipe comes together quickly while delivering homemade taste everyone will love.
The lemon cake mix creates a buttery, tender crumble crust, and topping, while Daisy Sour Cream adds a creamy richness that makes every bite the perfect balance of tart and sweetness. The result is the perfect balance of sweet, tangy, and crumbly texture in one irresistible dessert bar.

The secret to their extra creamy texture? Daisy Sour Cream. Adding sour cream to the lemon filling creates a velvety richness that complements the fresh lemon flavor while keeping the bars moist, luscious, and bakery-worthy. Plus, Daisy Sour Cream is made with simple ingredients and no preservatives, making it an easy choice for homemade desserts.
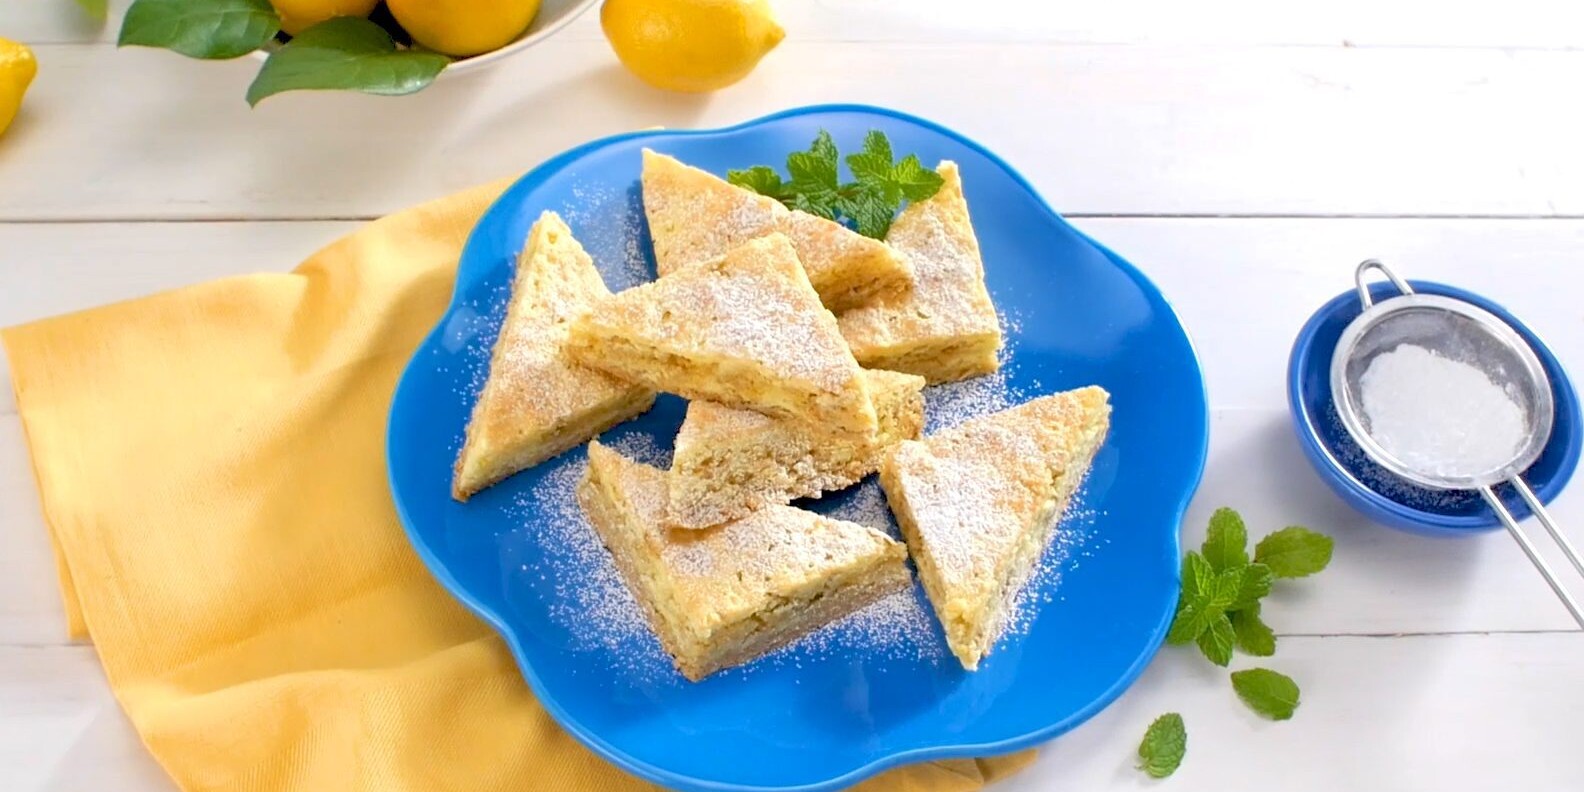
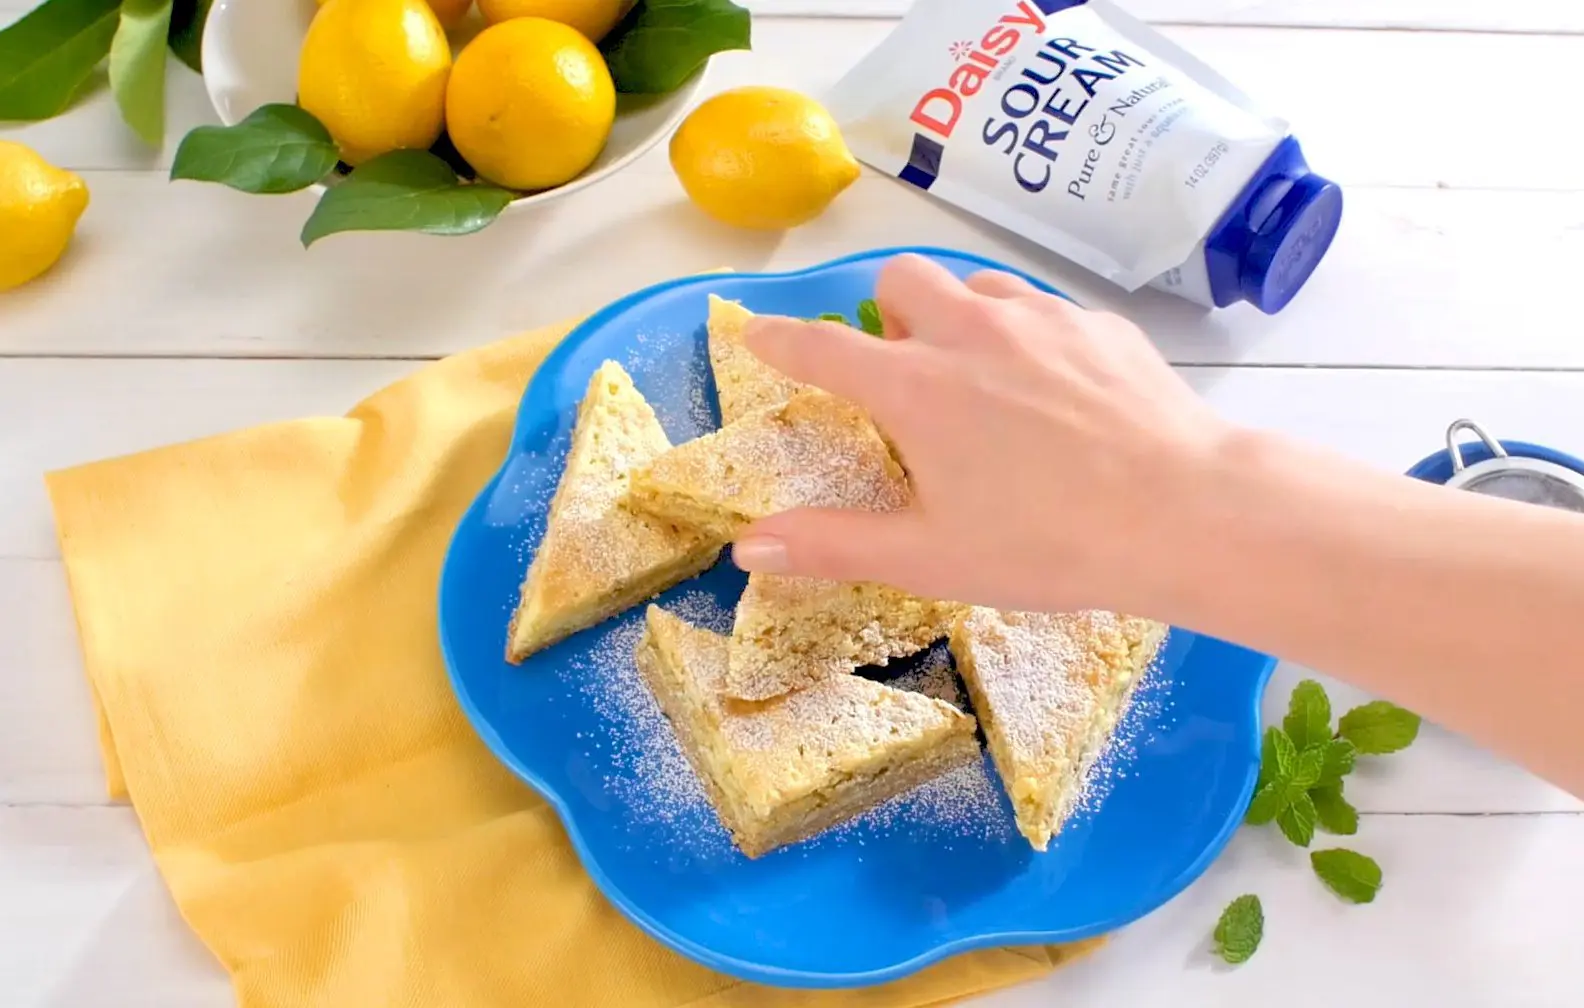
These Lemon Crumble Bars are perfect for potlucks, brunches, bake sales, or anytime you need a quick dessert that looks as good as it tastes. Serve them chilled for a refreshing treat, dusted with powdered sugar for a pretty finish, or paired with coffee for an afternoon pick-me-up.
Best of all, using boxed lemon cake mix keeps prep simple, so you can spend less time baking and more time enjoying. With the creamy goodness of Daisy Sour Cream and the sunny flavor of lemon, these bars are guaranteed to brighten any table.
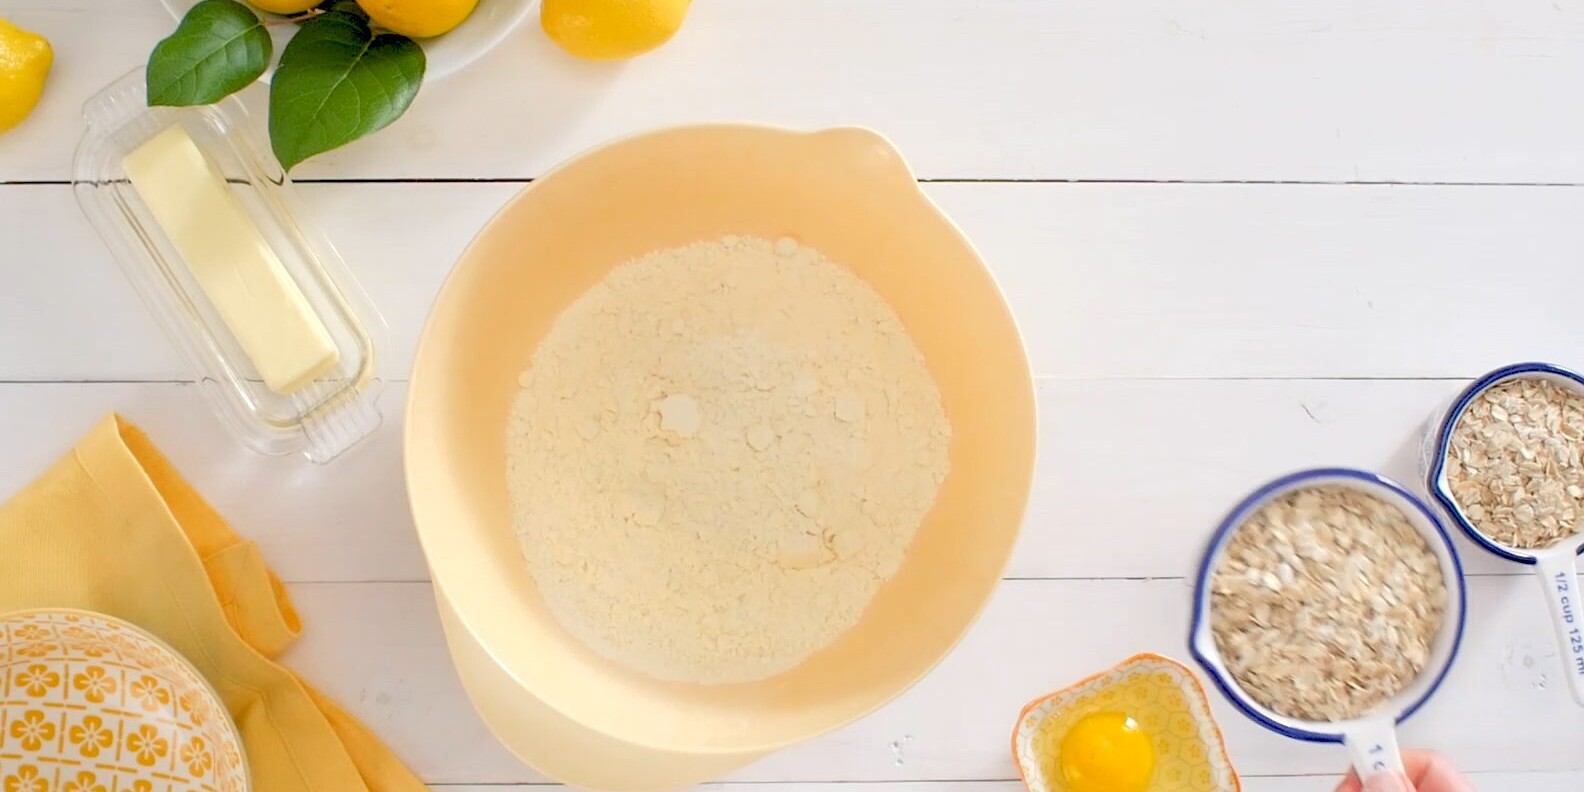
Lemon Crumble Bar Ingredients
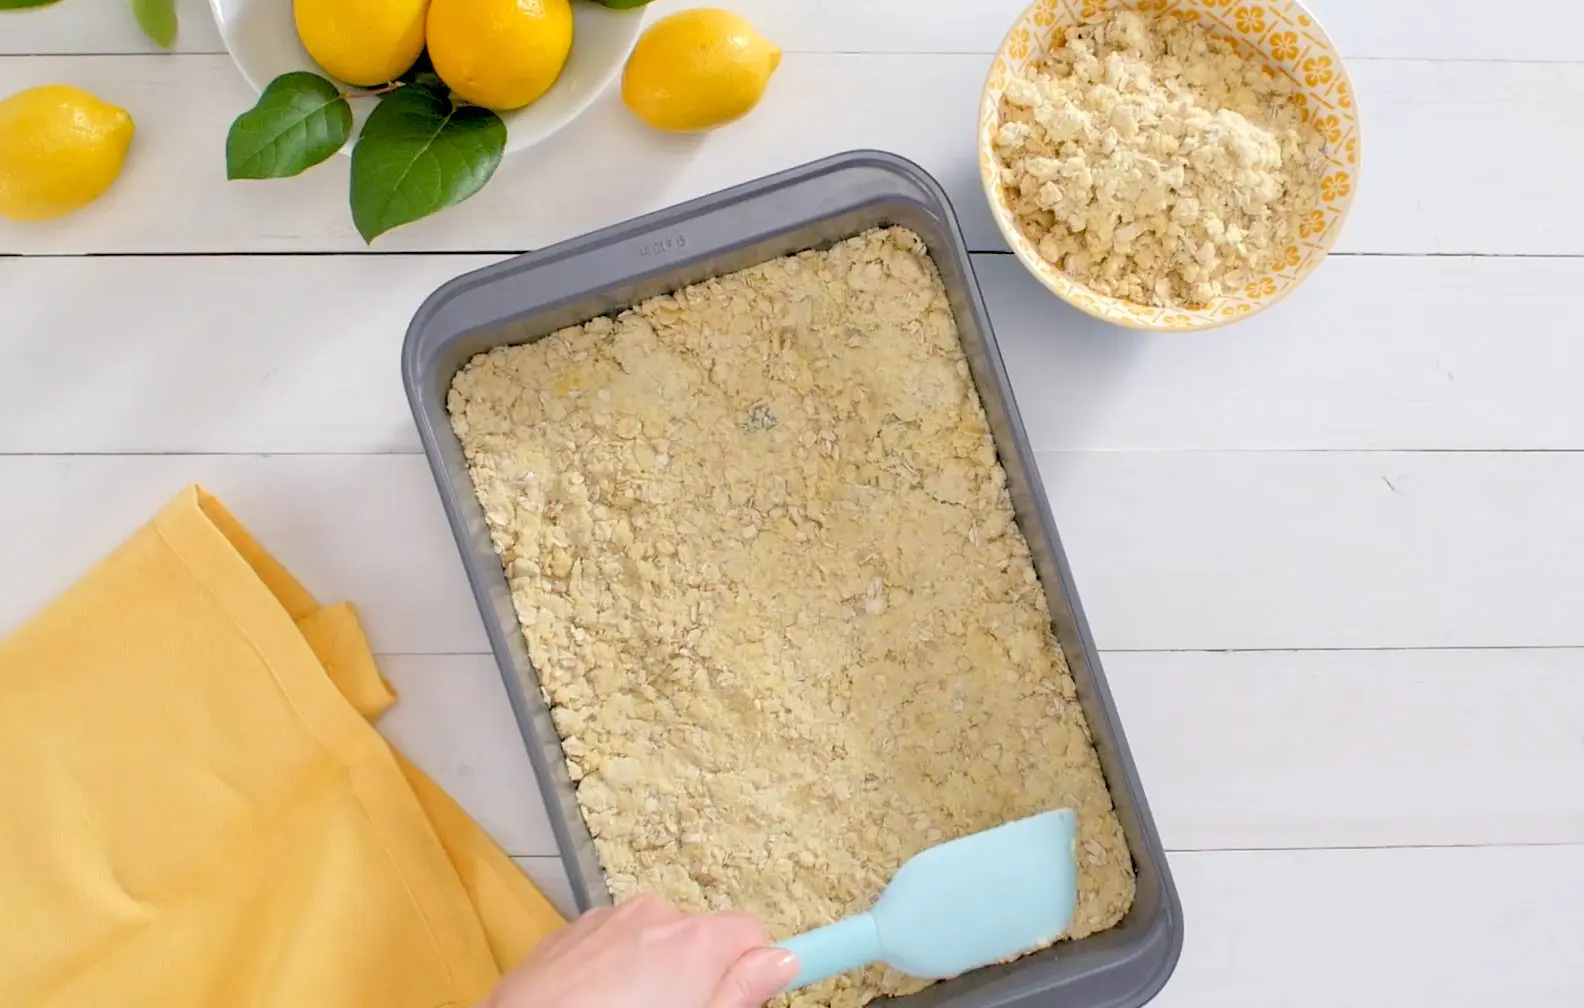
- Crumble Ingredients
- Boxed Lemon Cake Mix: A convenient, pre-mixed base that yields an incredibly soft, moist, and chewy texture with minimal effort. It saves prep time compared to measuring dry ingredients from scratch.
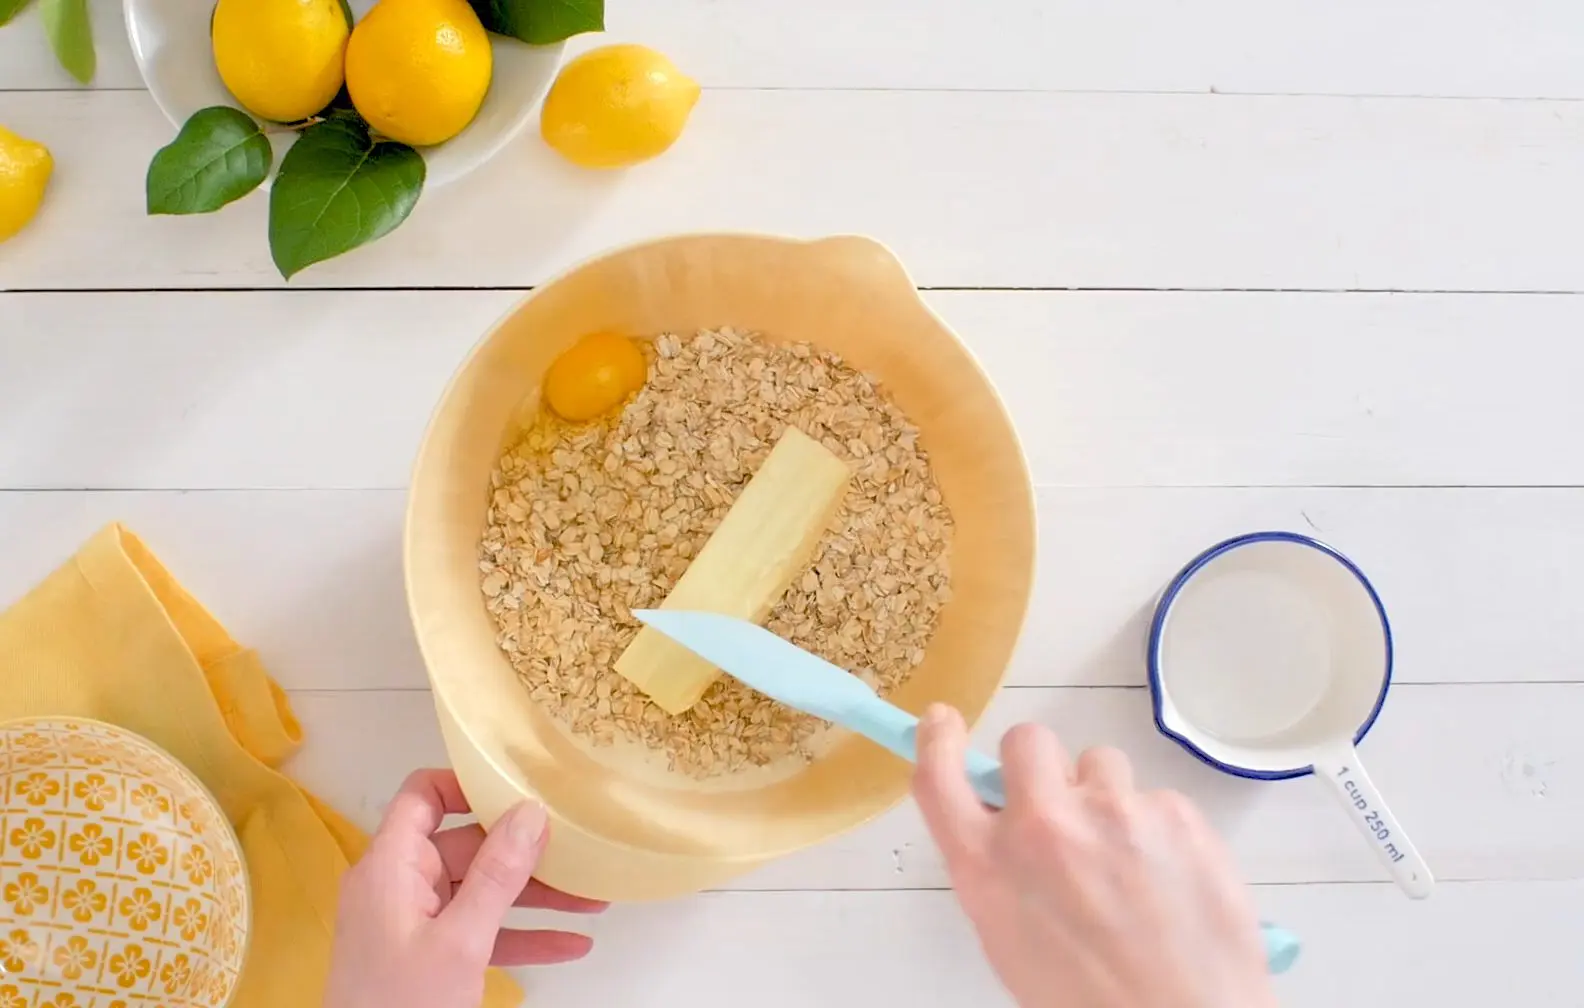
- Oats (1 ½ cups): Both old fashioned and quick cook oats work well in this recipe. Old fashioned oats have a chewier texture, while quick oats will make slightly softer, less chewy bars.
- Salted Butter (1/2 cup, softened): Adds flavor to the crumble.
- Egg (1 large): Used to bind the other ingredients in the crumble.
- Filling Ingredients
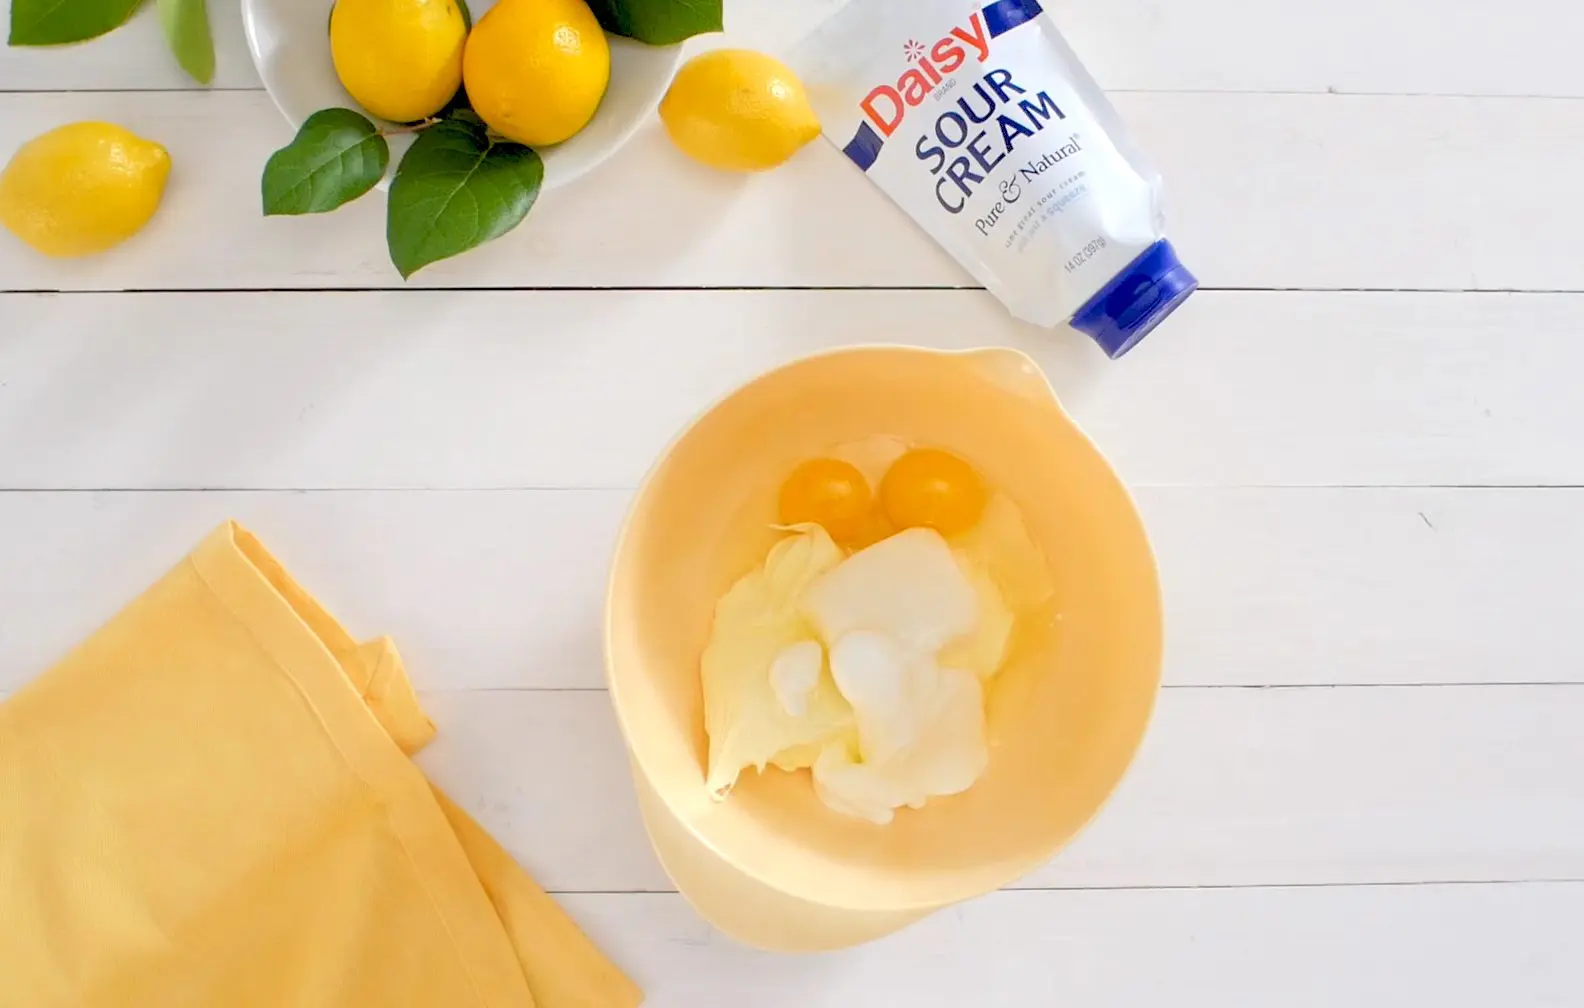
- Eggs (2 large): Binds the other filling ingredients together and provides structure for the finished bars.
- Lemon Frosting (16oz can): Enhances the bright citrus flavor and provides a creamy, sweet tartness to the bars.
- Cream Cheese (4oz, softened): Adds a rich, creamy texture and a tangy flavor that balances the sharp tartness of the lemon.
- Daisy Sour Cream (1/2 cup): Provides a rich, velvety layer between the crust and topping that softens the tart lemon flavor while adding creamy richness. It keeps the bars moist, luscious, and deliciously bakery-worthy.
Substitutions, Variations, and Tips
- Use parchment paper with 1-2” overhand to line your pan for easy, clean removal and easy cleaning.
- Press the crumble bottom firmly and evenly into the corners to ensure uniform baking.
- Bake the crust until it is golden brown before adding the filling to ensure it stays crisp. A properly pre-baked crust acts as a barrier, preventing the lemon filling from making it mushy.
- A glass pan works best. Using a glass pan can prevent a metallic taste that sometimes accompanies lemon recipes in metal pans.
- Adding fresh lemon zest to the crumble or crust will enhance the lemon flavor.
- Avoid overbeating the filling to limit air bubbles.
- Chill completely before cutting with a hot, clean knife for the sharpest edges. Never cut hot bars, as they will fall apart.
- Make the day ahead for easier cutting.
- Store in the refrigerator in an airtight container for 3–4 days. May be frozen for up to 3 months. To freeze, wrap cooled bars tightly in plastic wrap and then place into a zip-top bag with the air removed.
How to Make Lemon Crumble Bars
- Preheat the oven to 350° Spray 9×13” pan with nonstick spray.
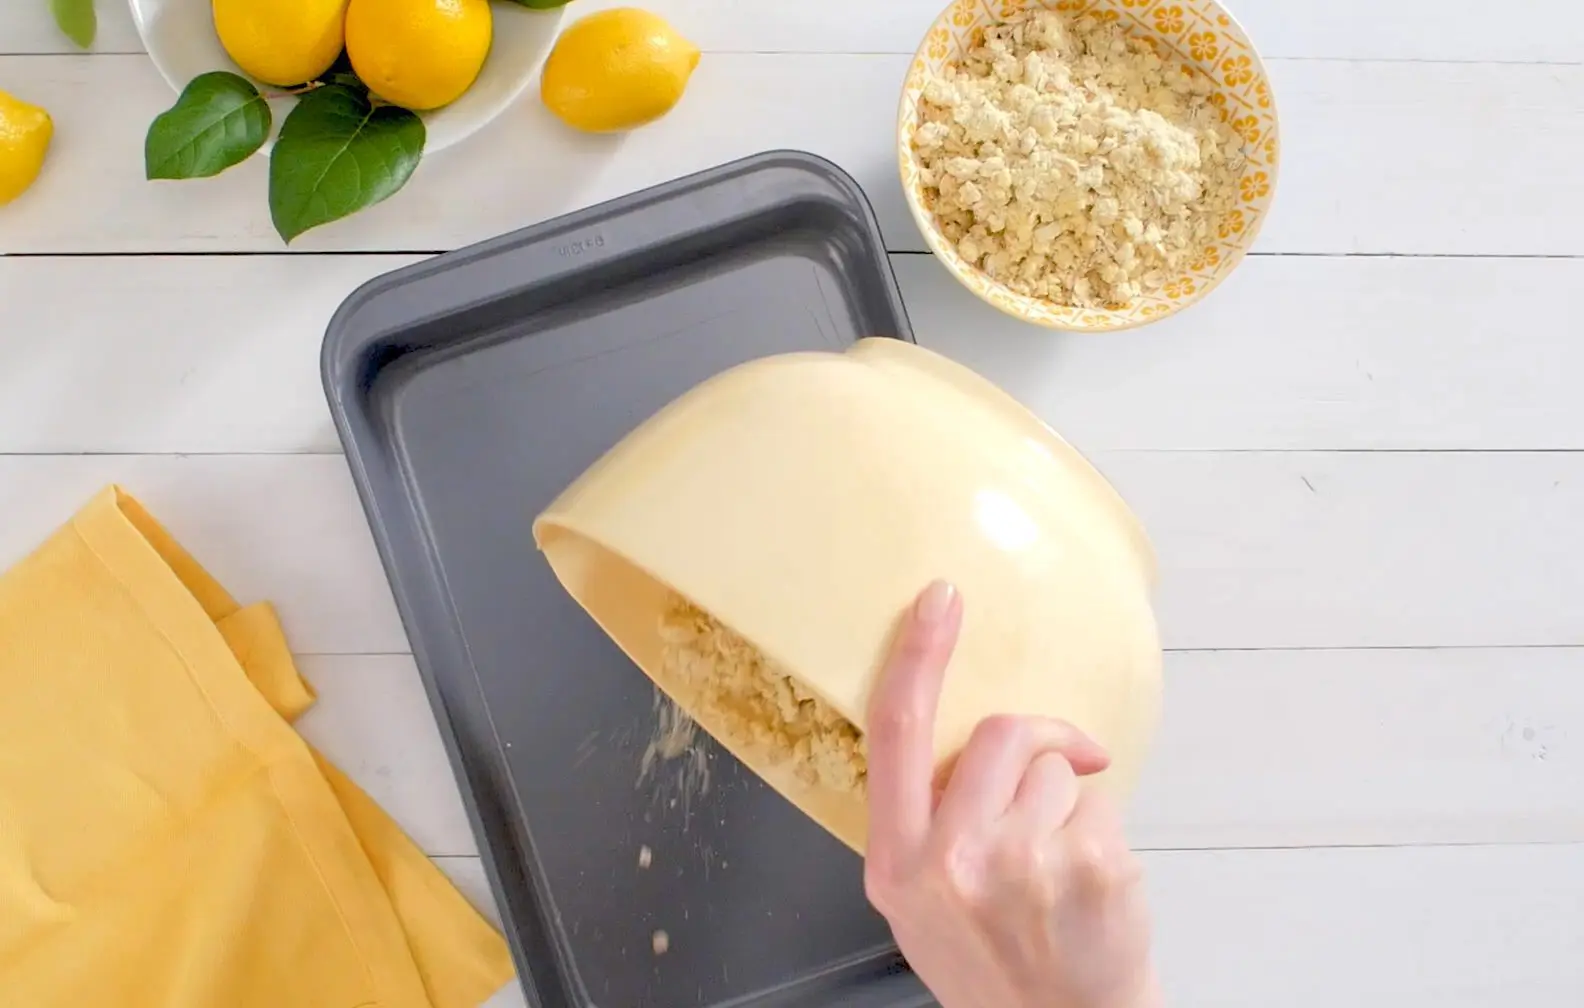
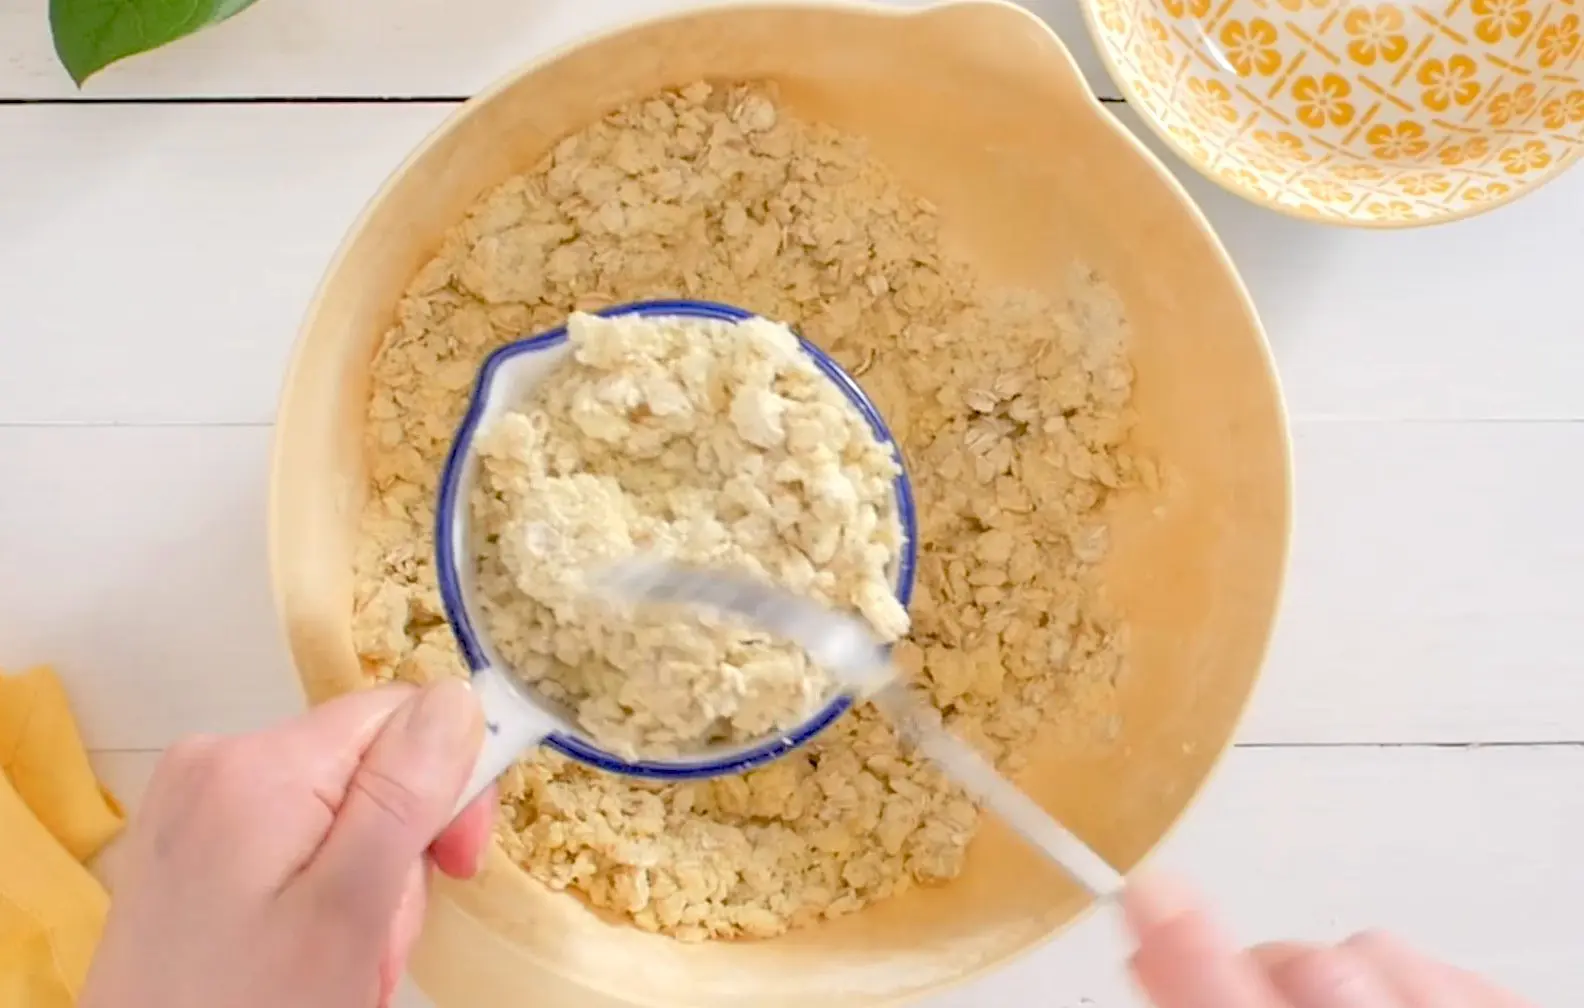
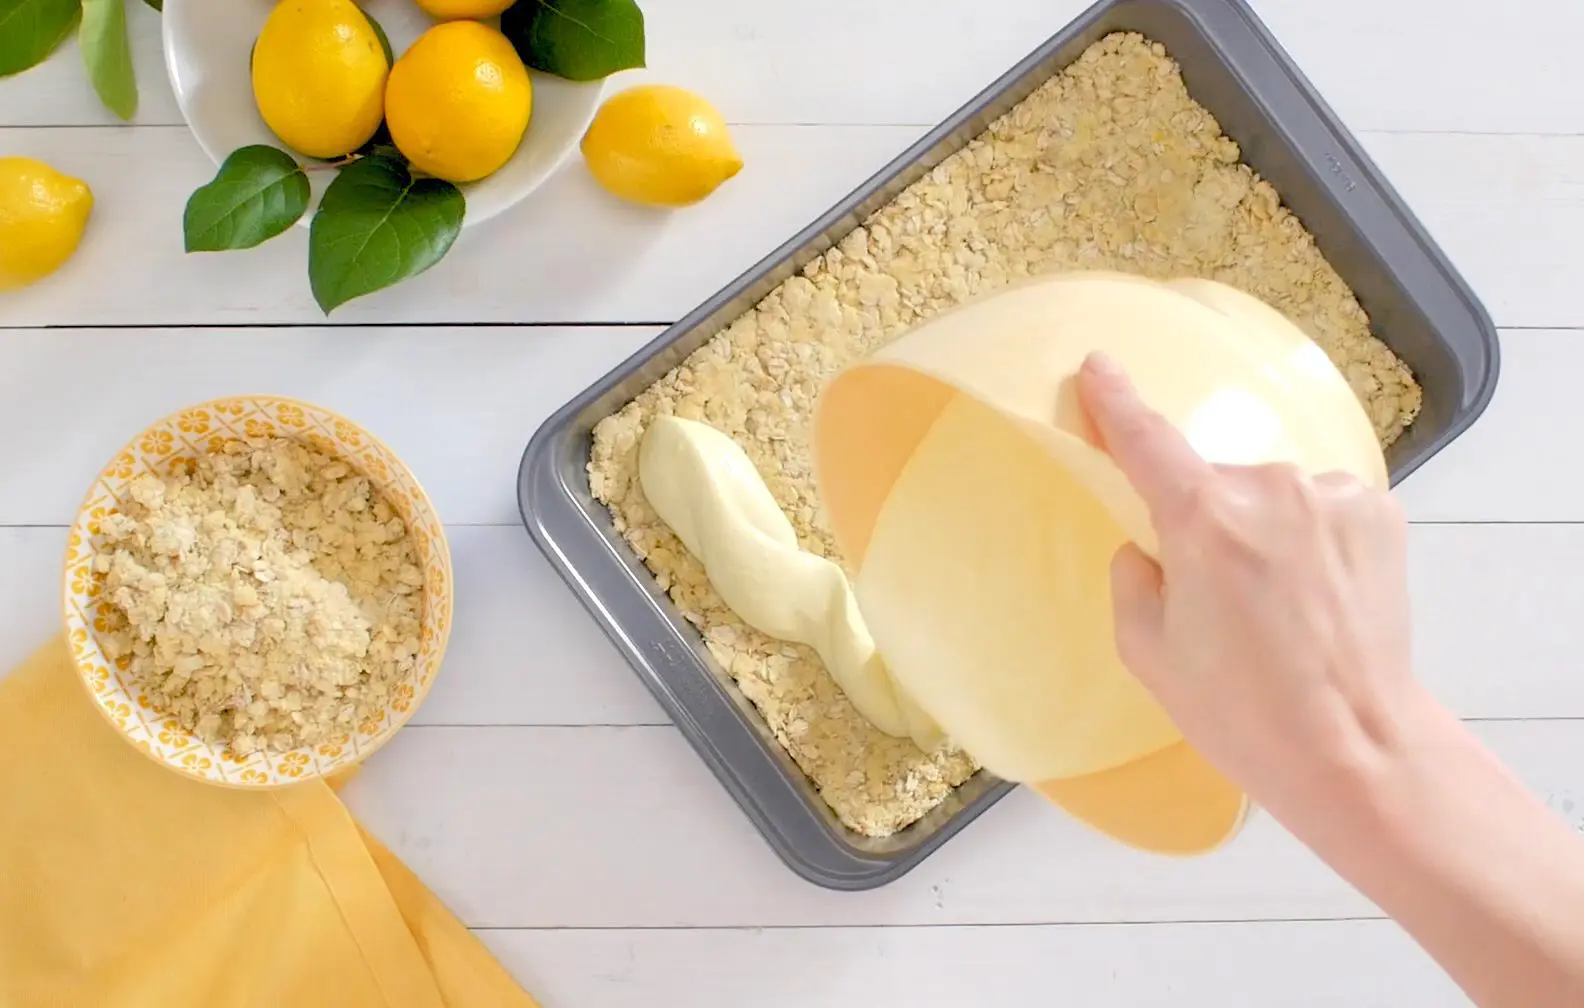
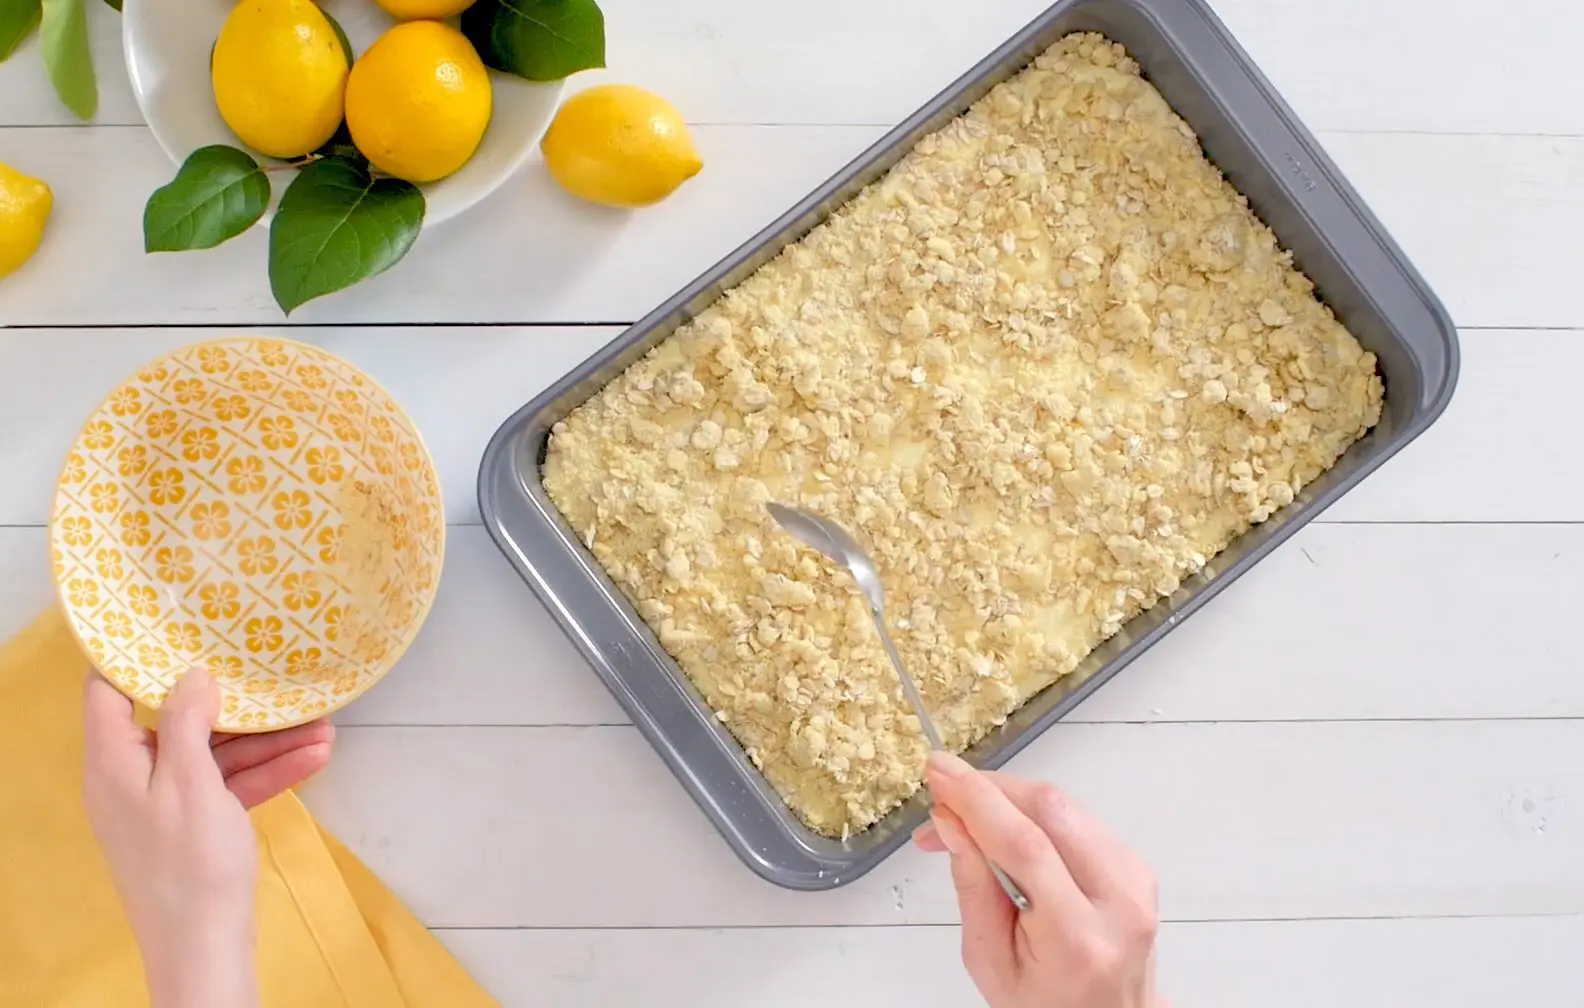
- Mix the cake mix, oats, butter and 1 egg. Reserve 2 cups for topping. Press remaining crumb mixture into the bottom of pan.
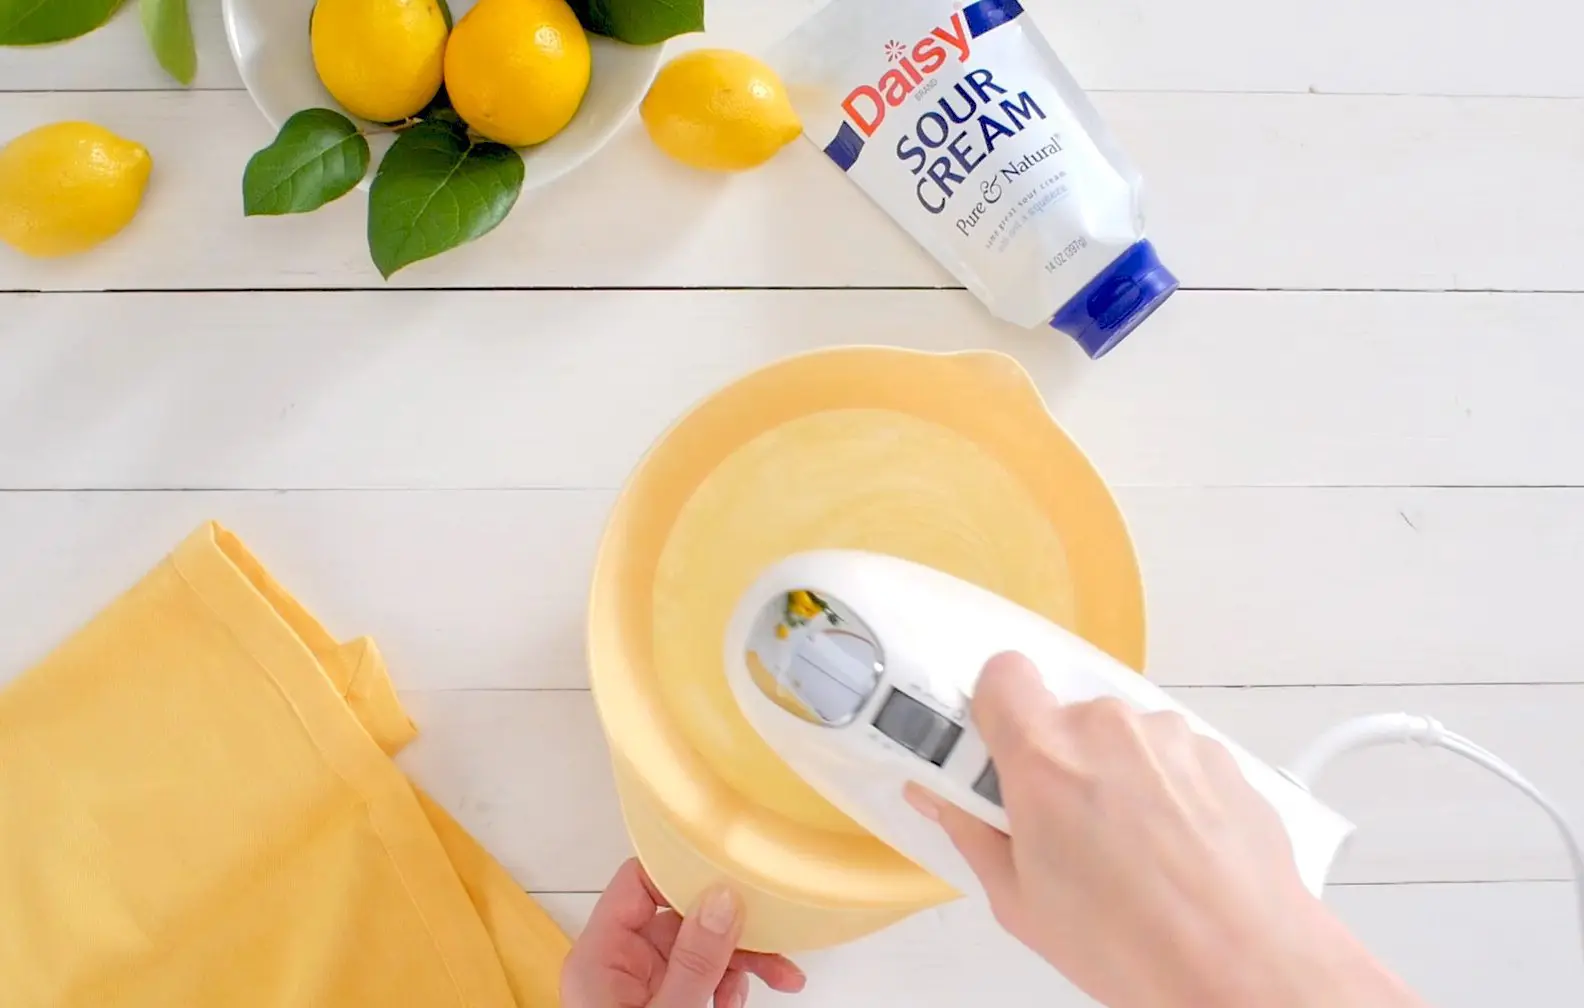
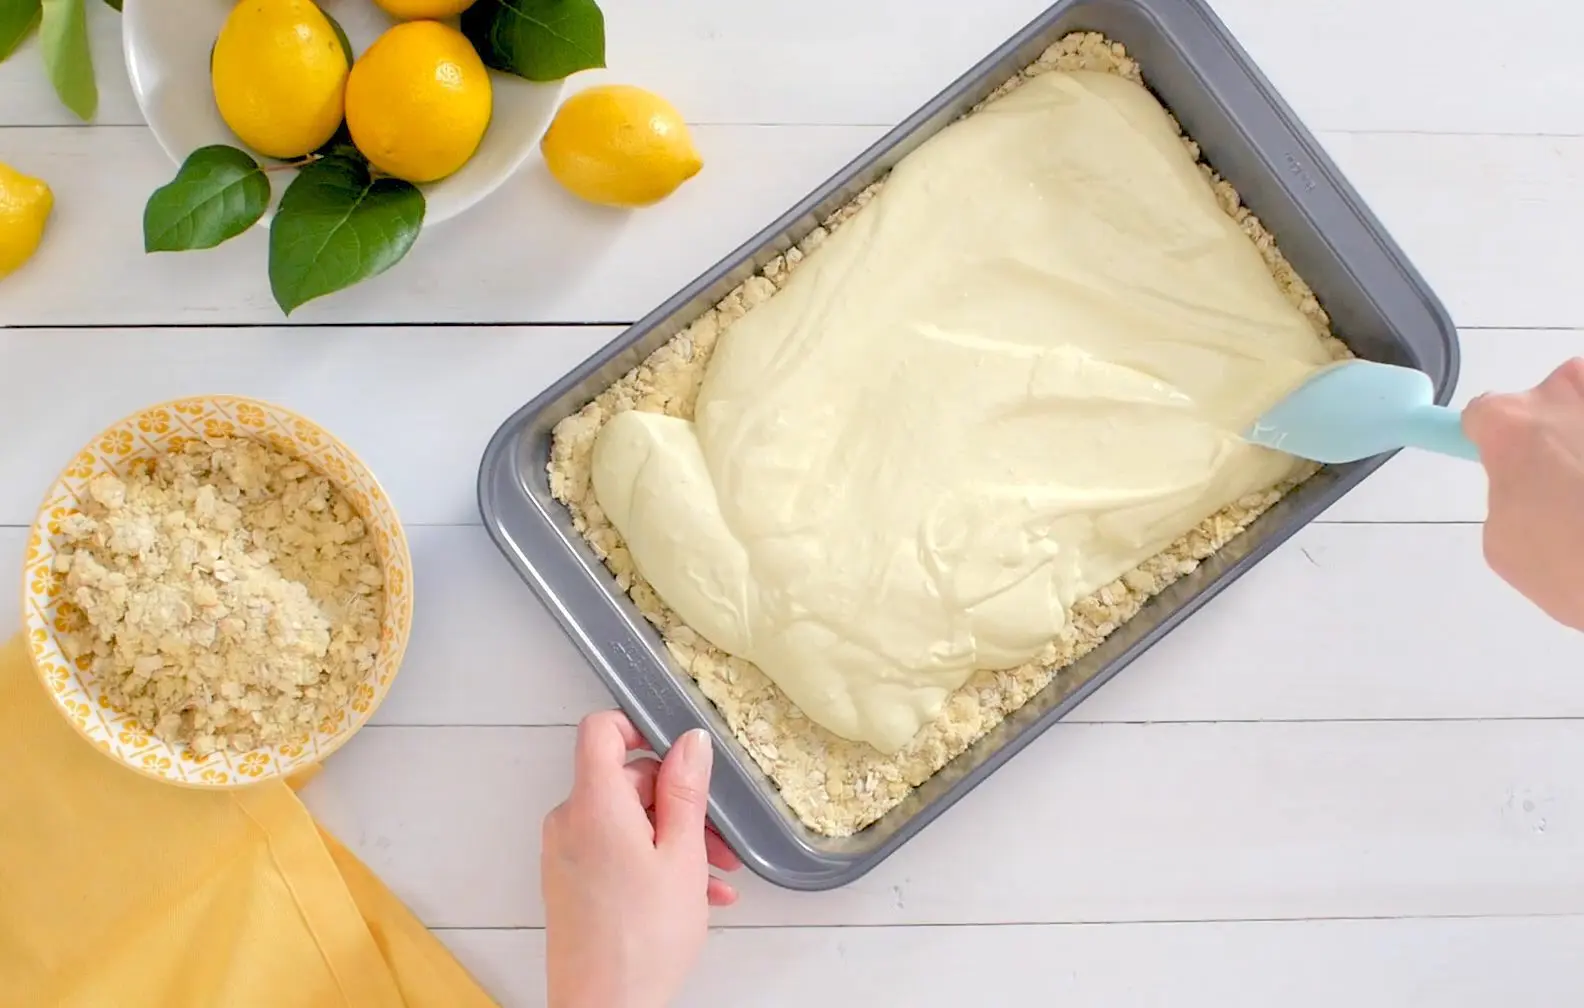
- Blend frosting, cream cheese, sour cream, and remaining 2 eggs and pour over pressed crumbs.
- Sprinkle the reserved crumb mix over the top and bake for 45-55 minutes. Cool to room temperature and then store in the refrigerator.
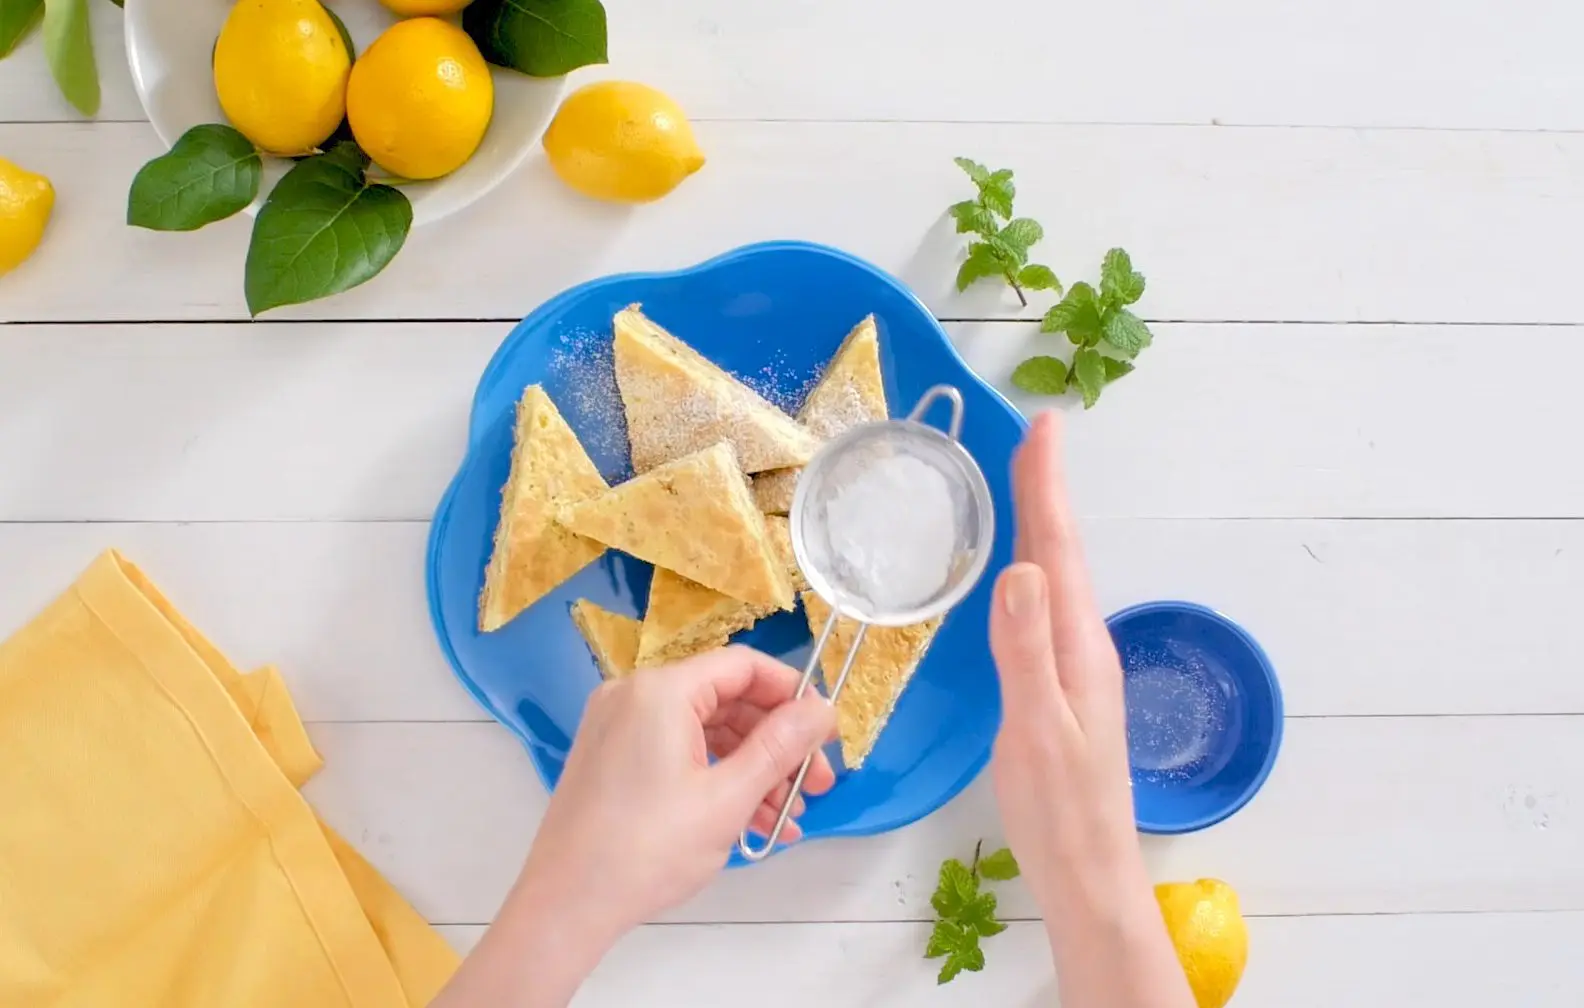
- Sprinkle with powdered sugar before serving, if desired.
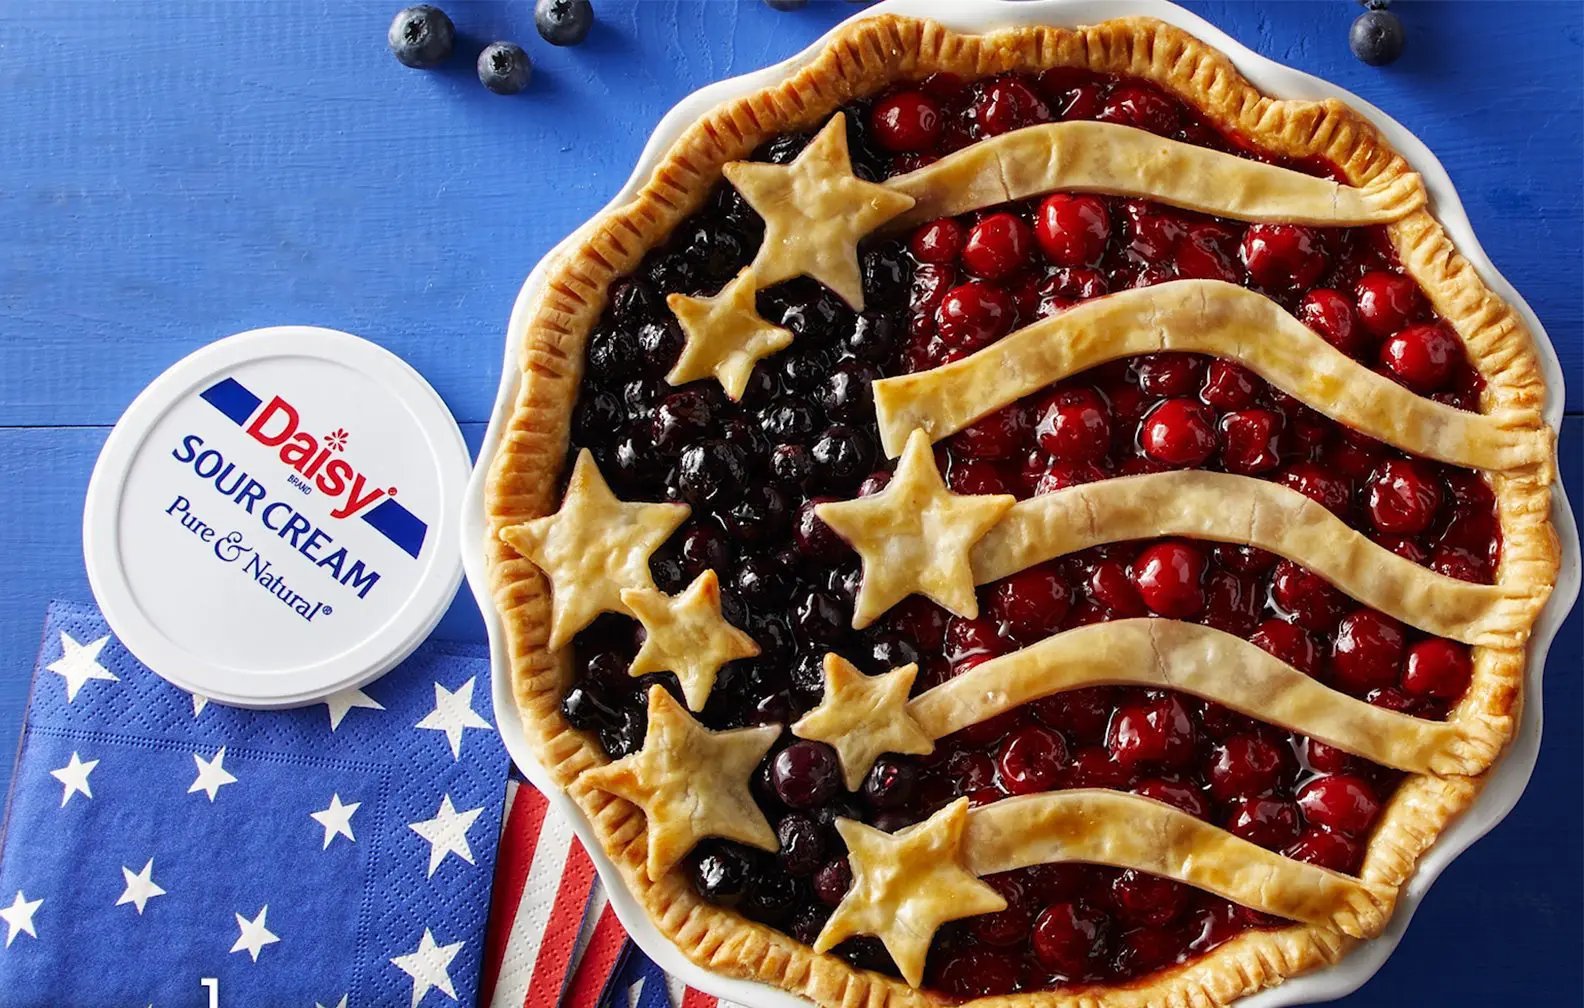
Cherry Blueberry Pie
Summer Cherry Blueberry Pie
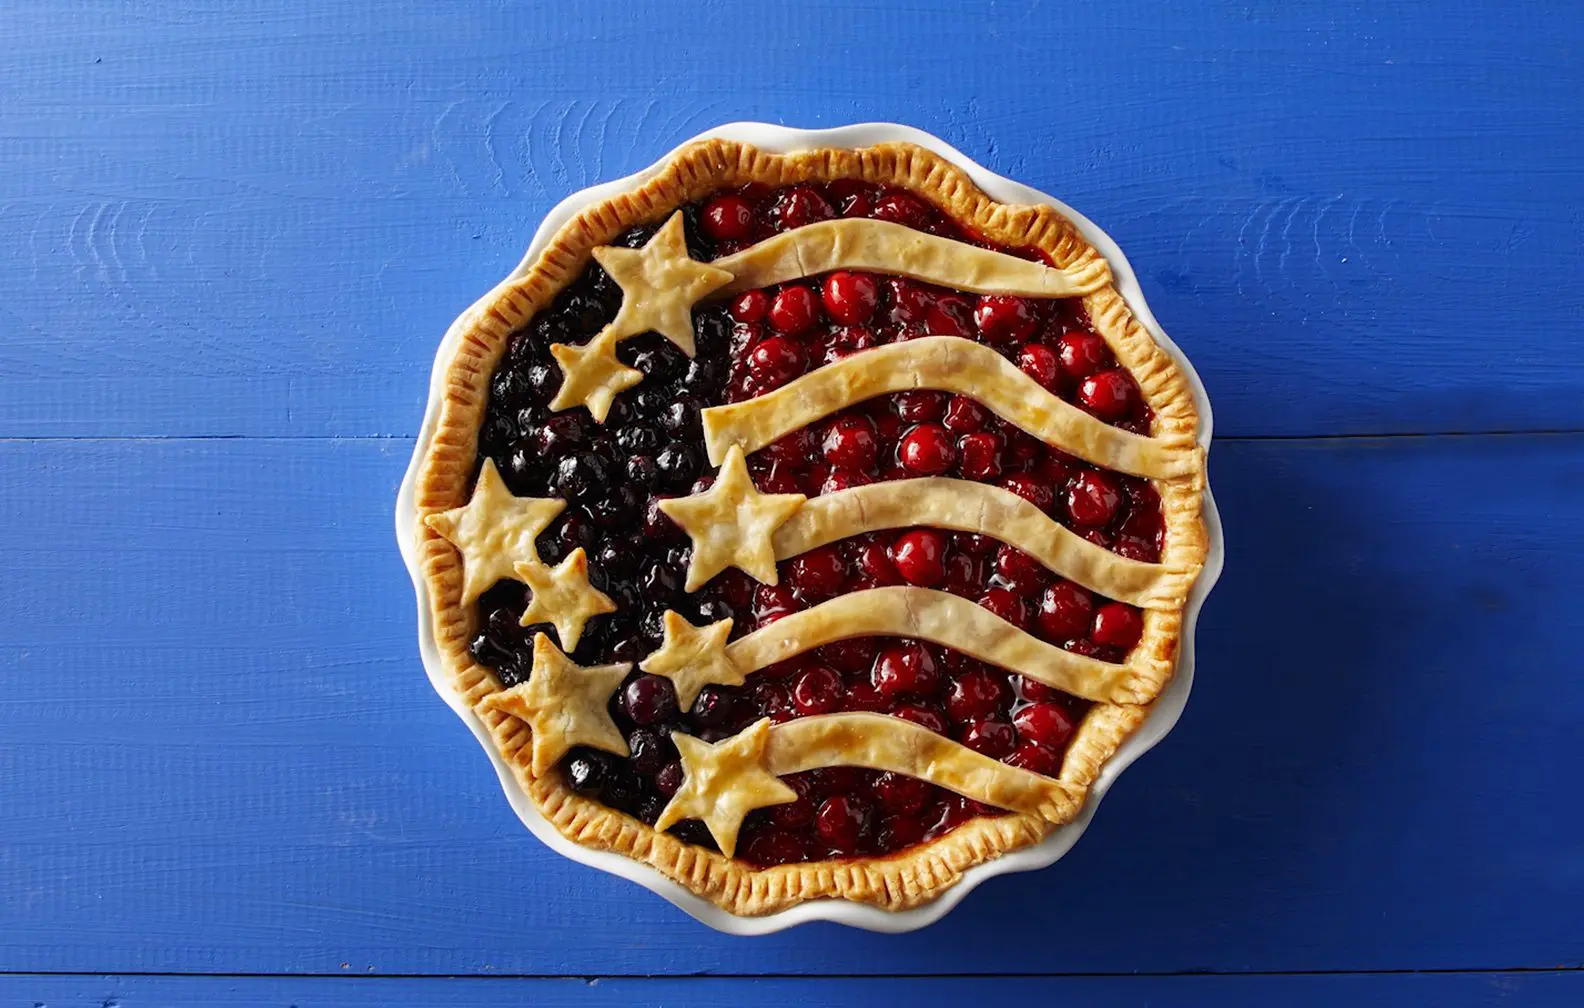
Nothing says homemade comfort quite like a Cherry and Blueberry Pie fresh from the oven. Bursting with juicy cherries, sweet blueberries, and wrapped in a golden flaky crust, this classic dessert is perfect for holidays, summer gatherings, or anytime you’re craving a slice of something special. Every bite is filled with bright fruit flavor and irresistible homemade goodness.
The secret to making it even better is Daisy Sour Cream. Adding Daisy Sour Cream to the filling brings a rich, smooth texture that complements the sweet-tart berries and cherries while helping create a tender, bakery-style result.
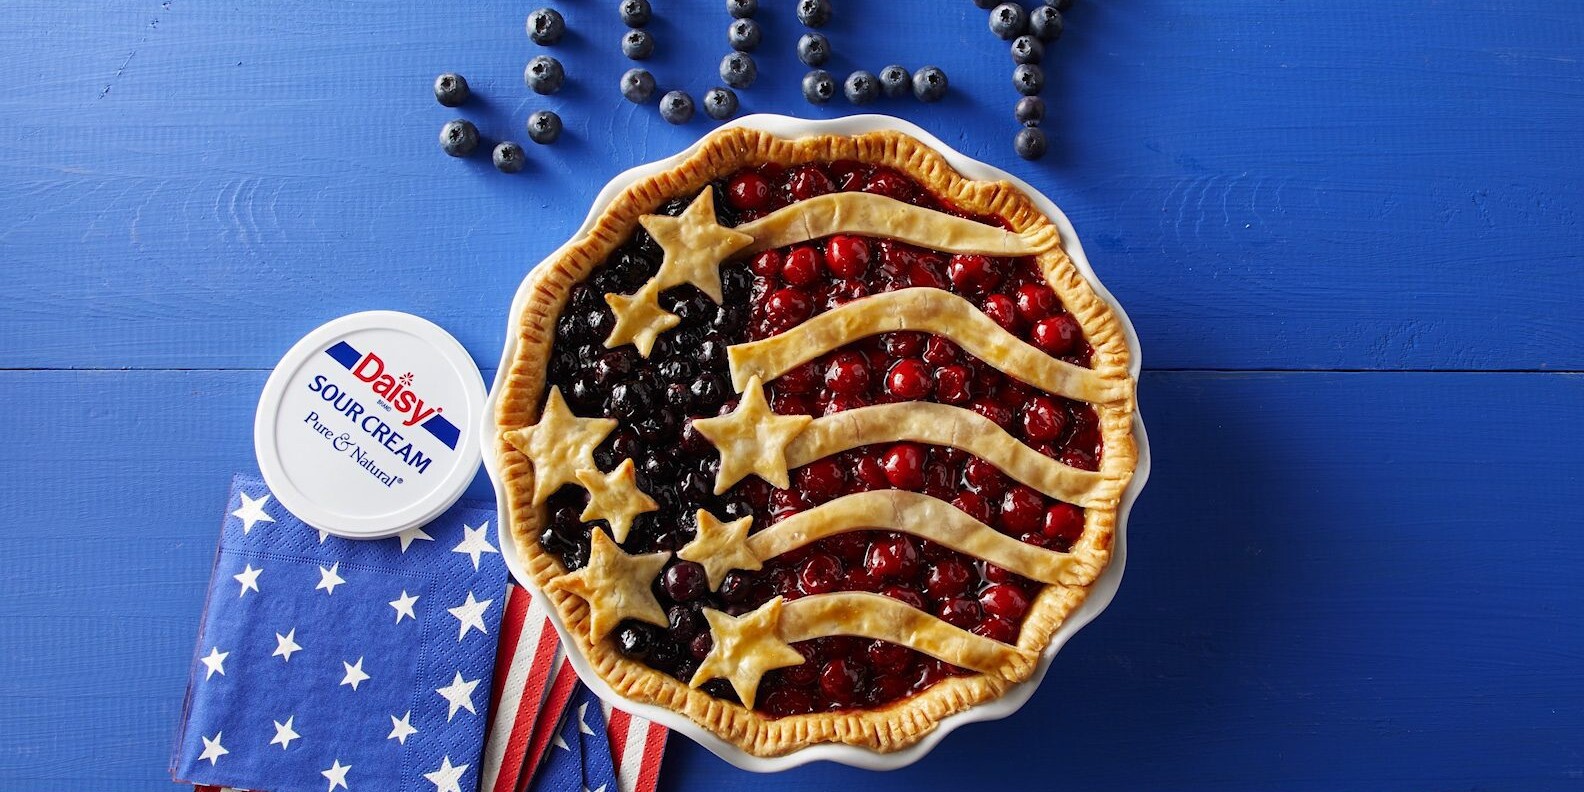
Cherry and Blueberry Pie is delicious served warm with a scoop of ice cream, chilled straight from the refrigerator, or enjoyed with coffee for an afternoon treat. The colorful fruit filling and flaky crust make it as beautiful as it is delicious.
Whether you’re baking for a celebration or simply sharing dessert with family, Cherry and Blueberry Pie made with Daisy Sour Cream is a sweet, flavorful classic everyone will love.
Cherry Blueberry Pie Ingredients
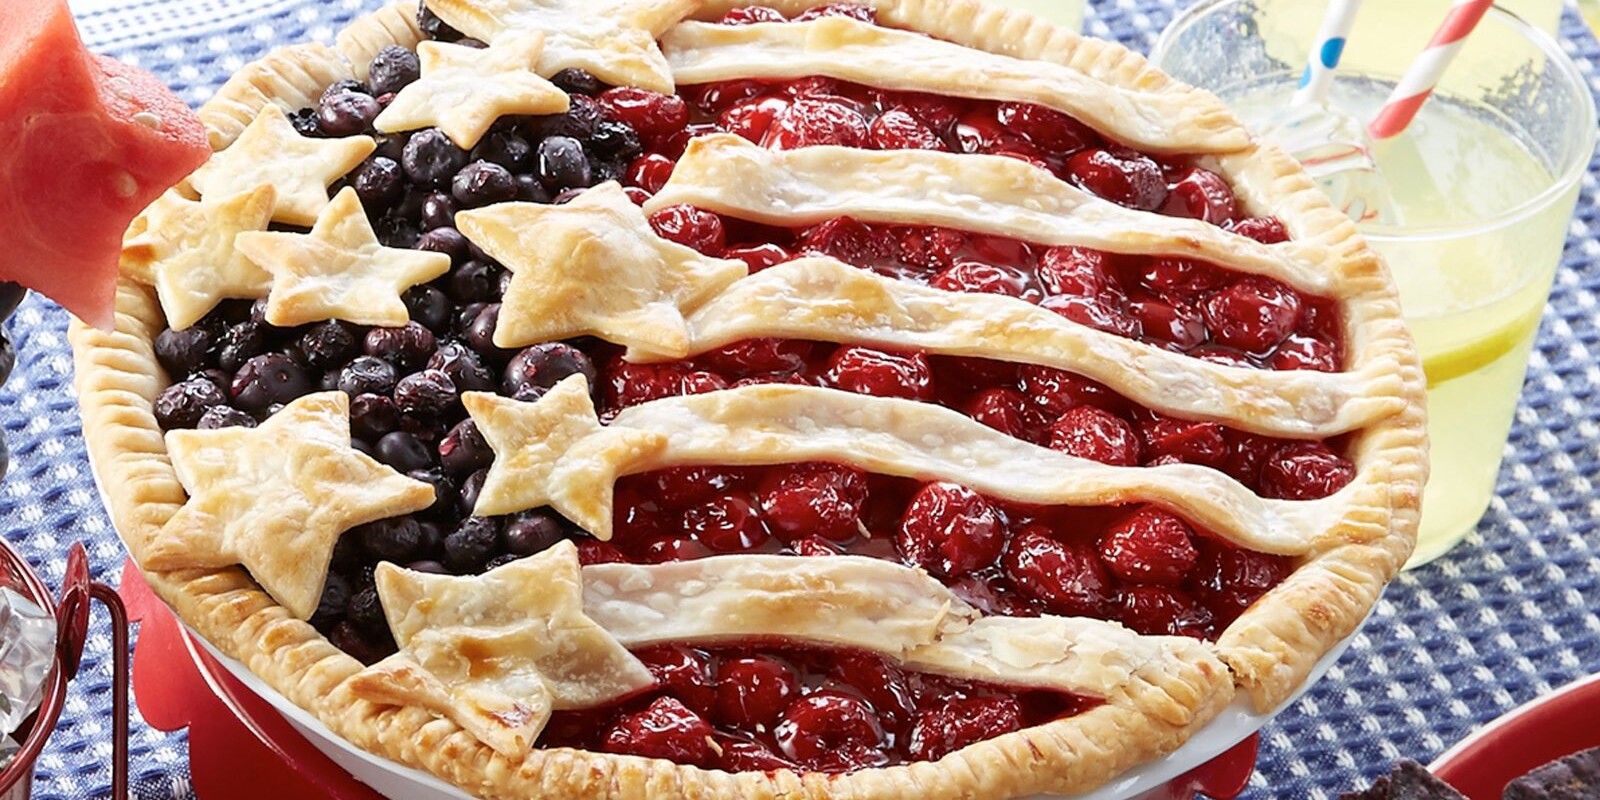
- Refrigerated Pie Crust (1 box – 2 rounds): The base and topping for the pie. Cut the top into fun shapes with cookie cutters or a knife for a festive feel.
- Daisy Sour Cream (1 cup): Provides a rich, smooth texture to the custard filling and tangy flavor that complements the sweet-tart berries and cherries.
- Egg Yolks (3 large): Allows the custard filling to thicken and adds flavor (2), and helps the crust to brown (1).
- Sugar (1/4 cup): Sweetens the berries and offsets the tartness of the cherries.
- Cherry Pie Filling (1 ½ cans): Perfectly seasoned and picked at the height of freshness it is one of the two fruit components of the pie. Ruby red in color and sweet-tart in flavor, the cherries compliment the custard filling.
- Blueberry Pie Filling (1 can): Perfectly seasoned and picked at the height of freshness it is the other fruit components of the pie. Dark blueish purple, the blueberry filling balances sweetness with a hint of warm spice.
- Milk (1 tablespoon): Helps the crust turn a golden-brown color.
Substitutions, Variations, and Tips
- Make sure your pie crust is room temperature before handling it for easier fitting. If your crust tears, just press it back together with your fingers.
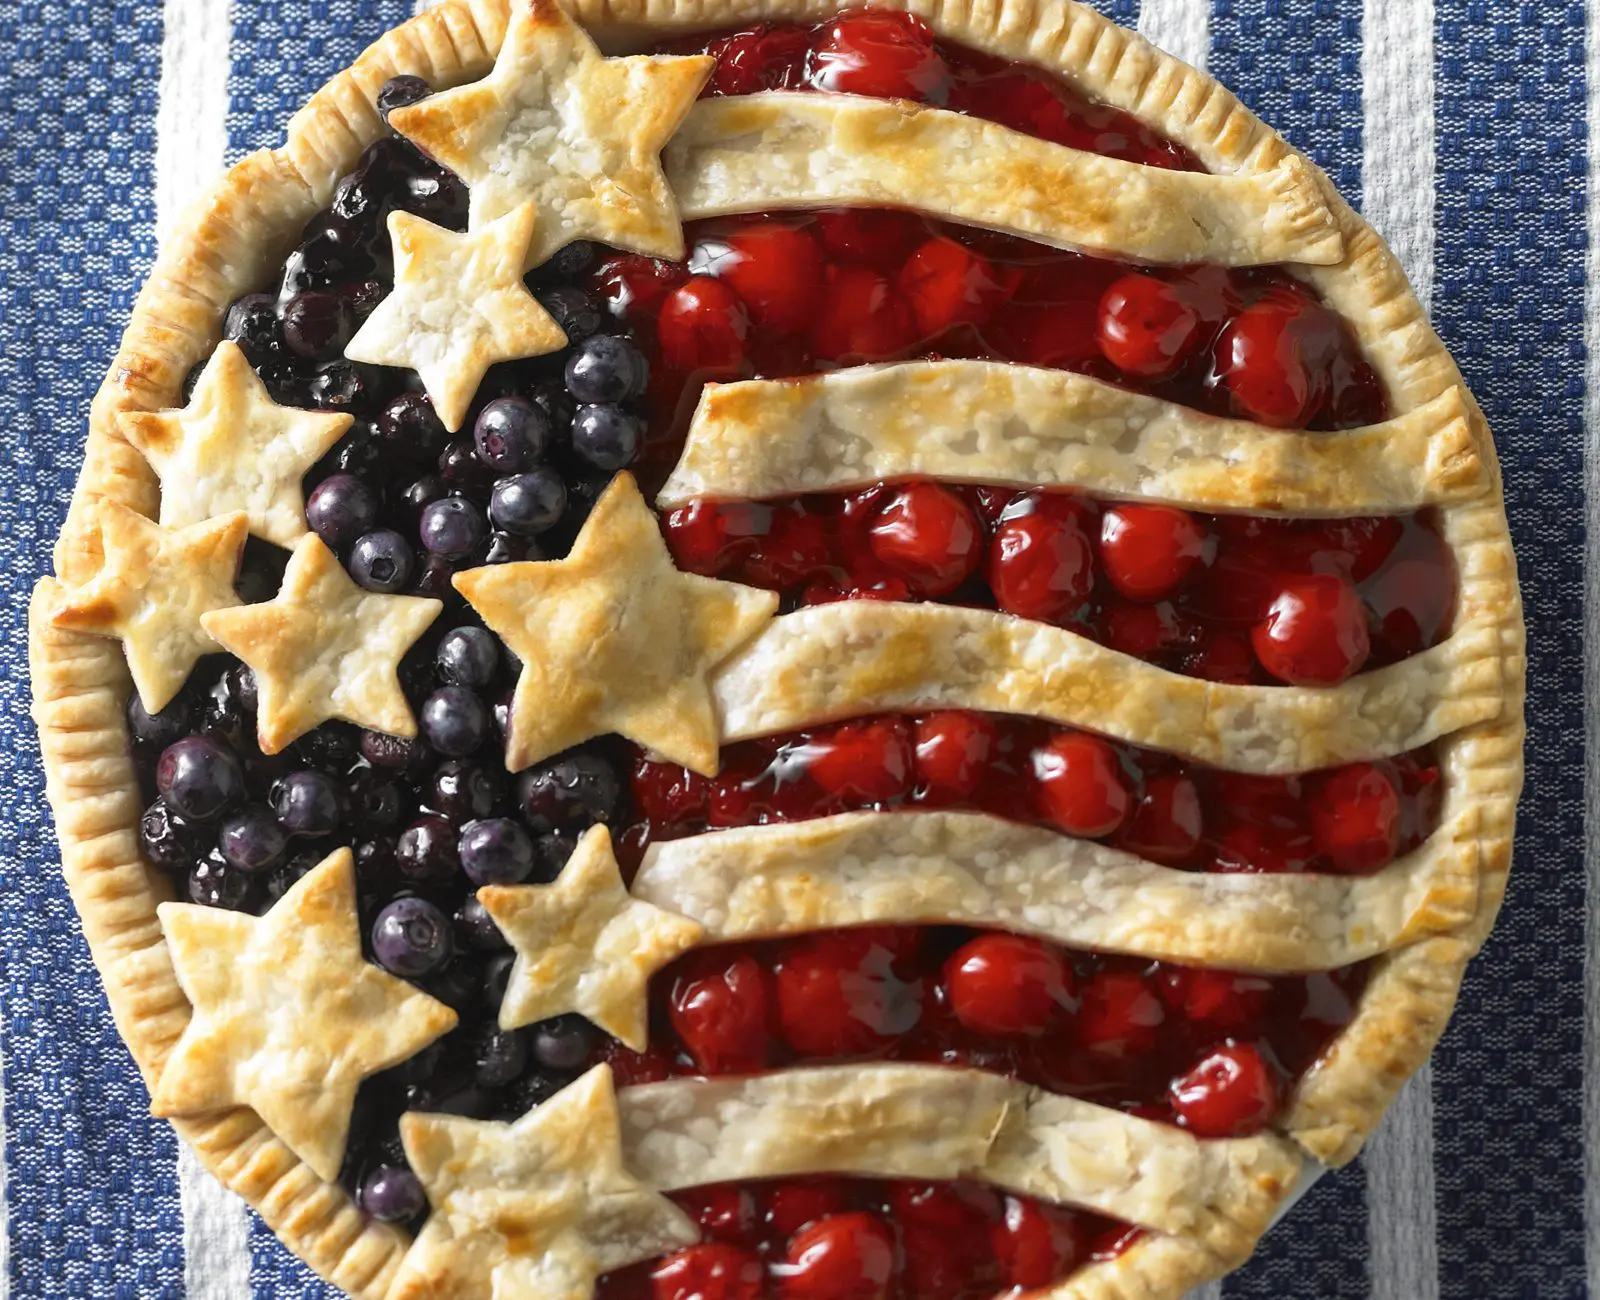
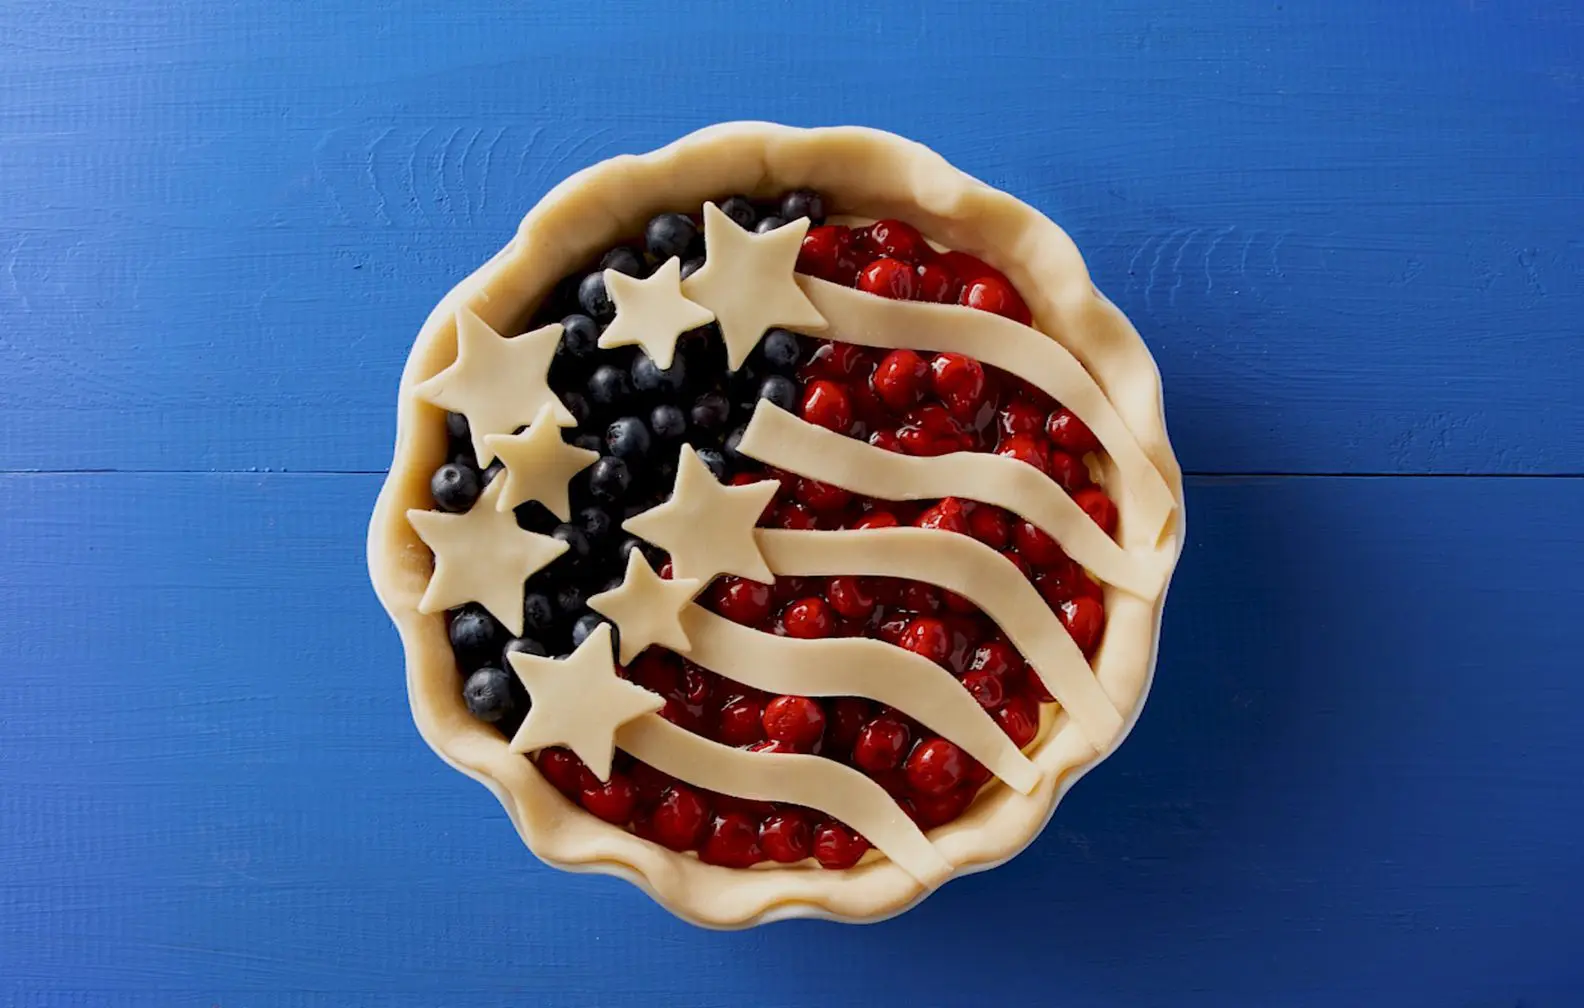
- Use cookie cutters or a knife to create fun shapes for the top crust or simply cover with the entire crust, making sure to cut slits for steam to escape.
- To amplify the flavor of the pie fillings, you can add about ¼-½ teaspoon of lemon zest and a splash of lemon juice.
- Adding ¼-½ teaspoon of vanilla or almond extract will add a little more depth of flavor to the pie fillings.
- For a thicker consistency, you can add fresh or frozen cherries or blueberries to the pie filling. Be sure to use “pie cherries” that are pitted. Tart pie cherries are a tasty addition to canned cherry pie filling. Dried cherries and blueberries are also great additions.
- Canned pie fillings vary in thickness. If your canned pie filling looks too wet, try adding a teaspoon of cornstarch. It will help thicken the liquid and keep the pie crust from getting soggy.
- Adding warm spices such as cinnamon and nutmeg will amp up the sweetness of the pie.
- Did you know that glass pie plates take longer to bake than metal pie plates? Metal conducts heat quicker and cool off quicker, while glass takes longer to heat up and retains heat after it’s removed from the oven. Ceramic and stoneware pie plates take even longer to heat up and to cool down than tempered glass.
- For best results, bake your fruit pies on the bottom rack of the oven.
- Don’t want to make the egg wash? Try sprinkling the crust with sugar instead. It will brown similarly, though it will not make the shiny crust you’ll get with the egg wash.
- Cool completely before cutting with a hot, clean knife for the sharpest edges and firm filling. Cutting too soon may result in a runny filling.
- Store leftovers in the refrigerator for 3–4 days.

How to Make Cherry Blueberry Pie
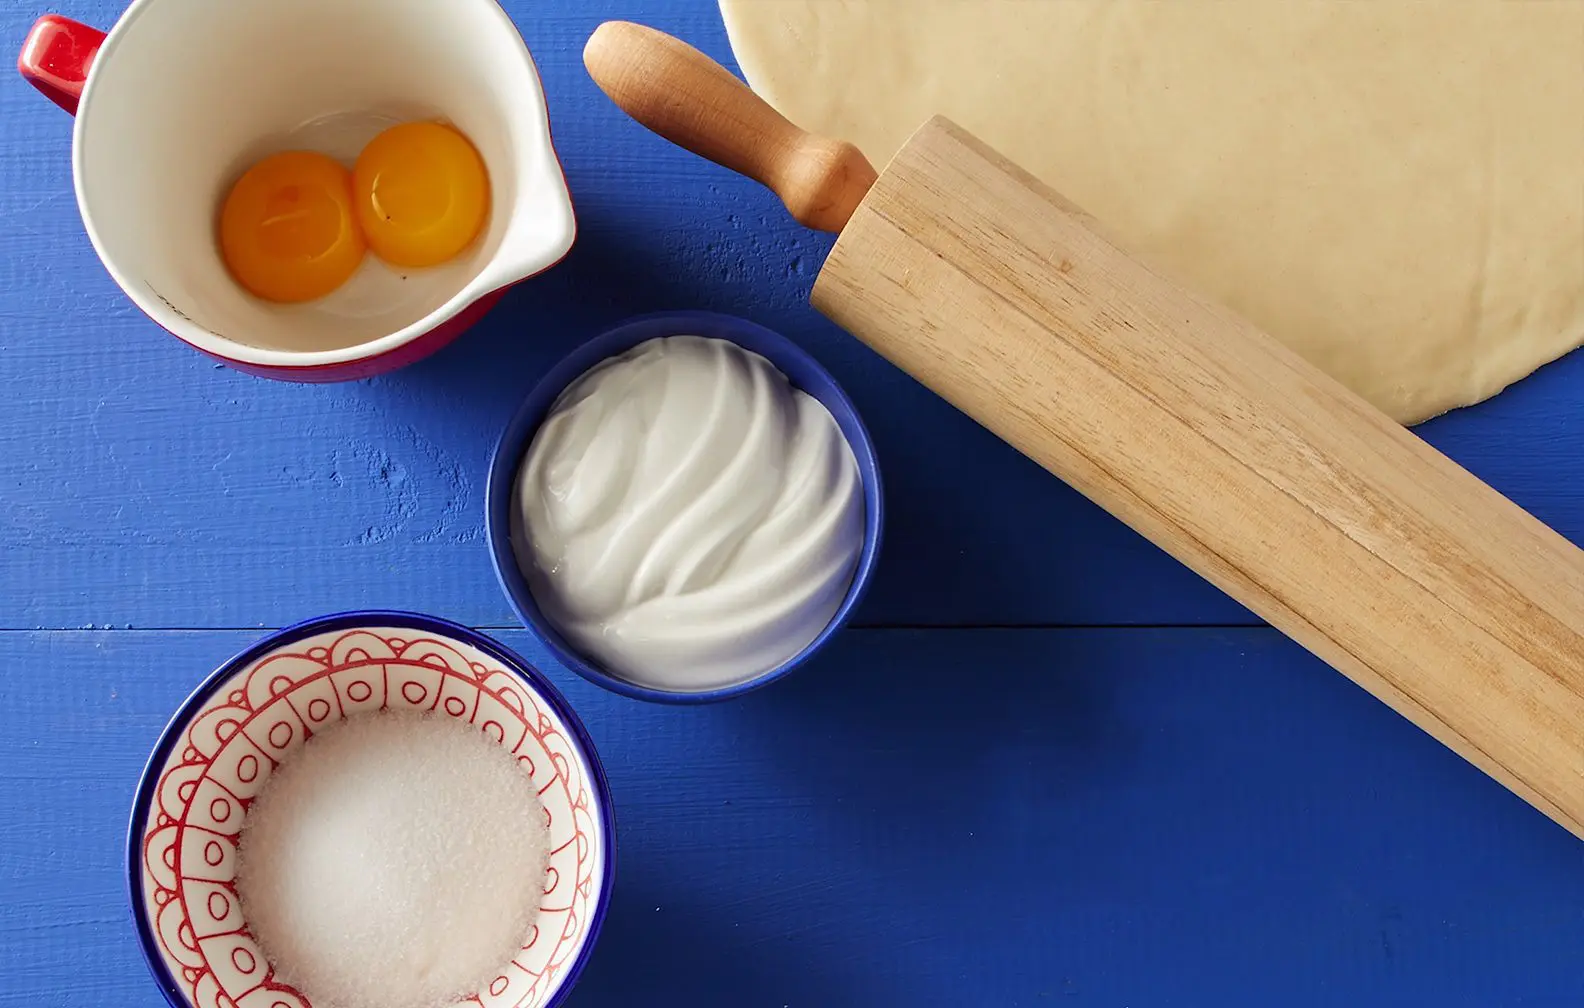
- Preheat the oven to 350° Roll out one pie crust and set into a dry 9” pie plate, fitted to the edges. Roll out the second pie crust and cut shapes as desired. Set aside.
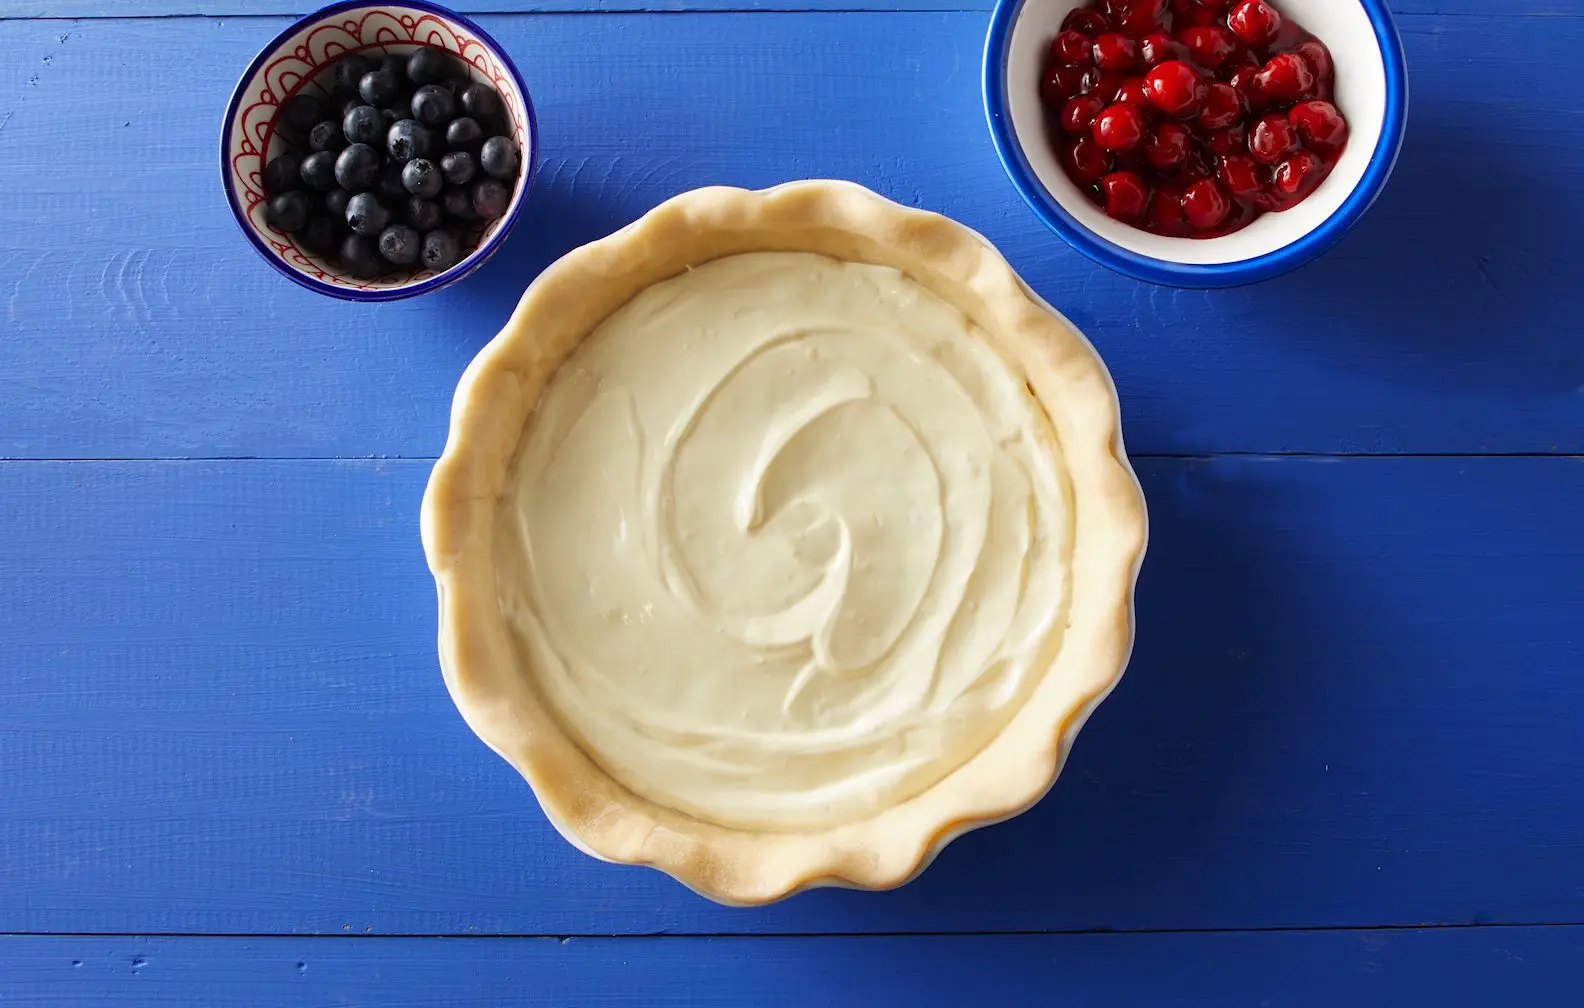
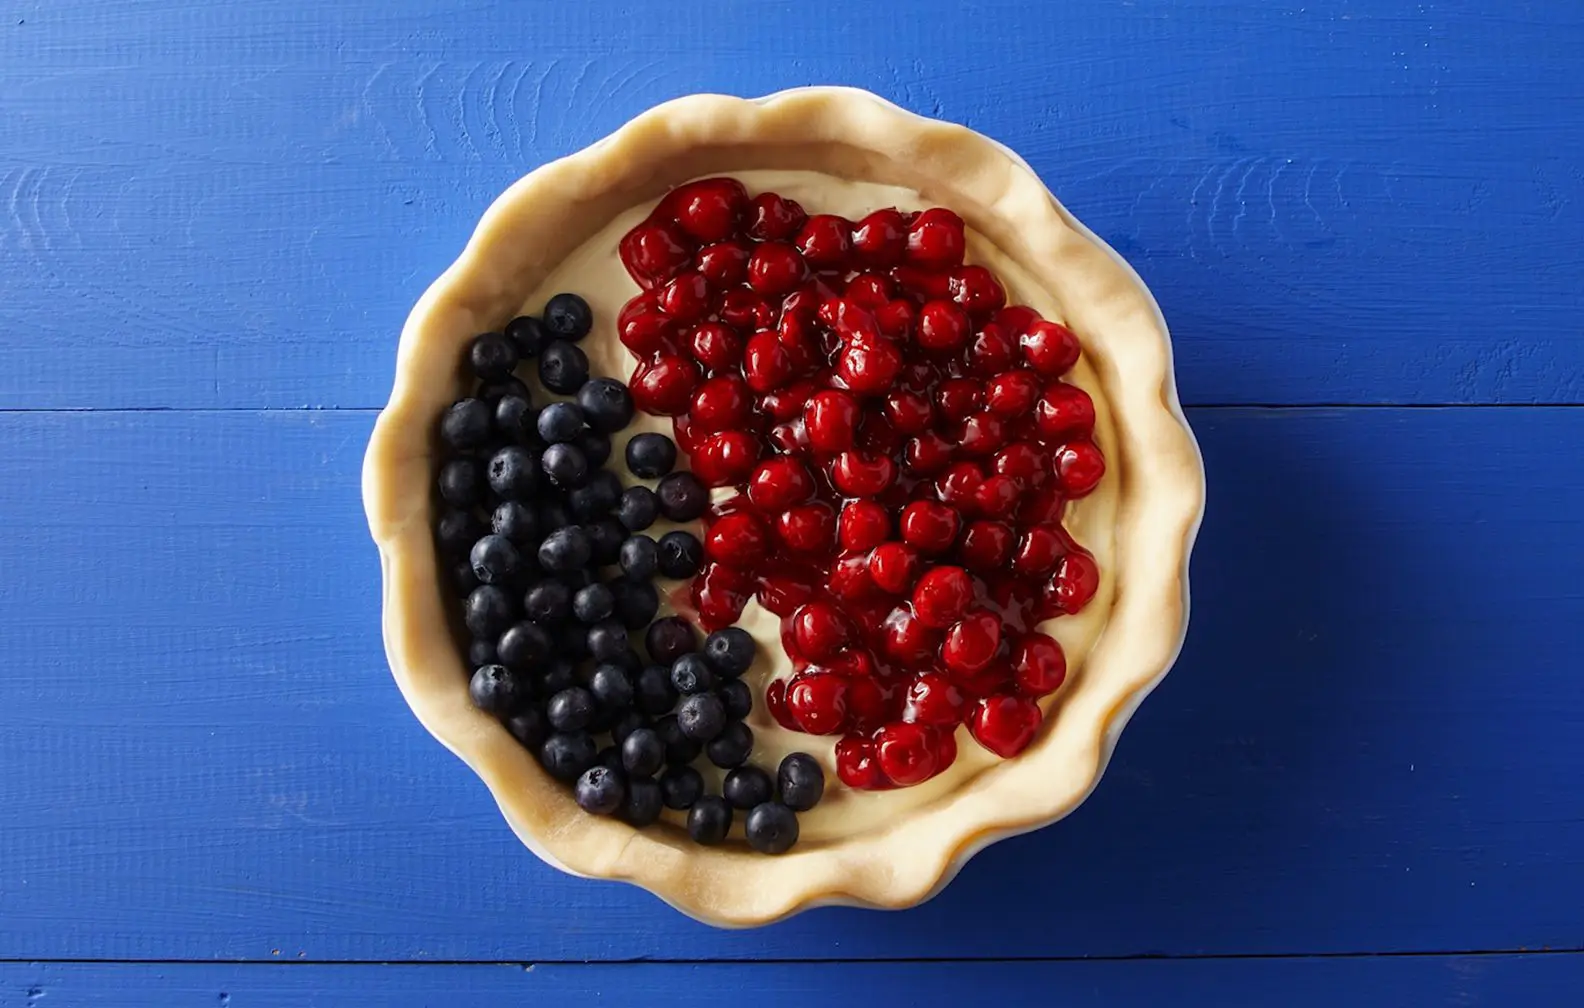
- Combine the sour cream, 2 egg yolks, and sugar until blended. Spread over the bottom pie crust. Spoon the cherry pie filling over 2/3, and the blueberry pie filling over 1/3.
- Decorate the top of the pie as desired with the second pie crust pieces. Mix remaining egg yolk and the milk and use to brush the pie crust.
- Bake pie on a baking sheet for 60-70 minutes or until the topping is set and the crust has browned.
- Check after 30 minutes and cover with foil if crust is browning too quickly. Cool for about 1 hour before slicing and serving.
Loaded Grilled Potatoes
Easy Loaded Grilled Potatoes
Loaded Grilled Potatoes are the ultimate side dish for cookouts, weeknight dinners, and backyard gatherings. Crispy on the outside, tender on the inside, and packed with savory toppings, these potatoes bring big flavor to any meal. They’re easy to make on the grill and always a crowd-pleasing favorite.
Whether you’re hosting a summer barbecue or making an easy family dinner, Loaded Grilled Potatoes topped with Daisy Sour Cream are a simple, satisfying dish that’s full of flavor.
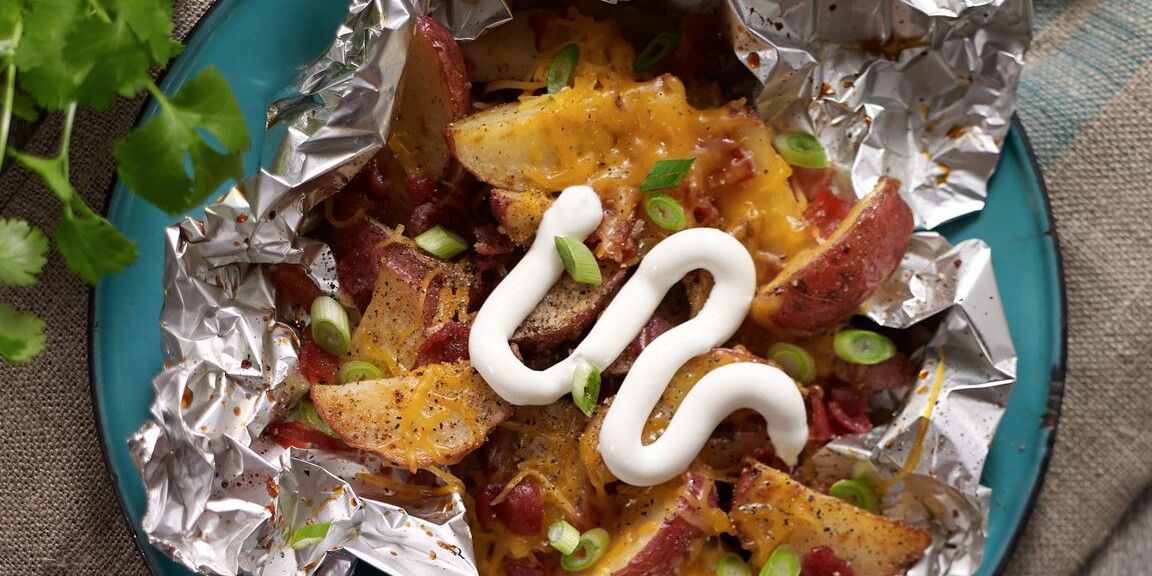
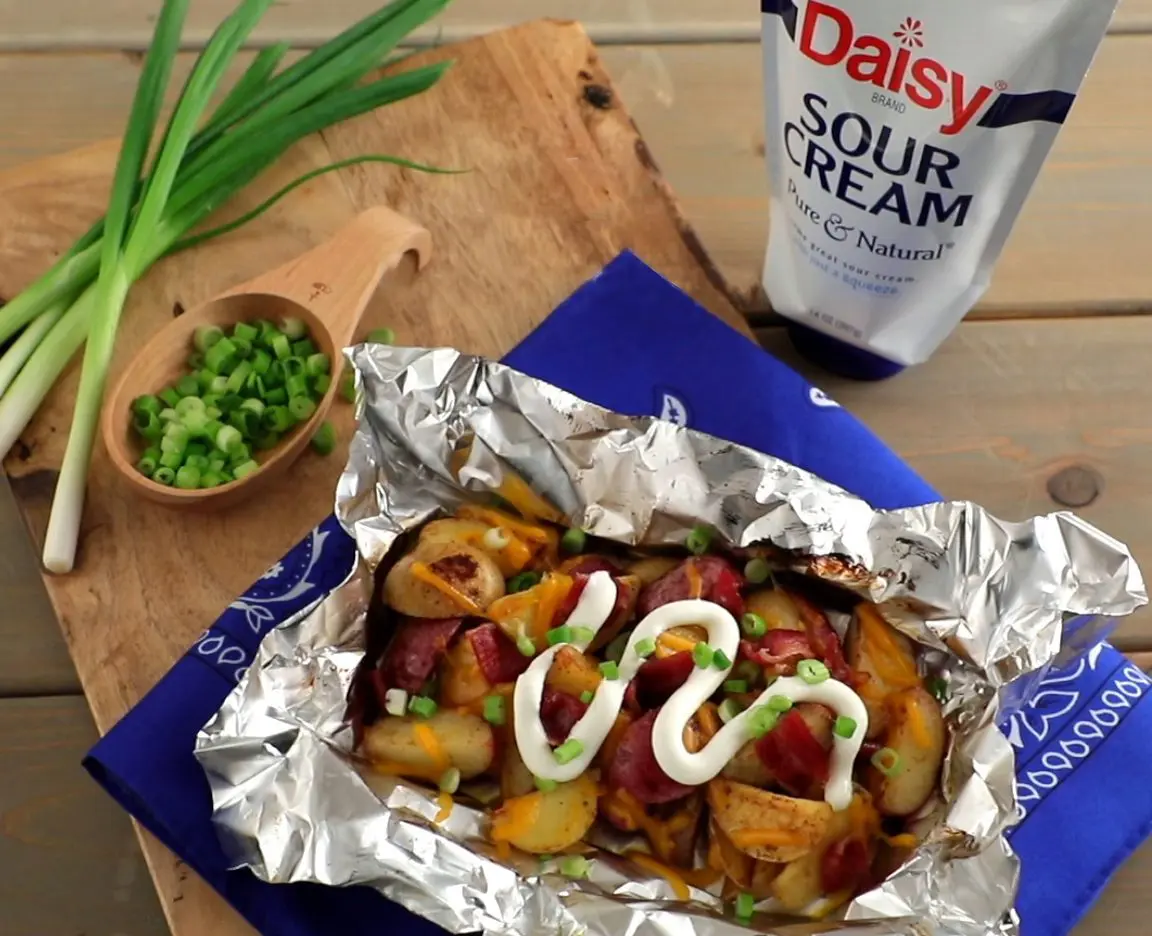
Pile them high with shredded cheese, crispy bacon, green onions, or your favorite loaded potato toppings for a side dish everyone will love. Serve them alongside burgers, steaks, chicken, or enjoy them on their own as a hearty snack.
The finishing touch that makes them extra delicious is Daisy Sour Cream. A cool, creamy dollop of Daisy Sour Cream pairs perfectly with the smoky grilled potatoes, adding rich flavor and a smooth texture that balances every bite. It’s the perfect topper for grilled favorites.
Loaded Grilled Potato Ingredients
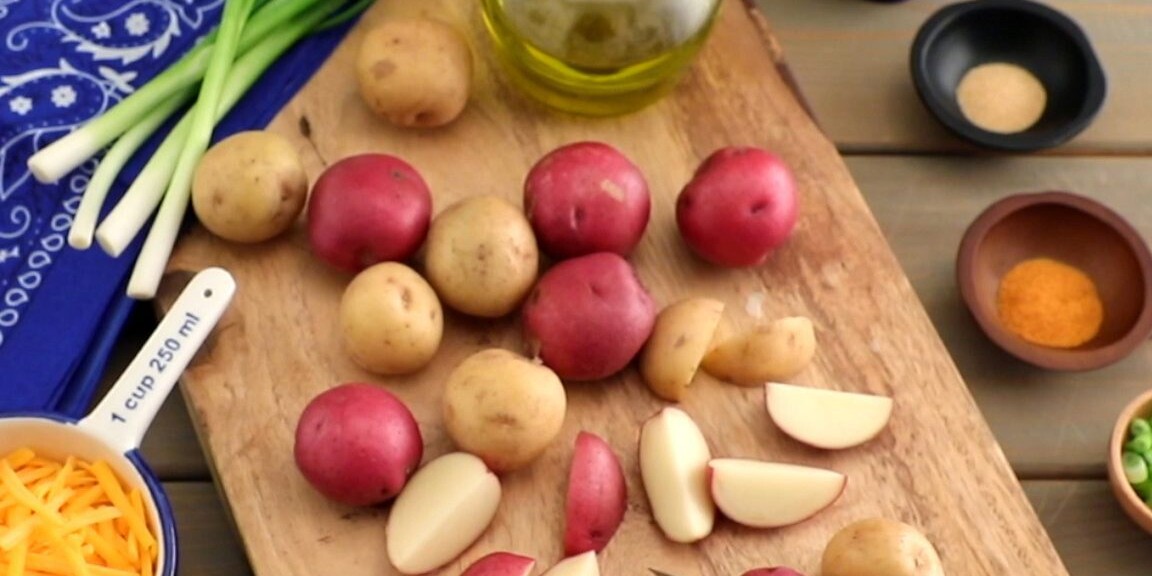
- Baby Red Potatoes (3 ½ cups, cut into wedges): Great for grilling due to their firm, waxy texture that holds up well to heat without falling apart. They have less starch than yellow or white potatoes with creamy flesh.
- Olive Oil (1 tablespoon): Enhances the flavor of the potatoes and keeps them from sticking to the foil.
- Seasoning Salt (1 teaspoon): Any flavor of seasoning salt will work well. It enhances the flavor of the potatoes.
- Garlic Powder (1/2 teaspoon): Provides concentrated garlic flavor that won’t burn like fresh garlic under high heat.
- Shredded Cheddar Cheese (1 cup): Sharp cheddar is ideal for its strong tangy, nutty flavor, but any type of cheddar will work well.
- Chopped Bacon (1/4 cup): Delivers a salty, smoky component and complements the sharpness of the cheese.
- Sliced Green Onion (3 tablespoons): Supplies a mild, sweet onion flavor that pairs with the other ingredients.
- Daisy Sour Cream (1/2 cup): The perfect topping for grilled potatoes. The cool, creamy texture balances the smoky heat while adding rich flavor to every bite. It melts slightly over the warm potatoes, creating a smooth and satisfying contrast to the crispy edges and tender centers. Its tangy freshness pairs deliciously with cheese, bacon, and green onions.
Substitutions, Variations, and Tips
- Baby yellow potatoes may be used in place of or in addition to the red potatoes. Or feel free to use larger potatoes, cut into bite-sized pieces.
- Any neutral flavored oil, such as canola or vegetable oil, may be used in place of olive oil. Nonstick cooking spray may also be used, just make sure to toss the potatoes to evenly coat to prevent sticking to the foil.
- Onion powder may be substituted for the garlic powder.
- Any flavor of seasoning will work well. Feel free to experiment with your favorites.
- Any melting cheese may be used in place of cheddar. Shredded Gouda, Monterey Jack, Colby, Swiss, or Gruyere are all great choices. For a funkier taste, goat cheese or feta will work well, though they won’t melt the same way as other choices.
- Prepared bacon bits or precooked bacon strips are great shortcuts. ¼ cup of bacon equals about 4 strips of cooked bacon.
- To cook fresh bacon, arrange two paper towels on a microwave-safe plate and line with slices of bacon (not touching), place two more towels on top and microwave on high for 1 minute per slice (thinner bacon will take less time than thicker bacon). Continue microwaving at 30 second intervals until desired crispiness is reached.
- Any finely diced onion will work in place of green onions. White and red onions will be hotter, while yellow will be sweet. All will be slightly more pungent than the green onion so adjust accordingly if you’d prefer a milder onion flavor. Chives and scallions may also be substituted 1:1.
- Enjoy the heat? Try adding fresh or canned jalapenos, or chili crisps to the packets. Or try dashing with hot sauce once the potatoes are off the grill.
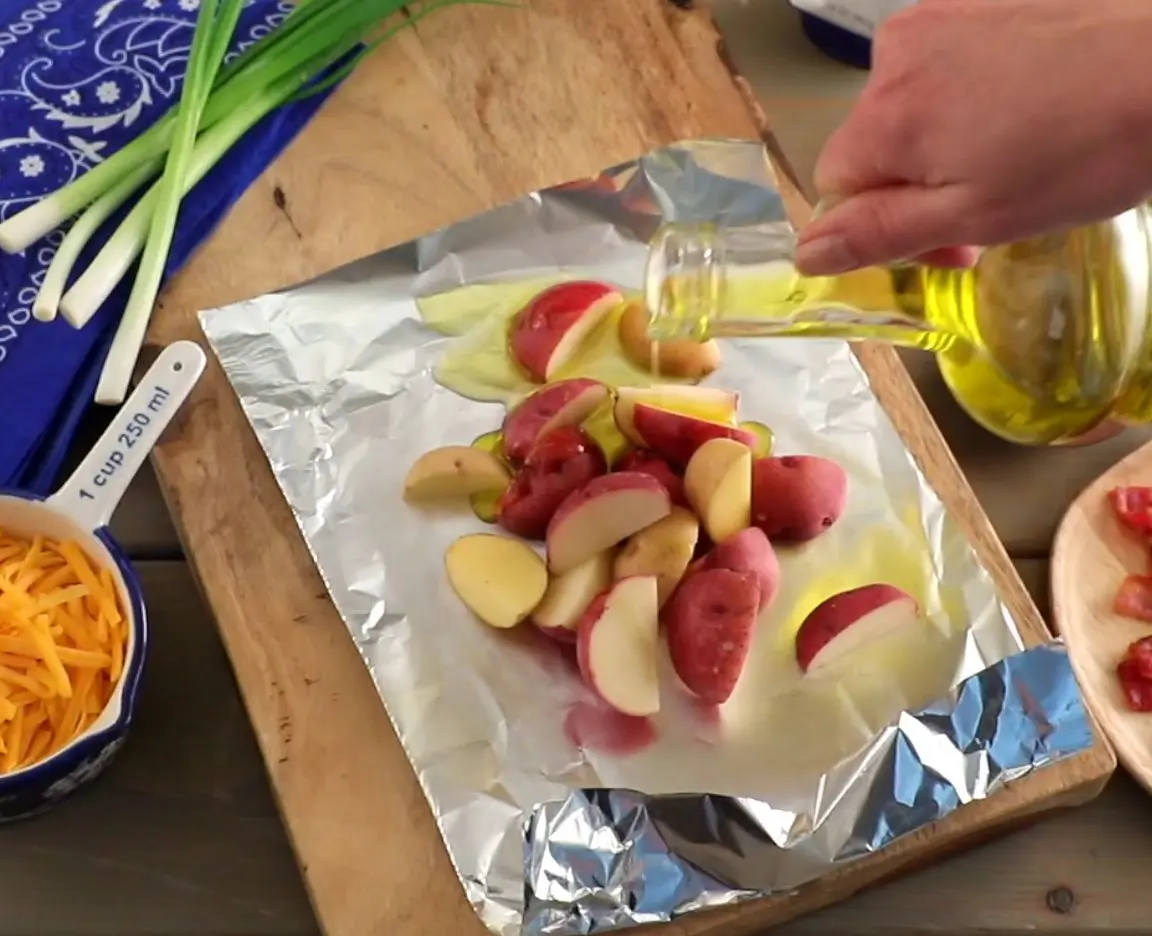
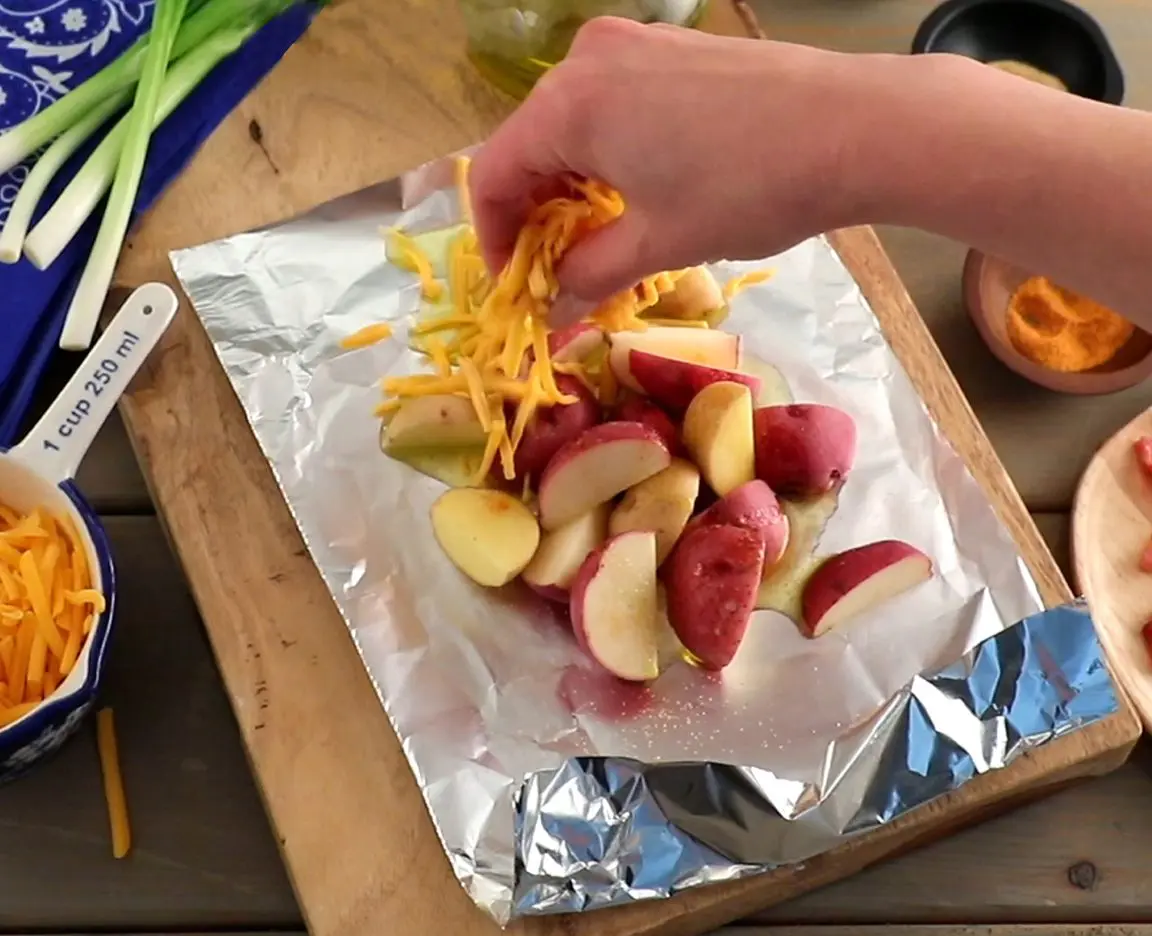
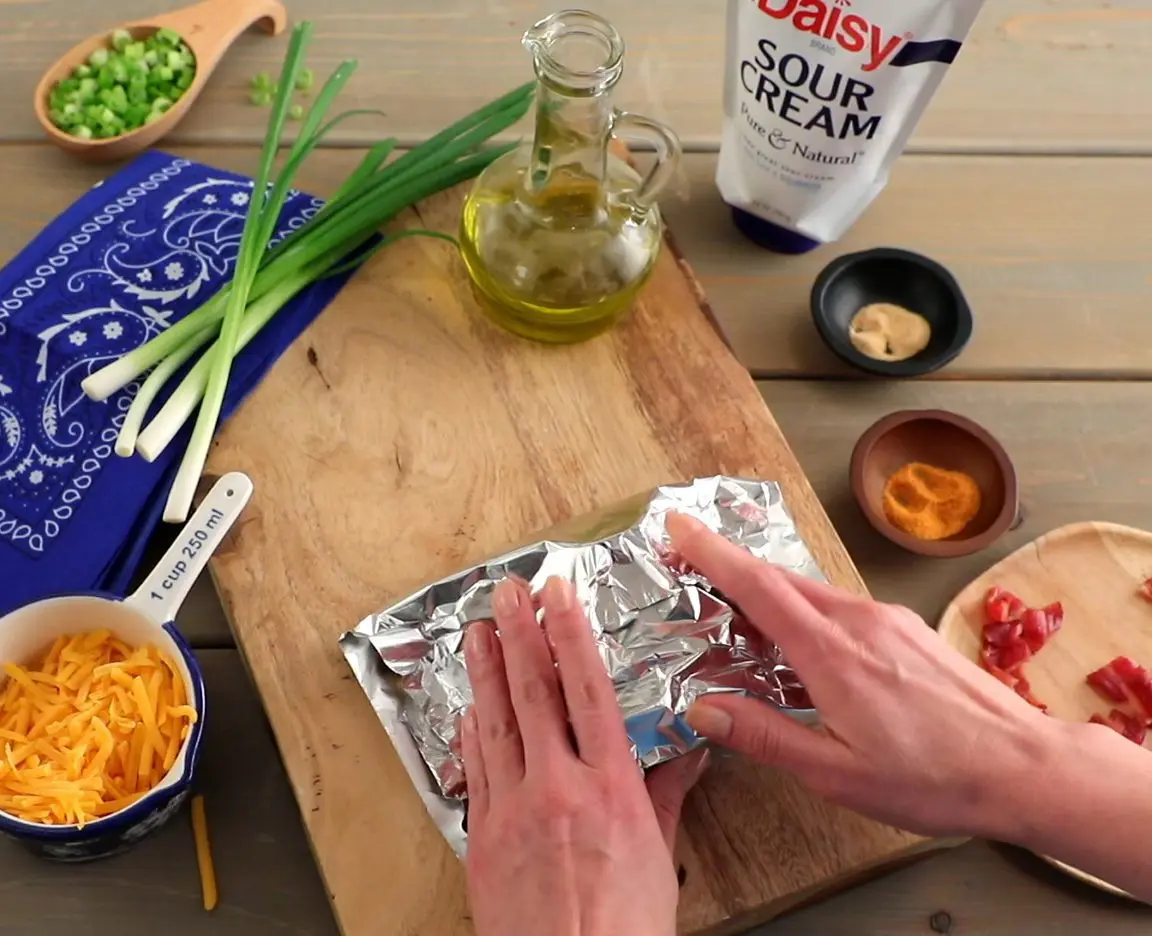
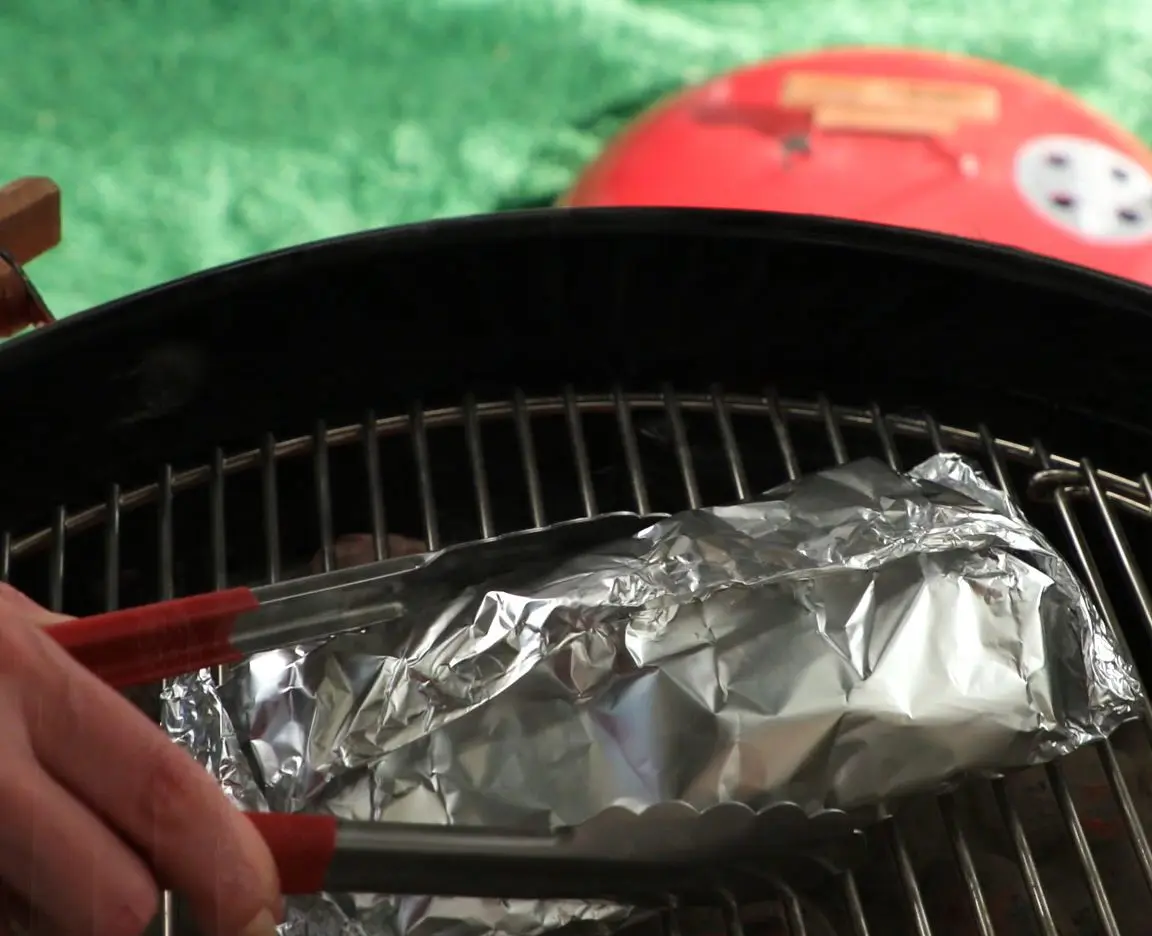
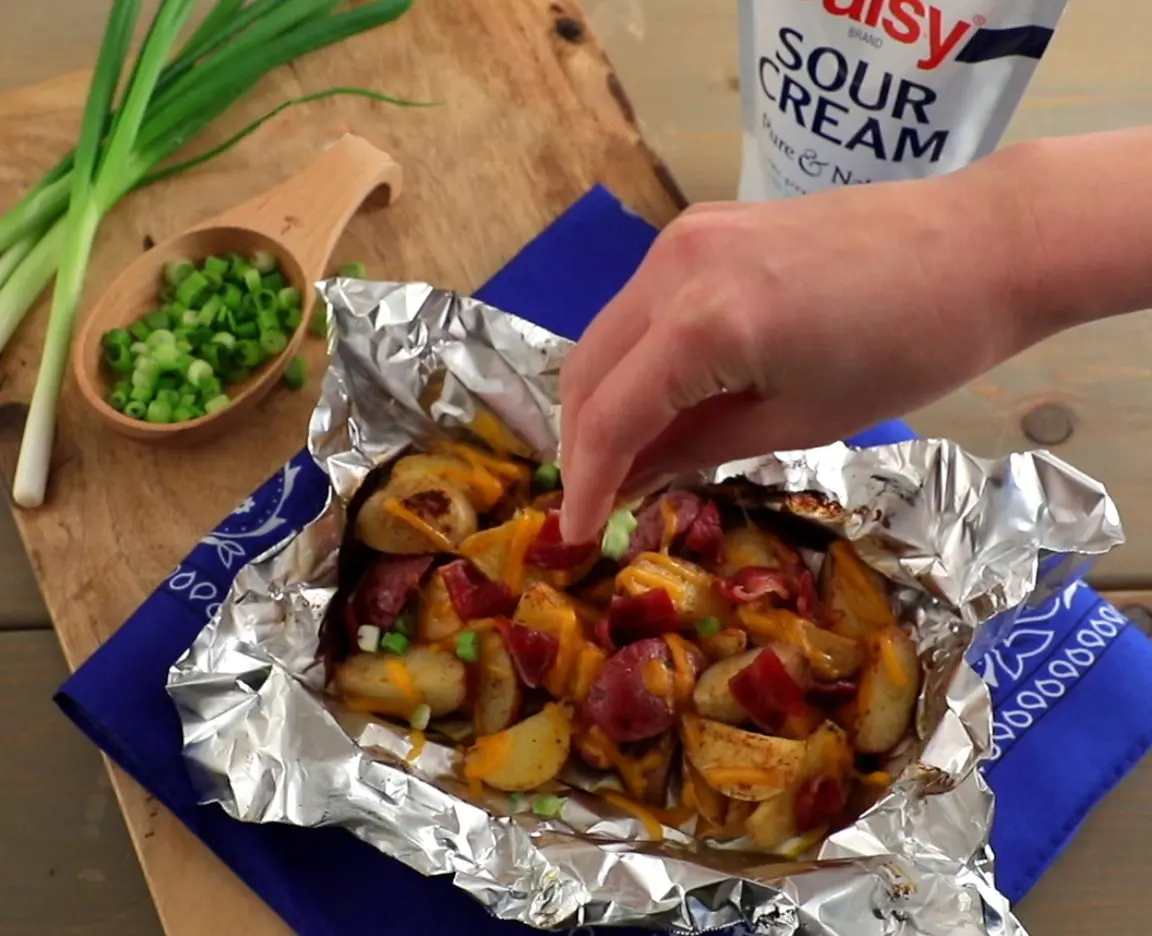
How to Make Loaded Grilled Potatoes
- Heat the grill. Coat 4 squares of heavy-duty foil (about 12”) with nonstick cooking spray.
- Arrange the potatoes in the center of the foil and drizzle with the olive oil and sprinkle with the seasoning salt and garlic powder. Top with cheese and bacon. Wrap the foil around potatoes.
- Grill, covered, over medium heat until the potatoes are tender (about 30 to 35 minutes).
- Carefully open packets and sprinkle with green onions. Serve topped with sour cream.
Salsa Chicken Burrito Bowl
Salsa Chicken Burrito Bowl
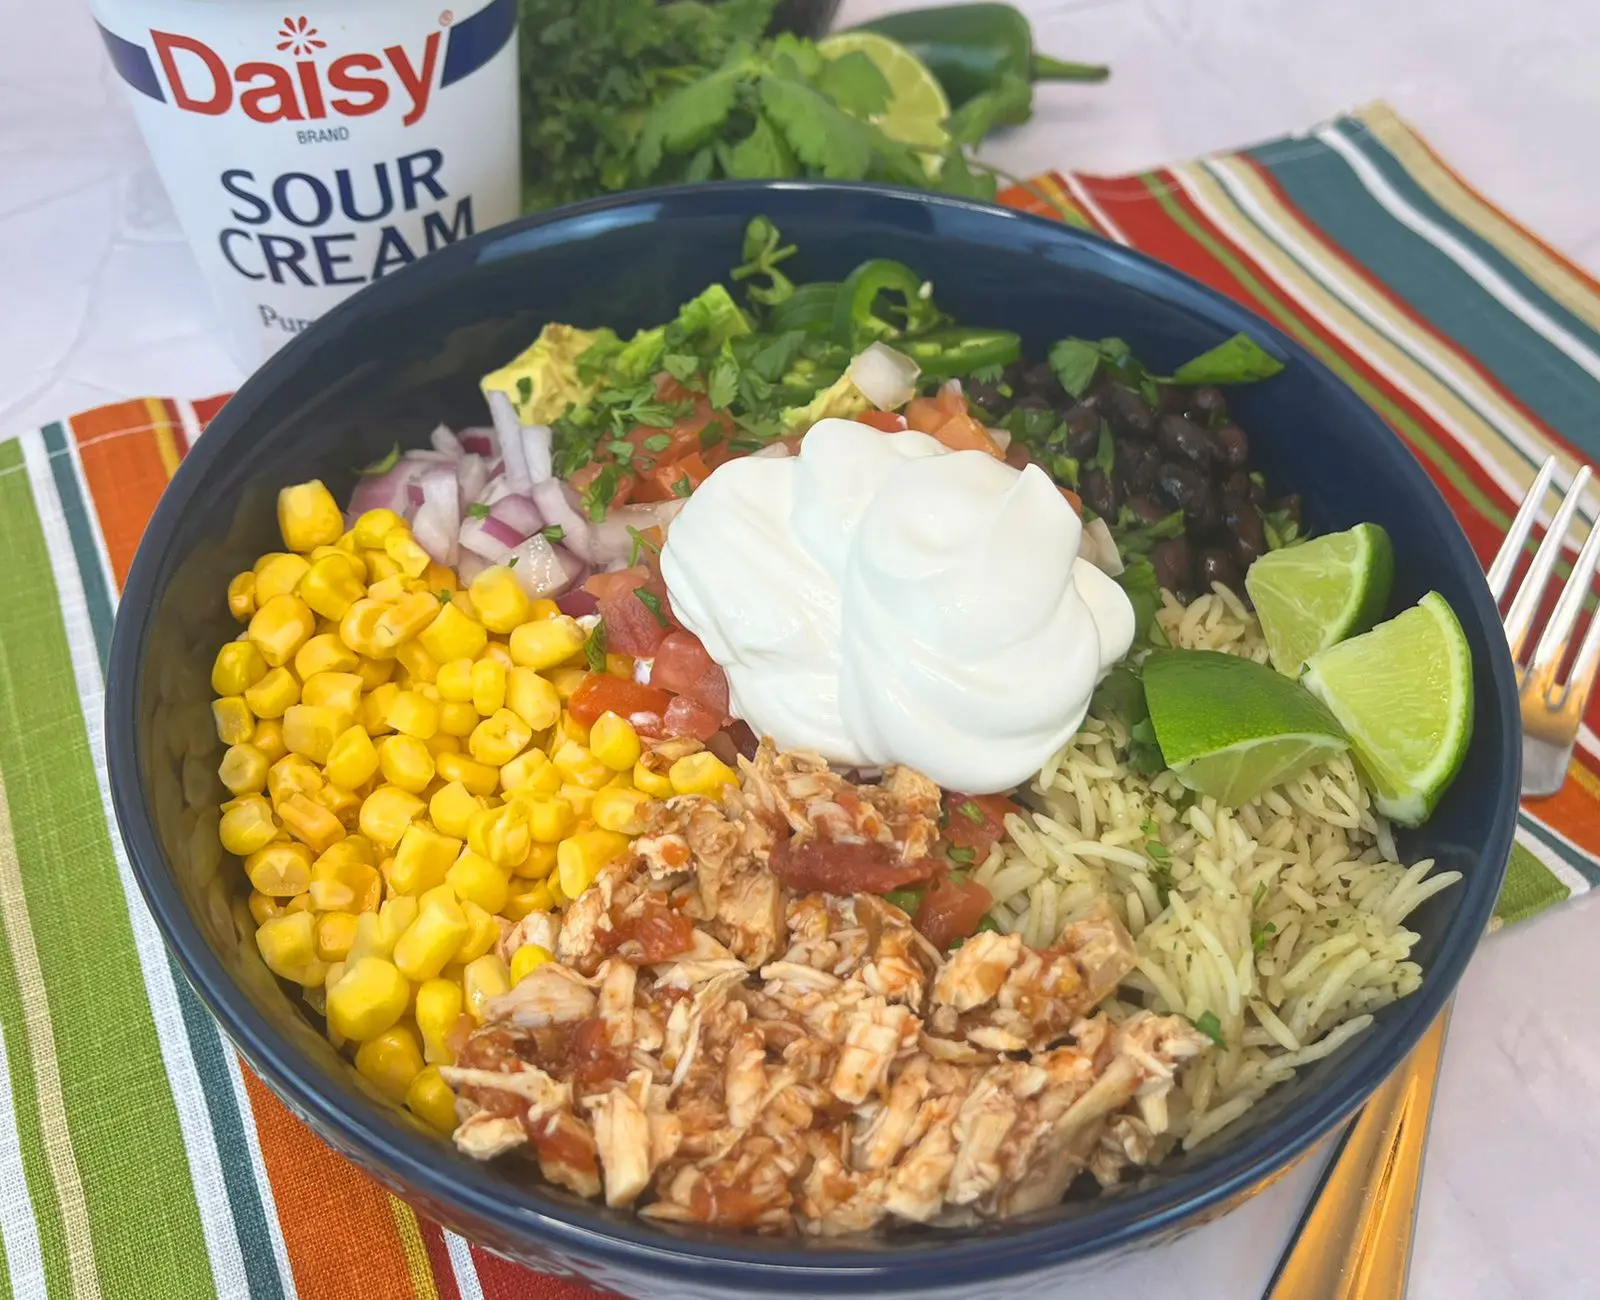
Looking for a fresh, flavor-packed meal that’s easy to make and loaded with protein? This Salsa Chicken Burrito Bowl delivers bold Tex-Mex flavor with minimal effort. Juicy, tender chicken is mixed with zesty salsa, then layered over fluffy rice with your favorite toppings for a customizable bowl that’s perfect for lunch or dinner. A generous dollop of Daisy Sour Cream adds a cool, creamy finish that balances the heat and ties every bite together.
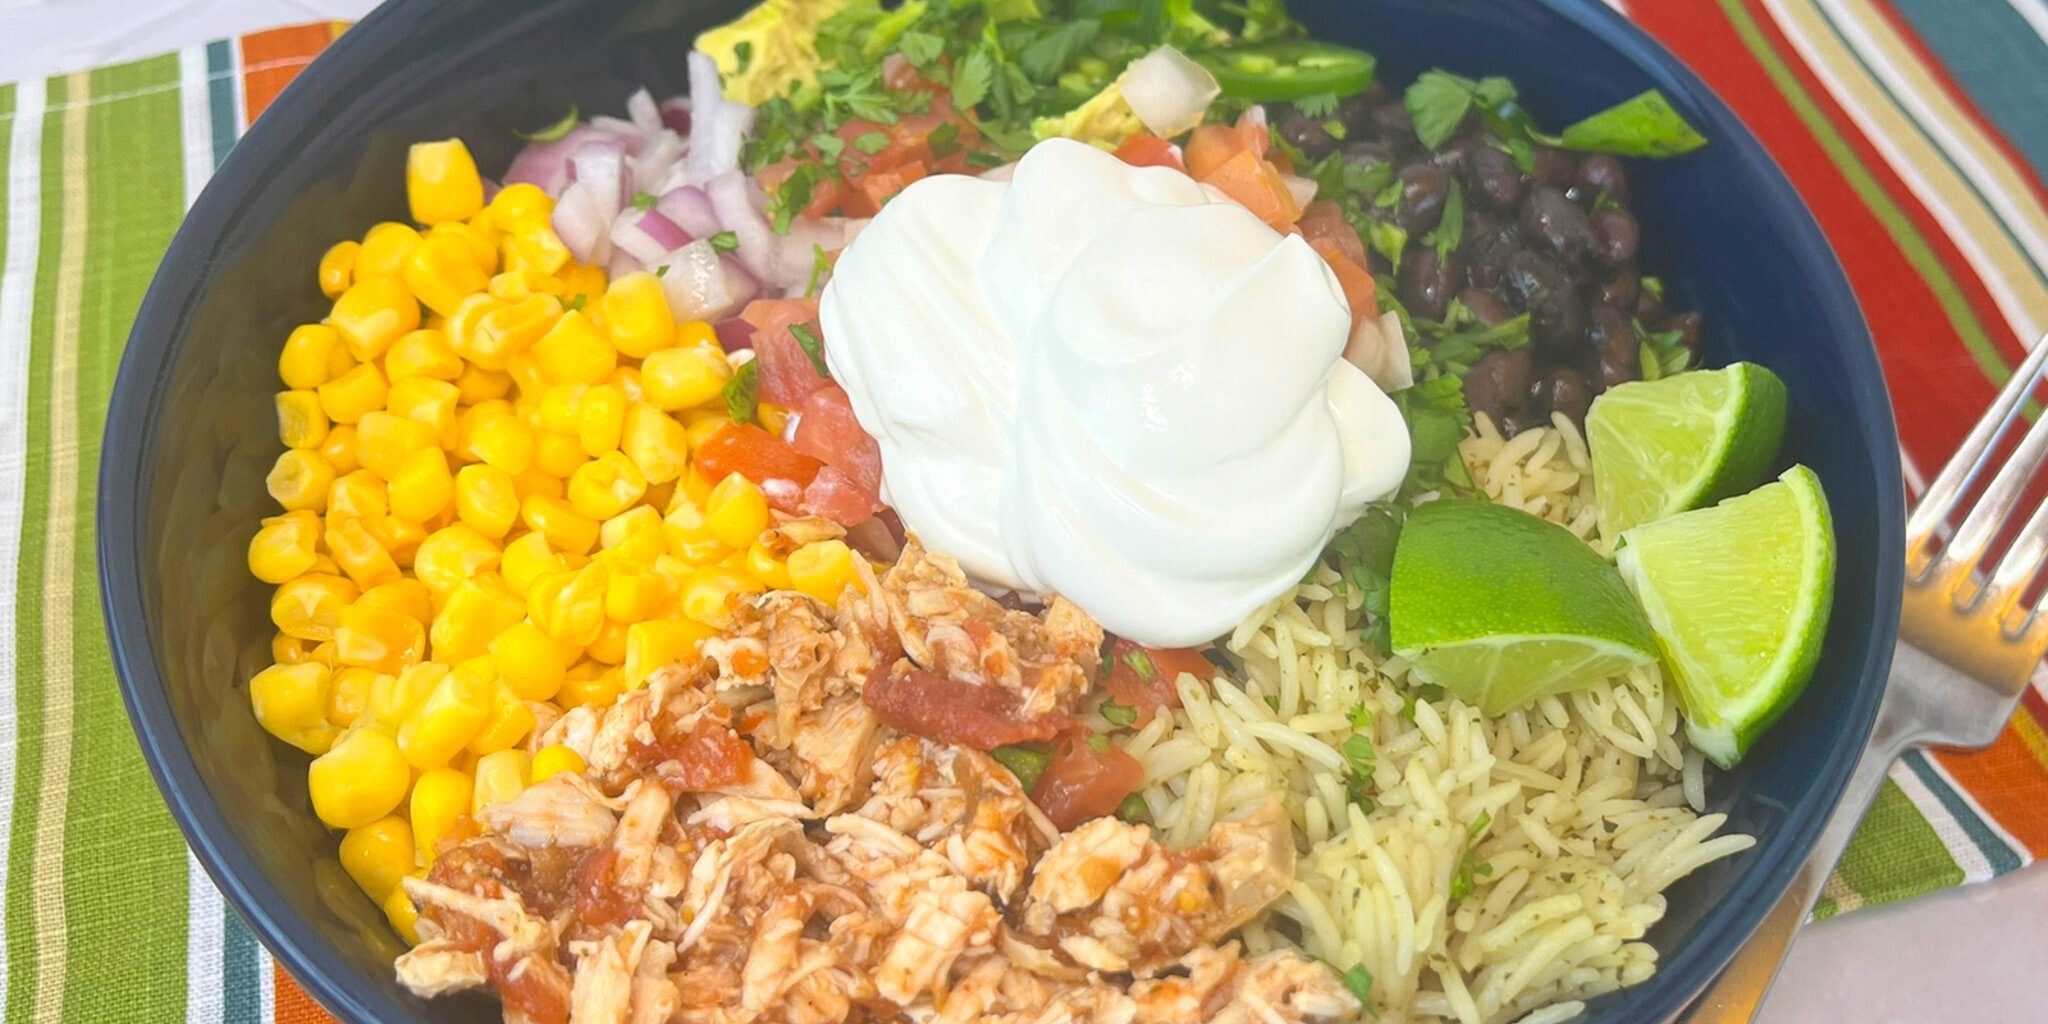
This burrito bowl is as versatile as it is satisfying. Keep it classic with black beans, corn, shredded lettuce, and Pico de Gallo, or mix it up with avocado, jalapeños, or a squeeze of fresh lime. Whether you’re meal prepping for the week or feeding a hungry family, this dish comes together quickly and delivers big, crave-worthy flavor every time.
Made with simple ingredients and bold seasoning, this salsa chicken bowl is a wholesome, high-protein option that doesn’t sacrifice taste. And with Daisy Sour Cream’s rich flavor, you get the perfect creamy contrast that elevates every bite.
Salsa Chicken Burrito Bowl Ingredients
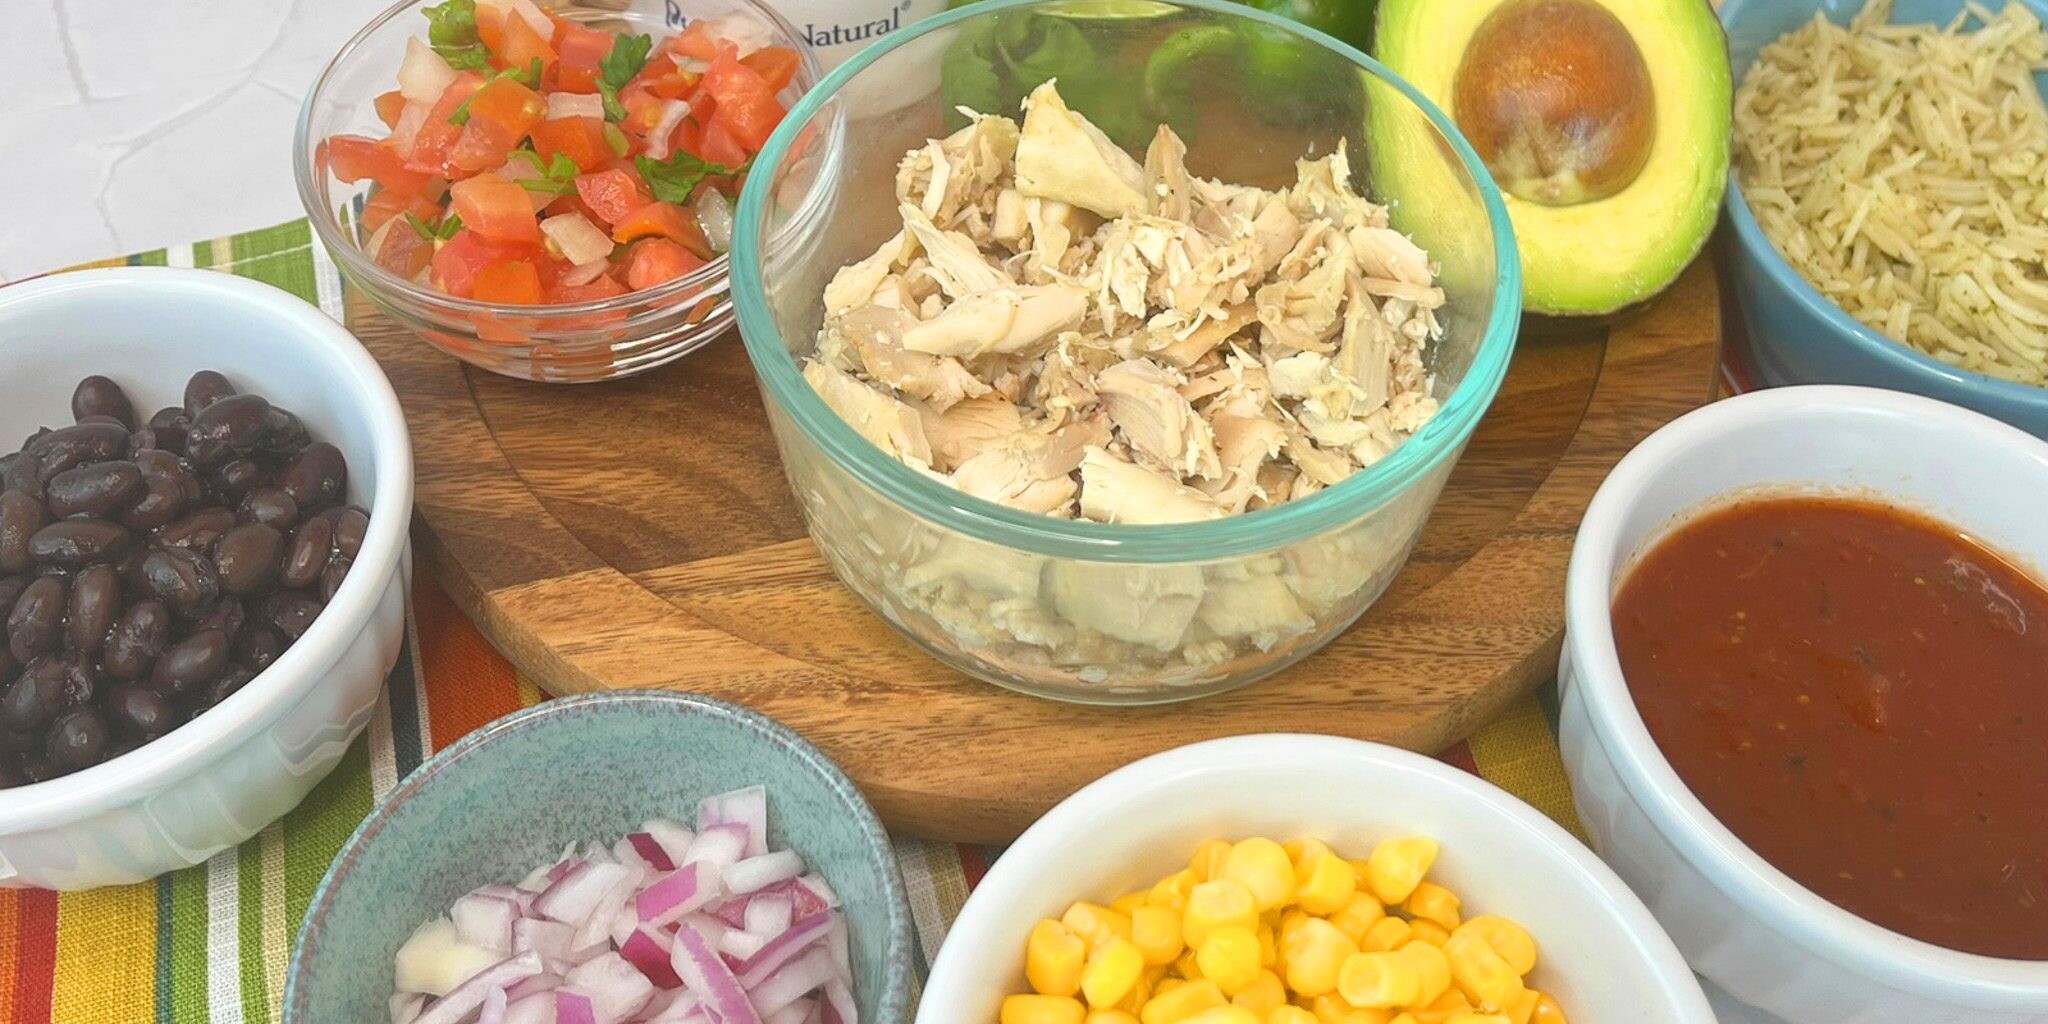
- Shredded Chicken (1 cup): Rotisserie chicken works great in this recipe as does any leftover cooked chicken. It provides the main protein in the bowl.
- Fire Roasted Salsa (1/2 cup): Provides the spicy, tangy, smoky, tomato flavor to the chicken. Feel free to add more if you like your chicken saucier.
- Cooked Rice (1/2 cup): Rice, farro, and quinoa are all great choices. Feel free to use whatever you have on hand.
- Frozen Corn (1/2 cup, thawed): Provides sweetness, a pop of color, and a nice texture contrast to the chicken and rice.
- Black Beans (1/2 cup, rinsed): Any type of cooked bean or lentil will work well in the bowl. They add extra protein and heart-healthy fiber to the bowl.
- Diced Red Onion (1/4 cup): Adds a pop of color and a peppery zest to the dish.
- Avocado (1/2): Adds healthy fat and additional creamy goodness to the bowl.
- Pico de Gallo (1/2 cup): The acidic and tangy combination of onions, tomato, cilantro, and lime juice creates the perfect zesty accompaniment to the bowl, adding depth of flavor to this Tex-Mex bowl.
- Cilantro (2 tablespoons): Provides a bright, fresh, and citrusy contrast to the heavier, savory chicken and beans.
- Daisy Sour Cream (½ cup): Brings a creamy, tangy balance to every bite, mellowing out spicy, smoky flavors while adding a rich, smooth texture. Its subtle tang brightens the dish, creating a fresh, refreshing contrast that ties all the ingredients together beautifully.
- Lime Wedges: Adds a burst of acidity and provides a bright contrast to rich, savory ingredients.
- Jalapenos: Add an additional touch of fresh, bright heat. Fresh or pickled work well with fresh tending to be hotter.
Substitutions, Variations, and Tips
- Any type of cooked meat will work great in this recipe. Chicken, brisket, ground beef, shrimp, or fish are all great options.
- For a plant-based protein alternative, try adding toasted tofu or additional beans or lentils.
- Any type of salsa or picante works great to add a little tomatoey zest to the protein. Feel free to use whatever you have on hand.
- The protein may be served cold or heated to your preference.
- Any type of cooked grain works great for burrito bowls to add fiber and to give you extra energy.
- Cauliflower rice is also a great choice if you’d prefer a lighter option.
- Pico de Gallo can be found in the produce section of your local grocer.
- If you’d rather make fresh Pico de Gallo, you can mix 3-4 diced Roma tomatoes, ½ cup diced onion, 1/3 cup chopped cilantro, and the juice from 1 lime. Add a sprinkle of salt and let set in the refrigerator to blend flavors for at least 30 minutes before enjoying.
- Sauteed bell peppers and onions make a great fajita-type addition.
- Chopped lettuce and halved cherry tomatoes may be used as a base instead of rice for a salad option instead of a bowl.
- Fresh Guacamole may be used in place of avocado.
- Shredded cheese such as cheddar or Colby-Jack are great additions.
- Hot sauce or additional jalapenos may be added for those who like their bowls with more heat.
How to Make Salsa Chicken Burrito Bowl
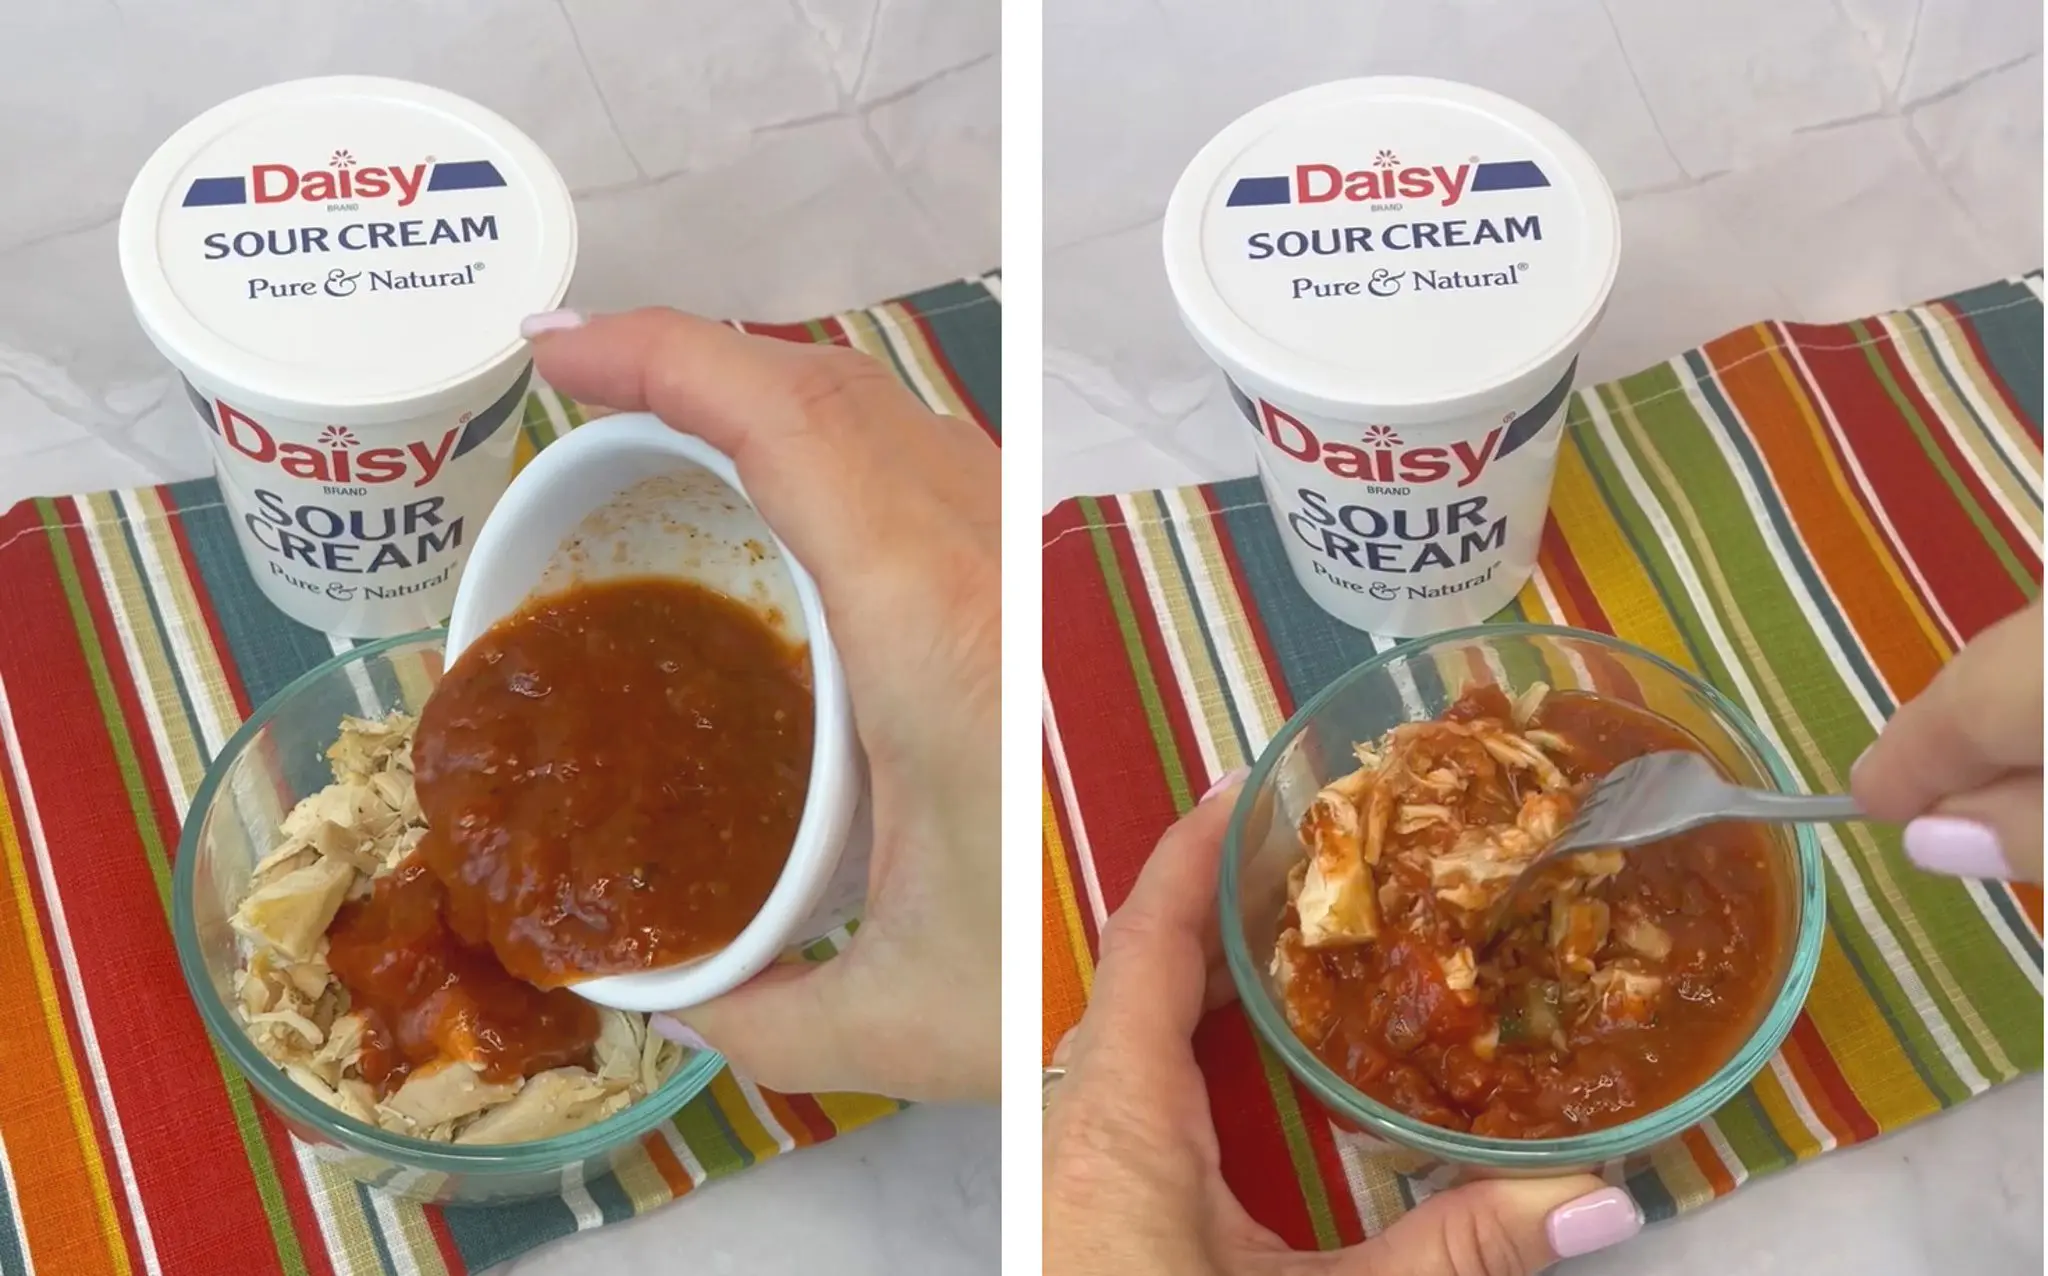
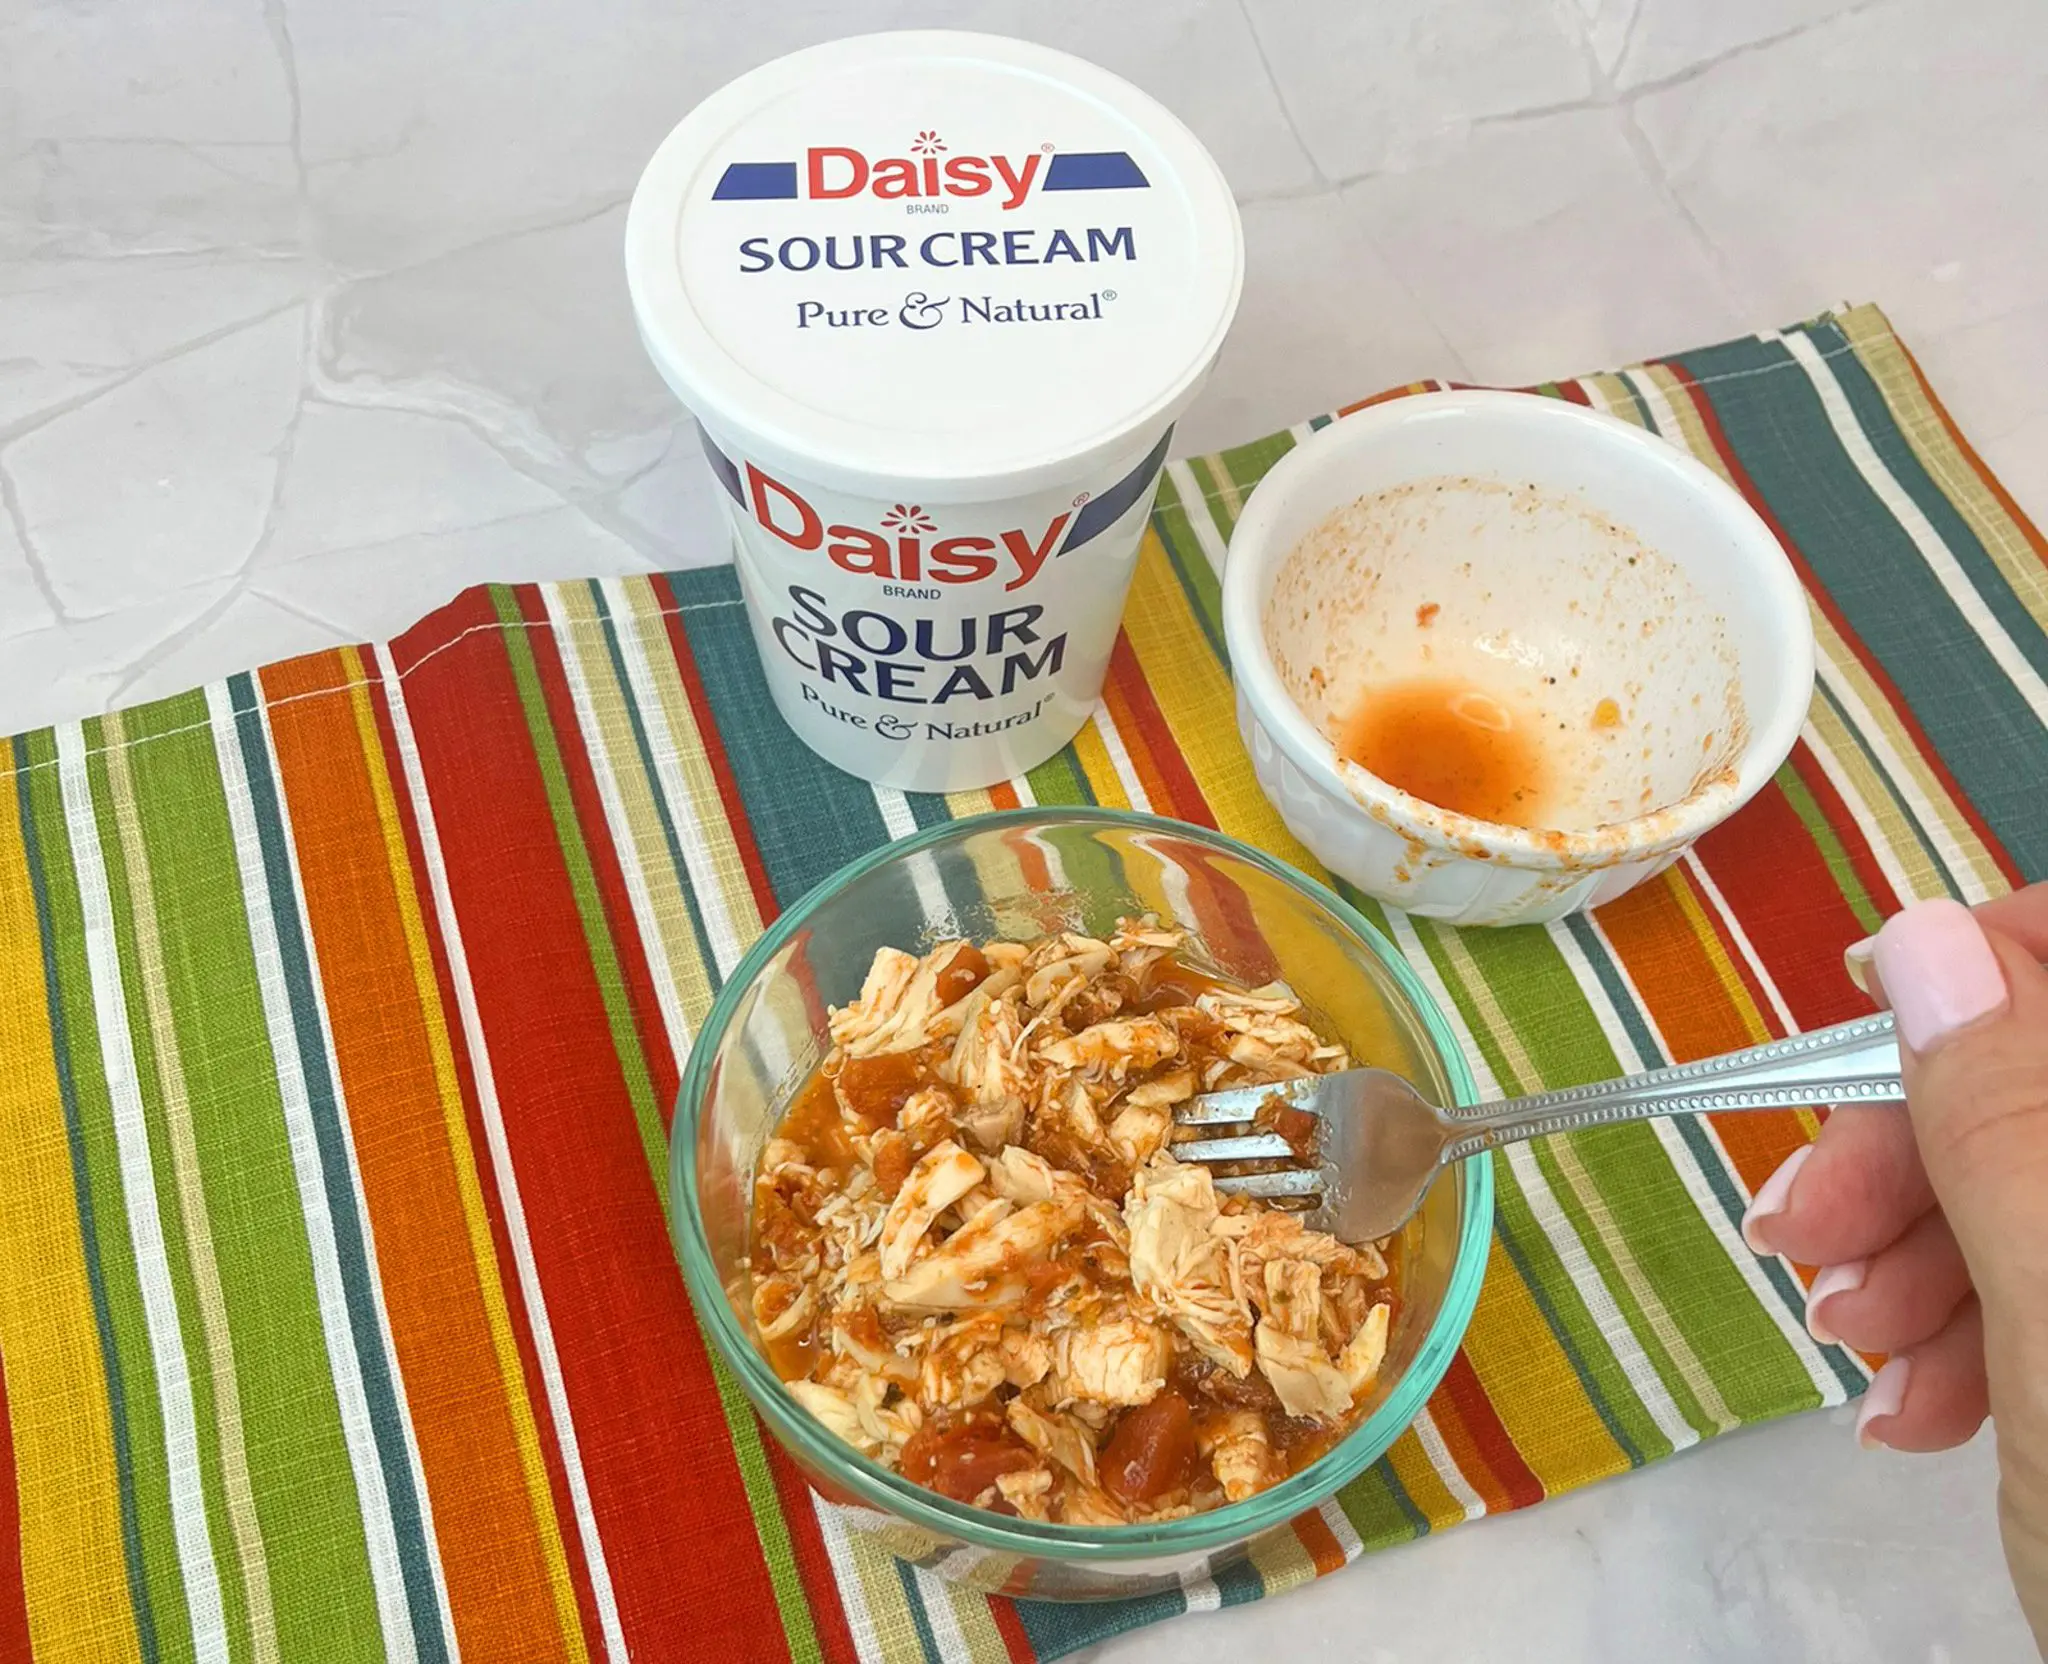
- Mix chicken and salsa.
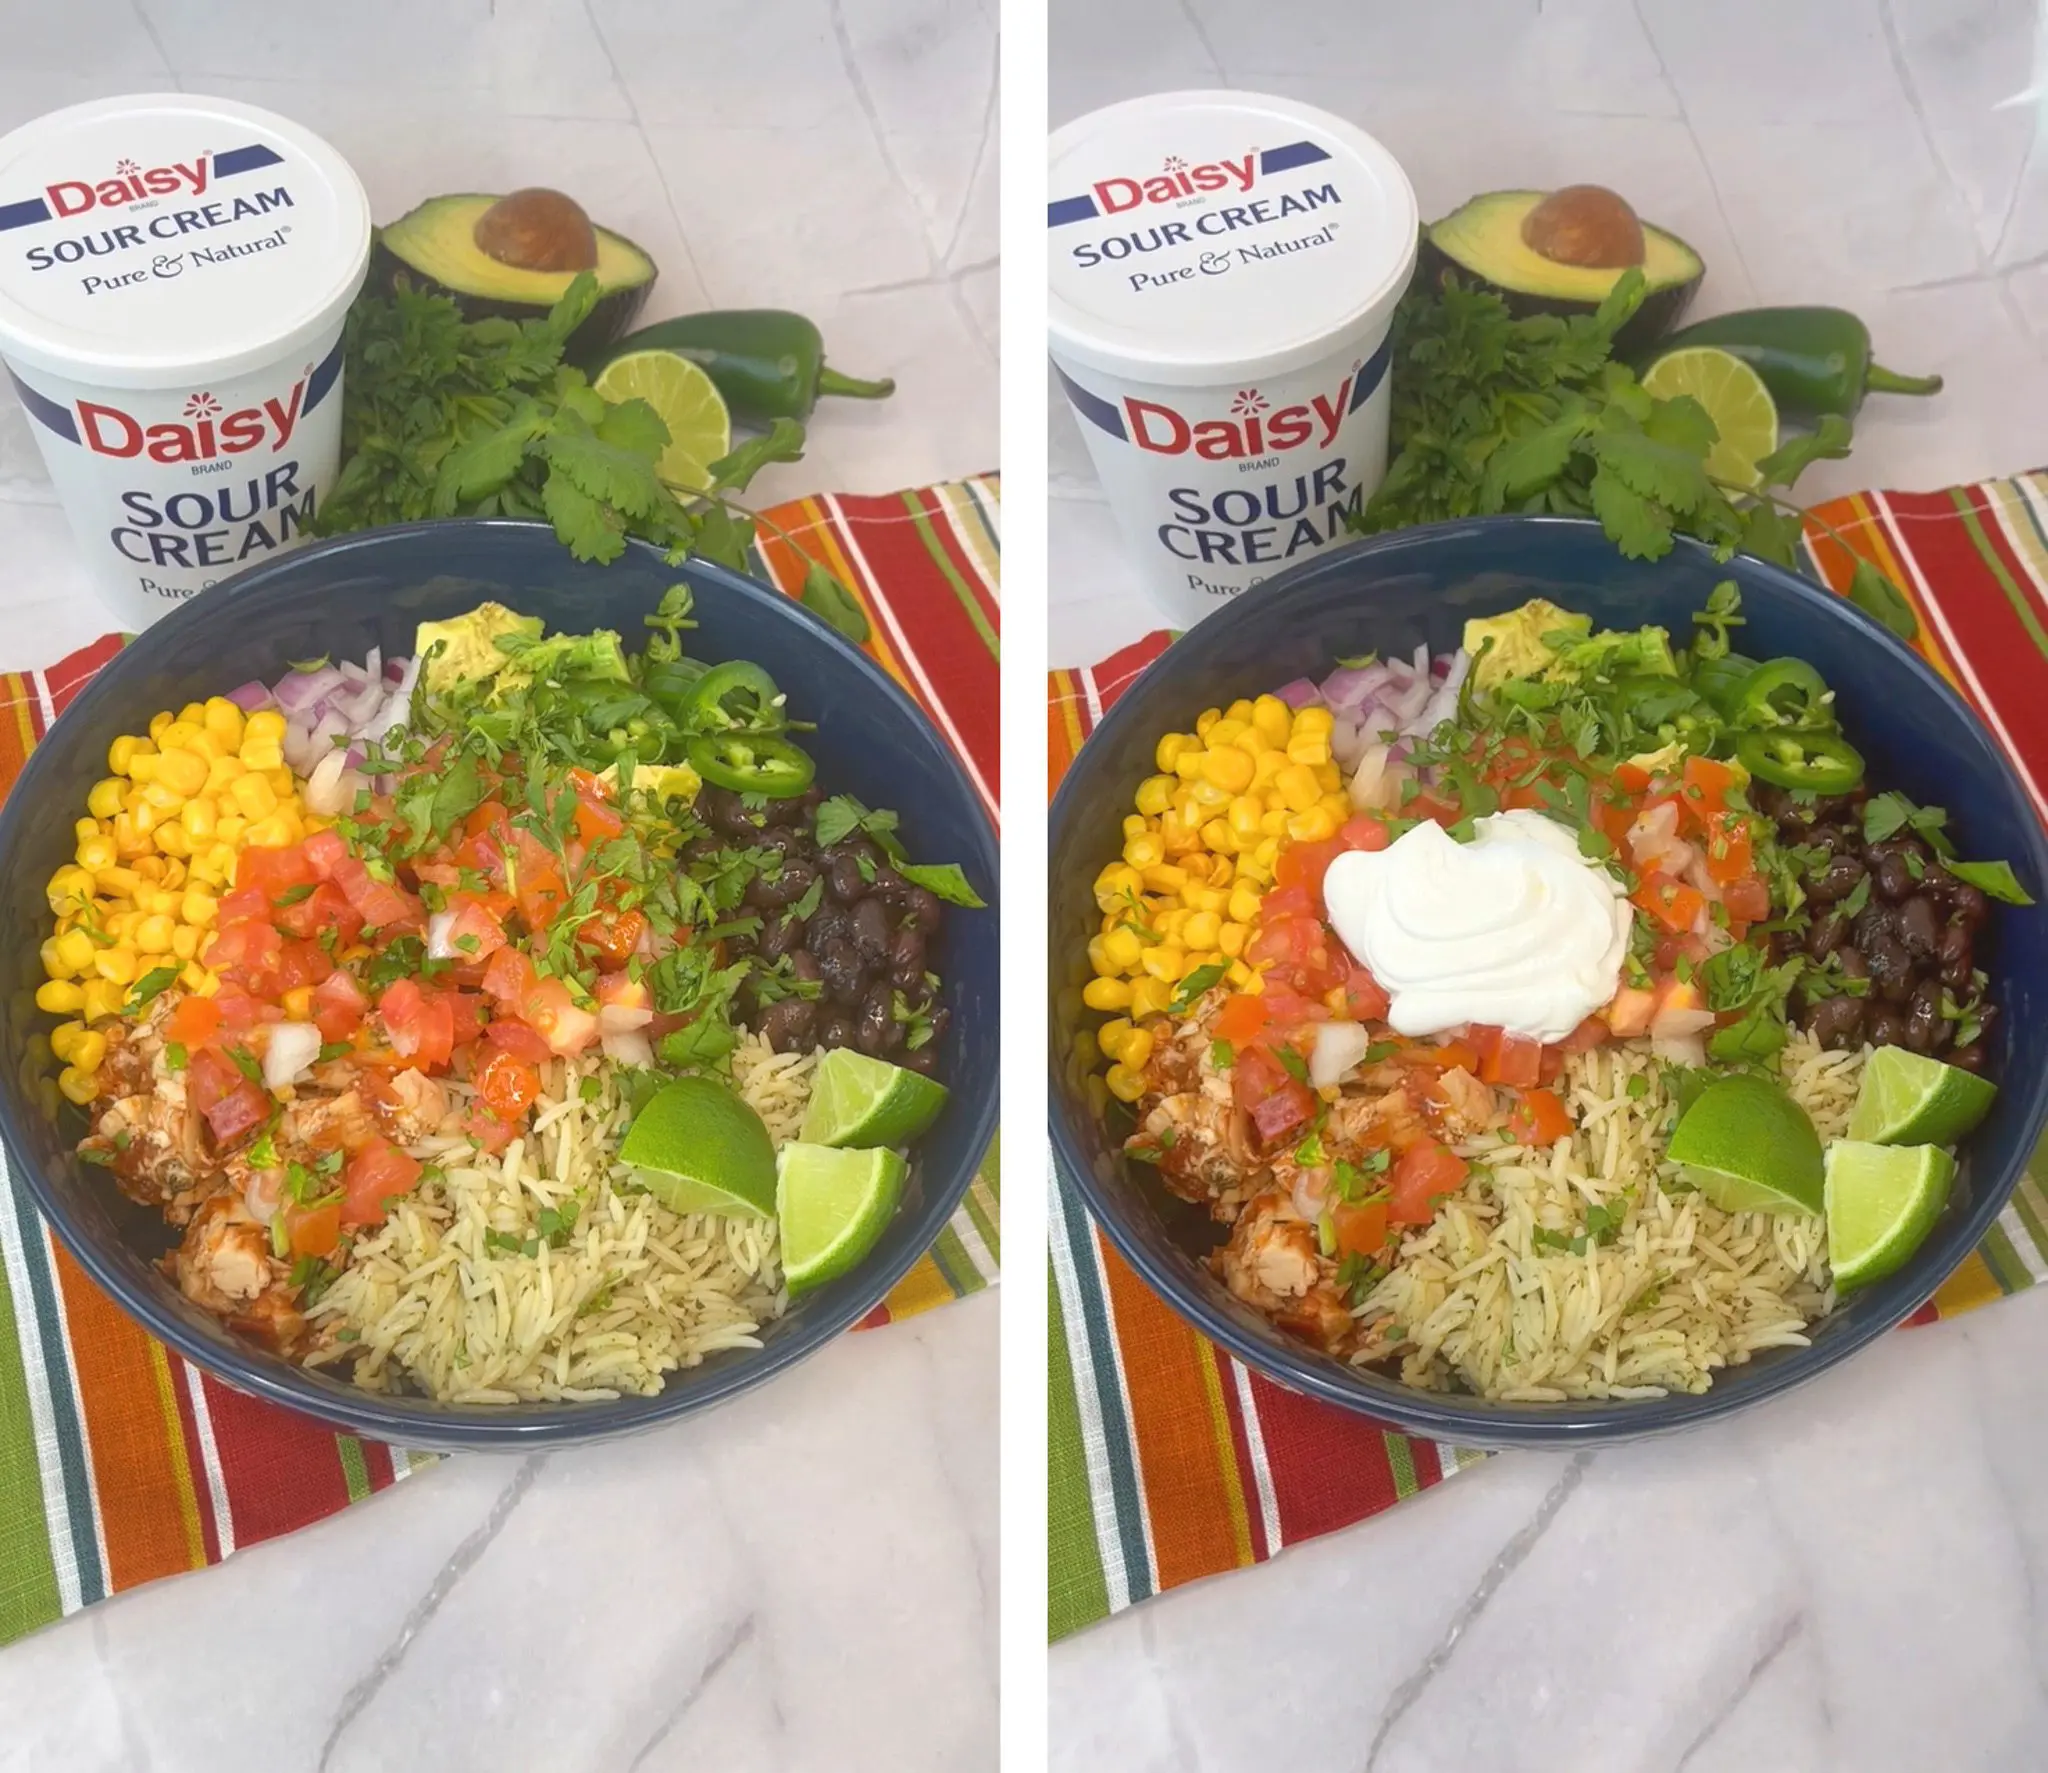
- Layer rice, salsa chicken, corn, beans, onion, and avocado in a bowl.
- Top with Pico de Gallo, cilantro, lime wedges, jalapenos, and a big dollop of sour cream.

Lemon Sour Cream Pound Cake
Lemon Sour Cream Pound Cake
Loved for its perfect balance of bright, citrusy lemon and rich, creamy, tangy sour cream, this indulgent, bakery-quality cake is refreshing, light, moist, tender, and delightfully lemony. As it bakes, an irresistible aroma fills your kitchen, and you’ll find yourself counting the minutes until you can enjoy the first slice.
The combination of sour cream and zesty lemons brings out the best in both ingredients without ever being overwhelming, creating a complex, crave-worthy flavor. Fresh lemon zest and juice add a burst of citrusy brightness, perfectly paired with sour cream to create the ultimate pound cake. The sour cream adds richness, moisture, and depth, ensuring a soft, tender crumb that stays delicious for days. Its subtle tang complements the lemon’s tartness, balances the sweetness, and delivers a rich cake that’s satisfying without feeling heavy.

This is the perfect cake for anyone looking for something that’s both light and indulgent. Ideal for any season, it feels refreshing in the spring and summer, yet rich enough to enjoy in the fall and winter. Luscious and timeless, this lemon cake is made for sharing.
Lemon Sour Cream Pound Cake Ingredients
- All-Purpose Flour (2 ¼ cups): The gluten in all-purpose flour gives the cake structure.
- Baking Powder (1 teaspoon): A main ingredient for leavening, it adds volume and lightness to the batter.
- Baking Soda (1/2 teaspoon): Another ingredient for leavening. It helps the batter rise and gives baked goods a light and fluffy texture.
- Salt (1/2 teaspoon): Helps enhance the flavors and balances the sweetness of the batter.
- Sugar (1 ¾ cups): Adds sweetness to the batter.
- Daisy Sour Cream: The star ingredient that gives the cake its name. It makes the cake moist and rich with a slight tang, ensuring it stays moist and fresh for days. The fat in the sour cream reacts with the flour to make shorter gluten strands making the cake tender, while the acidity in the sour cream interacts with the baking soda and baking powder to help the cake remain light while rising.
- Canola Oil (3/4 cup): One of the best options for baking, it has a mild, neutral flavor. It adds moistness to the cake.
- Grated Lemon Peel (2 tablespoons): Adds a concentrated citrus flavor and fragrance without adding additional tartness.
- Eggs (4 large): Creates the thickness and stability in the batter, providing the perfect structure of the cake. Eggs bond with the flour to create texture by forming a stronger gluten. The eggs also help add height to the cake.
- Lemon Juice (4 tablespoons, divided): Adds the fresh, tart, zesty citrus flavor to the cake and the glaze. The acid in the juice reacts with the leavening agents to create air bubbles which help the cake rise.
- Vanilla Extract (1 teaspoon): An essential ingredient in many desserts, it enhances the flavor of the cake.
- Powdered Sugar (1 ¼ cups): Finely ground sugar with no hint of graininess, it is the perfect sugar for making sweet frosting and glazes.
Substitutions, Variations, and Tips
- For best results, start by bringing all your ingredients to room temperature—this small step makes a big difference.
- Using high-quality ingredients, like Daisy Sour Cream, will give you the best flavor and texture.
- If you’re looking for an extra-tender crumb, cake flour can be used in place of all-purpose flour.
- When measuring flour, be sure to spoon it into the measuring cup and level it off with a knife. This helps prevent overpacking, which can lead to a dry cake.
- And when mixing the batter, resist the urge to overmix. Too much mixing develops excess gluten and can leave your cake dense or gummy.
- You can substitute vegetable oil or melted butter for the canola oil if you’d like—both work beautifully.
- Always preheat your oven and use the correct pan size so the cake bakes evenly and rises properly. Try not to open the oven door while it’s baking; letting heat escape can affect the final result.
- Once baked, allow the cake to cool fully before removing it from the pan. Skipping this step can cause cracks or breakage.
- If you prefer a thicker glaze, wait until the cake is mostly cool before glazing, as warmer cakes will cause the glaze to run thin.
- Because this cake takes a bit of time to cool, it’s a great make-ahead option. Store it in an airtight container or freeze it before glazing by wrapping it tightly in plastic wrap and then aluminum foil. It can be frozen for up to three months—just thaw completely before glazing and enjoying.
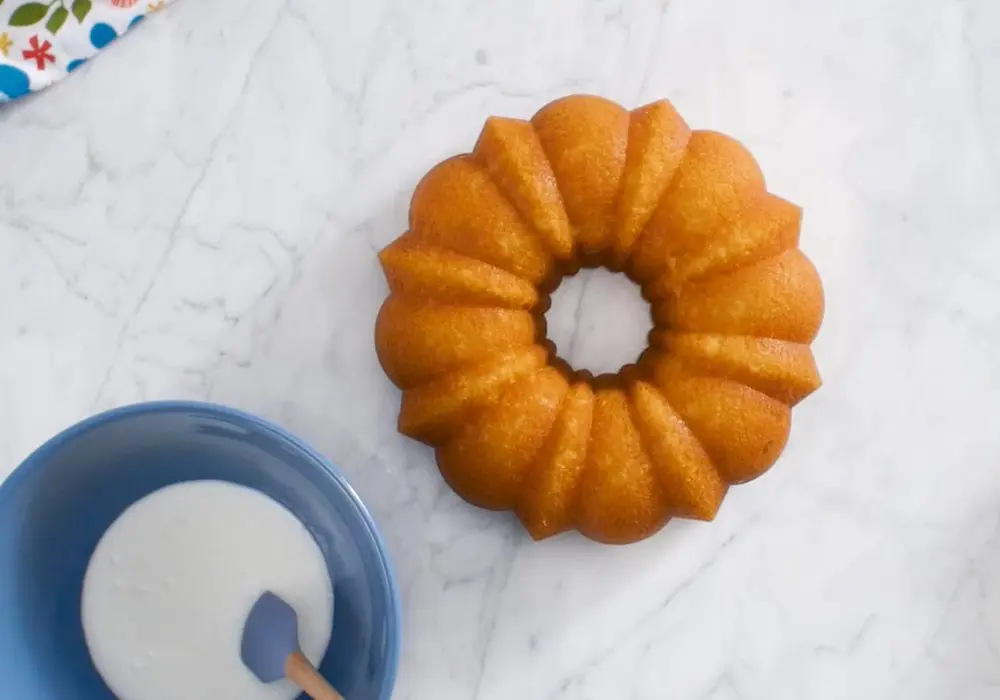


How to Make Lemon Sour Cream Pound Cake
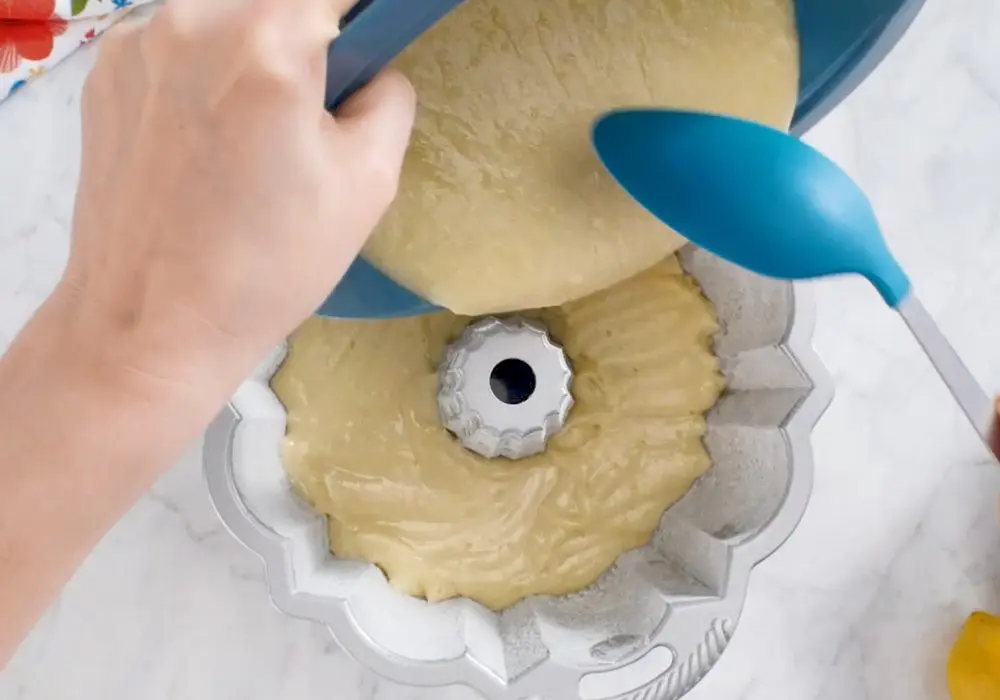
- Heat oven to 325° Coat 12-cup Bundt pan with nonstick cooking spray. Sprinkle with flour, tapping out excess.
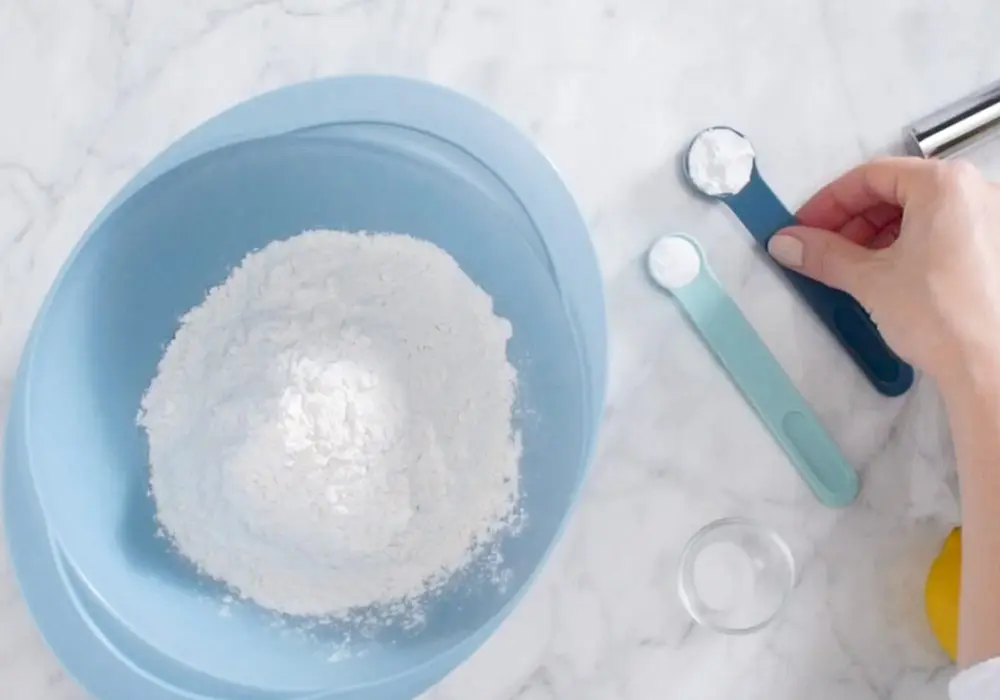
- Whisk flour, baking powder, baking soda and salt in a medium bowl.
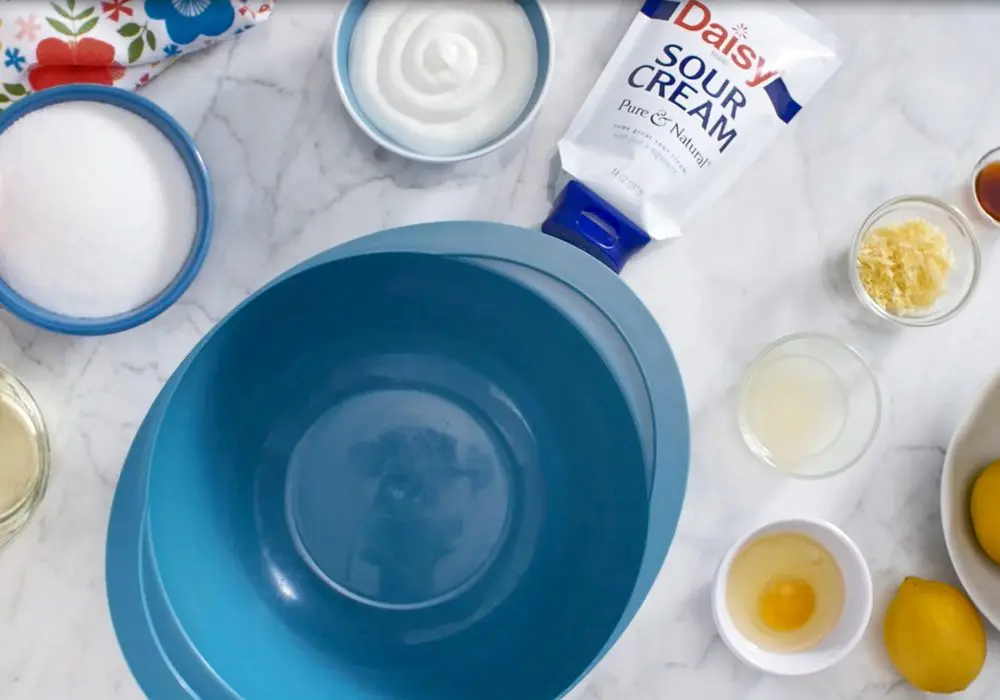
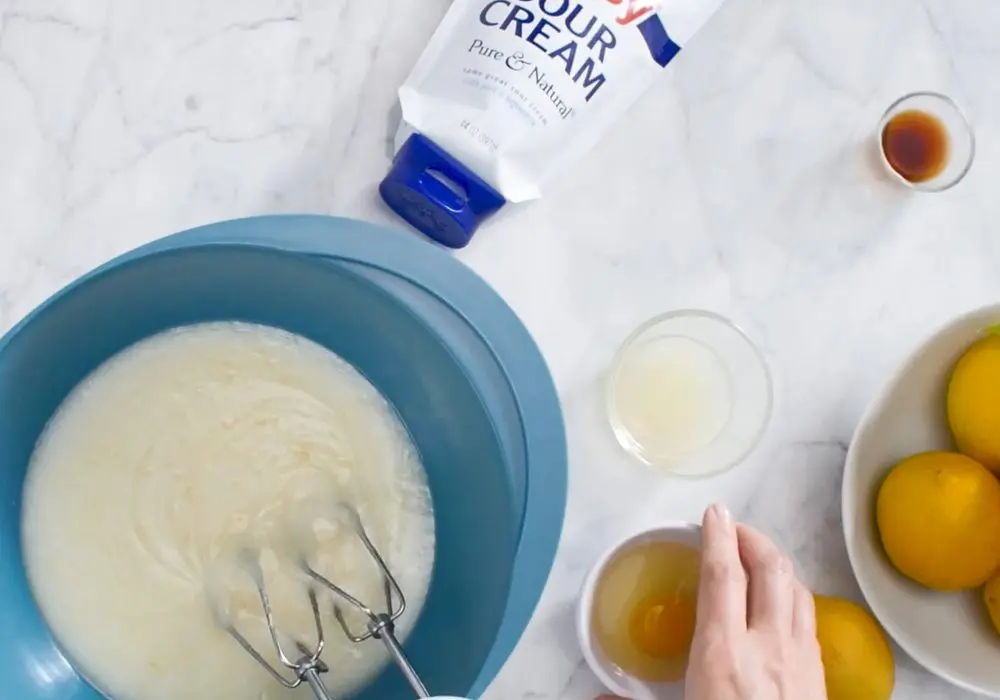
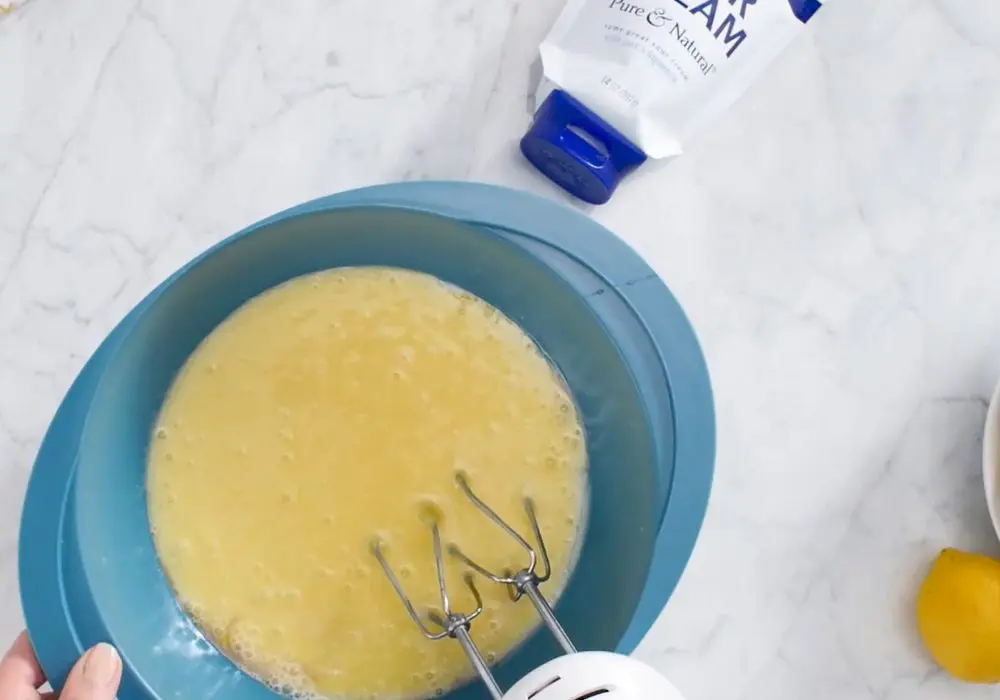
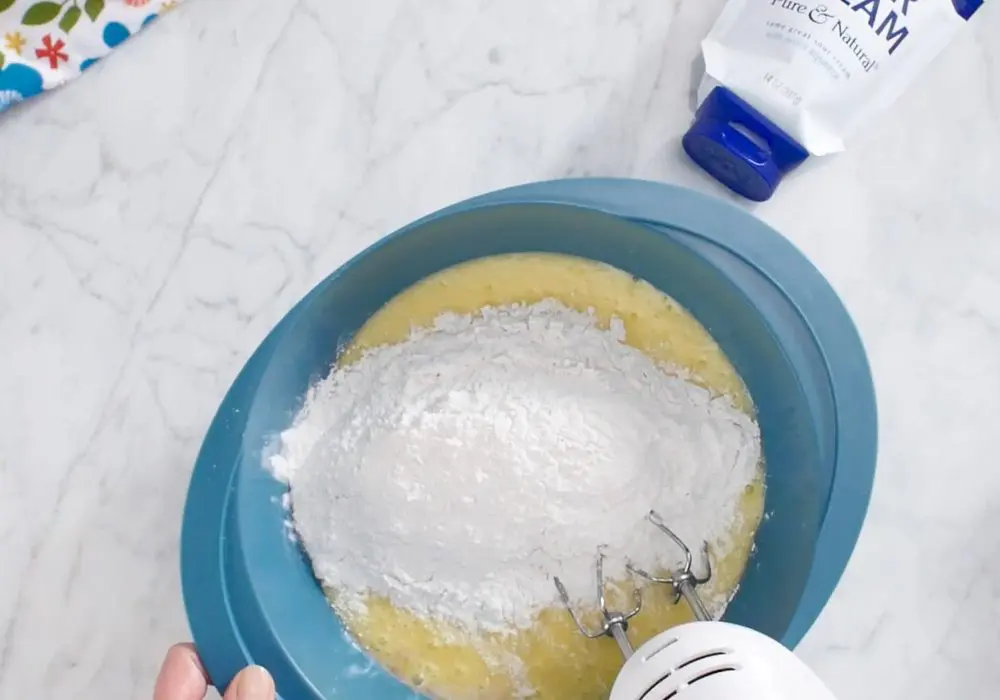
- Beat sugar, sour cream, oil, and lemon peel in large bowl at medium-low speed until smooth. Beat in eggs, one at a time, beating until combined. Beat in 2 tablespoons lemon juice and vanilla extract. At low speed, beat in flour mixture until blended. Spoon batter into pan.
- Bake 55-60 minutes or until the top is golden brown and a wooden skewer inserted in center of cake comes out clean.
- Cool in pan on a wire rack for 10 minutes. Invert cake onto a wire rack and cool completely.
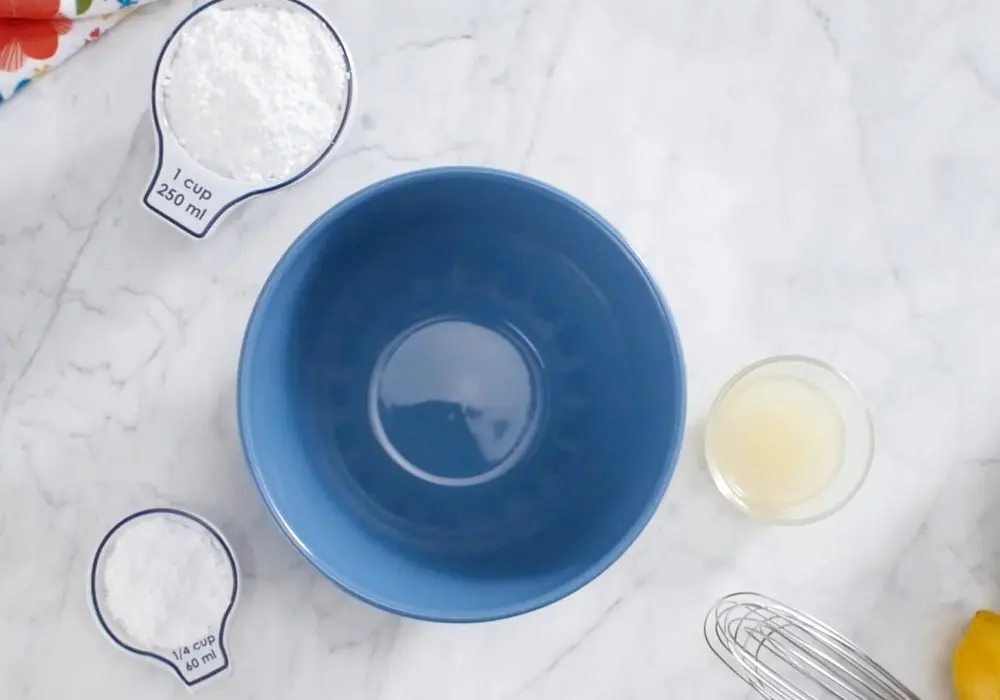
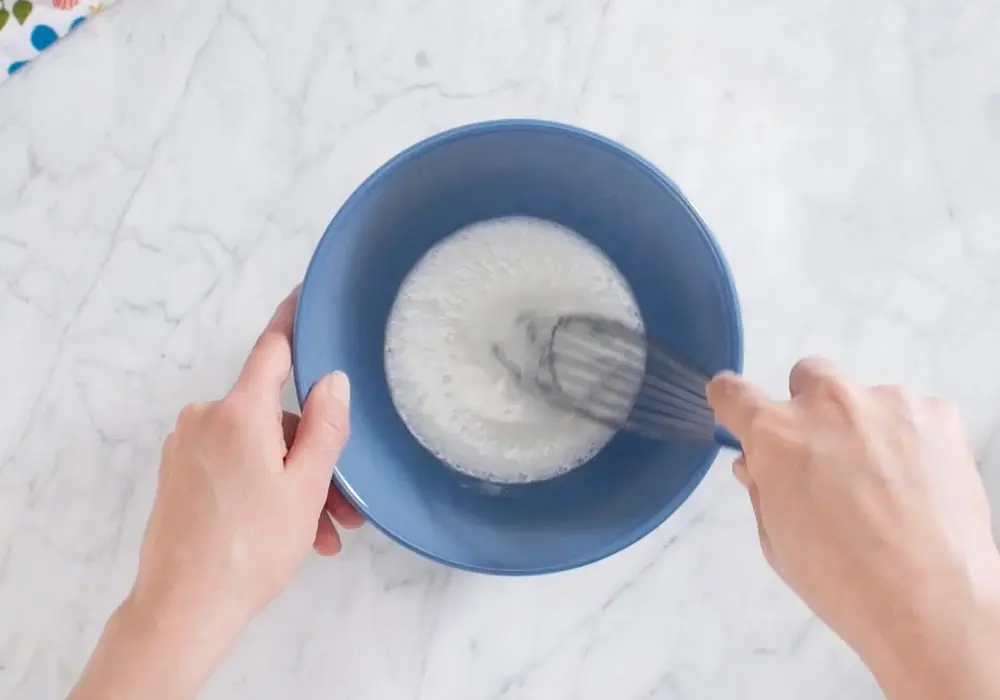
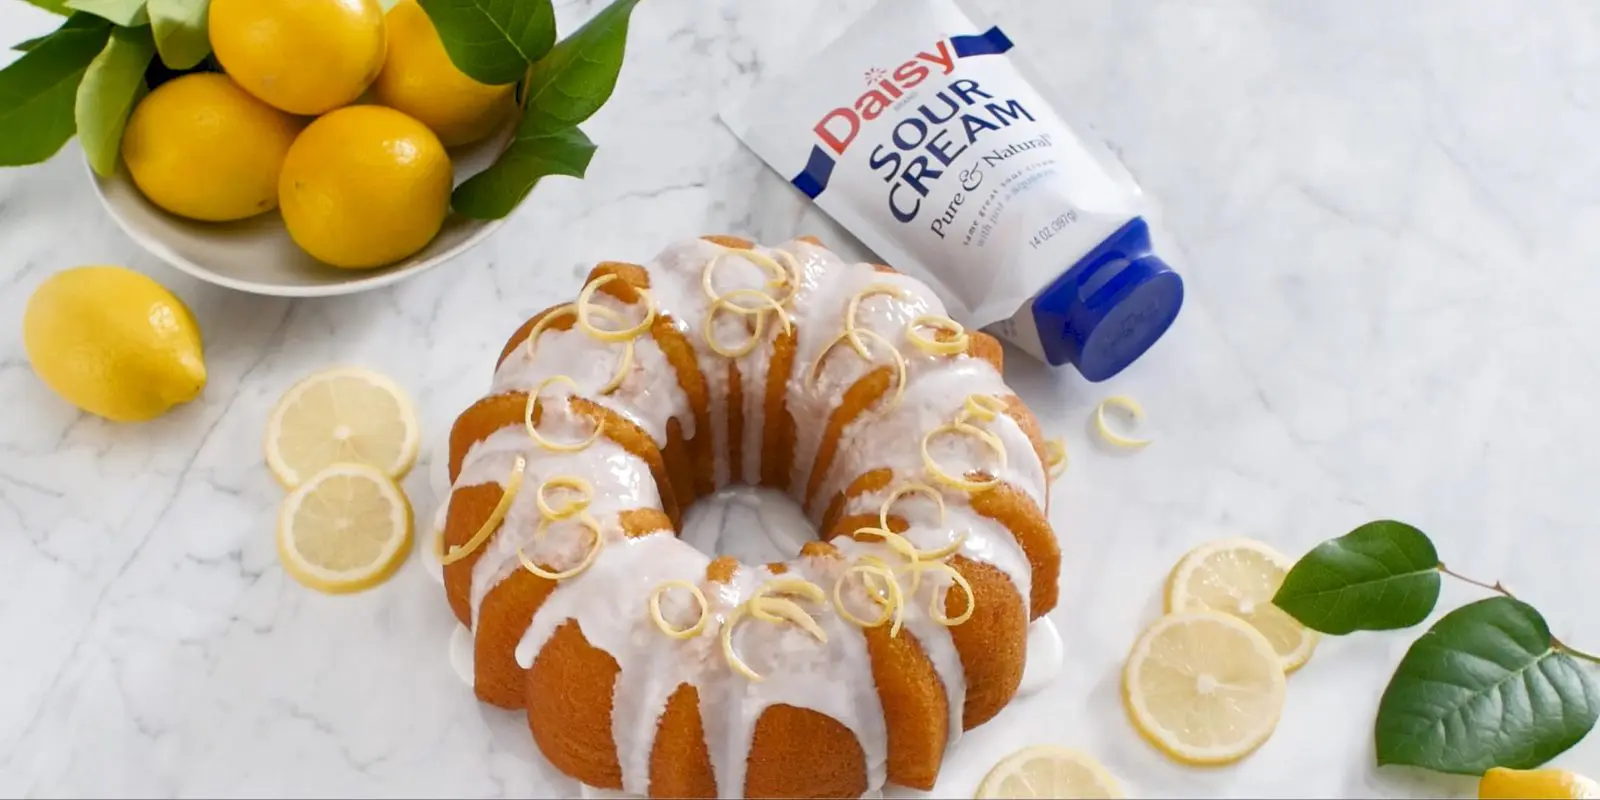
- Meanwhile, whisk 2 tablespoons lemon juice and powdered sugar. Drizzle over cake. Let stand until set.
Chicken Tinga Tacos
Chicken Tinga Tacos
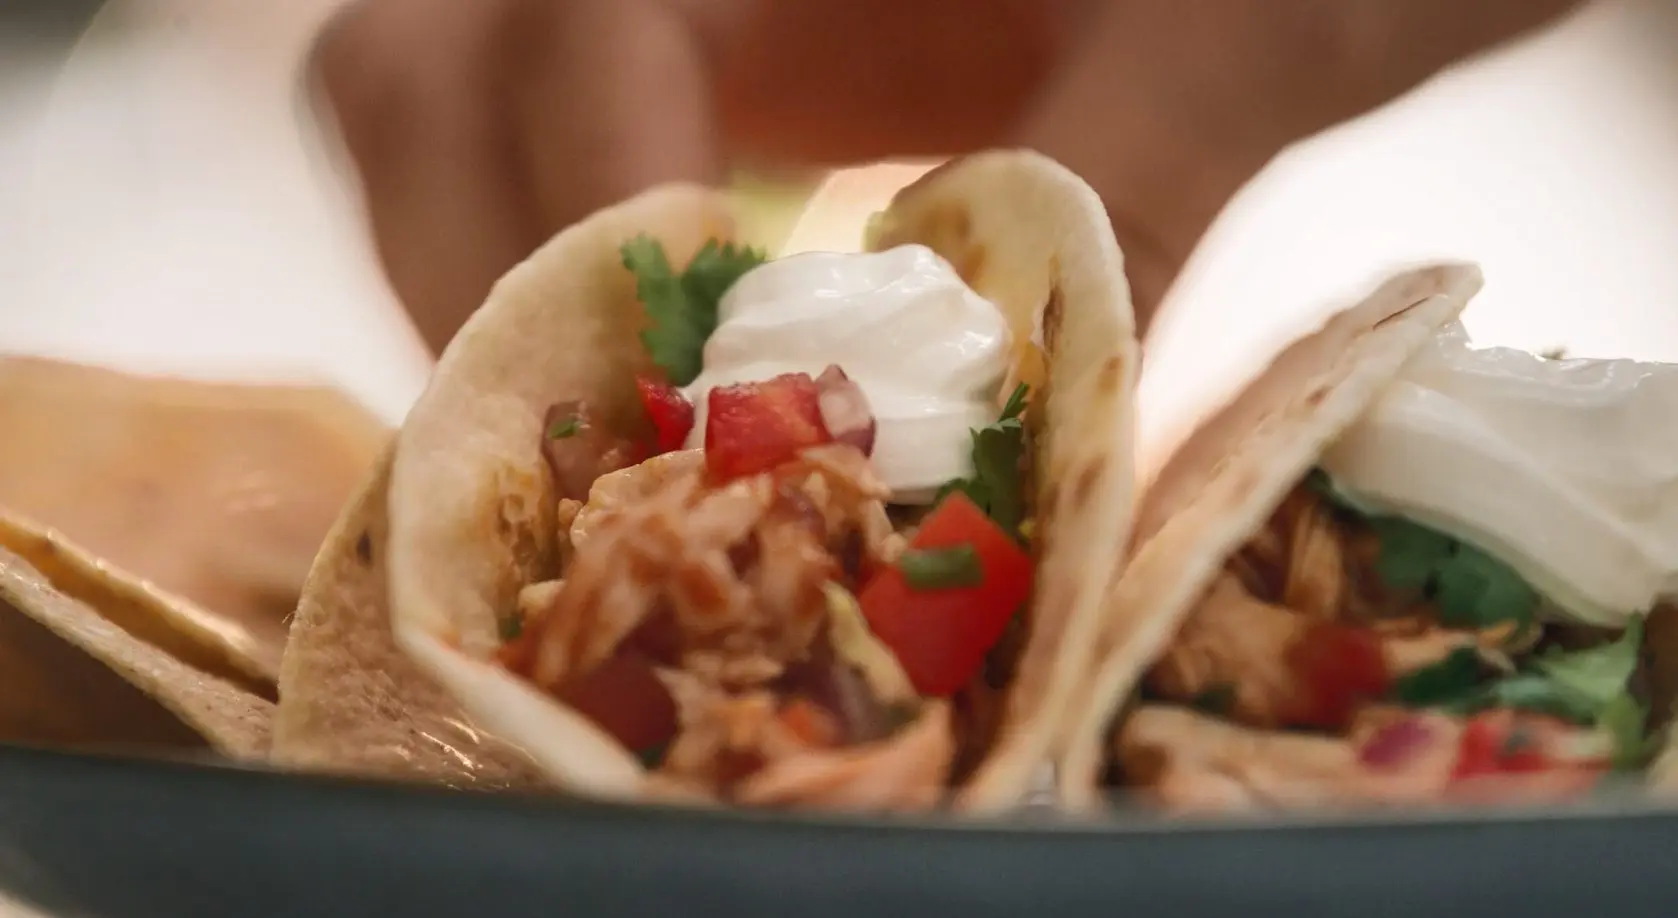
Simple and spicy, these Chicken Tinga Tacos are a delicious and easy Mexican dish featuring shredded chicken in a smoky, tangy tomato and chipotle sauce. It is the perfect balance of smoky heat and tangy sweet sauce coating juicy, tender chicken.
Tacos are the crowd-pleaser that everyone enjoys and that are easily customizable to suit individual tastes. Rich, spicy and hearty, Chicken Tinga Tacos are easily doubled or tripled. The Chicken Tinga can be made ahead saving valuable time when entertaining, or for those busy weeknights when you need something hearty, filling, and quick. Chicken Tinga Tacos are perfect Taco Tuesdays, tailgating, game nights, movie nights, get-togethers, potlucks, and parties. Serve alongside chips, salsa, and guacamole for an easy meal that feeds a crowd.
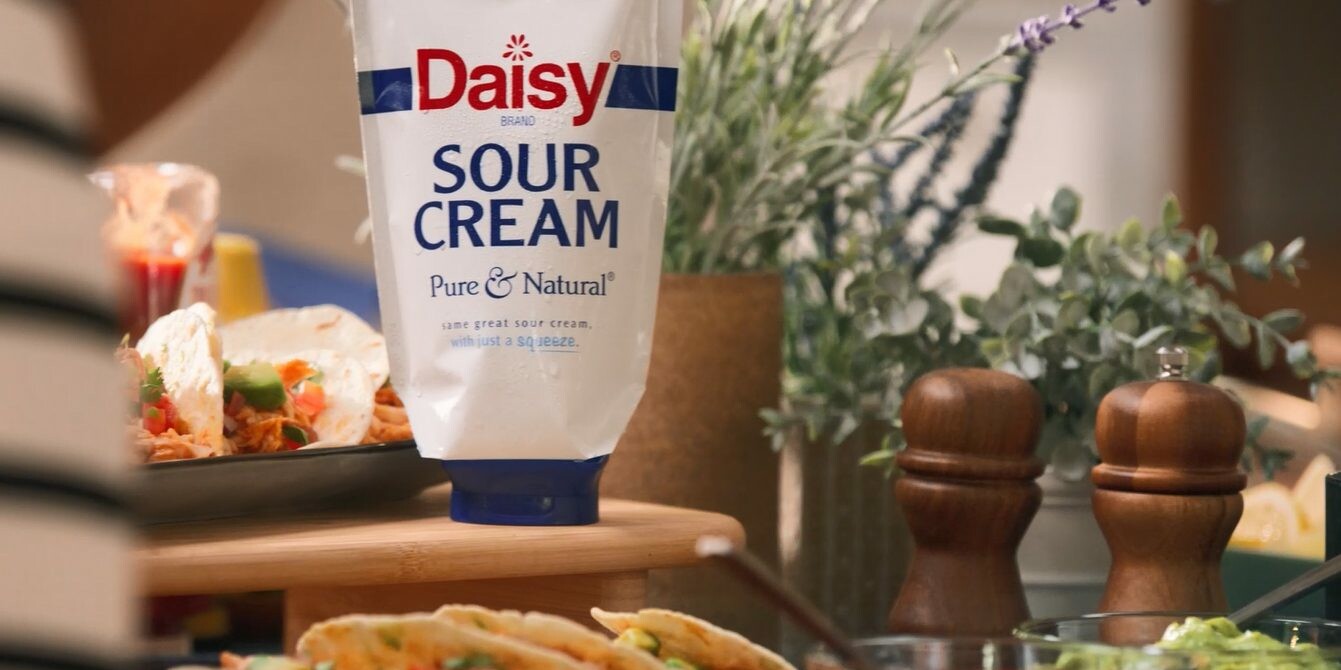
Chicken Tinga Taco Ingredients
- Olive Oil (1 tablespoon): Perfect for sautéing onions.
- Sweet Yellow Onion (1 cups, thinly sliced): Mild and crisp with a touch of sweetness, the natural sugars allow for the perfect caramelization and are one of the main components of the sauce. They balance the acidity of the tomatoes. Vidalia’s are the perfect onion for tinga sauce.
- Minced Garlic (3 teaspoons): Pairs perfectly with tomatoes and onions, it’s another of the main flavors in the tinga sauce.
- Canned Fire-Roasted Tomatoes (5 ounce can): Picked and packed at the peak of ripe perfection to be the freshest tasting year-round, they are the smoky, acidic base of flavor of the sauce.
- Chipotle Peppers in Adobo Sauce (3, with sauce): Smoky, sweet, and spicy, they give the tinga sauce the signature flavor.
- Ground Cumin (1/2 teaspoon): A main staple Mexican spice, it adds a warm, earthy, and nutty flavor to the sauce.
- Dried Mexican Oregano (1 teaspoon): Twice as potent as regular oregano, it has a more pungent flavor citrusy lime flavor with a hint of heat.
- Kosher Salt (1/2 teaspoon): Less refined than other types of salt, it has a pure salty flavor without aftertastes.
- Chicken Broth (1 cup): Adds a rich, complex flavor to the sauce and thins it out.
- Shredded Rotisserie Chicken (3 cups): Found in the deli section of most grocery stores, it is a great shortcut for chicken tacos.
- Tortillas (8 6-inch): White or yellow corn tortillas work well for this recipe. Flour tortillas will also work well.
- Chopped Fresh Cilantro (2 tablespoons): Many people love this signature herb in Mexican cooking which tastes like a fresh burst of citrus, lemon, and pepper. However, some people find the taste more soap-like, due to genetics. Fresh parsley may be used in place of cilantro.
- Pico de Gallo (2/3 cup): Found premade in most produce sections, it’s made with fresh tomatoes, onions, cilantro, and lime juice, it adds a nice fresh taste and a textural contrast to the chicken in the tacos. It is fresher and less wet than salsa, making it the perfect topping for tacos.
- Daisy Sour Cream (1 cup): Adds a rich and creamy component to the tacos. It helps balance the spiciness of the tinga sauce.
Substitutions, Variations, and Tips
- Butter may be used in place of olive oil to sauté the onions.
- White or red onions may be used in place of the yellow onion and will add a slightly hotter, spicier flavor. Add a teaspoon of sugar if using a less sweet onion to replace some of the natural sugar found in the sweet yellow onions.
- Regular diced tomatoes may be used in place of fire-roasted tomatoes. Try adding ½ teaspoon of smoked paprika to keep the smokey flavor.
- Regular oregano may be used in place of Mexican oregano.
- Spice it up the tinga sauce by adding a dash of hot sauce, a sprinkle of red pepper flakes, fresh diced jalapeno, ancho chili powder, or smoked paprika.
- Fresh parsley may be used in place of cilantro.
- Drained salsa or picante may be used in place of Pico de Gallo.
- You can make your own Pico de Gallo by mixing 4 diced Roma tomatoes, ½ cup diced white or red onion, ½ cup chopped cilantro, ½-1 finely diced jalapeno, 2 tablespoons fresh lime juice (or lemon juice), and a sprinkle of salt. Make ahead so the flavors can develop before using. Store sealed tightly in the refrigerator.
- Try adding additional toppings to your tacos such as crumbled cotija or queso fresco cheese, sliced green onions, cubed avocado, and lime wedges.

How to Make Chicken Tinga Tacos
- Heat olive oil and onions in a large skillet over medium heat. Cook until soft, stirring often (about 5 minutes). Add garlic and cook another minute.
- Pulse tomatoes and chipotles in food processor until almost smooth. Pour into onions and garlic.
- Add cumin, oregano, salt, and chicken broth. Bring to a simmer and let cook for 15 minutes.
- Add the shredded chicken to the sauce. Cook another 10 minutes until the chicken is heated through.
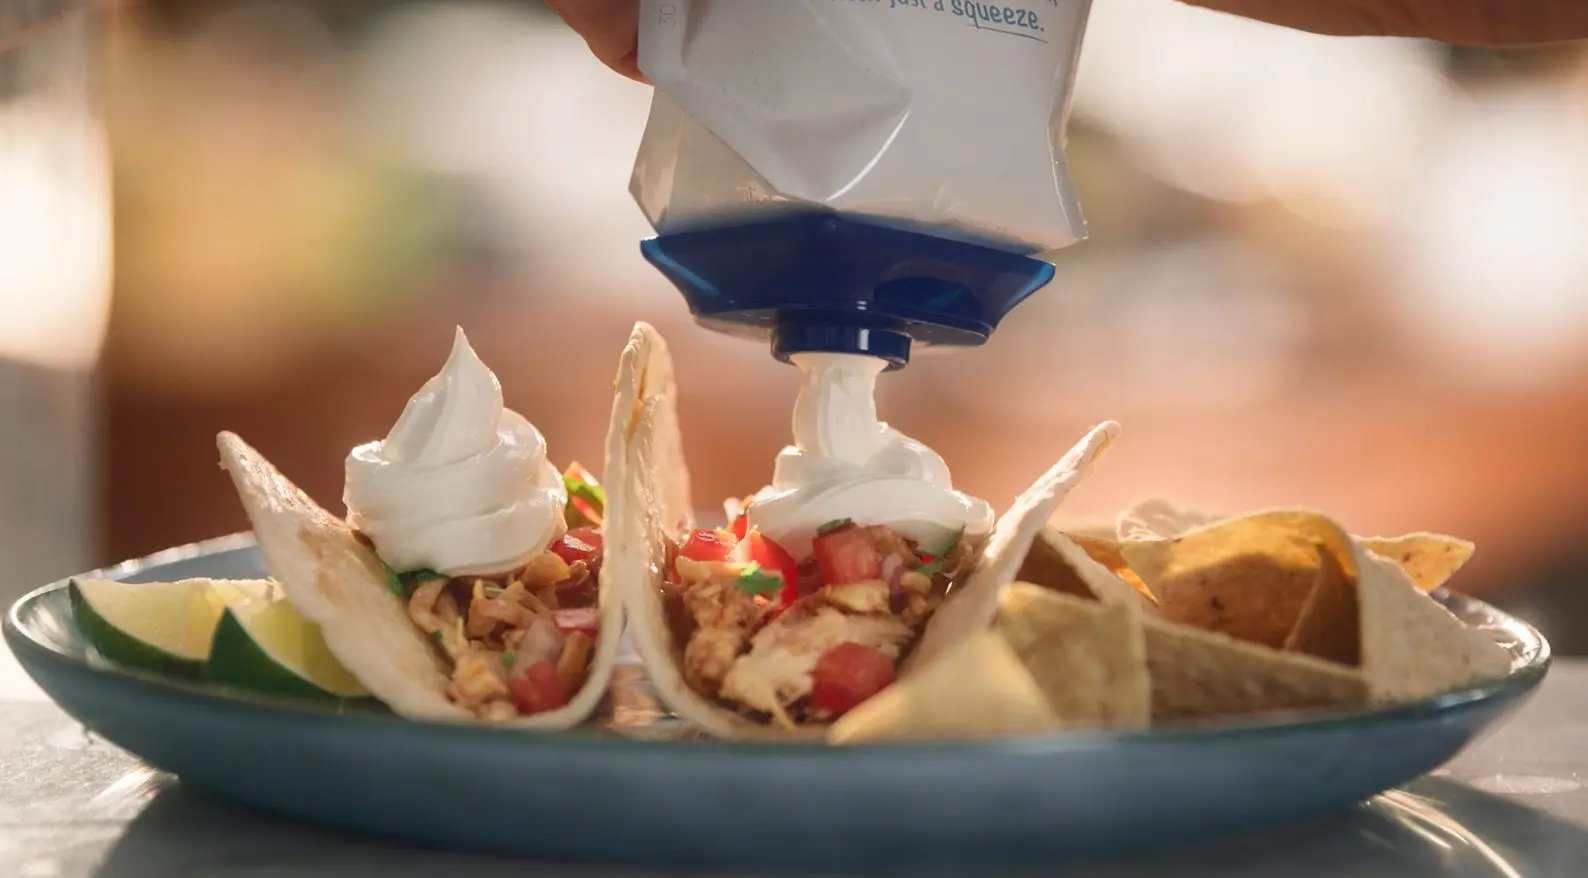
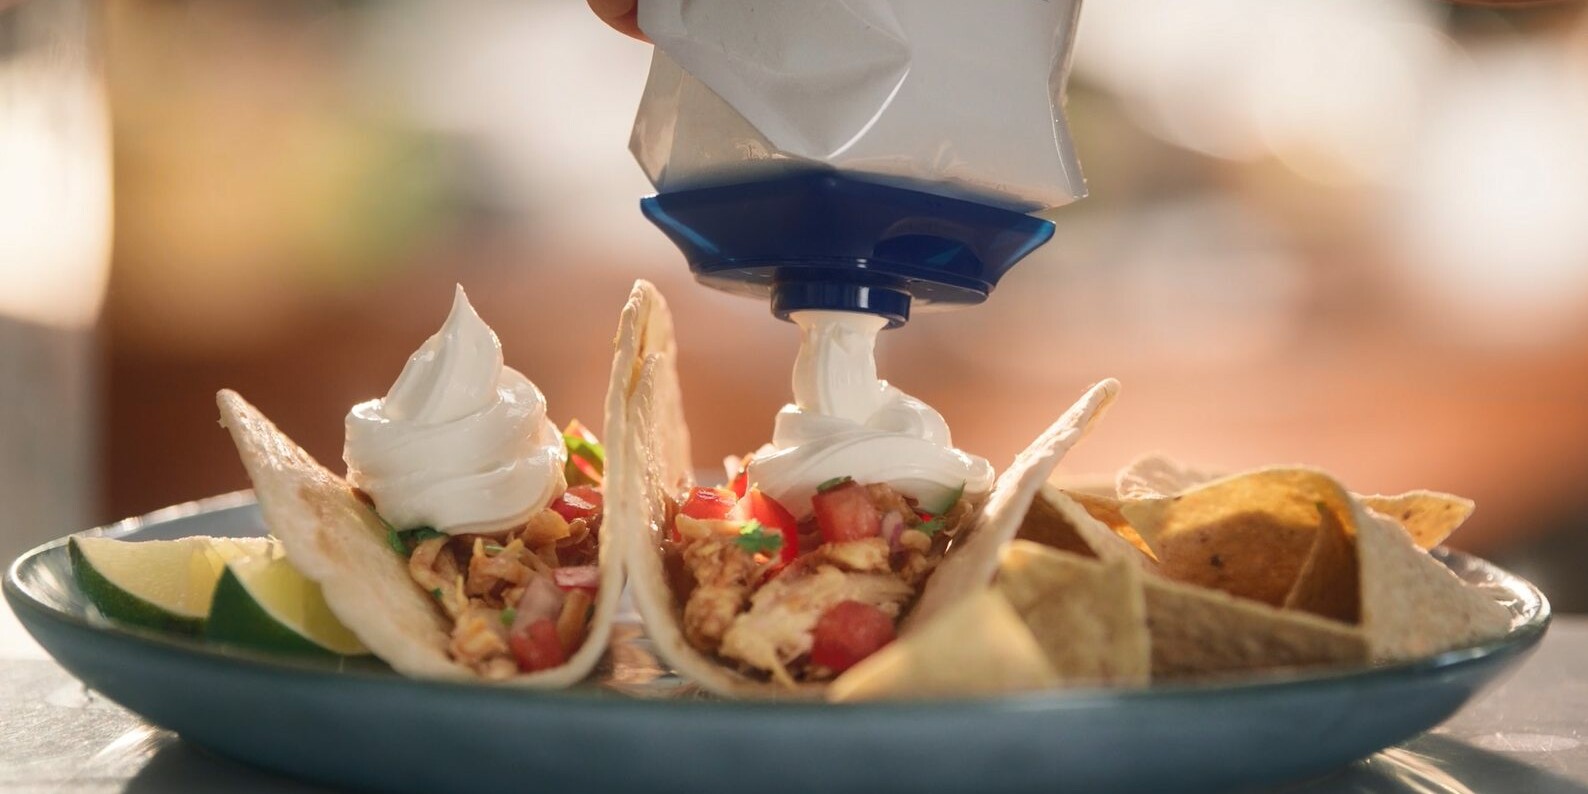
- Warm tortillas per package directions. Add the chicken tinga mixture to the tortillas. Top with fresh cilantro, Pico de Gallo, and a dollop of sour cream.