
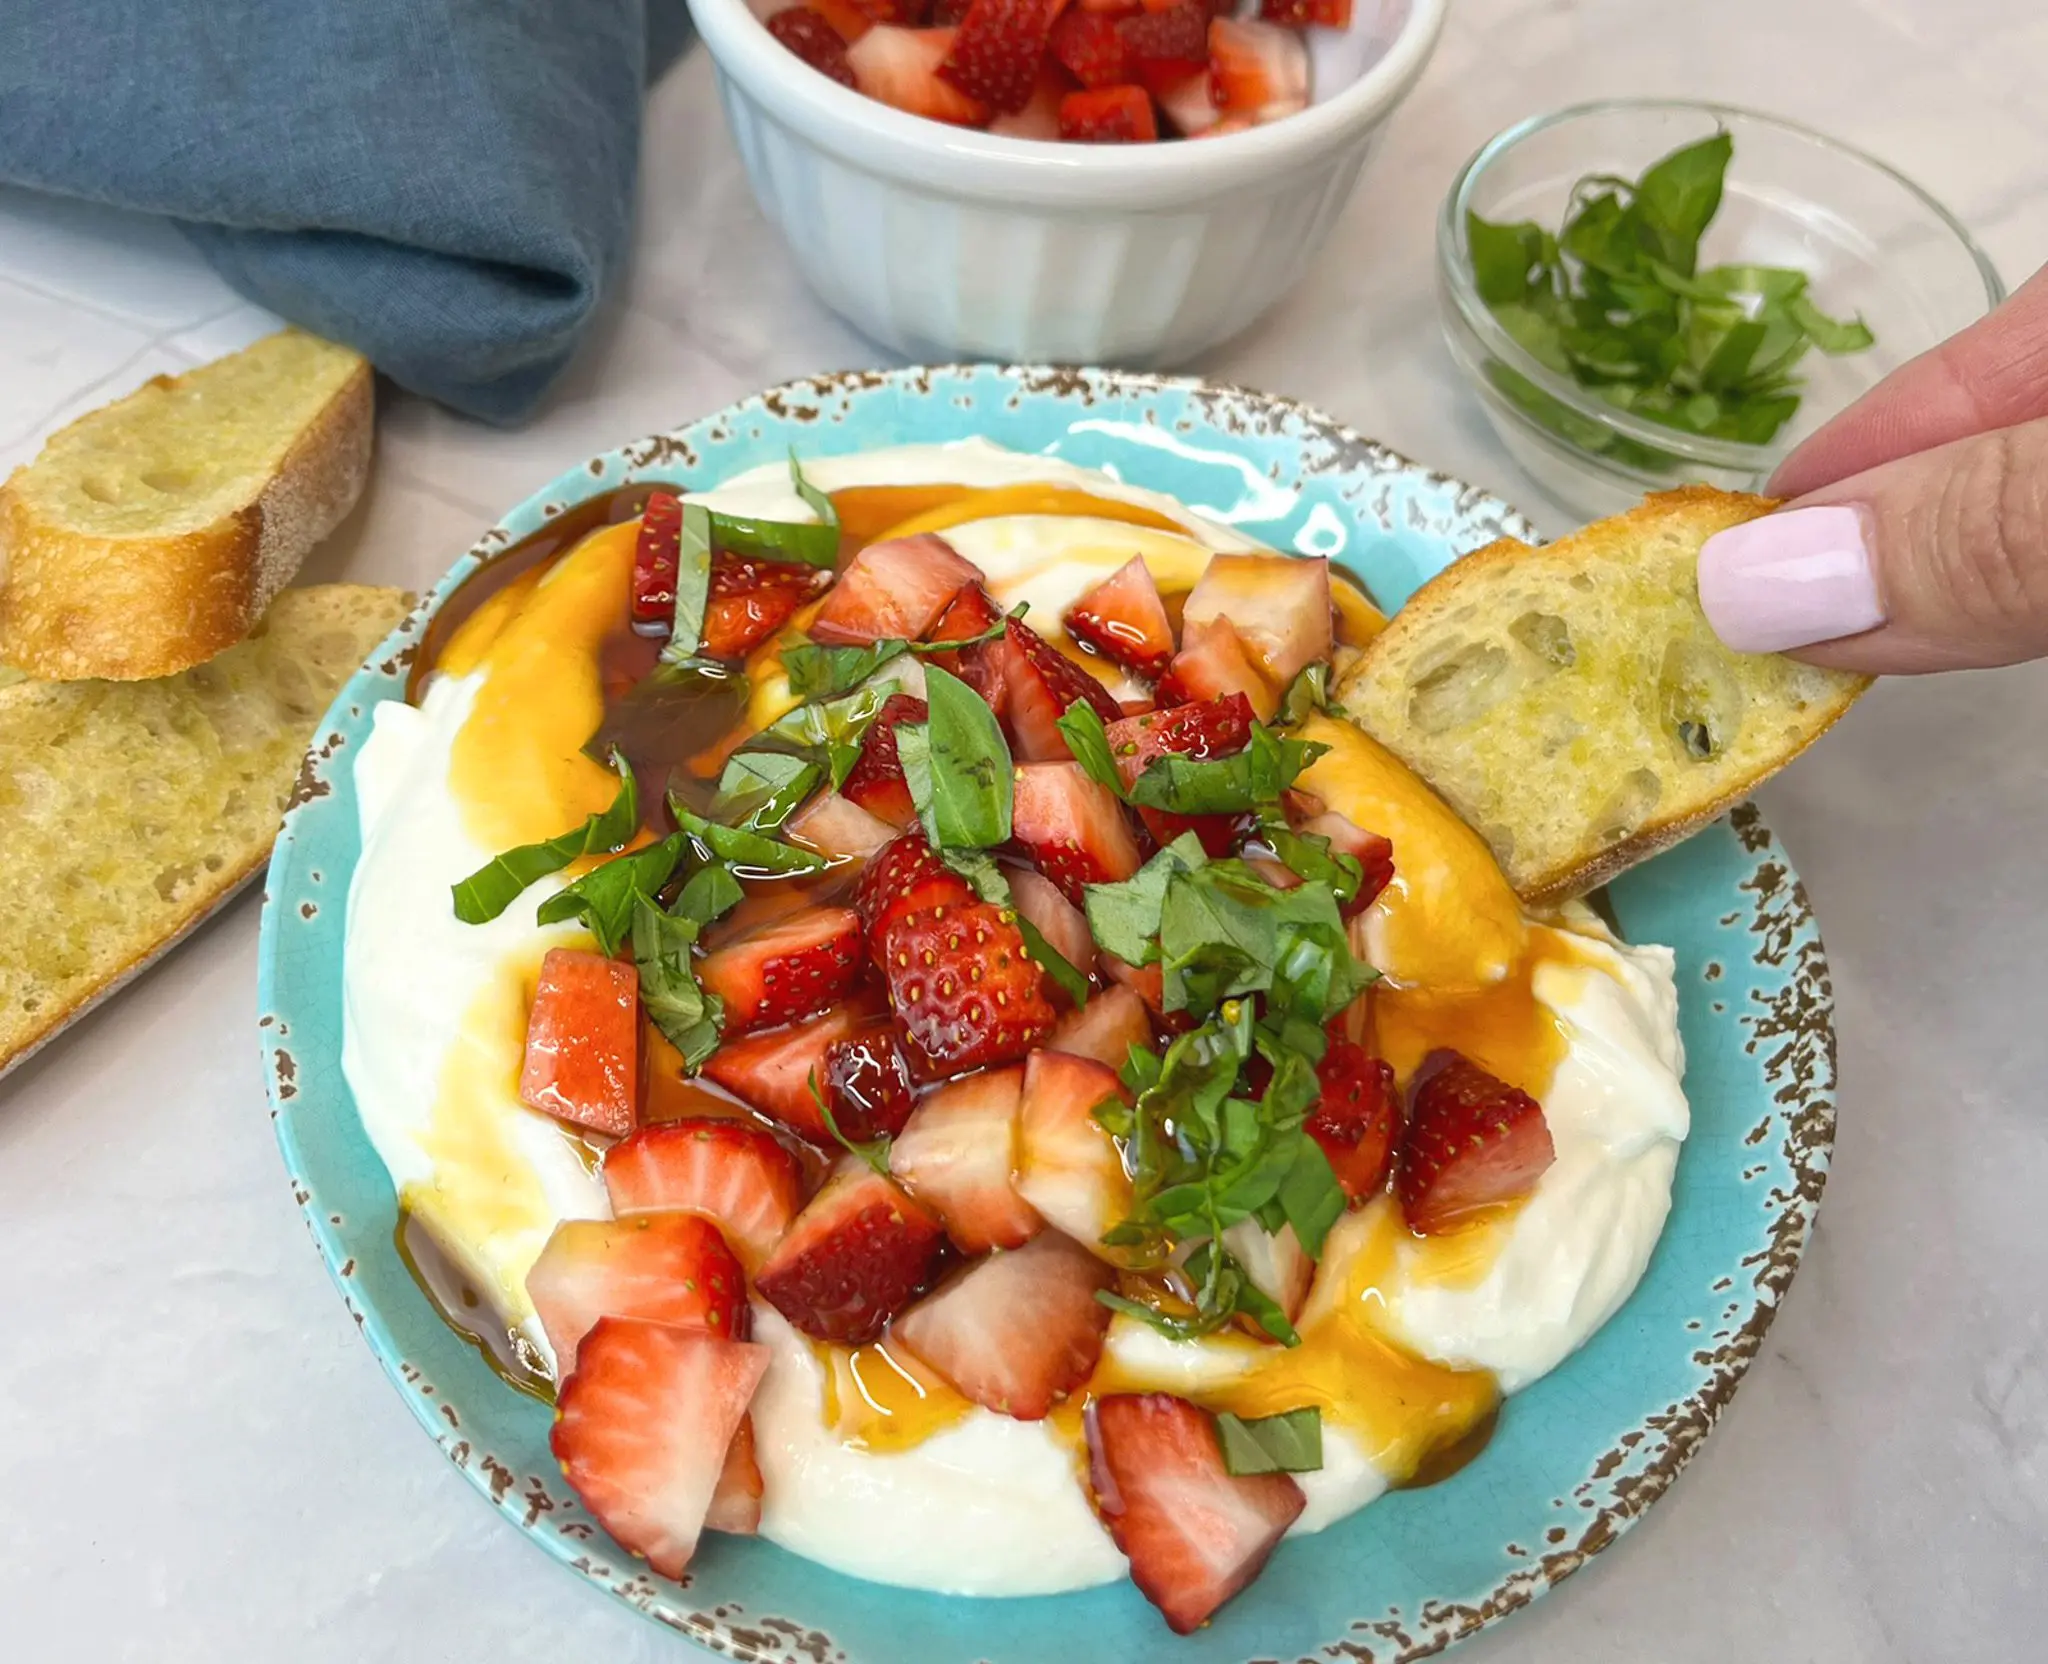
Whipped Cottage Cheese with Strawberry Bruschetta
Whipped Cottage Cheese with Strawberry Bruschetta
Looking for a fresh, feel-good appetizer that’s as beautiful as it is delicious? This Whipped Daisy Cottage Cheese with Fresh Strawberry Bruschetta is the perfect balance of creamy and bright. Smooth, velvety whipped cottage cheese creates a rich, high-protein base, while juicy strawberries, fresh basil, and a hint of sweetness bring a vibrant, summery twist.
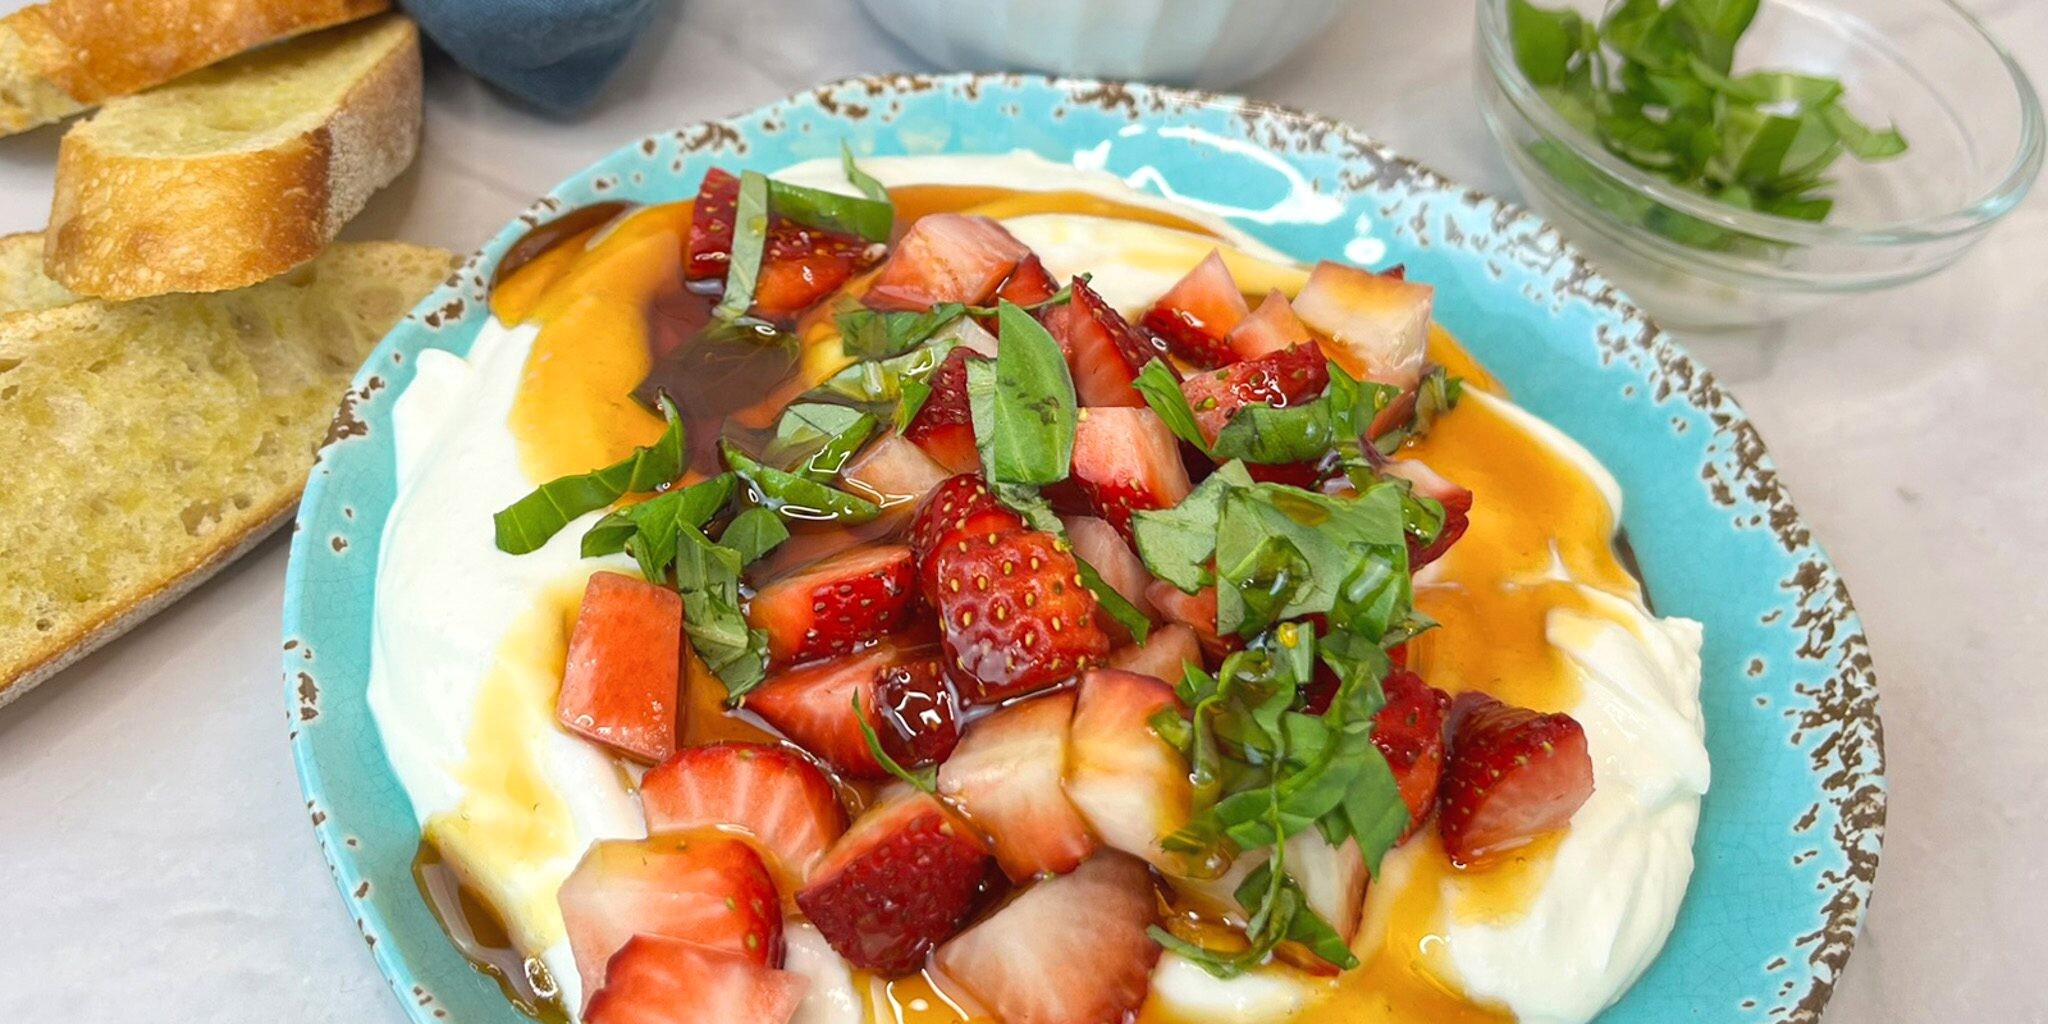
Each bite delivers a contrast of textures and flavors—light and airy, sweet and slightly tangy, with a refreshing finish that keeps you coming back for more. Serve it over toasted baguette slices for an easy bruschetta-style appetizer, or enjoy it as a dip with your favorite crackers.
Whether you’re entertaining guests or treating yourself to something special, this simple yet elevated dish comes together quickly and makes a lasting impression.
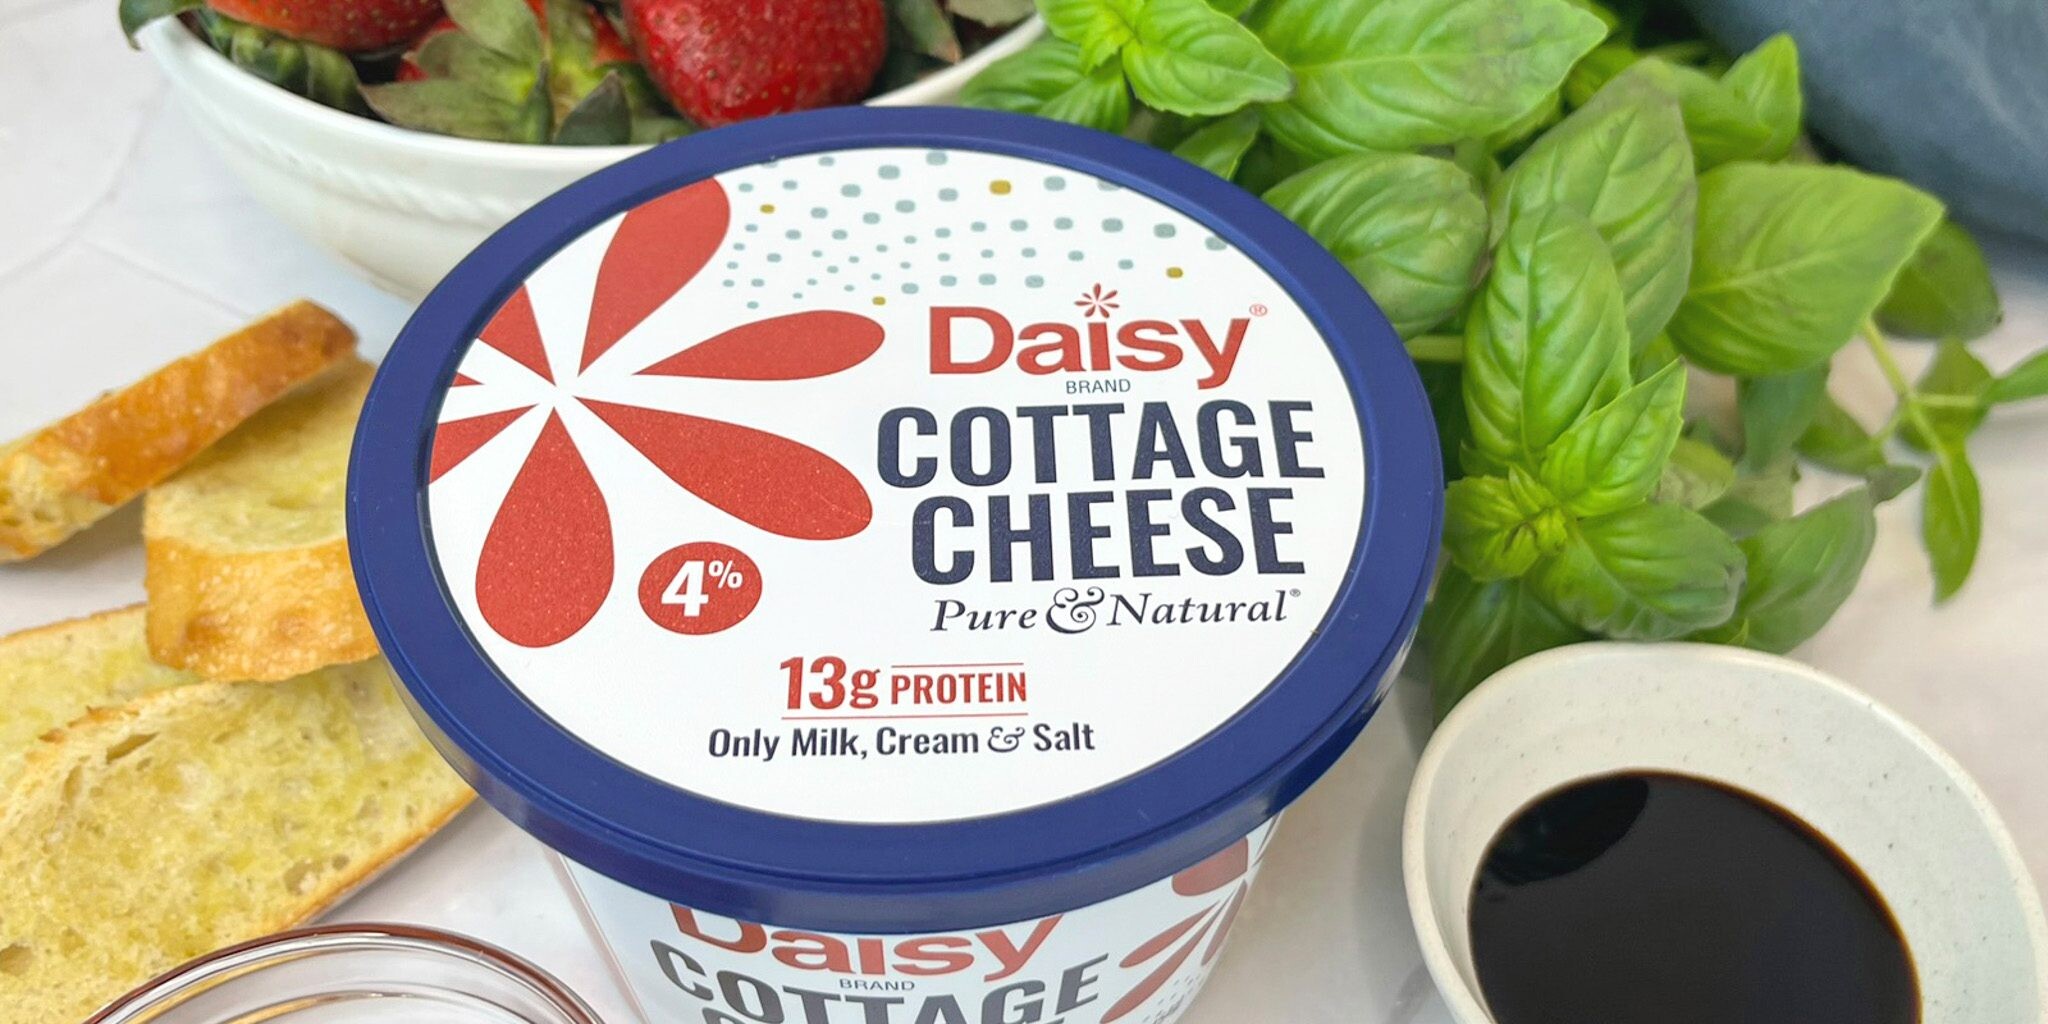
Whipped Cottage Cheese with Strawberry Bruschetta Ingredients
- Daisy Cottage Cheese (1 cup, whipped): The protein-packed base, whipped to silky, creamy, slightly salty perfection.
- Diced Strawberries (1/2 cup): Perfectly balancing sweet and tart, strawberries are irresistibly juicy, packed with antioxidants, low in calories, and high in Vitamin C.
- Fresh Basil (1 tablespoon, sliced into thin ribbons): Provides a fresh, herby, aromatic, and slightly sweet flavor that complements the strawberries.
- Honey (1 tablespoon): Adds the perfect touch of natural sweetness.
Substitutions, Variations, and Tips
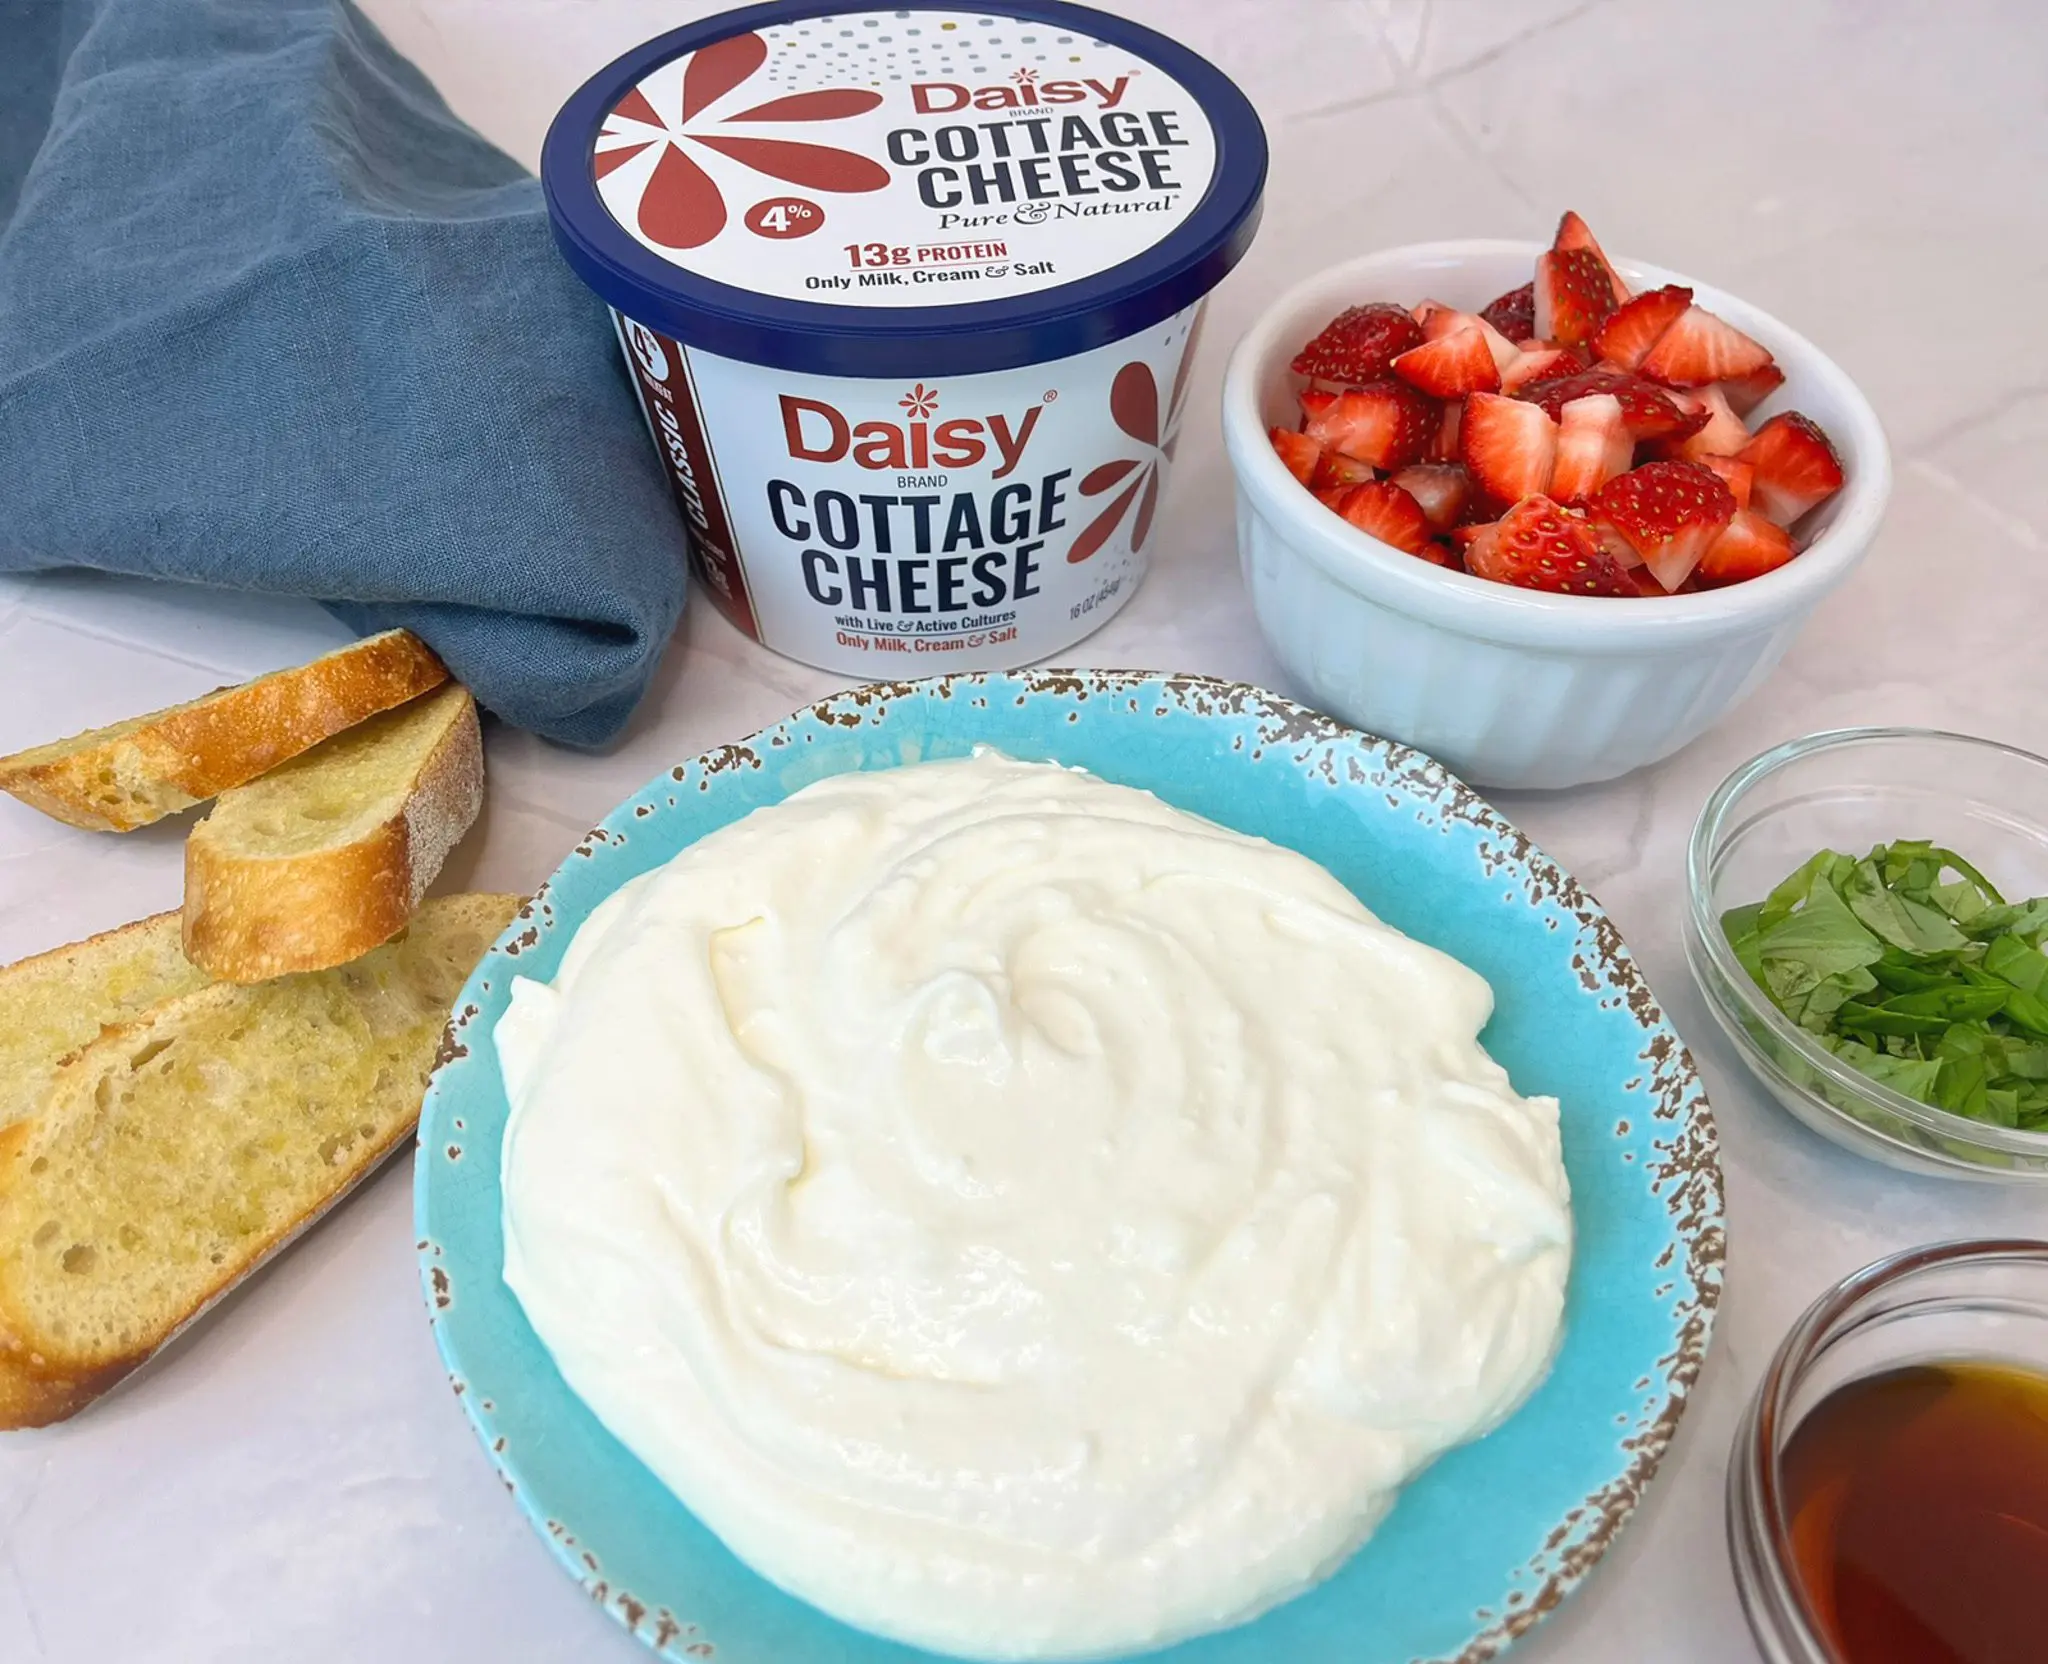
- The easiest way to whip cottage cheese is with an emersion blender or food processor. A high-powered blender may also be used. Store any additional whipped cottage cheese in a tightly sealed container in the refrigerator for later use (use within a week once whipped).
- Picking the perfect strawberries: look for firm, plump, and bright red berries with fresh, green stems attached. Avoid berries with green or white spots.
- Any type of fresh fruit or frozen fruit may be used in place of strawberries. Blueberries, blackberries, raspberries, cherries, peaches, or melons make great choices.
- Balsamic Glaze may be used in place of honey. The balsamic would add a tangy, sweet, and acidic contrast that balances the strawberries.
- The best way to chiffonade (thinly slice) basil is to stack washed, dry leaves (largest to smallest), roll them tightly into a cigar shape, and slice crosswise into thin ribbons with a sharp knife to avoid bruising.
- Serve with crusty, toasted, rustic bread, crackers, or shortbread cookies.
How to make Whipped Cottage Cheese with Strawberry Bruschetta
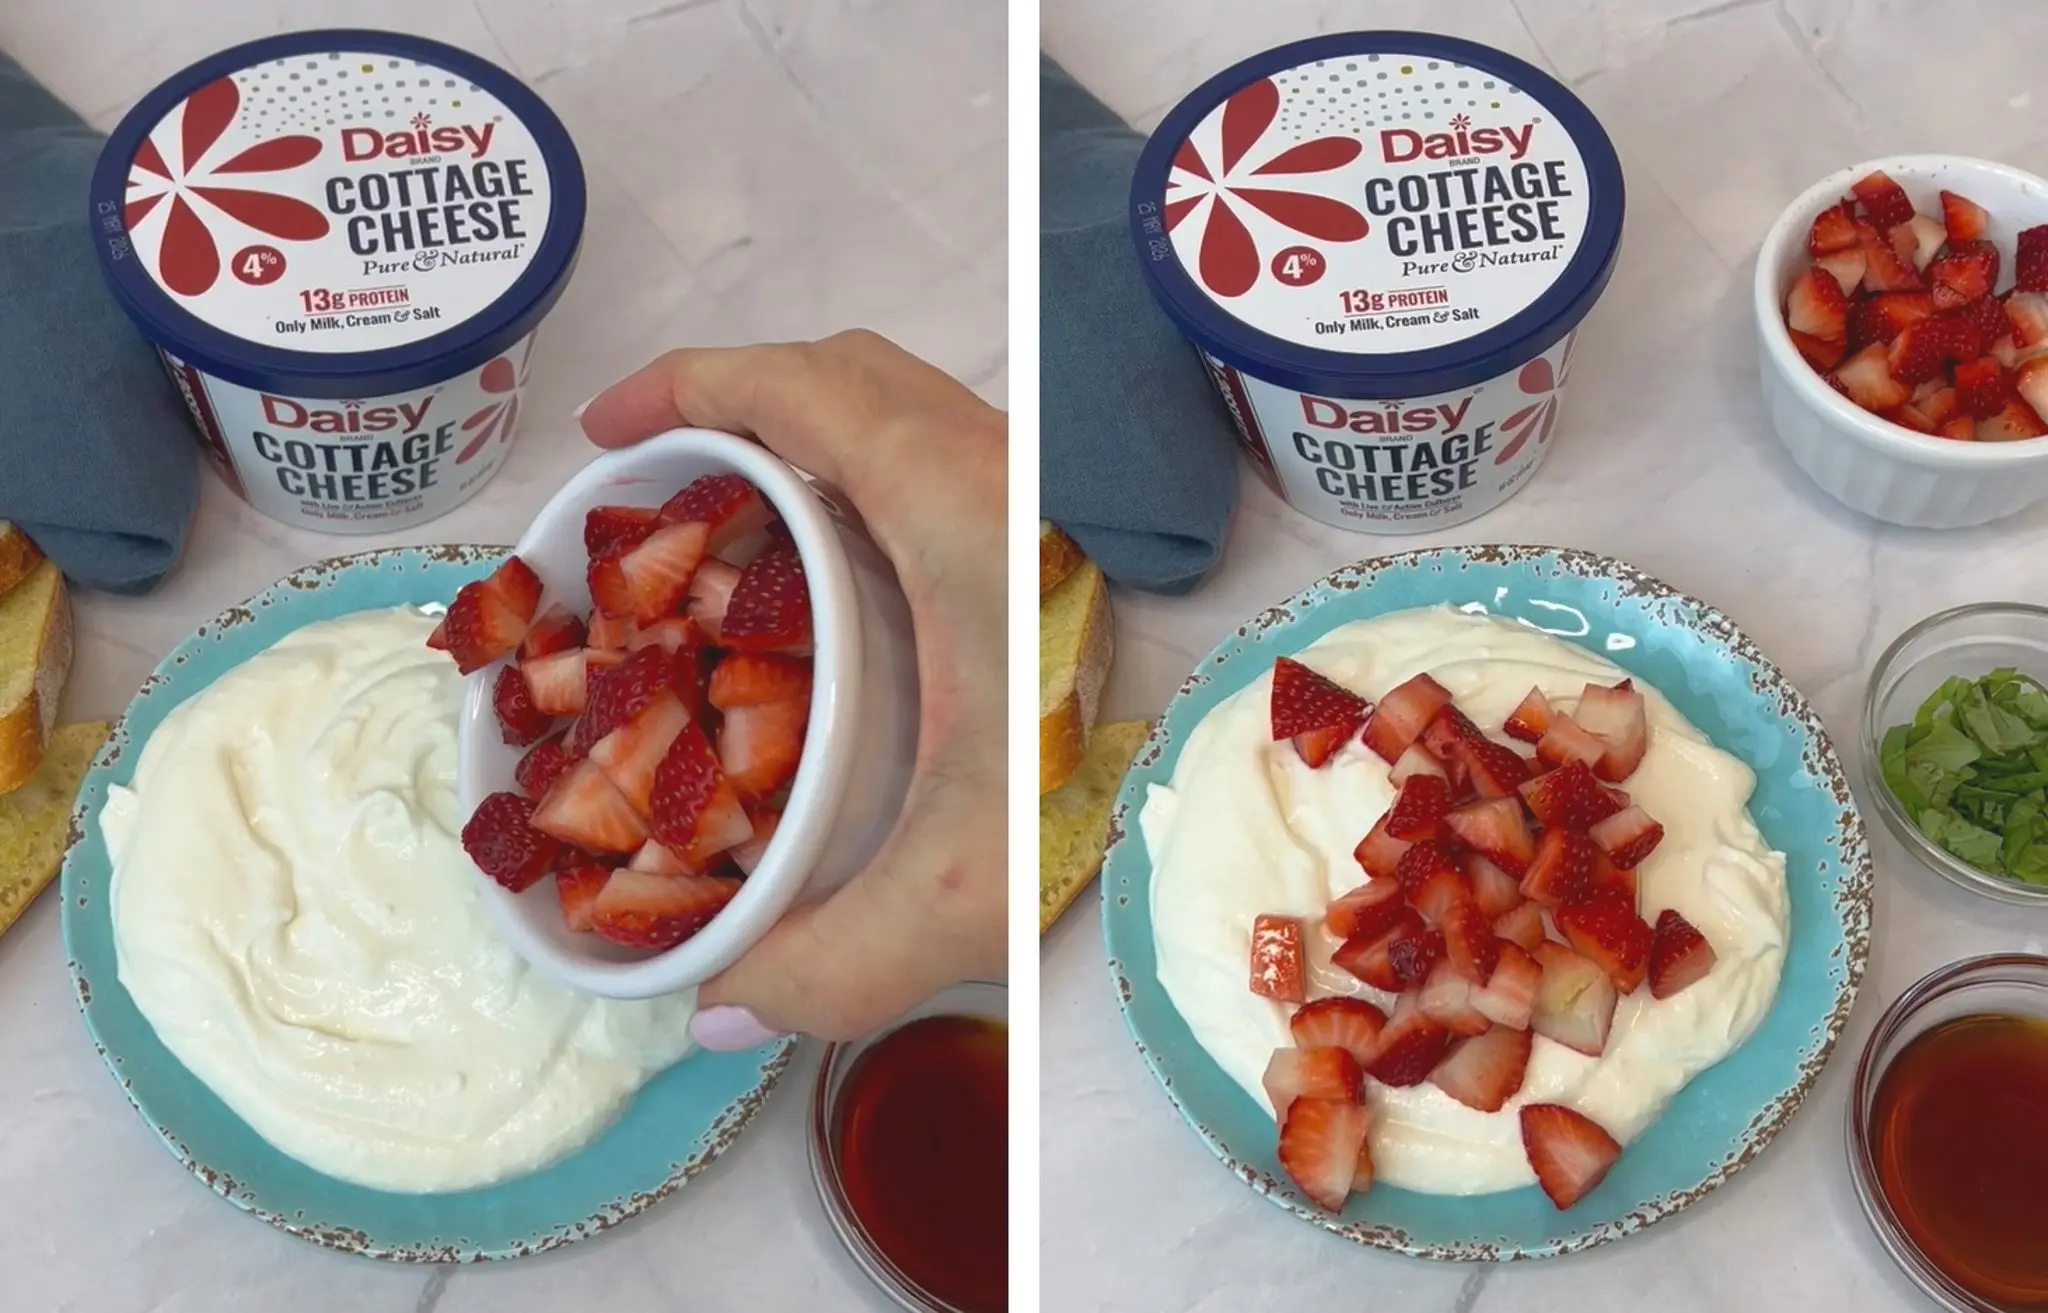
- Spread whipped cottage cheese onto small plate.
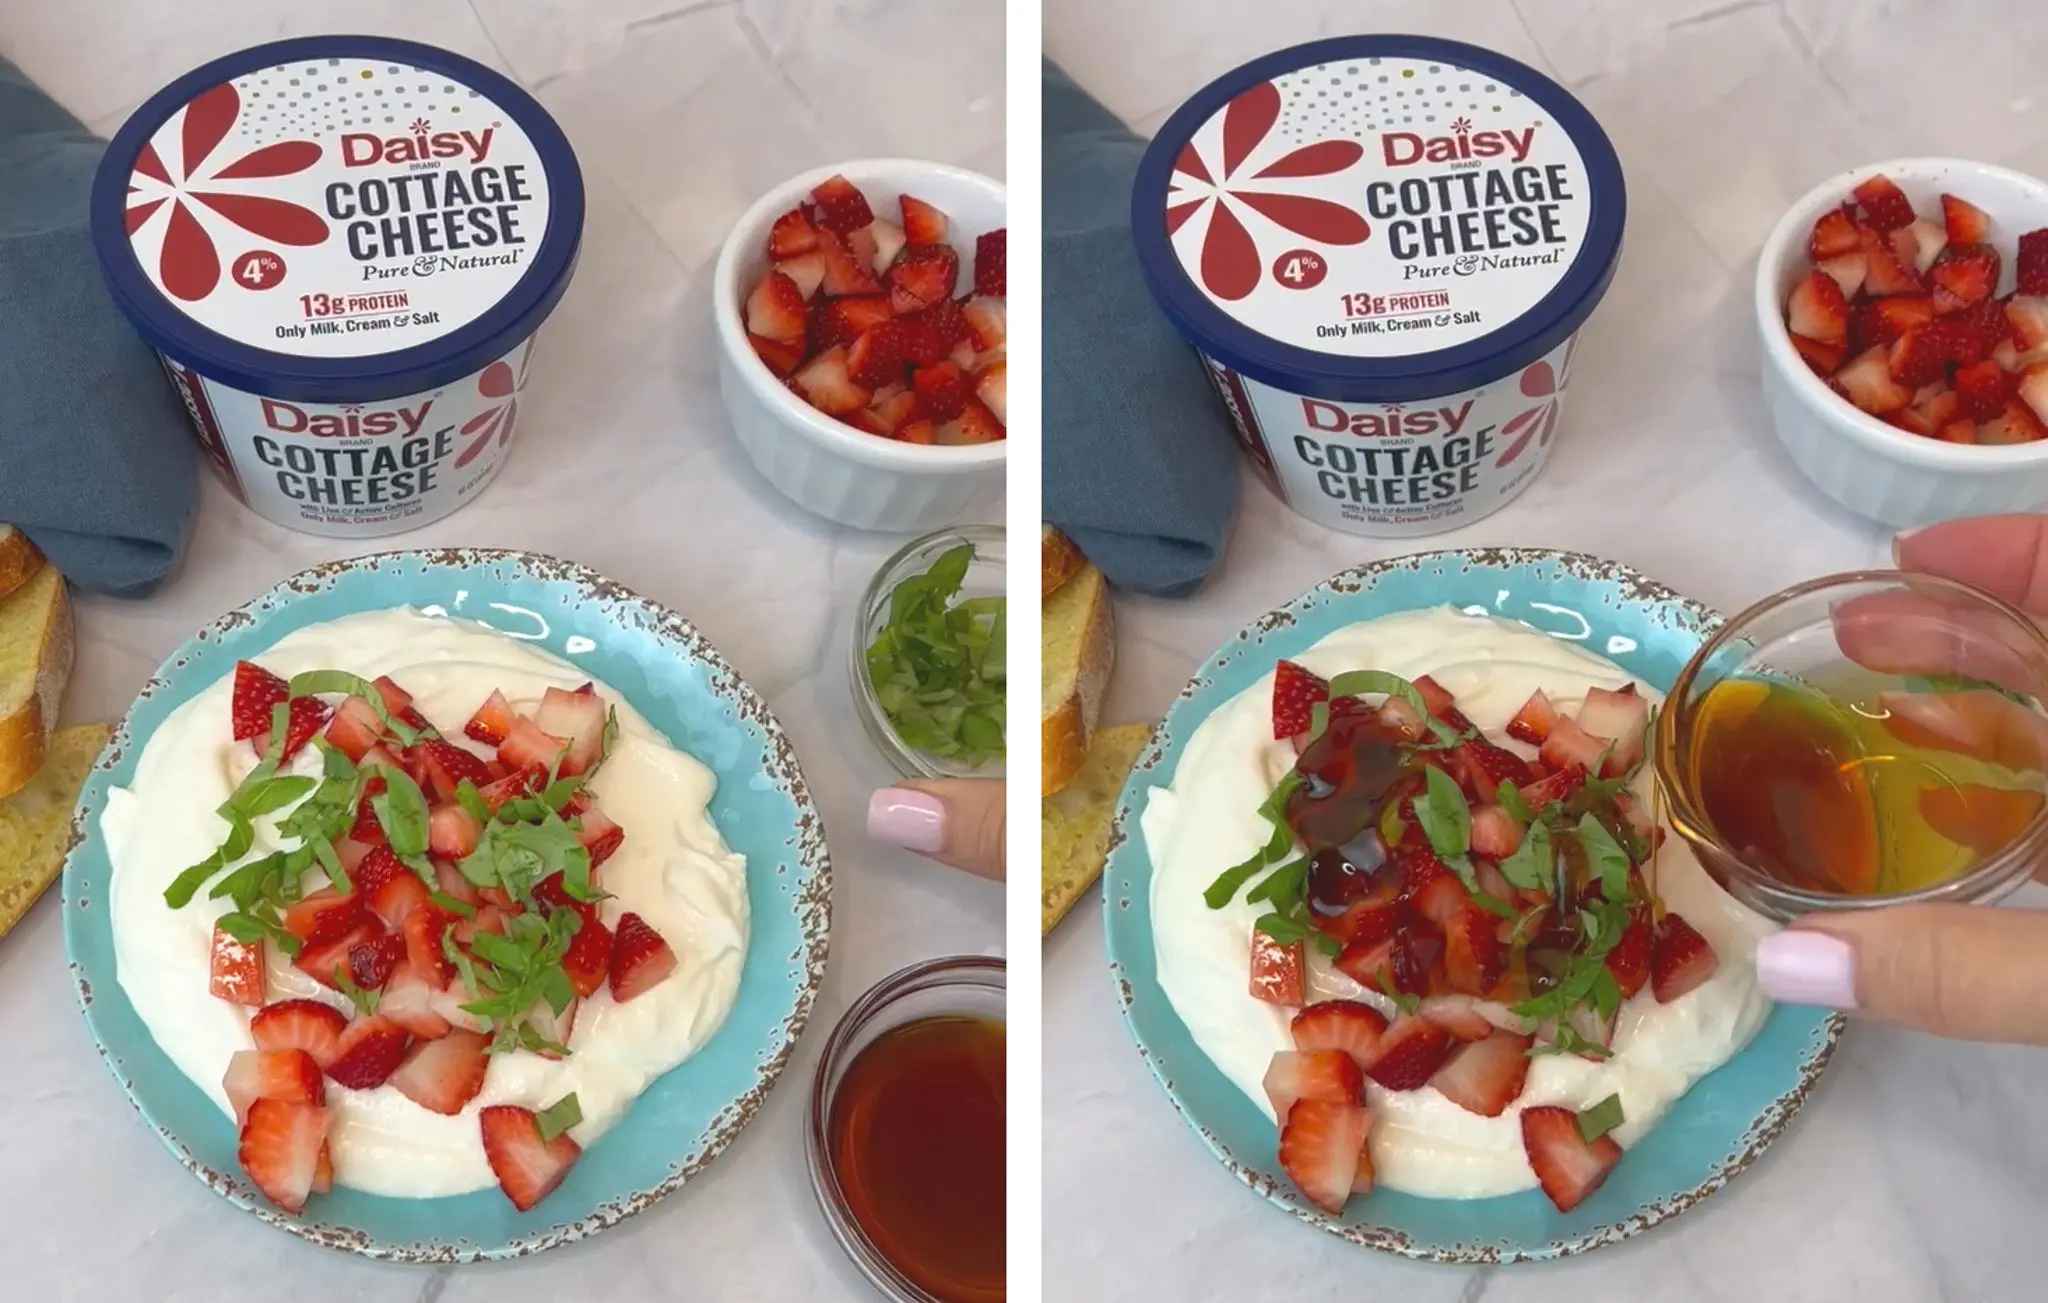
- Top with strawberries, basil and a drizzle of honey or balsamic glaze.
- Serve with your favorite dippers.

Salsa Chicken Burrito Bowl
Salsa Chicken Burrito Bowl
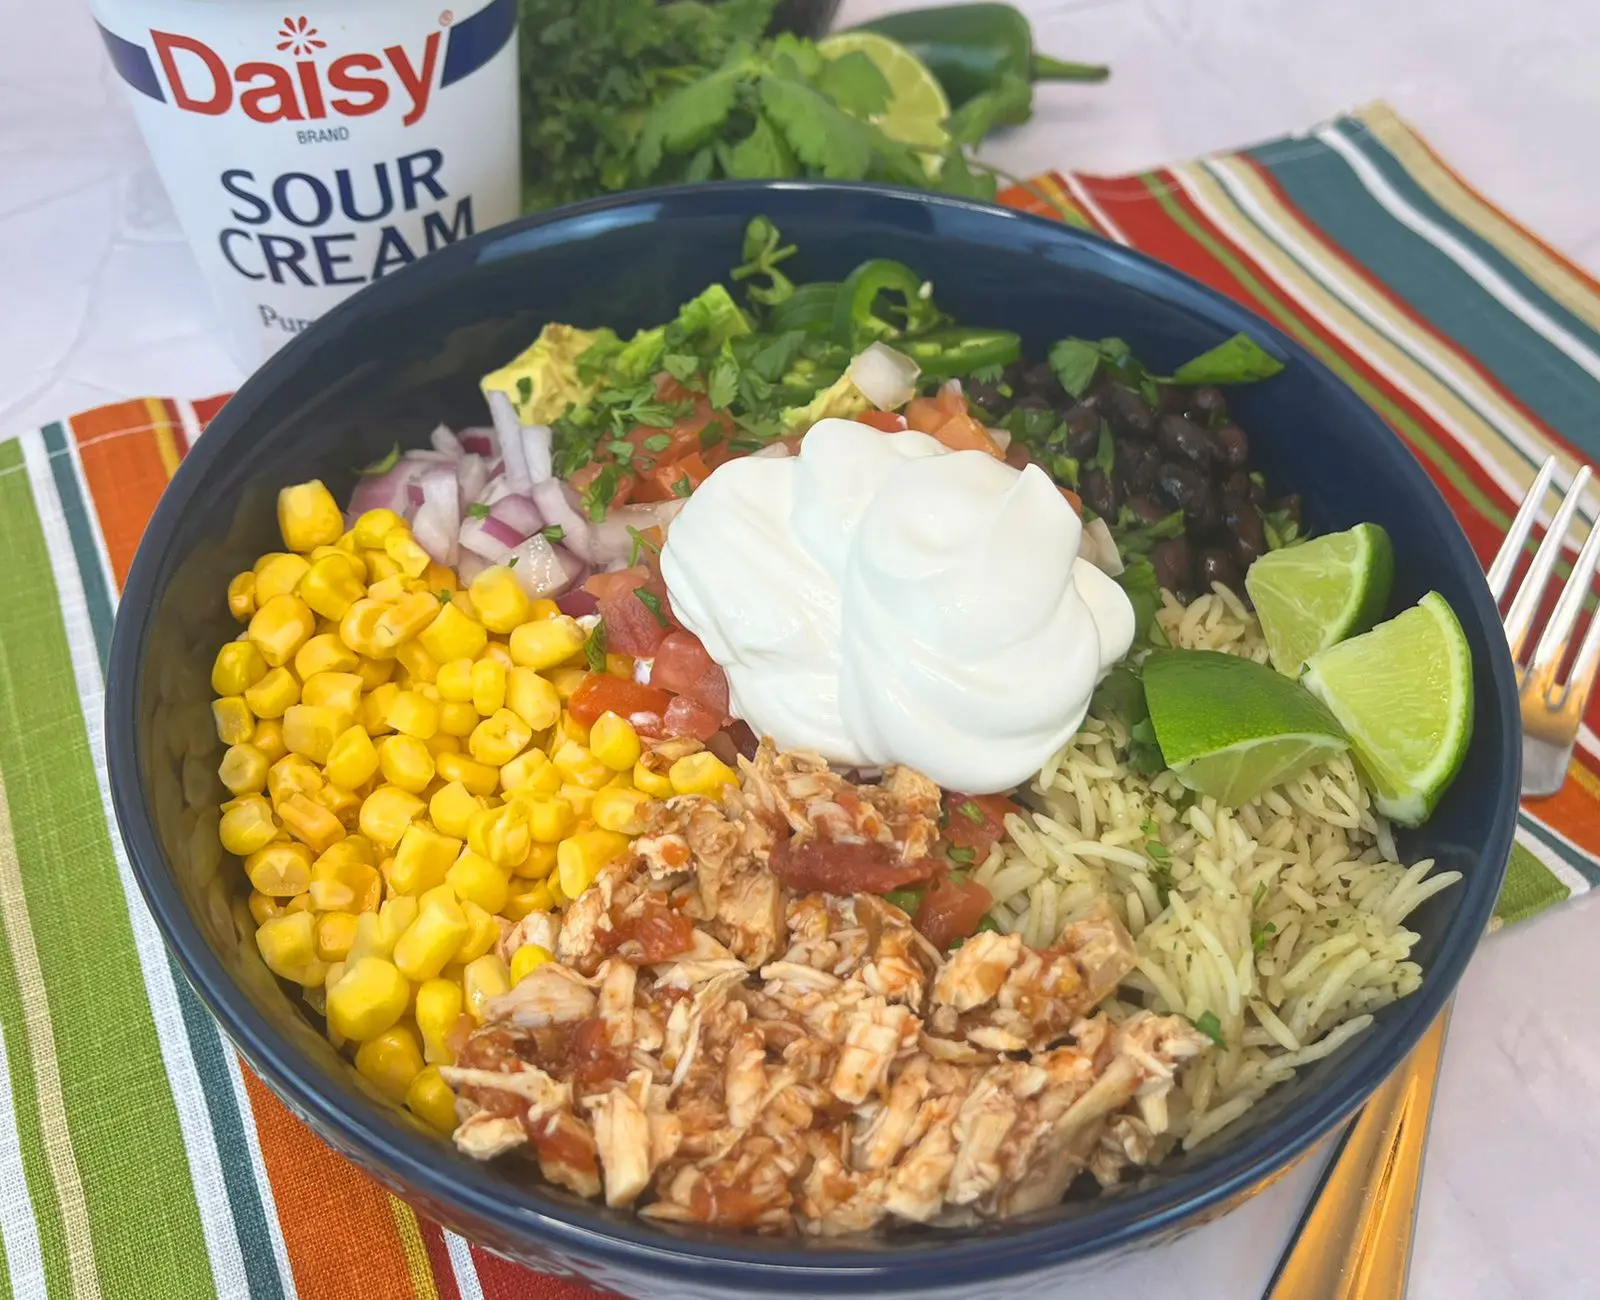
Looking for a fresh, flavor-packed meal that’s easy to make and loaded with protein? This Salsa Chicken Burrito Bowl delivers bold Tex-Mex flavor with minimal effort. Juicy, tender chicken is mixed with zesty salsa, then layered over fluffy rice with your favorite toppings for a customizable bowl that’s perfect for lunch or dinner. A generous dollop of Daisy Sour Cream adds a cool, creamy finish that balances the heat and ties every bite together.
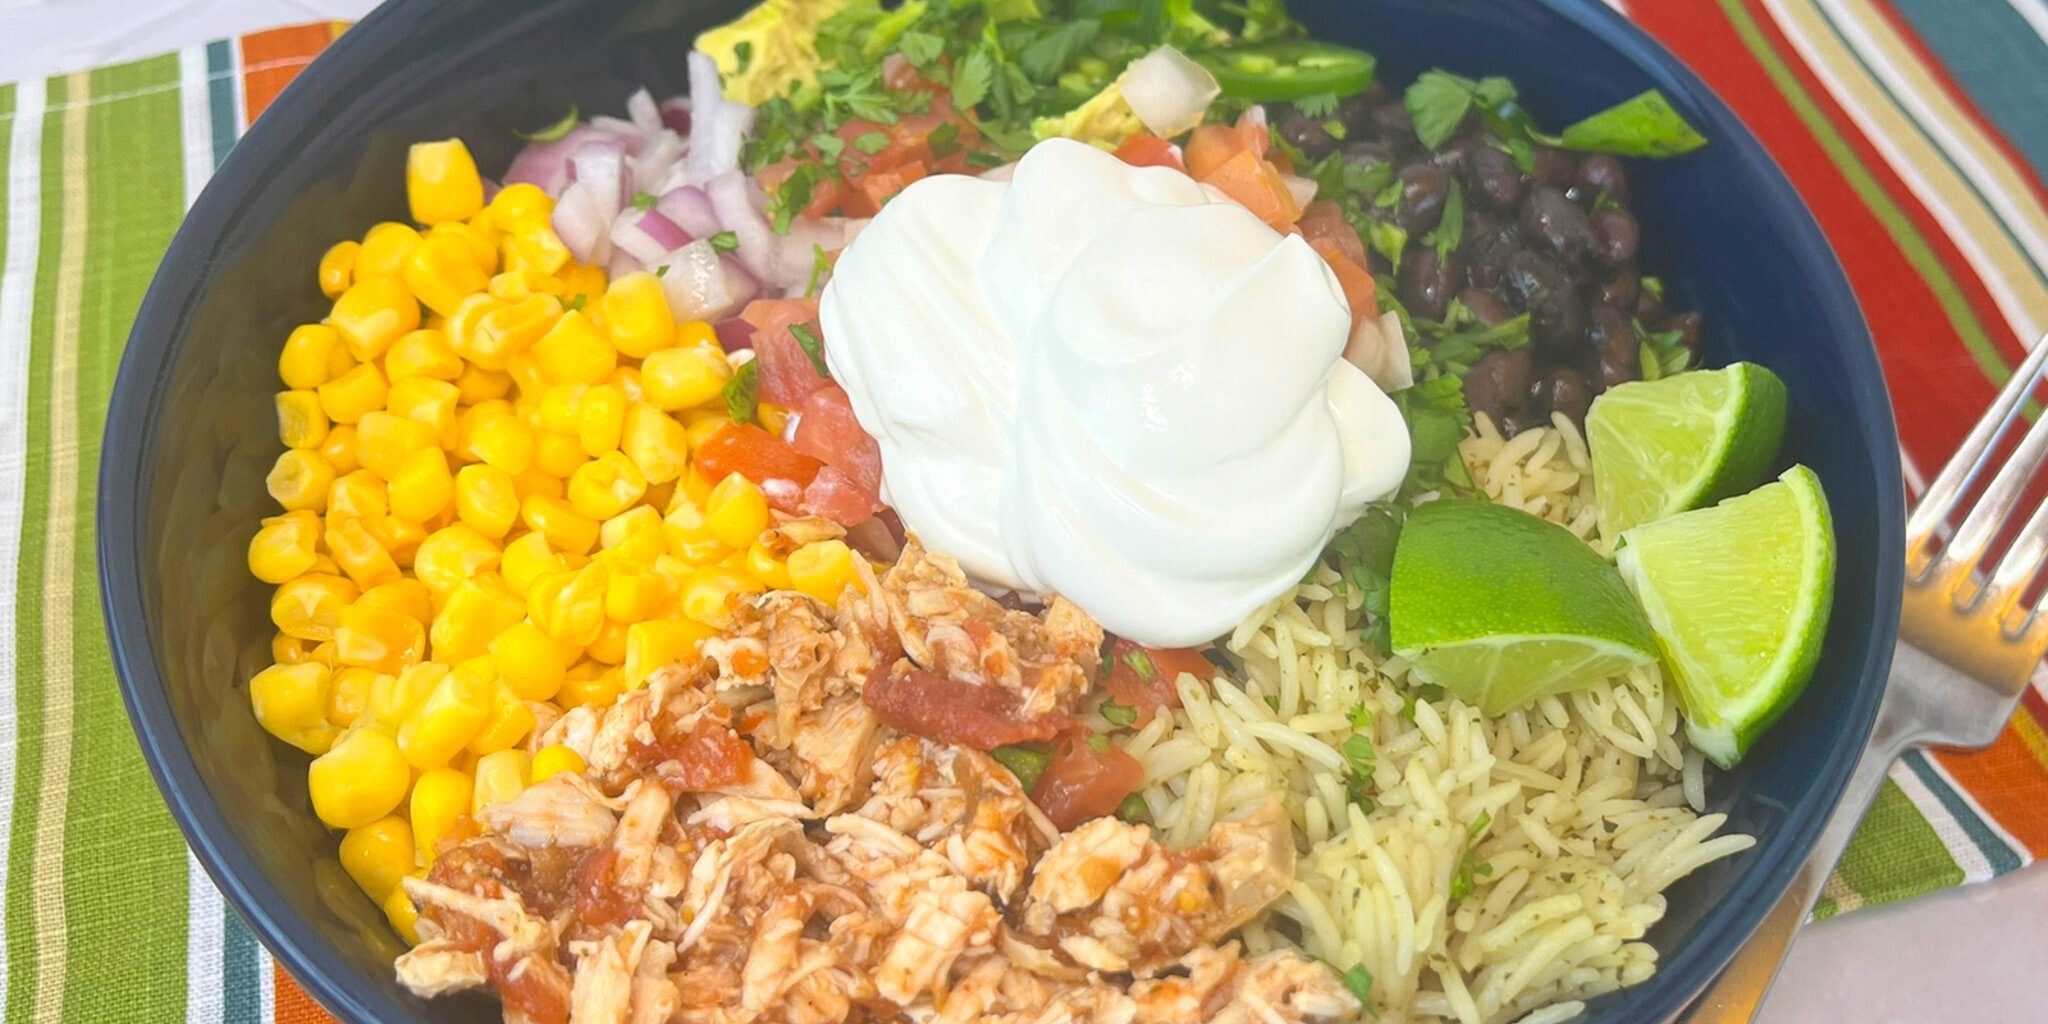
This burrito bowl is as versatile as it is satisfying. Keep it classic with black beans, corn, shredded lettuce, and Pico de Gallo, or mix it up with avocado, jalapeños, or a squeeze of fresh lime. Whether you’re meal prepping for the week or feeding a hungry family, this dish comes together quickly and delivers big, crave-worthy flavor every time.
Made with simple ingredients and bold seasoning, this salsa chicken bowl is a wholesome, high-protein option that doesn’t sacrifice taste. And with Daisy Sour Cream’s rich flavor, you get the perfect creamy contrast that elevates every bite.
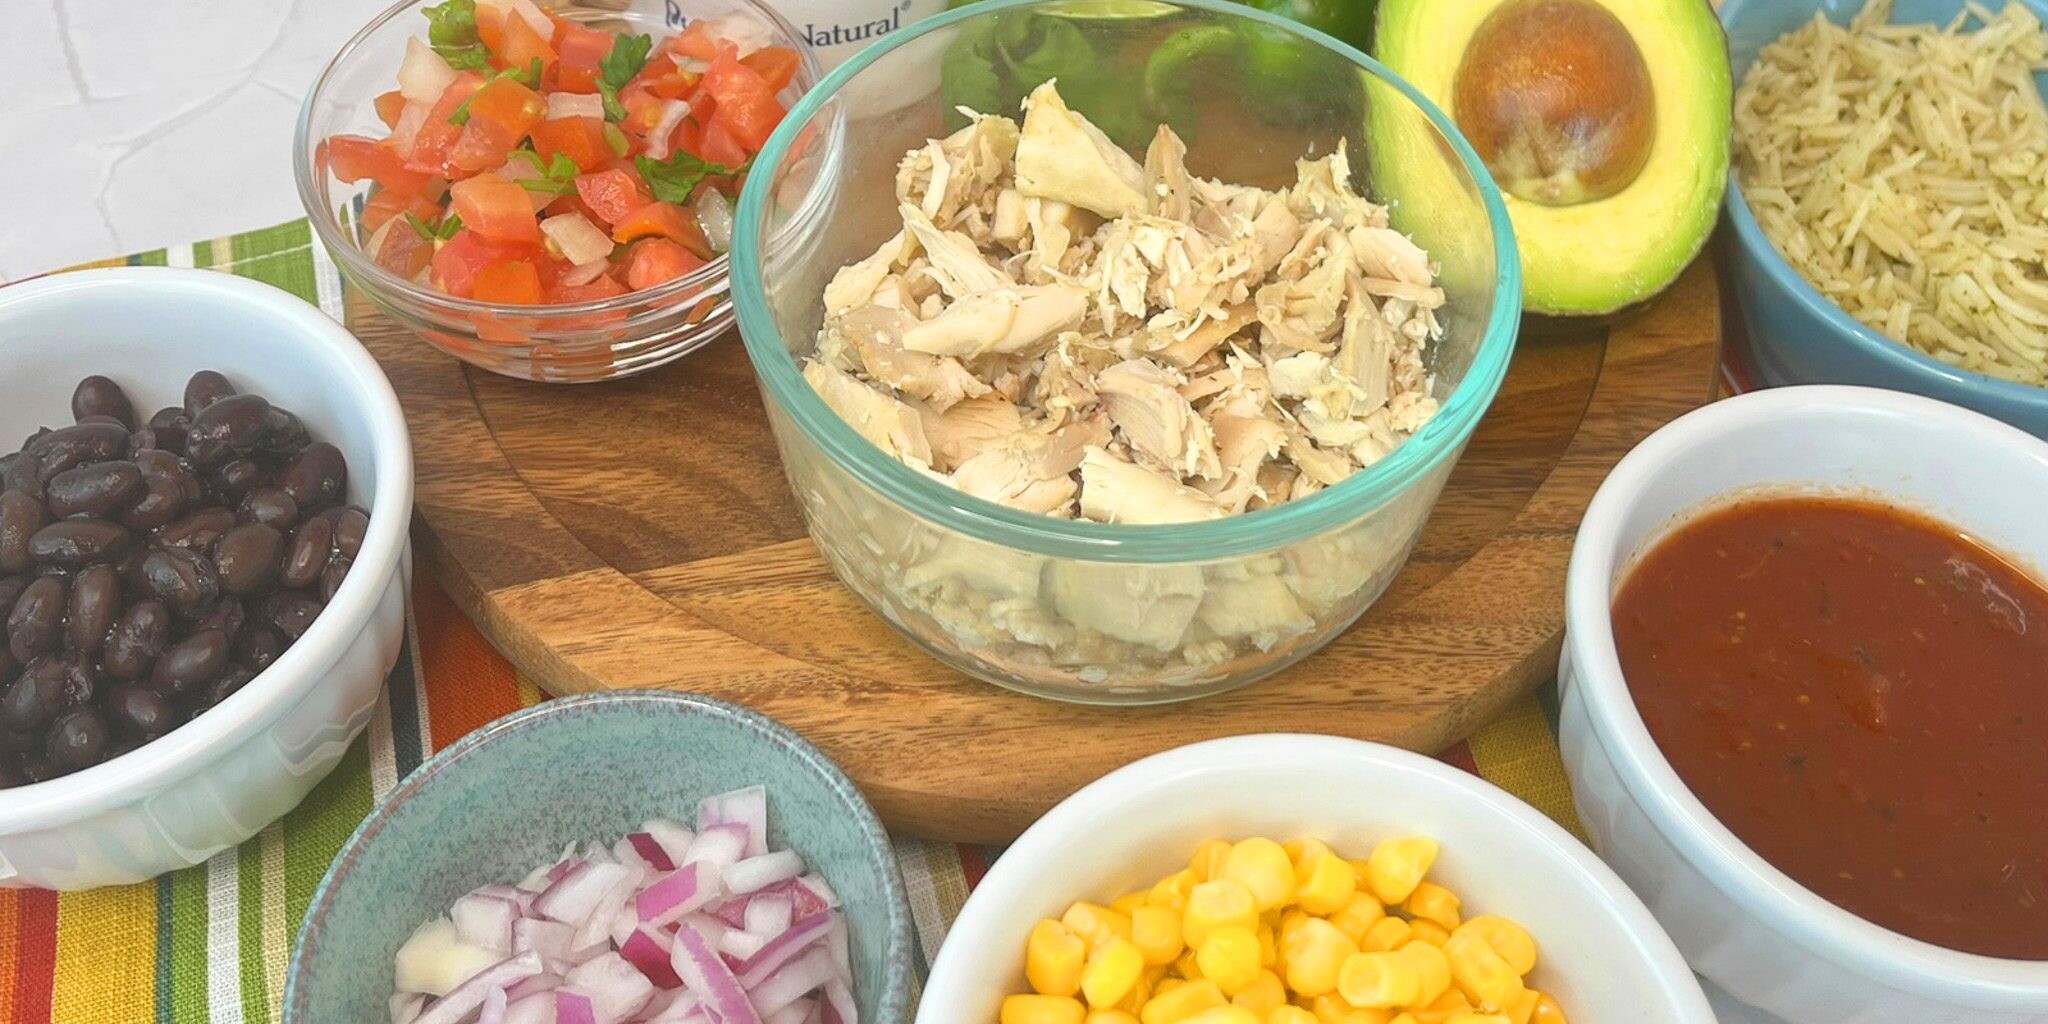
Salsa Chicken Burrito Bowl Ingredients
- Shredded Chicken (1 cup): Rotisserie chicken works great in this recipe as does any leftover cooked chicken. It provides the main protein in the bowl.
- Fire Roasted Salsa (1/2 cup): Provides the spicy, tangy, smoky, tomato flavor to the chicken. Feel free to add more if you like your chicken saucier.
- Cooked Rice (1/2 cup): Rice, farro, and quinoa are all great choices. Feel free to use whatever you have on hand.
- Frozen Corn (1/2 cup, thawed): Provides sweetness, a pop of color, and a nice texture contrast to the chicken and rice.
- Black Beans (1/2 cup, rinsed): Any type of cooked bean or lentil will work well in the bowl. They add extra protein and heart-healthy fiber to the bowl.
- Diced Red Onion (1/4 cup): Adds a pop of color and a peppery zest to the dish.
- Avocado (1/2): Adds healthy fat and additional creamy goodness to the bowl.
- Pico de Gallo (1/2 cup): The acidic and tangy combination of onions, tomato, cilantro, and lime juice creates the perfect zesty accompaniment to the bowl, adding depth of flavor to this Tex-Mex bowl.
- Cilantro (2 tablespoons): Provides a bright, fresh, and citrusy contrast to the heavier, savory chicken and beans.
- Daisy Sour Cream (½ cup): Brings a creamy, tangy balance to every bite, mellowing out spicy, smoky flavors while adding a rich, smooth texture. Its subtle tang brightens the dish, creating a fresh, refreshing contrast that ties all the ingredients together beautifully.
- Lime Wedges: Adds a burst of acidity and provides a bright contrast to rich, savory ingredients.
- Jalapenos: Add an additional touch of fresh, bright heat. Fresh or pickled work well with fresh tending to be hotter.
Substitutions, Variations, and Tips
- Any type of cooked meat will work great in this recipe. Chicken, brisket, ground beef, shrimp, or fish are all great options.
- For a plant-based protein alternative, try adding toasted tofu or additional beans or lentils.
- Any type of salsa or picante works great to add a little tomatoey zest to the protein. Feel free to use whatever you have on hand.
- The protein may be served cold or heated to your preference.
- Any type of cooked grain works great for burrito bowls to add fiber and to give you extra energy.
- Cauliflower rice is also a great choice if you’d prefer a lighter option.
- Pico de Gallo can be found in the produce section of your local grocer.
- If you’d rather make fresh Pico de Gallo, you can mix 3-4 diced Roma tomatoes, ½ cup diced onion, 1/3 cup chopped cilantro, and the juice from 1 lime. Add a sprinkle of salt and let set in the refrigerator to blend flavors for at least 30 minutes before enjoying.
- Sauteed bell peppers and onions make a great fajita-type addition.
- Chopped lettuce and halved cherry tomatoes may be used as a base instead of rice for a salad option instead of a bowl.
- Fresh Guacamole may be used in place of avocado.
- Shredded cheese such as cheddar or Colby-Jack are great additions.
- Hot sauce or additional jalapenos may be added for those who like their bowls with more heat.
How to Make Salsa Chicken Burrito Bowl
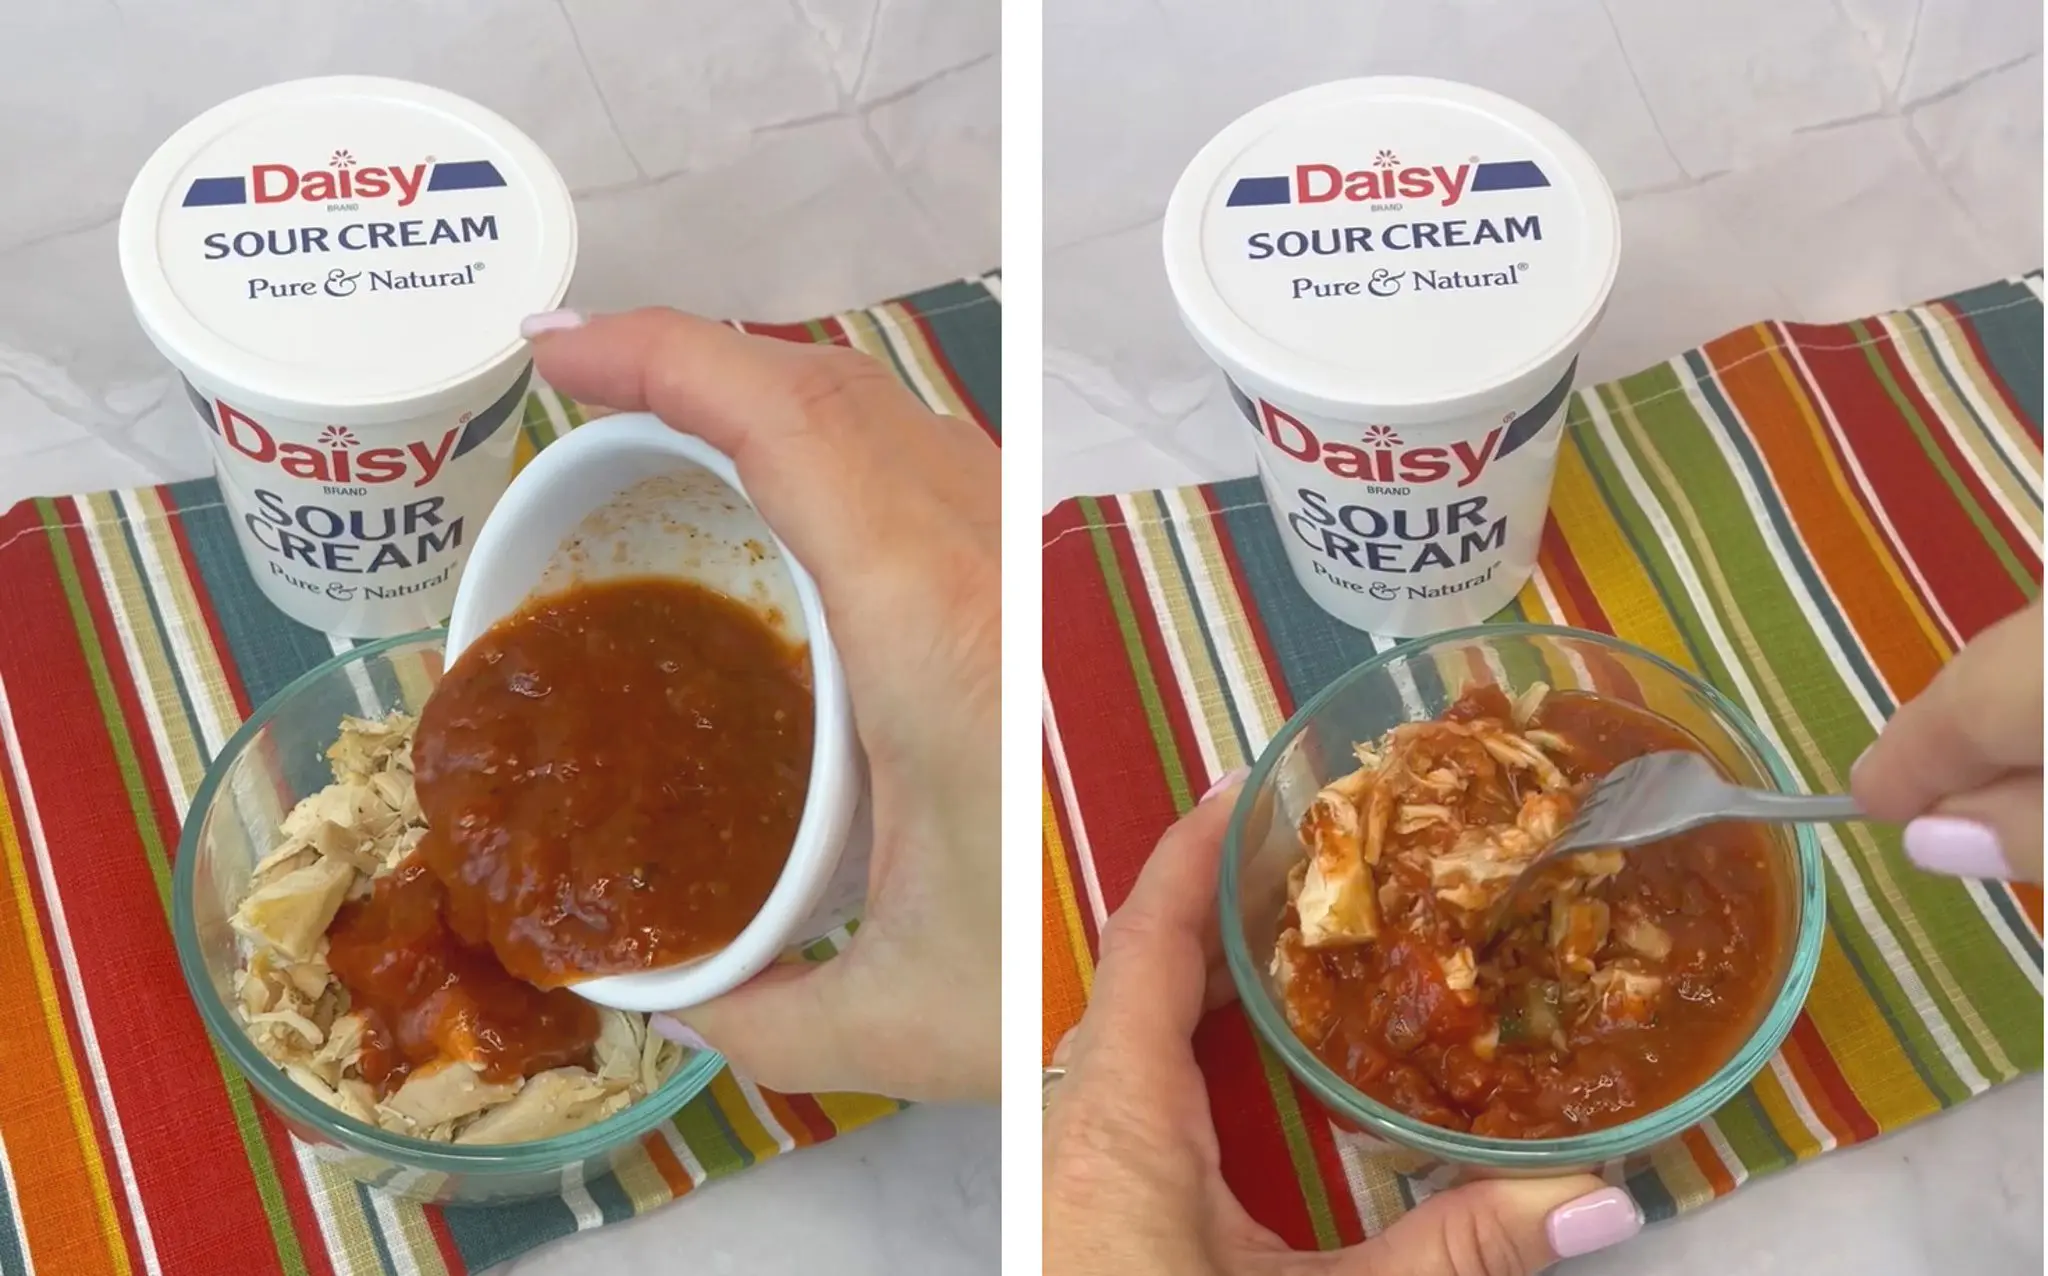
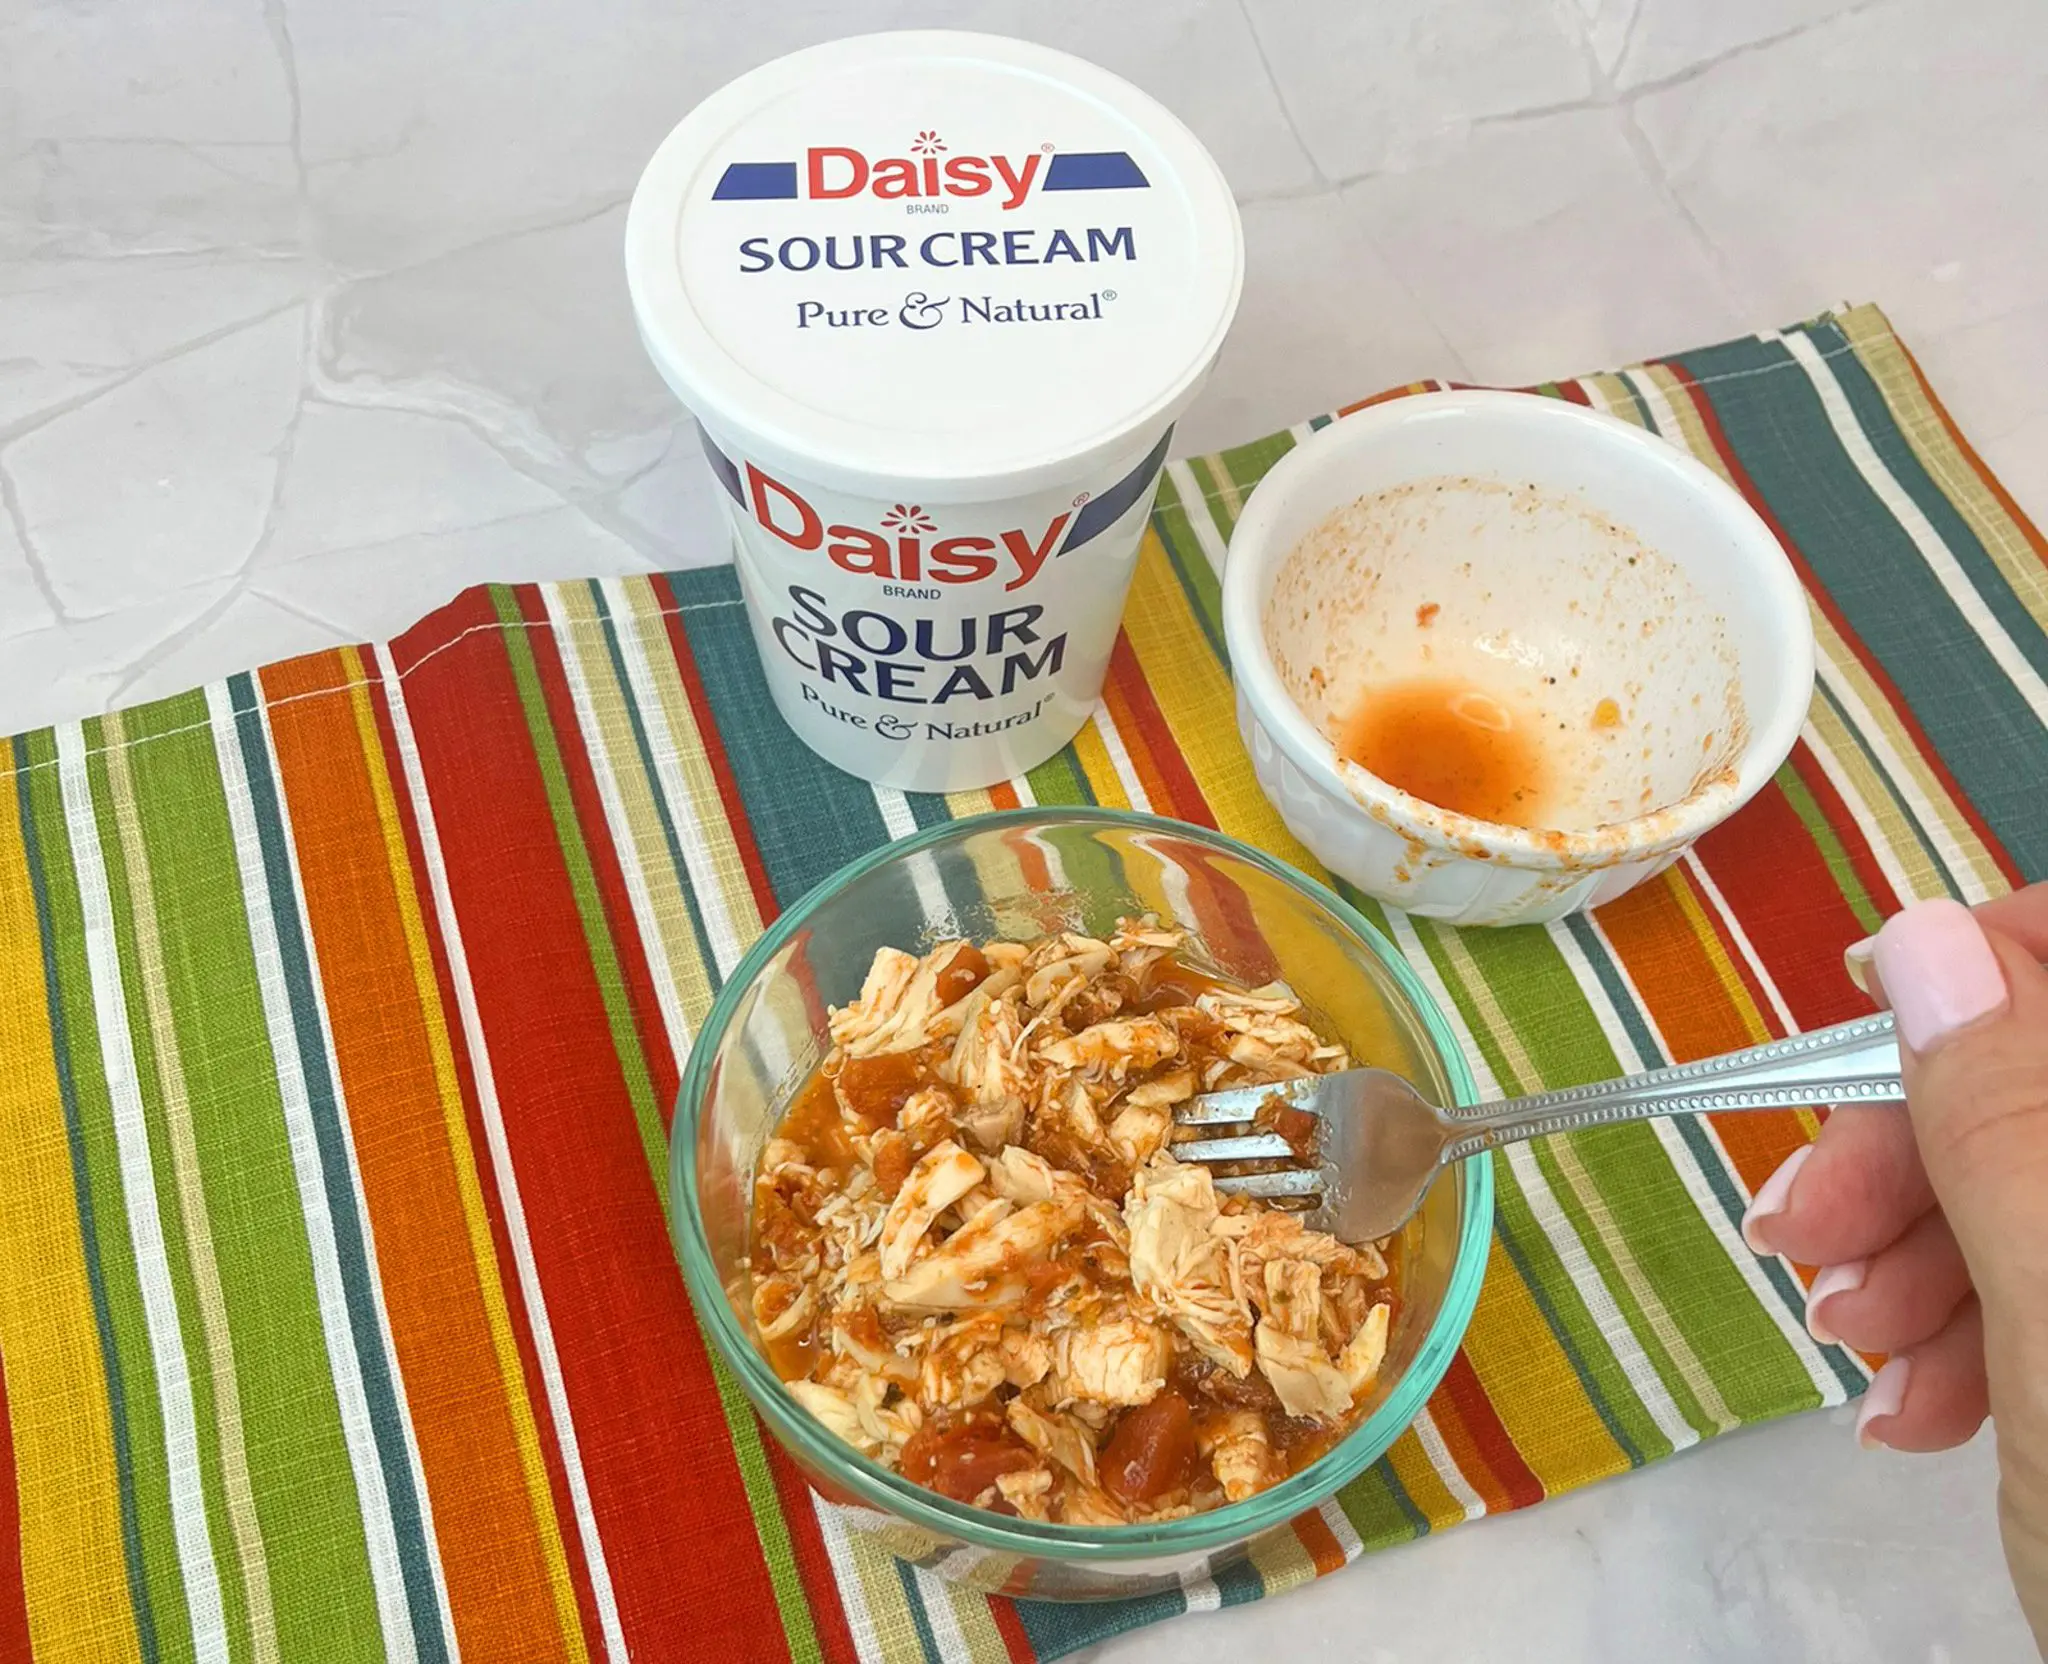
- Mix chicken and salsa.
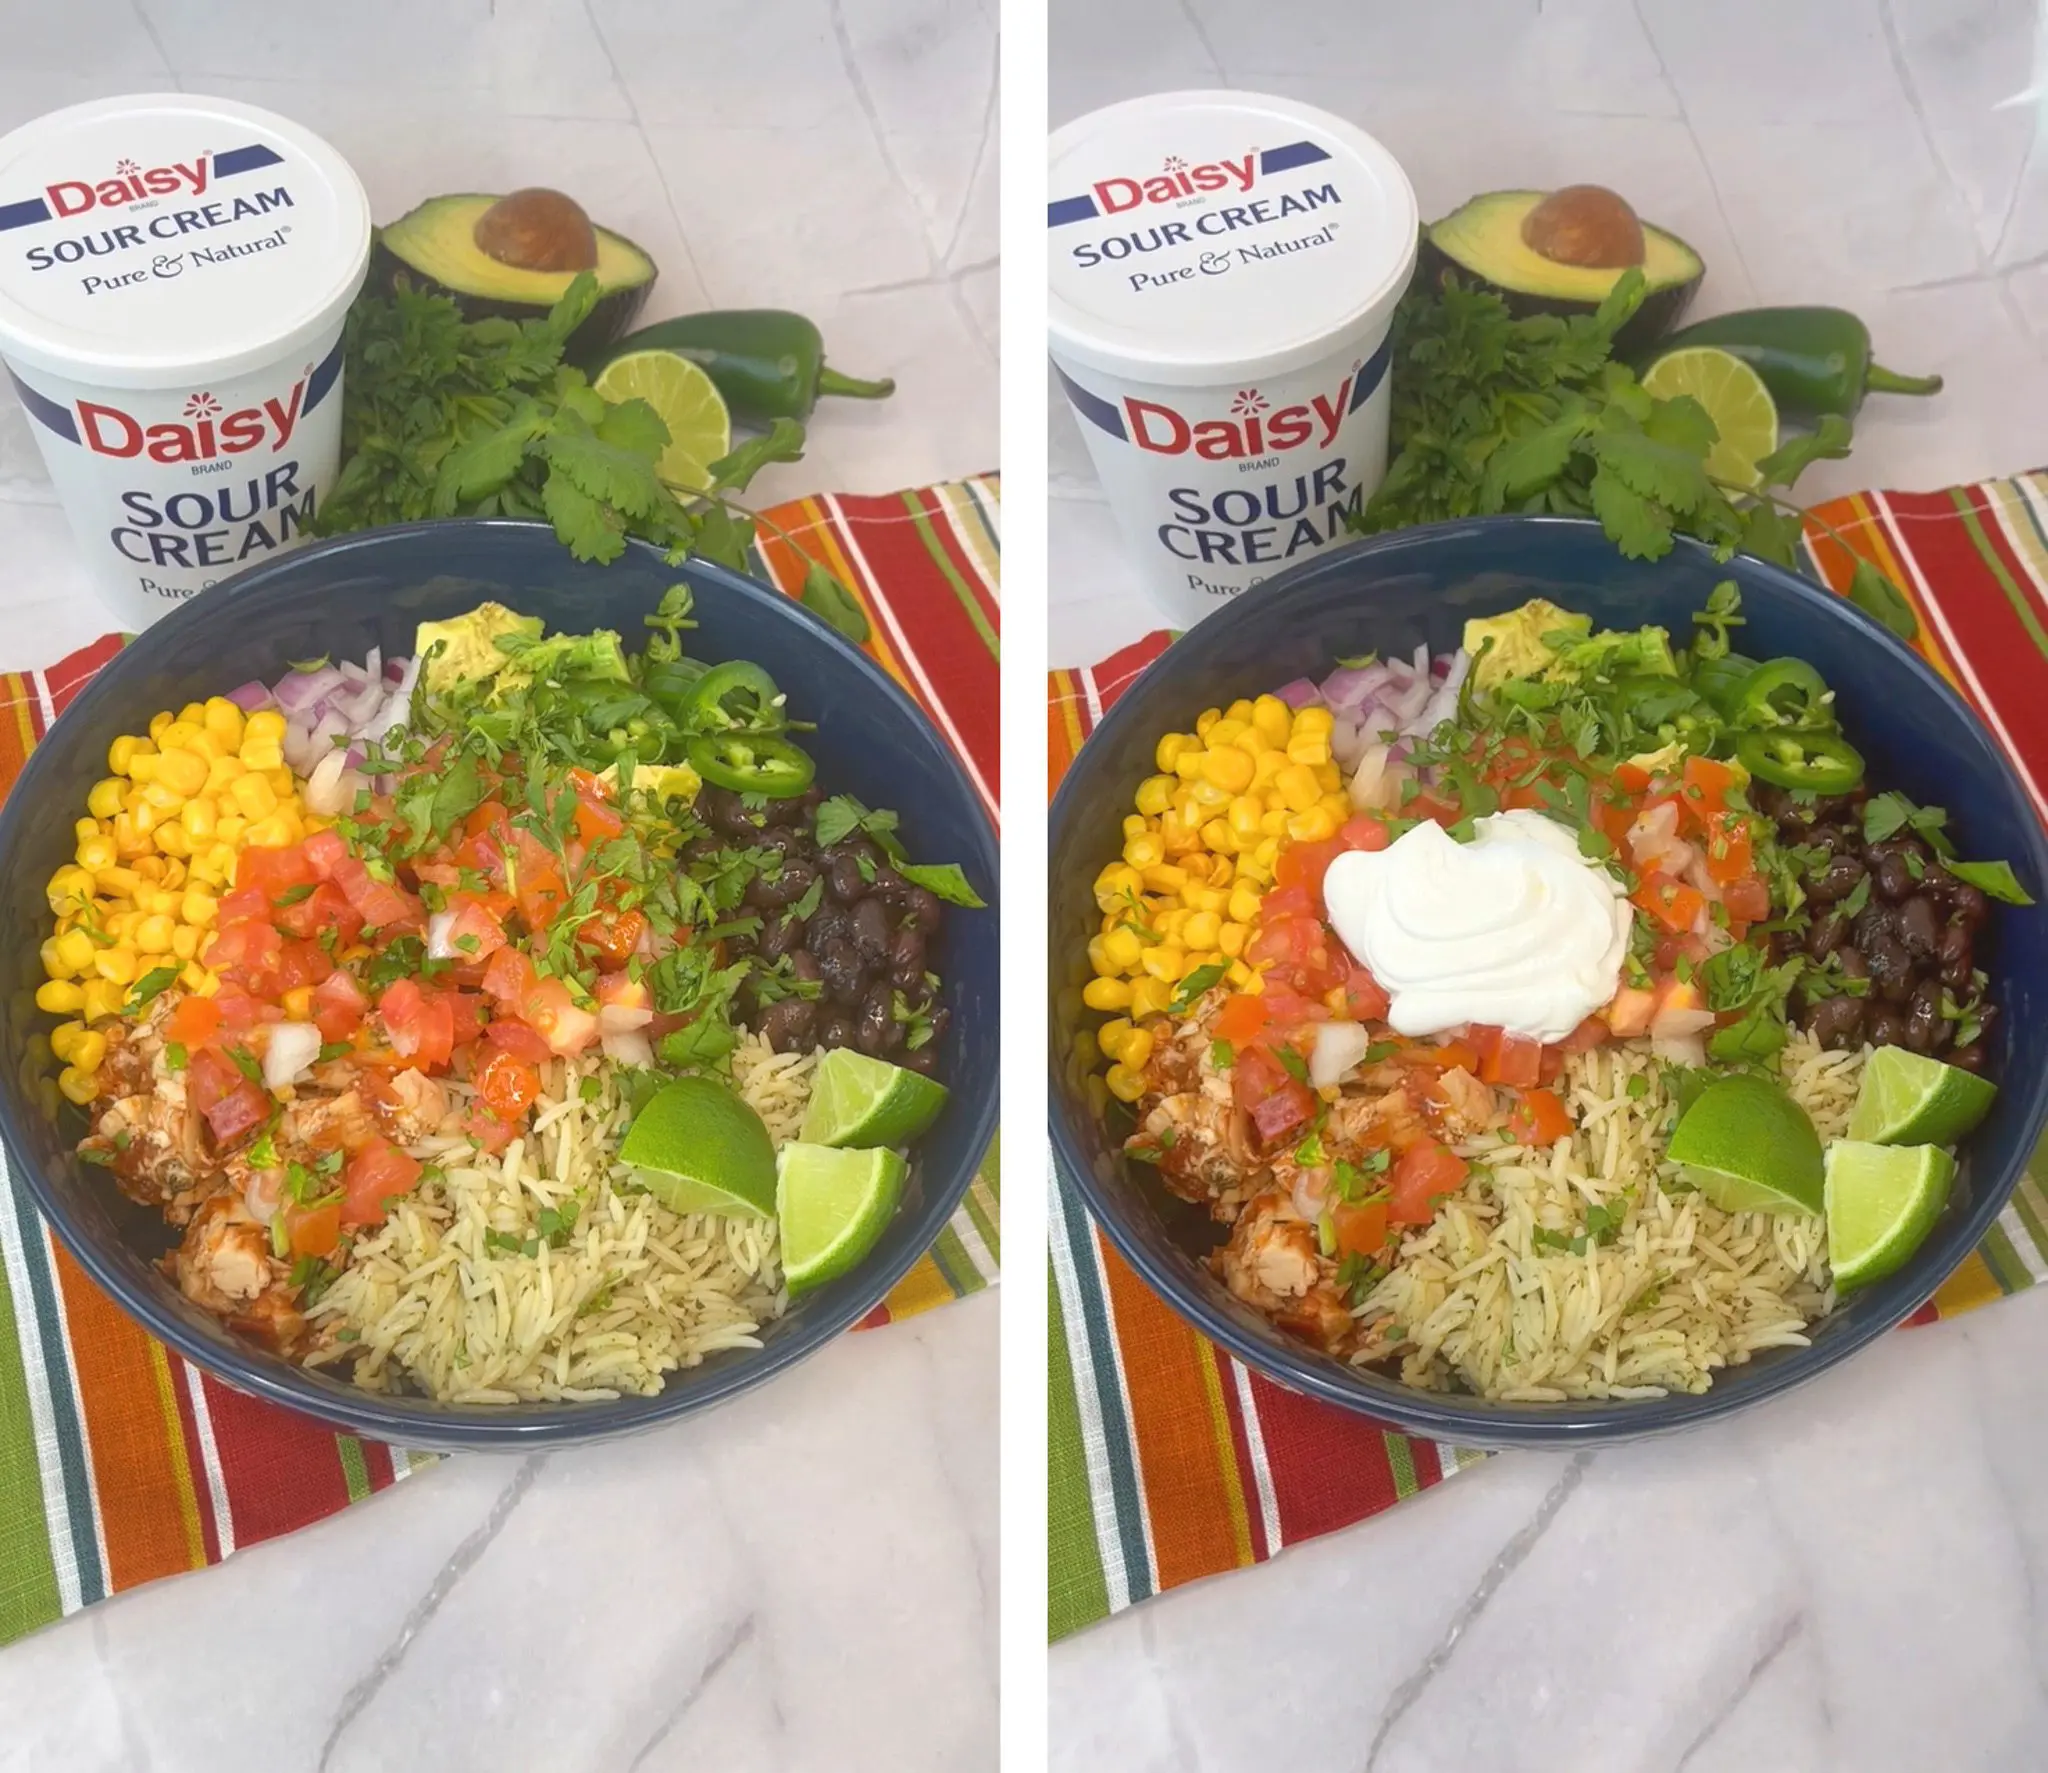
- Layer rice, salsa chicken, corn, beans, onion, and avocado in a bowl.
- Top with Pico de Gallo, cilantro, lime wedges, jalapenos, and a big dollop of sour cream.
Buffalo Chicken Bowl
Buffalo Chicken Bowl
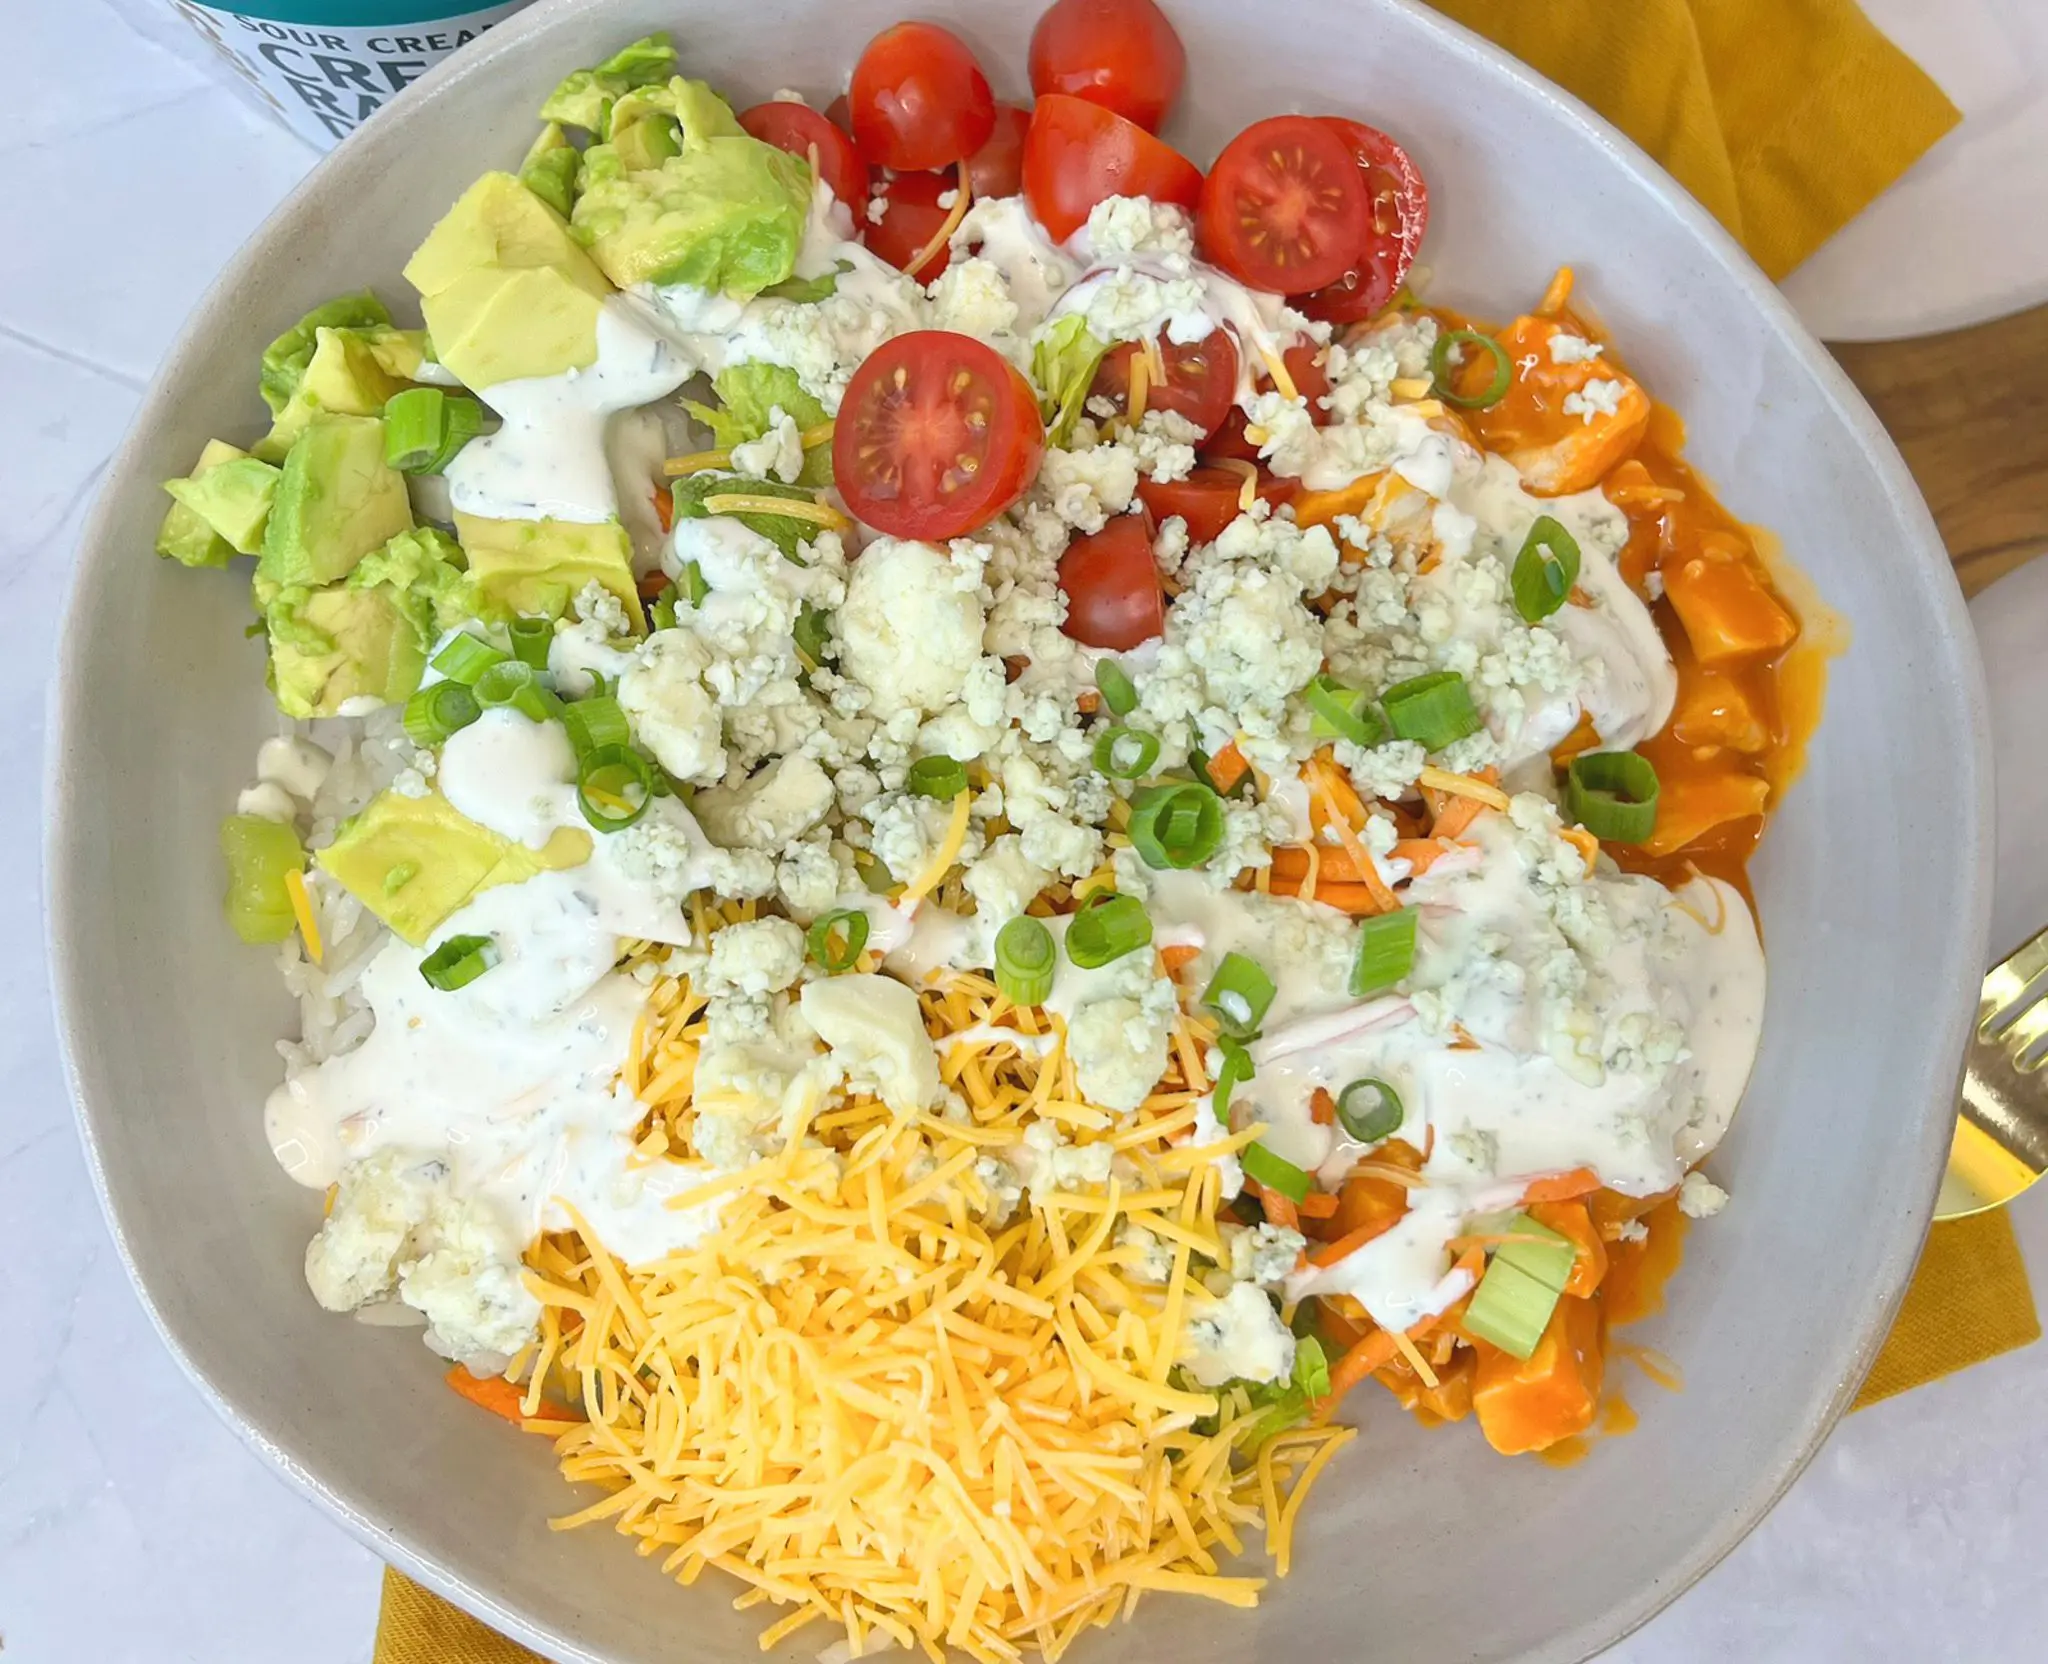
This Buffalo Chicken Bowl made with Daisy Creamy Ranch Dip is a bold, flavor-packed meal that delivers the perfect balance of heat and cool, creamy goodness. Juicy buffalo-seasoned chicken is paired with crisp veggies, hearty grains, and a generous drizzle of Daisy Creamy Ranch Dip for a satisfying, high-protein bowl that’s as easy to make as it is to love.
Daisy Creamy Ranch Dip brings a rich, tangy flavor that perfectly complements the spicy buffalo sauce, cooling each bite while adding a smooth, velvety finish. It ties all the ingredients together, transforming simple components into a crave-worthy, restaurant-inspired dish you can enjoy at home.
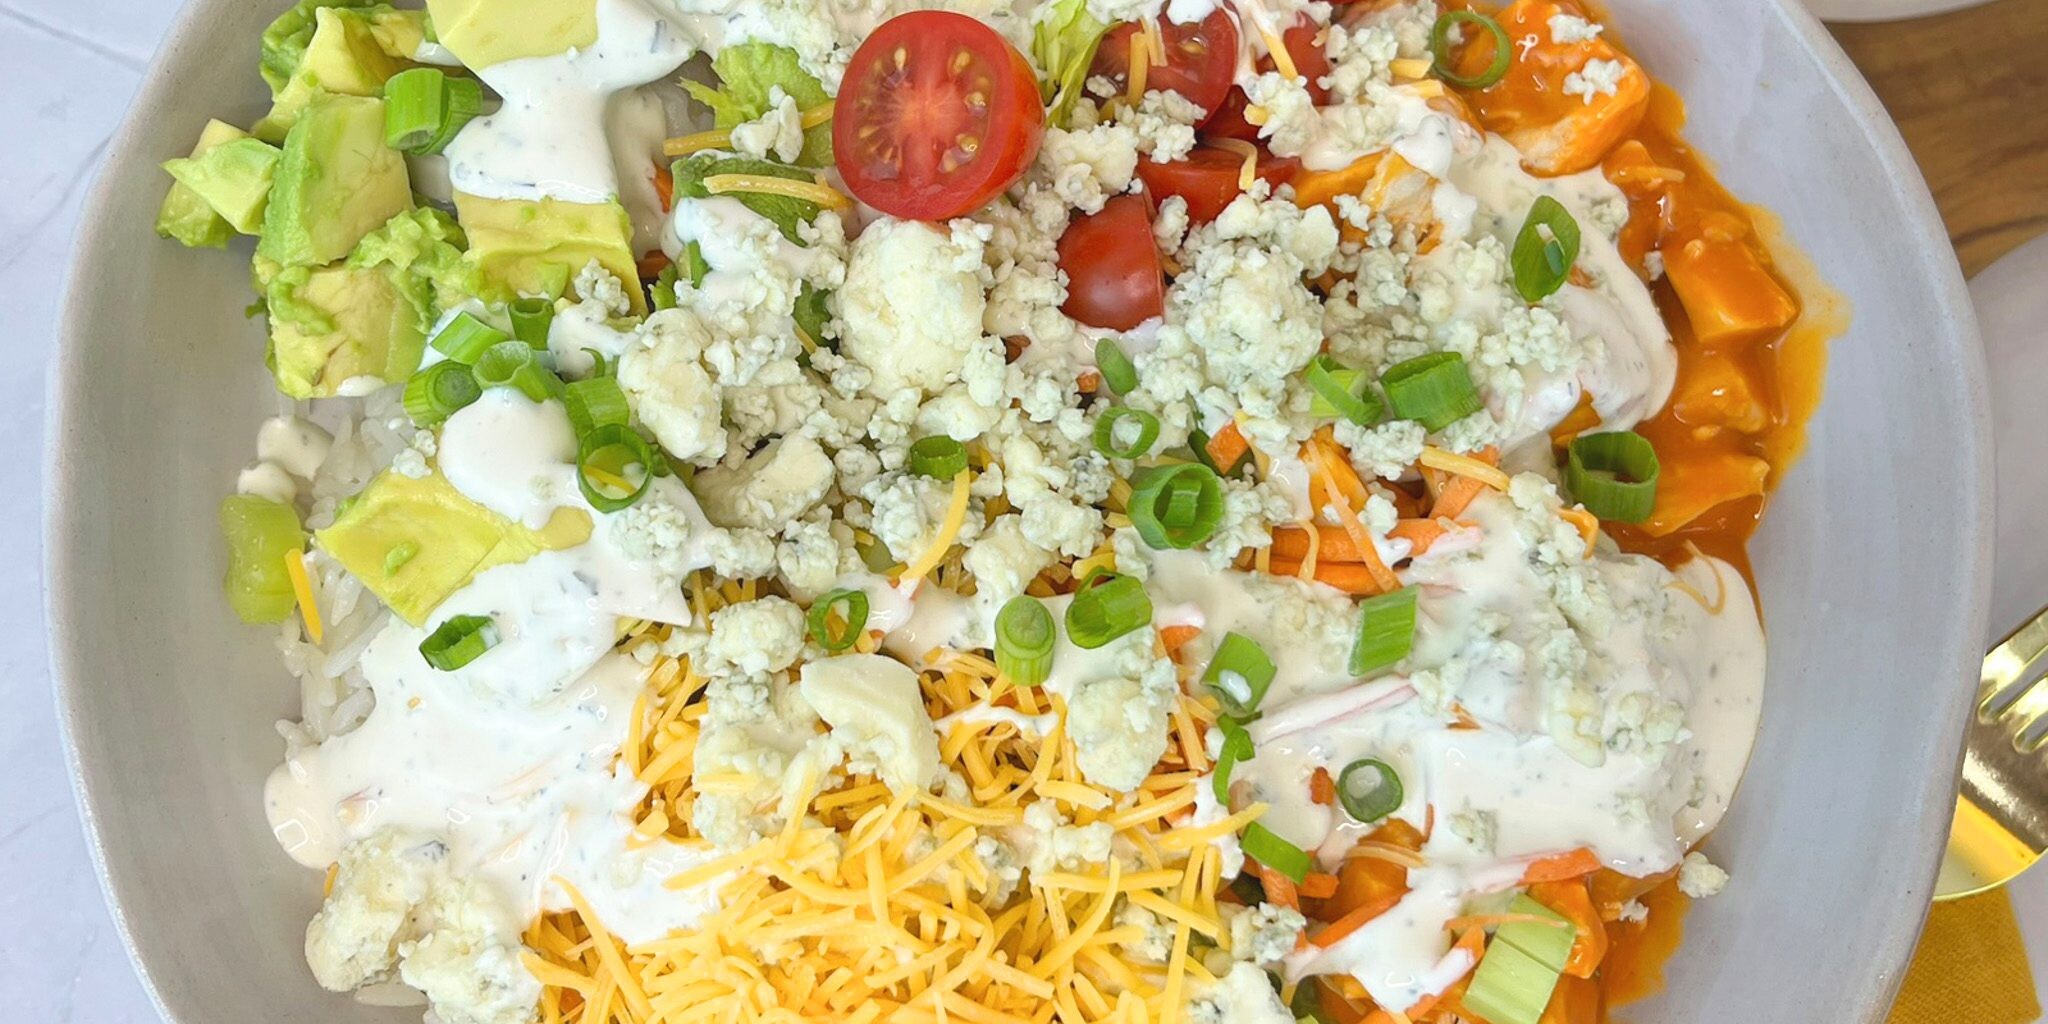
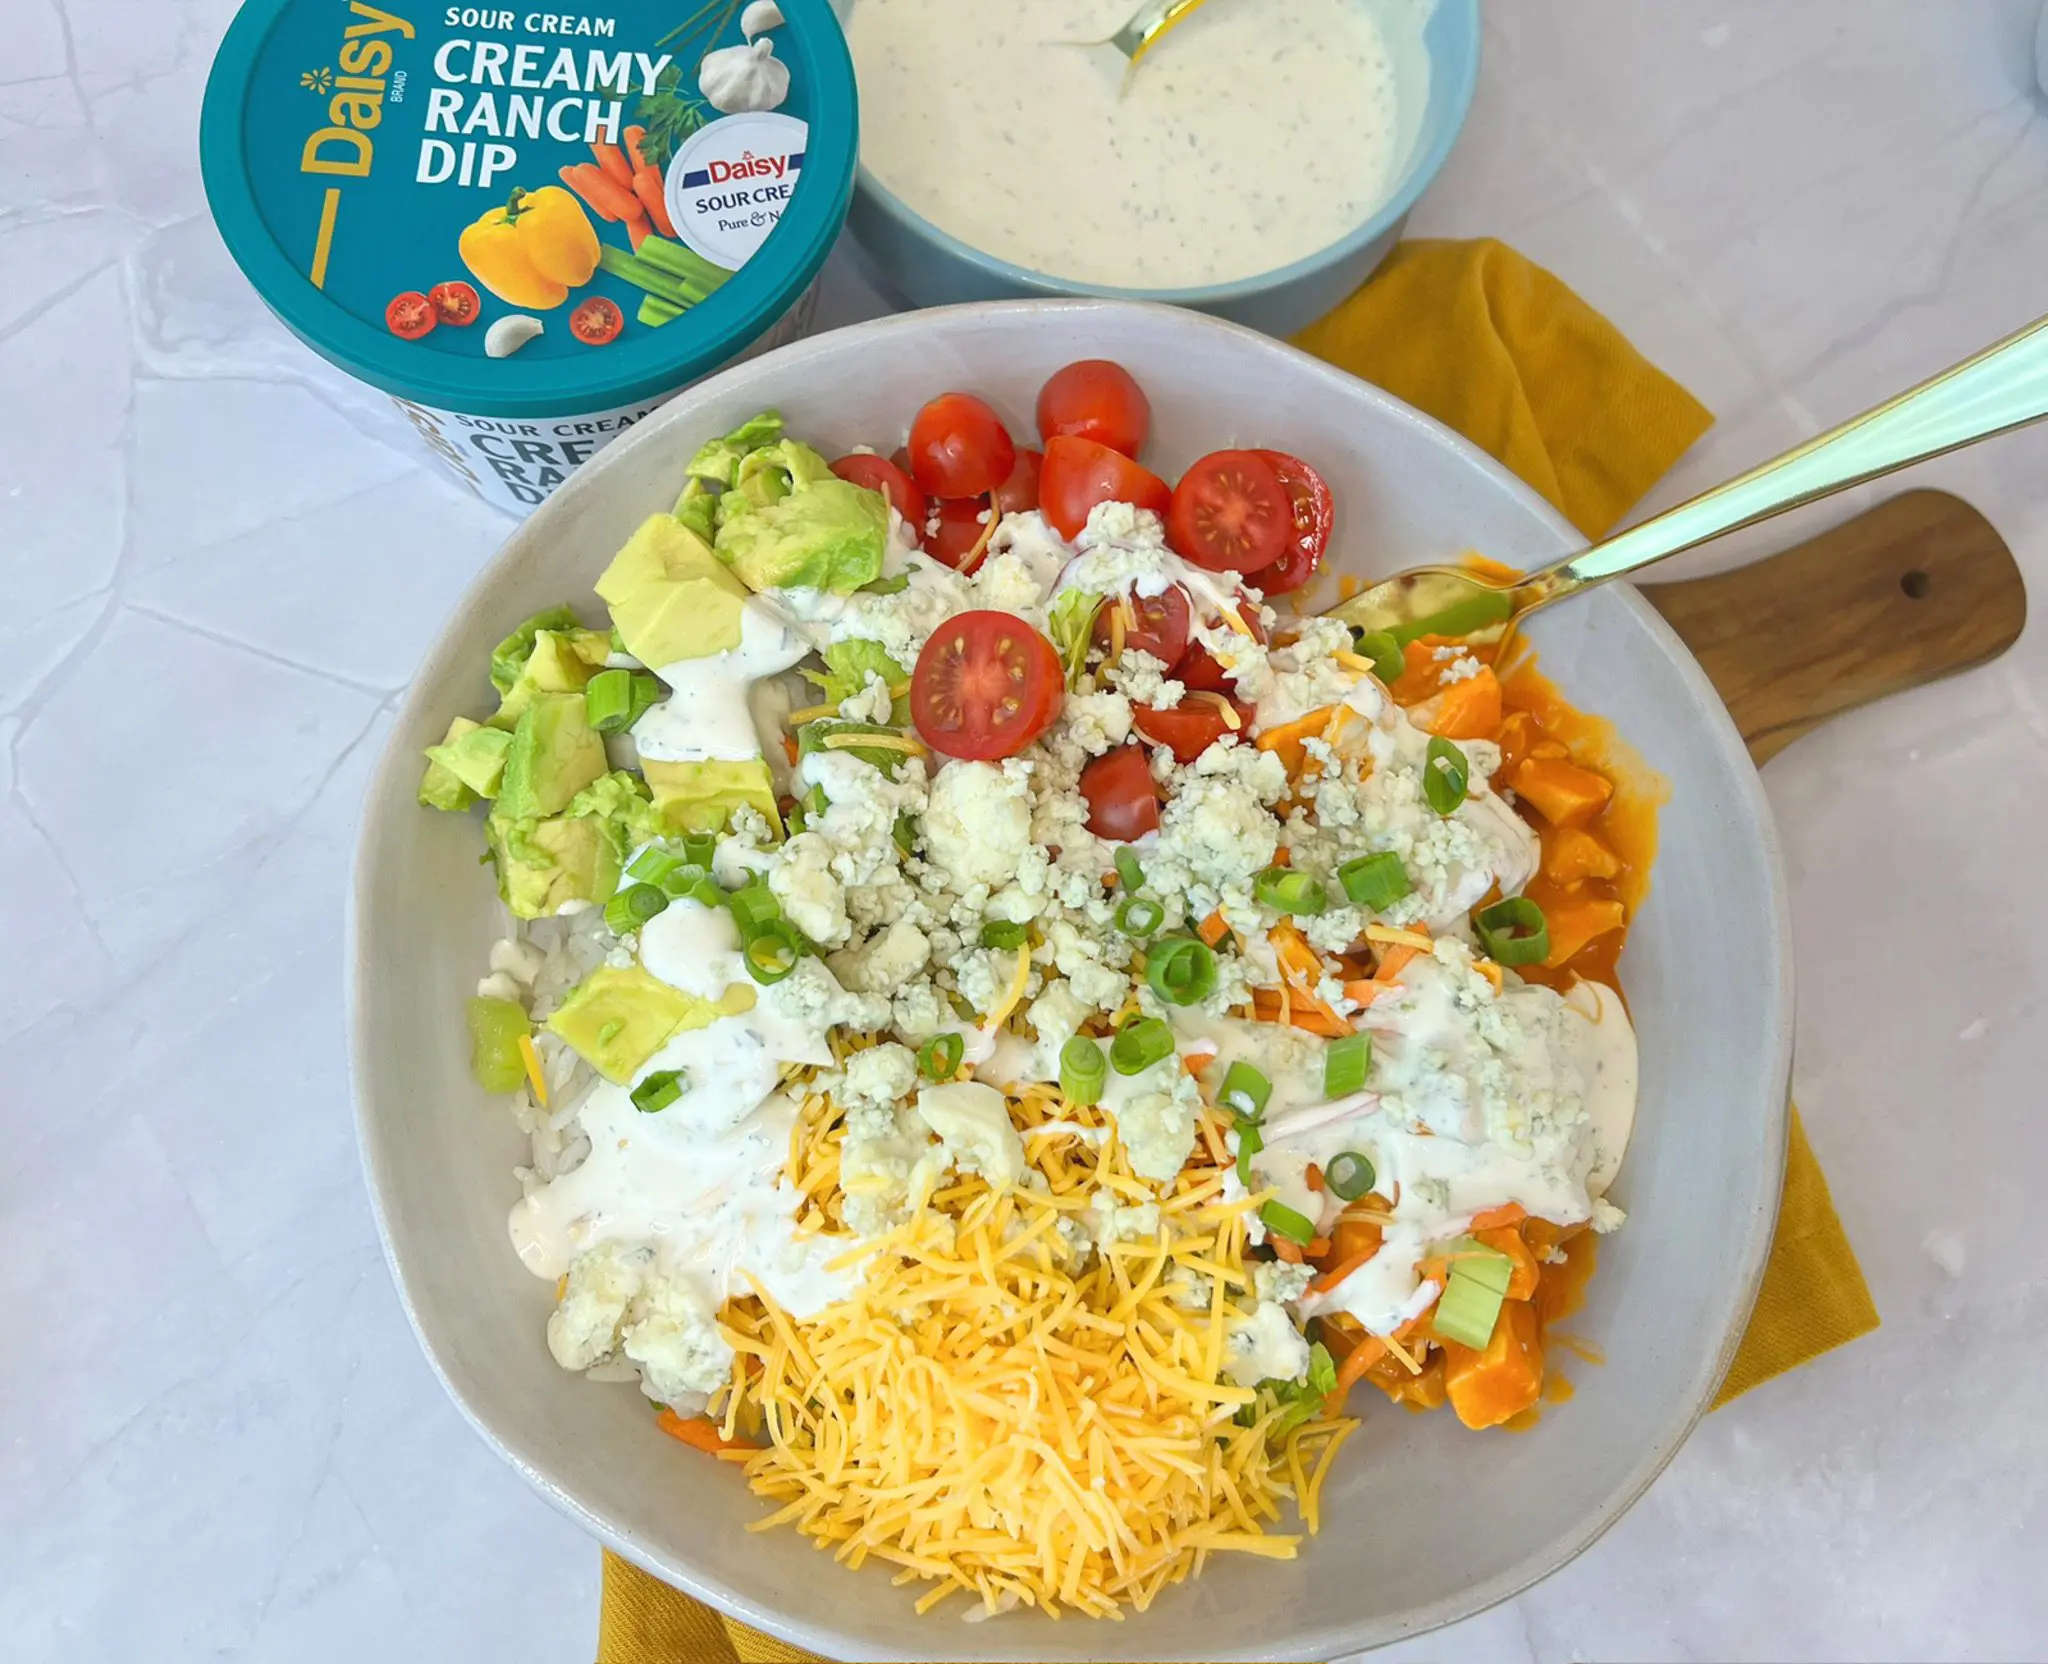
Layer your bowl with tender chicken tossed in buffalo sauce, fresh greens and rice, crunchy celery and carrots, and a sprinkle of cheese for extra indulgence. Finish with a dollop of Daisy Creamy Ranch Dip to create a creamy, zesty contrast that elevates every bite.
Perfect for meal prep, quick lunches, or easy dinners, this Buffalo Chicken Bowl is a delicious way to enjoy big flavor without the fuss—bringing together spice, creaminess, and satisfying texture in one irresistible dish.
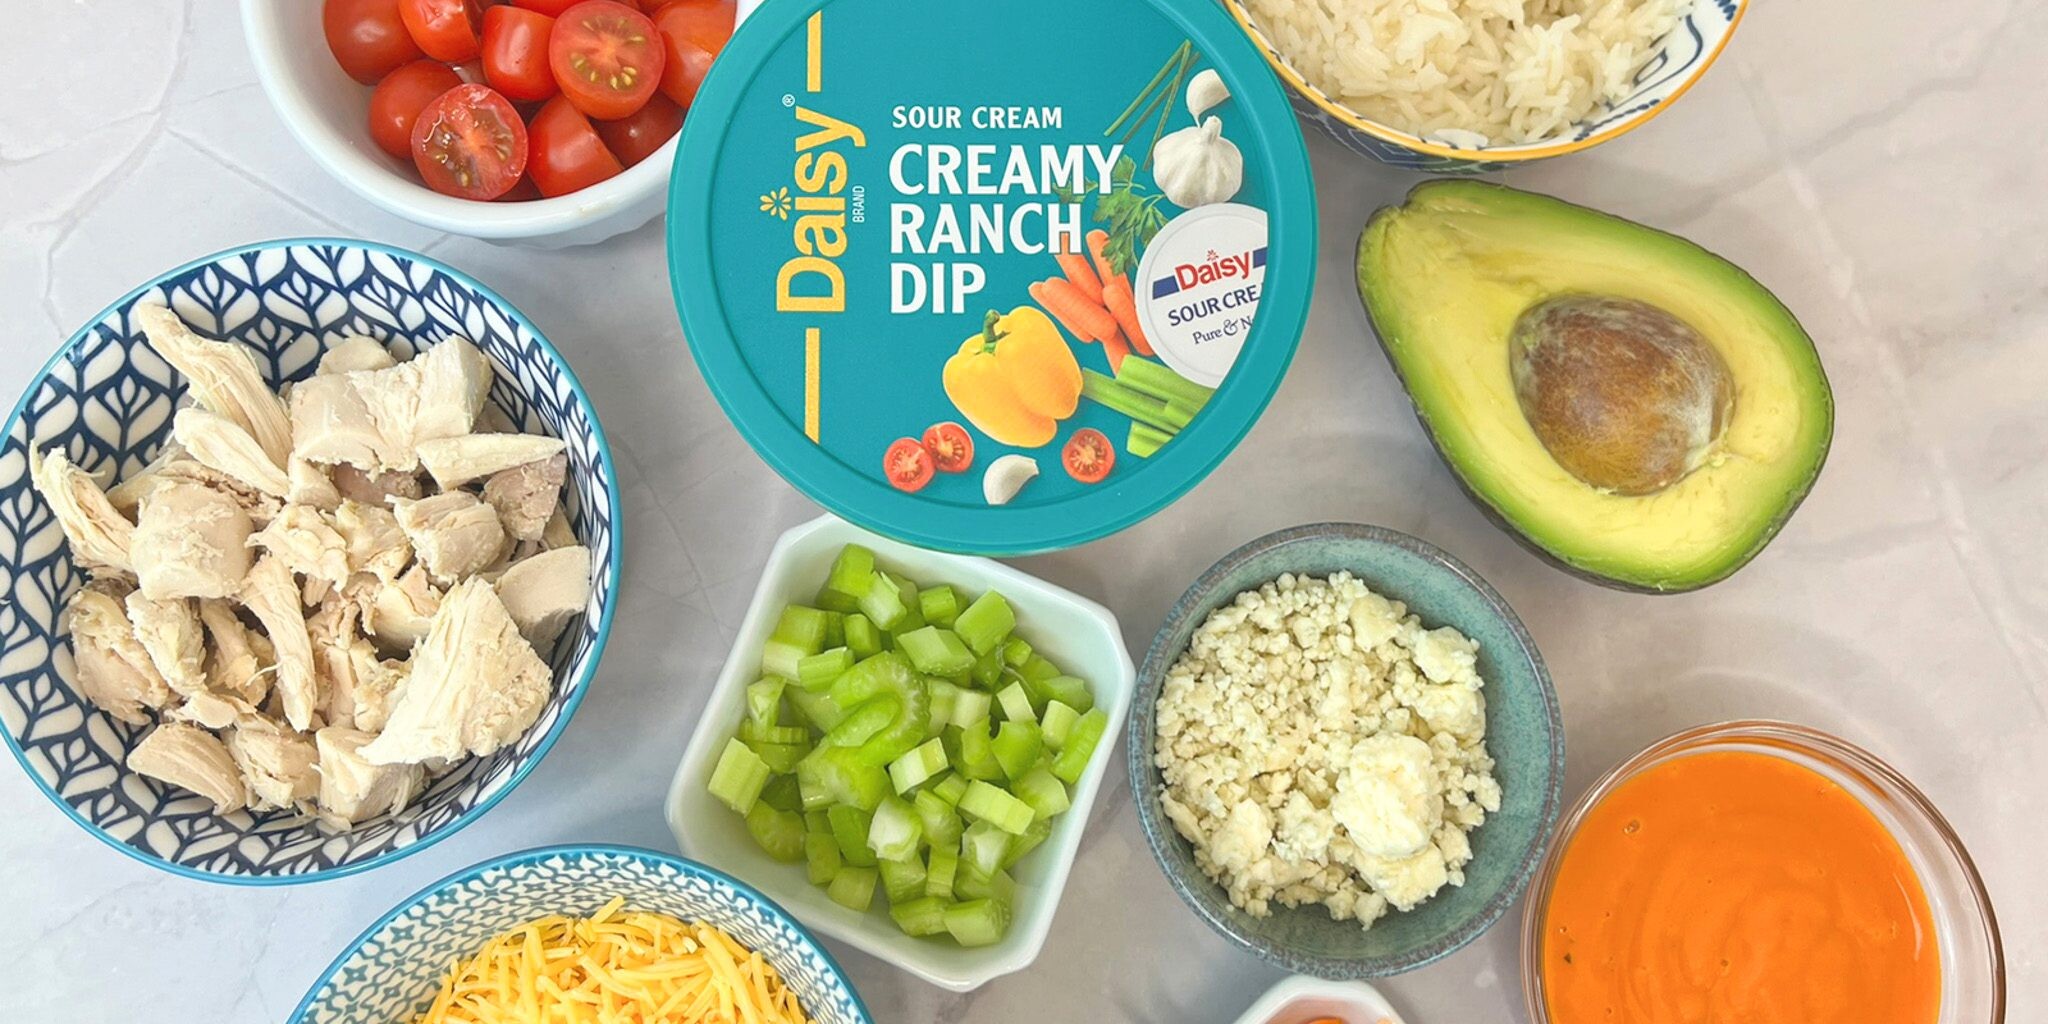
Buffalo Chicken Bowl Ingredients
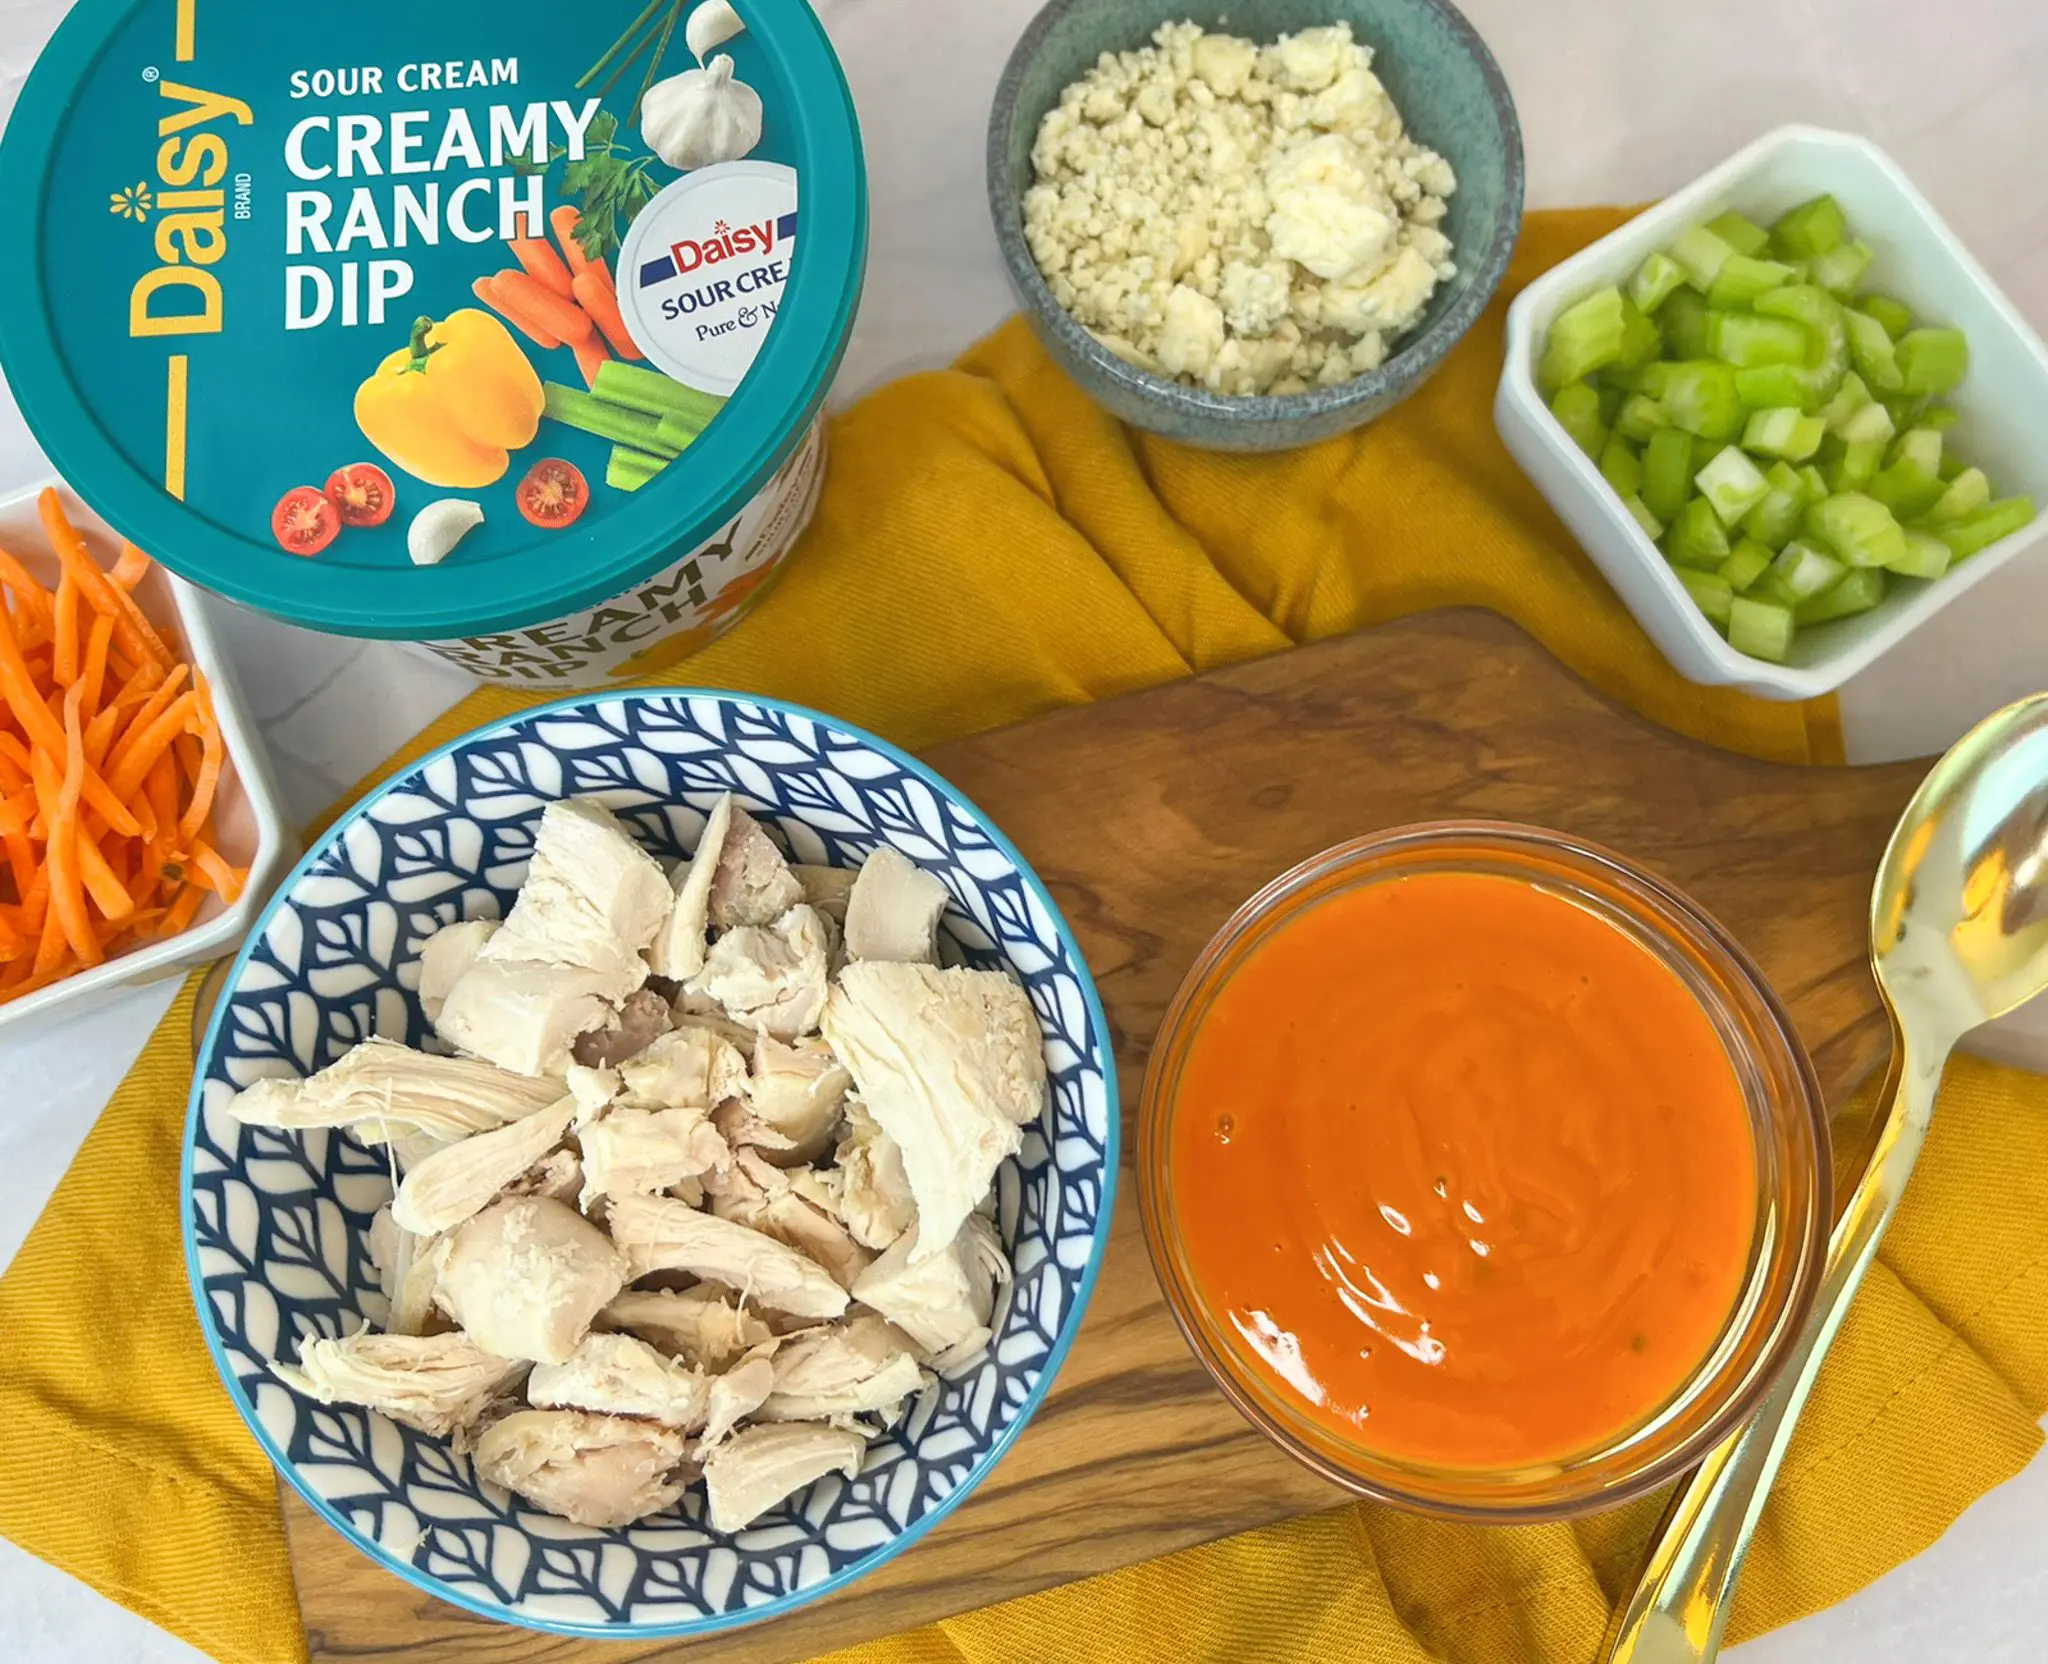
- Diced Chicken (1 cup): Rotisserie chicken works great in this recipe as does any leftover cooked chicken. It provides the main protein in the bowl.
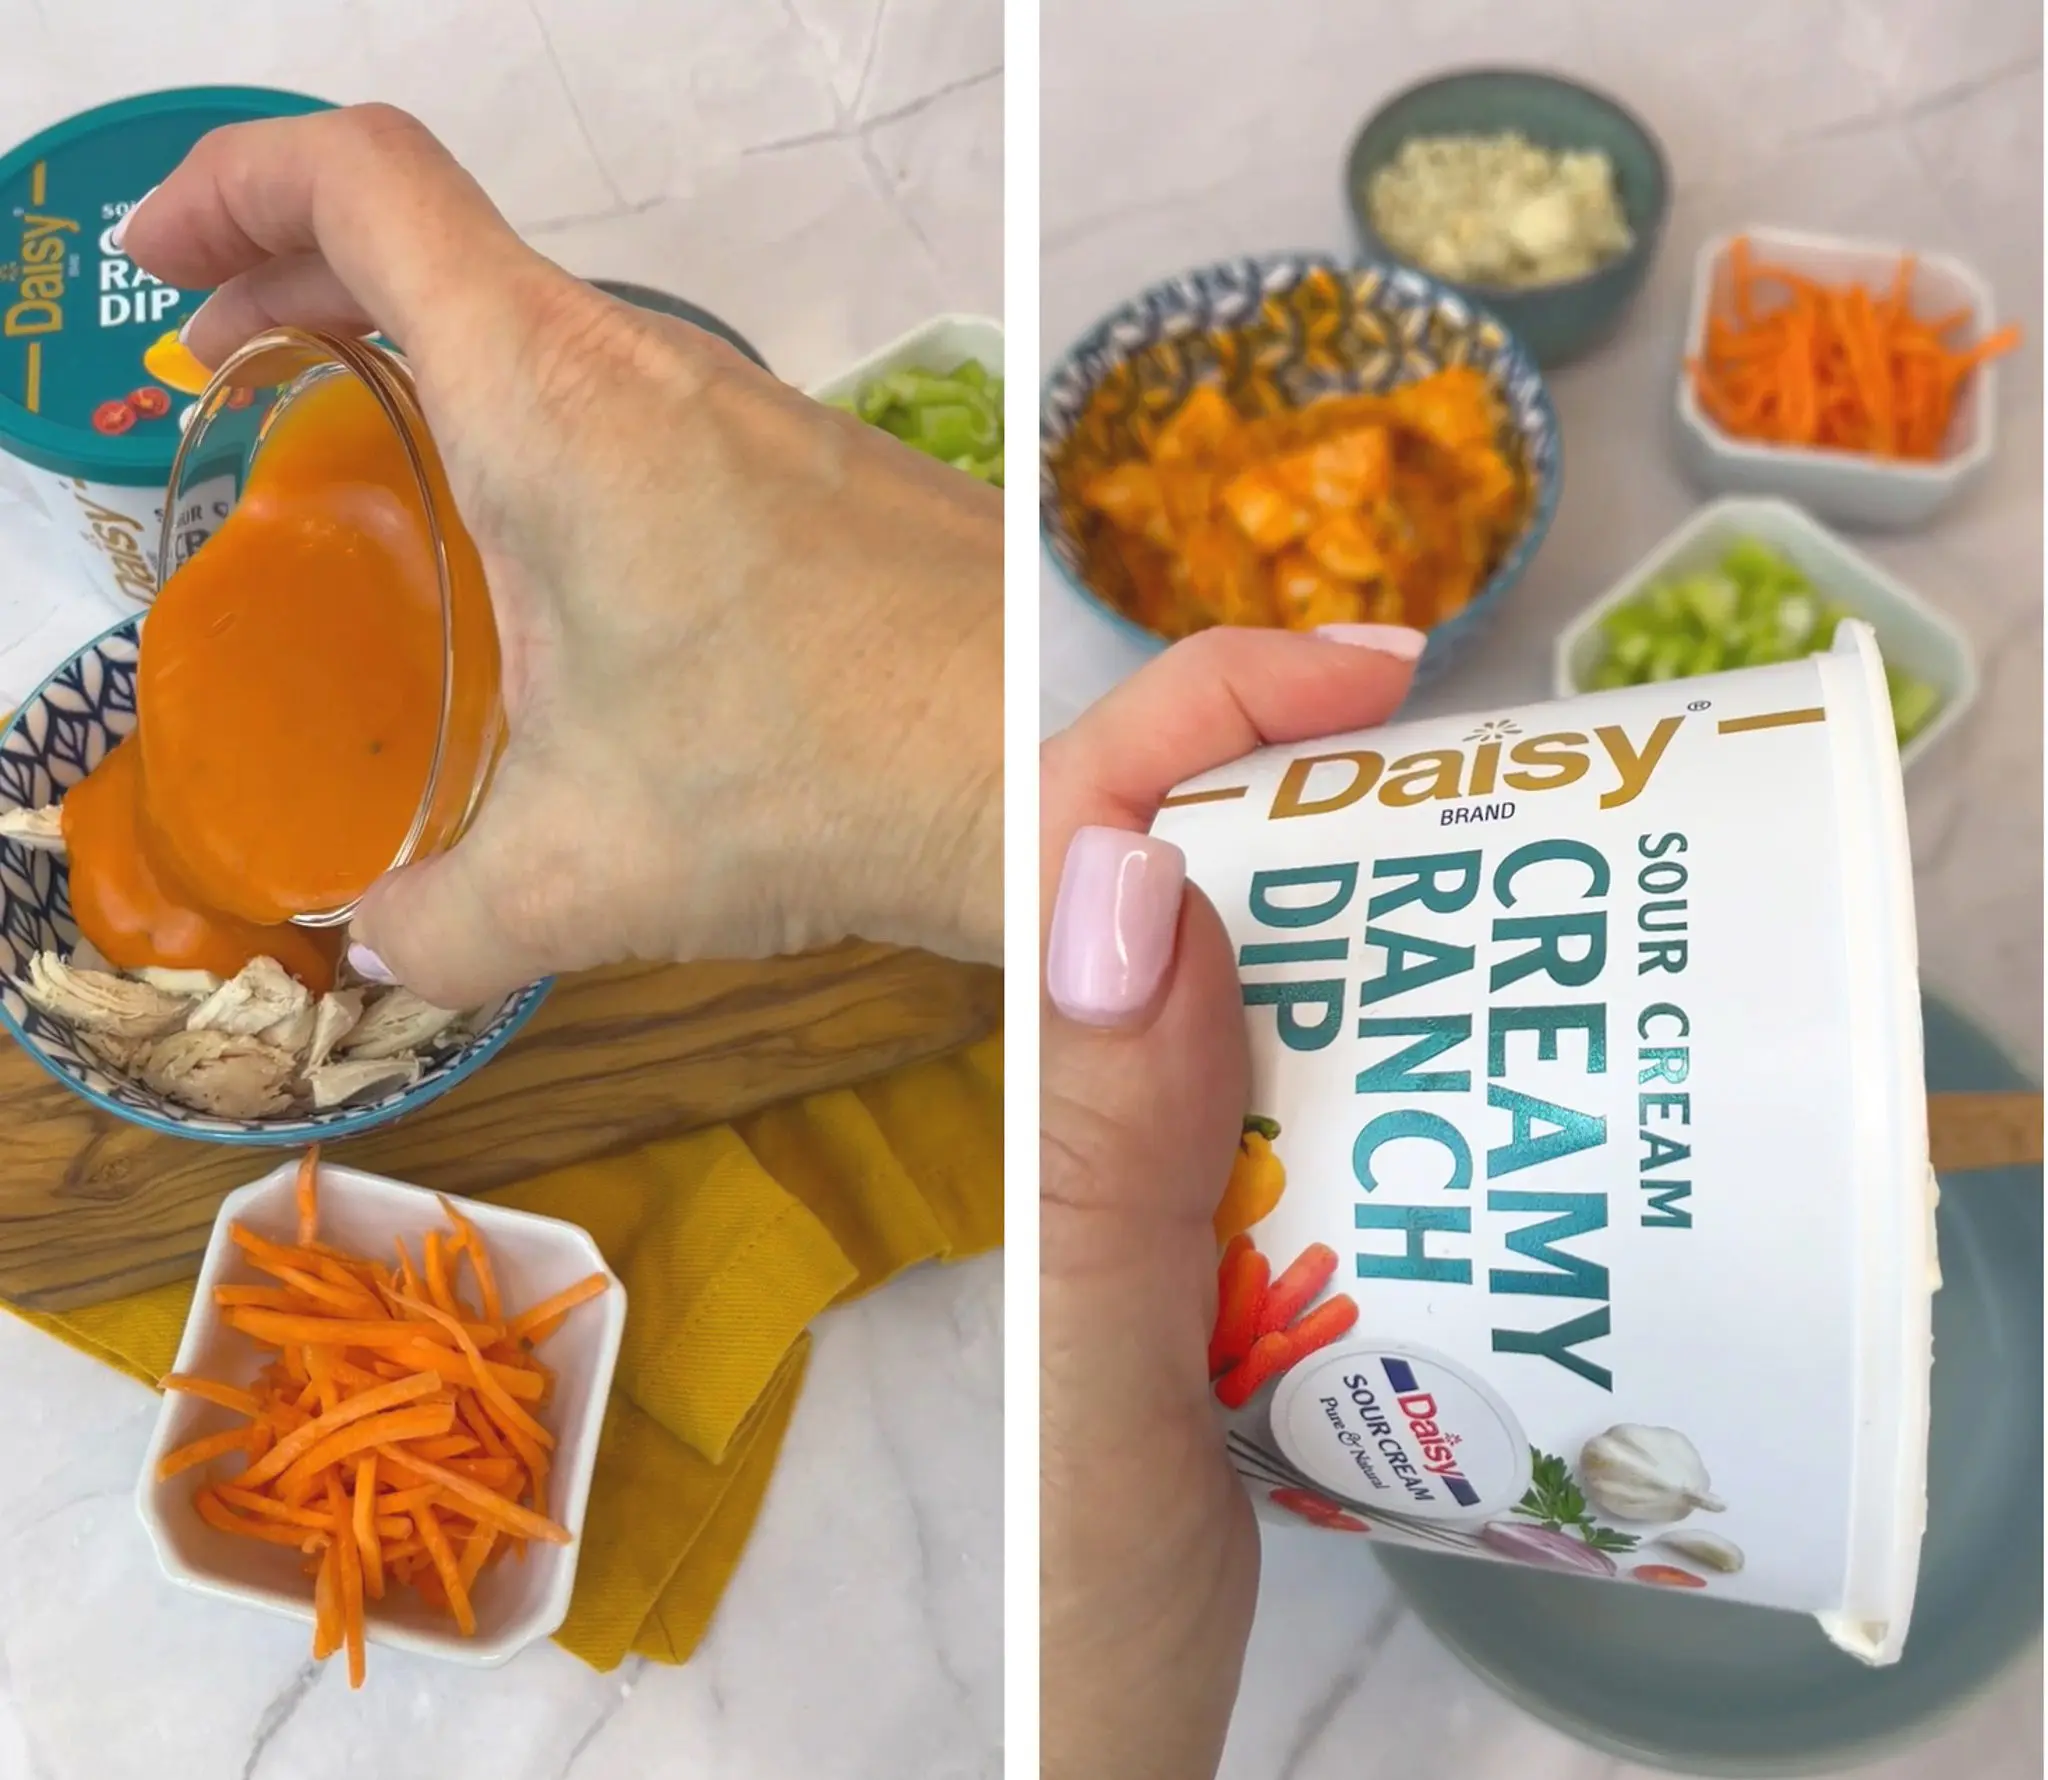
- Buffalo Sauce (1/4-1/2 cup): Provides the vinegary, spicy heat to the chicken. No need for precise measuring, just add as much as you need to coat the chicken.
- Shredded Lettuce (1 cup): Adds crunch and a base for the bowl. Feel free to use more or less depending on your preference.
- Cooked Grain (1/2 cup): Rice, farro, and quinoa all provide a hearty, nutrient-dense base that adds fiber, essential nutrients, and helps sustain energy.
- Diced Celery and Shredded Carrots (2 tablespoons each): A sprinkle of celery and carrot are perfect accompaniments to the buffalo chicken and add a nice textural crunch to the bowl.
- Cherry Tomatoes (1/4 cup, sliced): Adds a burst of sweet, juicy, acid and a bright pop of color.
- Avocado (1/2): Adds healthy fat and creamy goodness to the bowl.
- Finely Shredded Cheddar (1/4 cup): The sharp, rich flavor acts as a necessary counterpoint to the spicy, acidic, and buttery heat of the buffalo sauce.
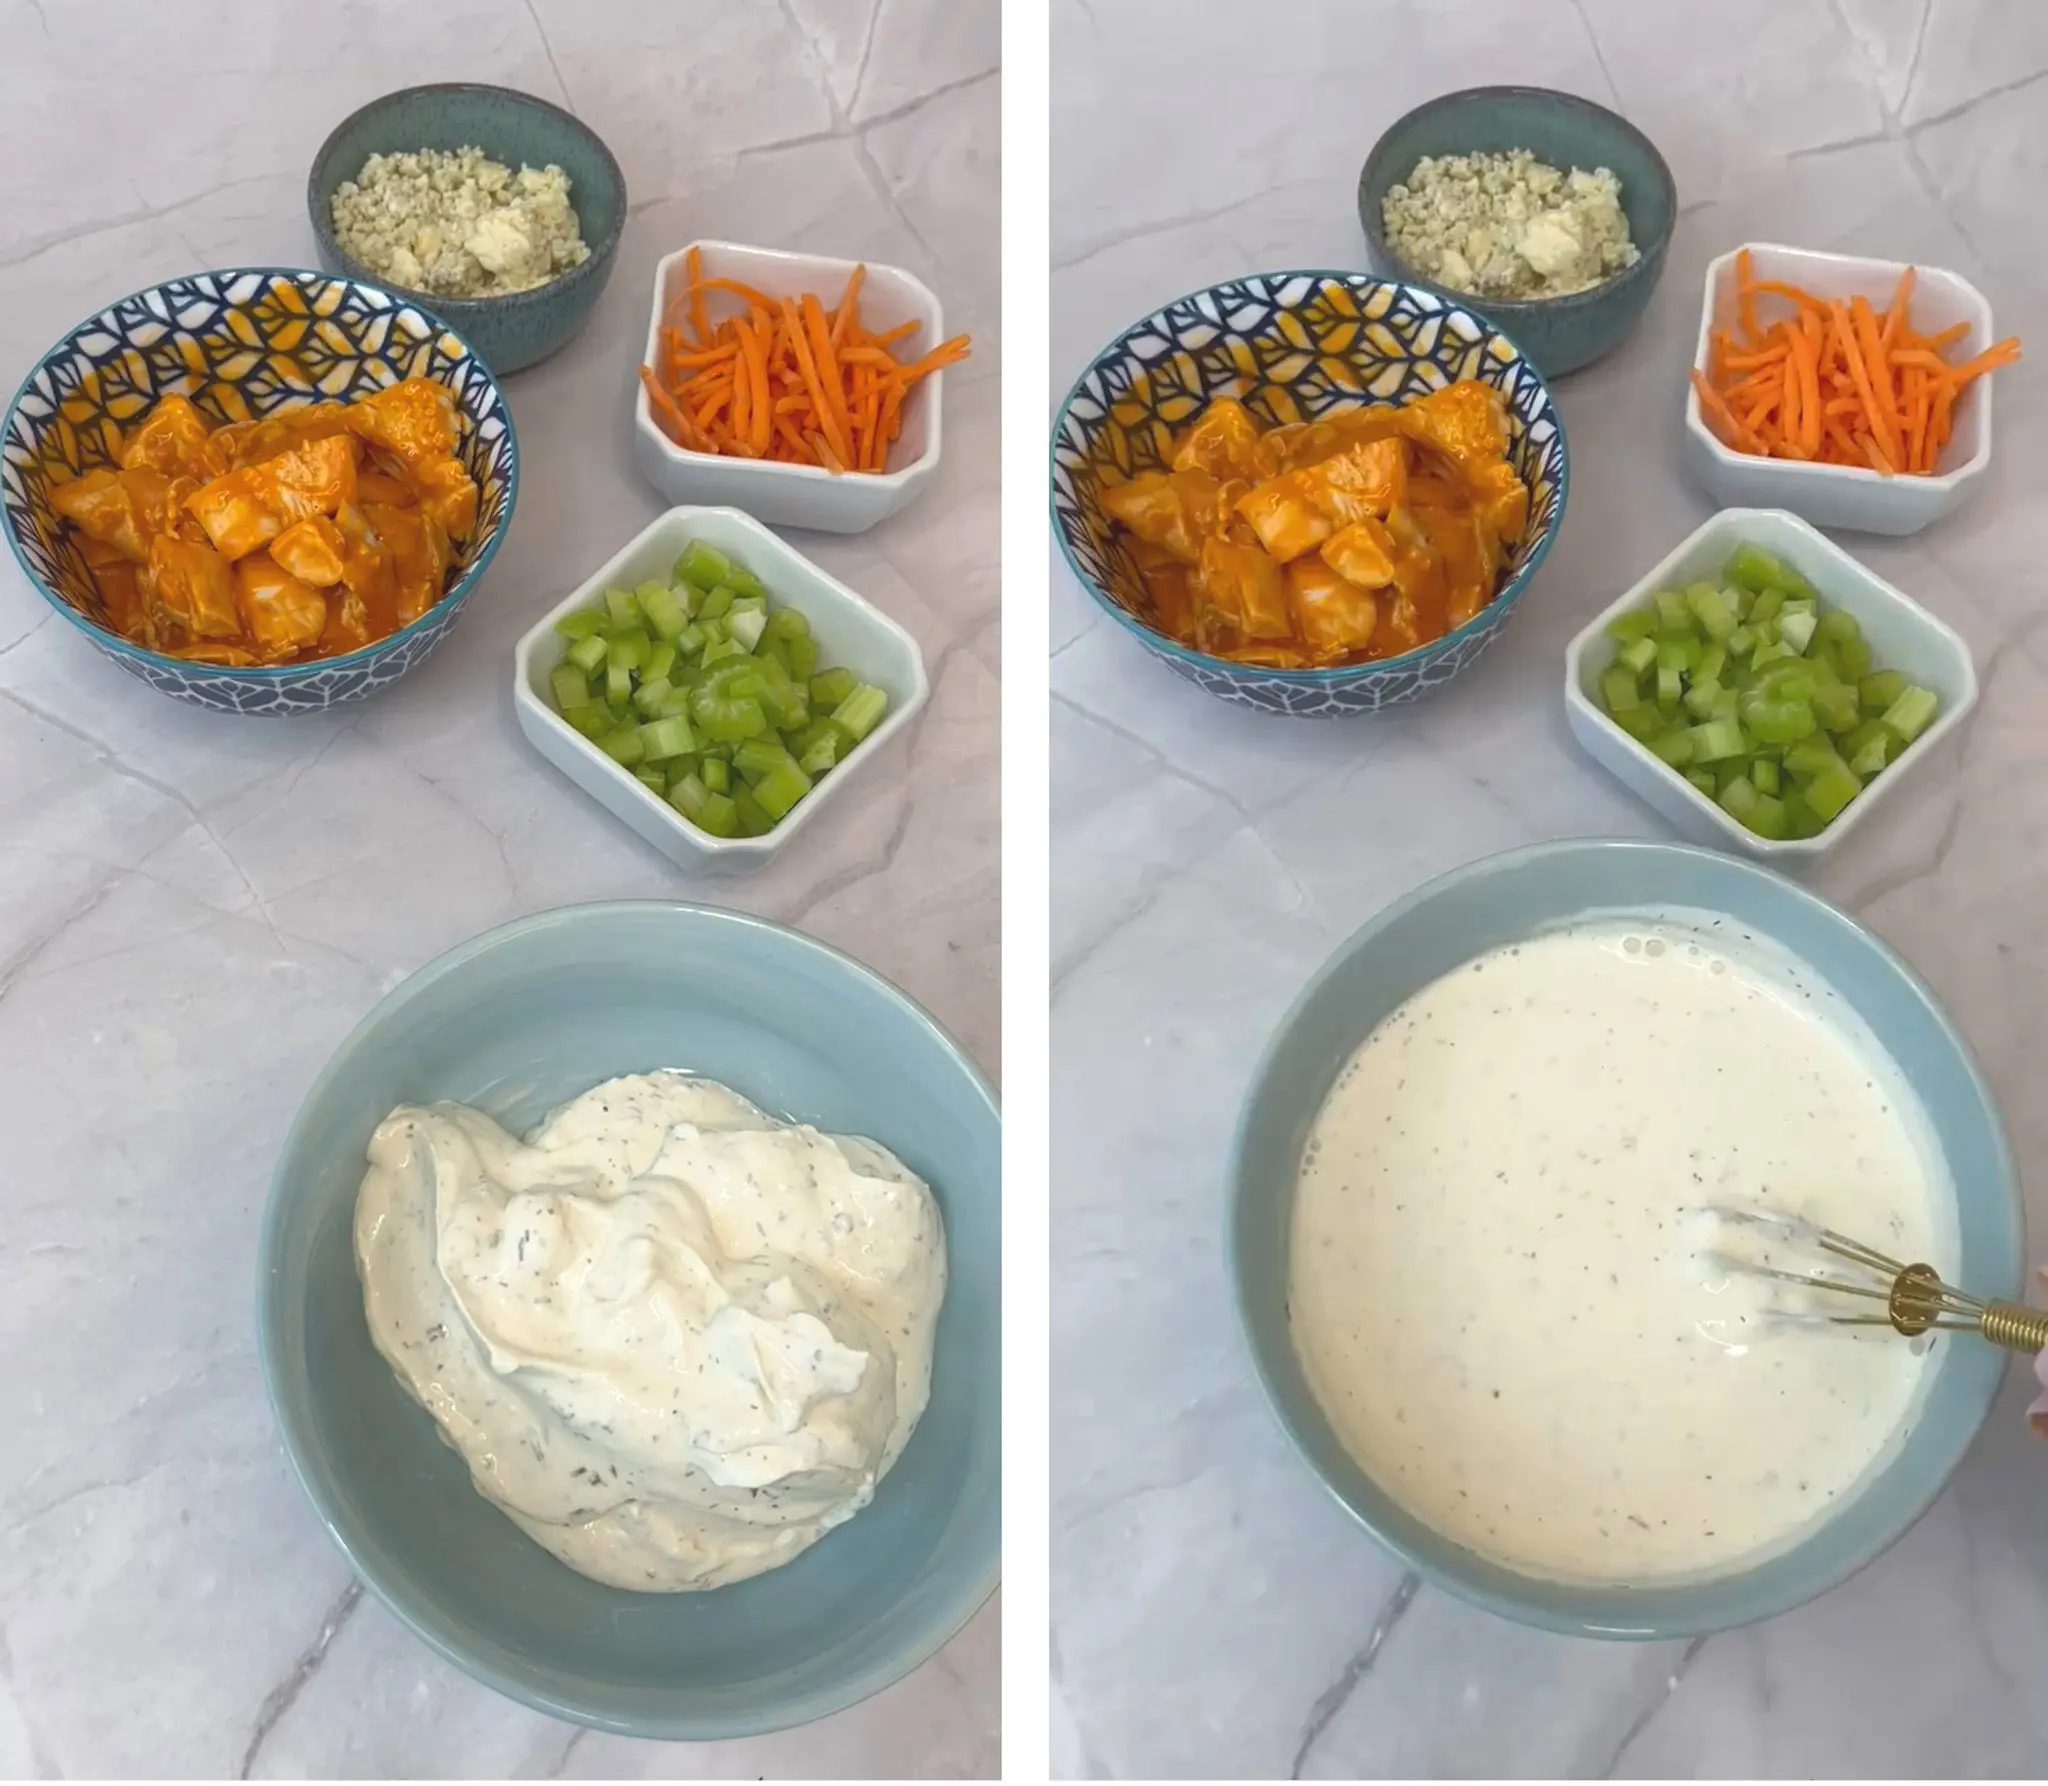
- Daisy Creamy Ranch Dip (1/24 cup): Perfectly seasoned with herbs, garlic, and tangy notes, the ranch dip adds a bright, herby dressing that pairs perfectly with the buffalo chicken, cooling the heat and coating every bite.
- Blue Cheese (2 tablespoons): A sprinkle of blue cheese is the perfect pungent accompaniment to Buffalo Chicken. It balances the heat of the buffalo sauce.
- Green Onions (2 tablespoons): Adds a mild onion flavor and a pop of color without overwhelming the bowl. It balances the intense heat and rich, creamy dressing with a fresh, sharp, and slightly pungent bite.
Substitutions, Variations, and Tips
- For optimal texture, cook the pasta just until al dente, rinse under cold water. Avoid using fresh pasta for this recipe as it’s too delicate to hold its shape.
- For the best pasta flavor, heavily salt the water (it should taste like the sea).
- Dressing the pasta while warm will help the flavors meld. Adding extra dressing later will help ensure saucy pasta.
- Bite-sized pasta shapes provide maximum surface area for sauces and add-ins while remaining easy to eat.
- Chill before serving for optimal flavor (at least one hour).
- Add cilantro right before serving as it will keep the herbs bright and fresh.
- Red onions have a milder, sweeter, and less pungent taste compared to white or yellow onions, making them ideal for eating raw.
- Additions such as nuts, celery, and peppers will add extra crunch.
- Adjust the creaminess by adding more Daisy Creamy Ranch Dip.
How to Make Buffalo Chicken Bowls
- Mix chicken and buffalo sauce.
- Layer lettuce, rice, buffalo chicken, celery, carrots, tomatoes, avocado, and cheddar.
Creamy Ranch Chicken Salad
Creamy Ranch Chicken Salad
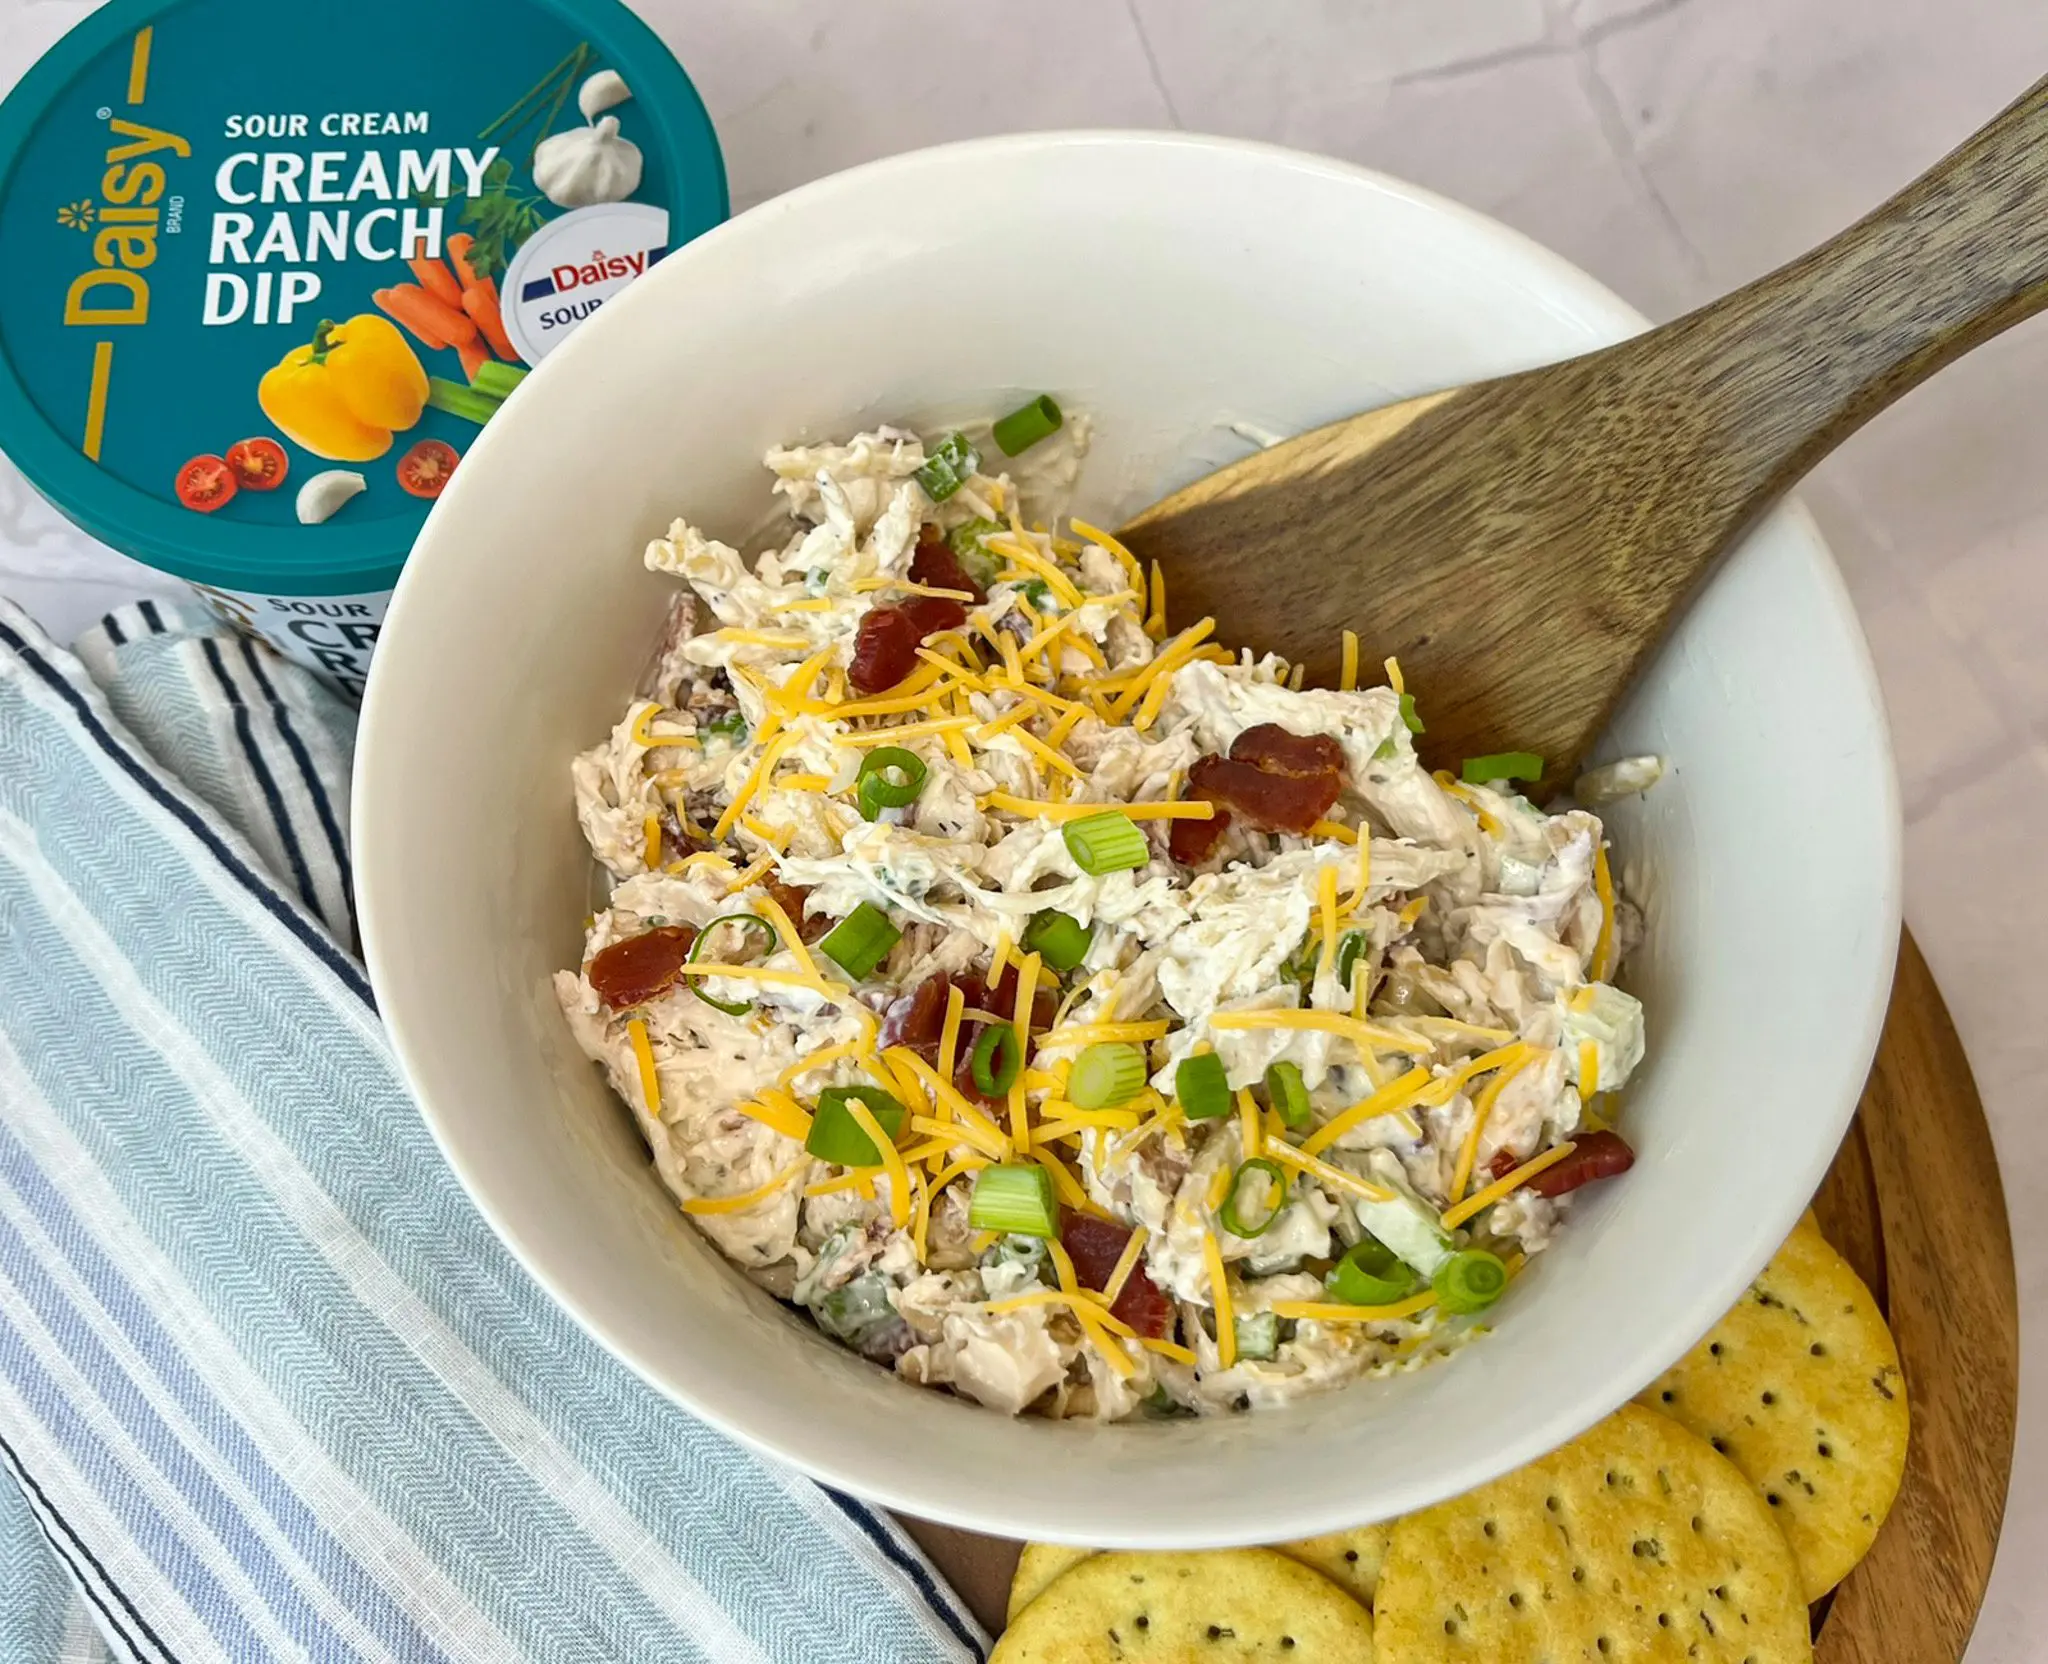
Looking for a quick, satisfying meal that doesn’t skimp on flavor? This Creamy Ranch Chicken Salad is the perfect solution. Made with tender rotisserie chicken and rich, flavorful Daisy Ranch Dip, it comes together in minutes for an easy lunch, or light dinner.
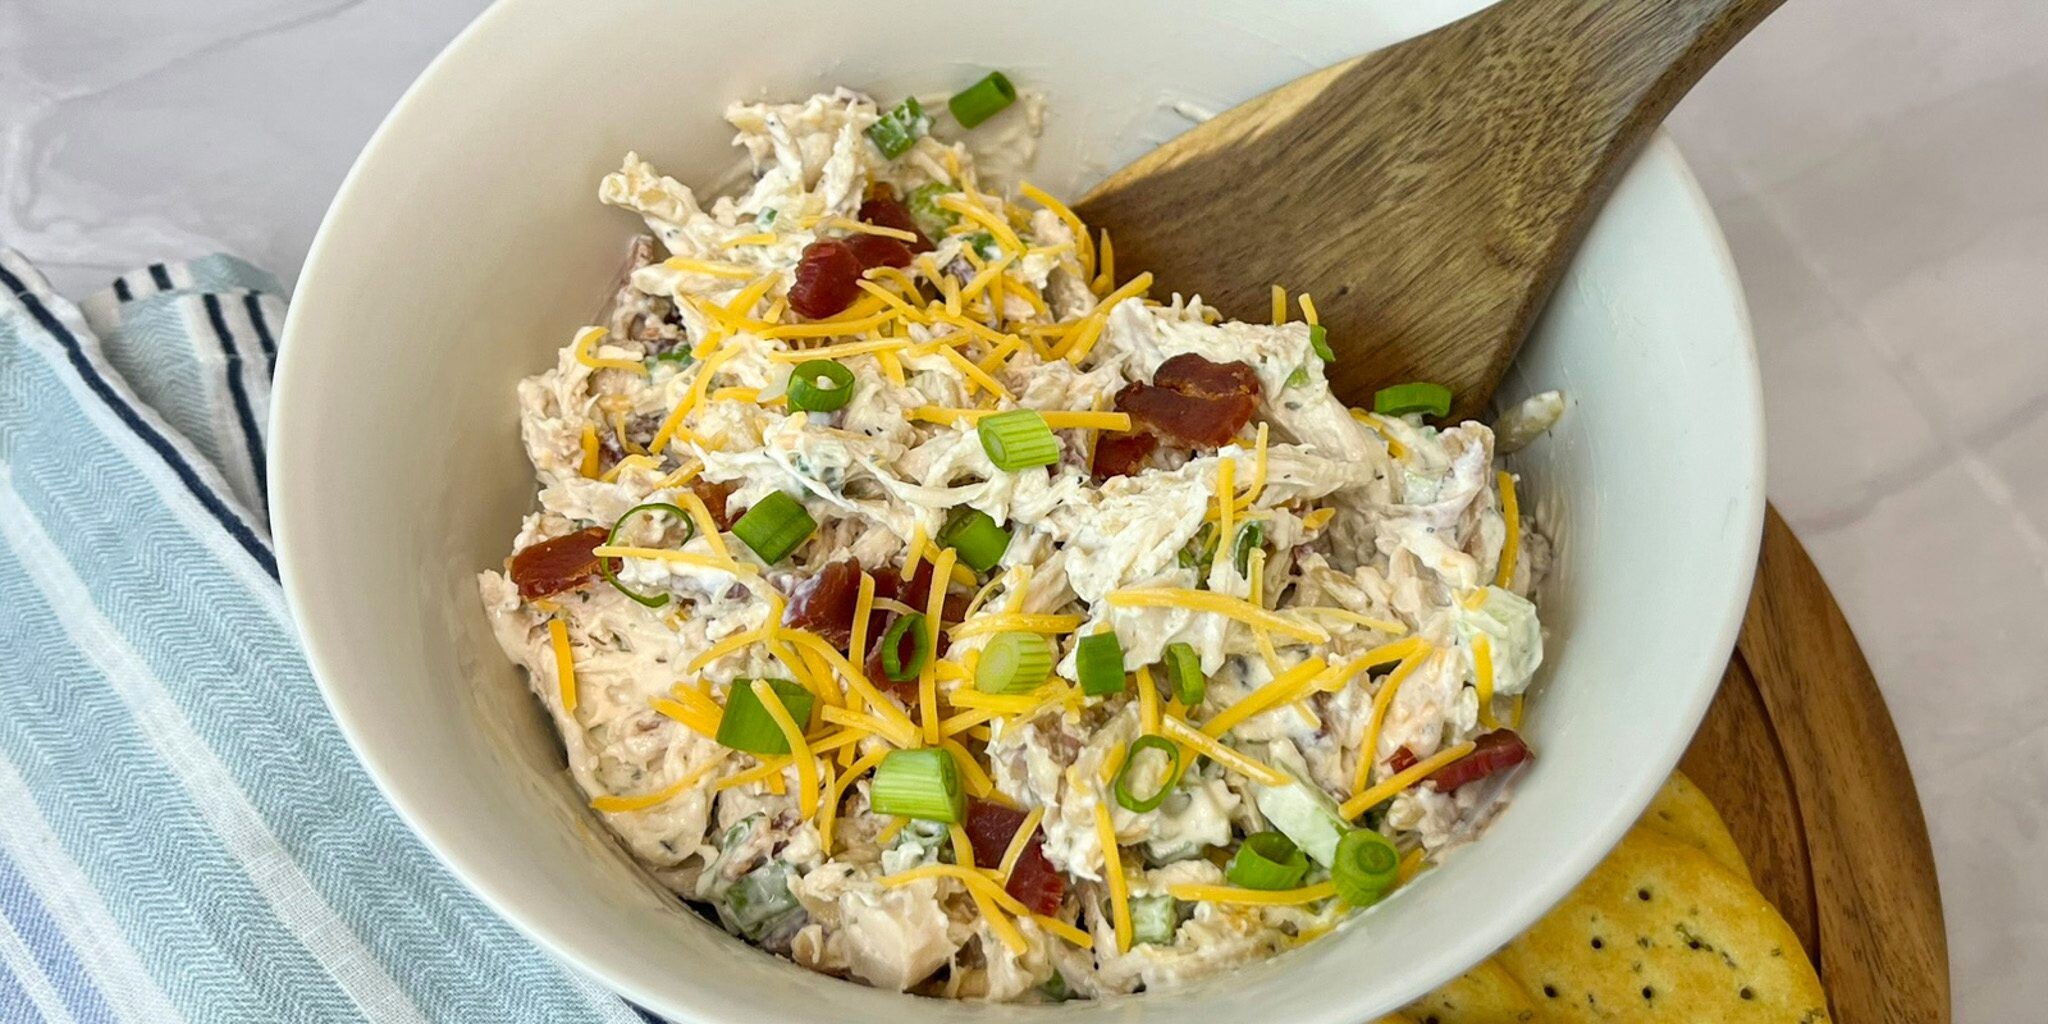
The rotisserie chicken keeps things simple while adding juicy, seasoned flavor, and the Daisy Ranch Dip brings a creamy, herby twist that takes this classic chicken salad to the next level. Toss in crunchy celery, and a touch of green onion for added texture and brightness.
Serve it piled high on toasted bread, tucked into a wrap, scooped onto crackers, or over a bed of crisp greens for a lighter option. However you enjoy it, this creamy chicken salad is comforting, versatile, and packed with protein and flavor, making it a recipe you’ll come back to again and again.
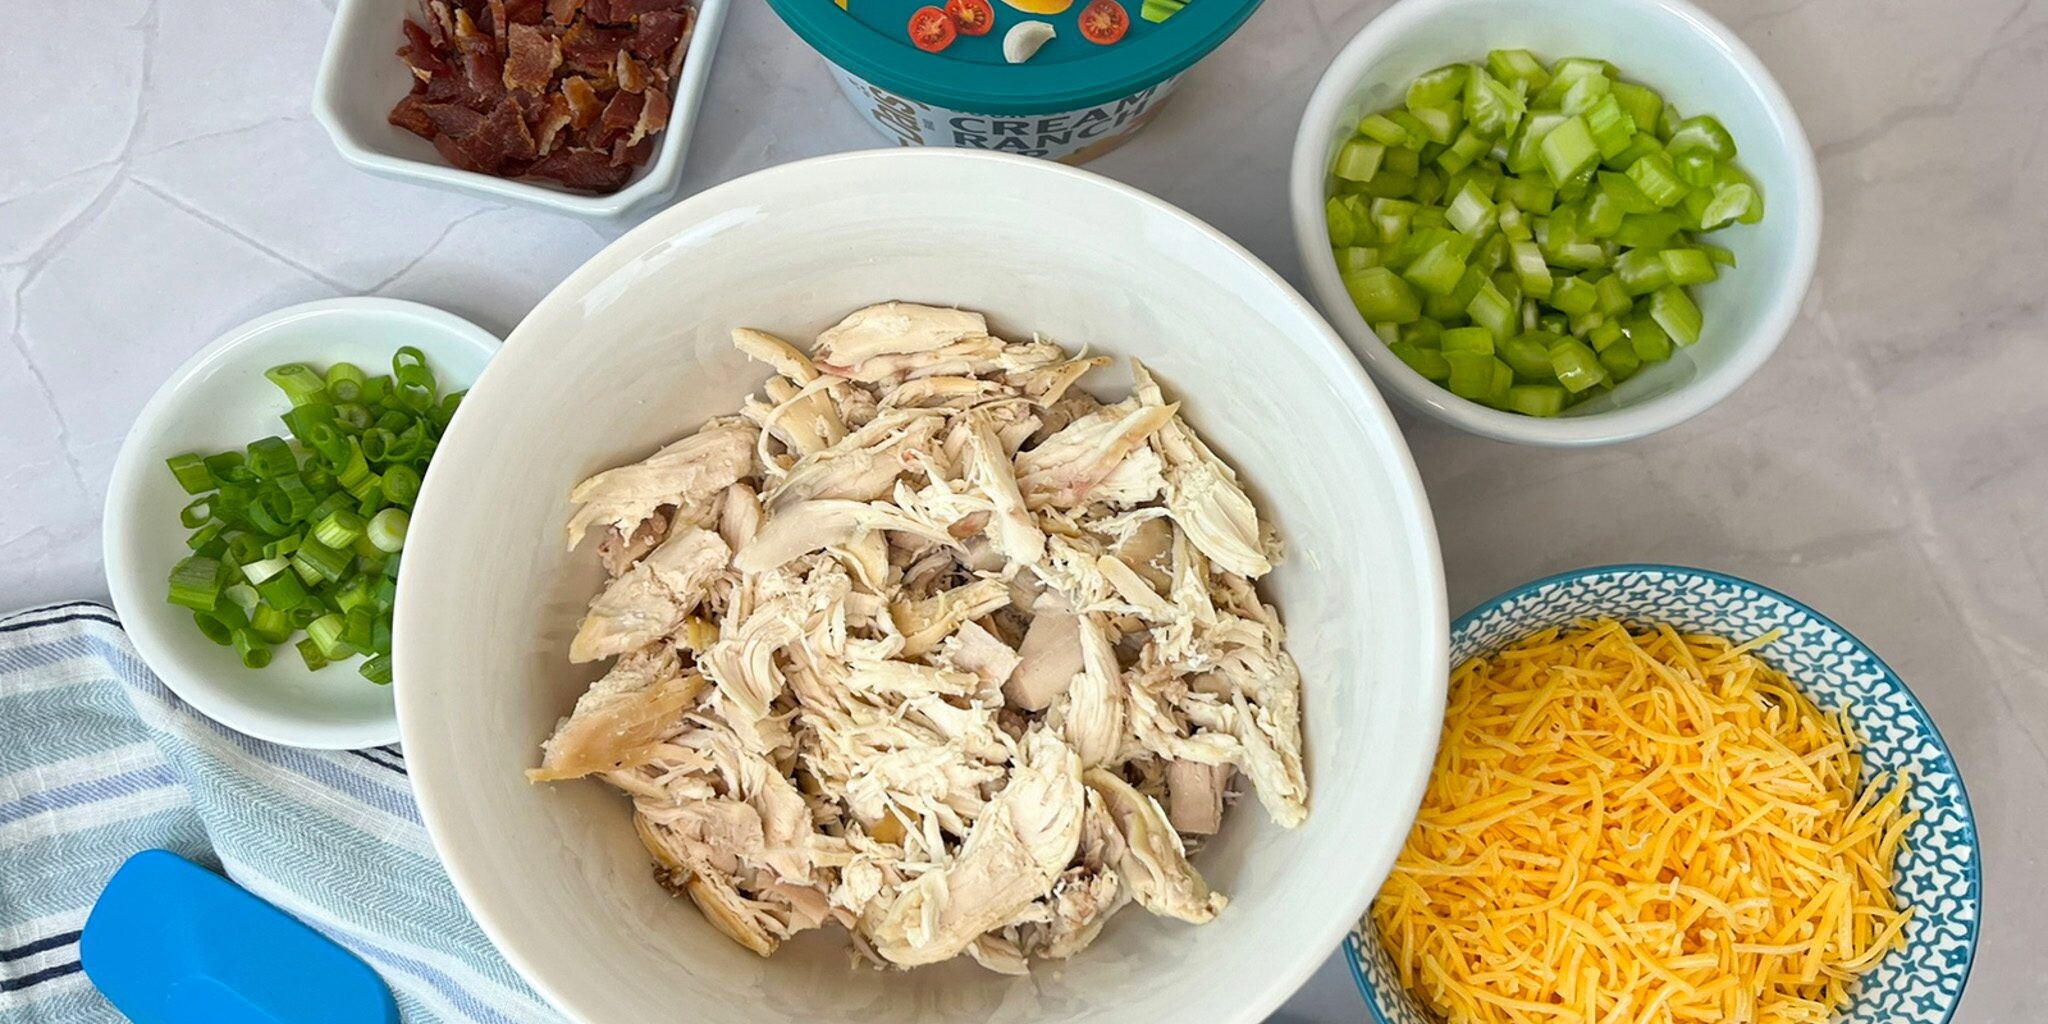
Creamy Ranch Chicken Salad Ingredients
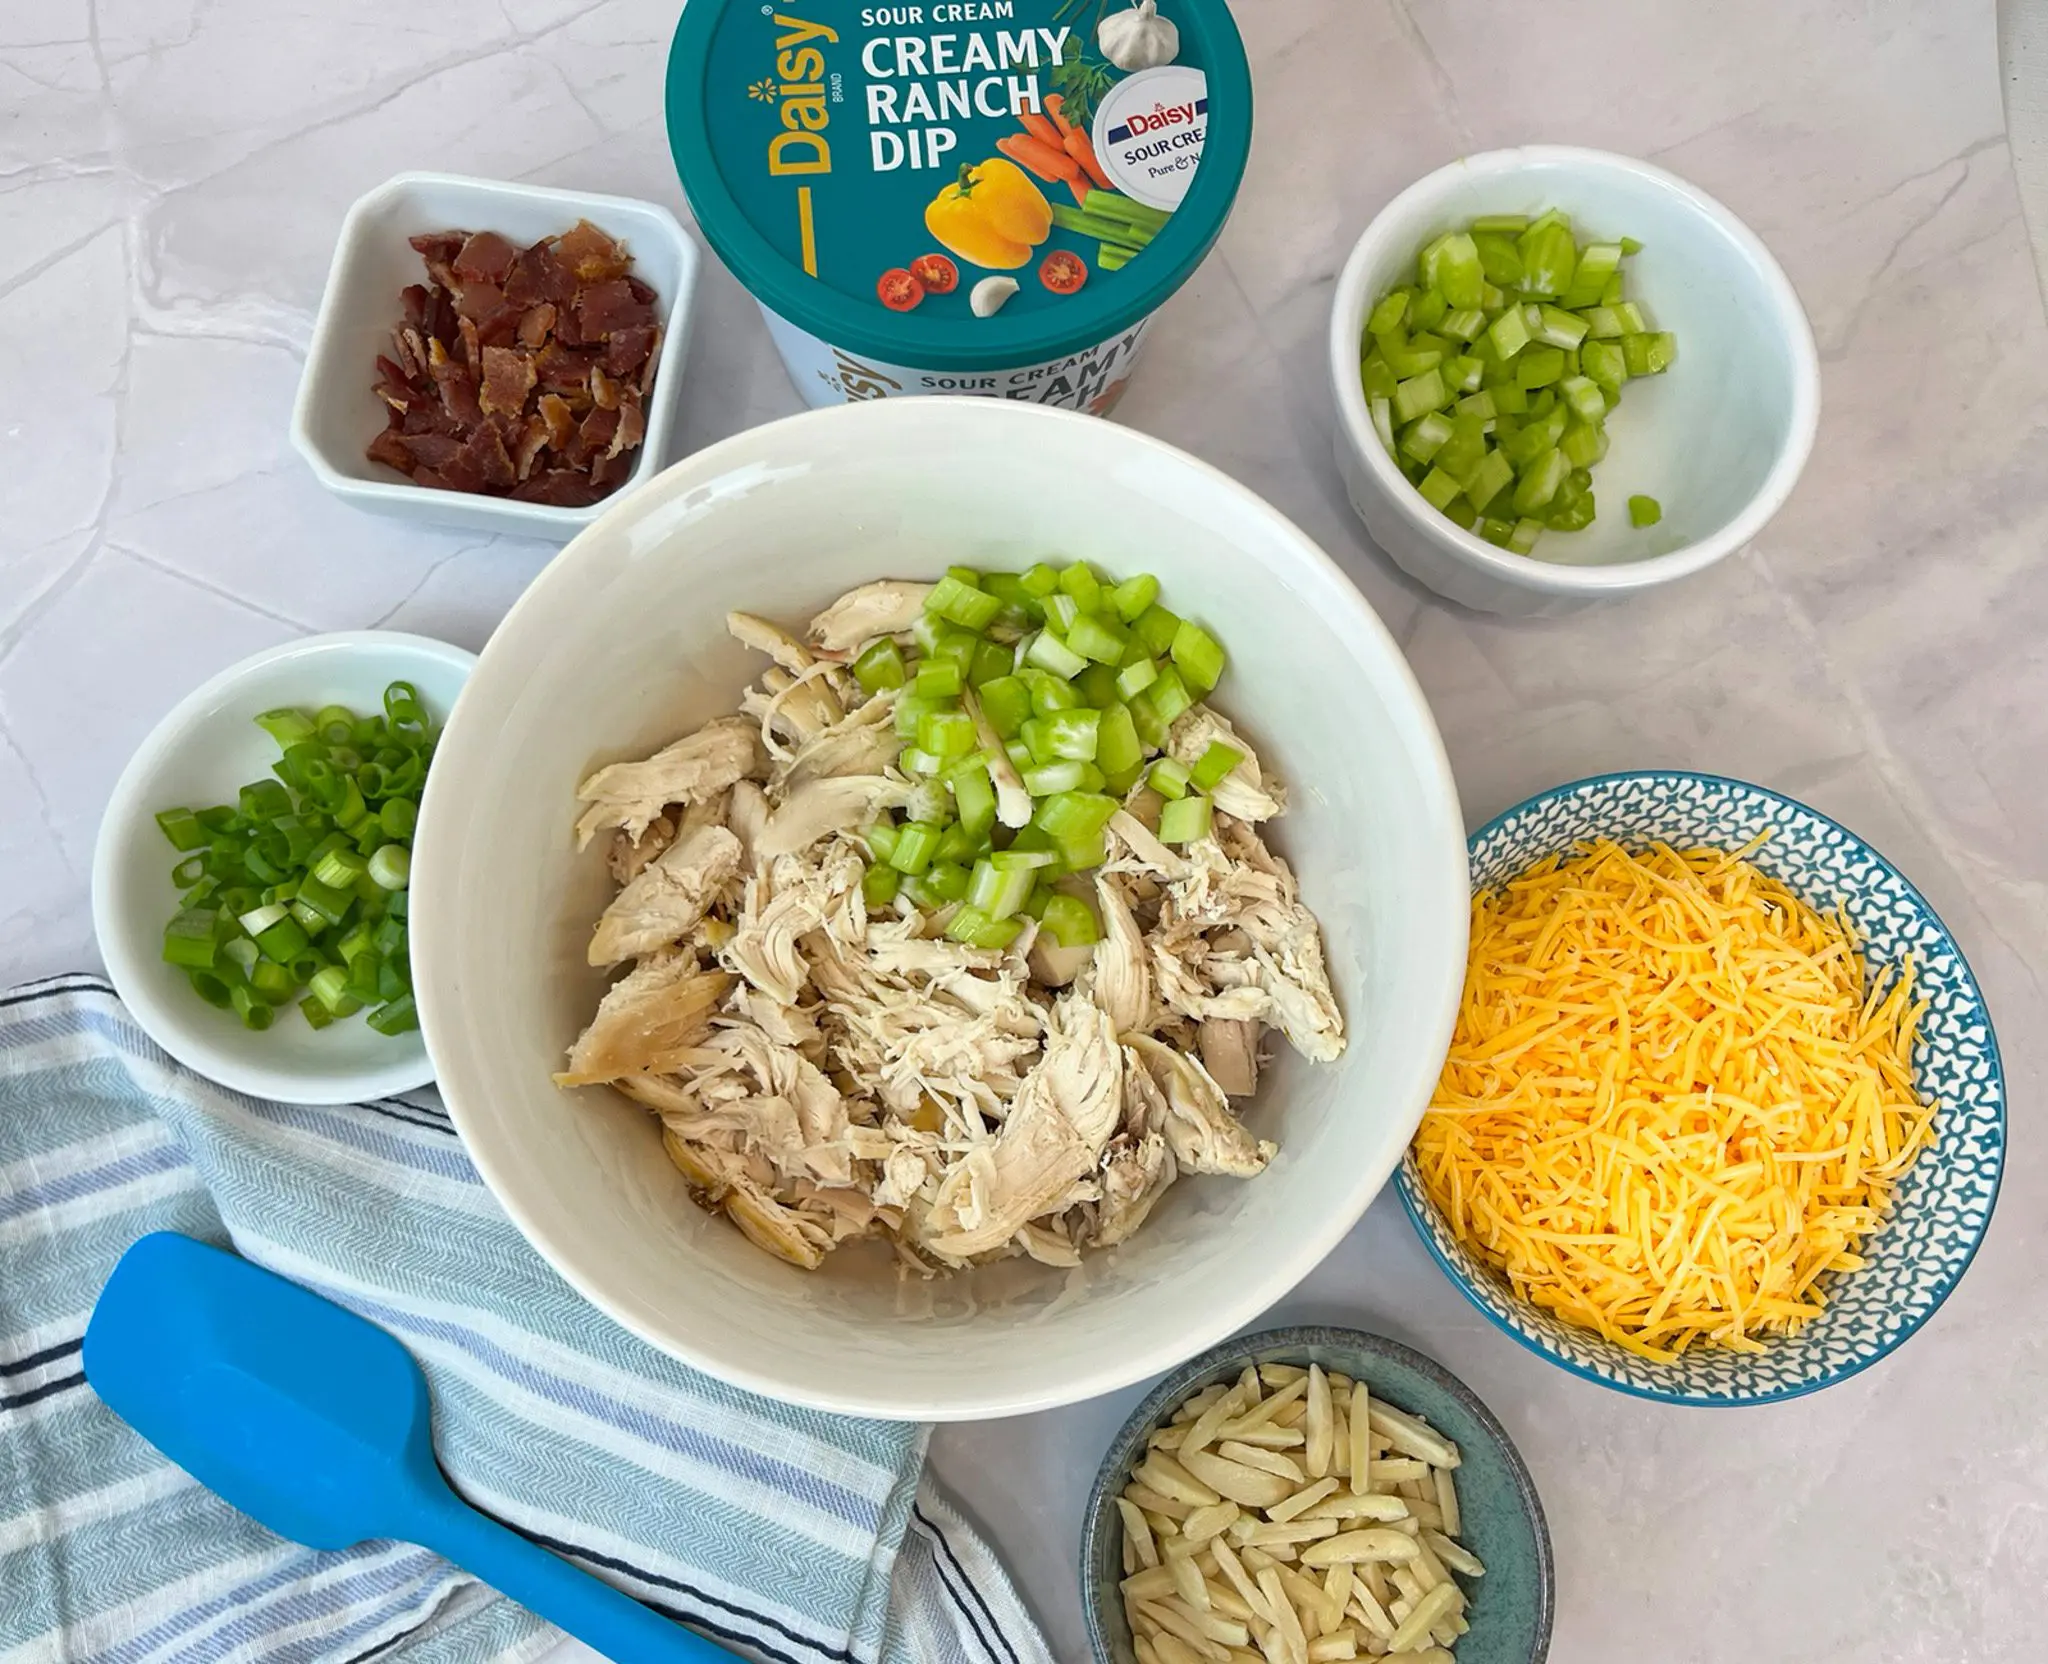
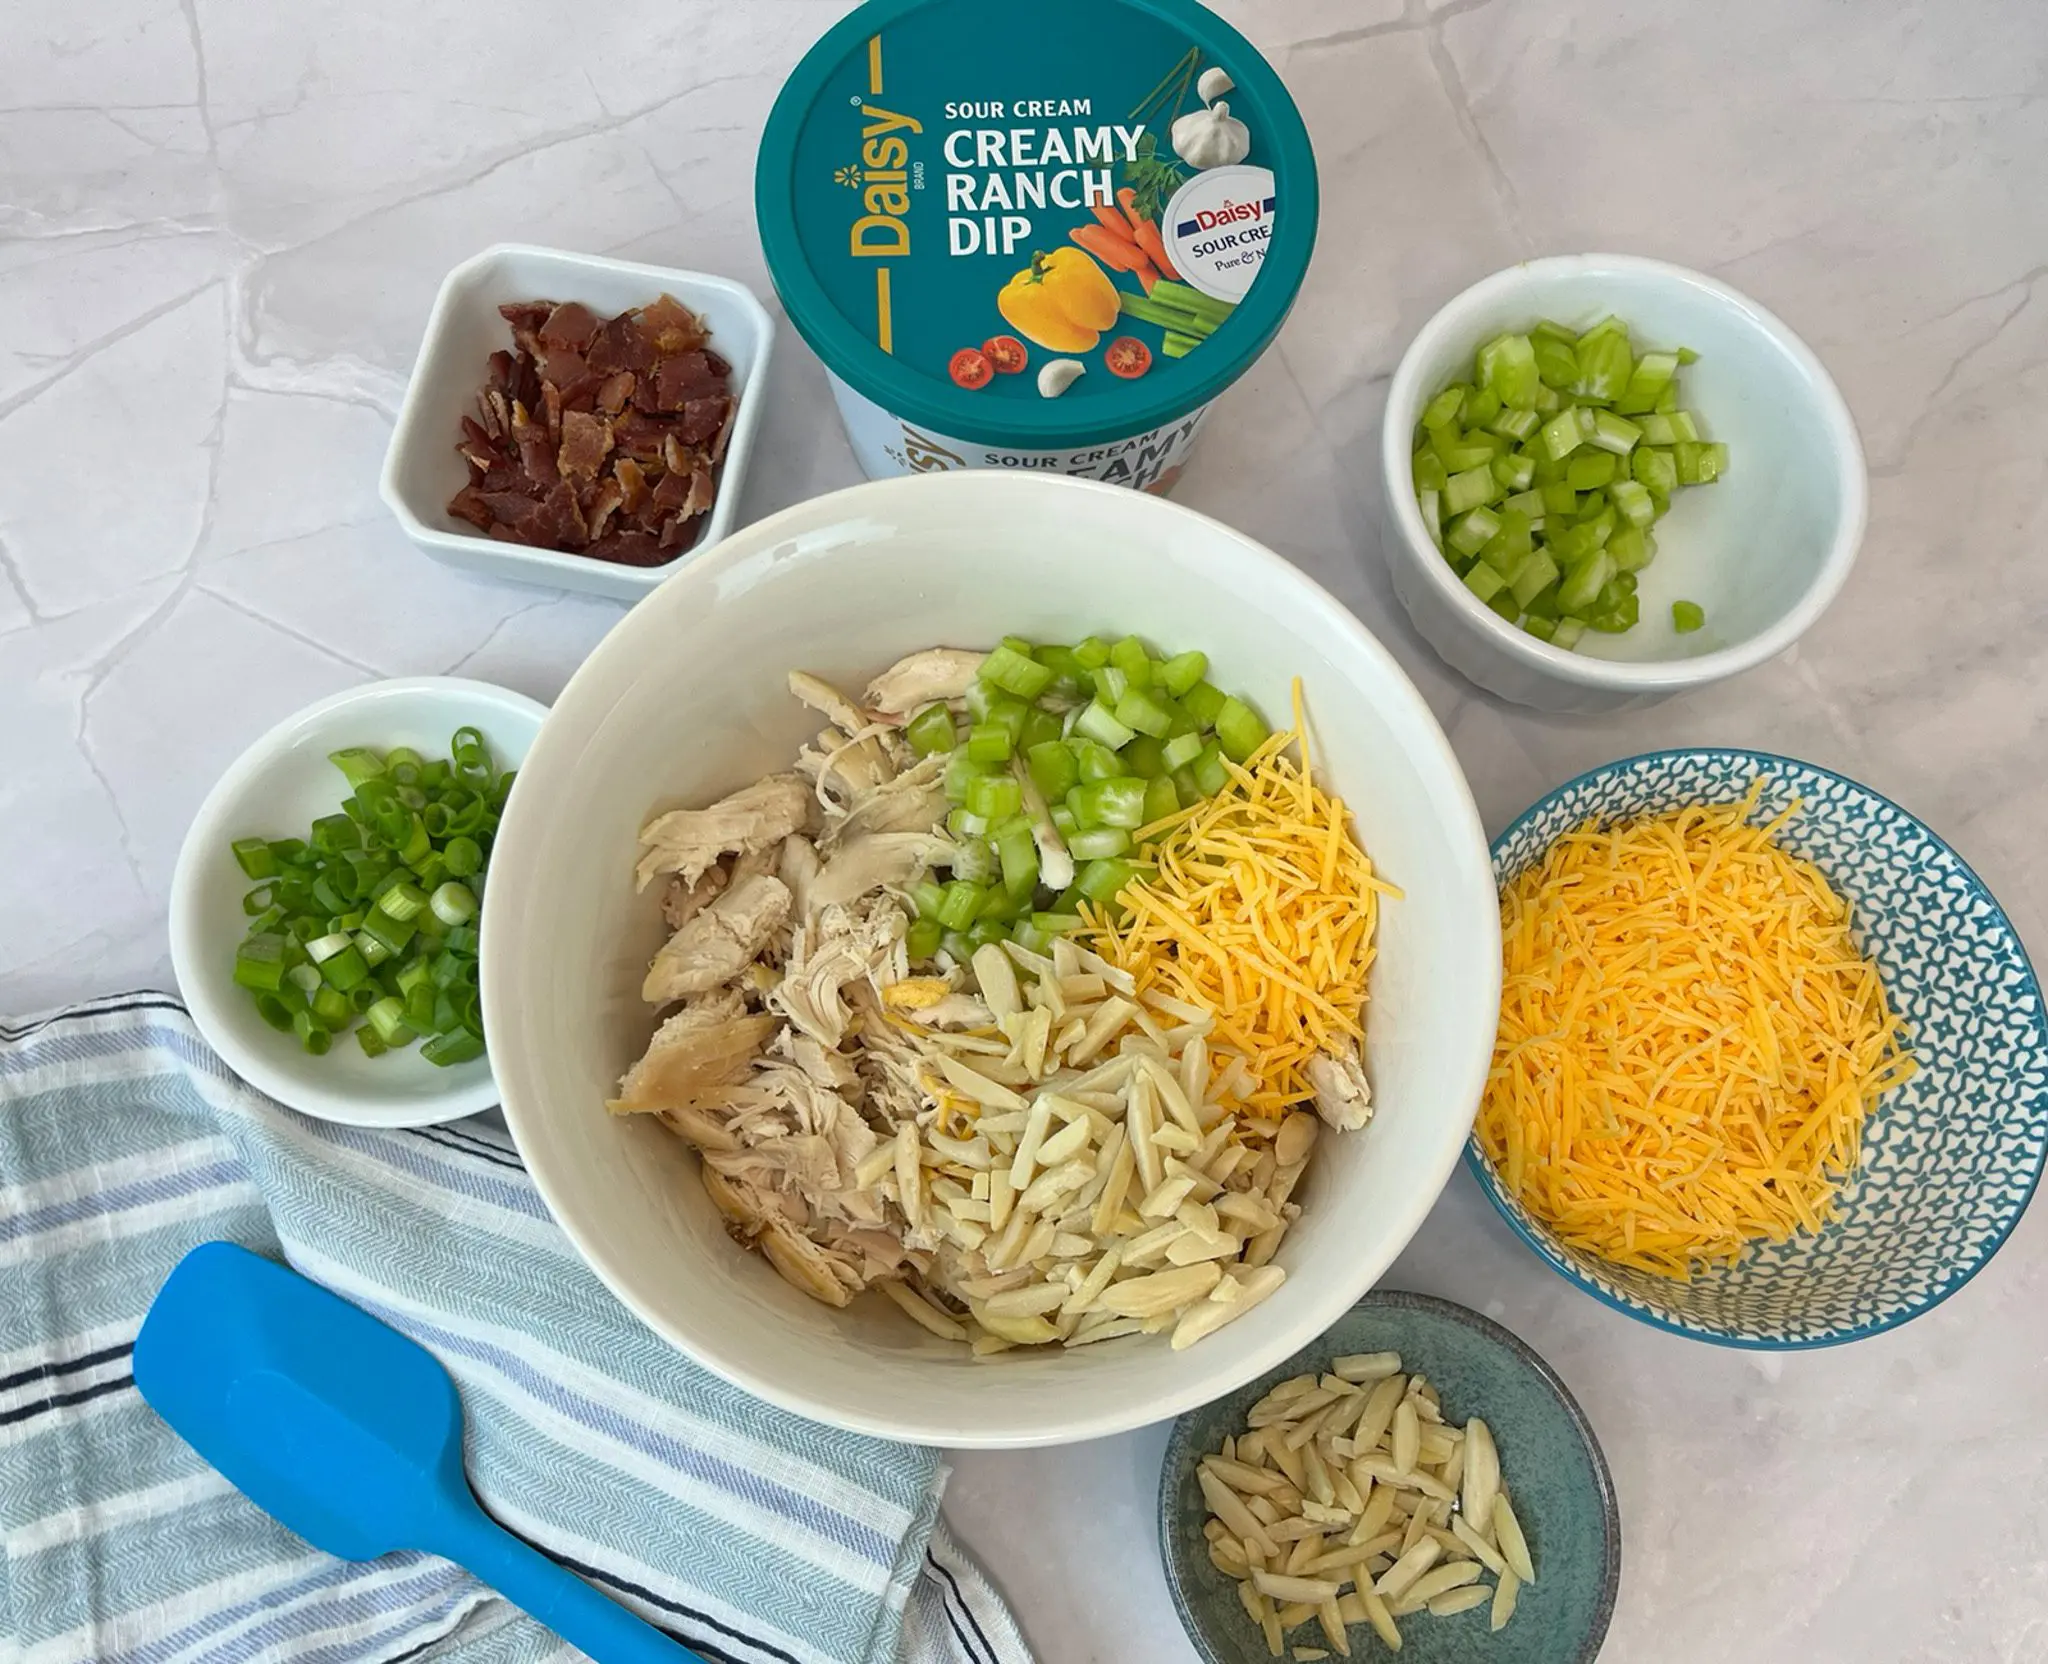
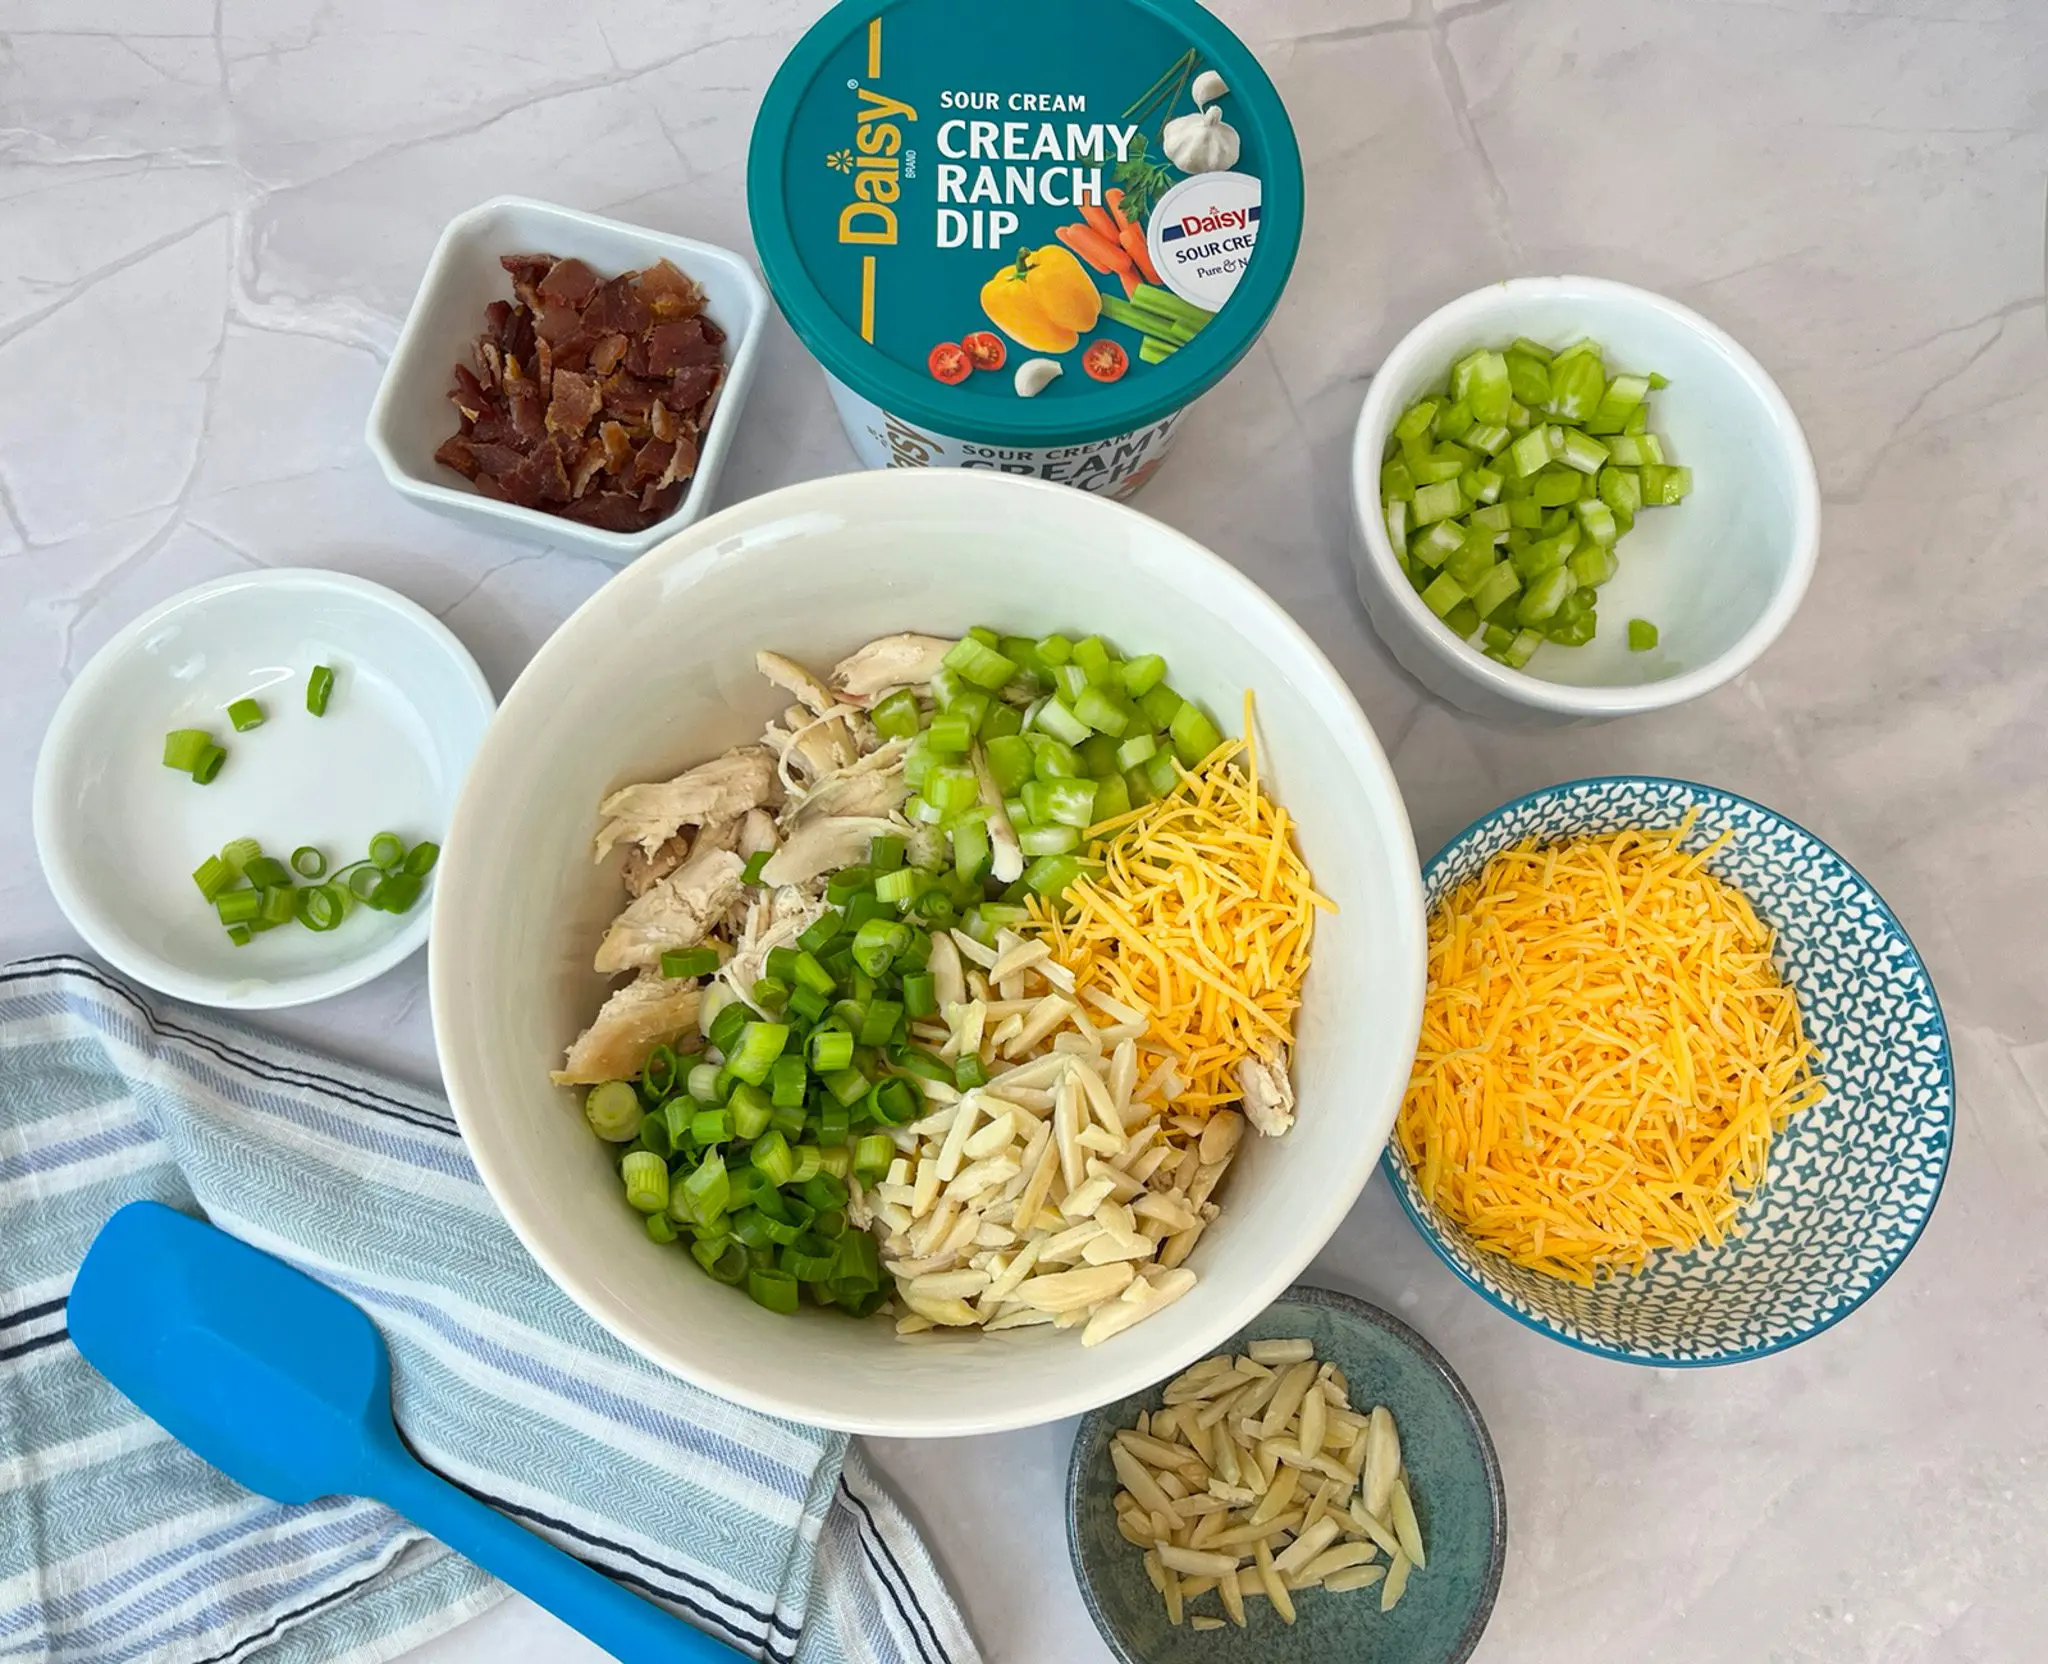
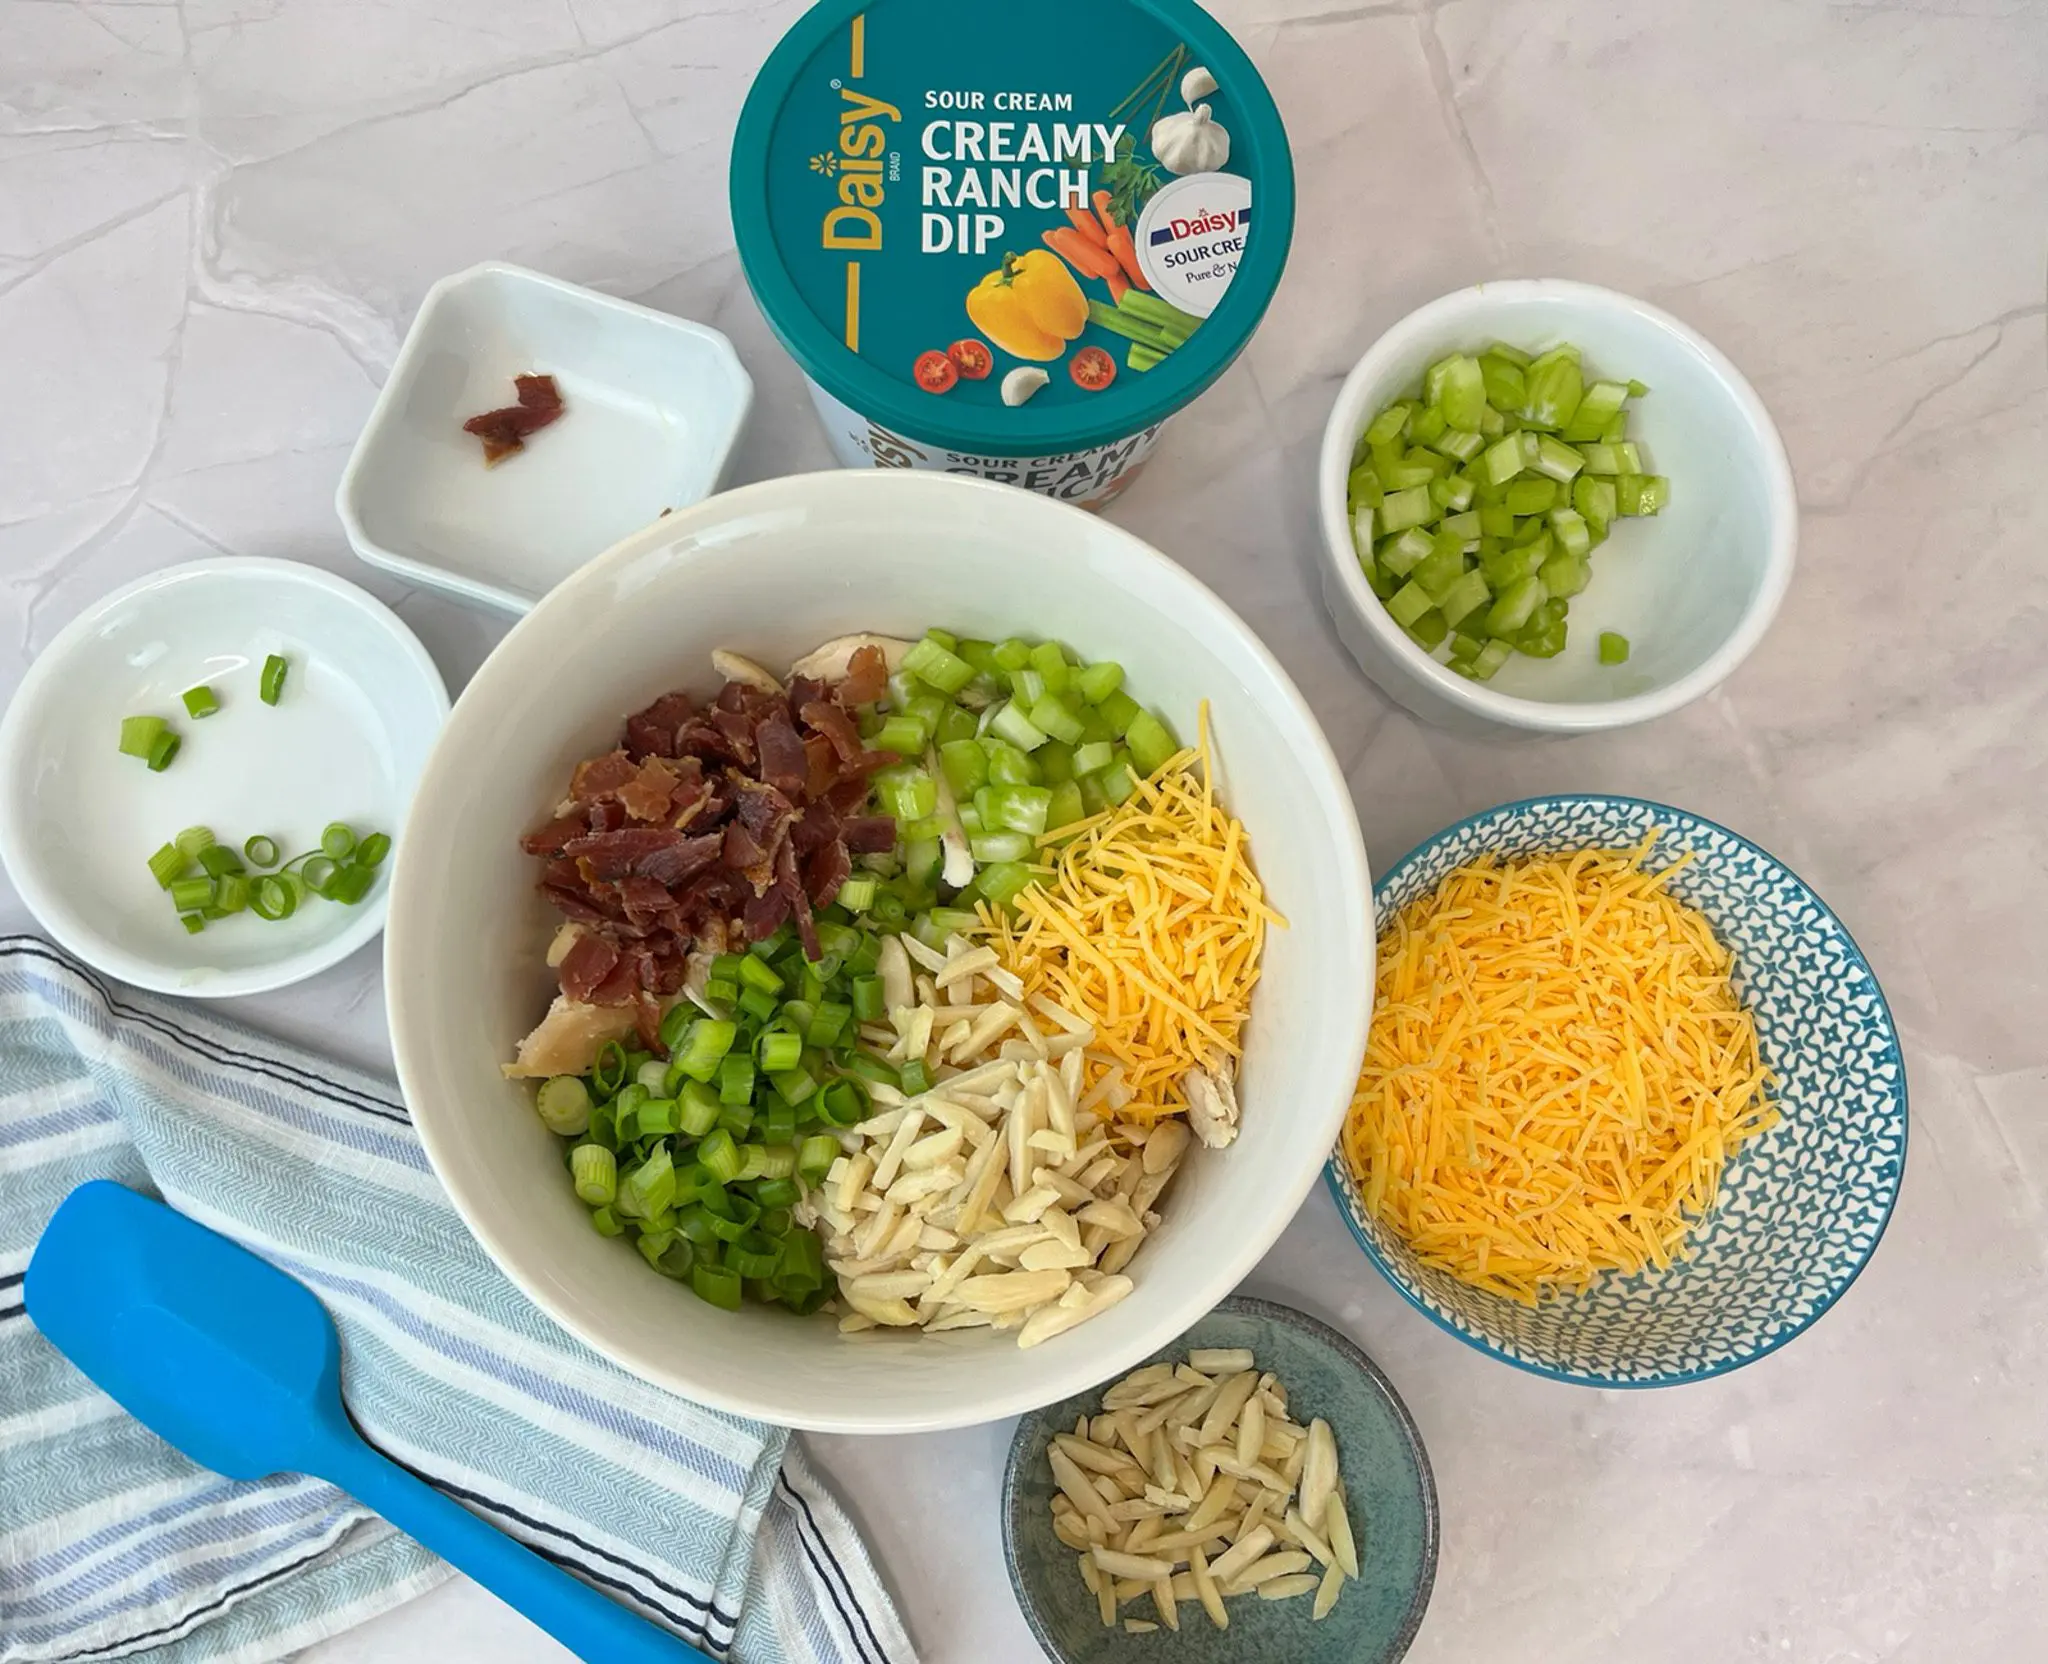
- Diced or Shredded Cooked Chicken (3 cups): Rotisserie chicken works great in this recipe as well as leftover grilled chicken. Both light and dark meat work well for this chicken salad.
- Shredded Cheese (1 cup): Cheddar, Monterey Jack, Colby, or Colby Jack are great choices.
- Diced Green Onions (3, greens and white parts): Adds a pop of color and a fresh, mild onion flavor without overpowering the other ingredients.
- Diced Celery (1 cup): Adds a fresh crunch that contrasts nicely with the softer chicken.
- Slivered Almonds (1/2 cup): Adds another crunch element to the salad.
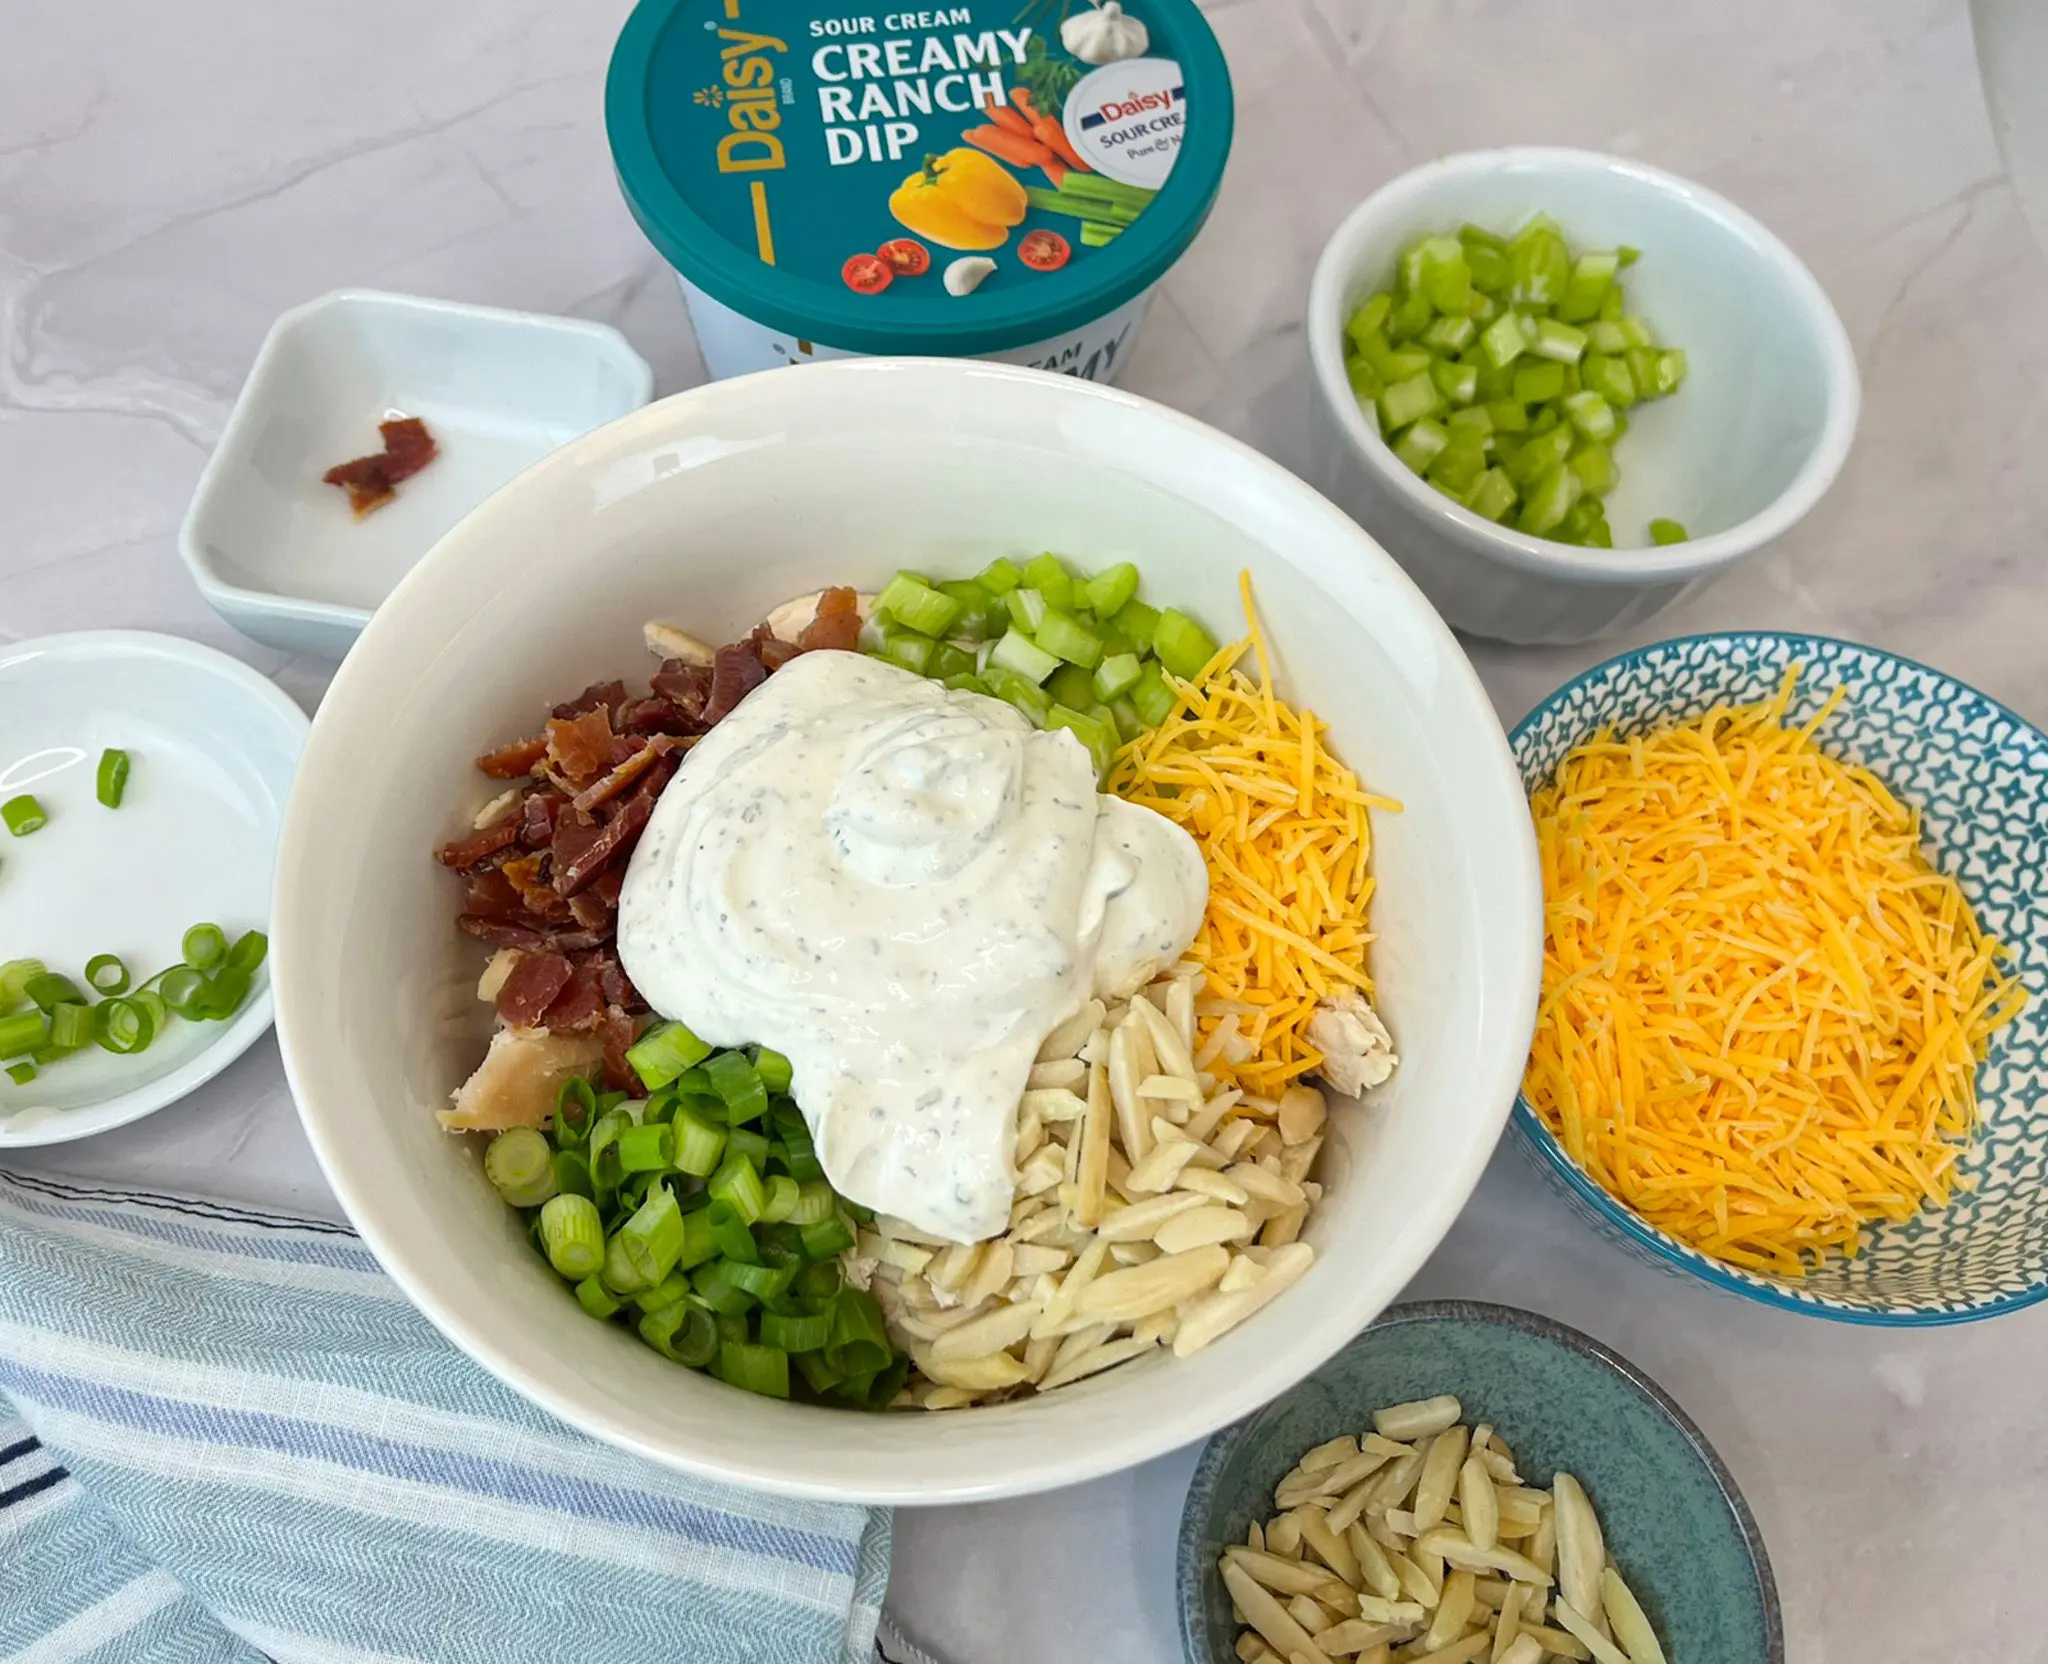
- Daisy Creamy Ranch Dip (3/4 cup): Perfectly seasoned with herbs, garlic, and tangy notes, the ranch dip adds a bright, herby kick that complements rotisserie chicken and fresh mix-ins. It also creates a smooth, velvety dressing that coats every bite without feeling overly heavy.
- Salt & Pepper (to taste): The classic seasoning combo that elevates the flavors of savory foods.
- Crumbled Bacon (1/4 cup): Lends a smoky, salty, and savory boost that complements the chicken.
Substitutions, Variations, and Tips
- Use freshly shredded rotisserie chicken for the best texture and flavor.
- Any type of shredded cheese will work well in this recipe. Feel free to use whatever you have on hand.
- Diced purple onion may be used in place of green onion for stronger, pepperier flavor.
- Cucumbers or water chestnuts may be used in place of celery for a similar pop of crunchiness.
- Likewise, other chopped nuts may be used in place of the almonds. Pecans, walnuts, and sunflower seeds are all good choices.
- Sweet enhancements could include chopped apples, chopped pears, grapes, or raisins.
- Chill the salad for 30 minutes before serving to let the flavors meld together.
- Brighten it up with a squeeze of lemon juice or fresh herbs like dill or parsley.
- Adjust the creaminess by adding more Daisy Creamy Ranch Dip.
How to Make Creamy Ranch Chicken Salad
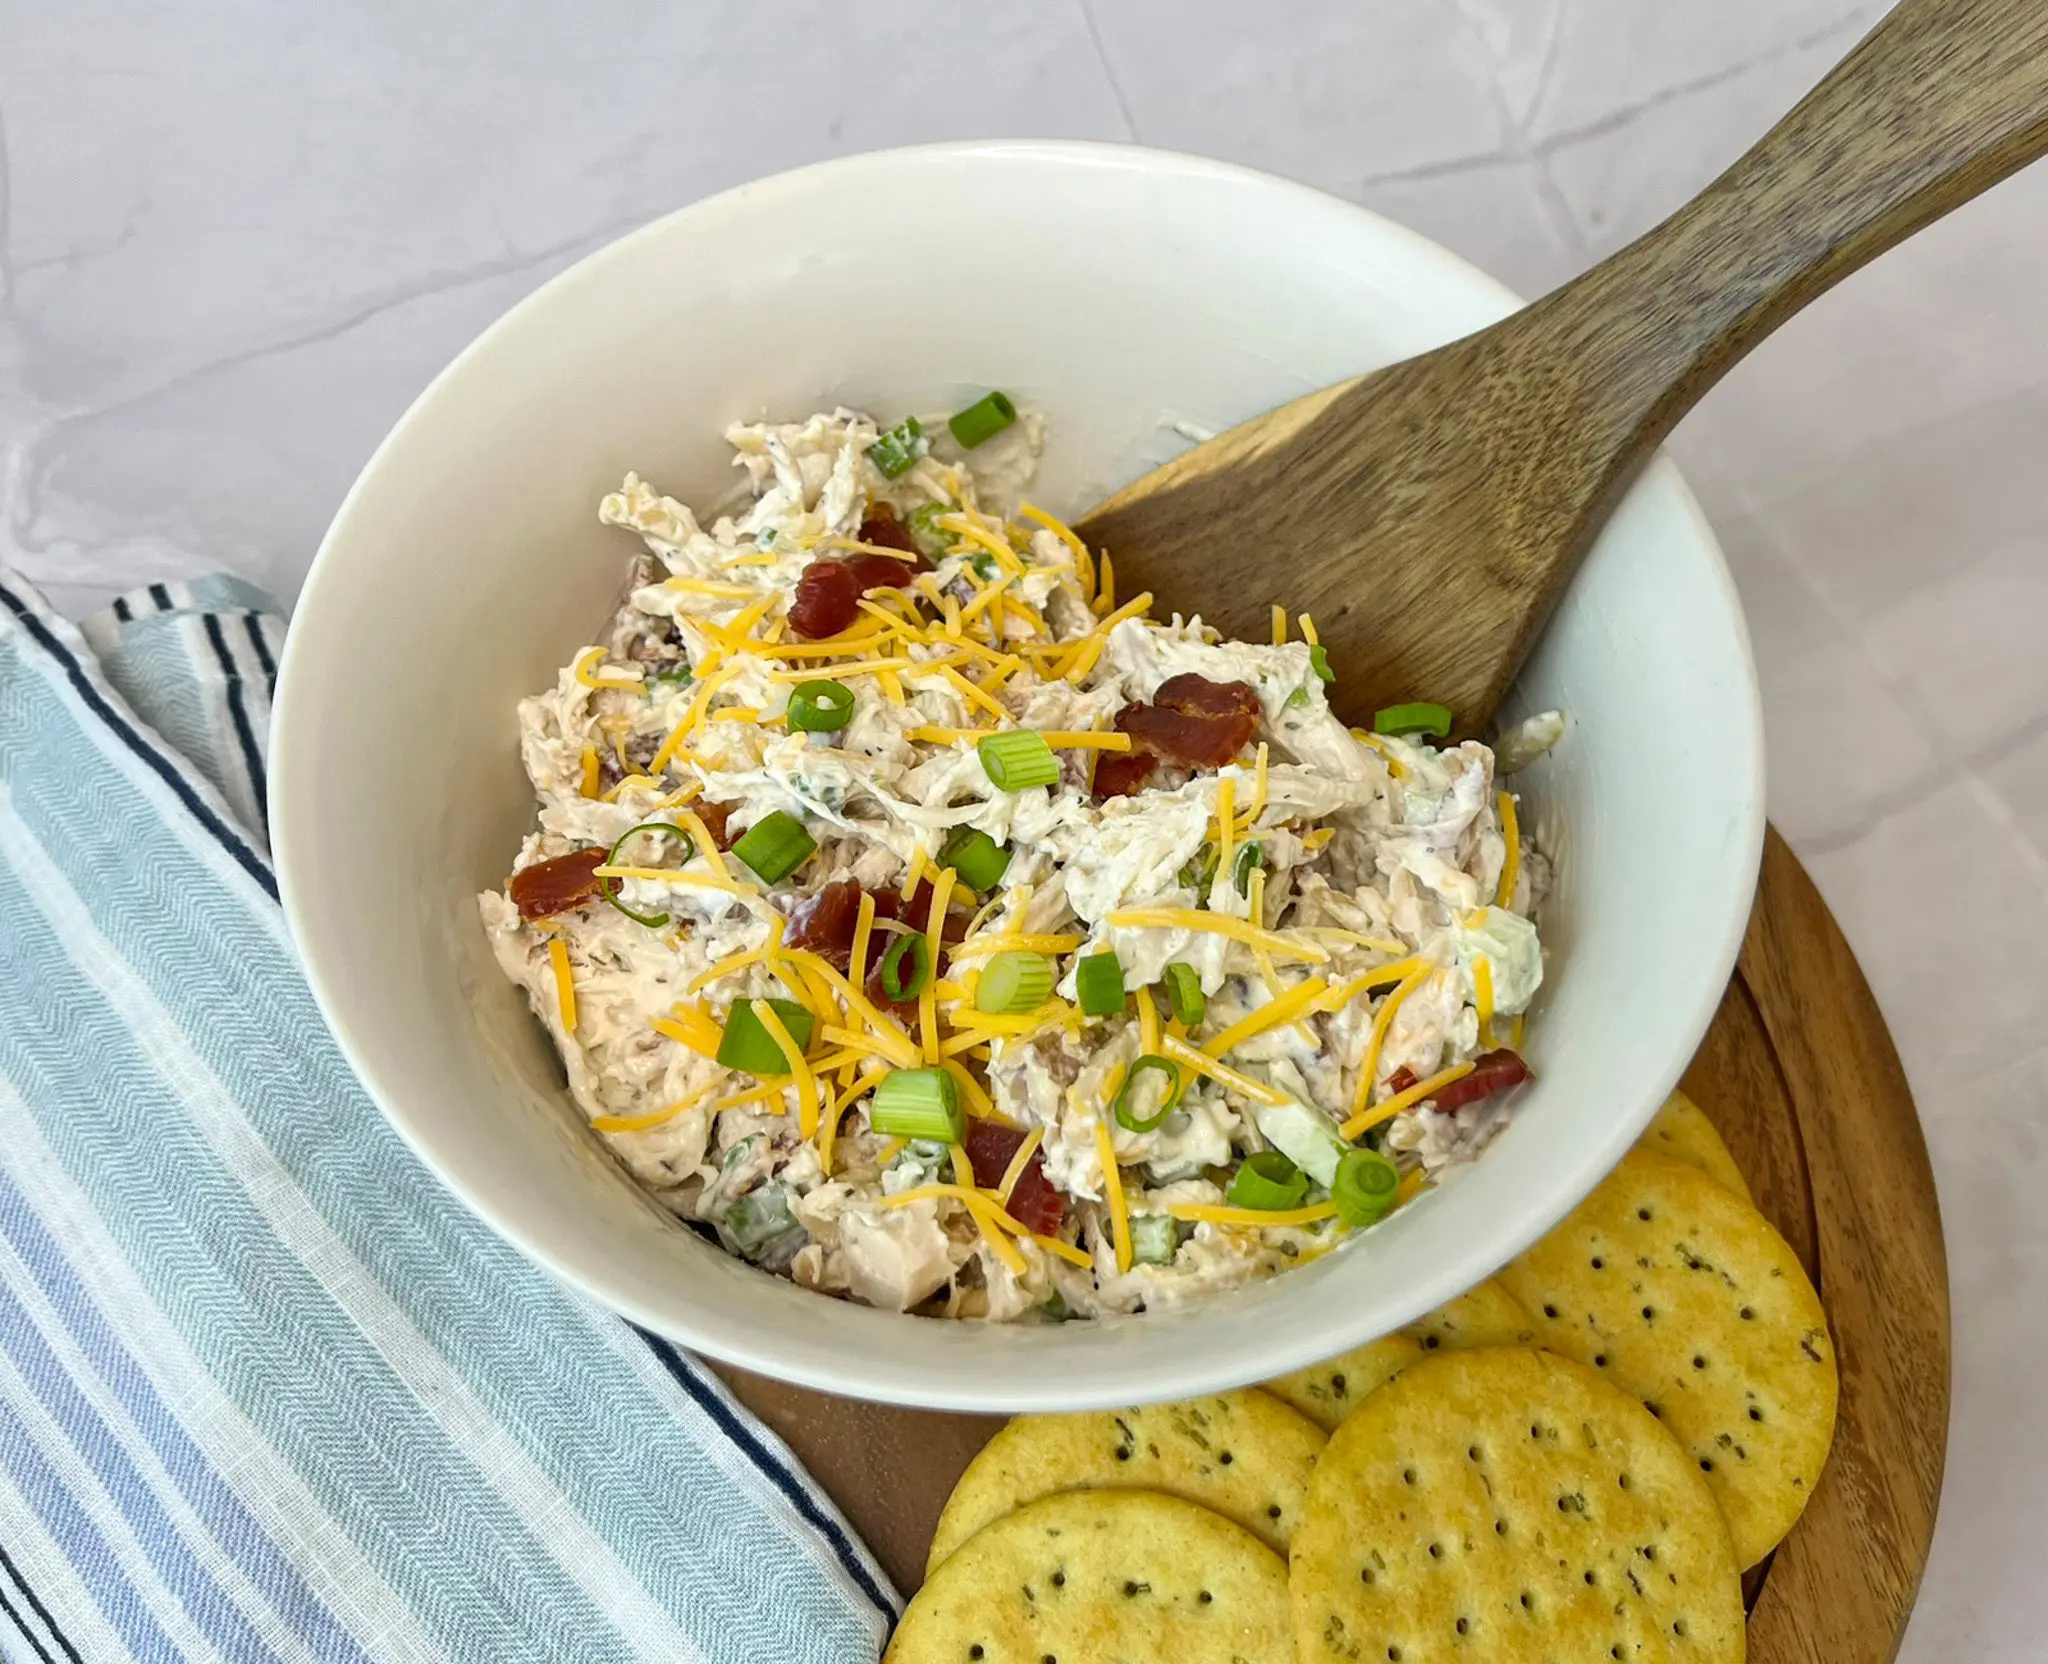
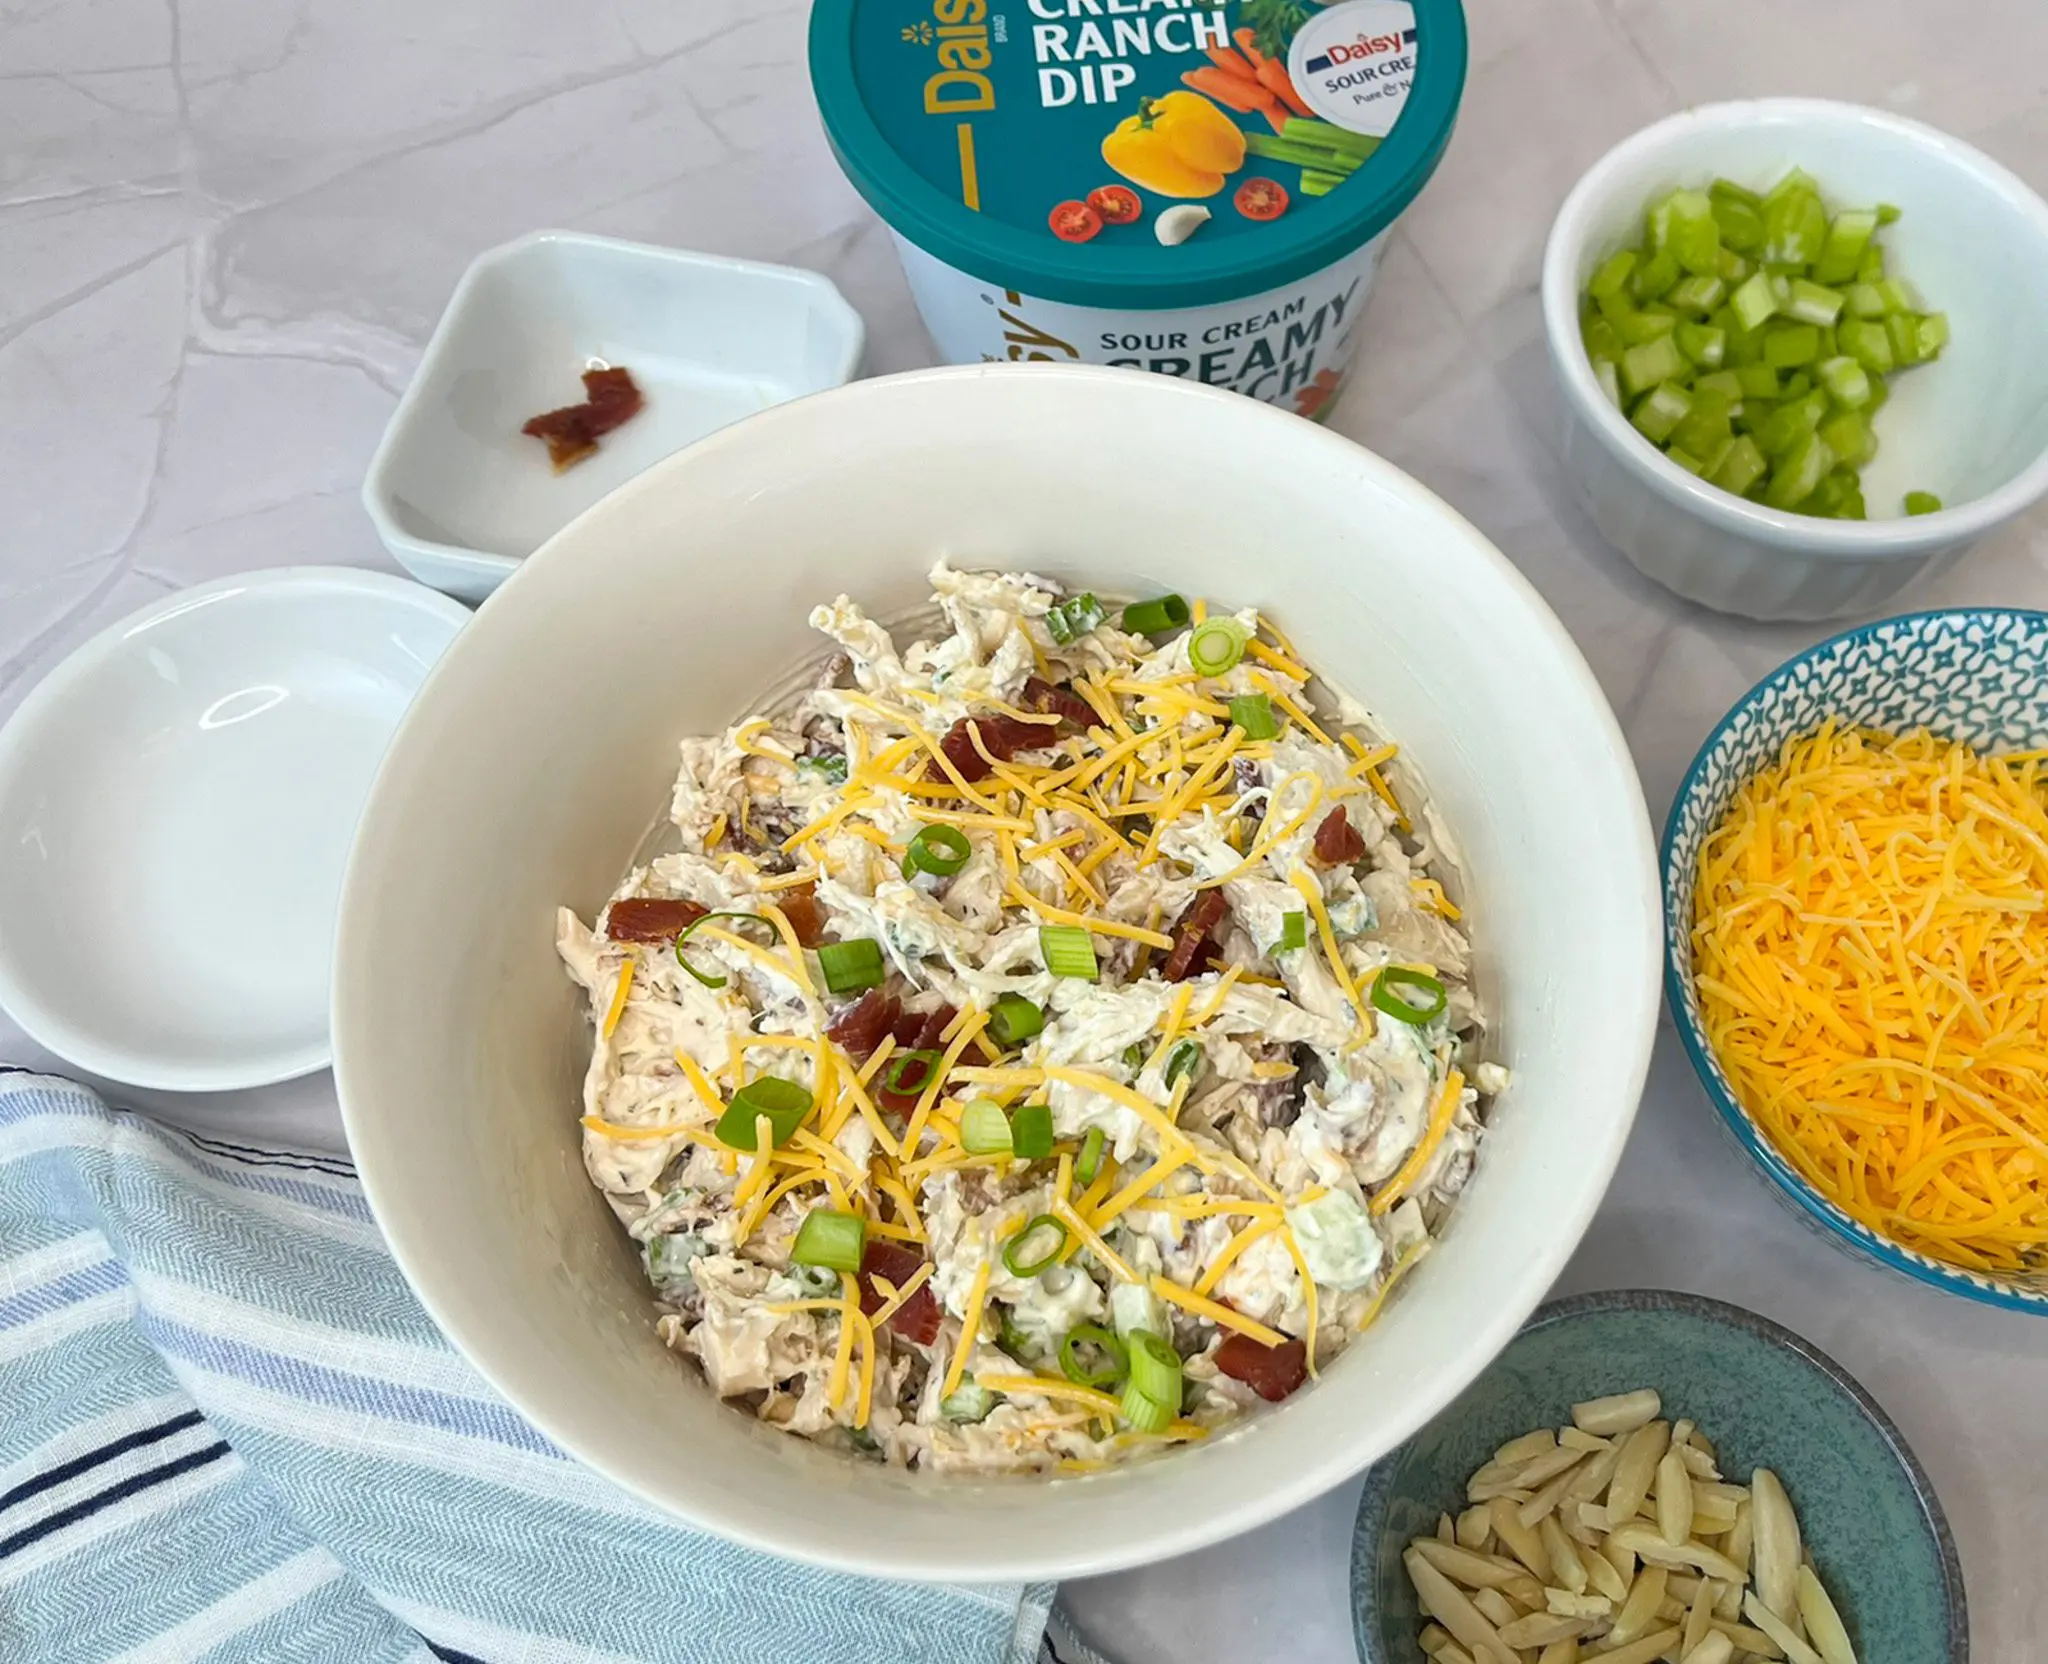
- Mix chicken, cheese, onions, celery, almonds, and creamy ranch together. Season to taste with salt and fresh cracked black pepper.
- Sprinkle with crumbled bacon and serve with your favorite bread, crackers, or greens.
Lemon Tea Cookies
Lemon Tea Cookies
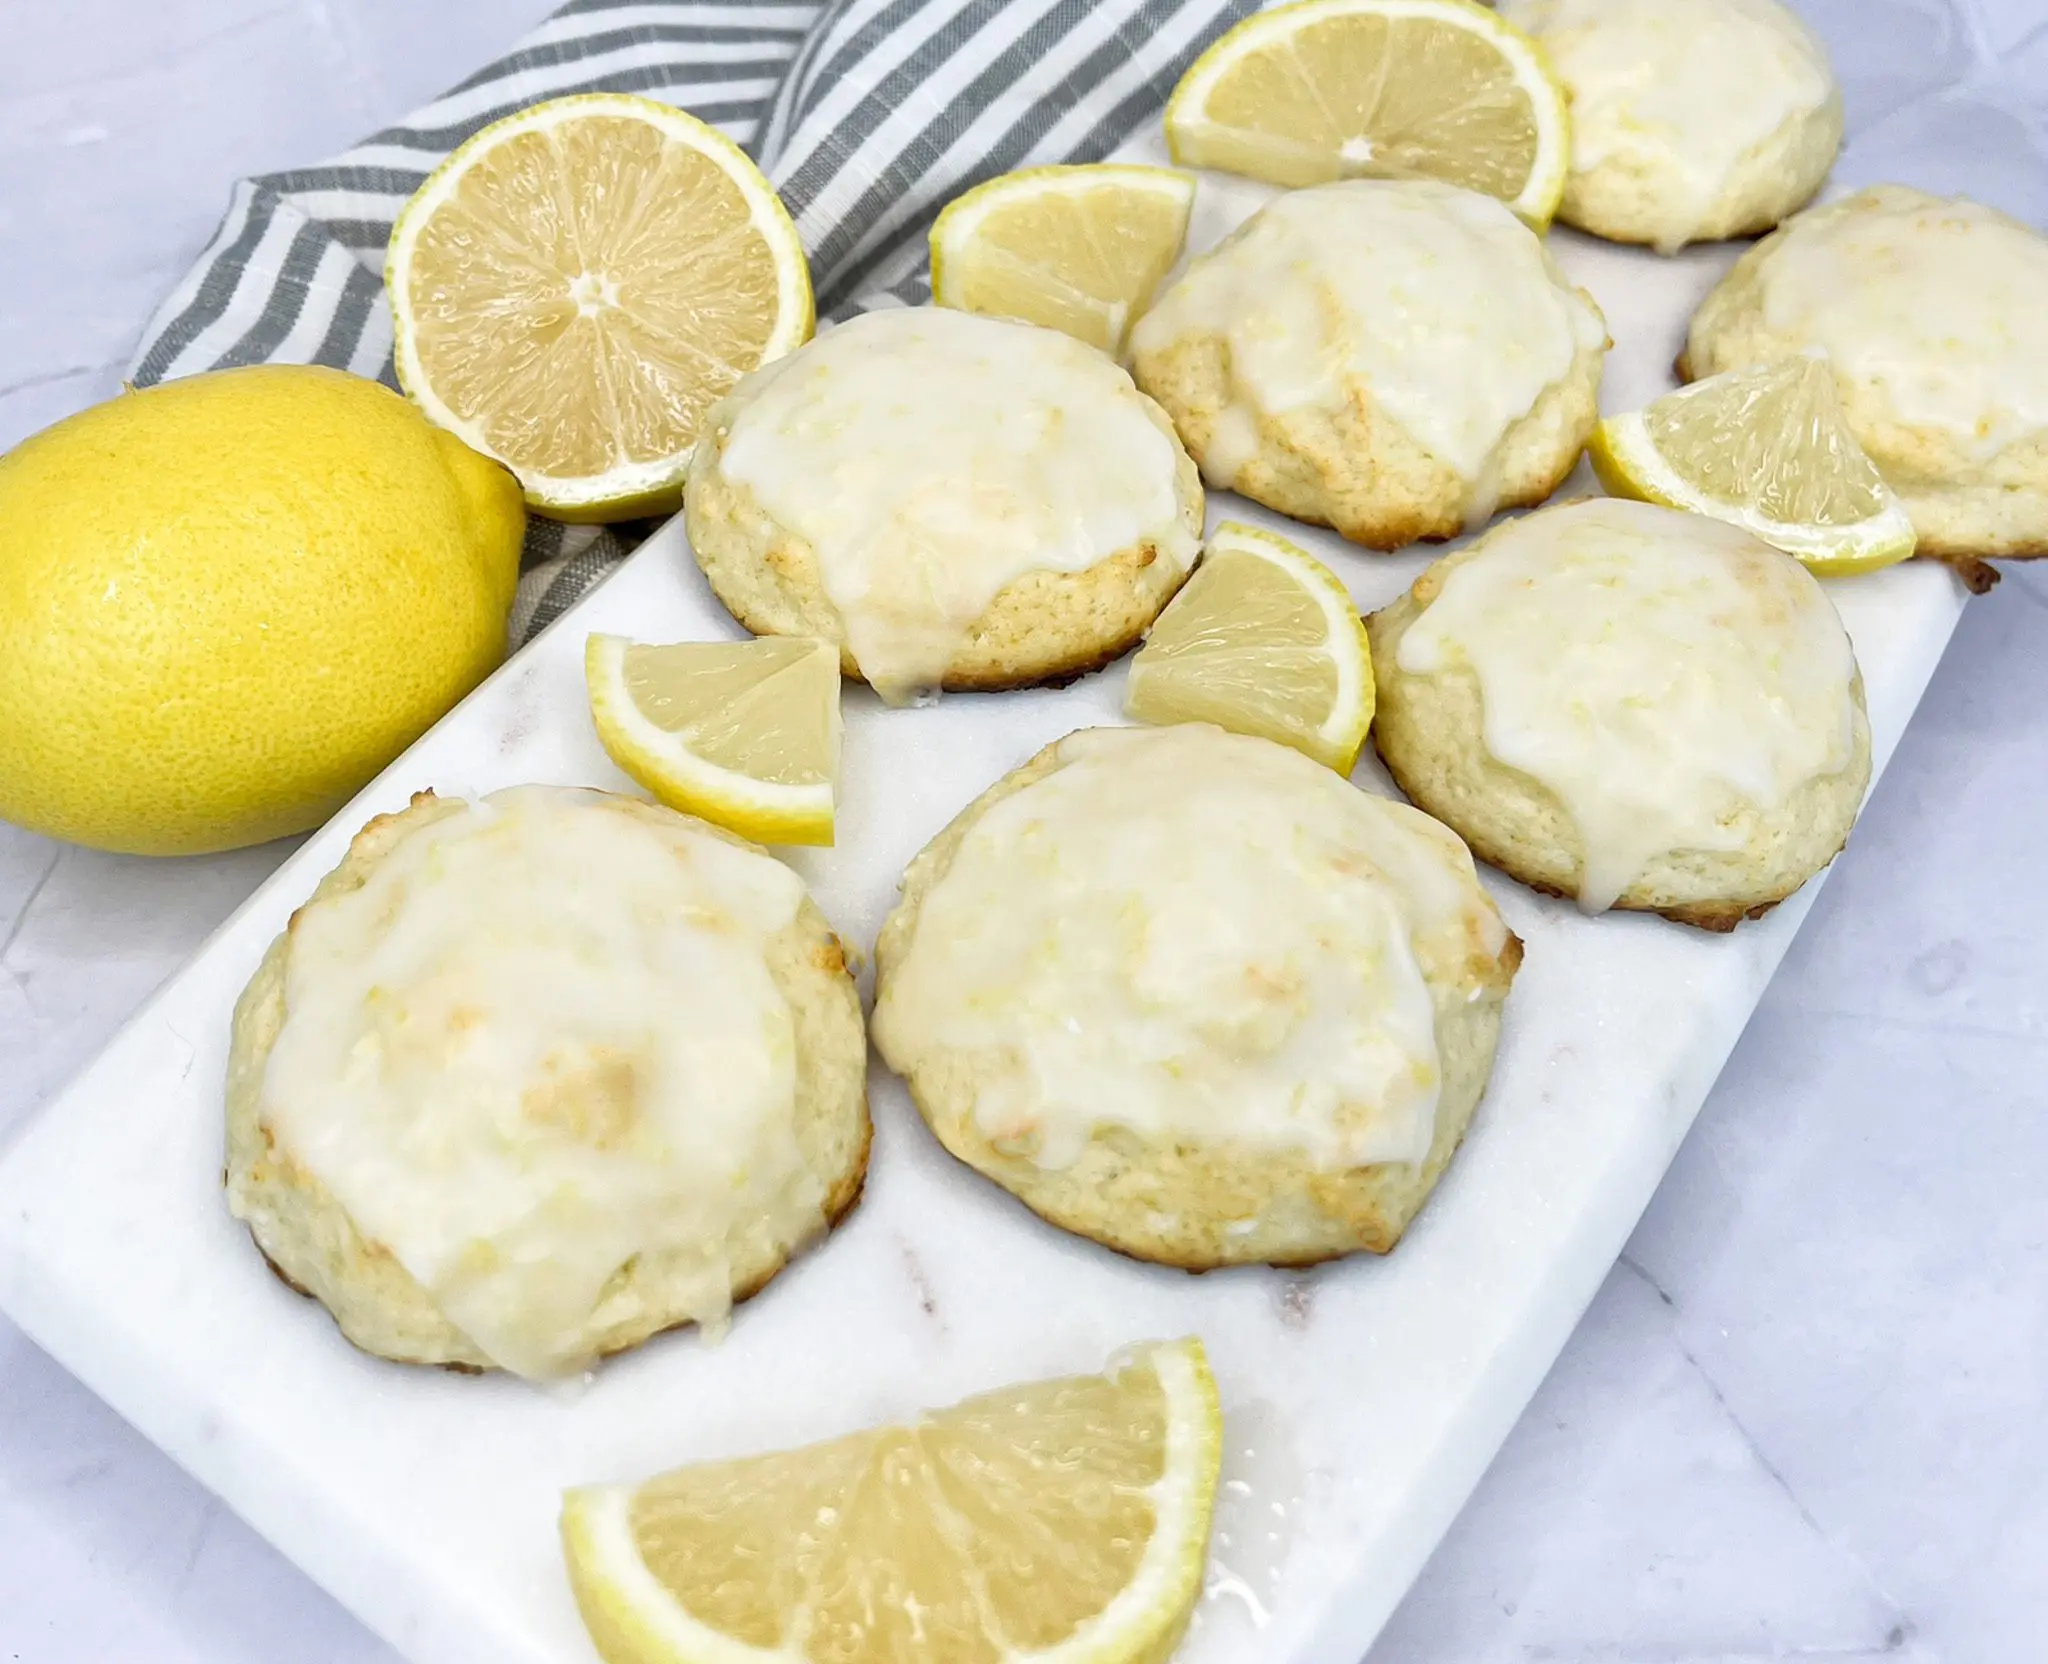
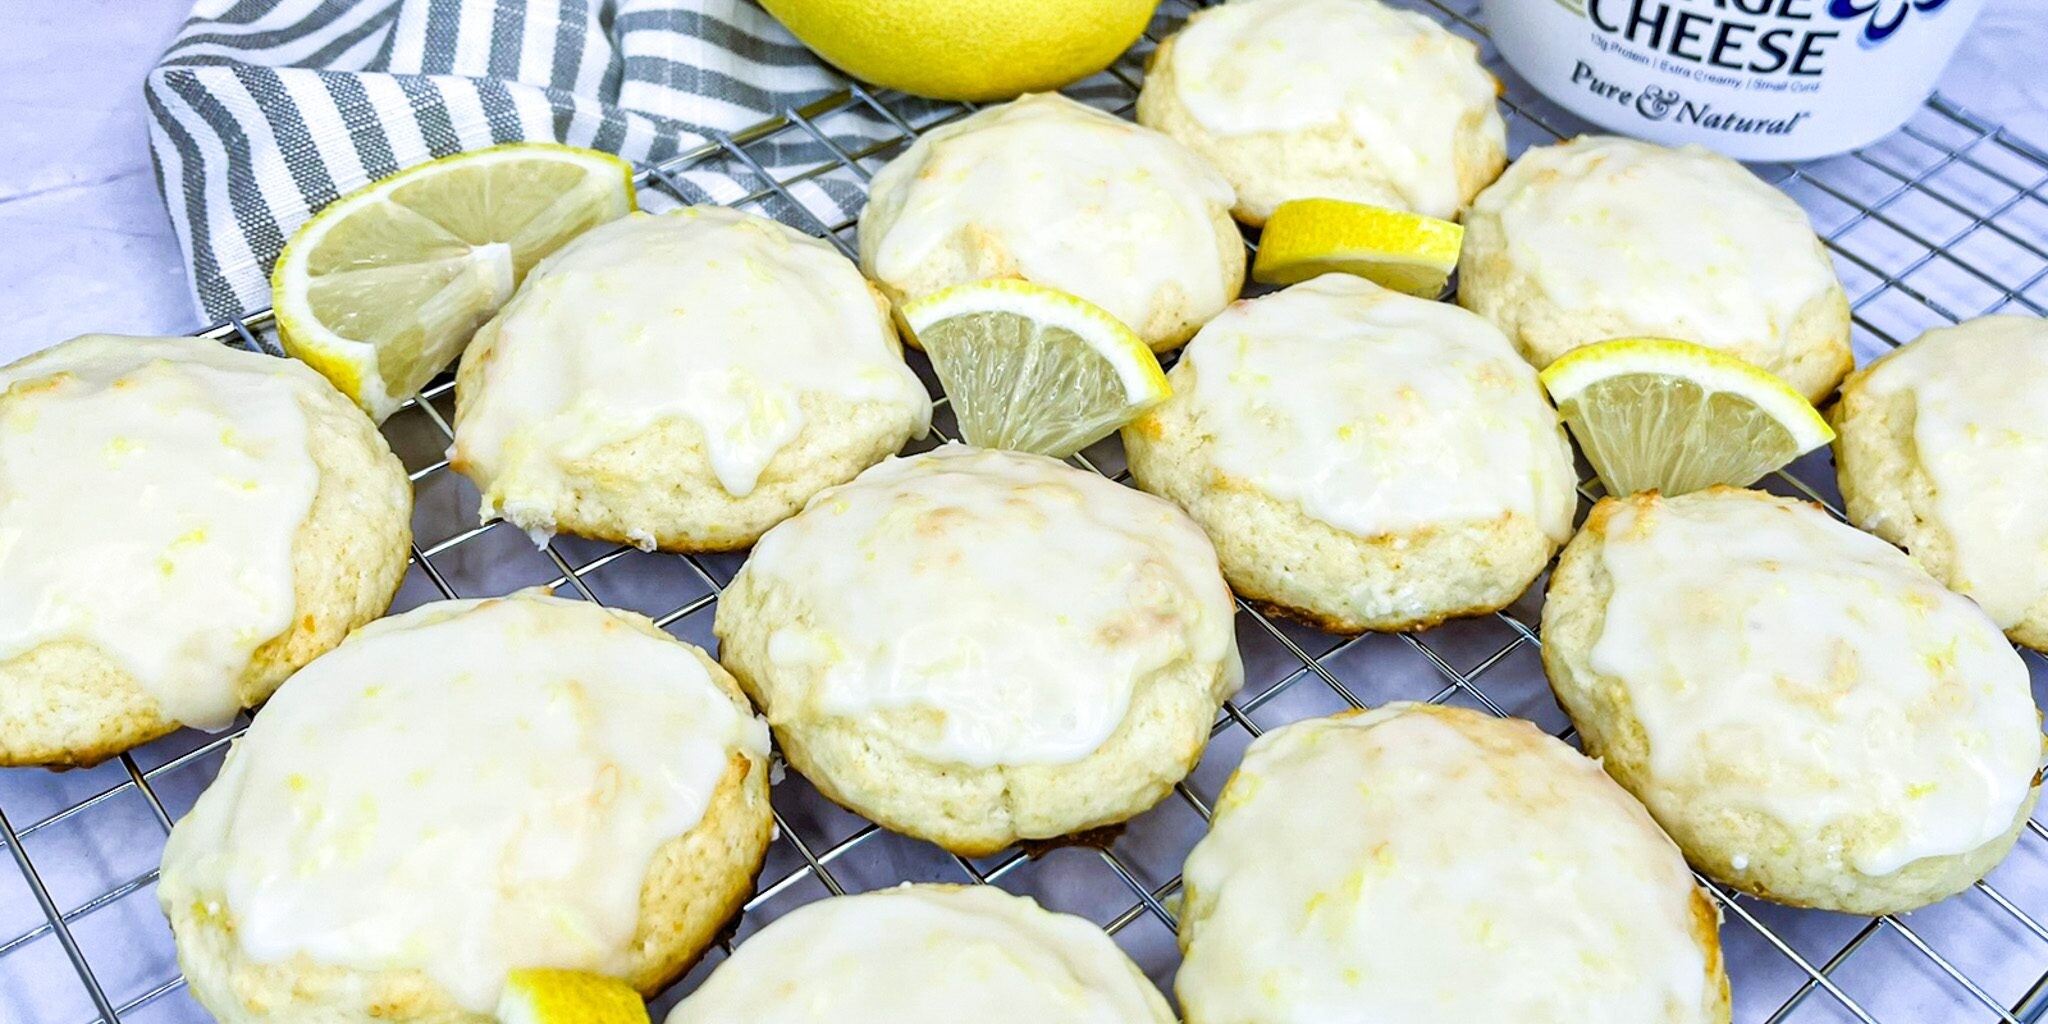
These soft, citrusy Lemon Tea Cookies are bursting with bright lemon flavor and have a melt-in-your-mouth texture, thanks to the creamy richness of Daisy Cottage Cheese. Each bite is a delightful mix of tangy, sweet, and tender crumb — finished with a zesty lemon glaze that adds the perfect punch of flavor. And the best part? They come together in just 15 minutes!
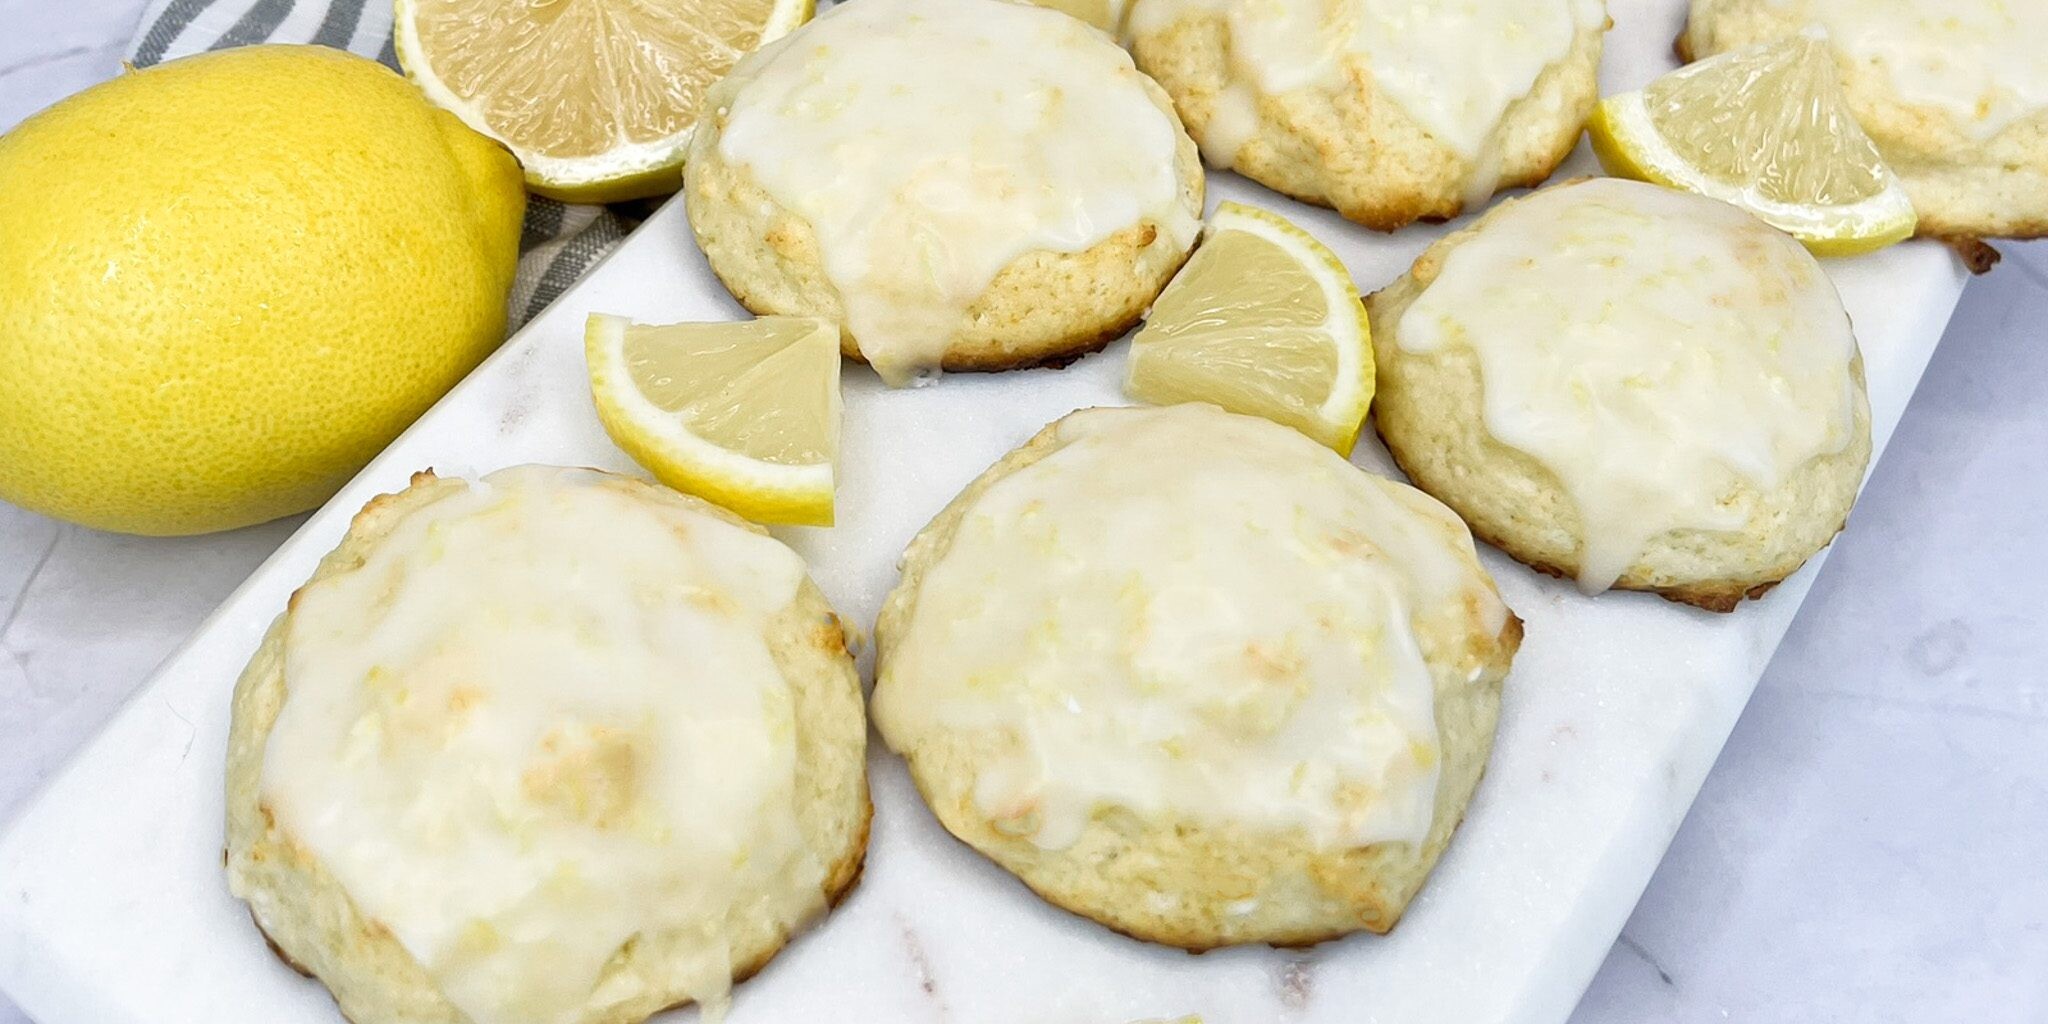
These to-die-for cookies are perfect for summer snacking, after-school treats, or year-round tea time. Pair them with a warm cup of tea or a cold glass of milk for a little moment of joy any time of day.
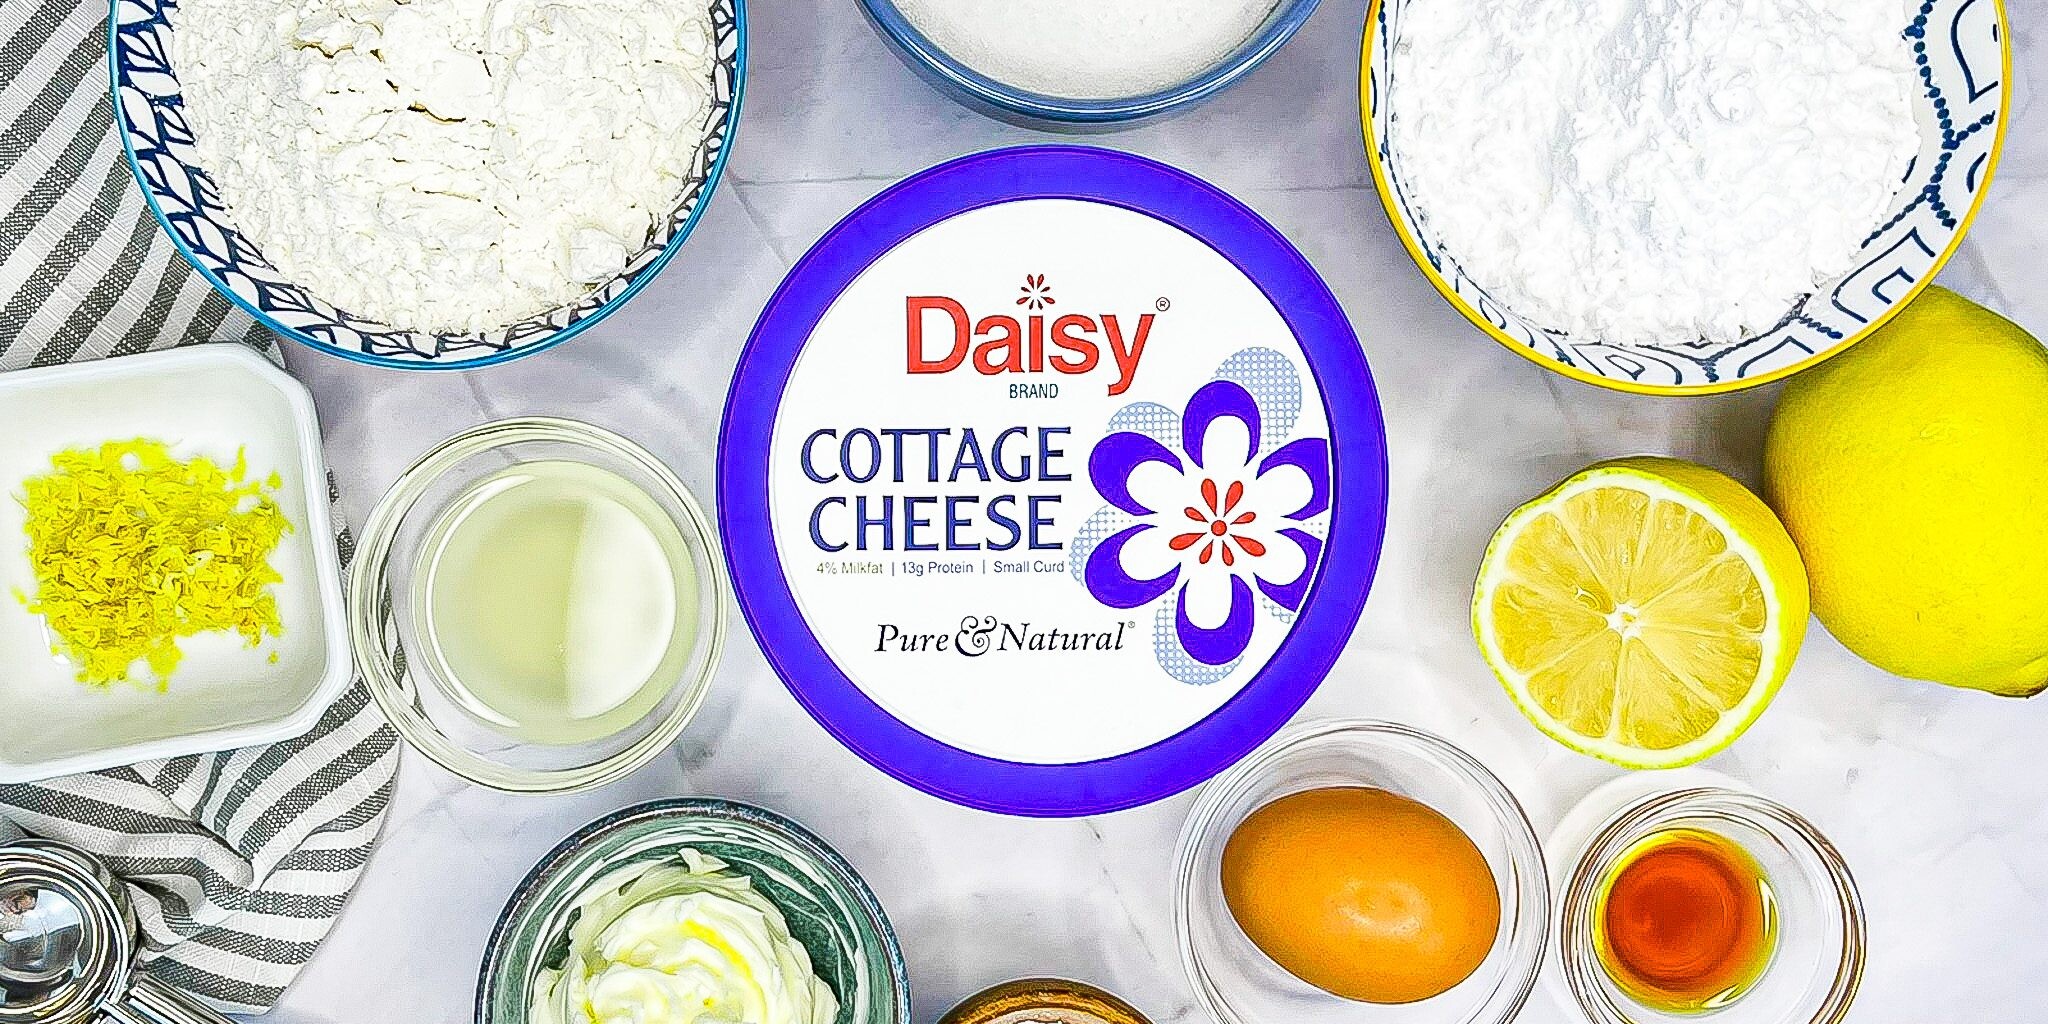
Lemon Tea Cookie Ingredients
- All-Purpose Flour (1 ¼ cups): The gluten in all-purpose flour gives the cookies structure.
- Baking Powder (3/4 teaspoon): A main ingredient for leavening, it adds volume and lightness to the batter and adds height to the cookies.
- Unsalted Butter (4 tablespoons, softened): Lends flavor and richness to the cookies.
- Sugar (1 cup): Adds sweetness to the cookies.
- Egg (1 large): Acts as glue to hold the other ingredients together and adds a bit of height to the cookies.
- Daisy Cottage Cheese (1 cup, blended): The star ingredient that gives the cookies their name. It provides moistness and richness to the cookies, plus a bit of protein.
- Lemon (1 large, zested and juiced): Delivers the fresh, concentrated, tart, zesty citrus flavor to the cookies and the glaze.
- Vanilla Extract (1 teaspoon): An essential ingredient in many desserts, it enhances the flavor of the cookies.
- Powdered Sugar (3/4 cups): Finely ground sugar with no hint of graininess, it is the perfect sugar for making the glaze for the cookies.
Substitutions, Variations, and Tips
- Bring all ingredients to room temperature for best results.
- Swap lemon for lime or orange zest and juice for a fun twist.
- When measuring flour, spoon it into the cup and level it off — avoid scooping directly from the bag, which can pack the flour and lead to dry cookies.
- Don’t overmix the dough — too much mixing develops gluten, making cookies dense.
- Want a thicker glaze? Wait until cookies are fully cooled. Add extra powdered sugar for more thickness, or thin with ½ teaspoon water at a time.
- Store cookies in an airtight container to keep them fresh.
How to Make Lemon Tea Cookies
- Preheat oven to 375°F. Line baking sheets with parchment paper.
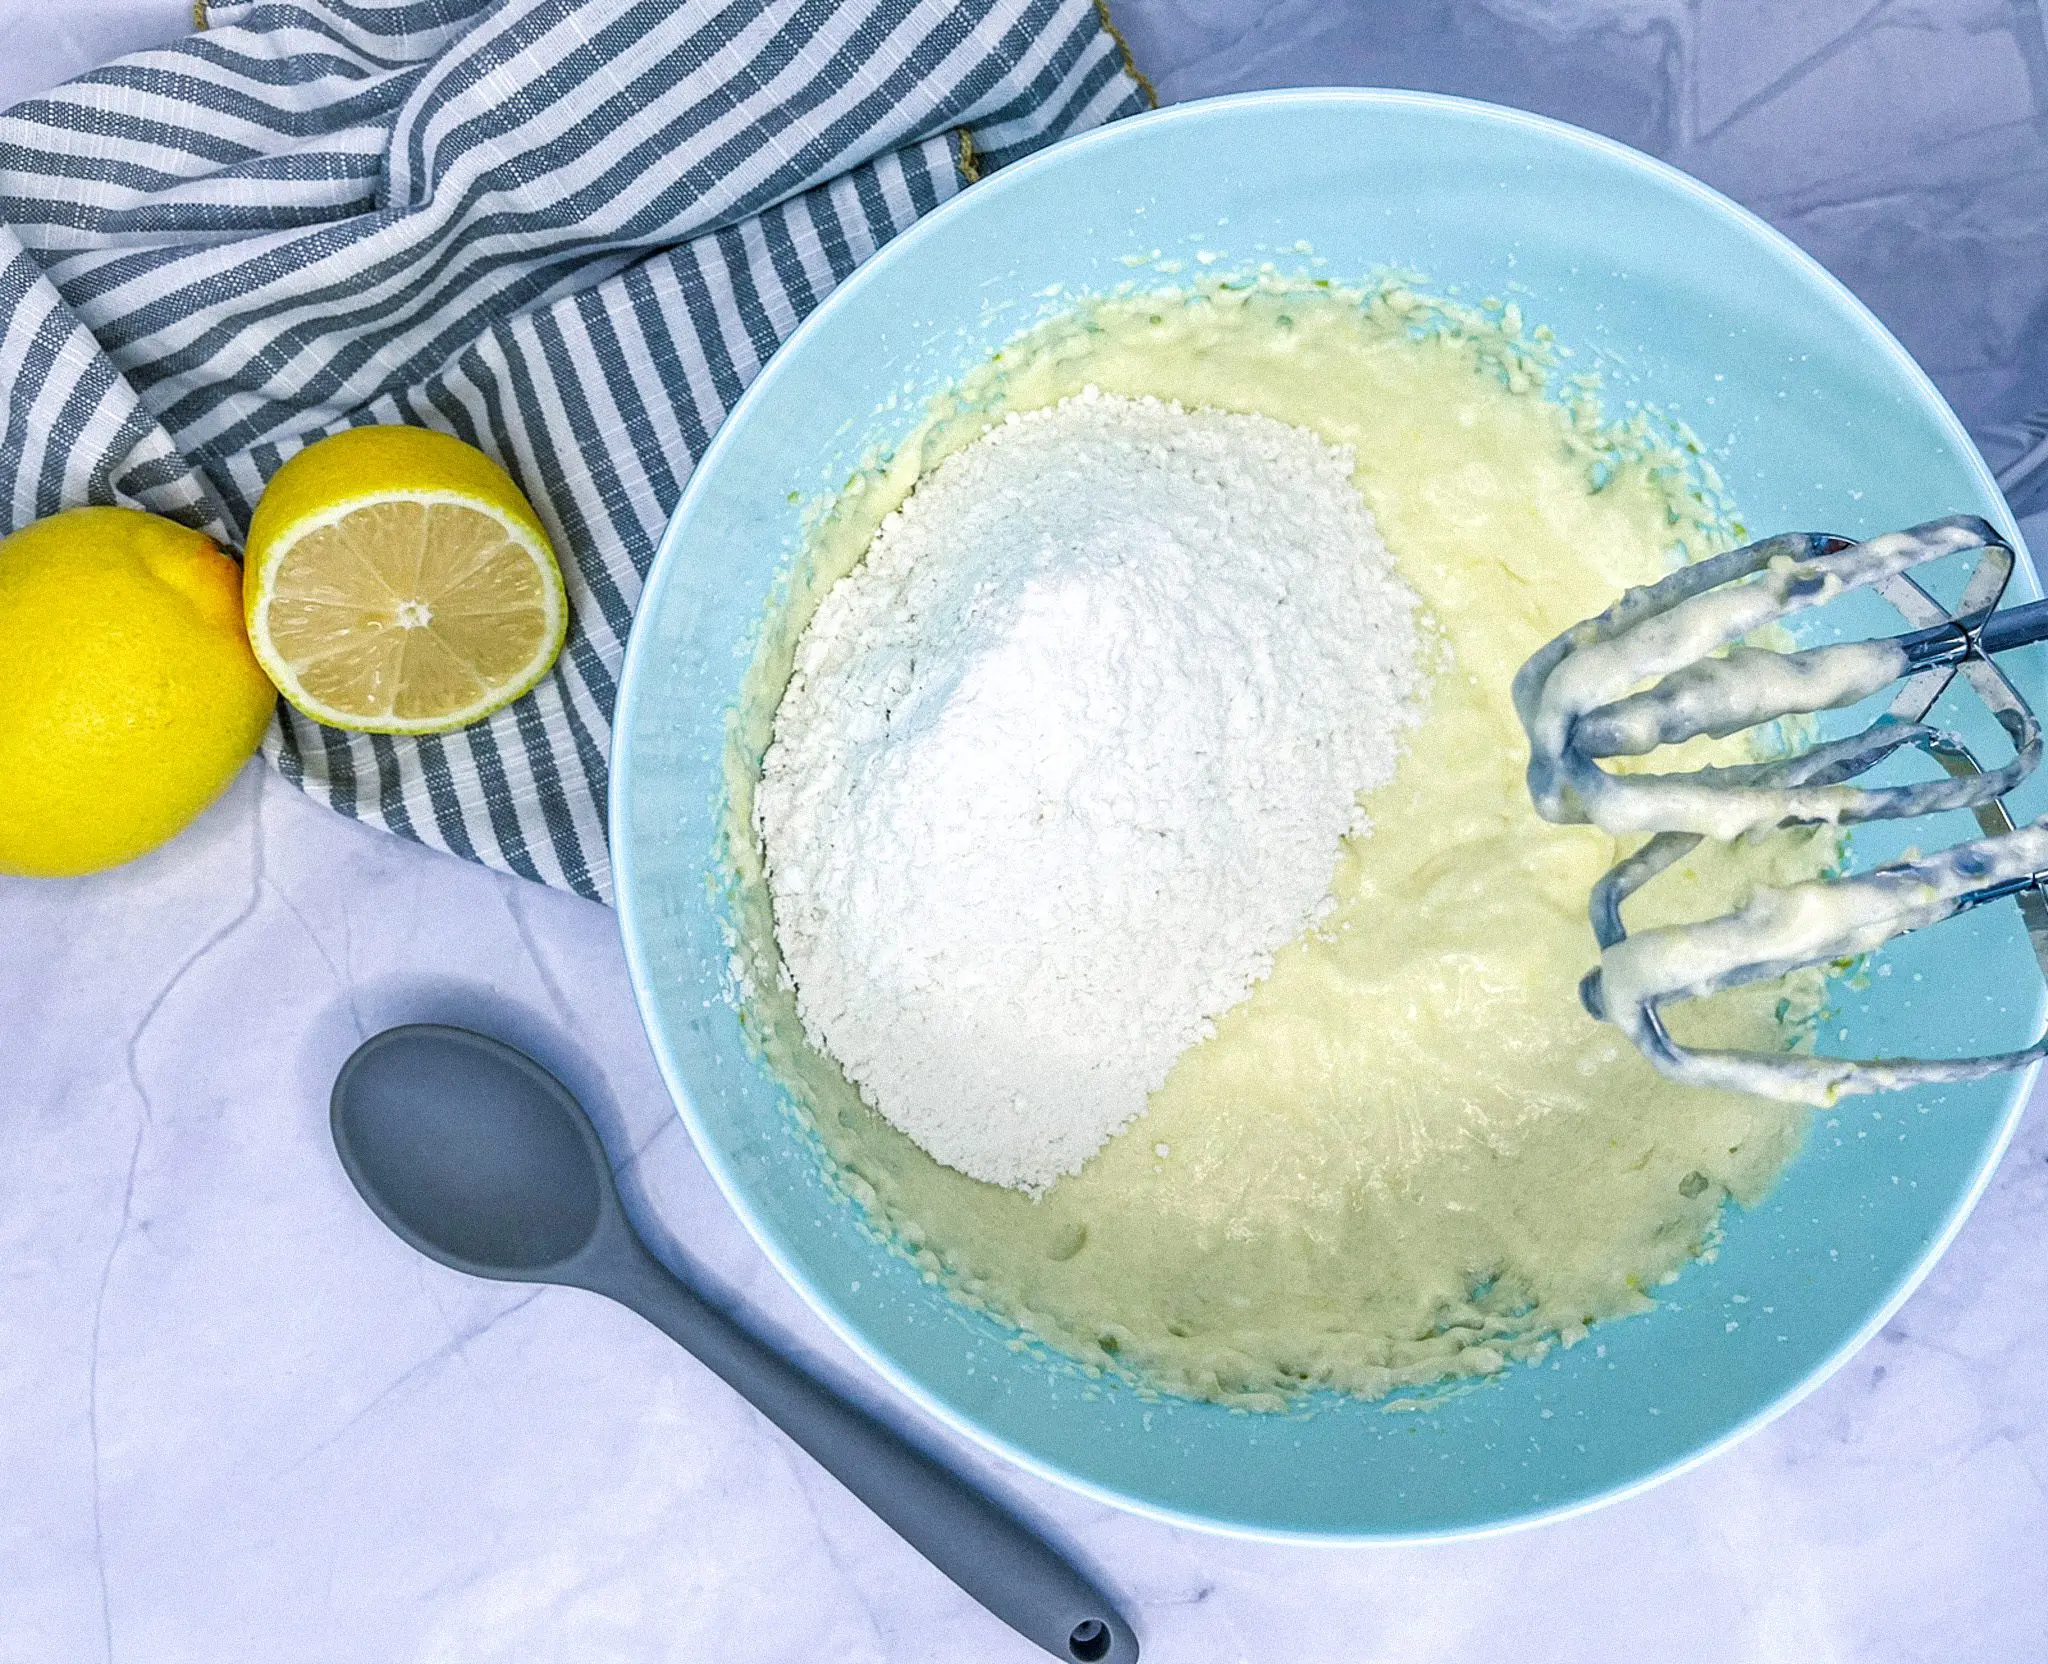
- In a bowl, mix the flour and baking powder. Set aside.
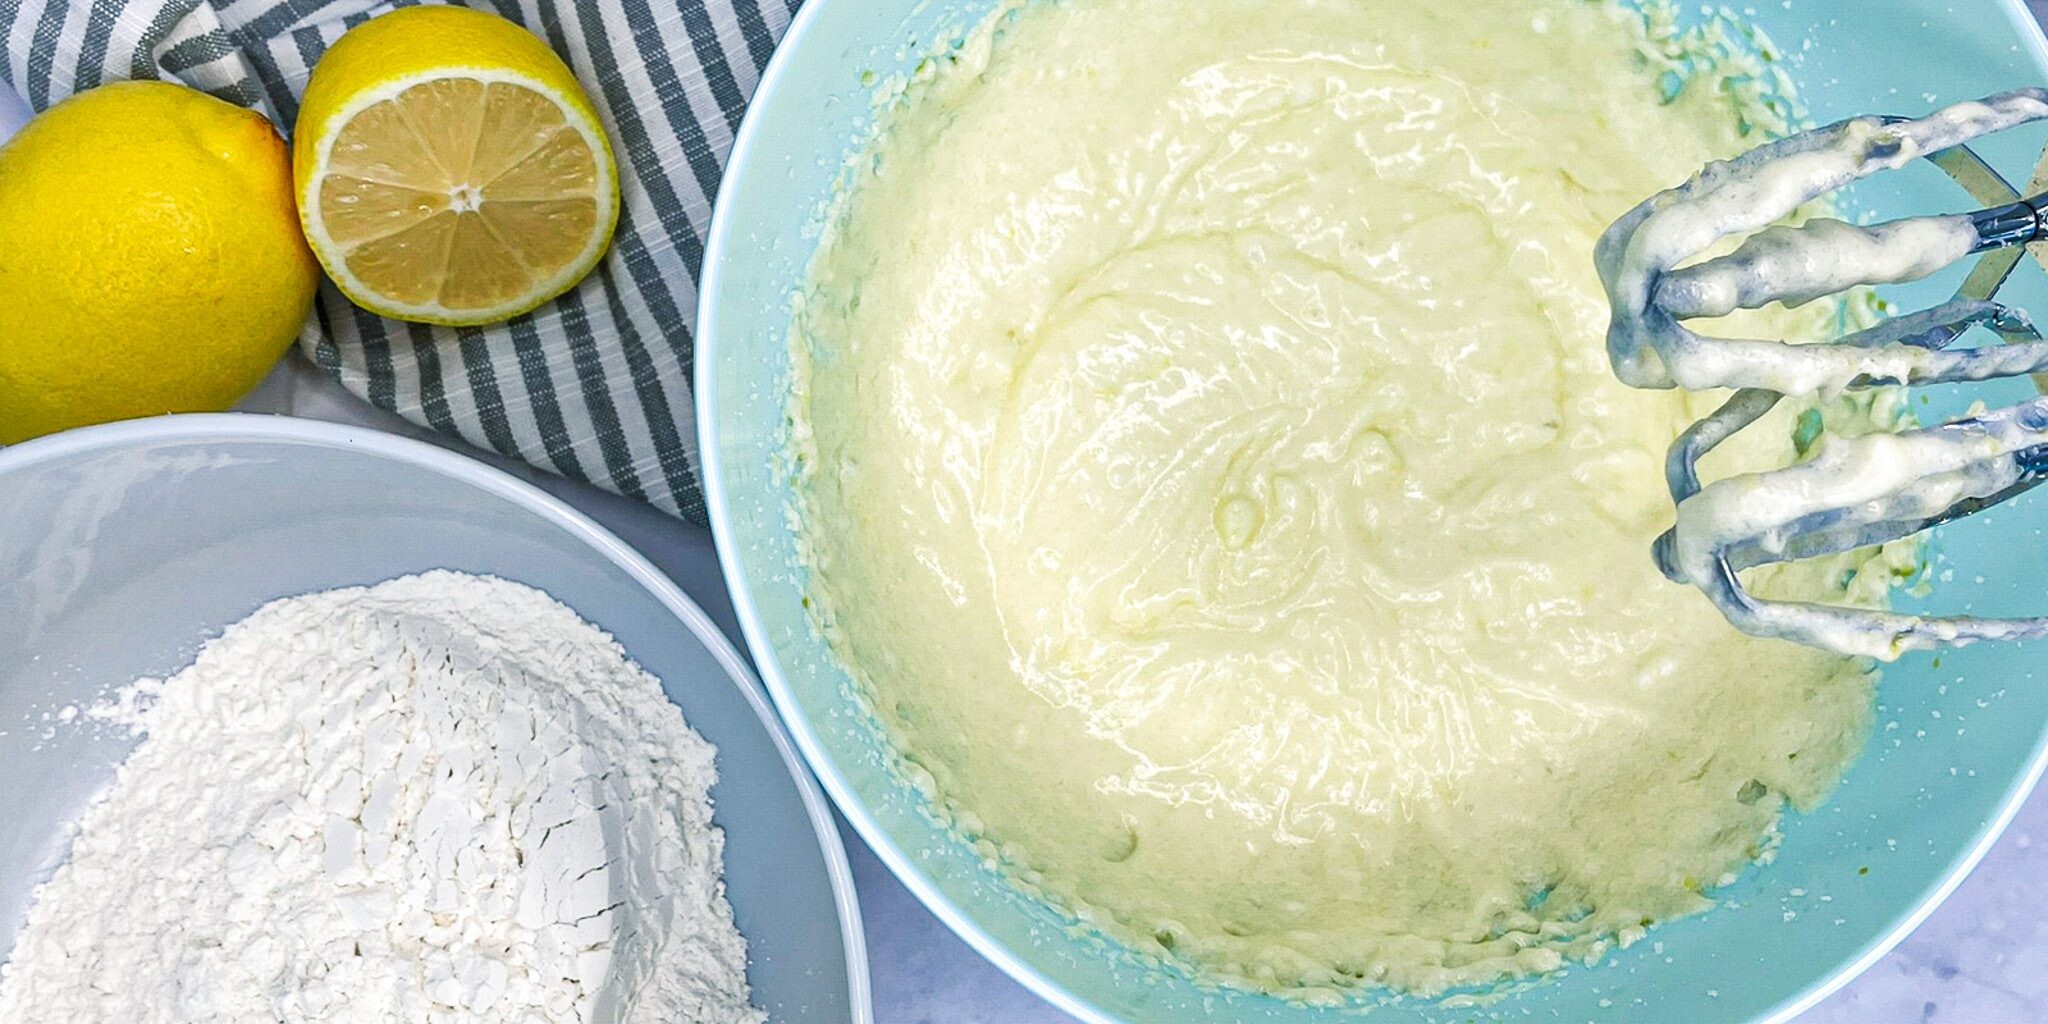
- Using an electric mixer, beat butter and sugar until light and fluffy (about 3 minutes). Add egg and mix until fully incorporated.
- Add blended Daisy Cottage Cheese, half the lemon zest, half the lemon juice, and vanilla extract. Mix well.
- Stir in dry ingredients until just combined.
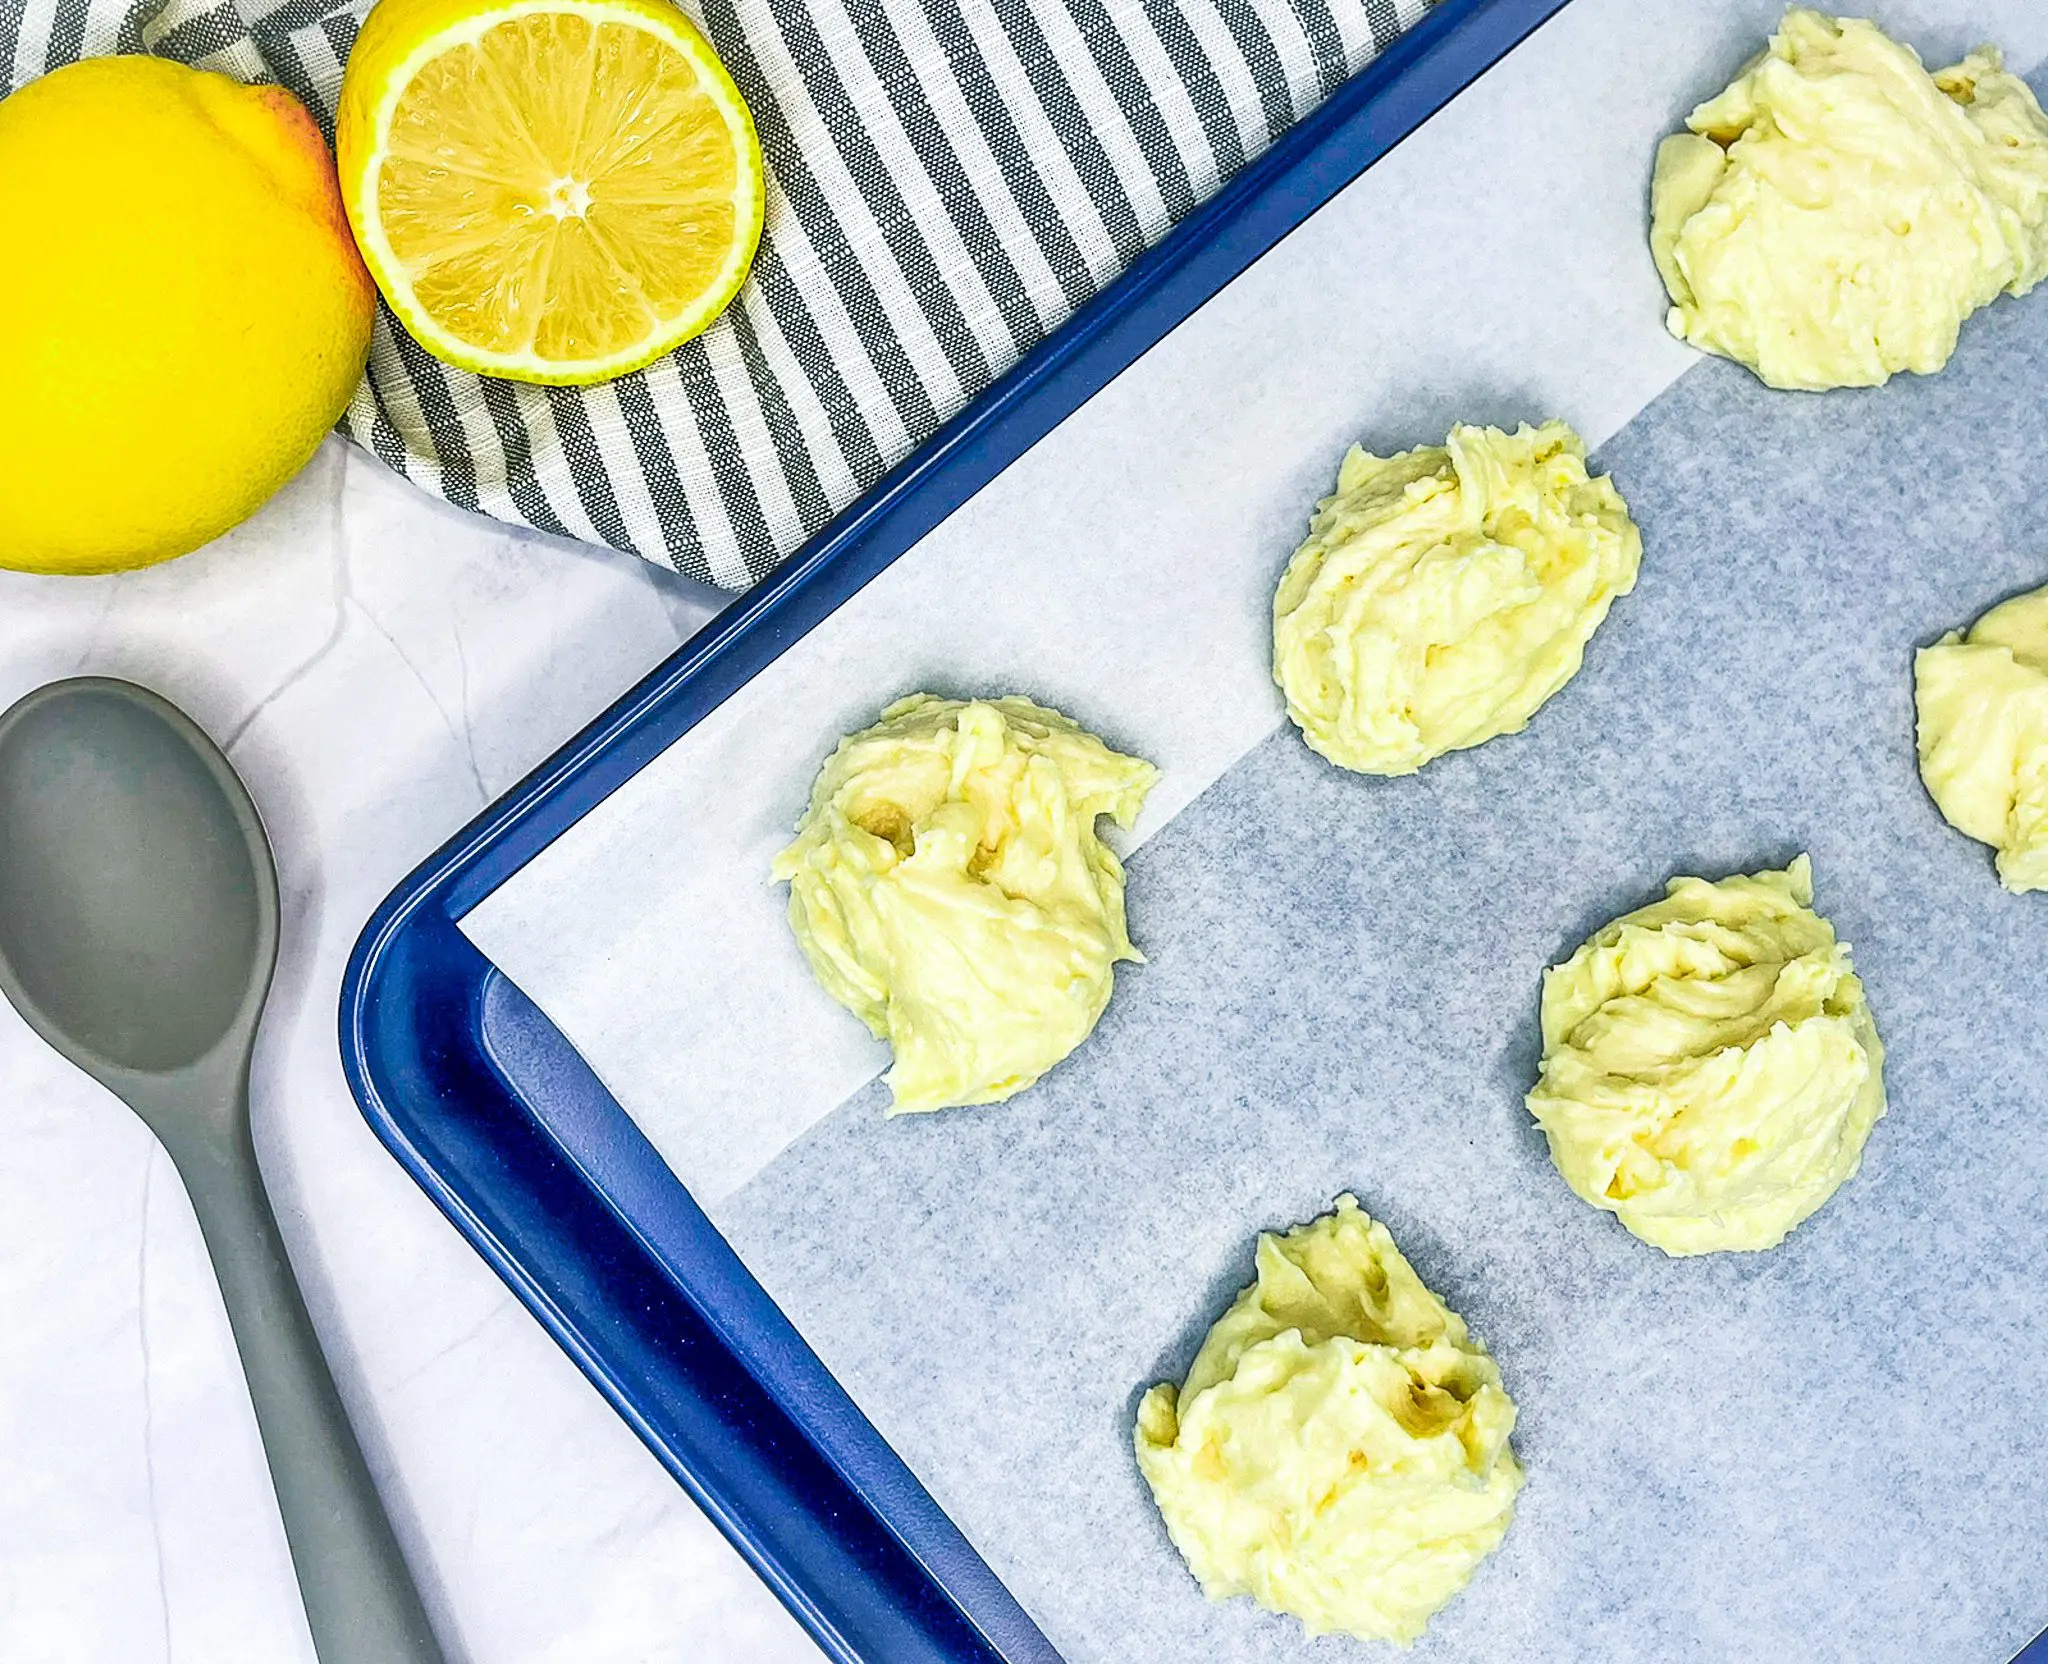
- Scoop about 2 tablespoons of dough for each cookie onto prepared baking sheets. Bake for 15 minutes, until edges are slightly golden. Let cookies rest on the baking sheet for 20 minutes.
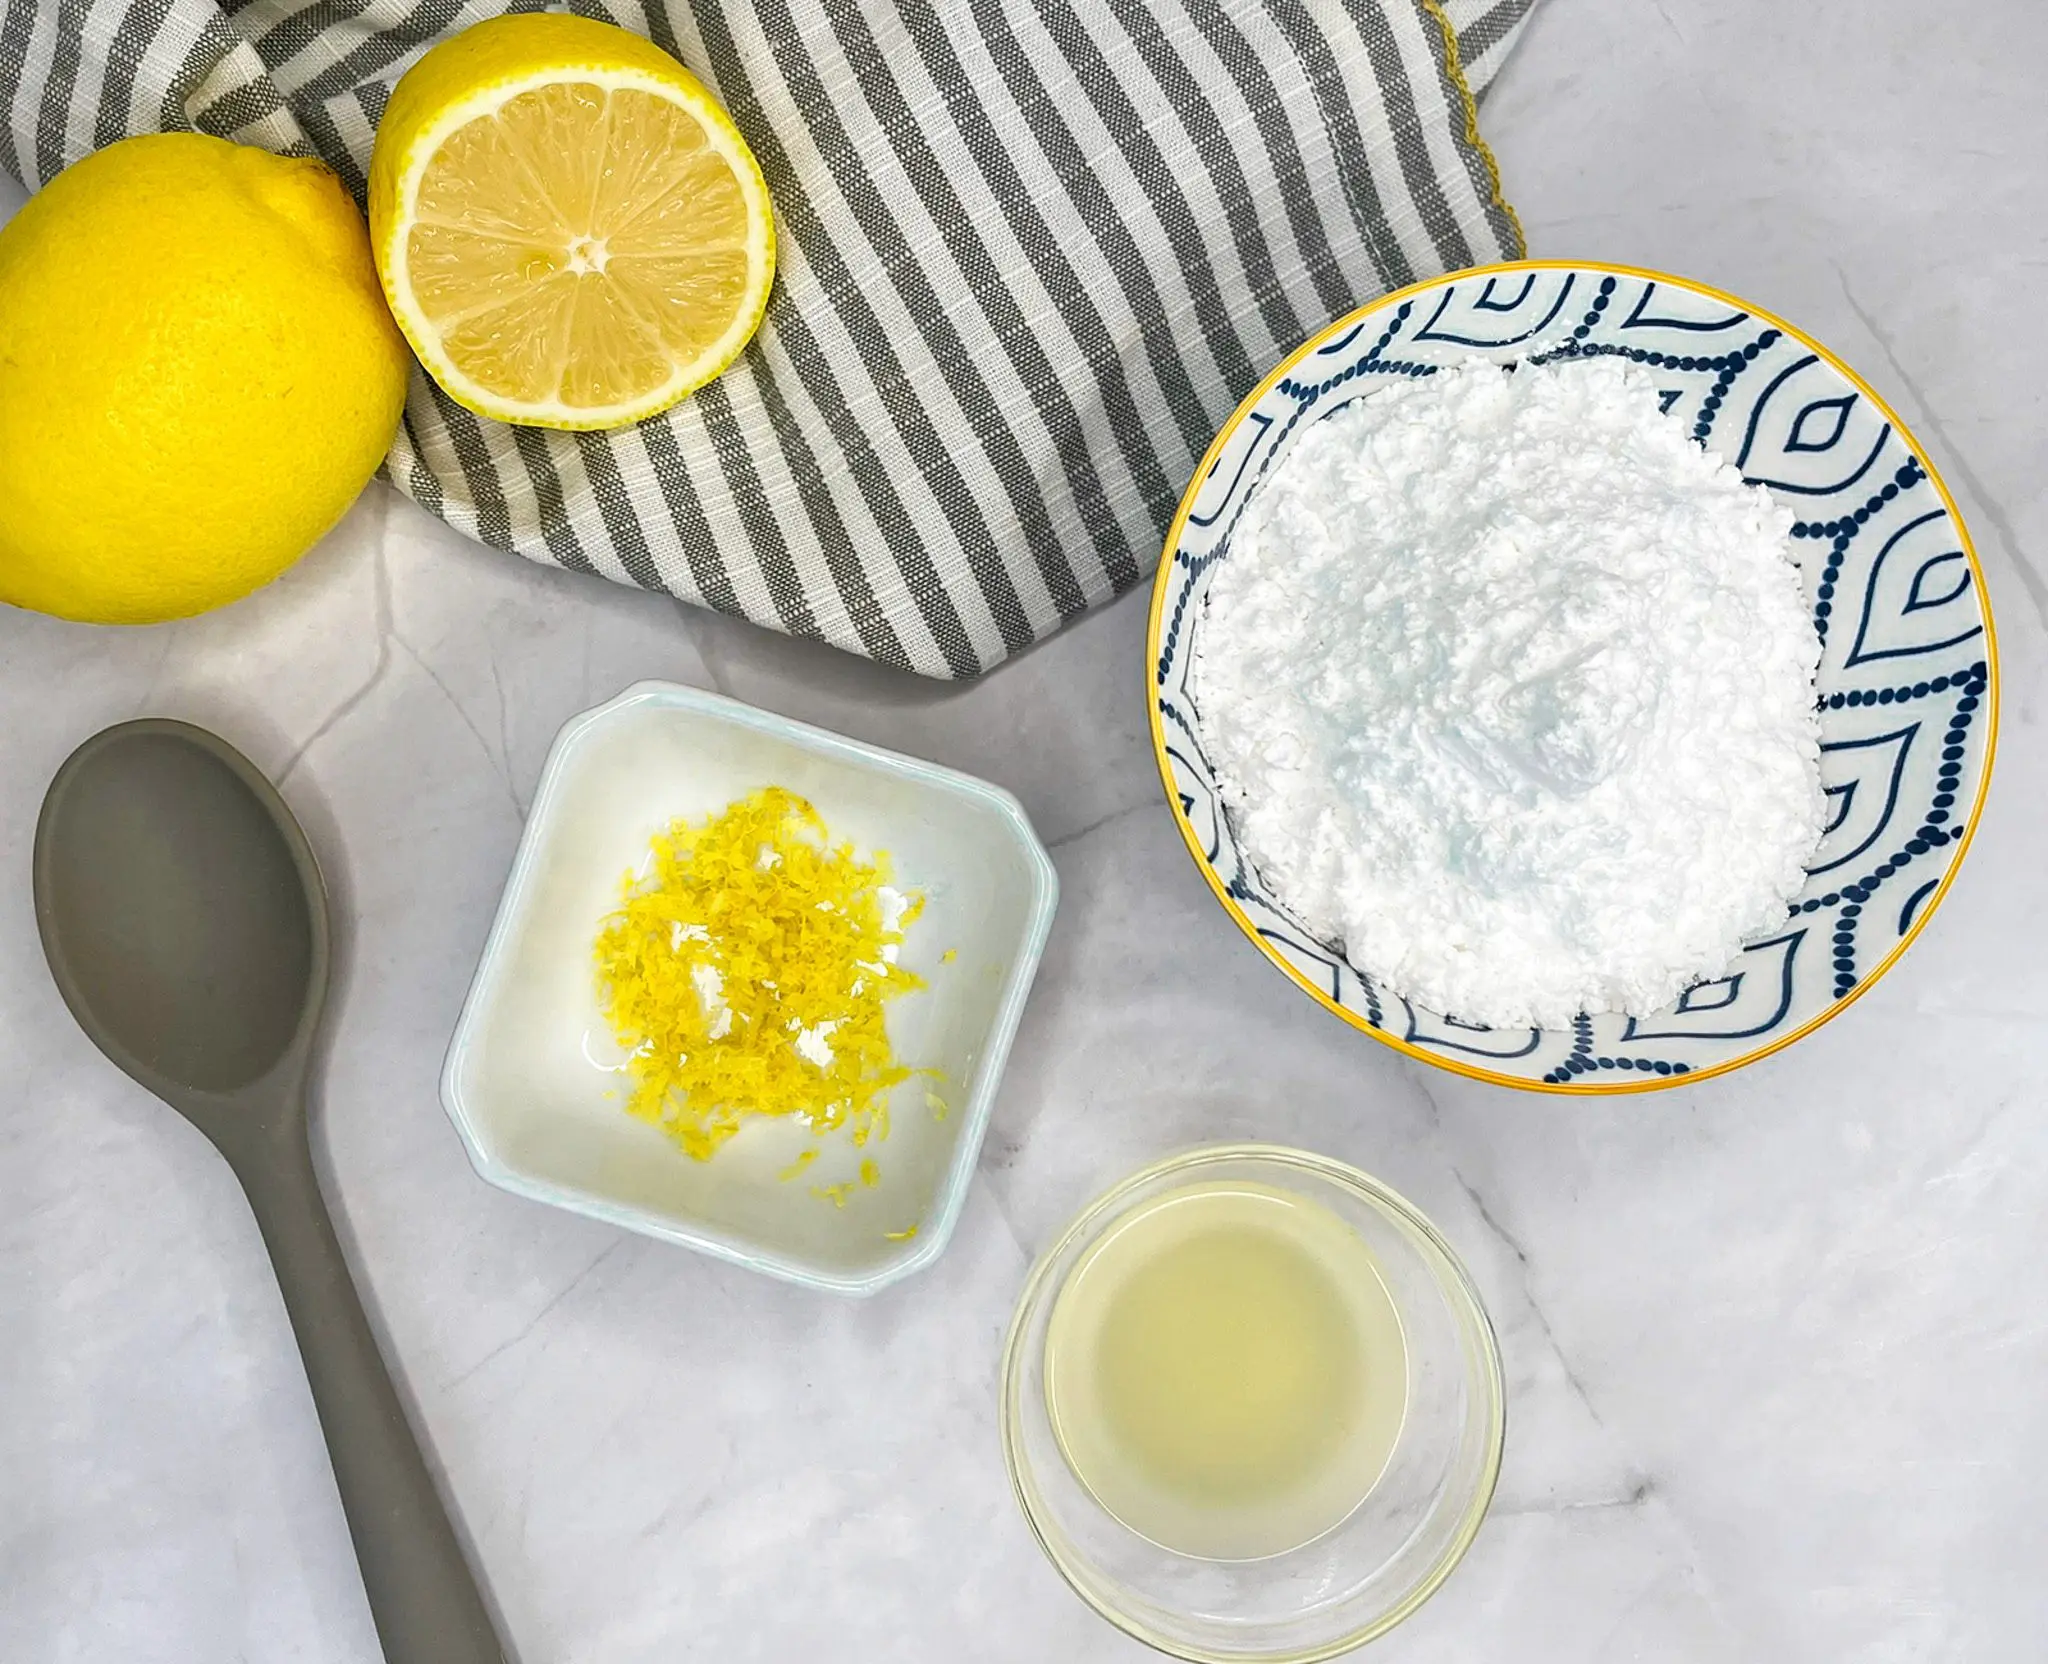
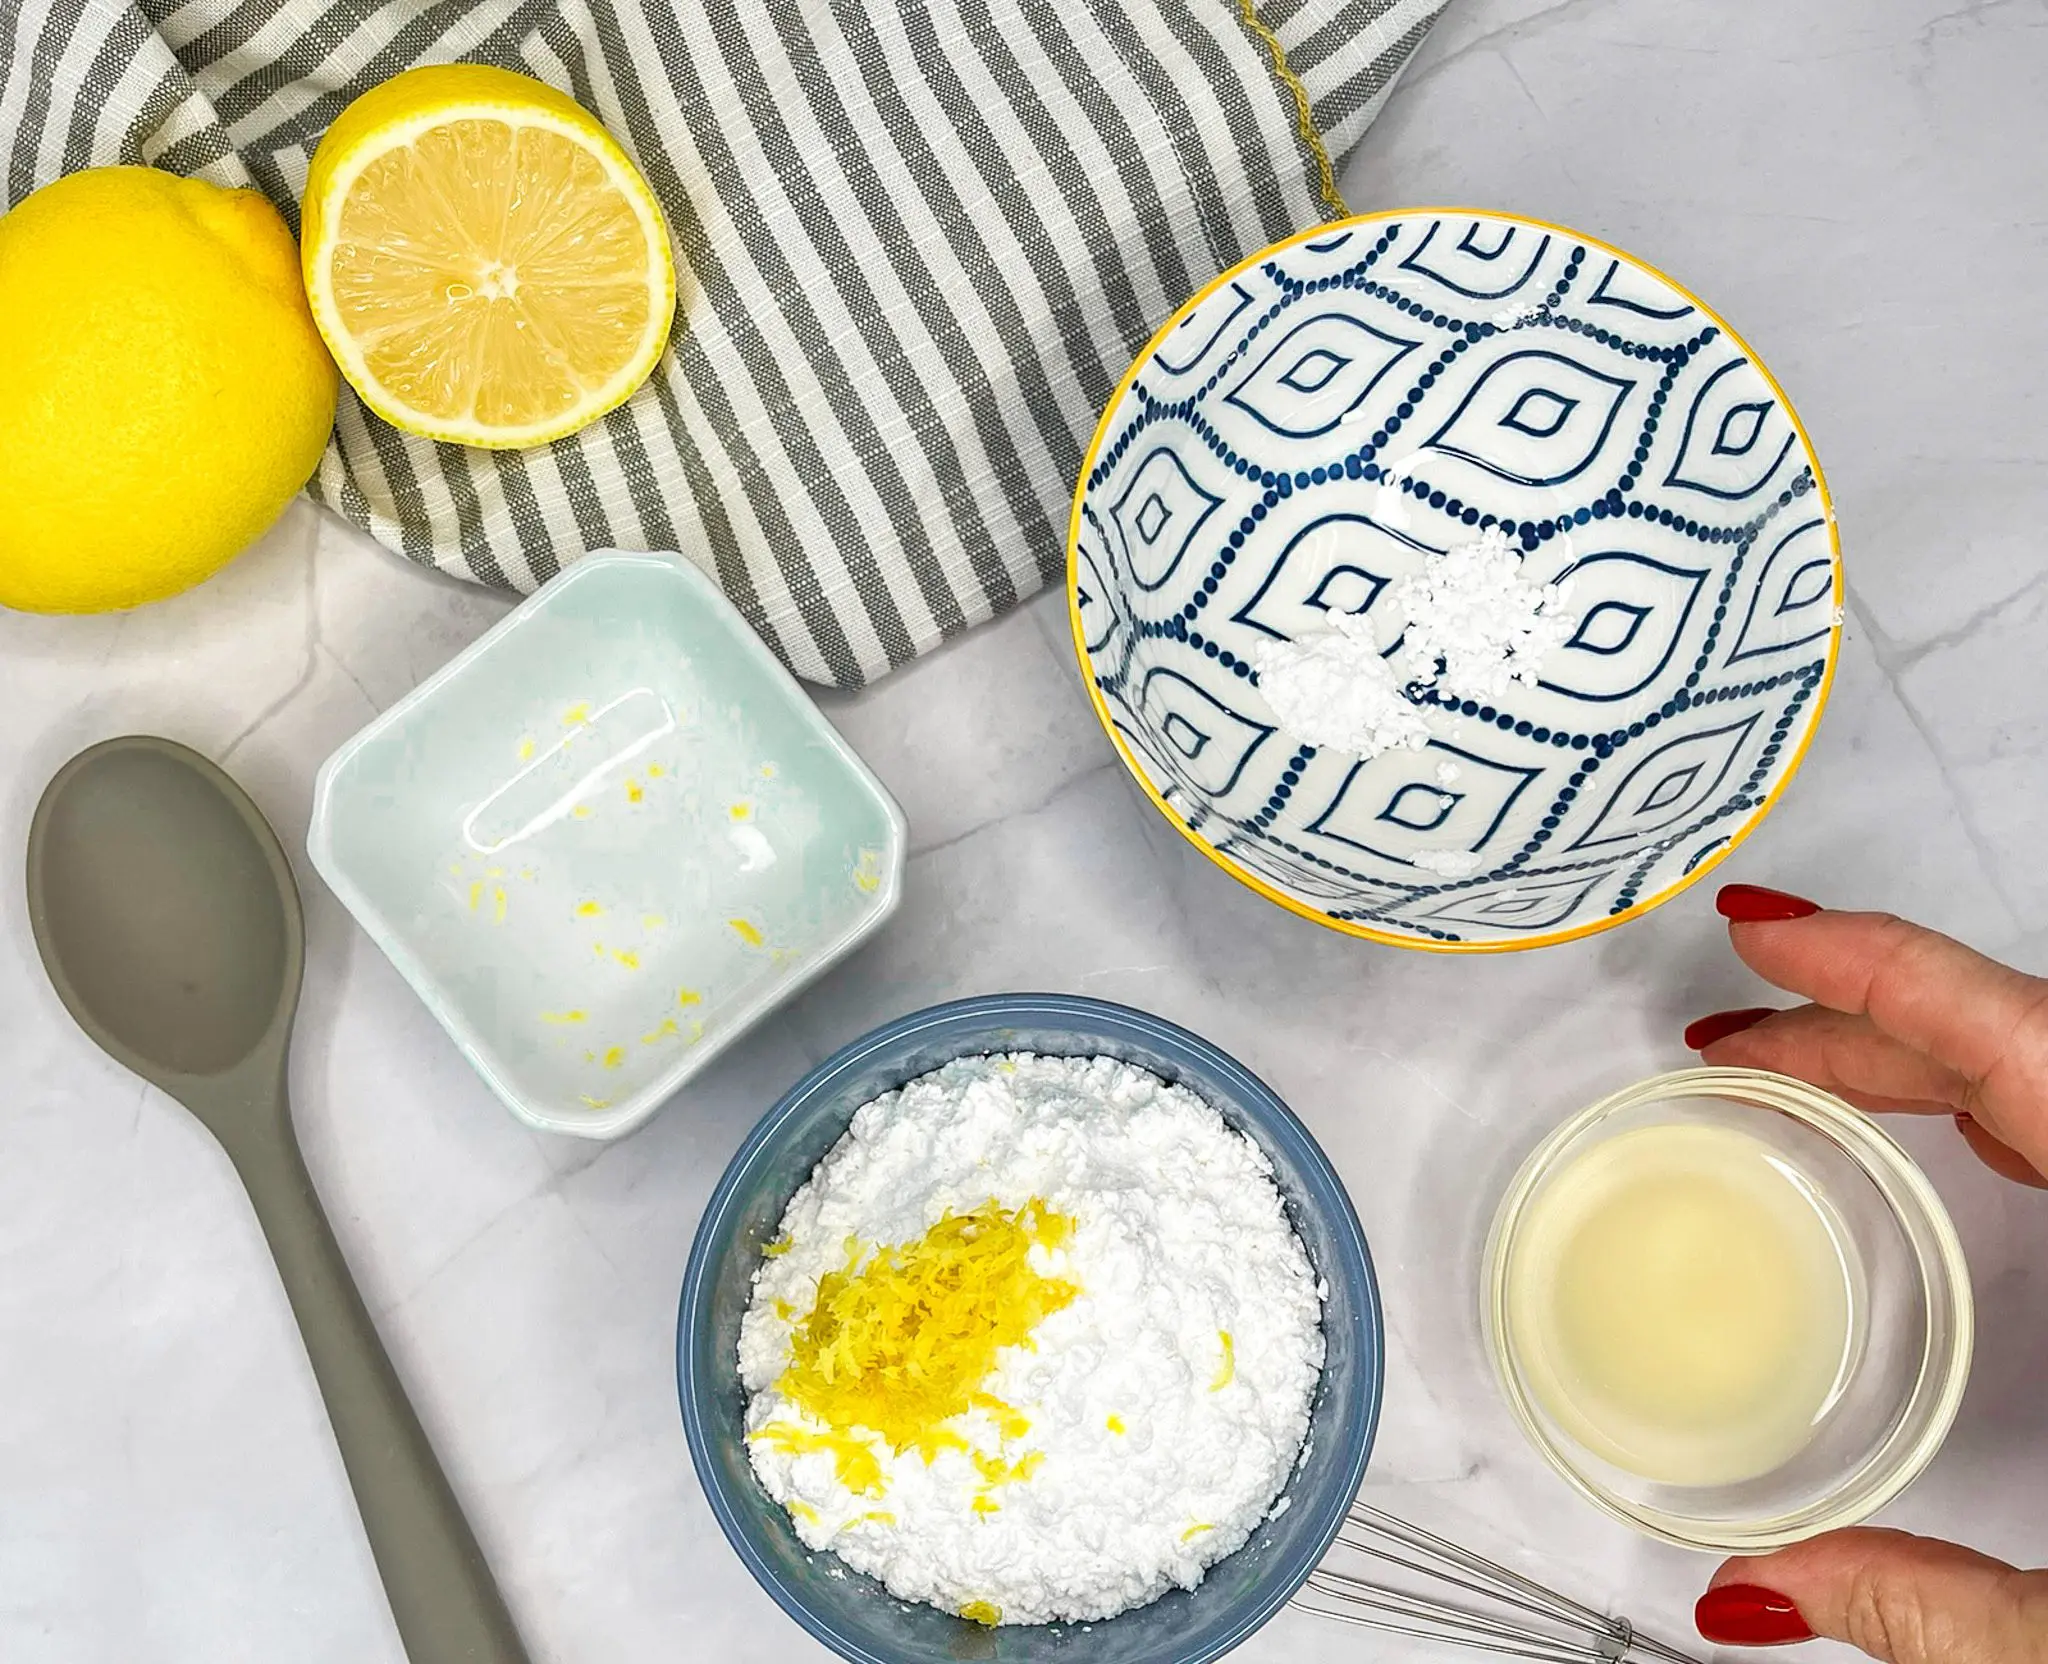
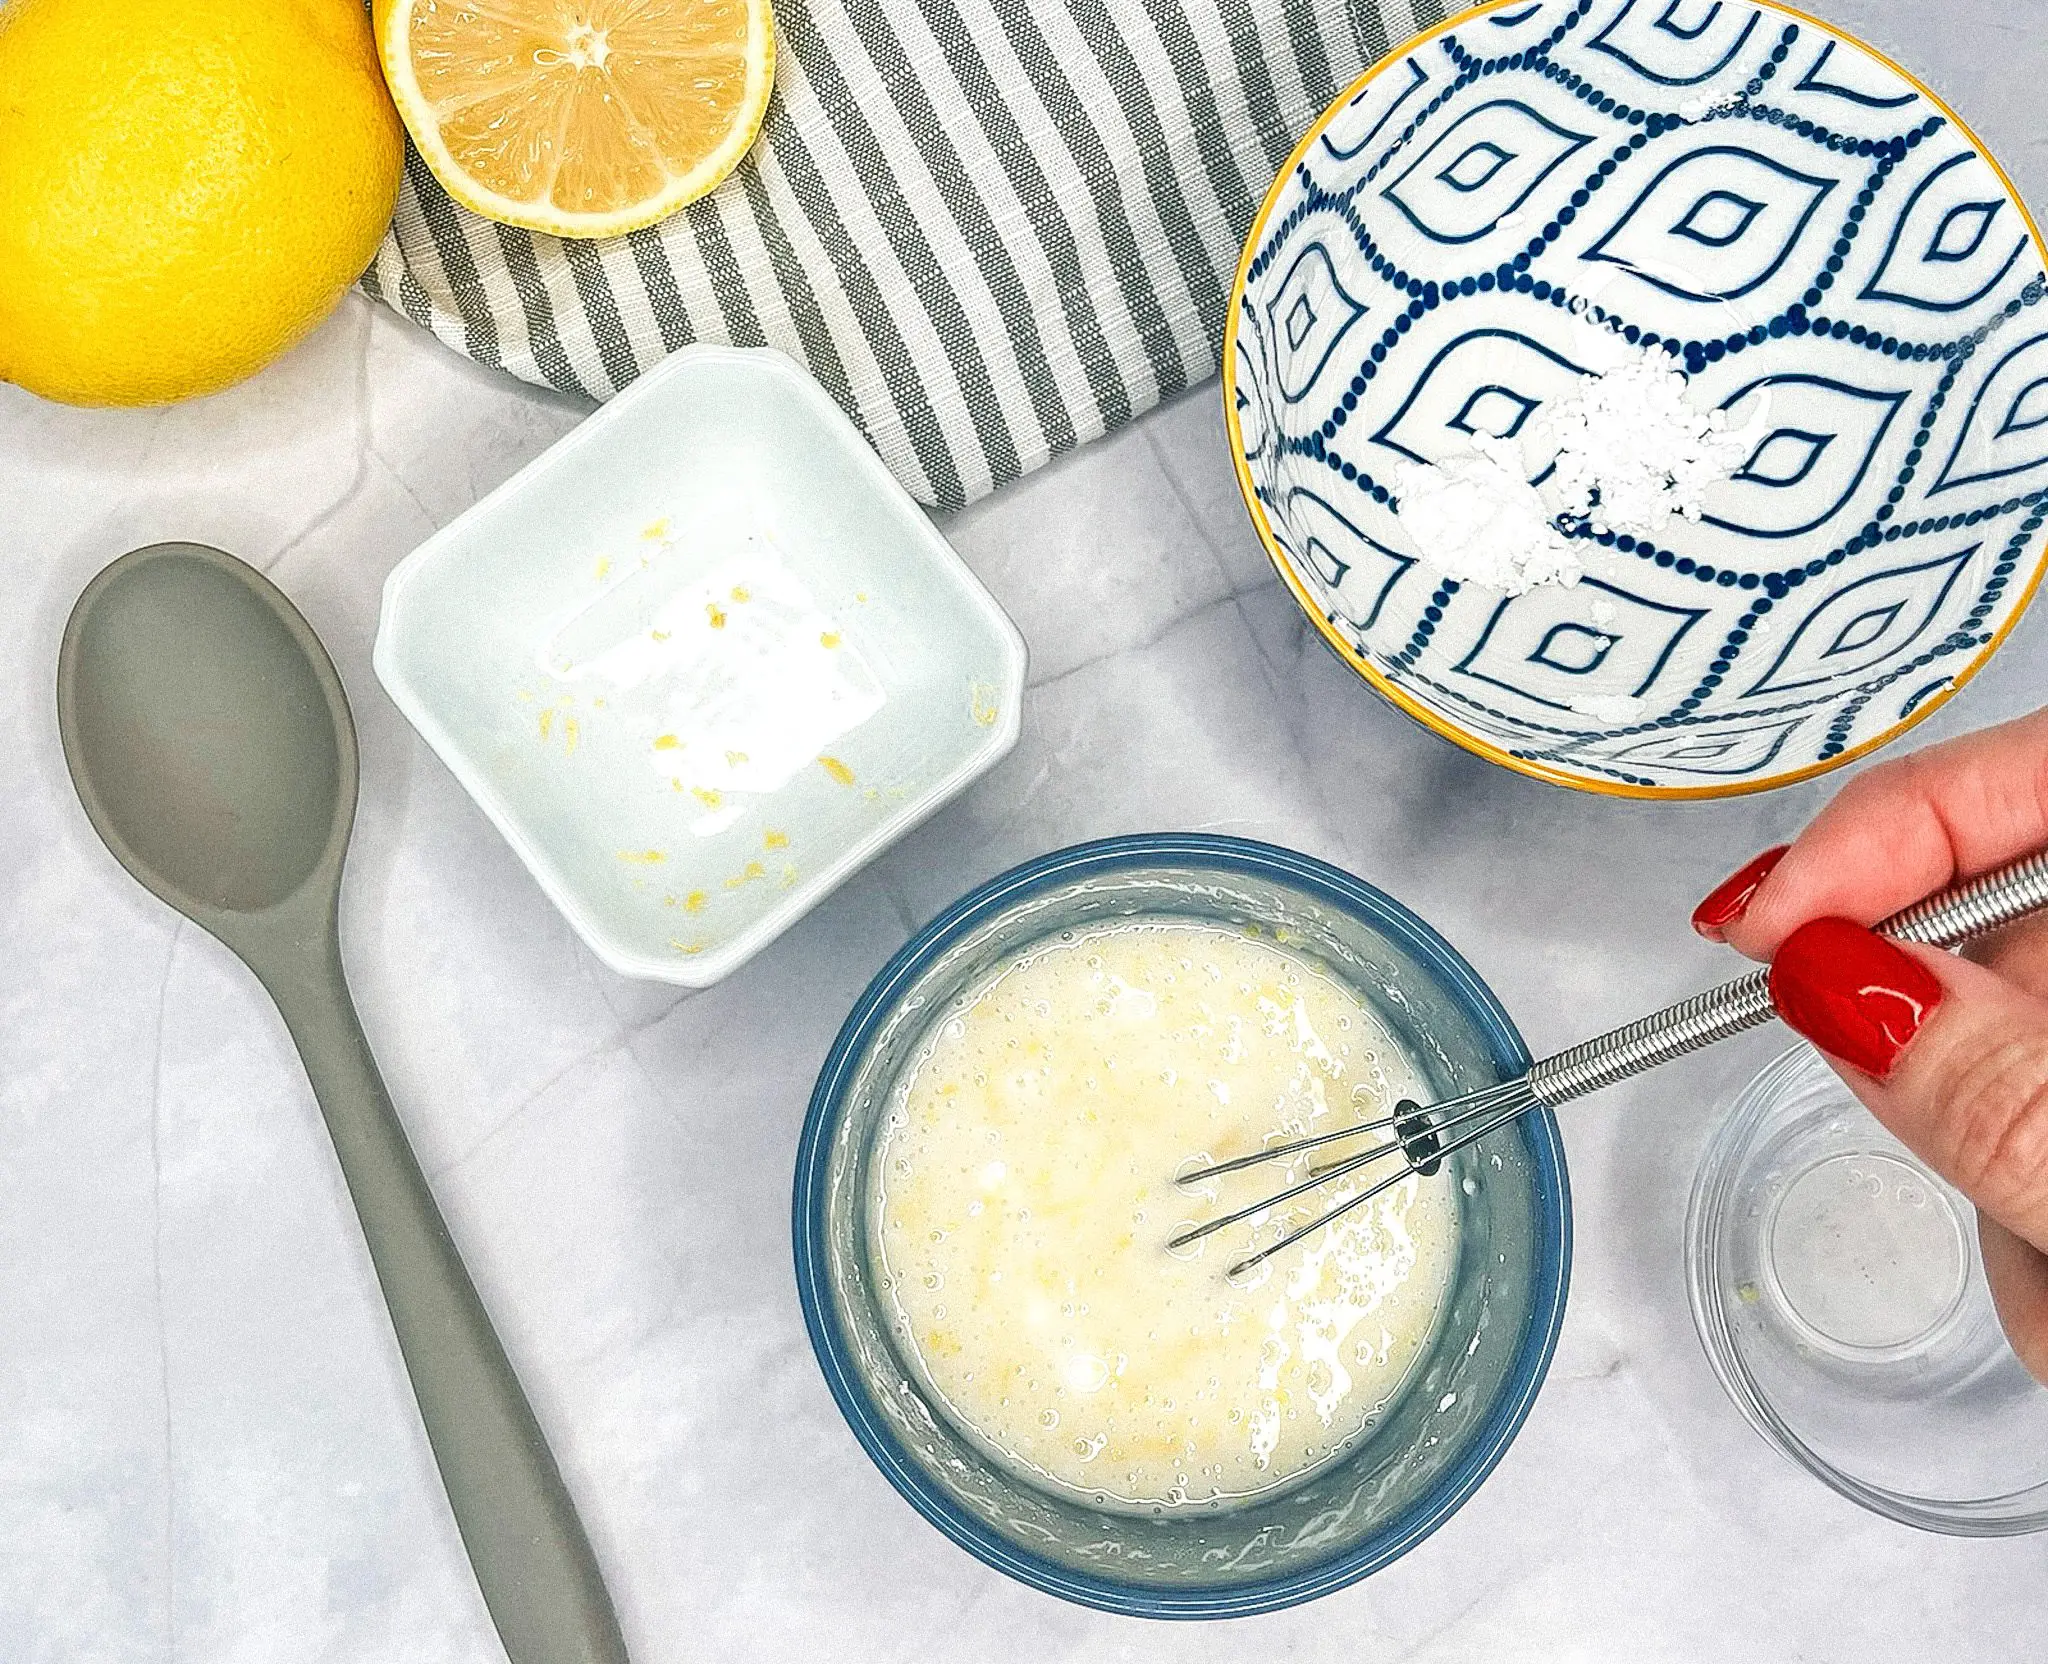
- Meanwhile, make the glaze: mix powdered sugar with remaining lemon zest and juice. Stir until smooth. Spoon about ½ teaspoon of glaze onto each cookie and gently spread to the edges.
- Let glaze set for about 2 hours before serving.
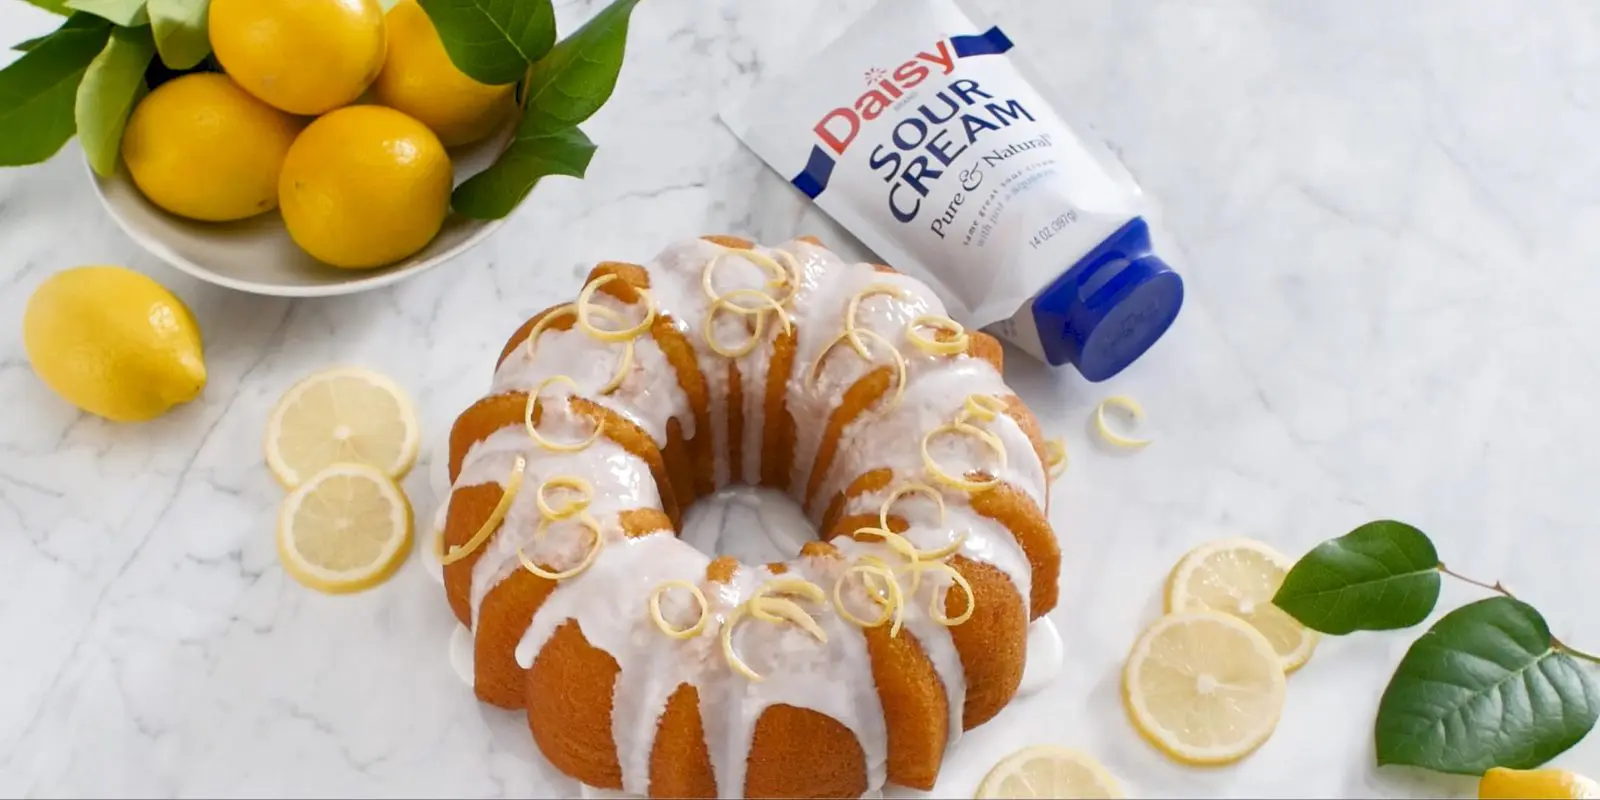
Lemon Sour Cream Pound Cake
Lemon Sour Cream Pound Cake
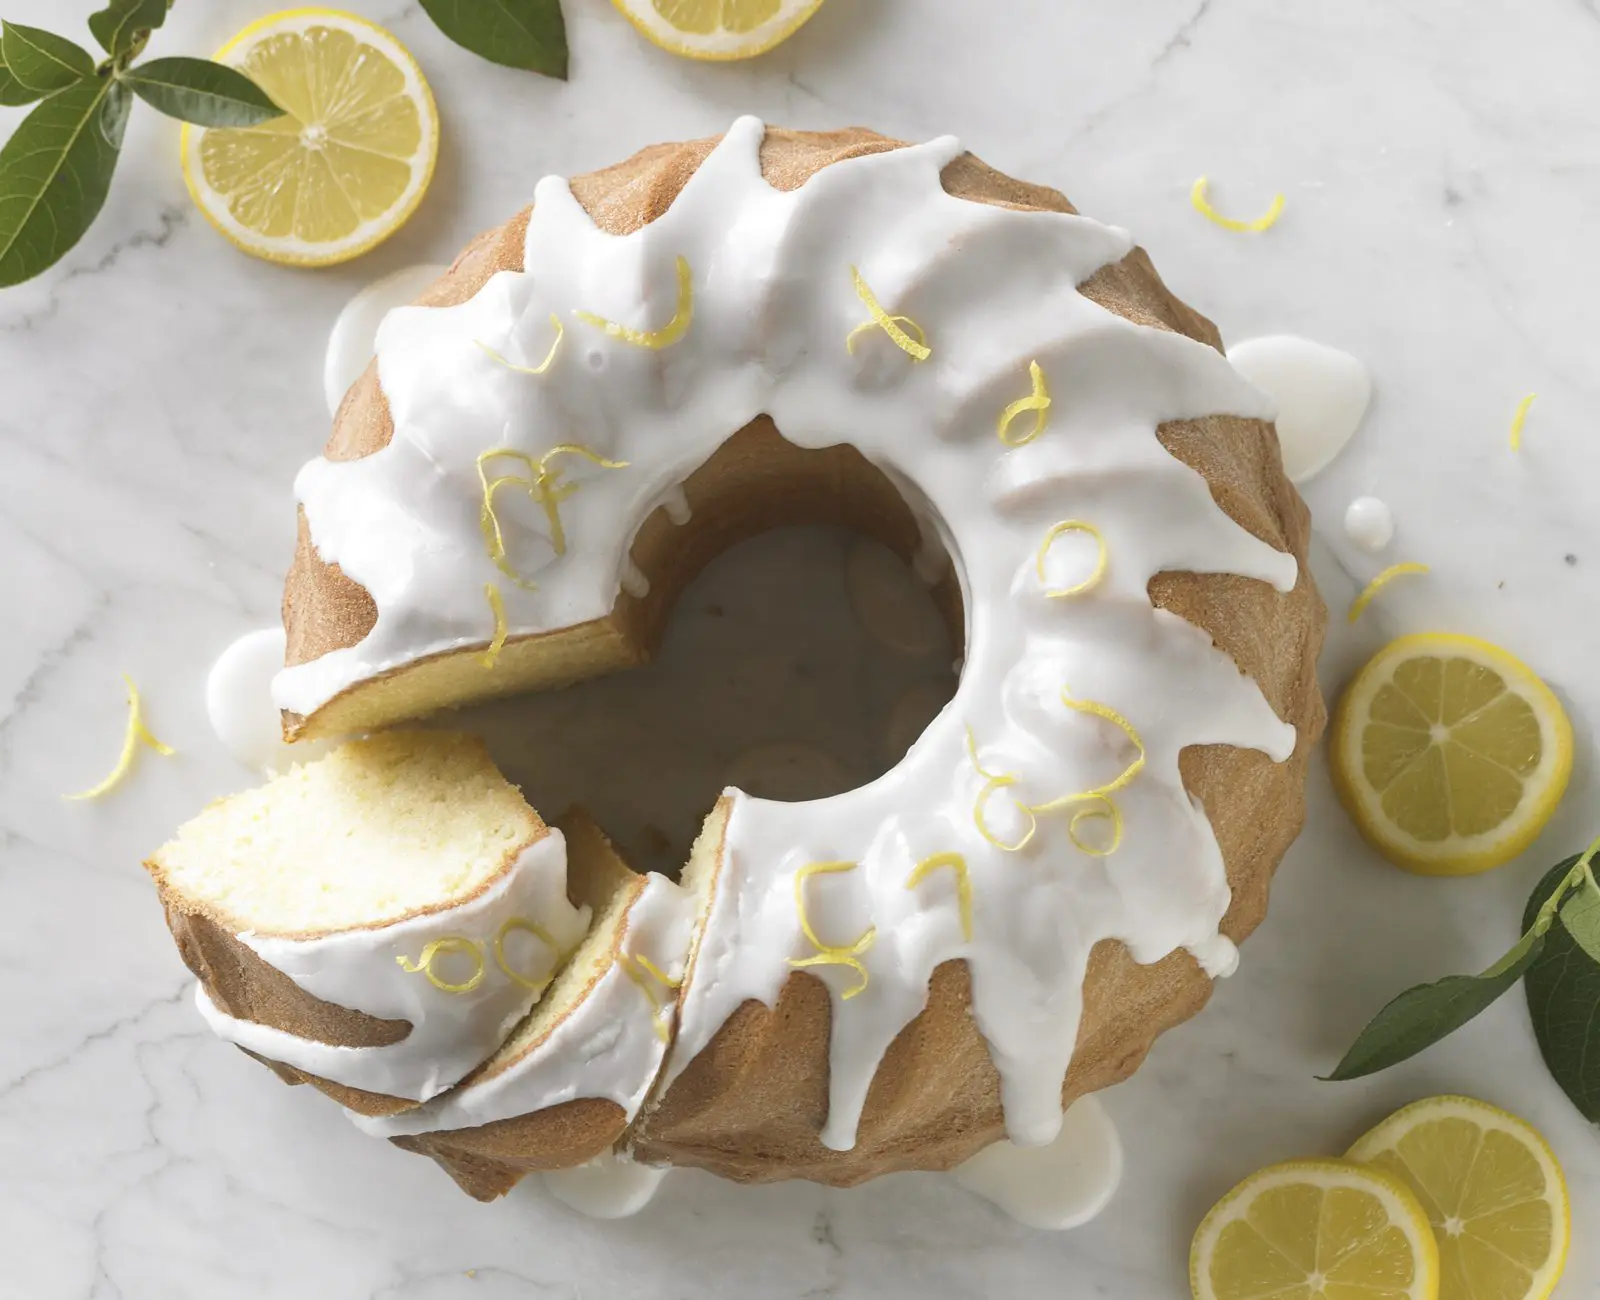
Loved for its perfect balance of bright, citrusy lemon and rich, creamy, tangy sour cream, this indulgent, bakery-quality cake is refreshing, light, moist, tender, and delightfully lemony. As it bakes, an irresistible aroma fills your kitchen, and you’ll find yourself counting the minutes until you can enjoy the first slice.
The combination of sour cream and zesty lemons brings out the best in both ingredients without ever being overwhelming, creating a complex, crave-worthy flavor. Fresh lemon zest and juice add a burst of citrusy brightness, perfectly paired with sour cream to create the ultimate pound cake. The sour cream adds richness, moisture, and depth, ensuring a soft, tender crumb that stays delicious for days. Its subtle tang complements the lemon’s tartness, balances the sweetness, and delivers a rich cake that’s satisfying without feeling heavy.
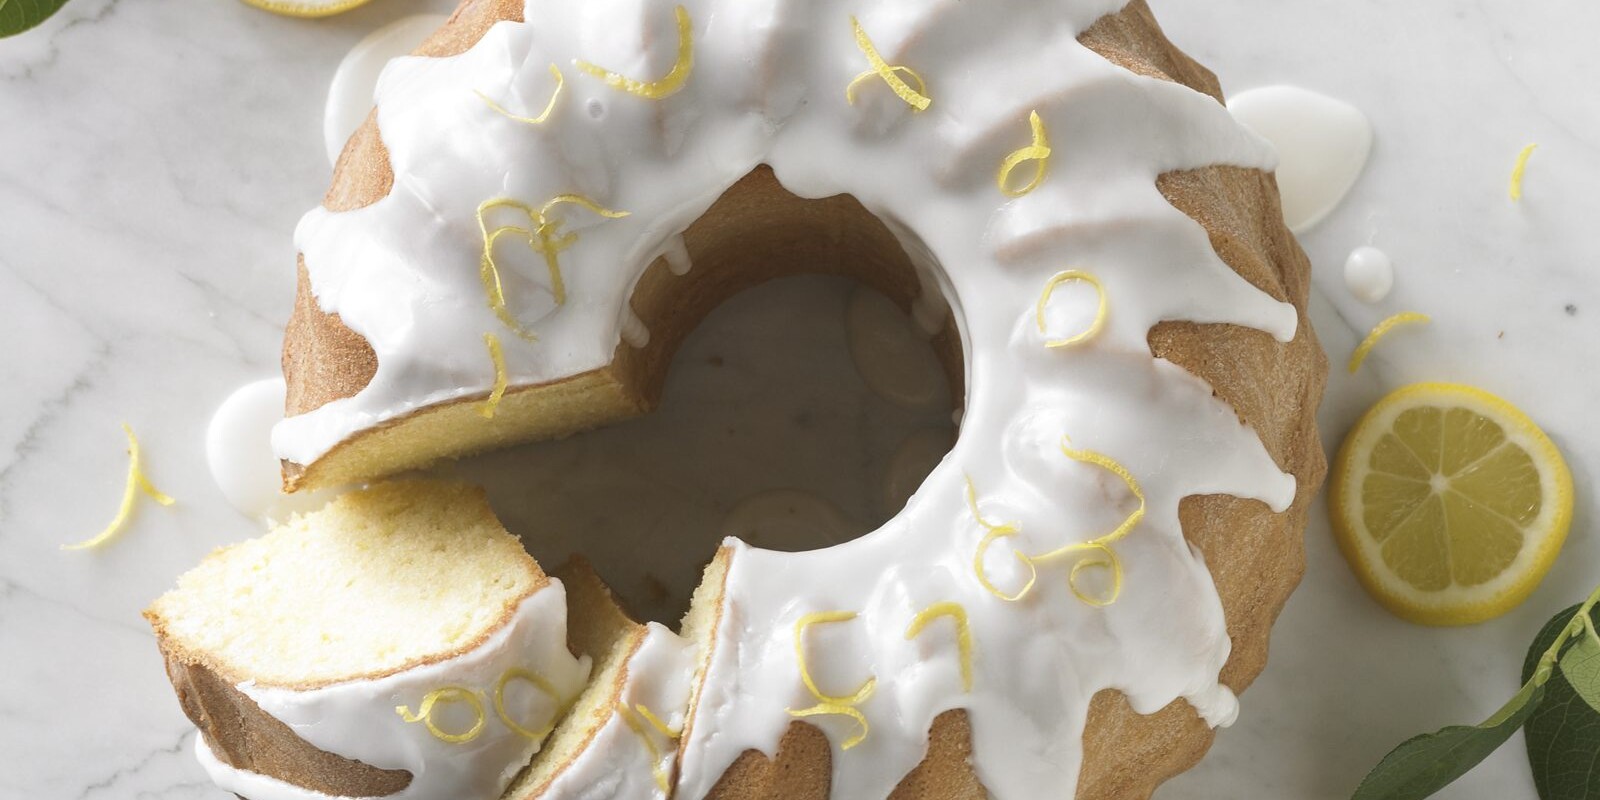
This is the perfect cake for anyone looking for something that’s both light and indulgent. Ideal for any season, it feels refreshing in the spring and summer, yet rich enough to enjoy in the fall and winter. Luscious and timeless, this lemon cake is made for sharing.
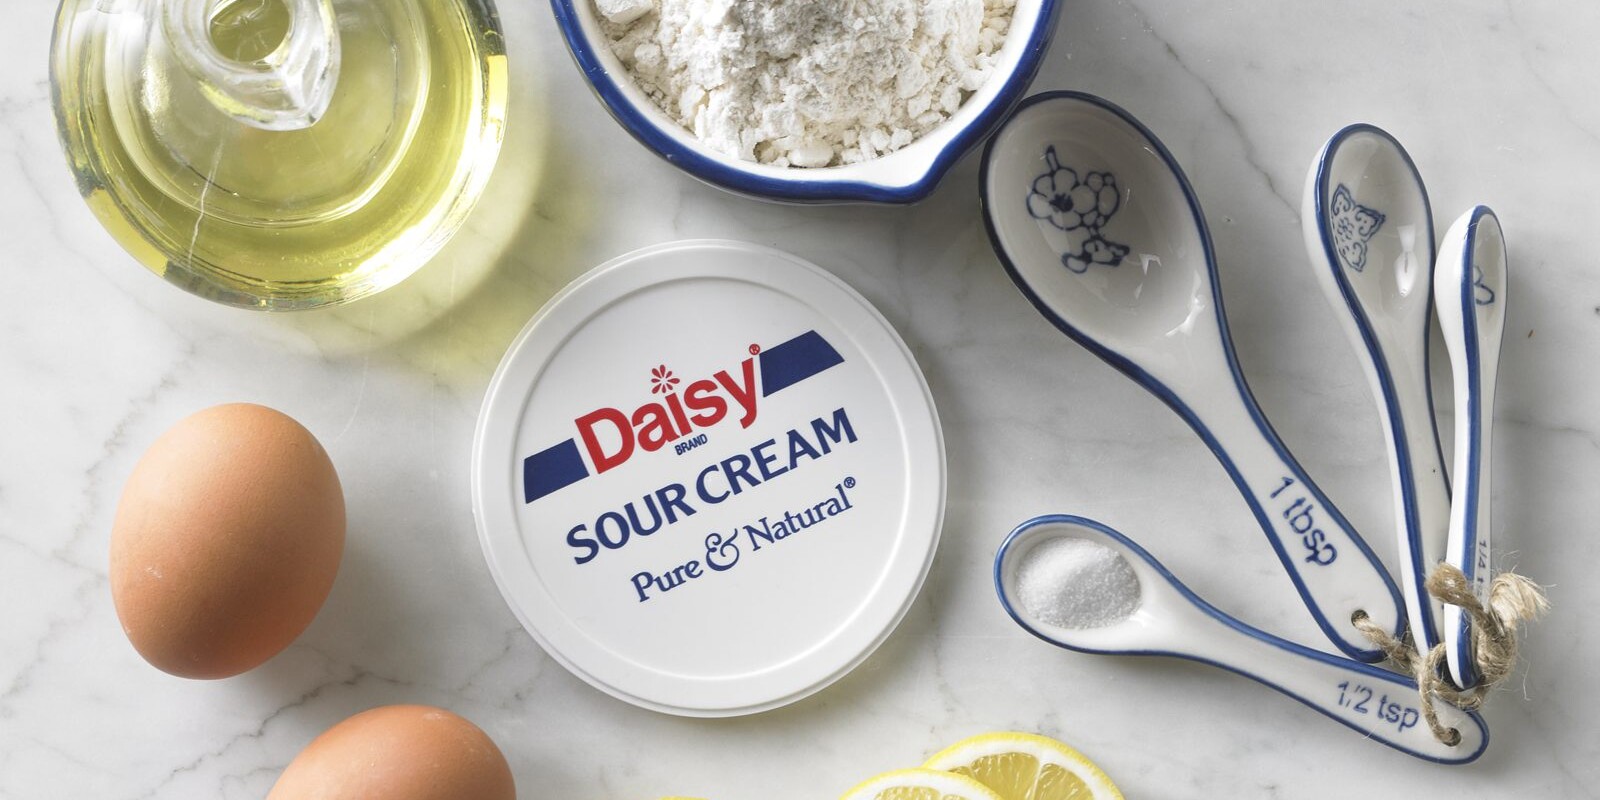
Lemon Sour Cream Pound Cake Ingredients
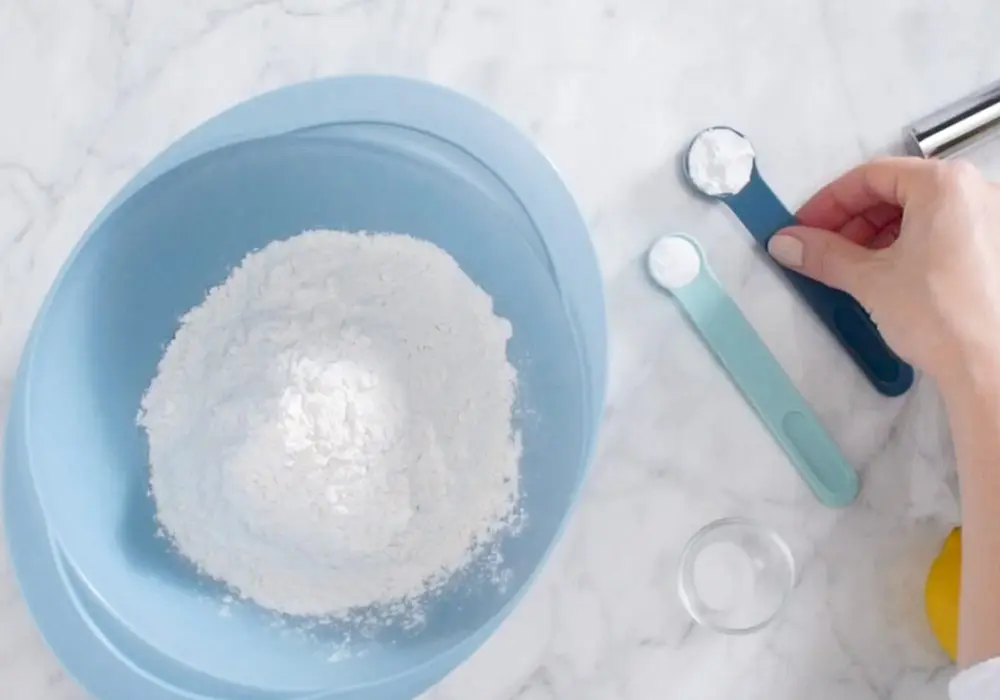
- All-Purpose Flour (2 ¼ cups): The gluten in all-purpose flour gives the cake structure.
- Baking Powder (1 teaspoon): A main ingredient for leavening, it adds volume and lightness to the batter.
- Baking Soda (1/2 teaspoon): Another ingredient for leavening. It helps the batter rise and gives baked goods a light and fluffy texture.
- Salt (1/2 teaspoon): Helps enhance the flavors and balances the sweetness of the batter.
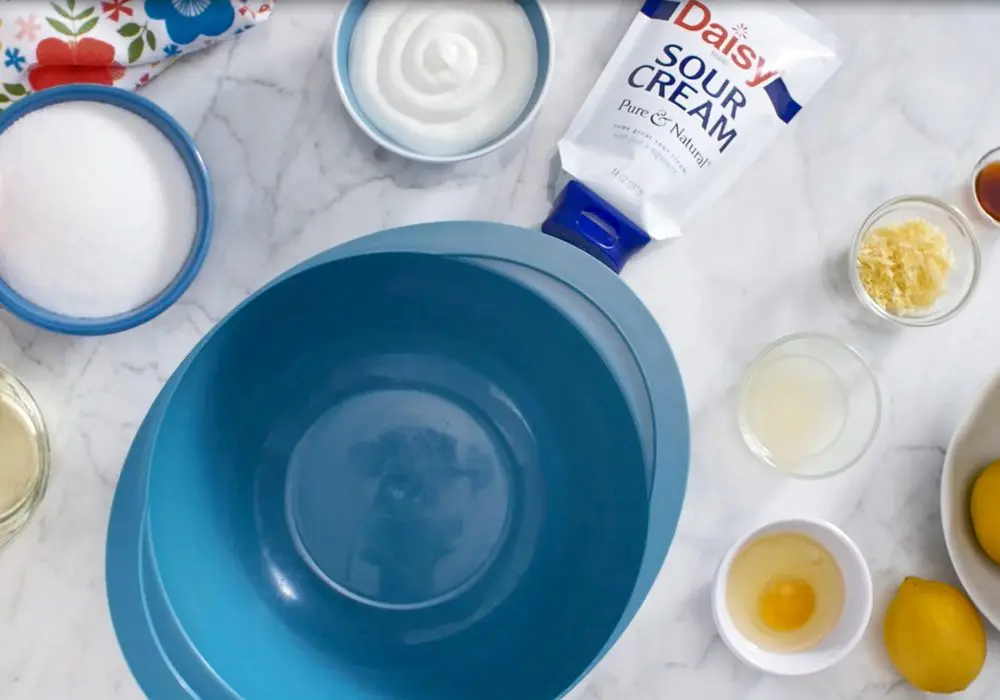
- Sugar (1 ¾ cups): Adds sweetness to the batter.
- Daisy Sour Cream: The star ingredient that gives the cake its name. It makes the cake moist and rich with a slight tang, ensuring it stays moist and fresh for days. The fat in the sour cream reacts with the flour to make shorter gluten strands making the cake tender, while the acidity in the sour cream interacts with the baking soda and baking powder to help the cake remain light while rising.
- Canola Oil (3/4 cup): One of the best options for baking, it has a mild, neutral flavor. It adds moistness to the cake.
- Grated Lemon Peel (2 tablespoons): Adds a concentrated citrus flavor and fragrance without adding additional tartness.
- Eggs (4 large): Creates the thickness and stability in the batter, providing the perfect structure of the cake. Eggs bond with the flour to create texture by forming a stronger gluten. The eggs also help add height to the cake.
- Lemon Juice (4 tablespoons, divided): Adds the fresh, tart, zesty citrus flavor to the cake and the glaze. The acid in the juice reacts with the leavening agents to create air bubbles which help the cake rise.
- Vanilla Extract (1 teaspoon): An essential ingredient in many desserts, it enhances the flavor of the cake.
- Powdered Sugar (1 ¼ cups): Finely ground sugar with no hint of graininess, it is the perfect sugar for making sweet frosting and glazes.
Substitutions, Variations, and Tips
- For best results, start by bringing all your ingredients to room temperature—this small step makes a big difference.
- Using high-quality ingredients, like Daisy Sour Cream, will give you the best flavor and texture.
- If you’re looking for an extra-tender crumb, cake flour can be used in place of all-purpose flour.
- When measuring flour, be sure to spoon it into the measuring cup and level it off with a knife. This helps prevent overpacking, which can lead to a dry cake.
- And when mixing the batter, resist the urge to overmix. Too much mixing develops excess gluten and can leave your cake dense or gummy.
- You can substitute vegetable oil or melted butter for the canola oil if you’d like—both work beautifully.
- Always preheat your oven and use the correct pan size so the cake bakes evenly and rises properly. Try not to open the oven door while it’s baking; letting heat escape can affect the final result.
- Once baked, allow the cake to cool fully before removing it from the pan. Skipping this step can cause cracks or breakage.
- If you prefer a thicker glaze, wait until the cake is mostly cool before glazing, as warmer cakes will cause the glaze to run thin.
- Because this cake takes a bit of time to cool, it’s a great make-ahead option. Store it in an airtight container or freeze it before glazing by wrapping it tightly in plastic wrap and then aluminum foil. It can be frozen for up to three months—just thaw completely before glazing and enjoying.

How to Make Lemon Sour Cream Pound Cake
- Heat oven to 325° Coat 12-cup Bundt pan with nonstick cooking spray. Sprinkle with flour, tapping out excess.
- Whisk flour, baking powder, baking soda and salt in a medium bowl.
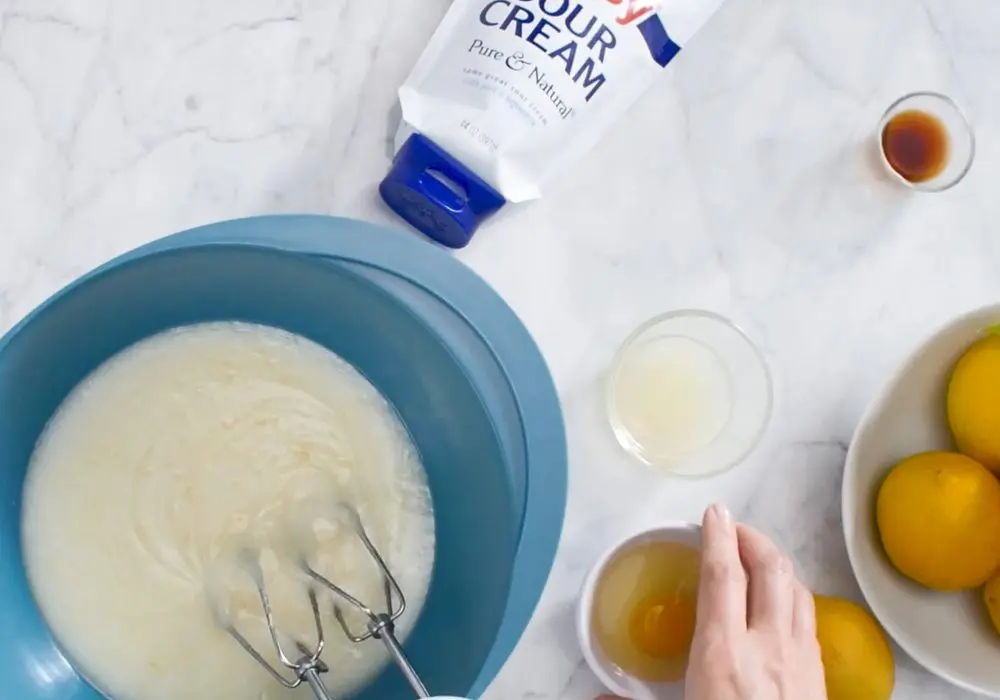
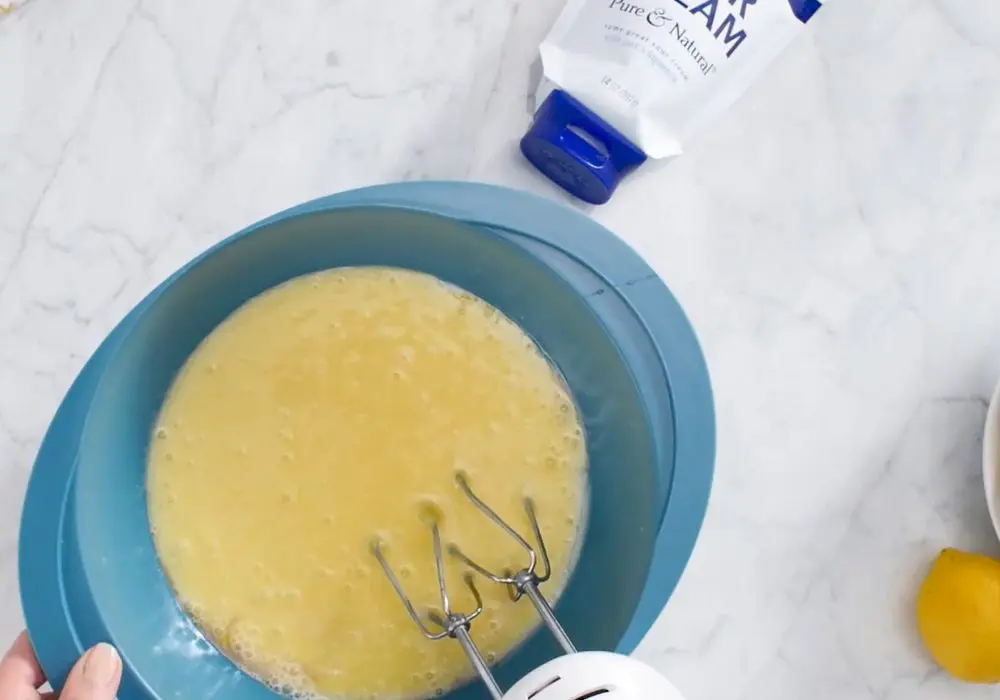
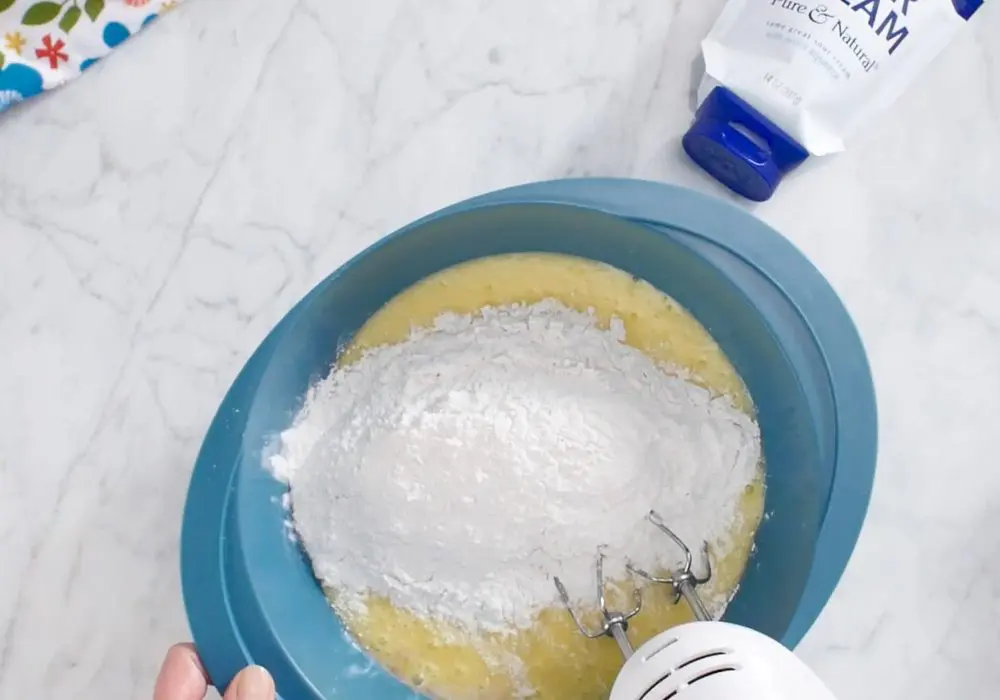
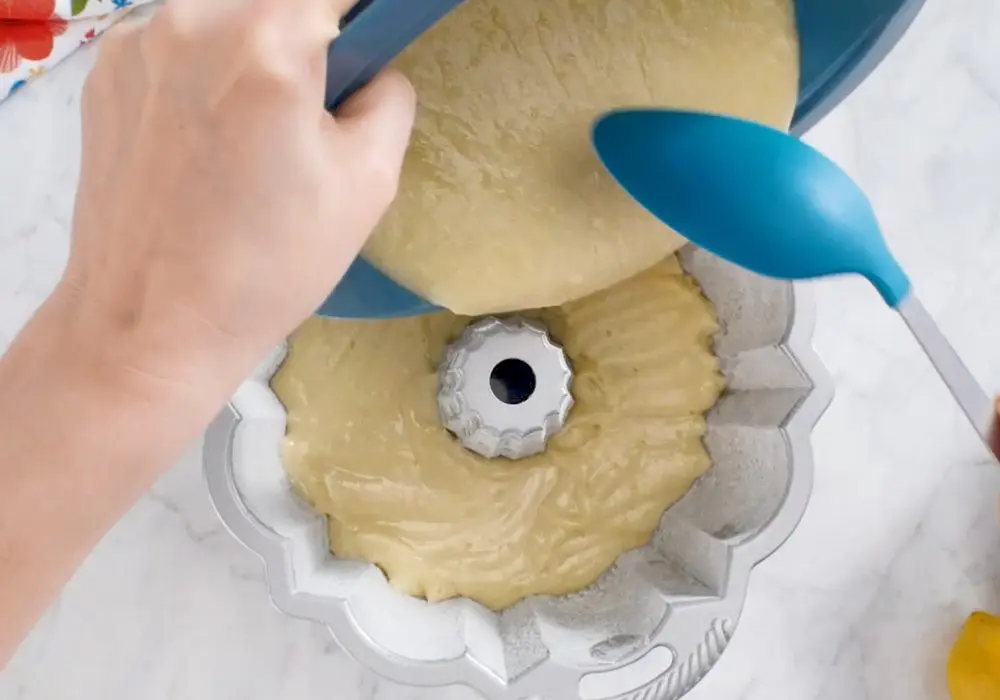
- Beat sugar, sour cream, oil, and lemon peel in large bowl at medium-low speed until smooth. Beat in eggs, one at a time, beating until combined. Beat in 2 tablespoons lemon juice and vanilla extract. At low speed, beat in flour mixture until blended. Spoon batter into pan.
- Bake 55-60 minutes or until the top is golden brown and a wooden skewer inserted in center of cake comes out clean.
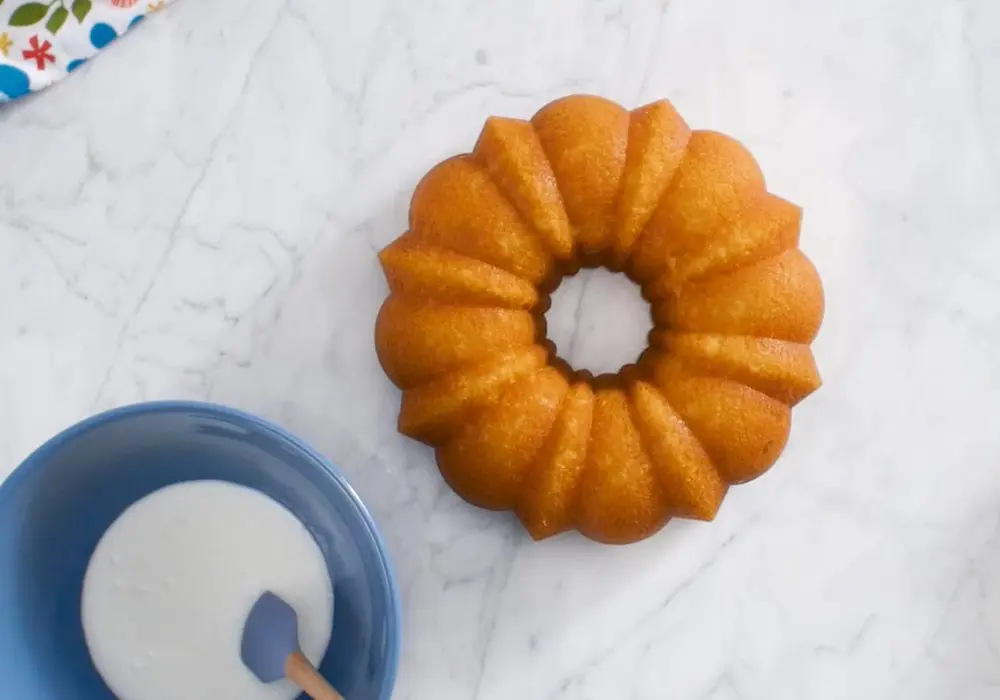
- Cool in pan on a wire rack for 10 minutes. Invert cake onto a wire rack and cool completely.
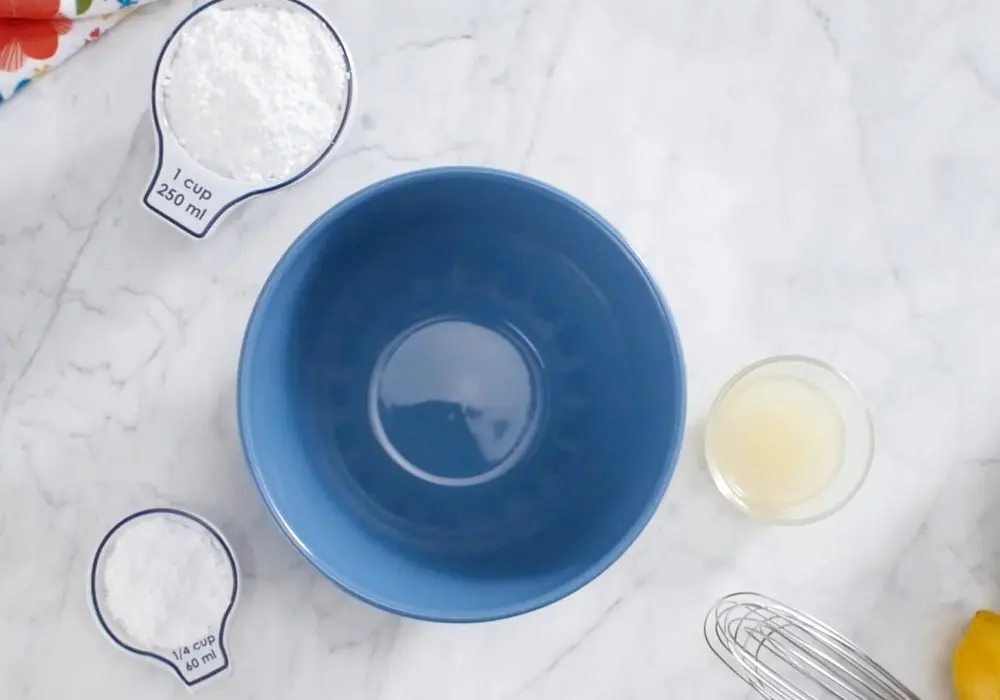
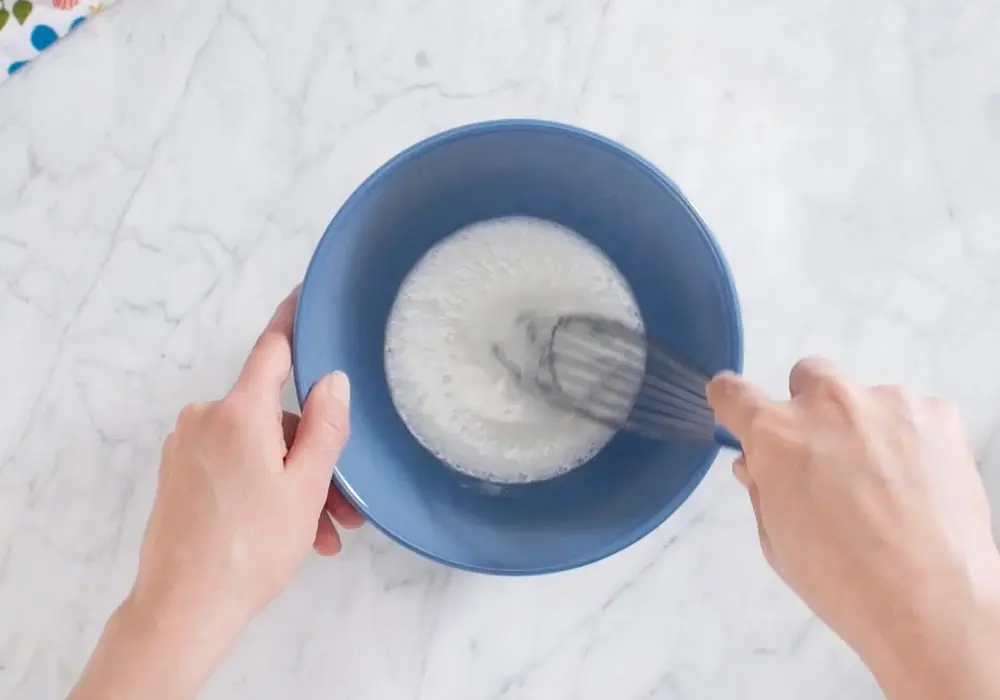
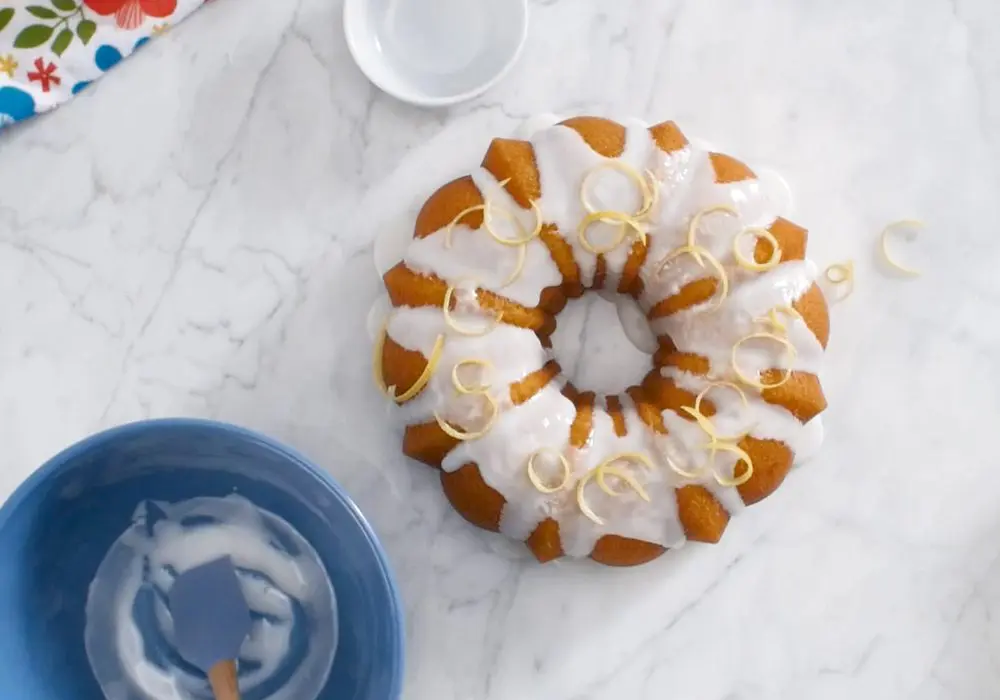
- Meanwhile, whisk 2 tablespoons lemon juice and powdered sugar. Drizzle over cake. Let stand until set.
Cheesy Ranch Dressing
Cheesy Ranch Dressing
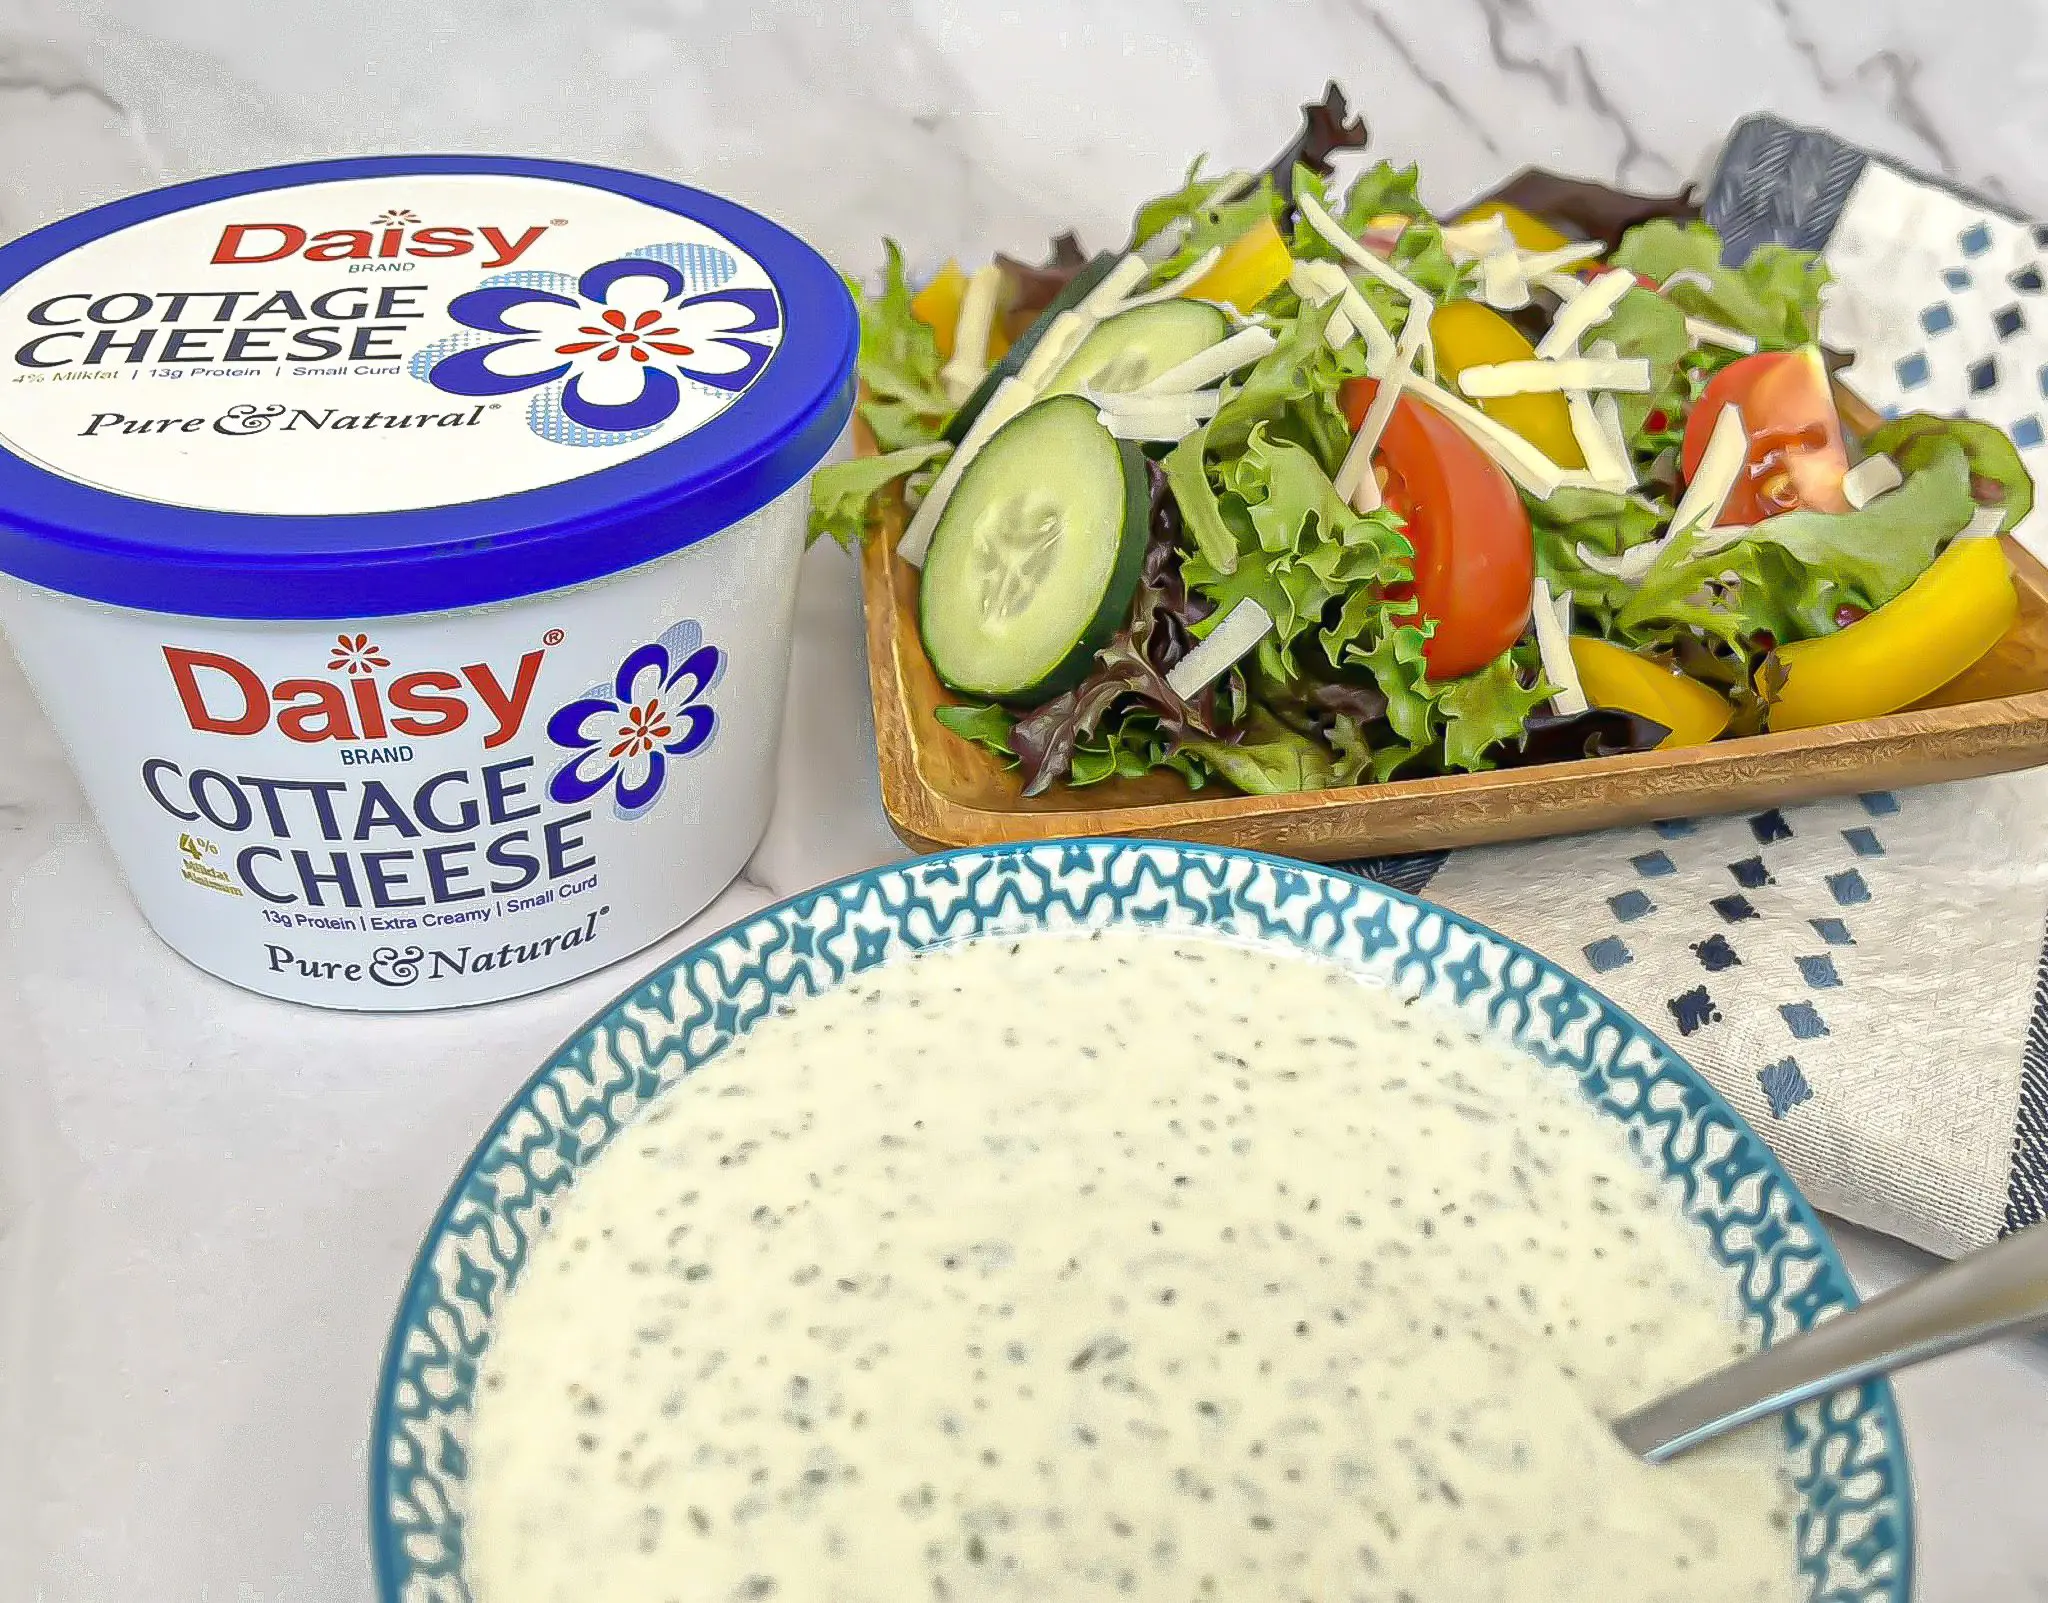
This easy Cheesy Ranch Dressing comes together in a snap and is packed with protein—without all the preservatives and additives found in many store-bought dressings.
Made with Daisy Cottage Cheese as the creamy base, this dressing is rich, flavorful, and surprisingly light. It’s perfect for salads, dipping veggies, or drizzling over grain bowls and roasted veggies. Once you try it, you’ll never go back to bottled ranch again!
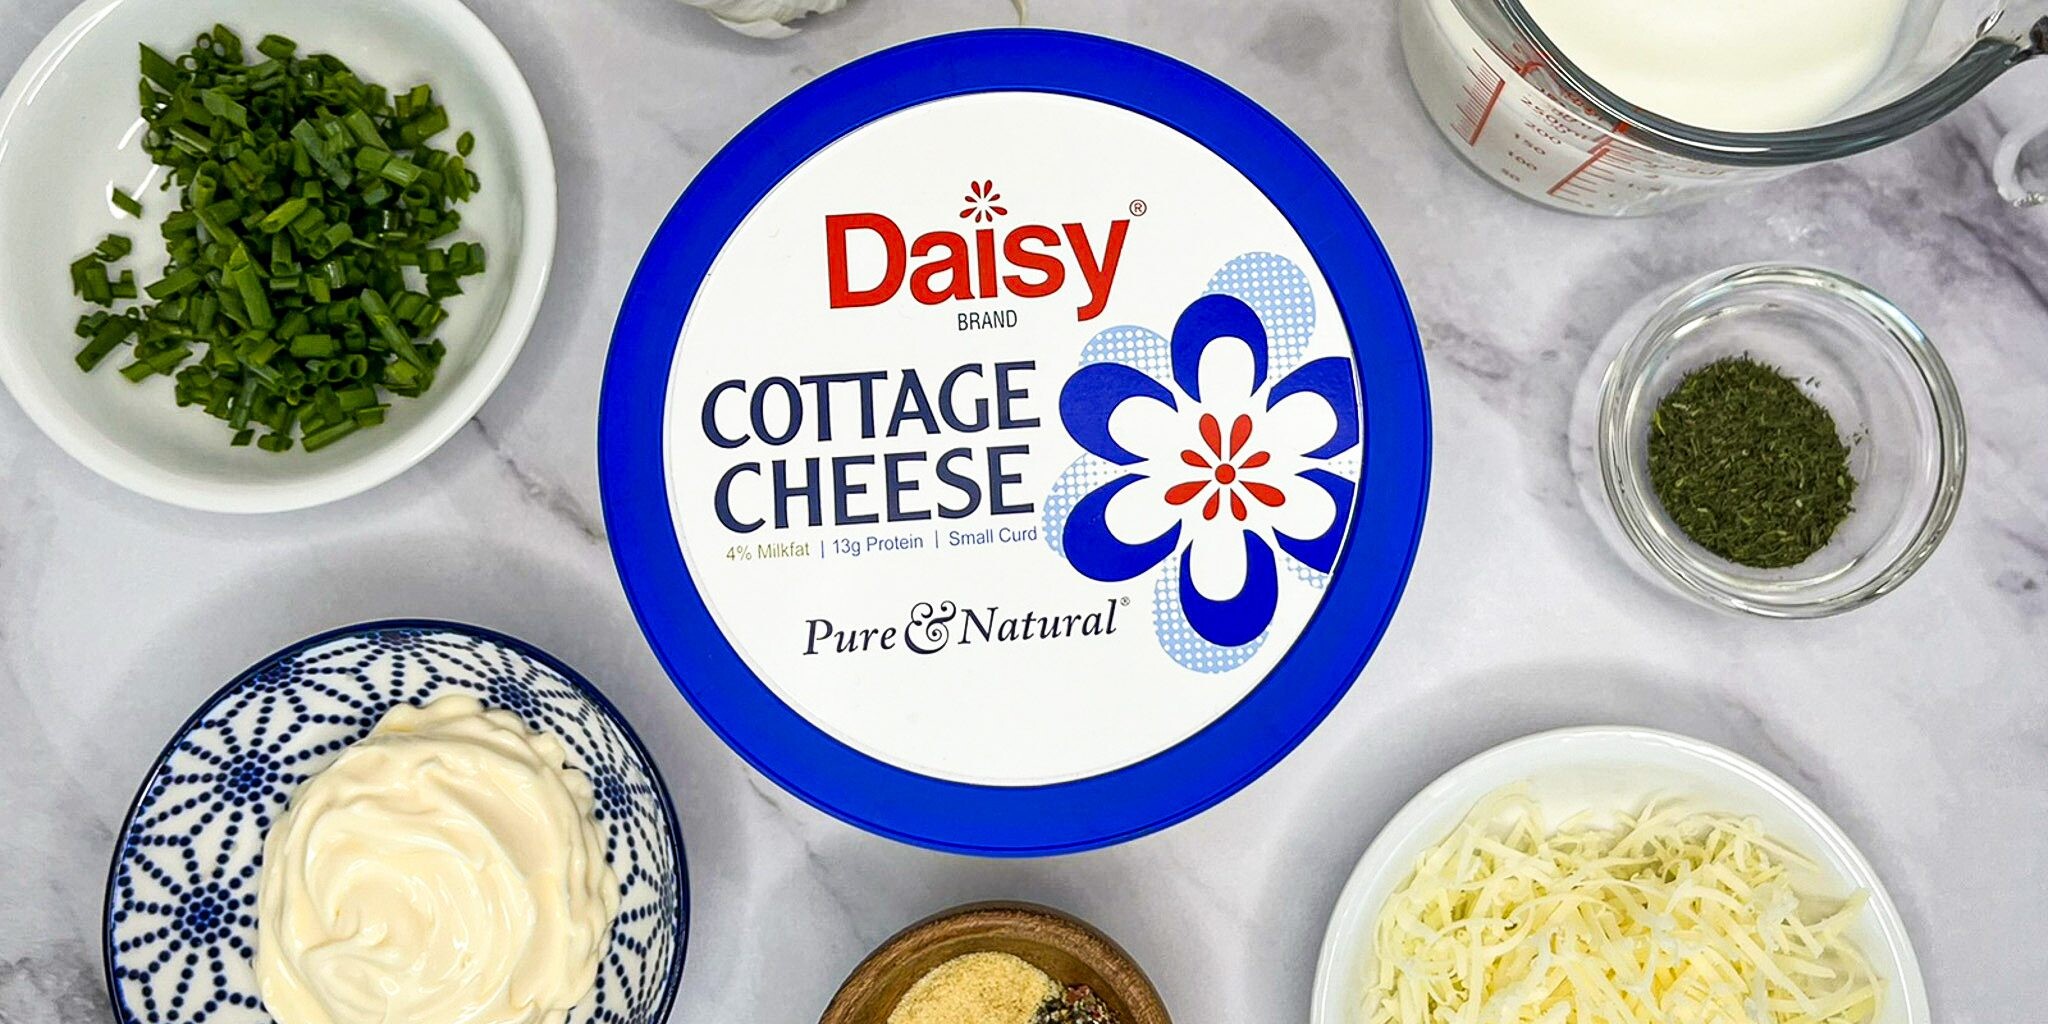
Cheesy Ranch Dressing Ingredients
- Daisy Cottage Cheese (1 cup): Provides the dressing with its creamy texture and adds a subtle tangy taste with a boost of protein.
- Buttermilk (1/2 cup): Tangy in taste, it adds a touch of acid to the dressing and thins it out.
- Mayonnaise (1/4 cup): Adds a creamy richness to the dressing.
- Fresh Chives (2 tablespoons, chopped): Small, thin, and wispy onions, perfect for adding a touch of mild onion flavor with a taste similar to leeks.
- Parmesan (2 tablespoons, grated): Best when freshly grated, it adds a nutty saltiness to the dressing.
- Garlic (1 clove): Fresh garlic gives a pungent, sharp flavor that compliments the herbs.
- Onion Powder (1/4 teaspoon): Adds a concentrated, punchy onion taste without adding texture of fresh onions.
- Kosher Salt (1/4 teaspoon): A large-grain salt that is less refined than table salt and contains no additives. It helps enhance the other flavors of the dressing.
- Cracked Black Pepper (1/4 teaspoon): Adds a round and deep flavor than ground pepper. Highly fragrant and earthy in taste with citrus and slight floral notes.
- Dried Dill (1 teaspoon): One of the traditional flavors of ranch dressing, this concentrated dried herb packs a bright, sweet, citrusy, earthy punch.
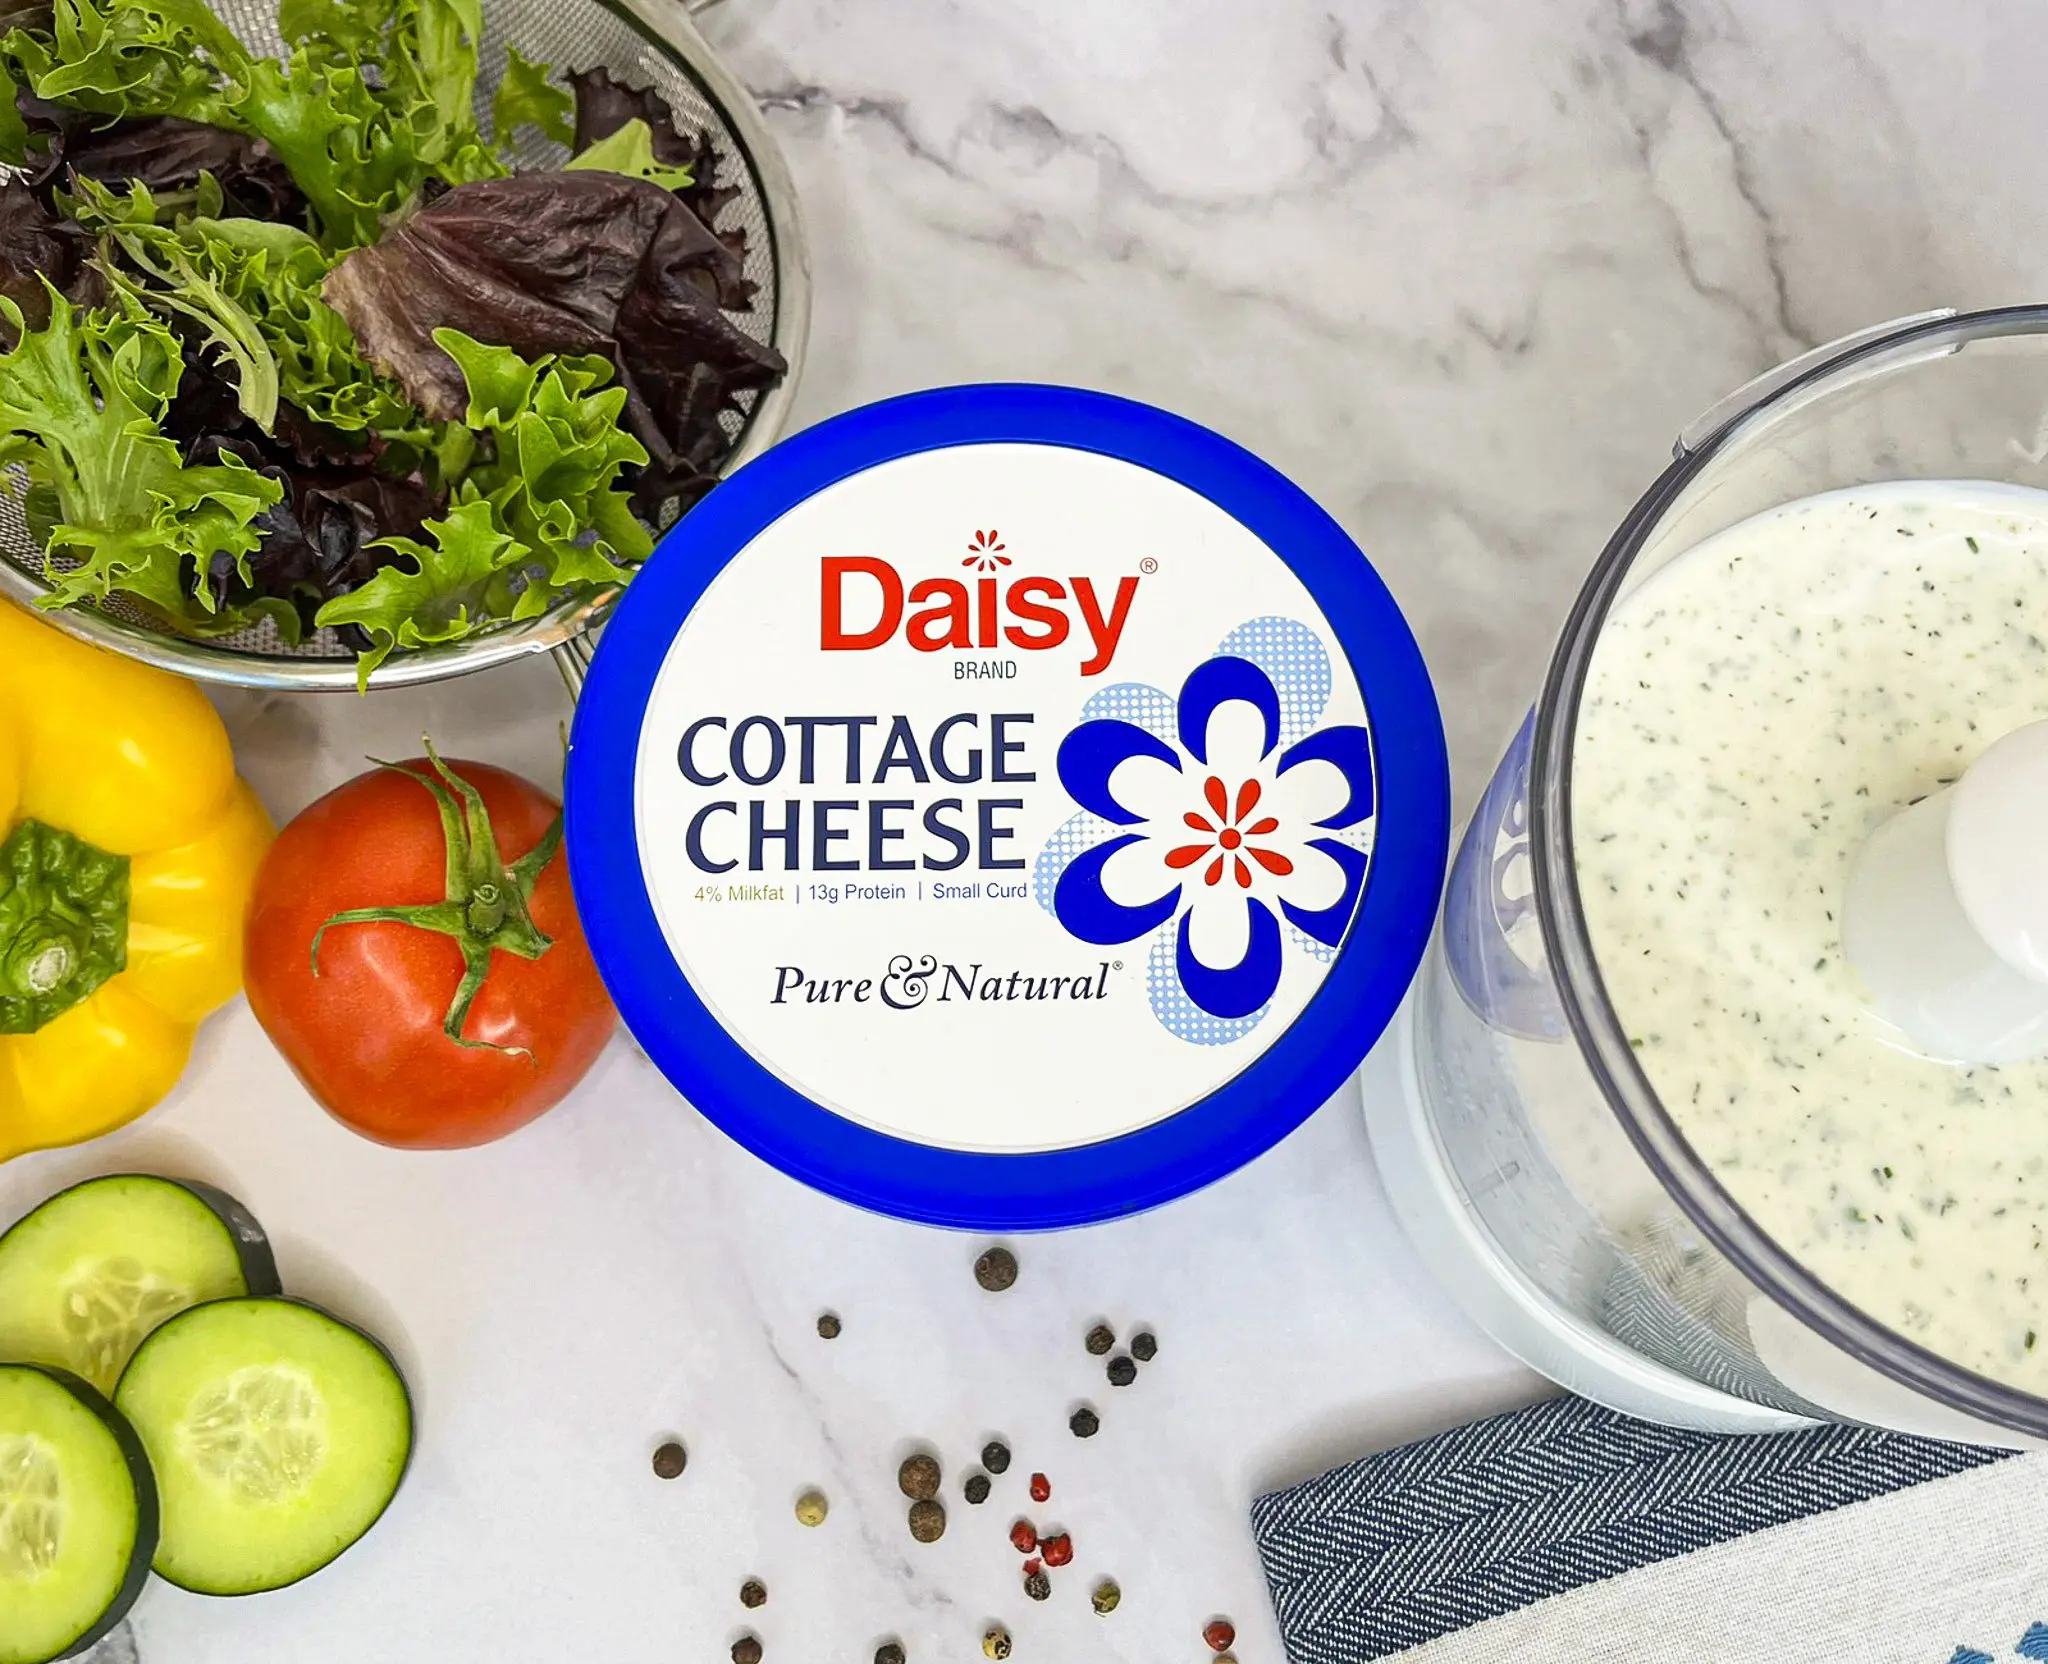
Substitutions, Variations, and Tips
- Substitute ½ teaspoon jarred minced garlic for the fresh clove if you’re short on time.
- Want a little heat? Add a small diced jalapeño or 1/8 teaspoon cayenne pepper.
- No buttermilk? Make your own by mixing 1 tablespoon lemon juice or vinegar into 1 cup milk—let it sit for 10 minutes.
- Swap green onions or leeks for the chives.
- Use 1 tablespoon chopped fresh dill instead of dried for a brighter flavor.
- Customize the texture! Blend until smooth or leave a bit of chunkiness for a rustic feel.
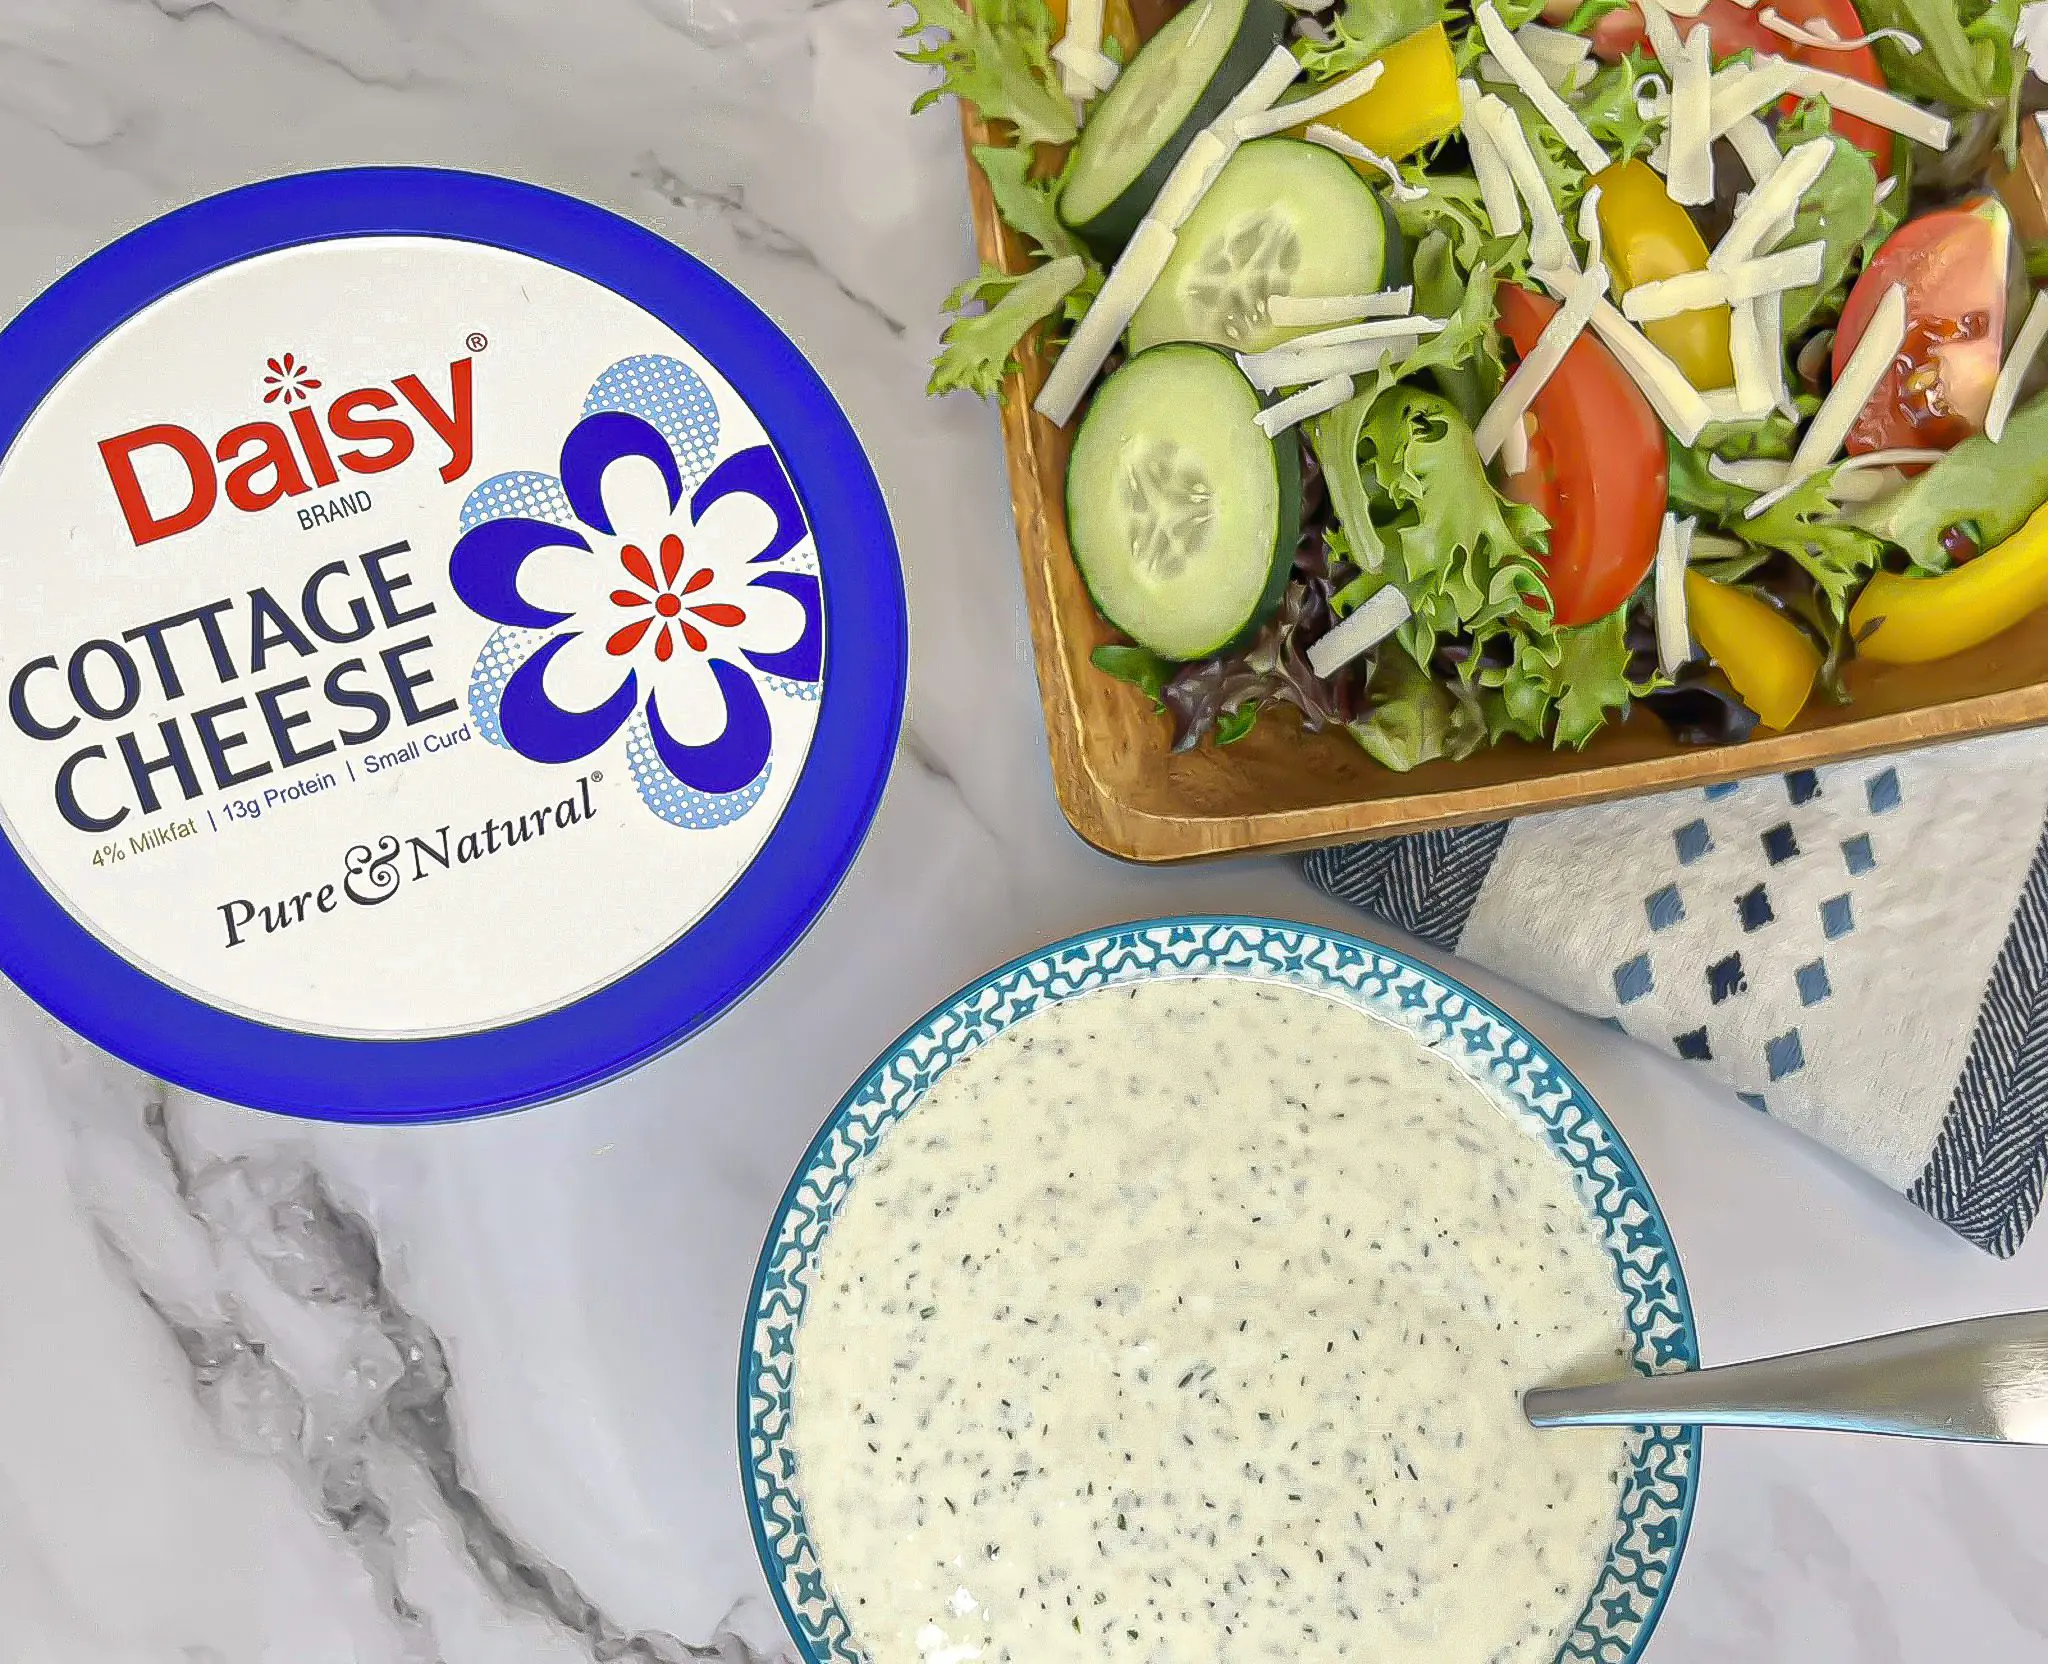
How to Make Cheesy Ranch Dressing
- In a food processor, combine all ingredients except the dill and blend until smooth.
- Stir in the dill.
- Serve immediately, or refrigerate for a few hours to let the flavors meld.
This dressing keeps well in the fridge for several days—perfect for meal prep! Once you try this protein-packed twist on ranch, you may never go back to the bottled stuff.
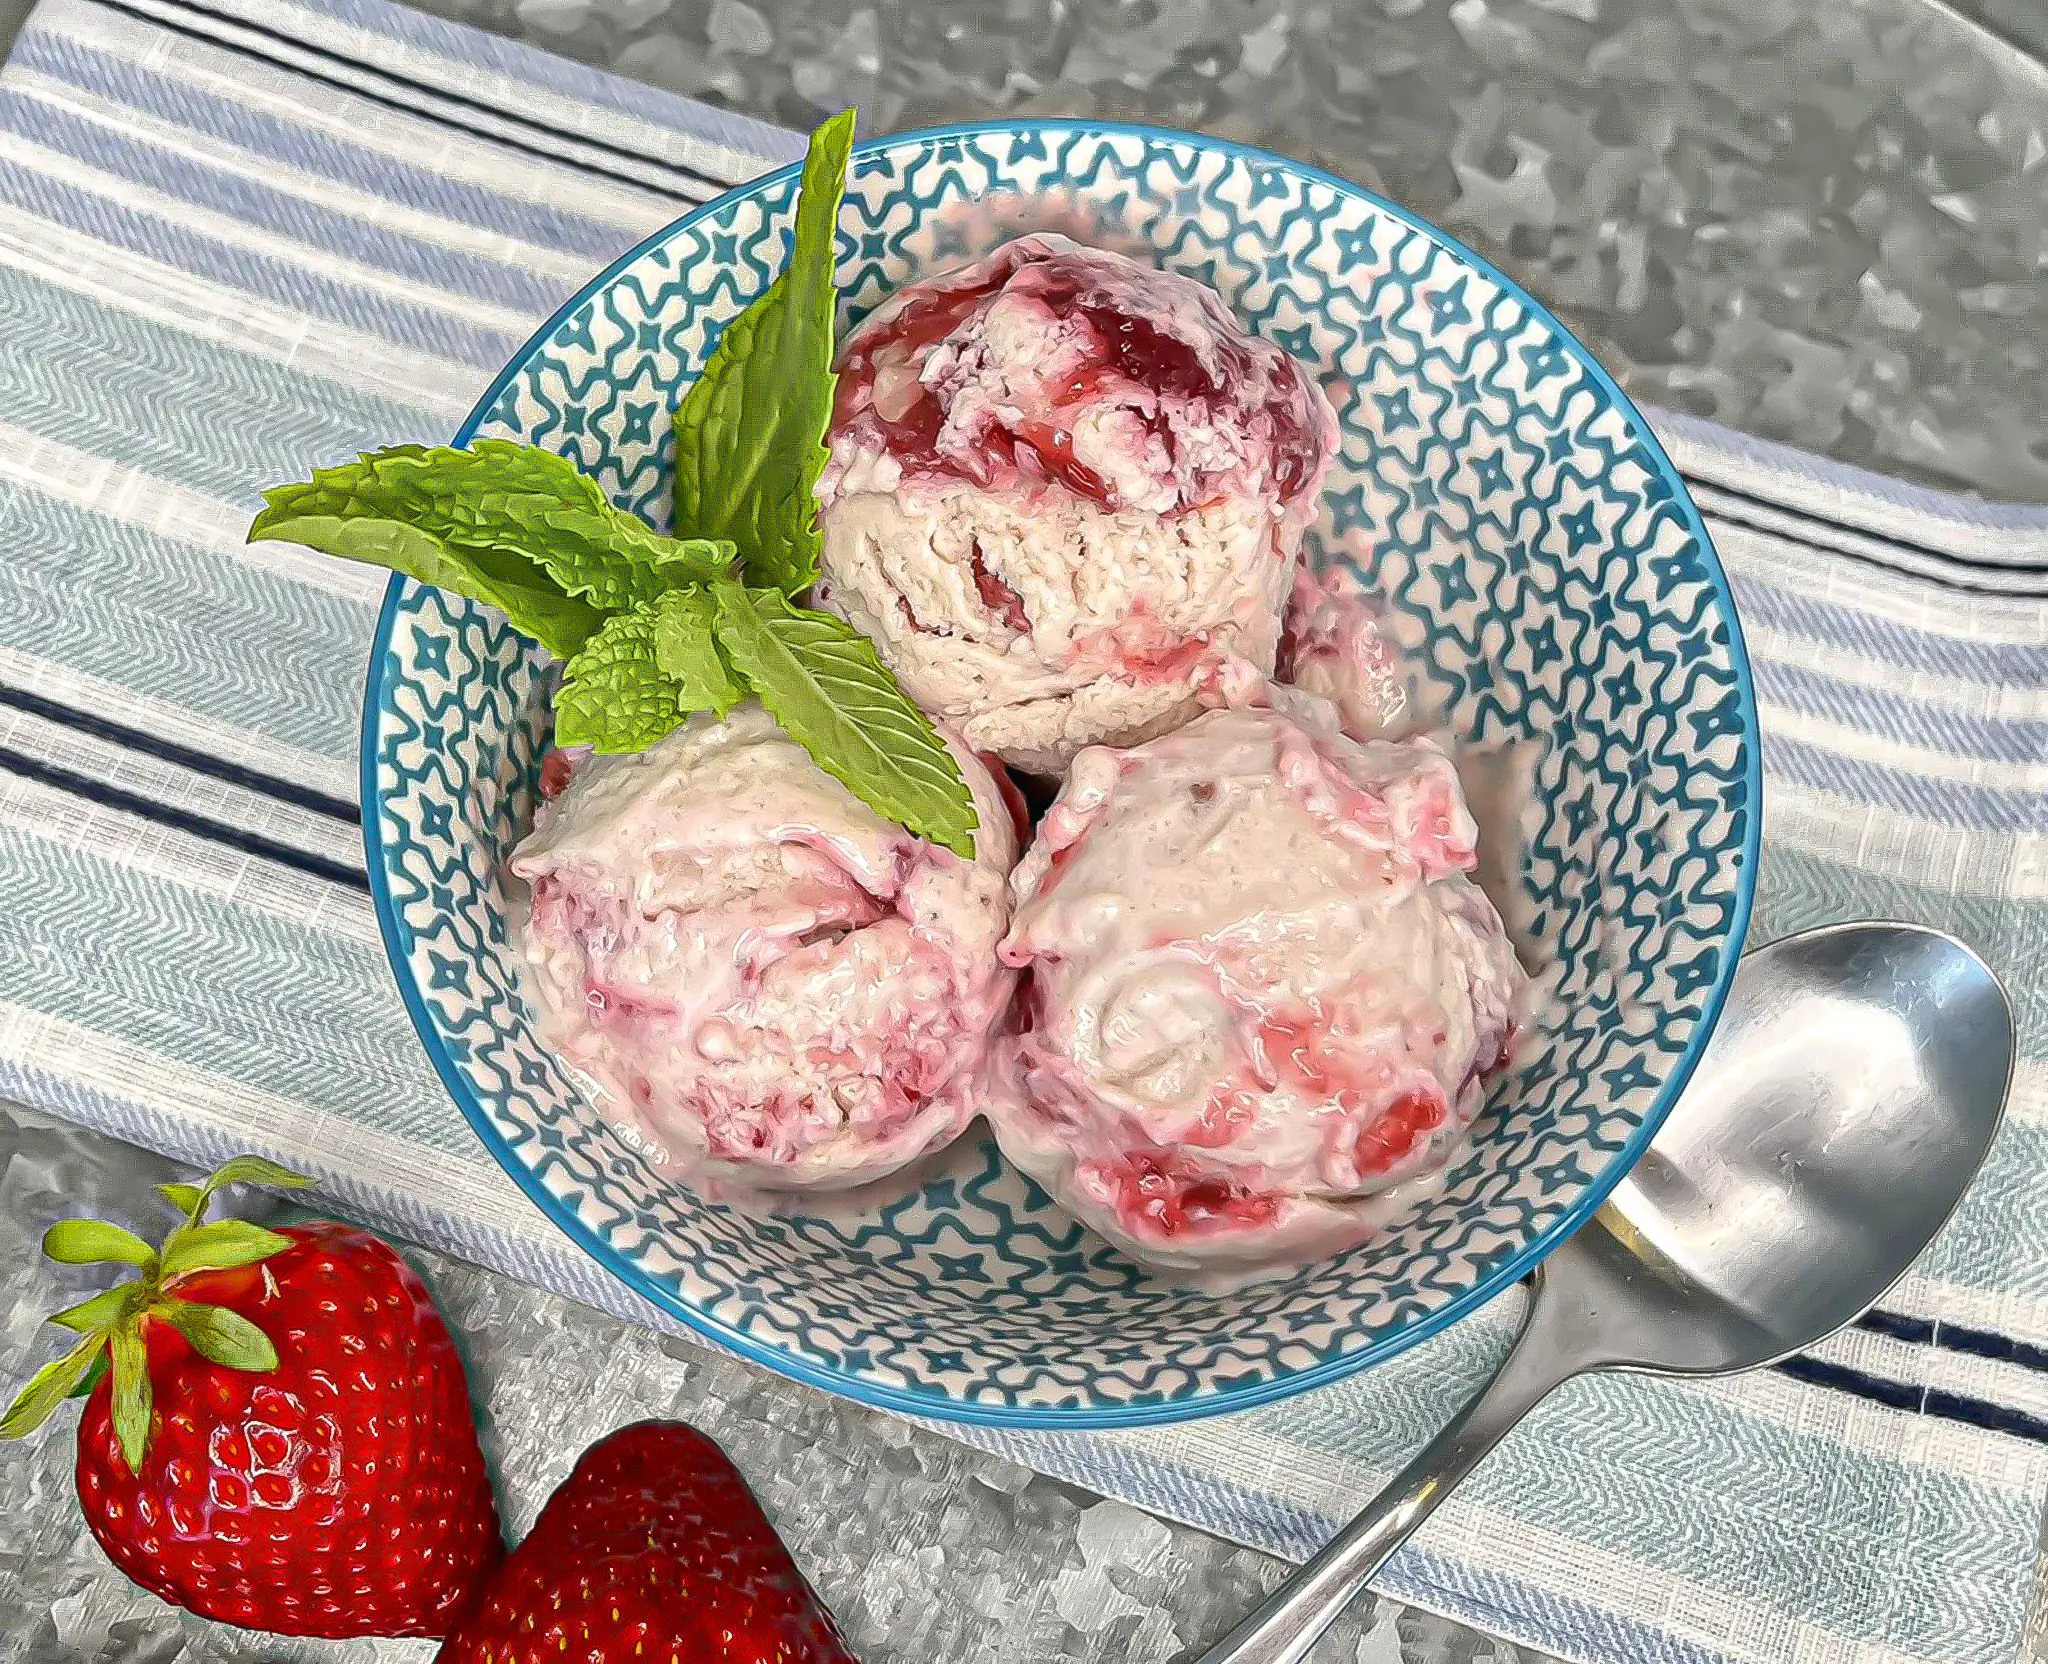
Easy Strawberry Ice Cream
Easy Strawberry Ice Cream
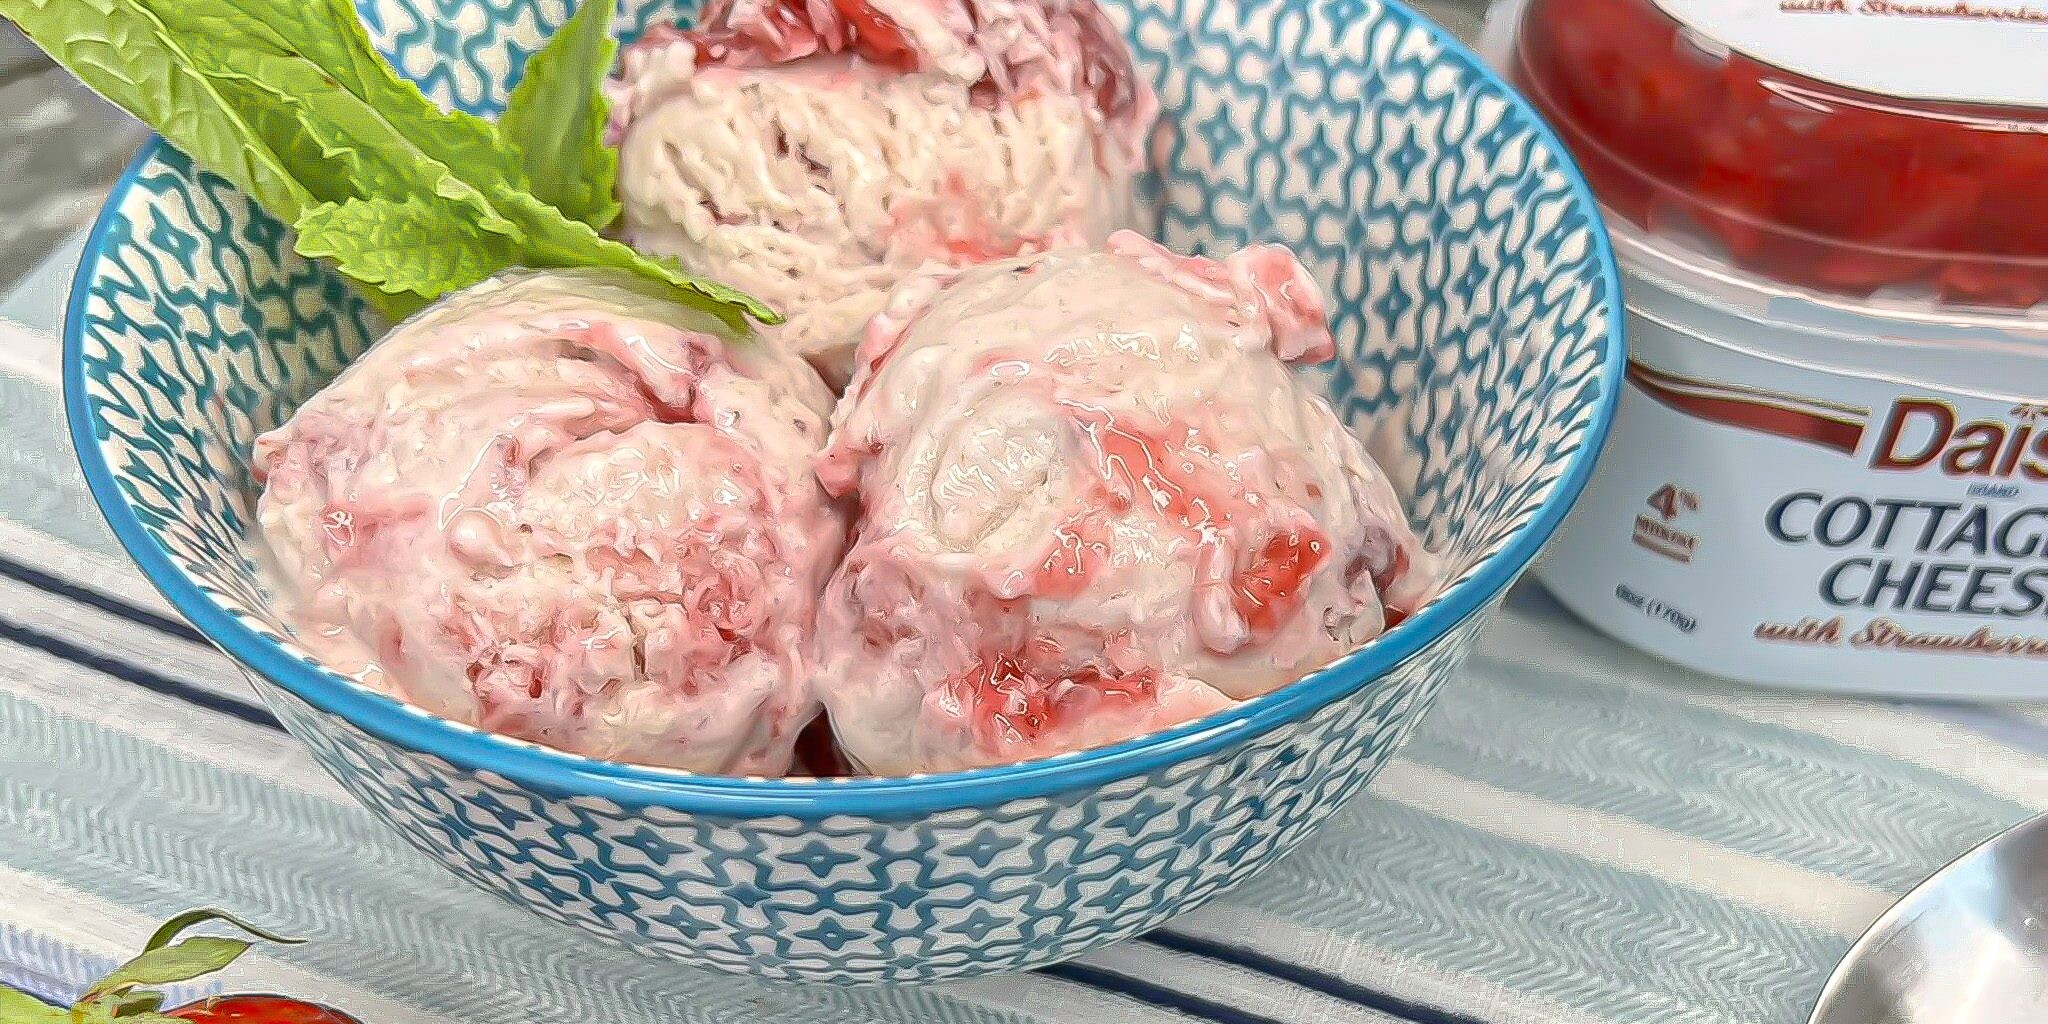
This Easy Strawberry Ice Cream is full of creamy deliciousness with decadent strawberry swirls. With only two ingredients, it has half the fat of traditional strawberry ice cream with more than double the protein. Now you can enjoy delicious ice cream without guilt. Our Easy Strawberry Ice Cream requires no special equipment (no ice cream machine needed) and only takes about 5-minute to prep.
Easy Strawberry Ice Cream Ingredients
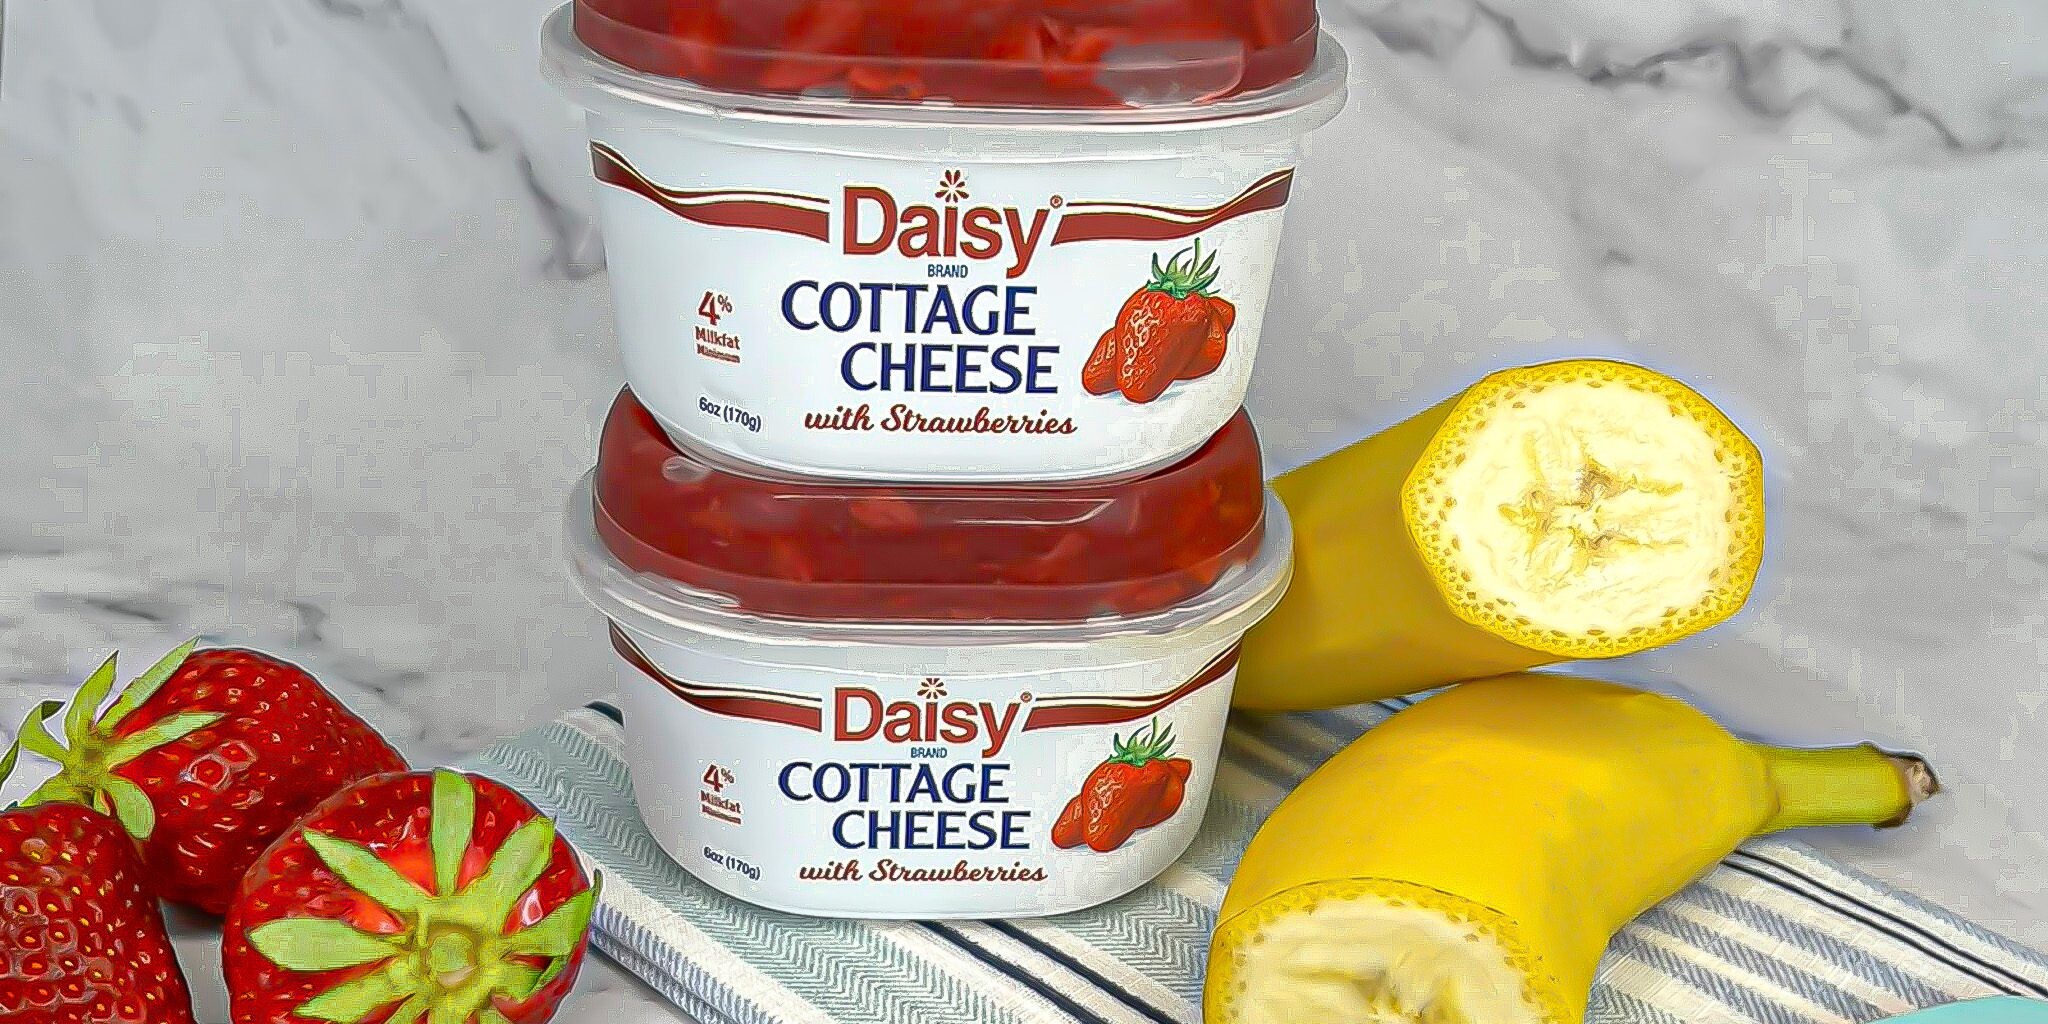
- Daisy Strawberry Cottage Cheese Singles (4 packages): The secret ingredient in this delicious ice cream. The cottage cheese portion creates the smooth, silky, creamy texture that you love. The strawberry compote adds the decadent strawberry swirl deliciousness.
- Frozen Bananas (2): Adds sweetness and helps with the custard-like consistency of ice cream.
Substitutions, Variations, and Tips
- The best bananas for ice cream are ones that are just on the point of turning brown. They are naturally sweeter when they are just over-ripe.
- To get the perfect texture, bananas need to be frozen hard. It’s ideal to freeze them overnight to make sure they are entirely frozen. Don’t take them out of the freezer until you’re ready to use them. The 2 best methods for freezing bananas for ice cream:
- Throw whole unpeeled bananas into the freezer (the peels will turn black as they freeze). Bananas will last about 3 months in the freezer. When ready to use, peel with a knife and chop the banana into pieces.
- Peel ripe bananas, slice or half, and arrange in a single layer on a baking sheet. Freeze for one hour. Transfer pieces to a zip-top bag, remove air, and store frozen bananas up to 3 months.
- Any fruit flavor of Daisy Cottage Cheese singles will work well. Try them all for other delicious flavors such as peach, pineapple, and blueberry.
- Don’t over-blend the ice cream. You want to blend until just thick and creamy. Over-blending will make the ice cream runny.
- 2 hours in the freezer will yield the ideal texture for the ice cream. Freezing it longer will make the ice cream too hard to scoop.
- Ice cream makers may also be used following the manufacturer’s instructions.
- Try topping with chopped pistachios, mini marshmallows, or your other favorite ice cream toppings.
- You can also enjoy for breakfast!
How to Make Easy Strawberry Ice Cream
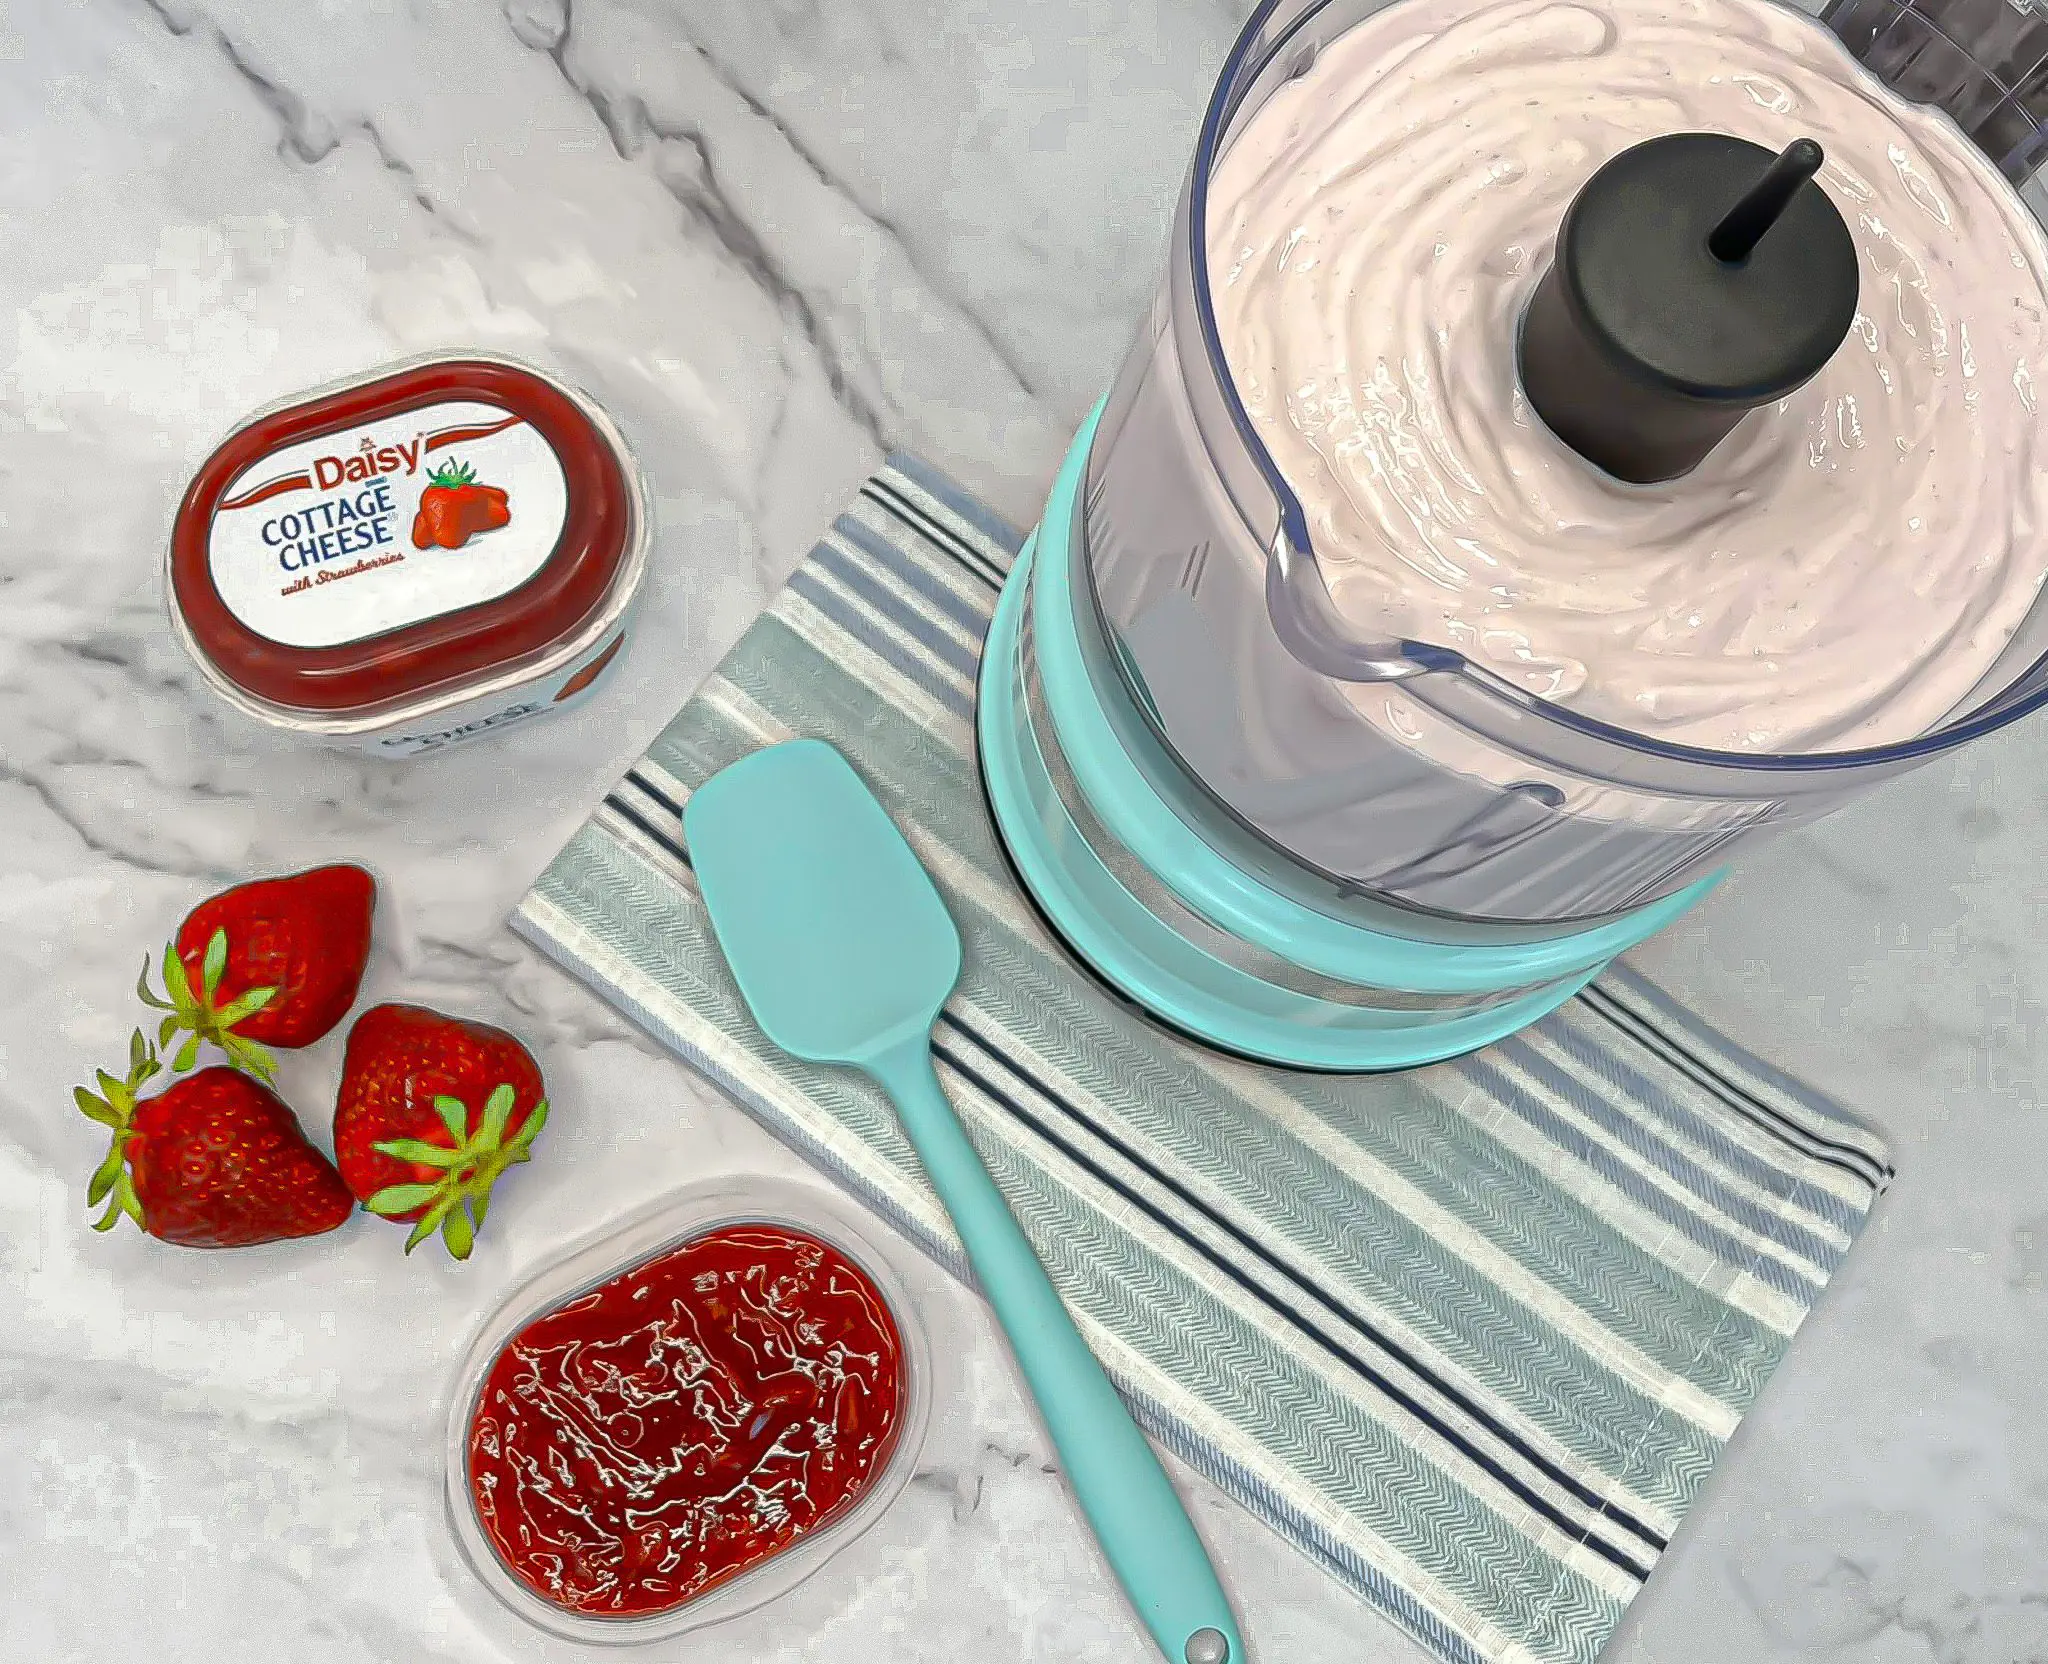
- Reserve fruit compote from 2 packages for swirling.
- Combine cottage cheese, strawberry compote from 2 packages, and frozen bananas in blender. Blend until completely smooth.
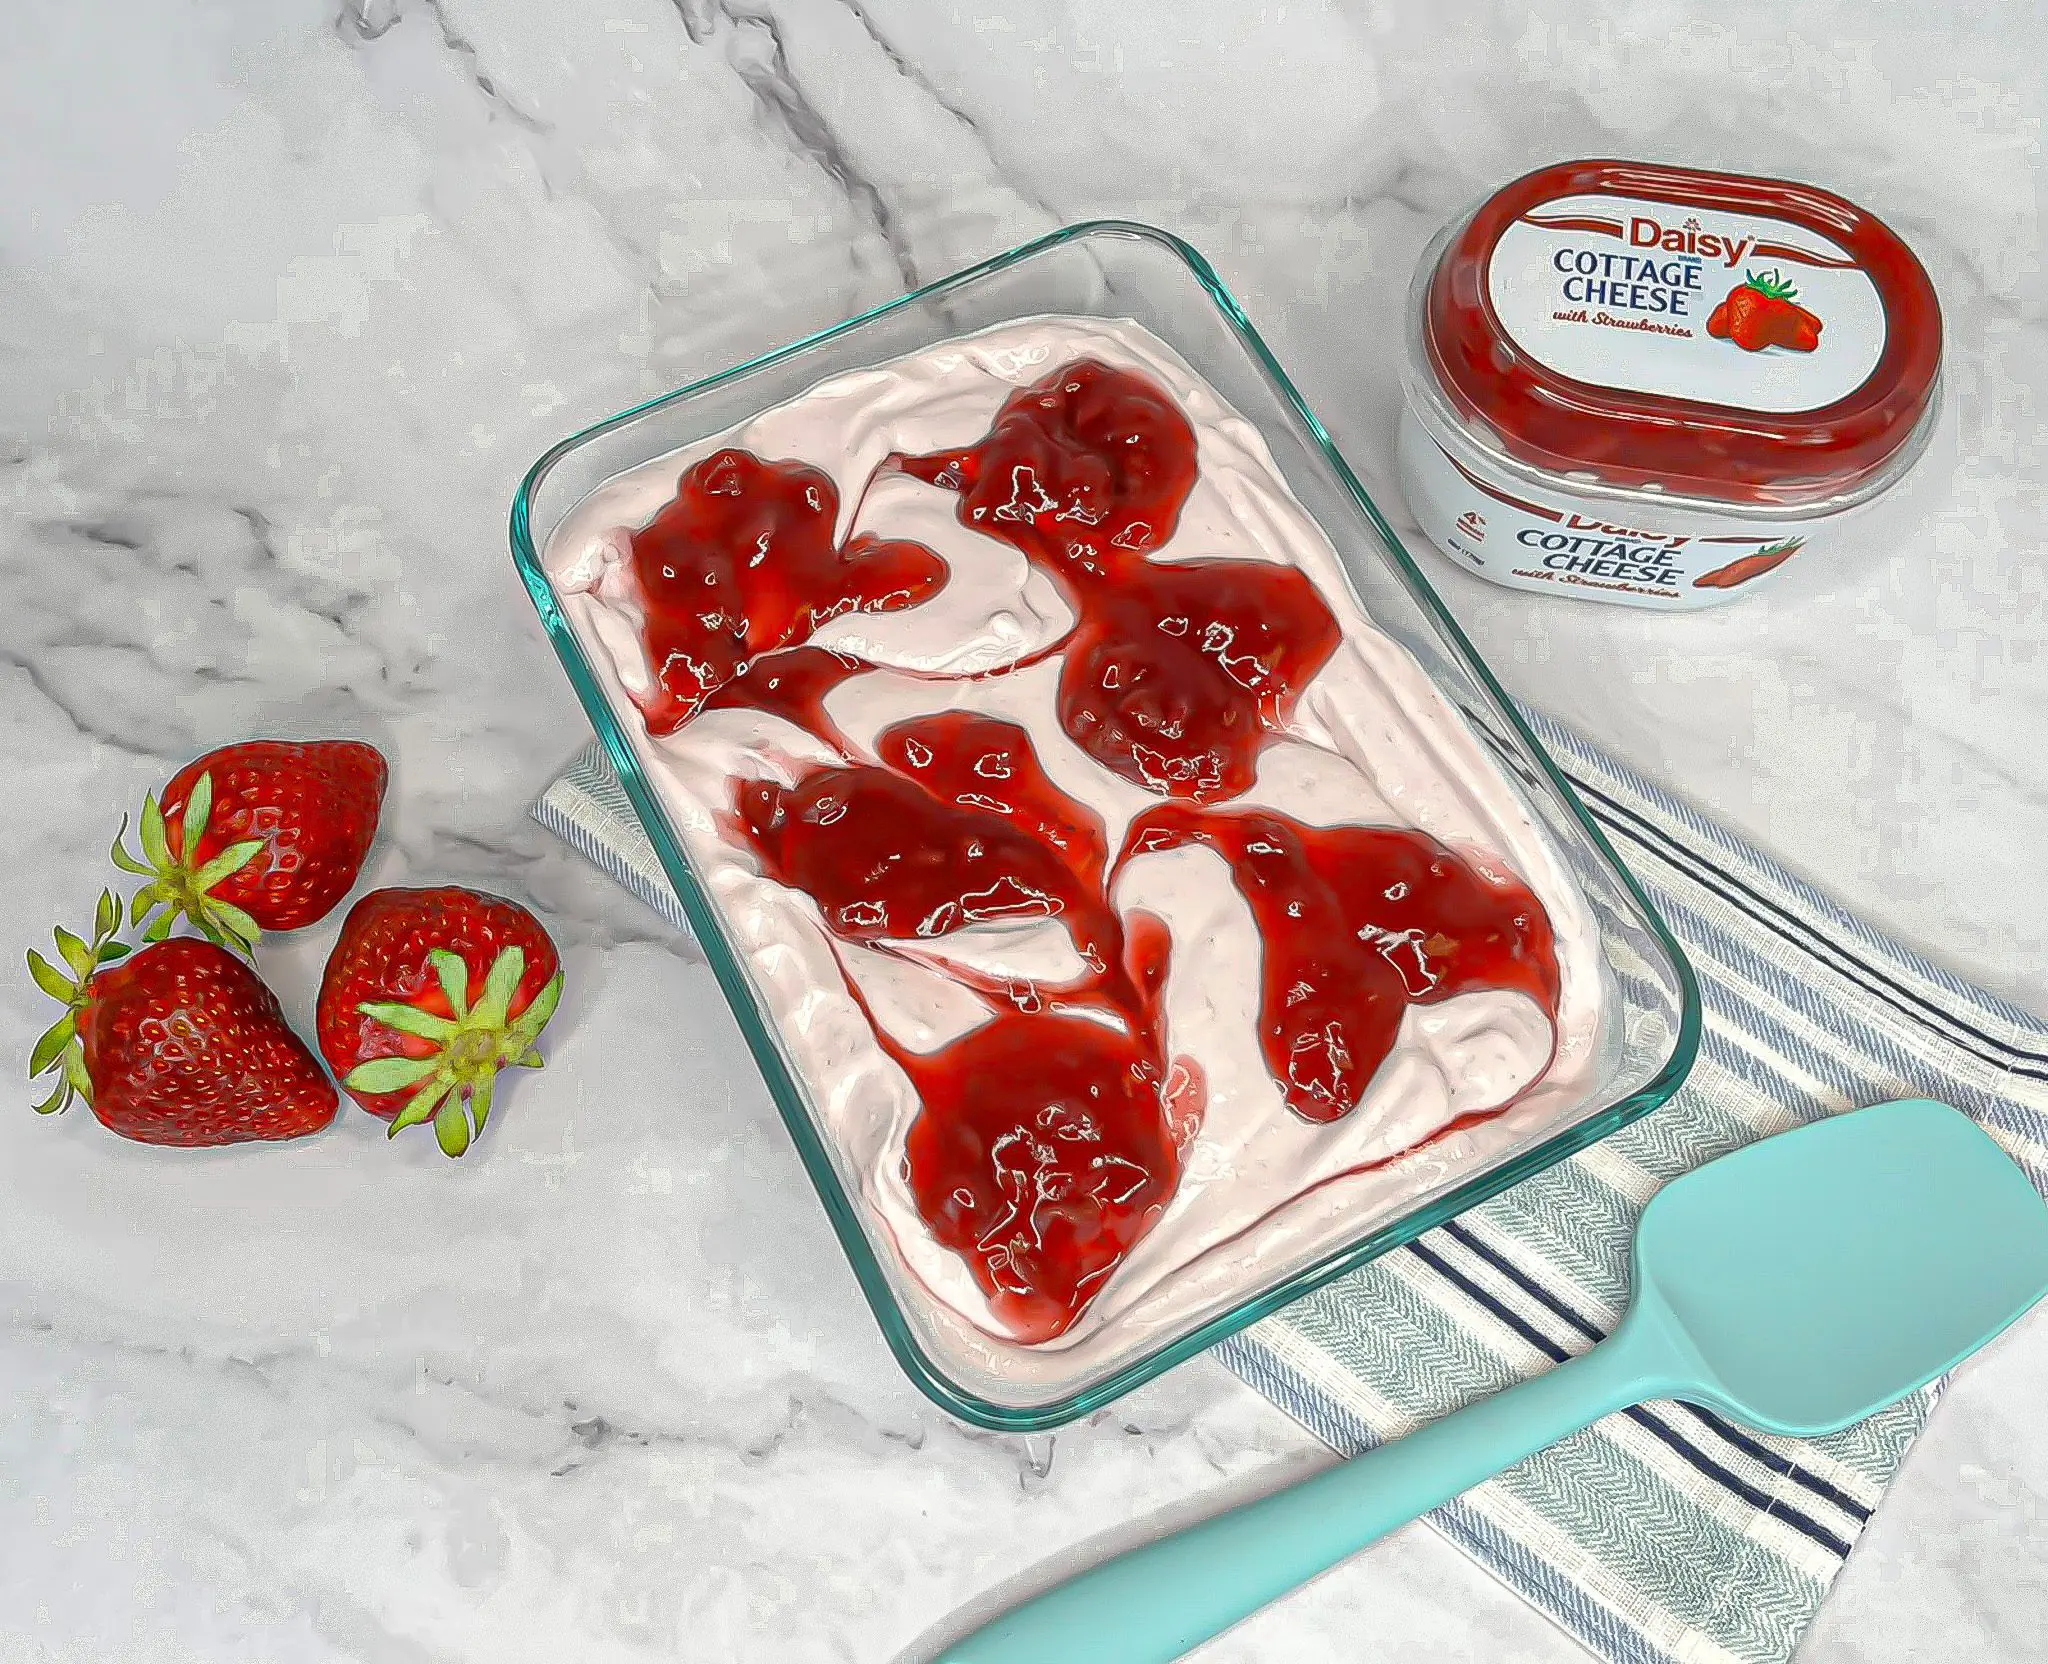
- Transfer into pan lined with parchment paper. Swirl reserved strawberry compote on top. Freeze for 1-2 hours or until frozen (enjoy within 2 hours of freezing).
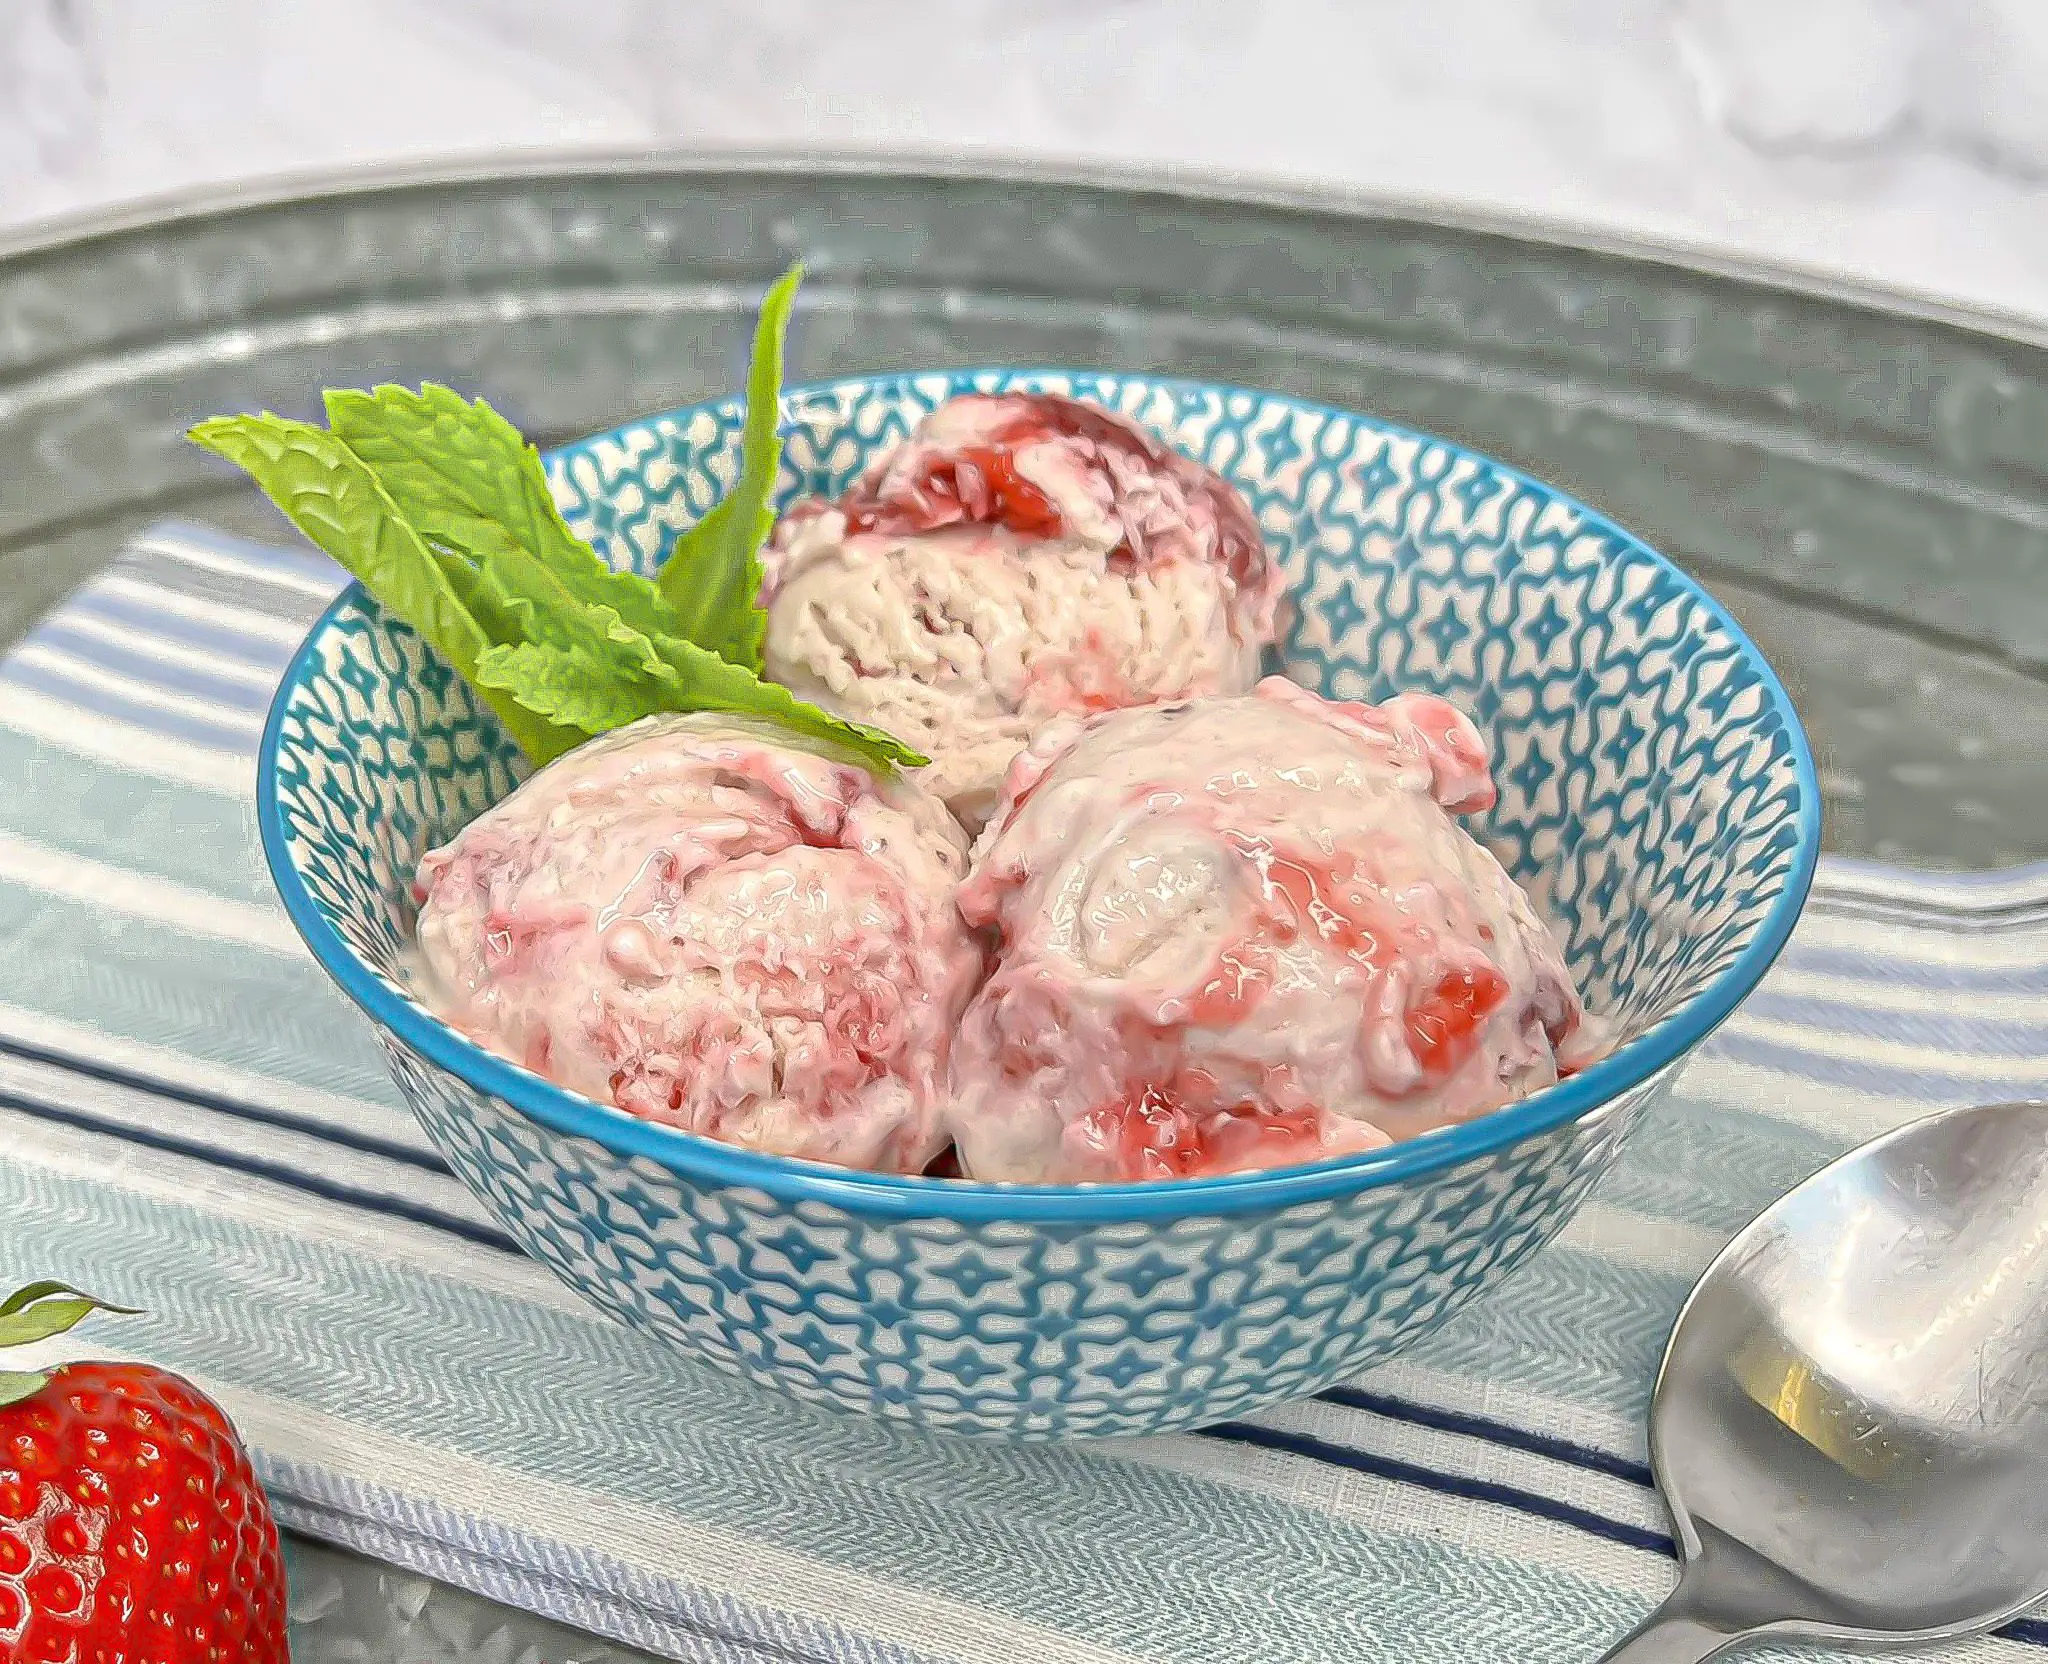
- Let ice cream sit at room temperature for 5-10 minutes before scooping and serving.
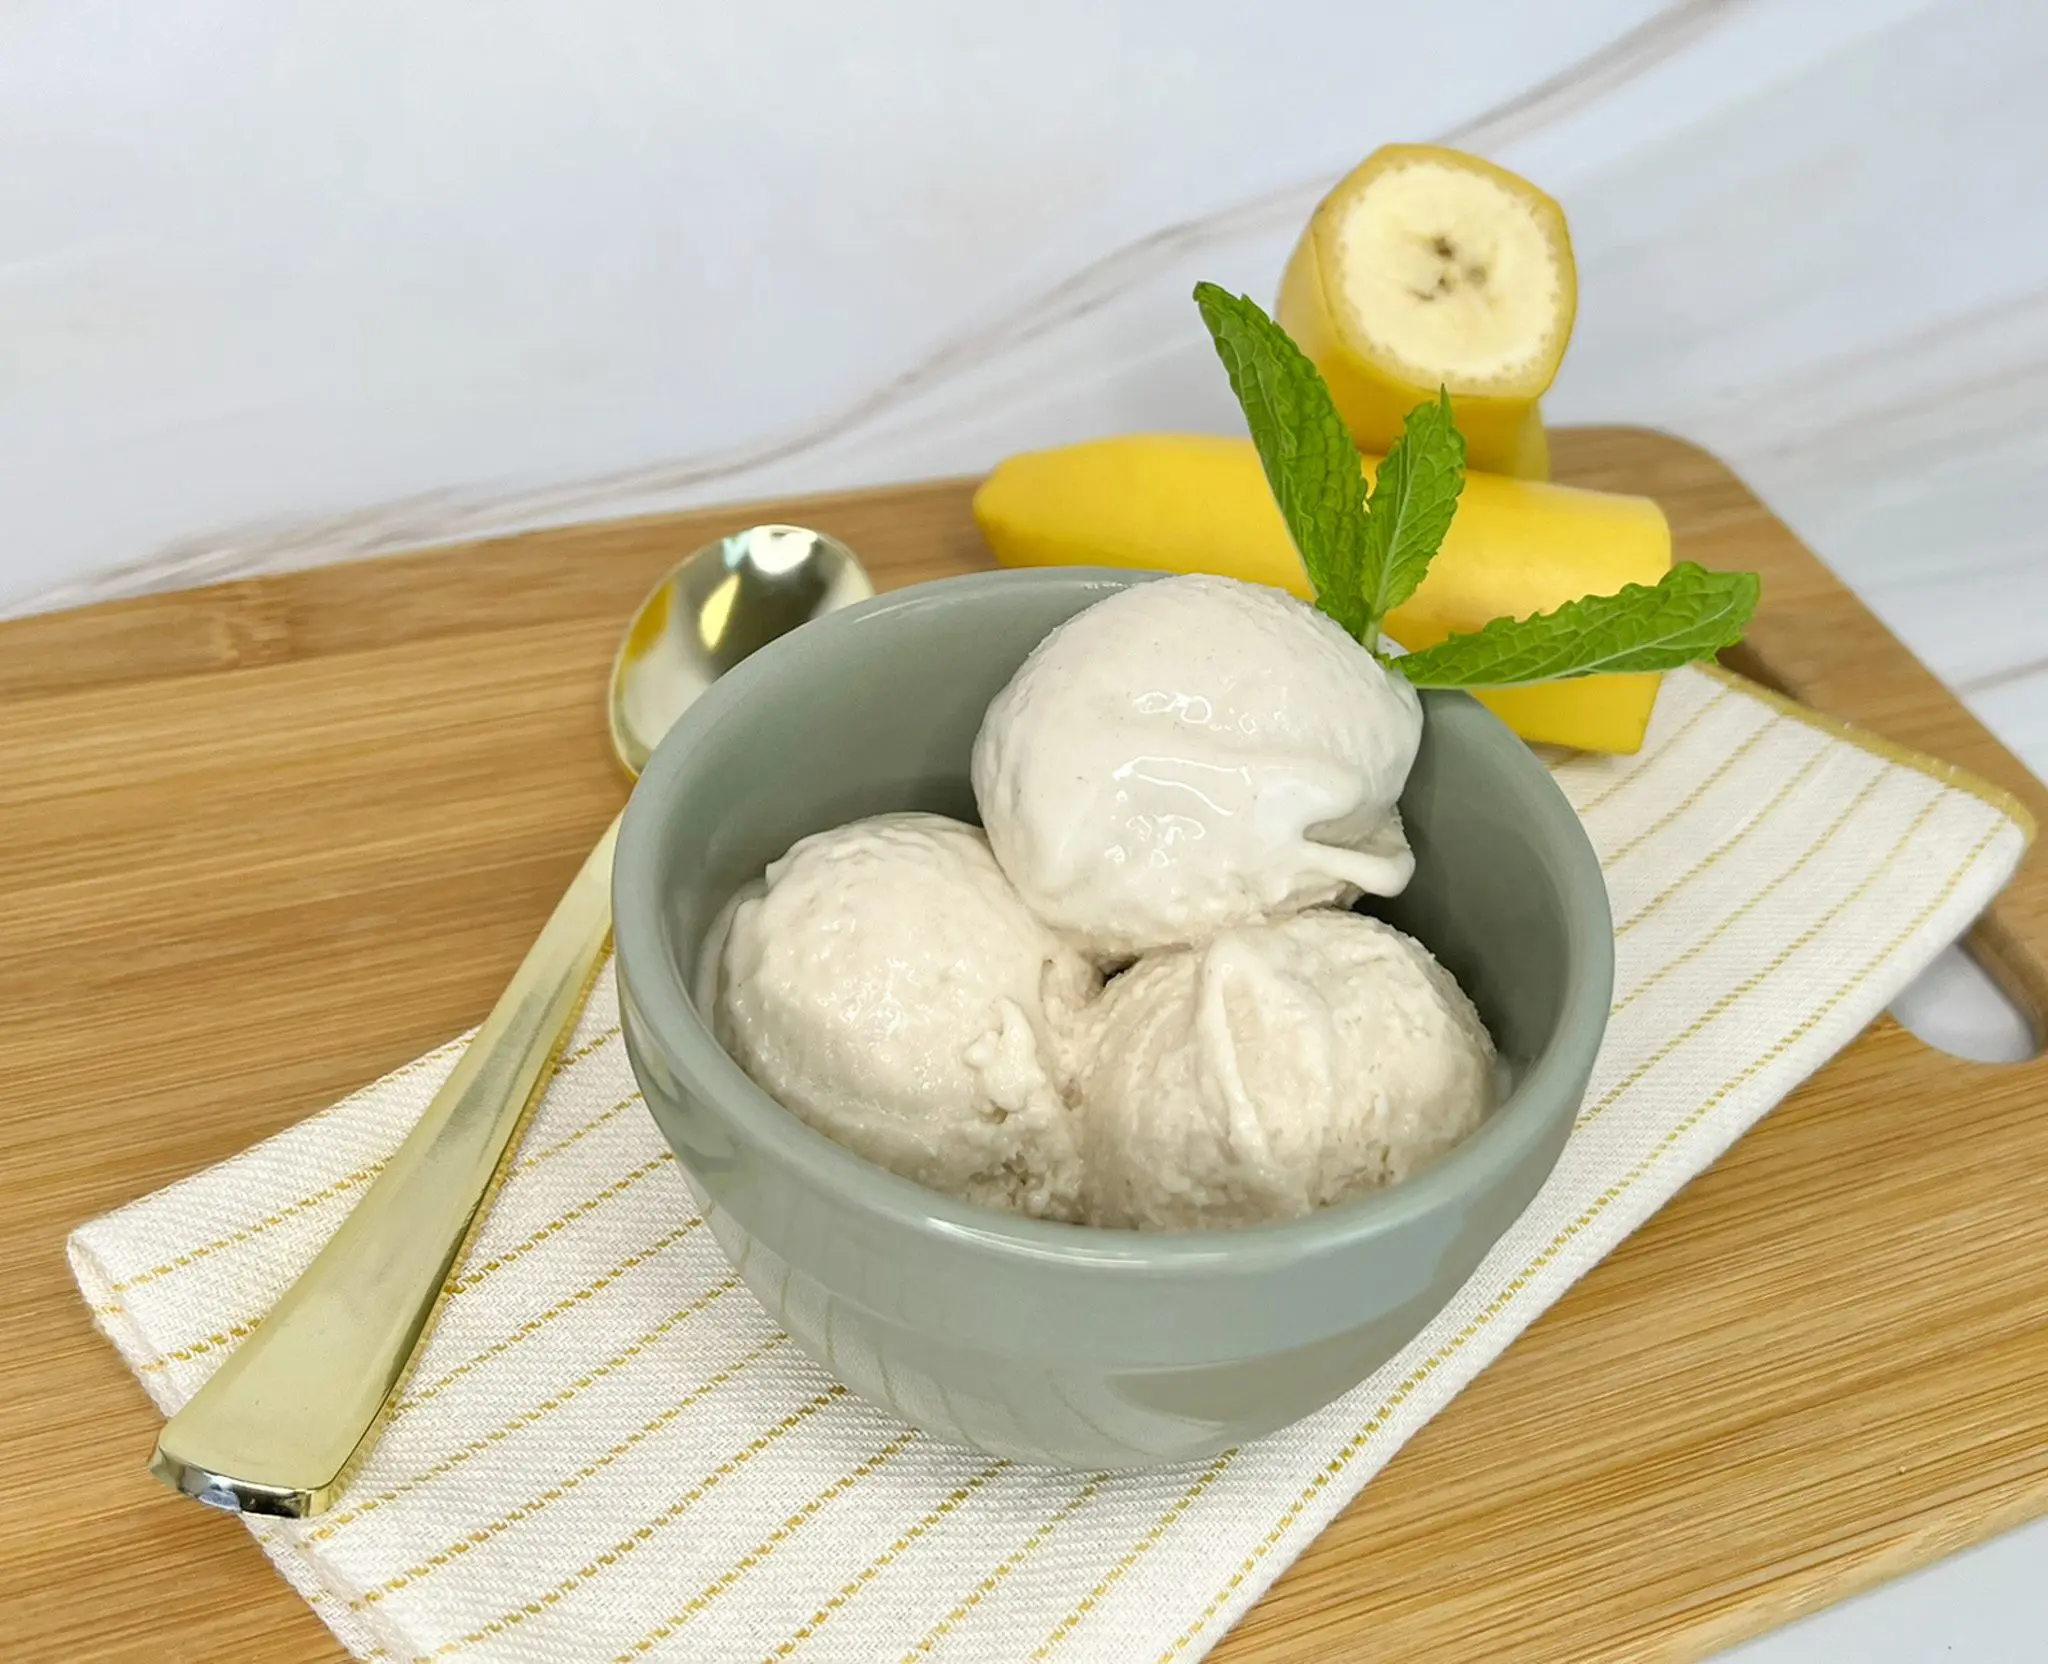
Peanut Butter Banana Ice Cream
Peanut Butter Banana Ice Cream
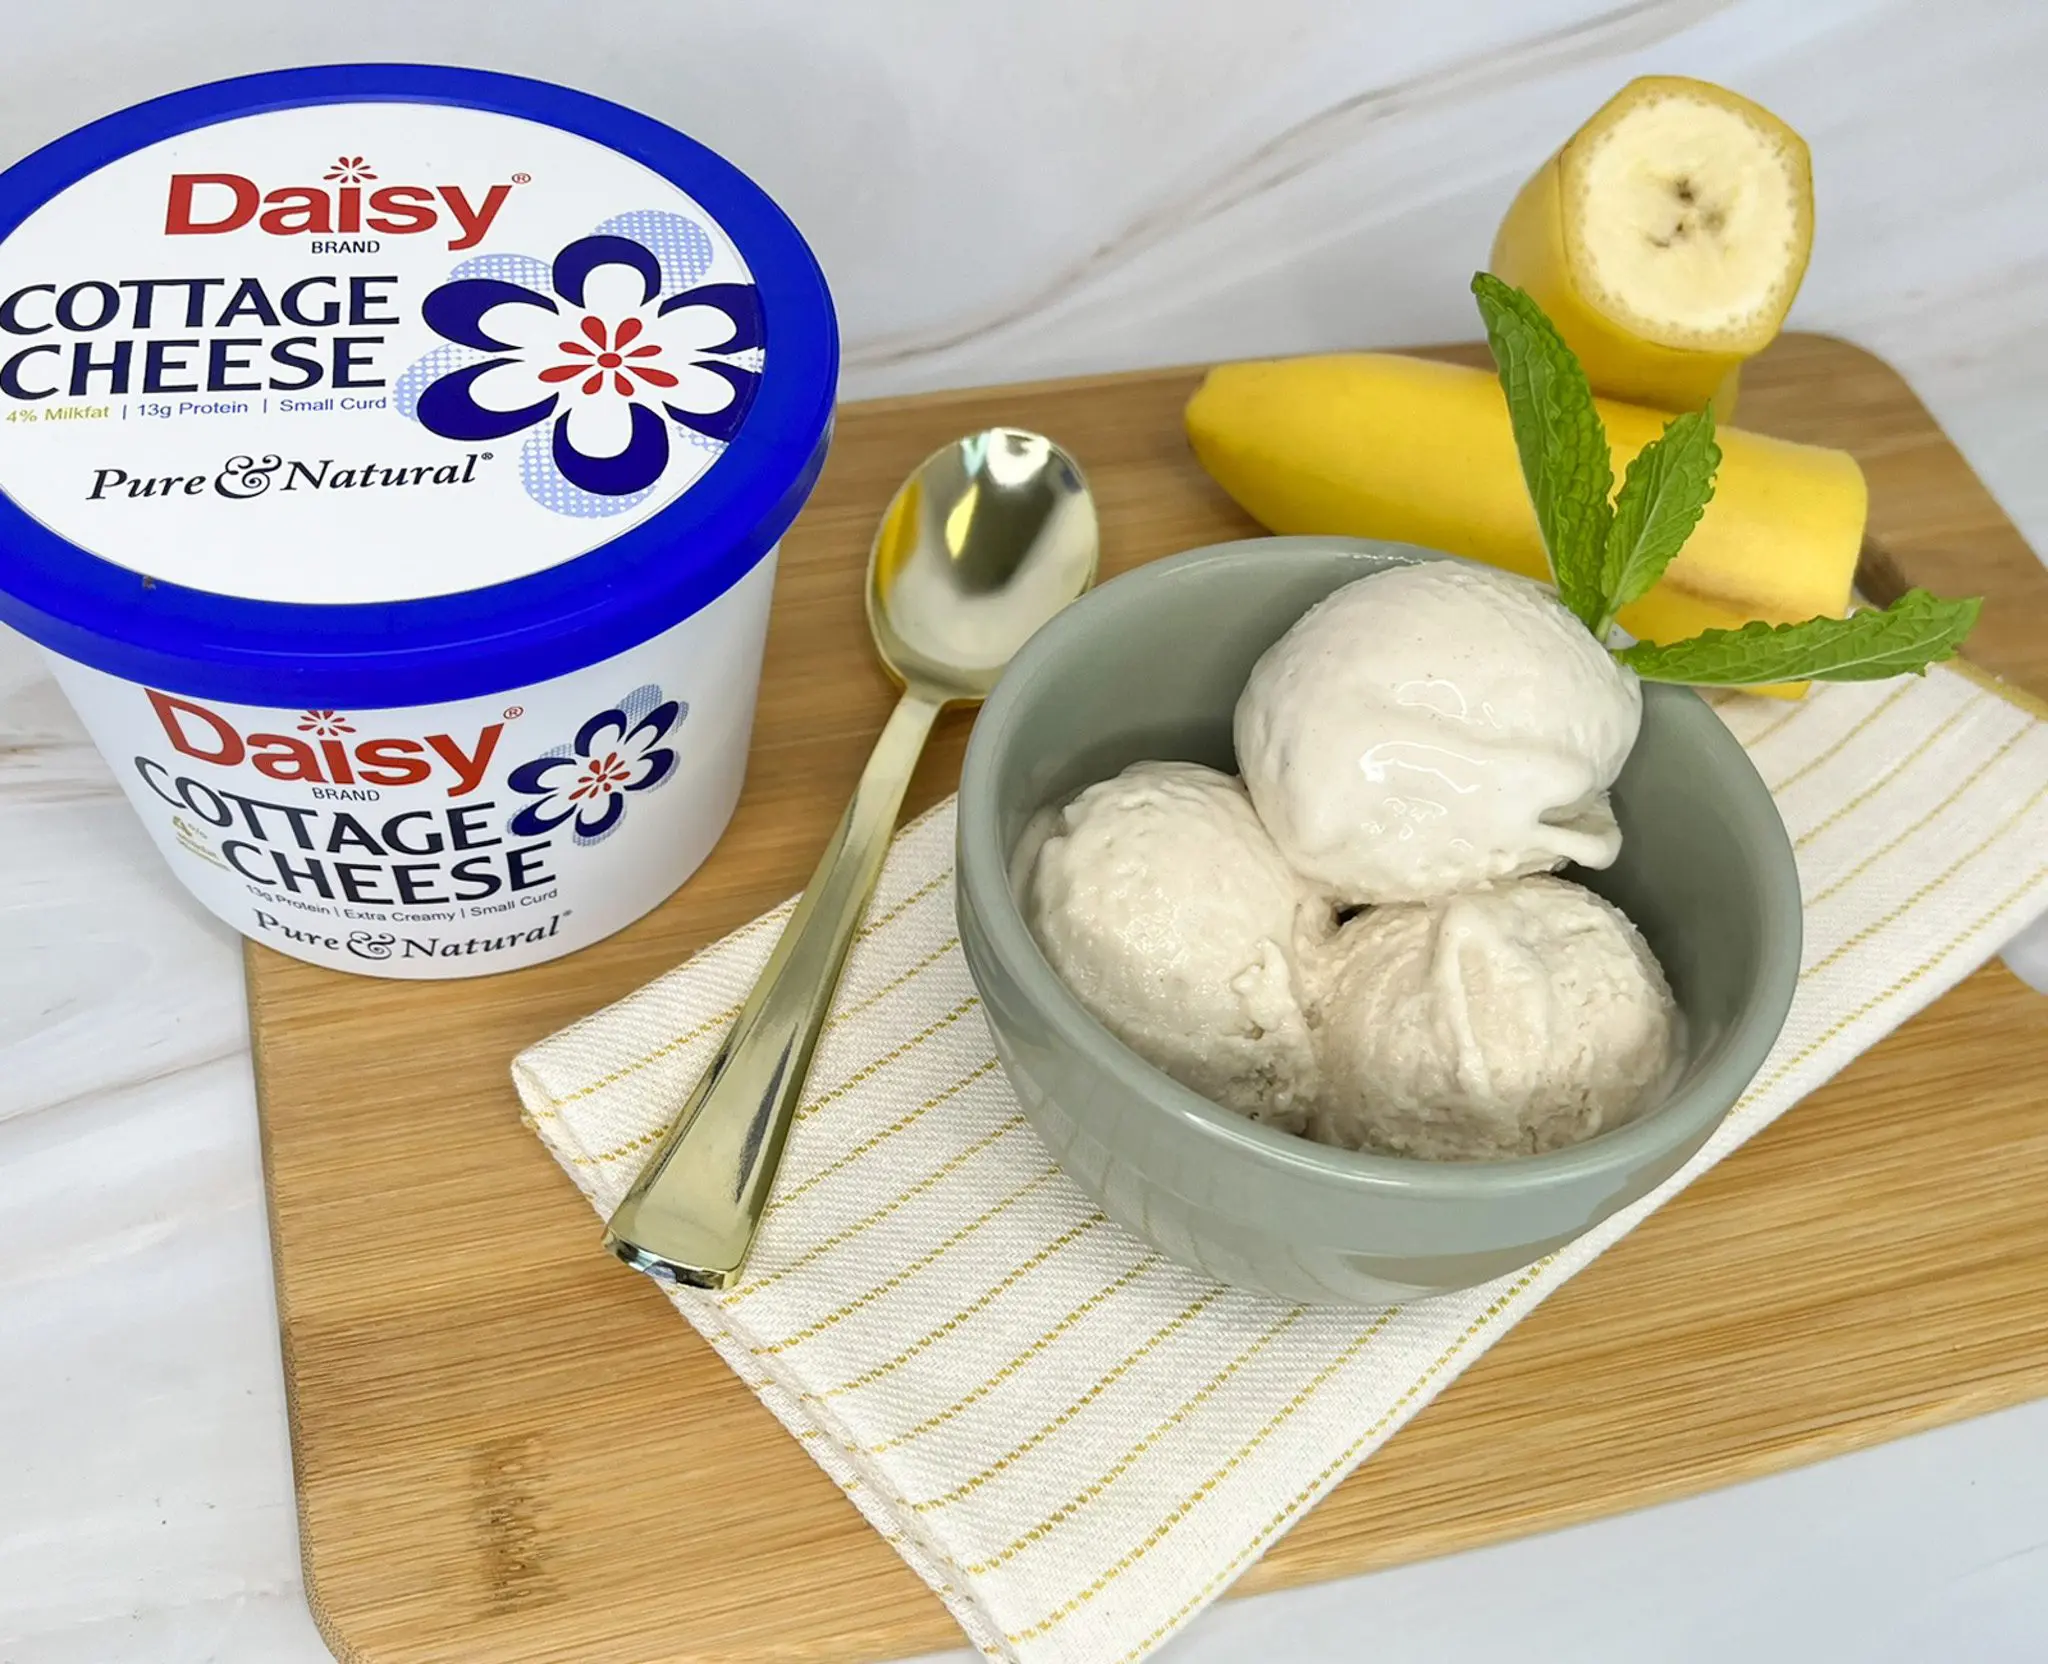
Easy, rich, and creamy, you won’t believe this Peanut Butter Banana Ice Cream has half the fat of traditional peanut butter ice cream. Made with only four ingredients that come together in minutes, it’s perfect for those summer parties or for an easy treat anytime. This ice cream requires no special equipment (no ice cream machine needed) and can be made in about 5 minutes.
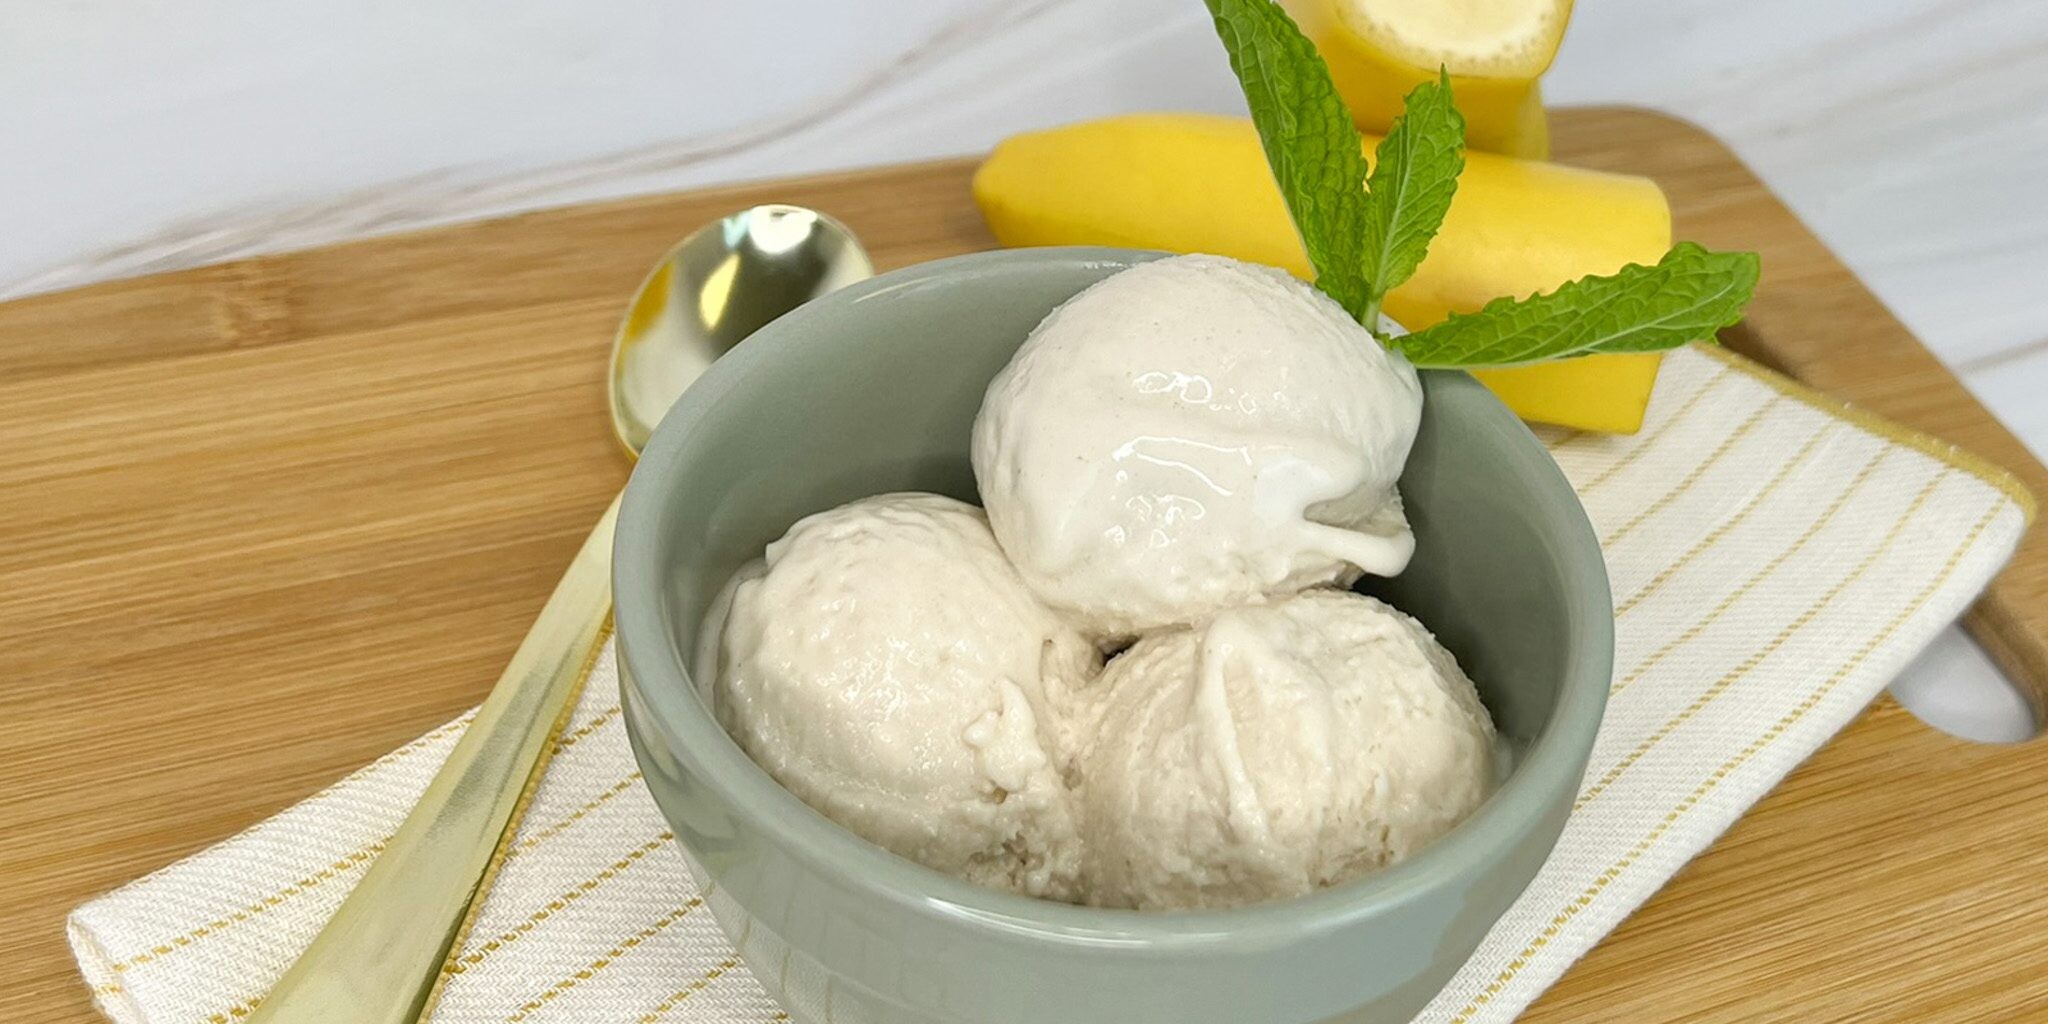
Made with only a few simple ingredients, this dessert packs creamy deliciousness in every bite. With 1/3 less calories and half the fat of traditional peanut butter ice cream, you can enjoy delicious ice cream without the guilt.
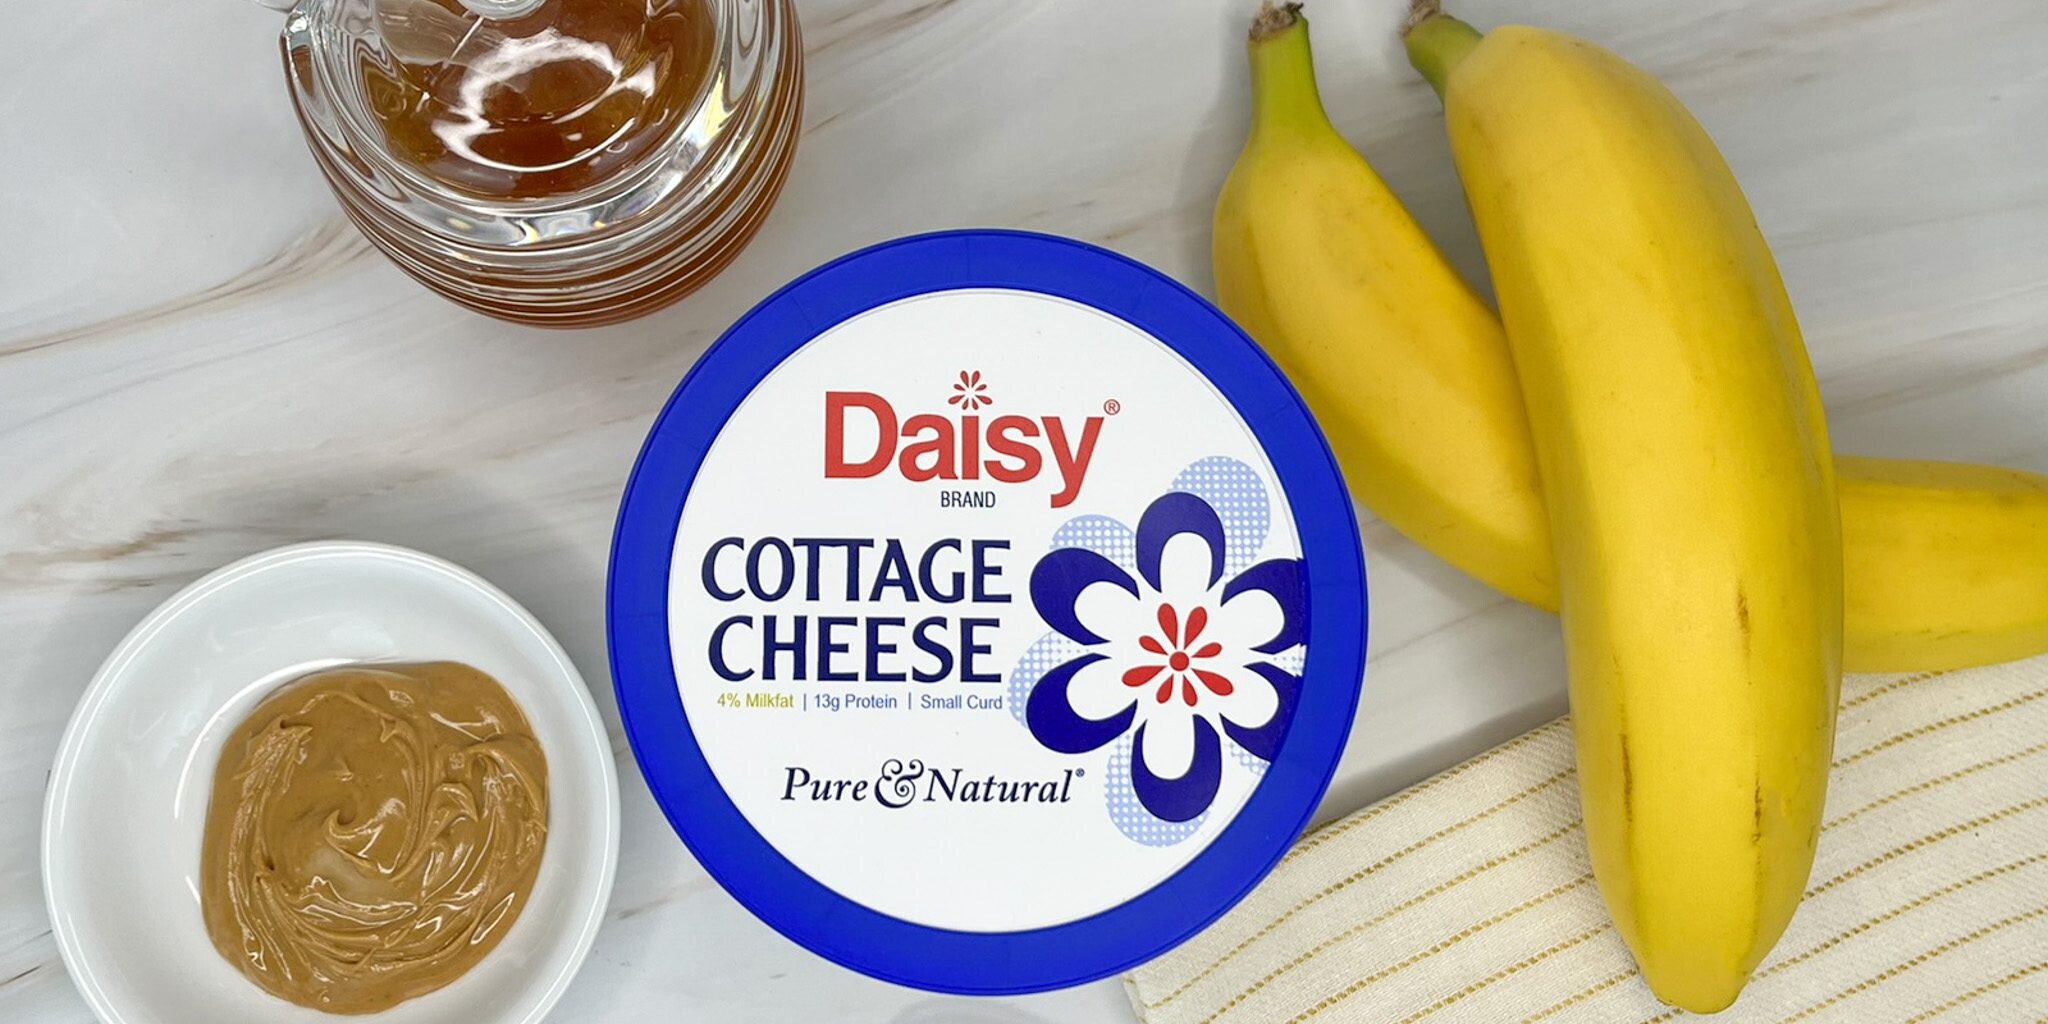
Peanut Butter Banana Ice Cream Ingredients
- Daisy Cottage Cheese (2 cups): The secret ingredient in this delicious ice cream. It lightens the ice cream and adds a smooth, silky, creamy texture that you love.
- Frozen Bananas (2): Adds sweetness and helps with the custard-like consistency of ice cream.
- Creamy Peanut Butter (2 tablespoons): Adds flavor to the ice cream.
- Honey (2 tablespoons): Adds additional sweetness to the ice cream.
Substitutions, Variations, and Tips
- The best bananas for ice cream are ones that are just on the point of turning brown. They are naturally sweeter when they are just over-ripe.
- To get the perfect texture, bananas need to be frozen hard. It’s ideal to freeze them overnight to make sure they are entirely frozen. Don’t take them out of the freezer until you’re ready to use them. The 2 best methods for freezing bananas for ice cream:
- Throw whole unpeeled bananas into the freezer (the peels will turn black as they freeze). Bananas will last about 3 months in the freezer. When ready to use, peel with a knife and chop the banana into pieces.
- Peel ripe bananas, slice or half, and arrange in a single layer on a baking sheet. Freeze for one hour. Transfer pieces to a zip-top bag, remove air, and store up to 3 months in the freezer.
- Other nut butters or chocolate hazelnut spread may be used in place of peanut butter.
- Agave or maple syrup may be used in place of honey.
- Don’t over-blend the ice cream. You want to blend until just thick and creamy. Over-blending will make the ice cream runny.
- 2 hours in the freezer will yield the ideal texture for the ice cream. Freezing it longer will make the ice cream too hard to scoop.
- Ice cream makers may also be used following the manufacturer’s instructions.
- Try topping with chopped peanuts, chocolate chips, mini marshmallows, or your favorite ice cream toppings.
- You can also enjoy this delicious ice cream for breakfast!
How to Make Peanut Butter Banana Ice Cream
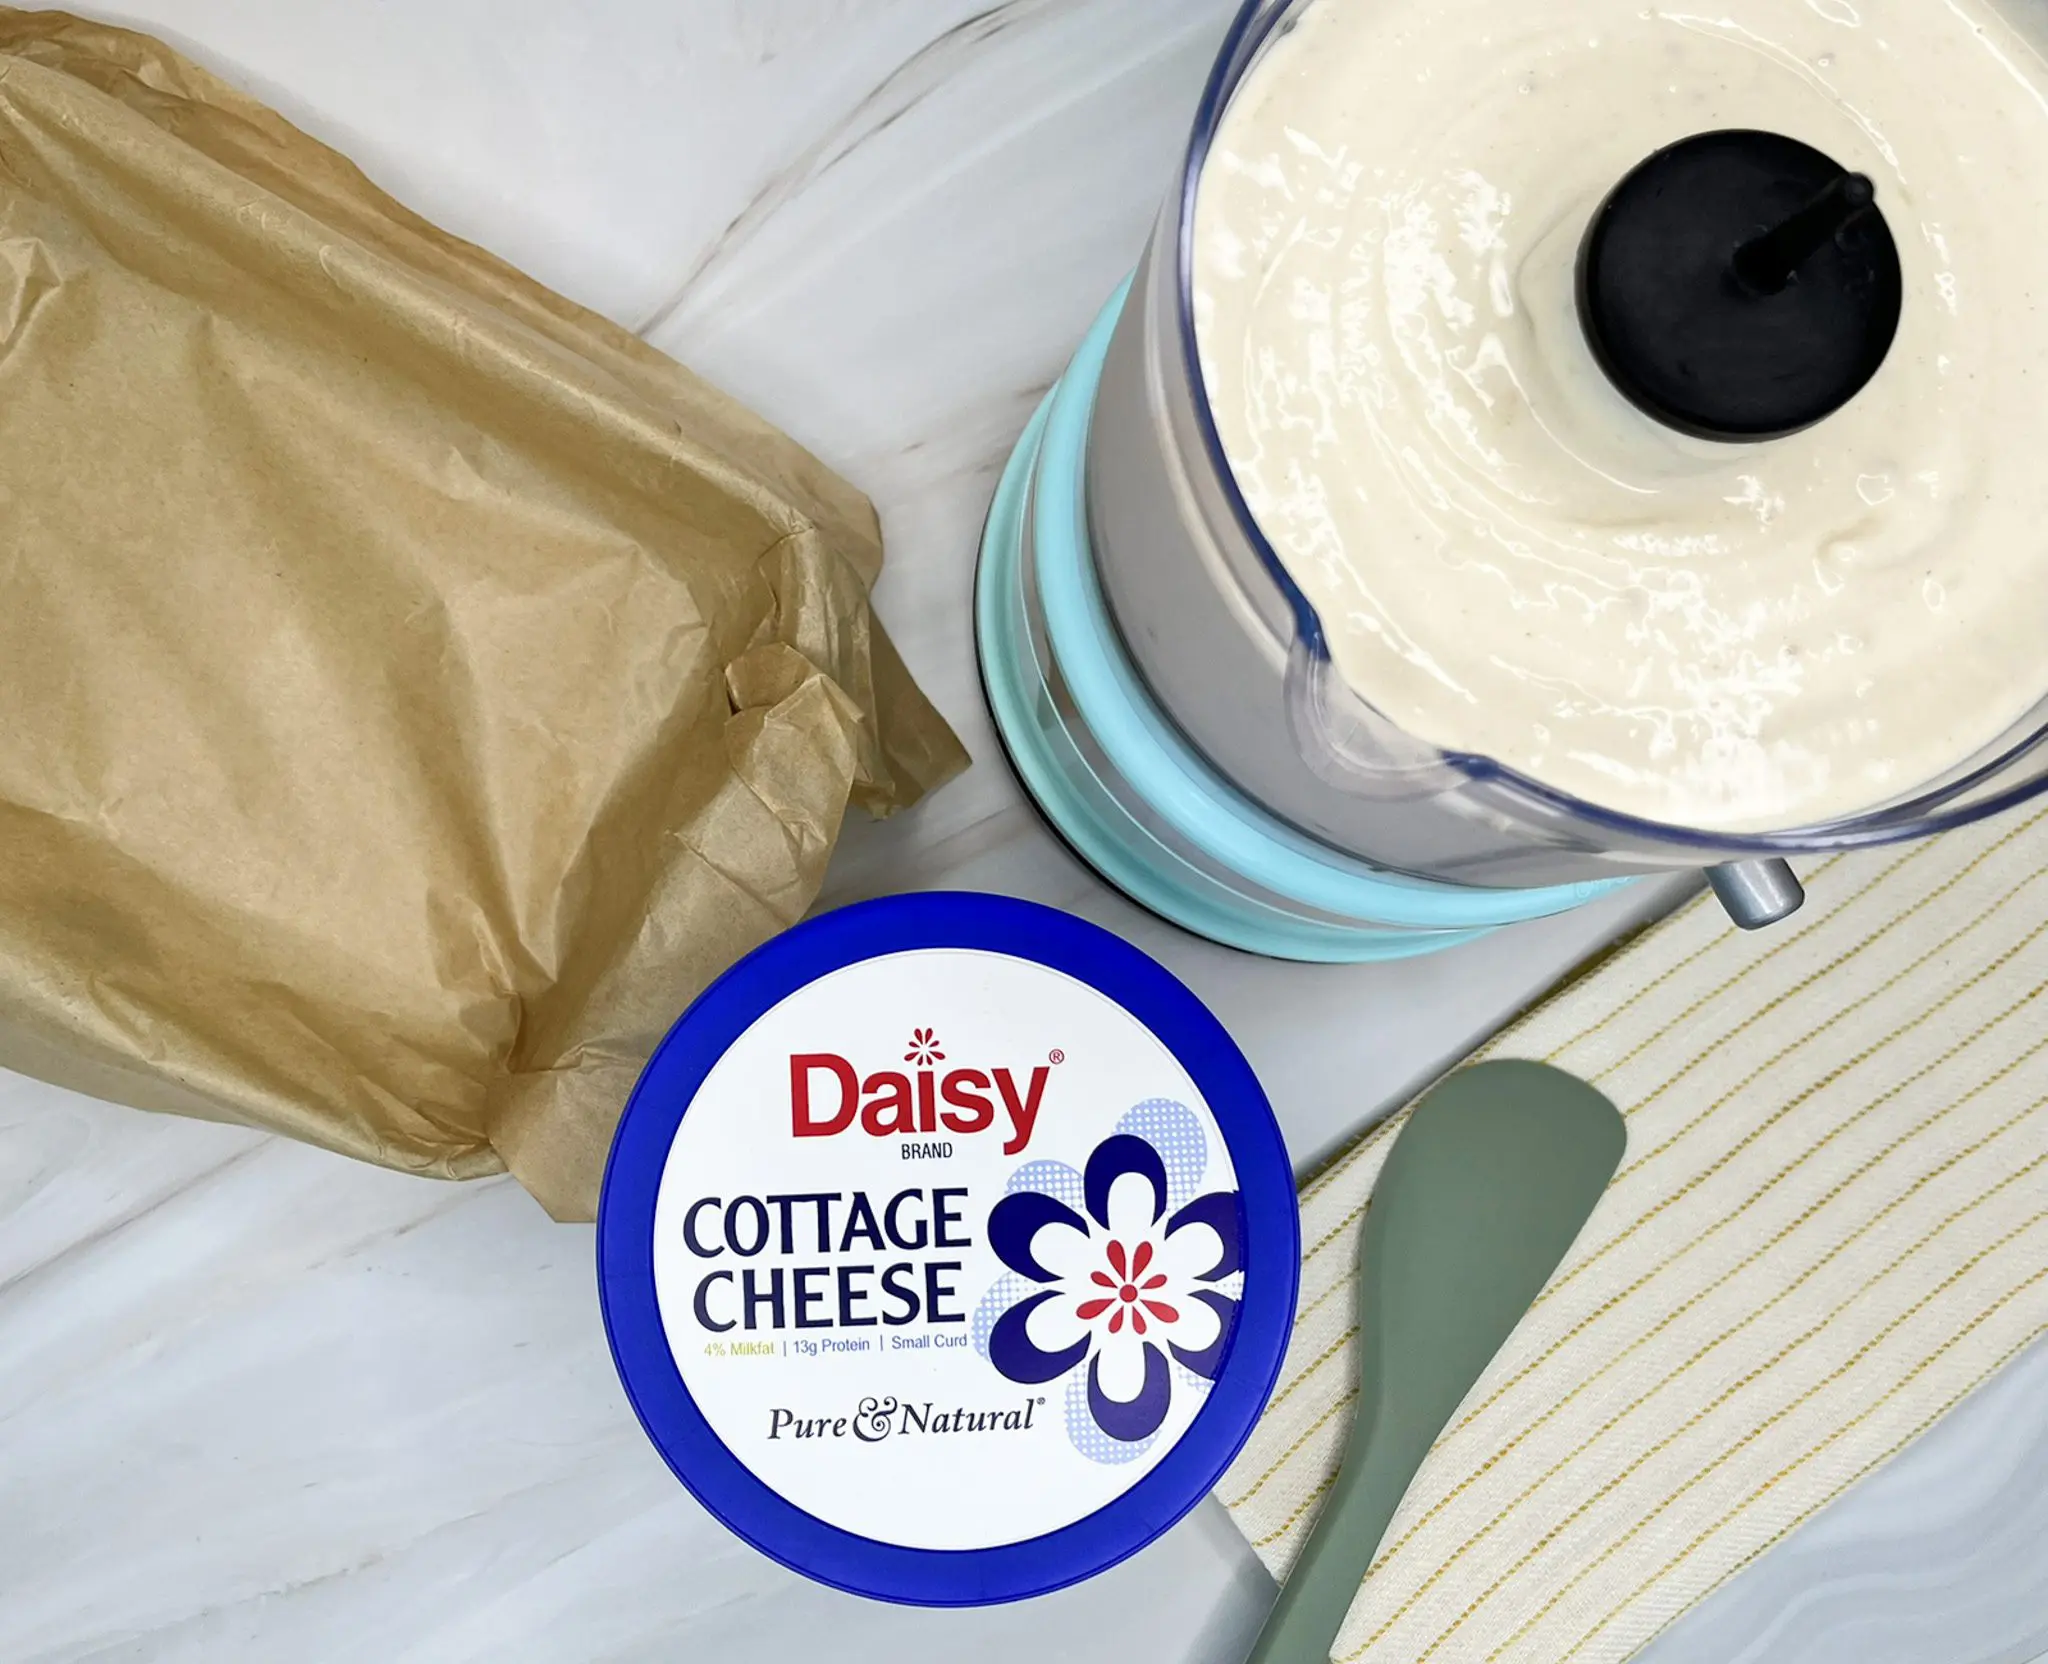
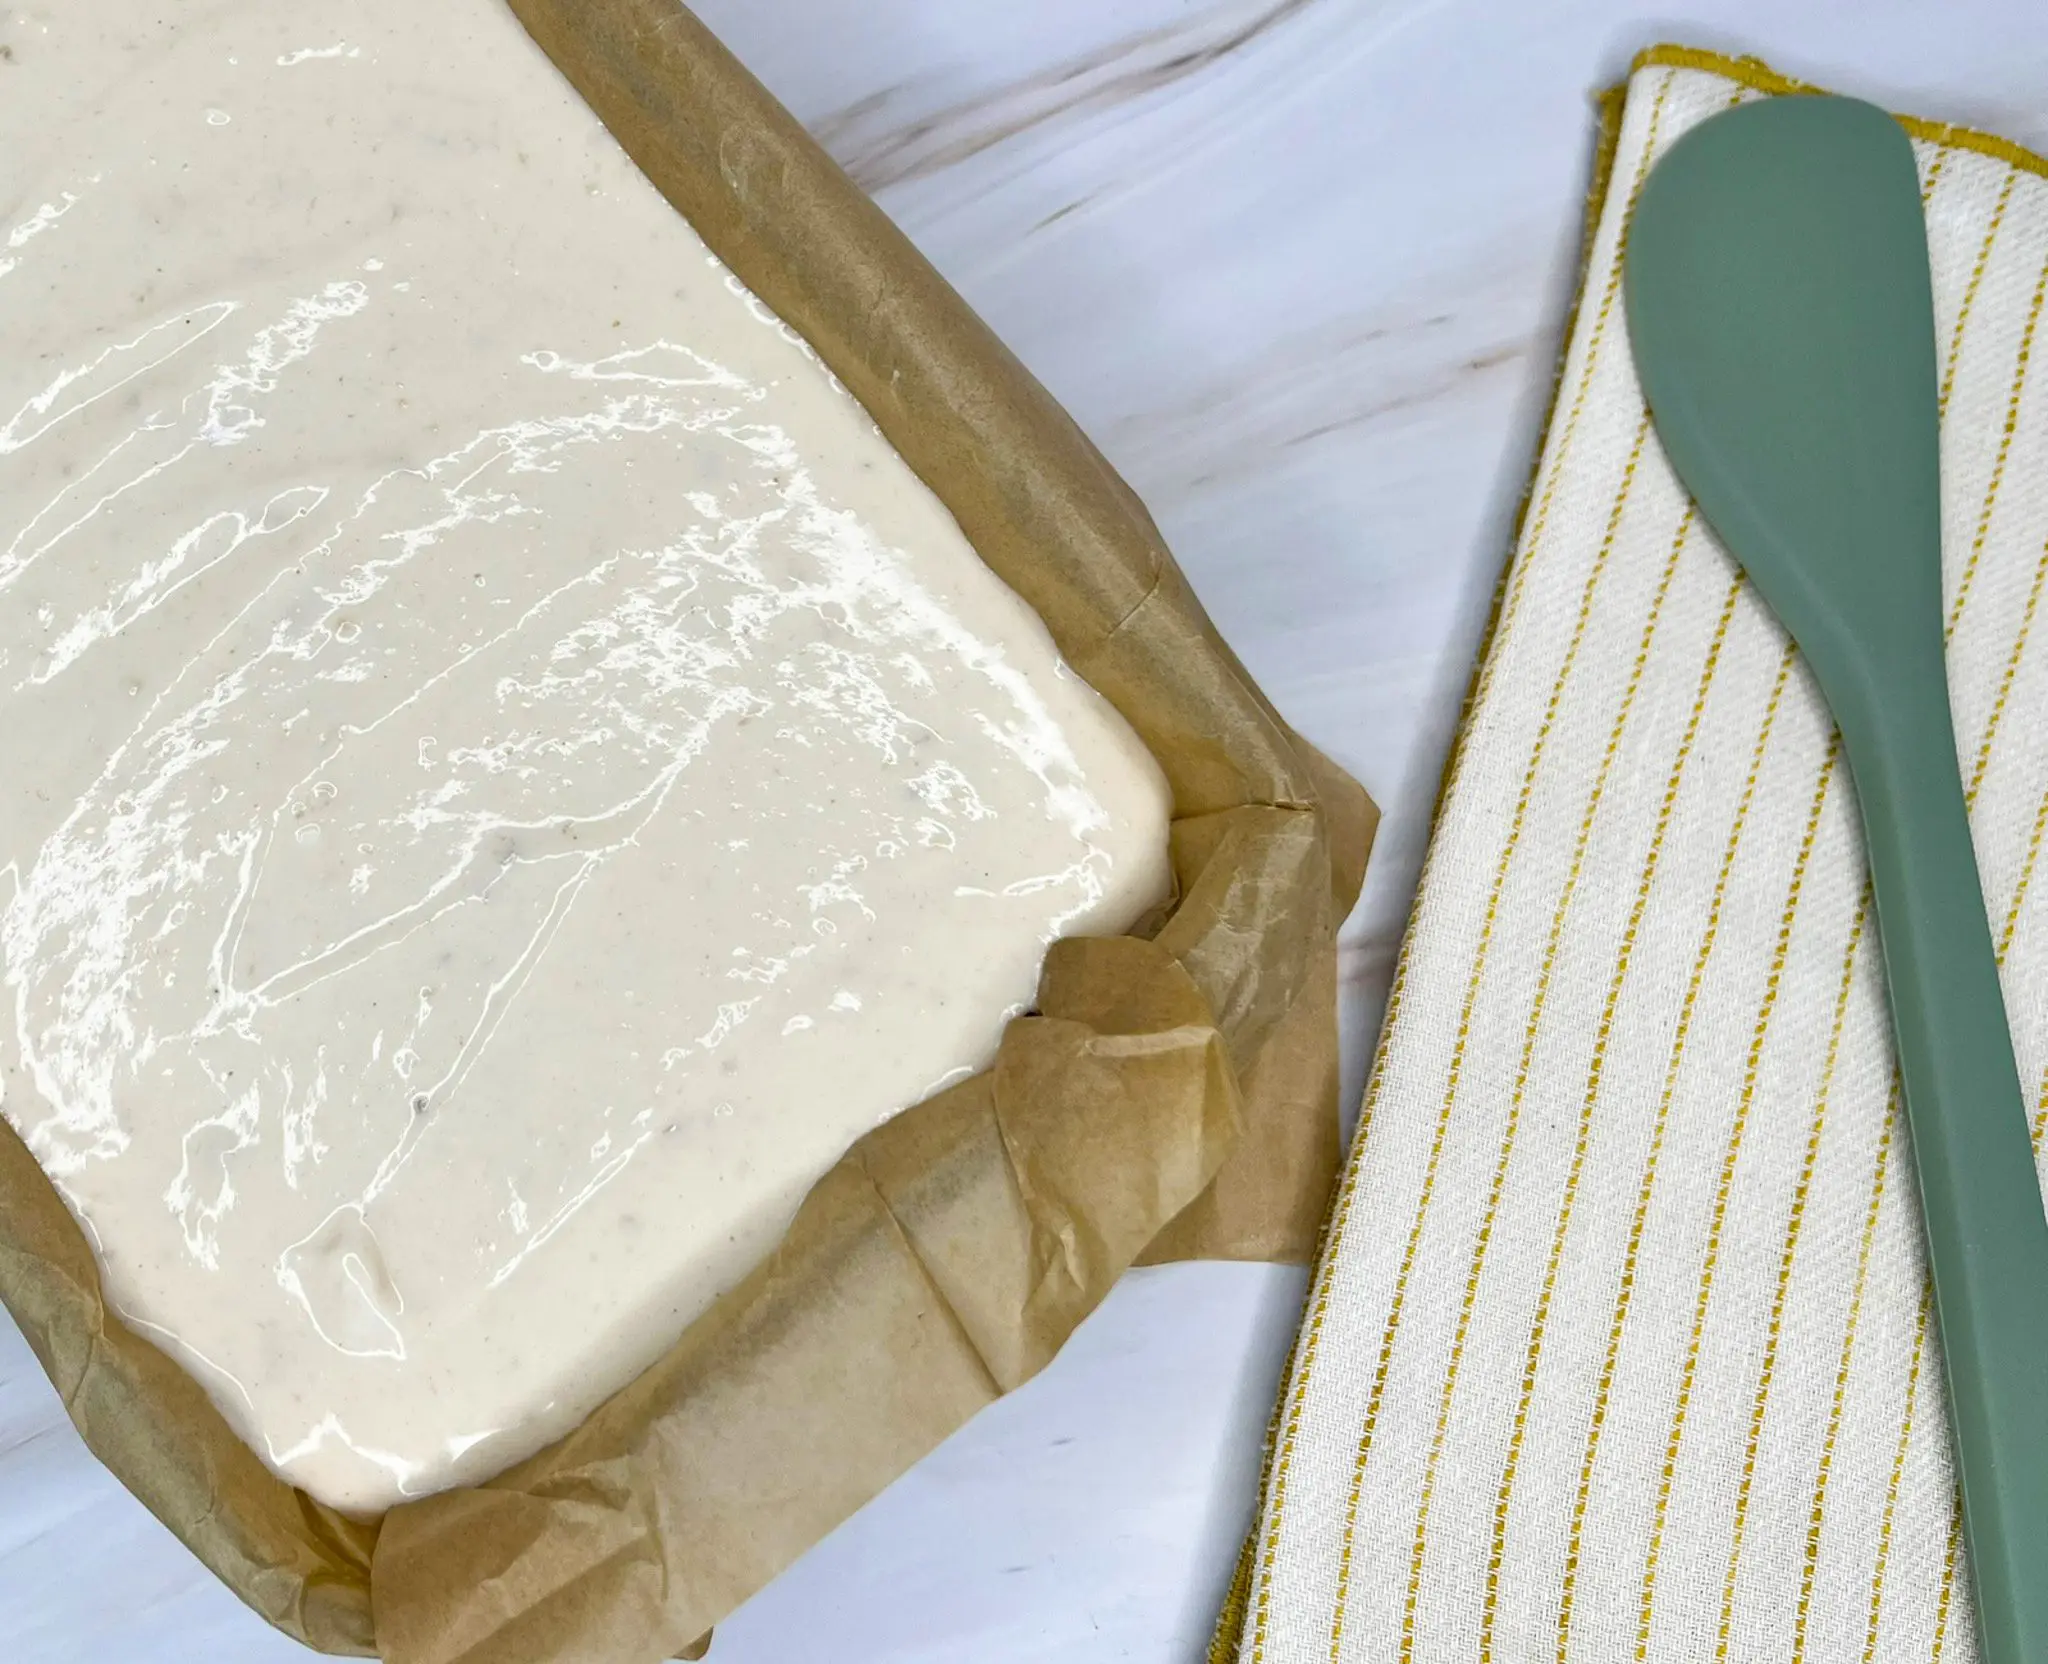
- Combine all ingredients in food processor and blend until completely smooth.
- Transfer into pan lined with parchment paper. Freeze for 1-2 hours or until frozen (enjoy within 2 hours of freezing).
- Let ice cream sit at room temperature for 5 -10 minutes before scooping and serving. Garnish as desired.
Light Cannoli Dip
Light Cannoli Dip
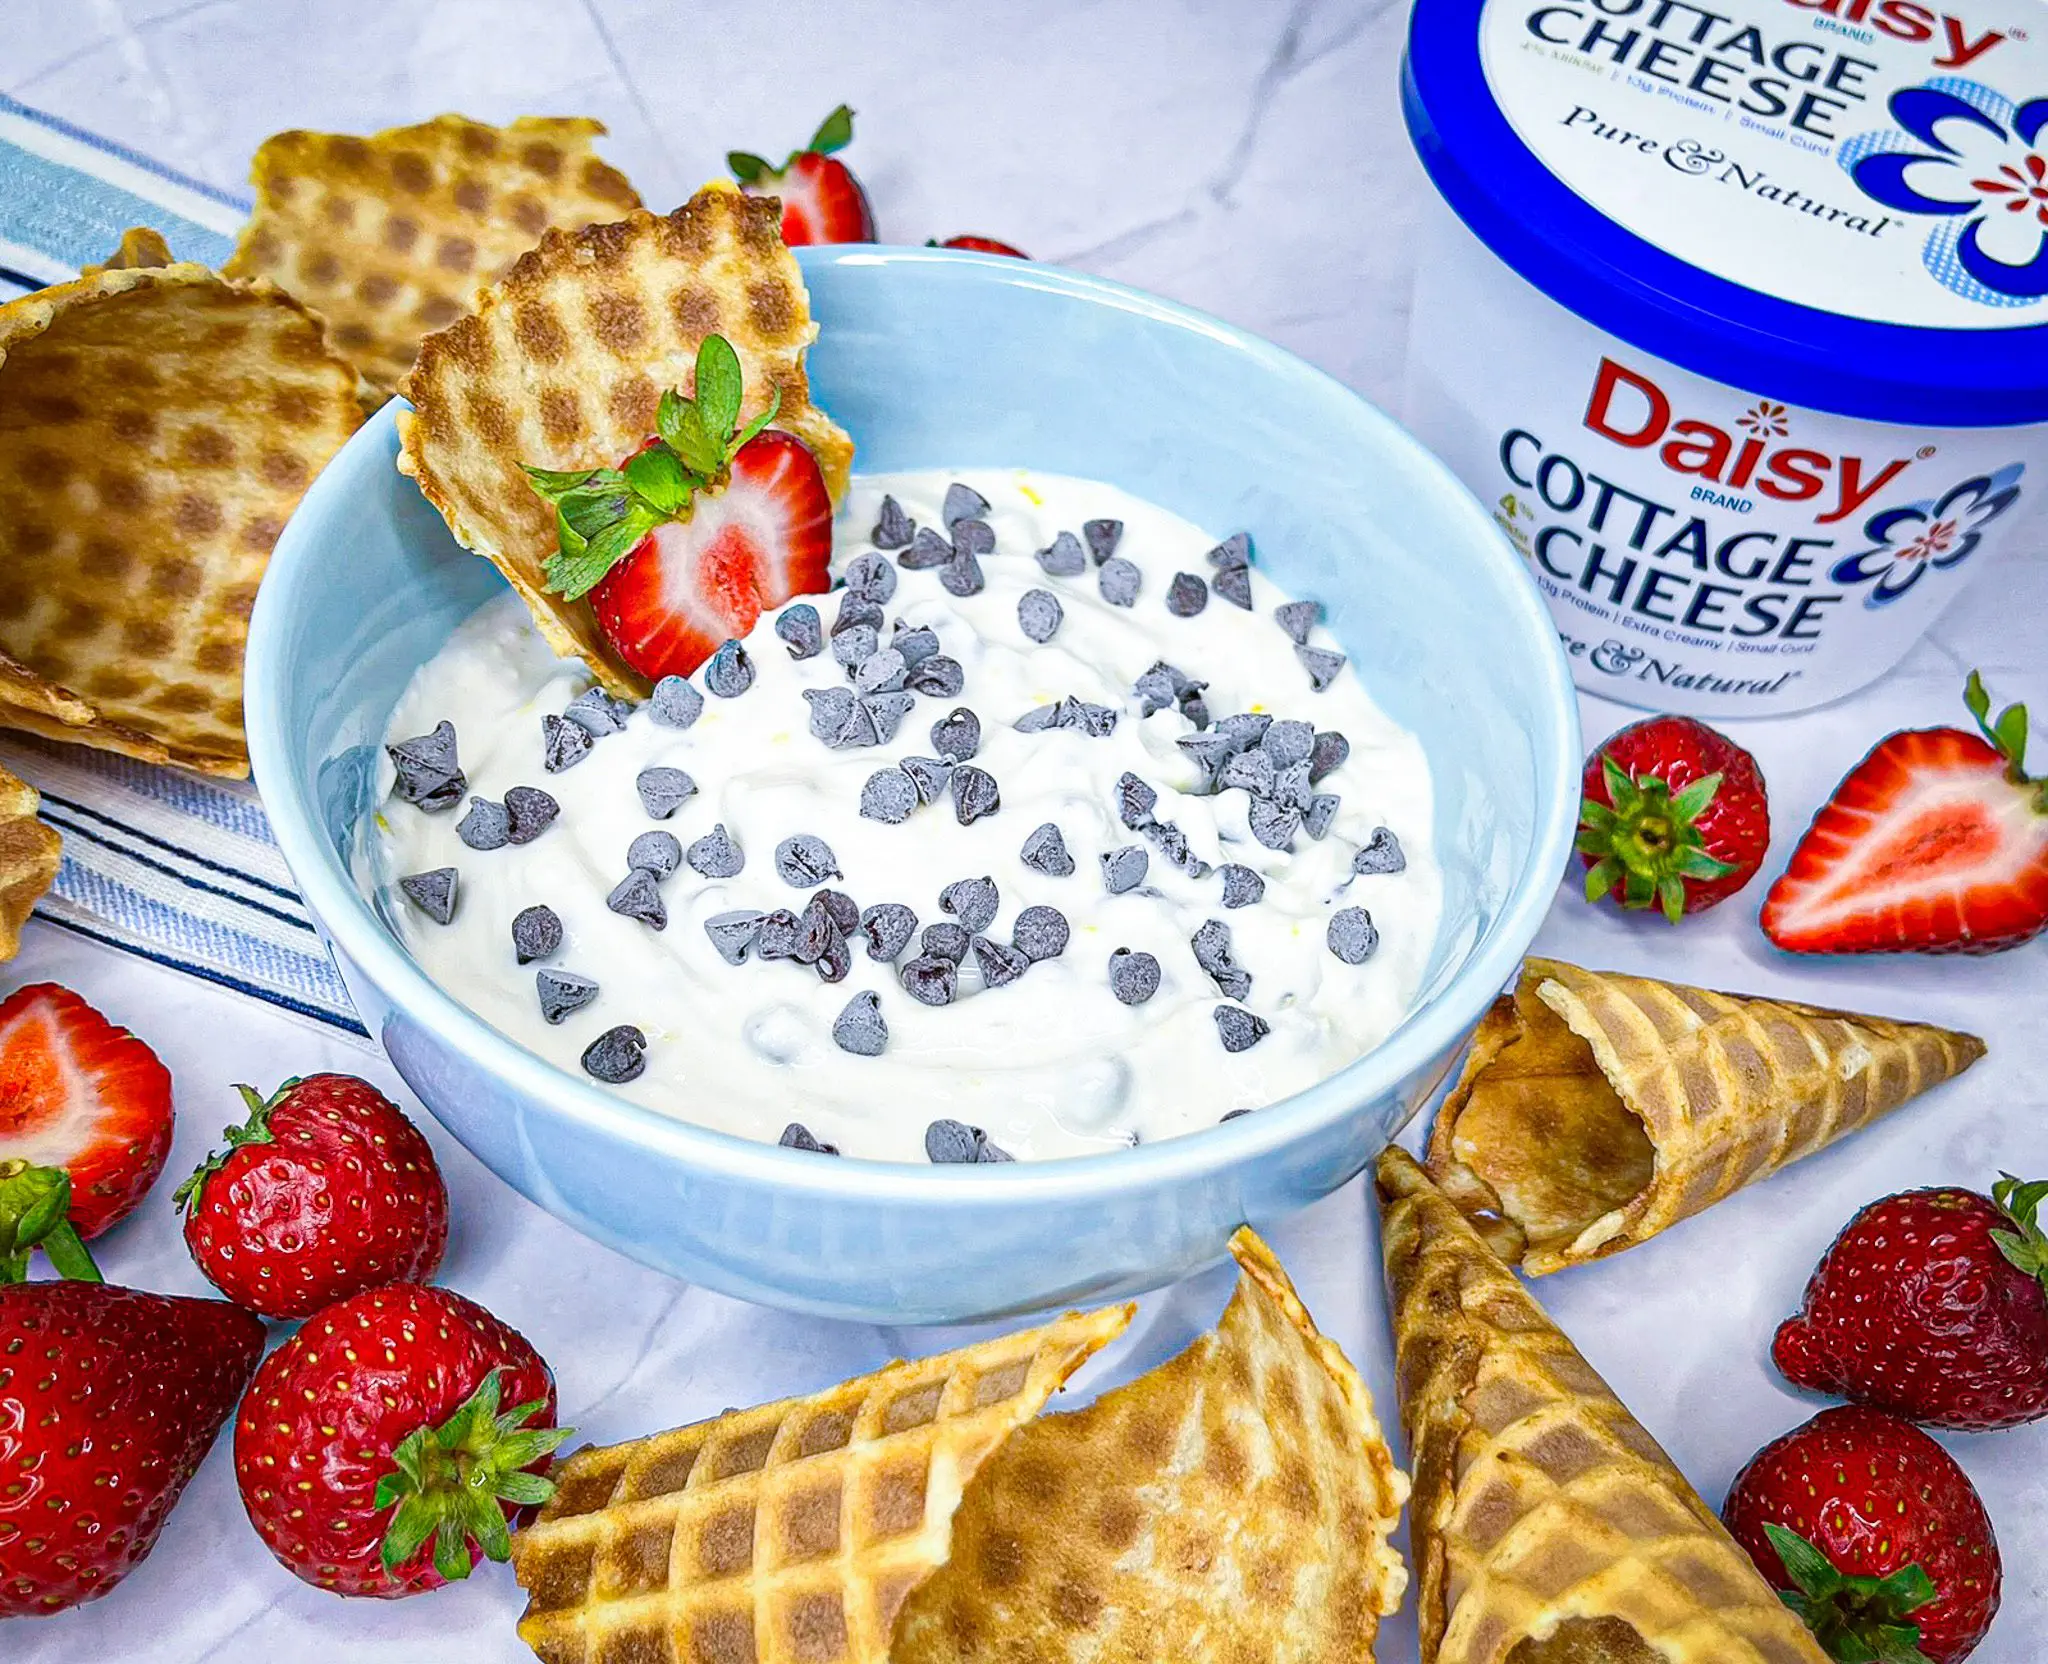
Love cannoli but want something a little lighter? You’re going to love this Light Cannoli Dip! It’s fluffy, creamy, and full of classic cannoli flavor — but made with Daisy Cottage Cheese, so it has less than half the calories, fat, and carbs of most traditional cannoli dips.
The best part? It comes together in just 5 minutes with only 5 simple ingredients you probably already have on hand. It’s perfect for parties, holidays, or even an after-school snack.
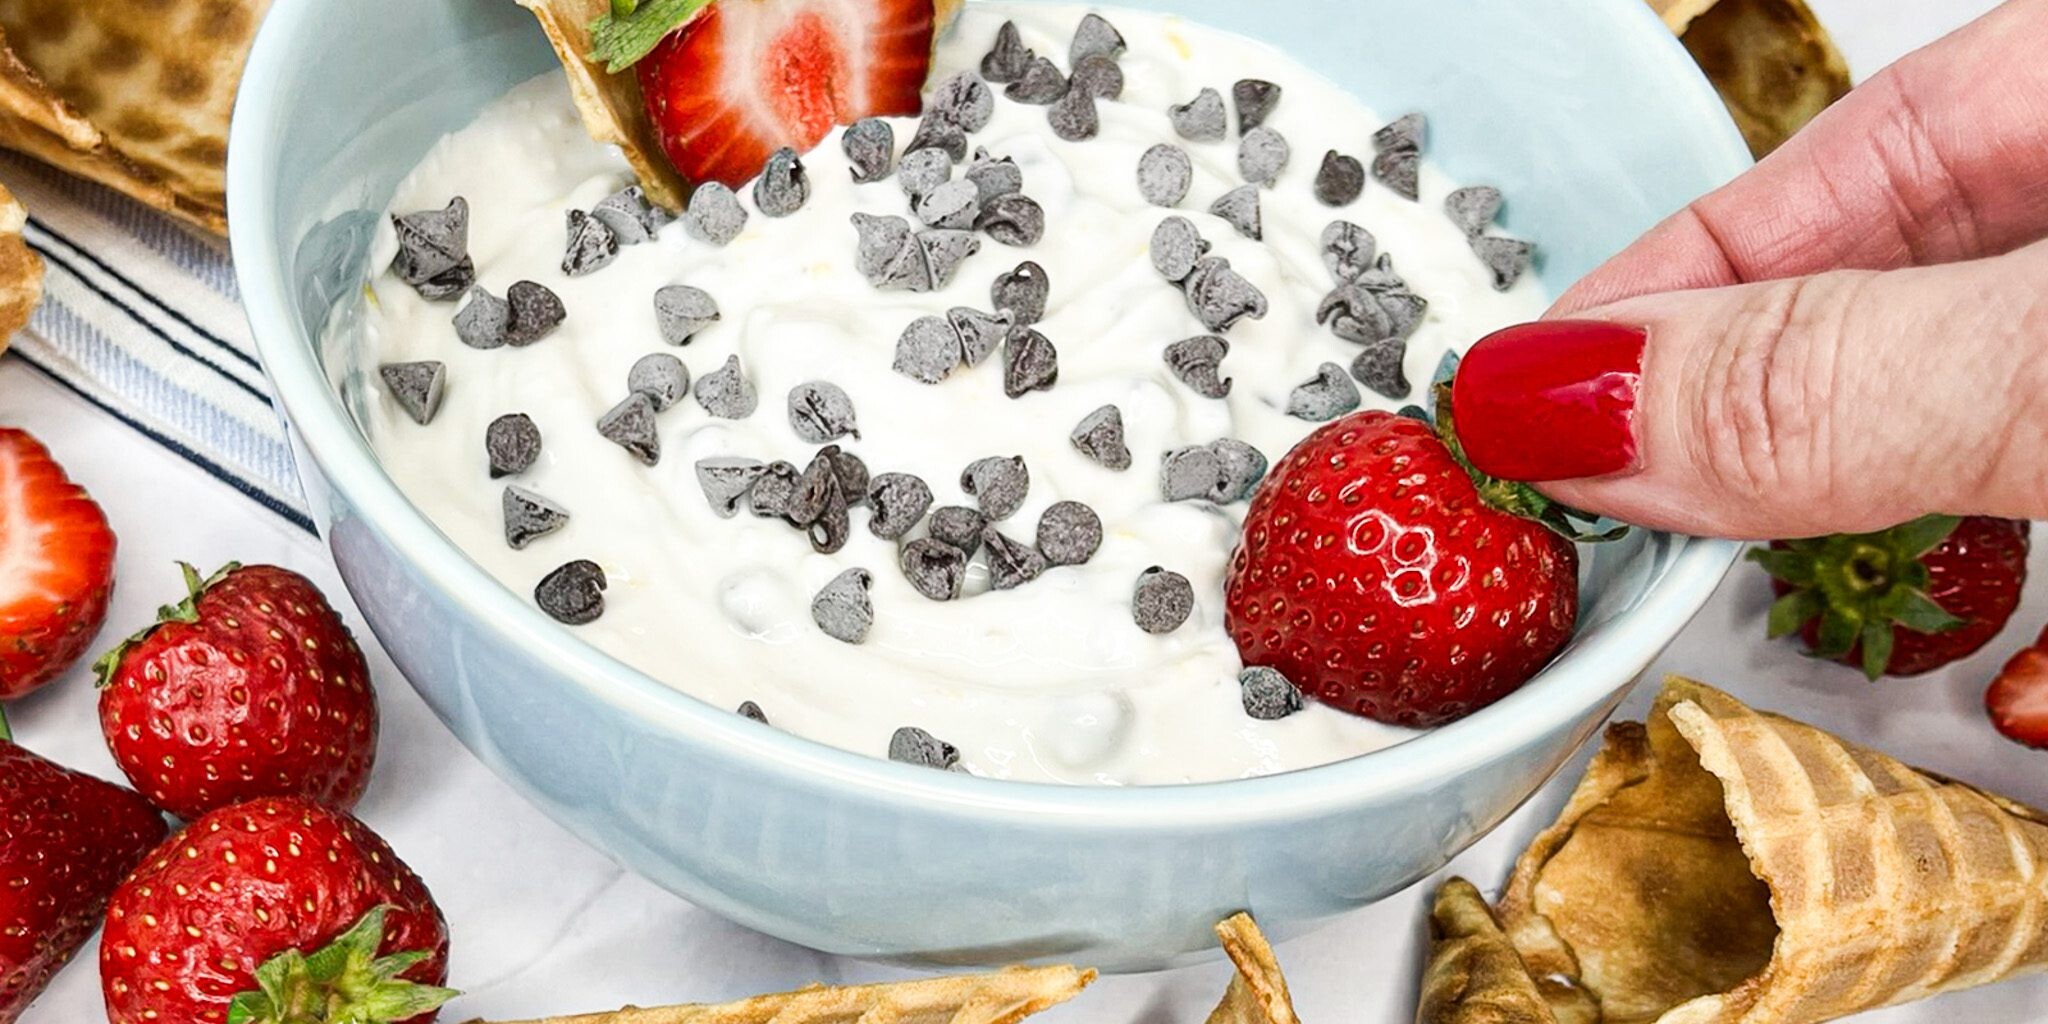
Serve it with your favorite fresh fruit, waffle cone pieces, graham crackers, or cookies — the possibilities are endless!
Mix It Up!
This dip is super easy to customize. Switch up the flavor with different citrus zests, extracts, or mix-ins like pistachios. Feeling festive? Add cinnamon and cranberries for a holiday-ready dip. Want it a little tangier? Stir in a tablespoon of Daisy Sour Cream.
It’s also easy to double or triple for a crowd — and yes, you can make it ahead!
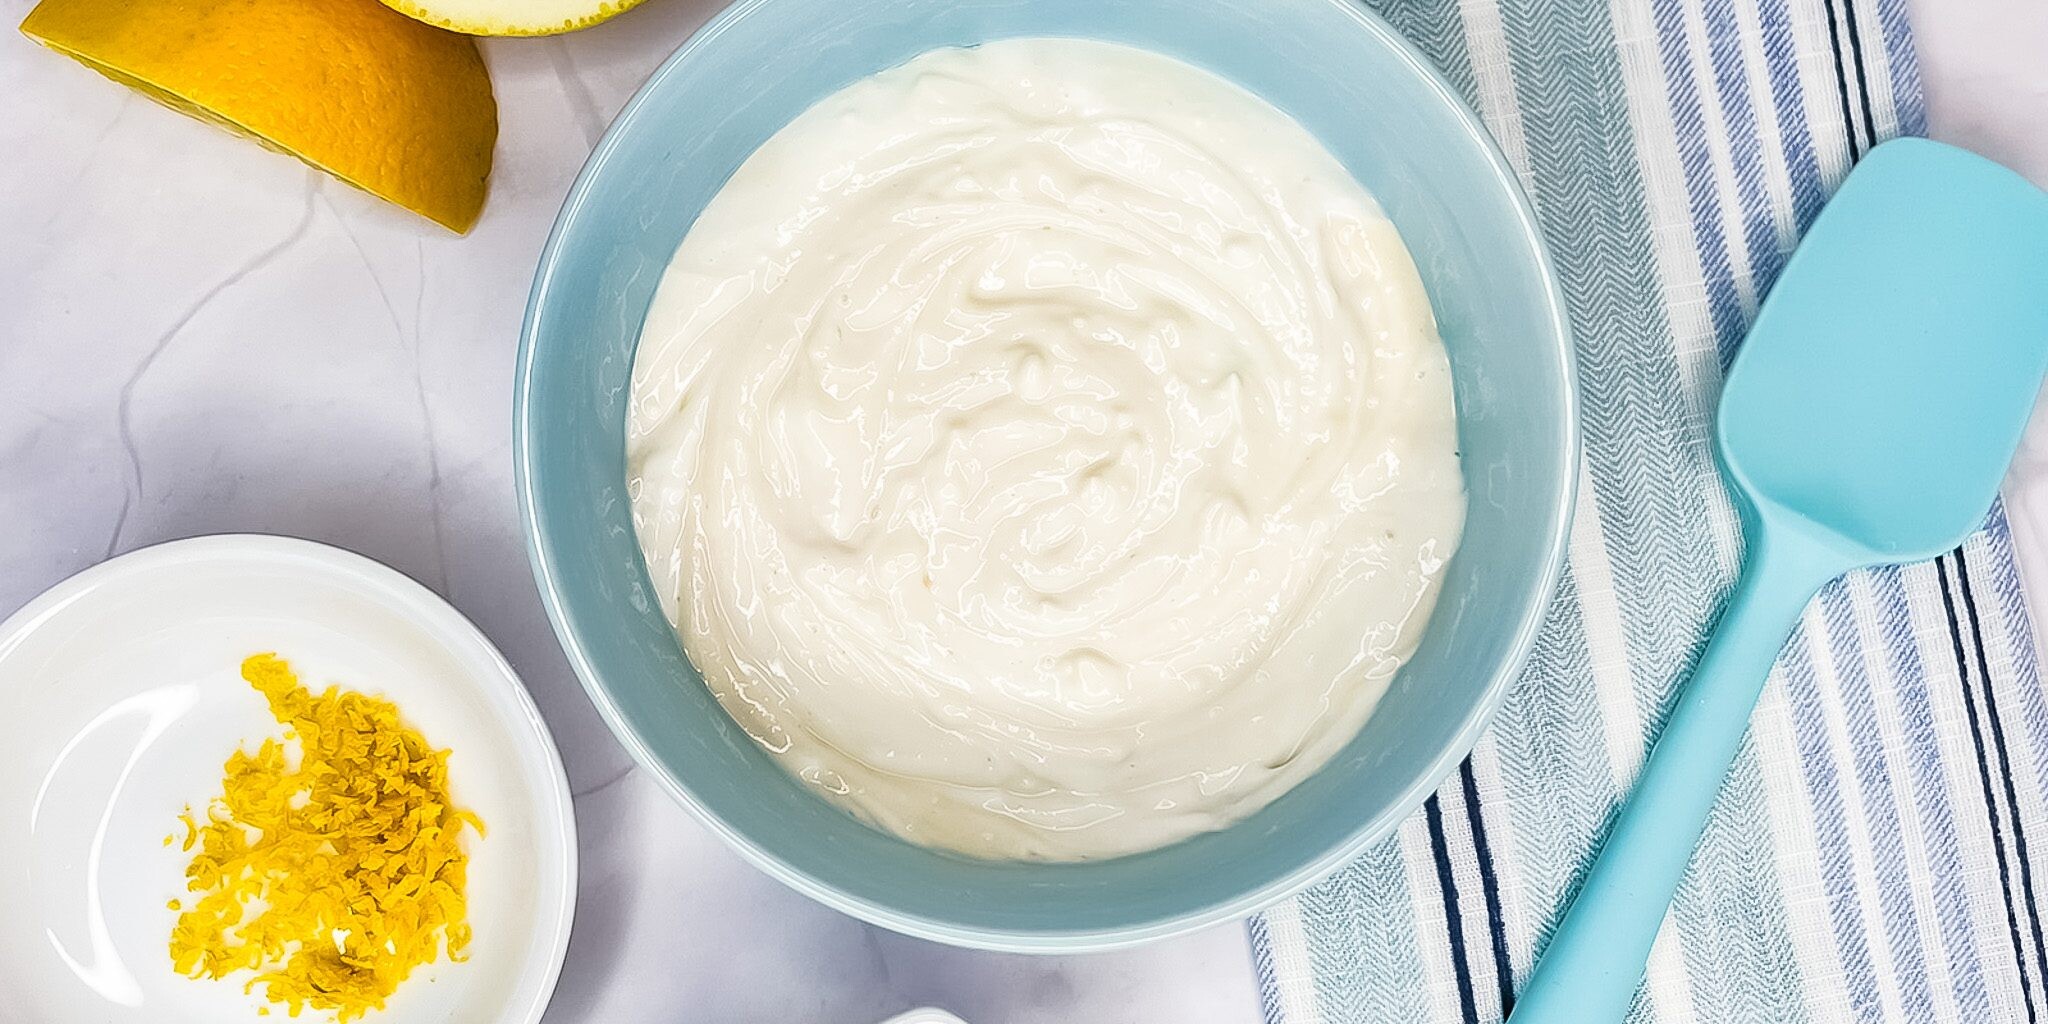
Light Cannoli Dip Ingredients
- Daisy Cottage Cheese (3/4 cup): The creamy base that makes this dip light and protein-packed.
- Powdered Sugar (1 tablespoon): Adds a touch of sweetness.
- Vanilla Extract (1 teaspoon): Brings out the flavor in every bite.
- Fresh Orange Zest (1 teaspoon): Adds a burst of bright, citrusy flavor without thinning the dip.
- Mini Chocolate Chips (2 teaspoons): Just enough for that sweet chocolate crunch!
Substitutions, Variations, and Tips
- Swap lemon or lime zest for the orange zest to change up the citrus profile.
- Use almond extract instead of vanilla for a nutty twist.
- Add a dash of cinnamon or nutmeg for a warm holiday flavor.
- Try chopped nuts, seeds, or dried fruit instead of chocolate chips.
- Want a chocolate cannoli dip? Add ½ teaspoon of unsweetened cocoa powder.
- Or go rich with a chocolate hazelnut twist: add 1 teaspoon of chocolate hazelnut spread.
- Substitute white chocolate or butterscotch chips — just be sure they’re mini!
- A finely chopped chocolate bar works just as well if you don’t have chips.
- For extra tang, stir in 1 tablespoon of Daisy Sour Cream.
- Store leftovers in the fridge — it keeps well for up to 4 days.
- Make it ahead! This dip can be prepared the day before and gets even better after chilling.
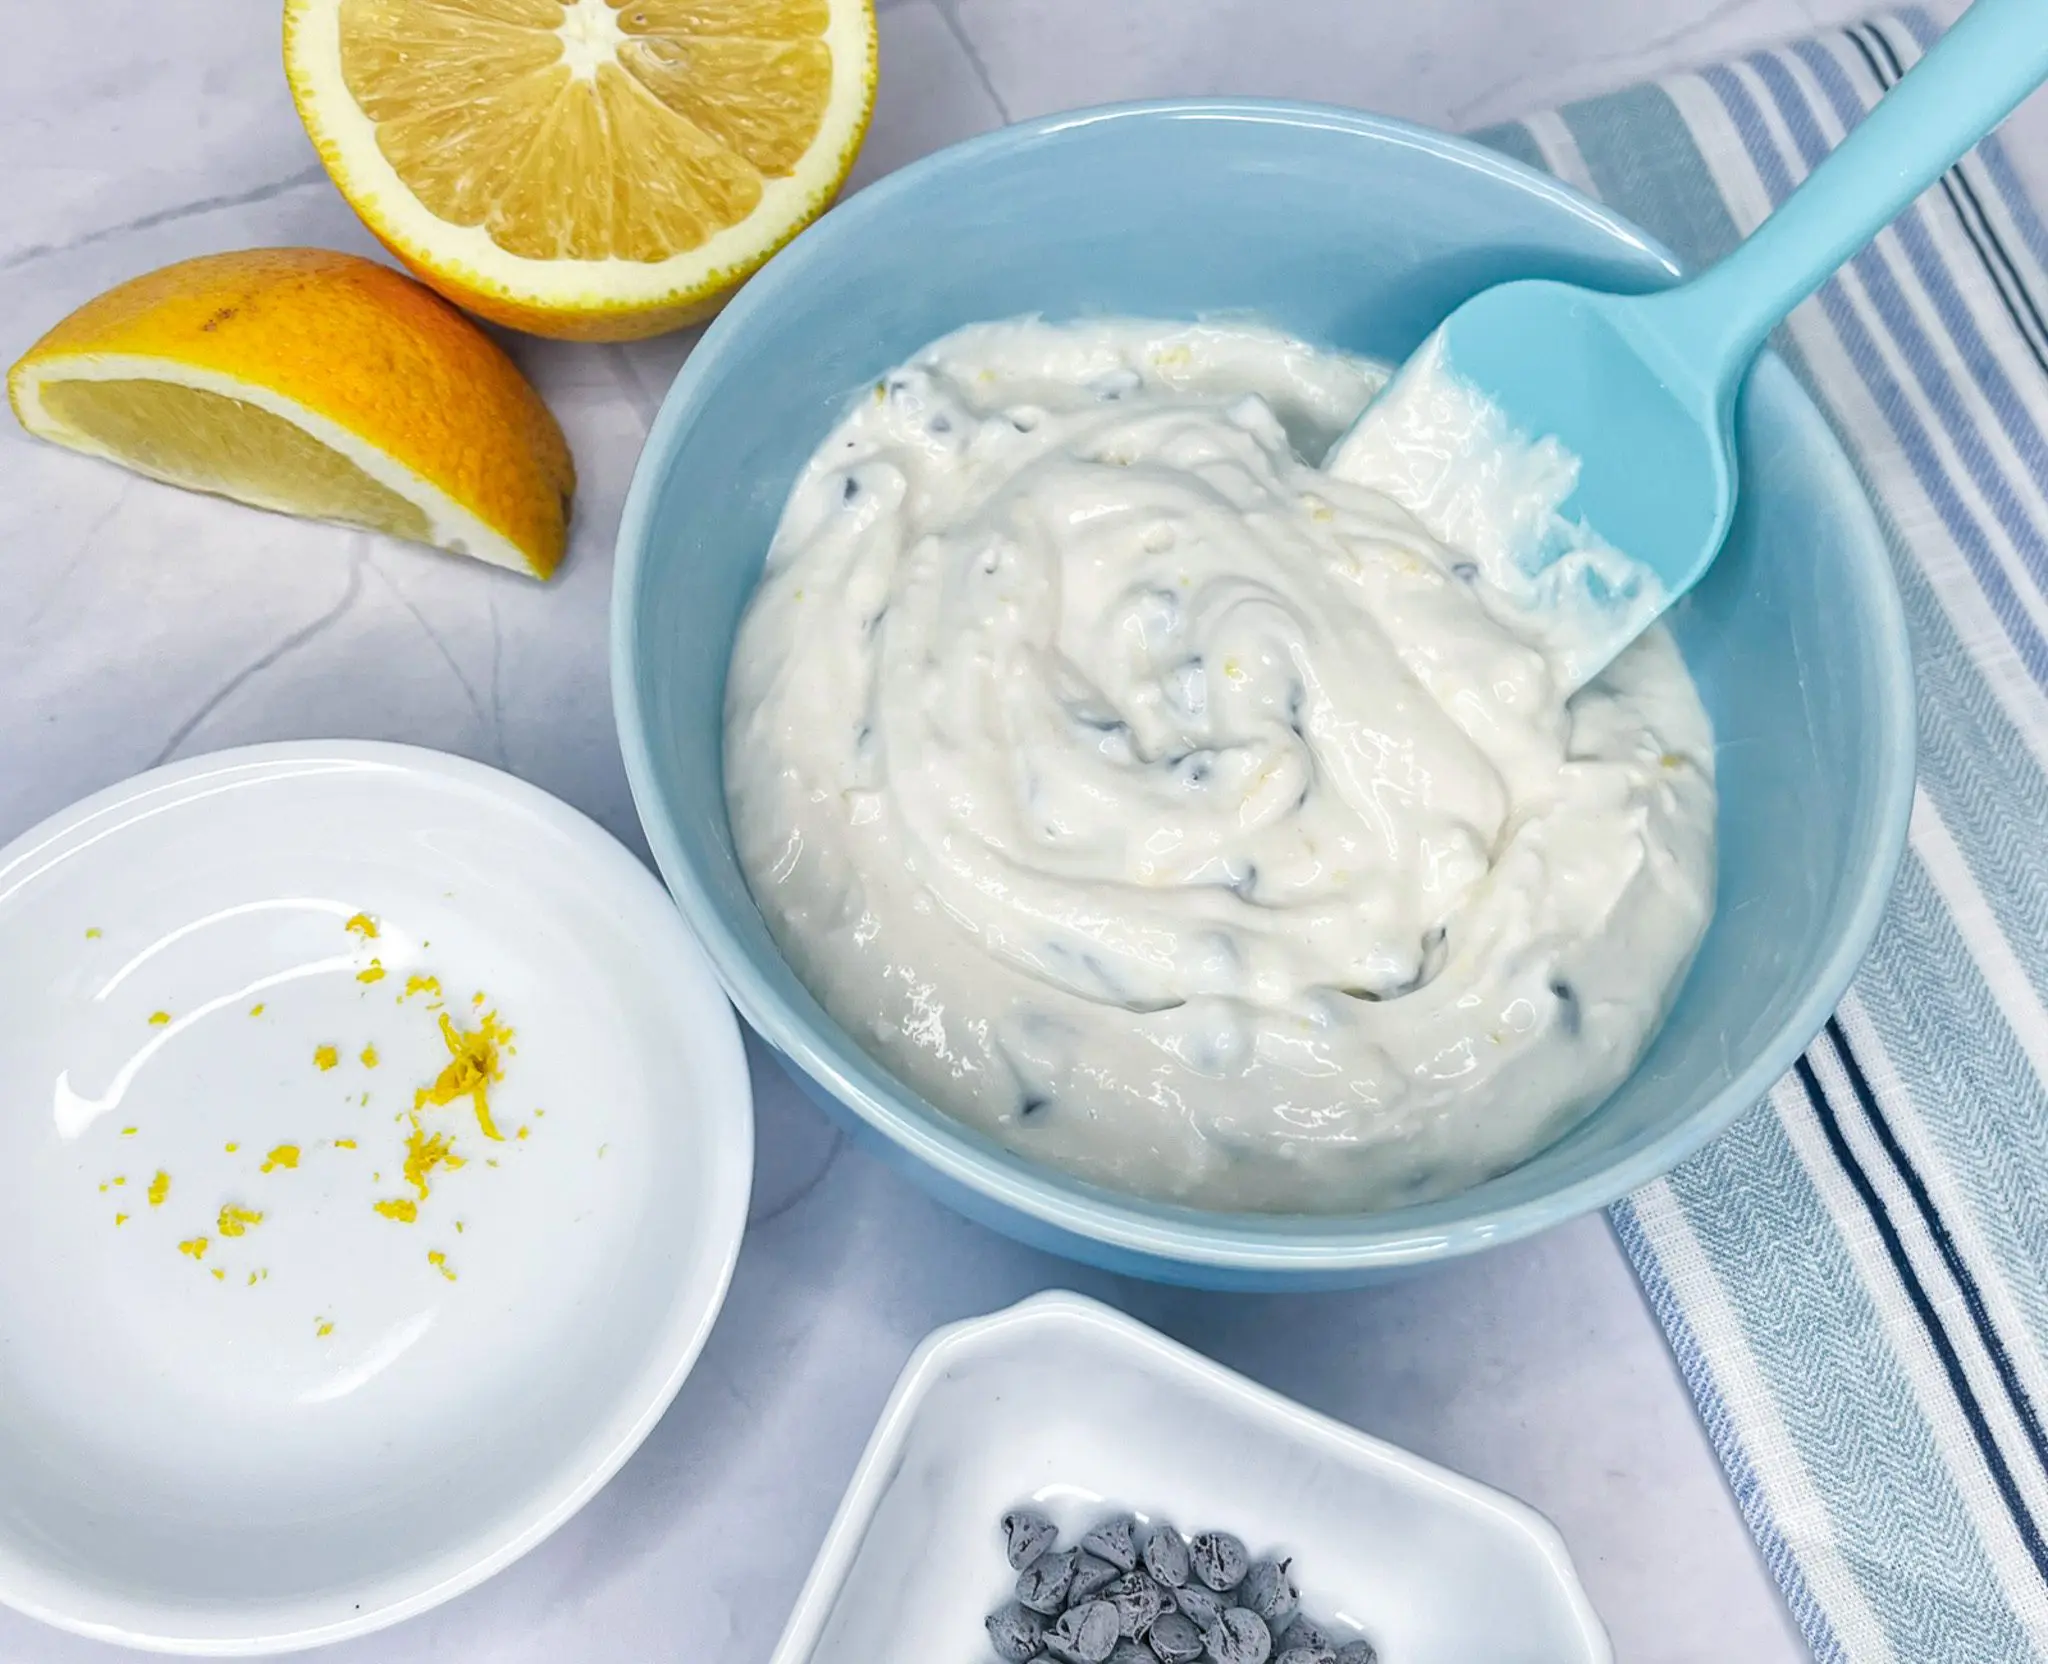
How to Make Light Cannoli Dip
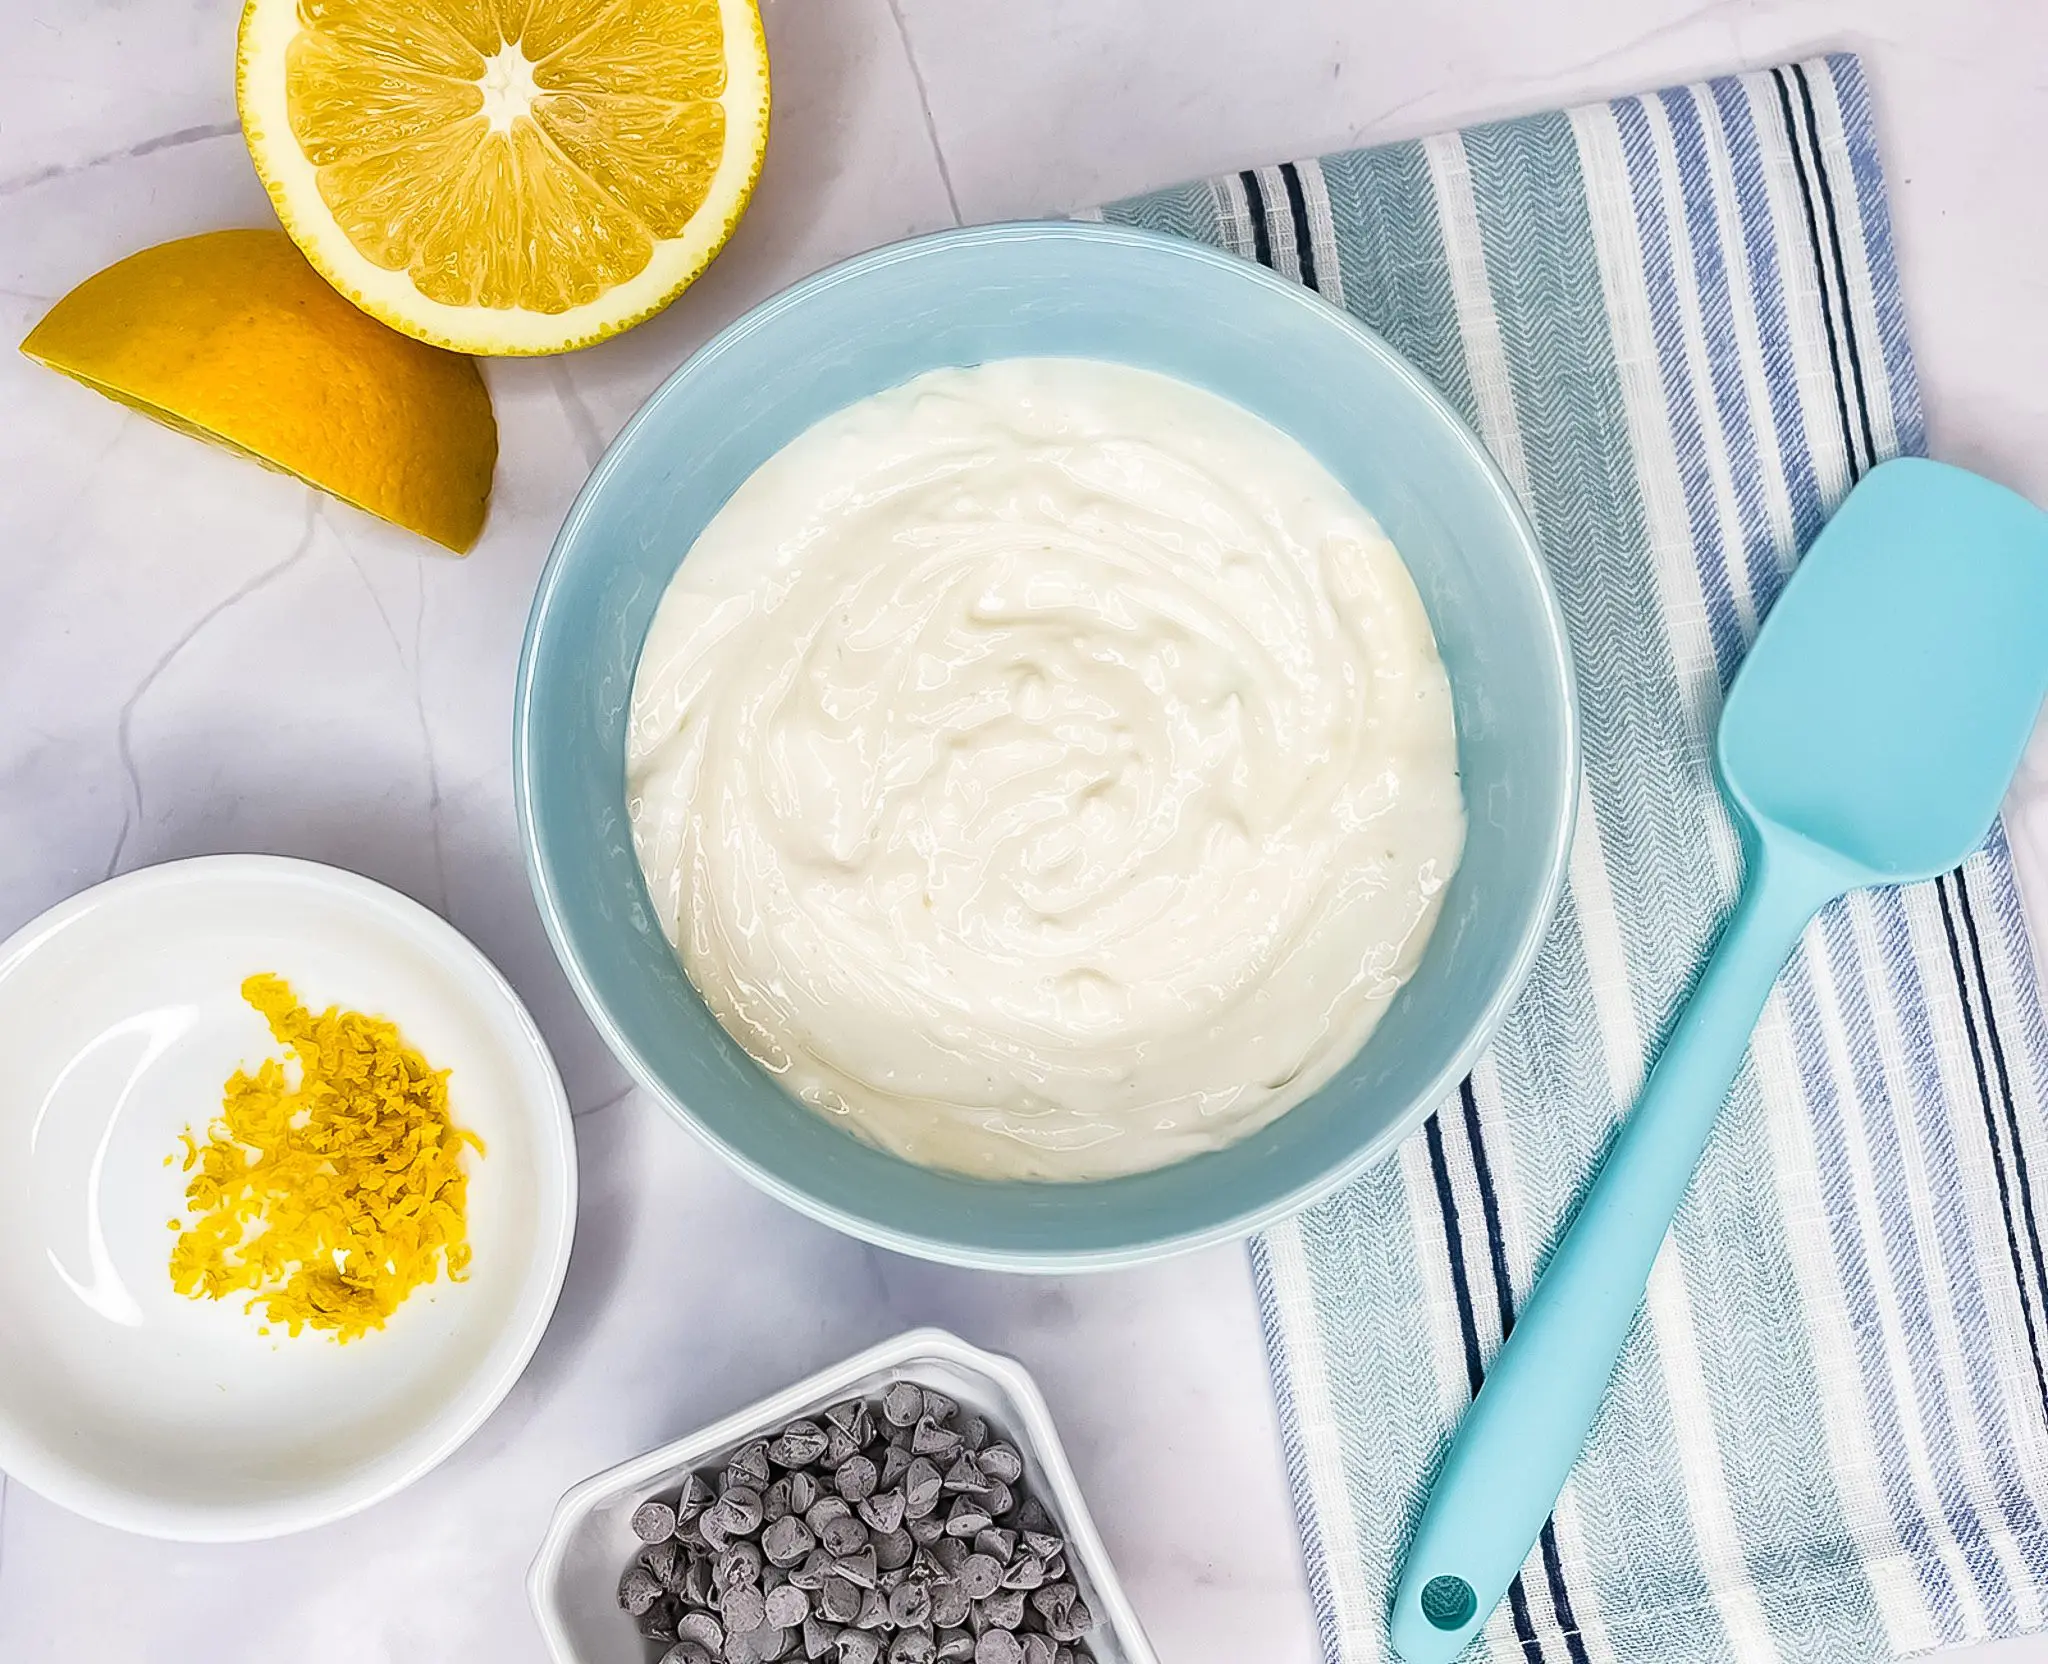
- In a blender or food processor, blend the cottage cheese until completely smooth (about 1 minute). Transfer to a bowl.
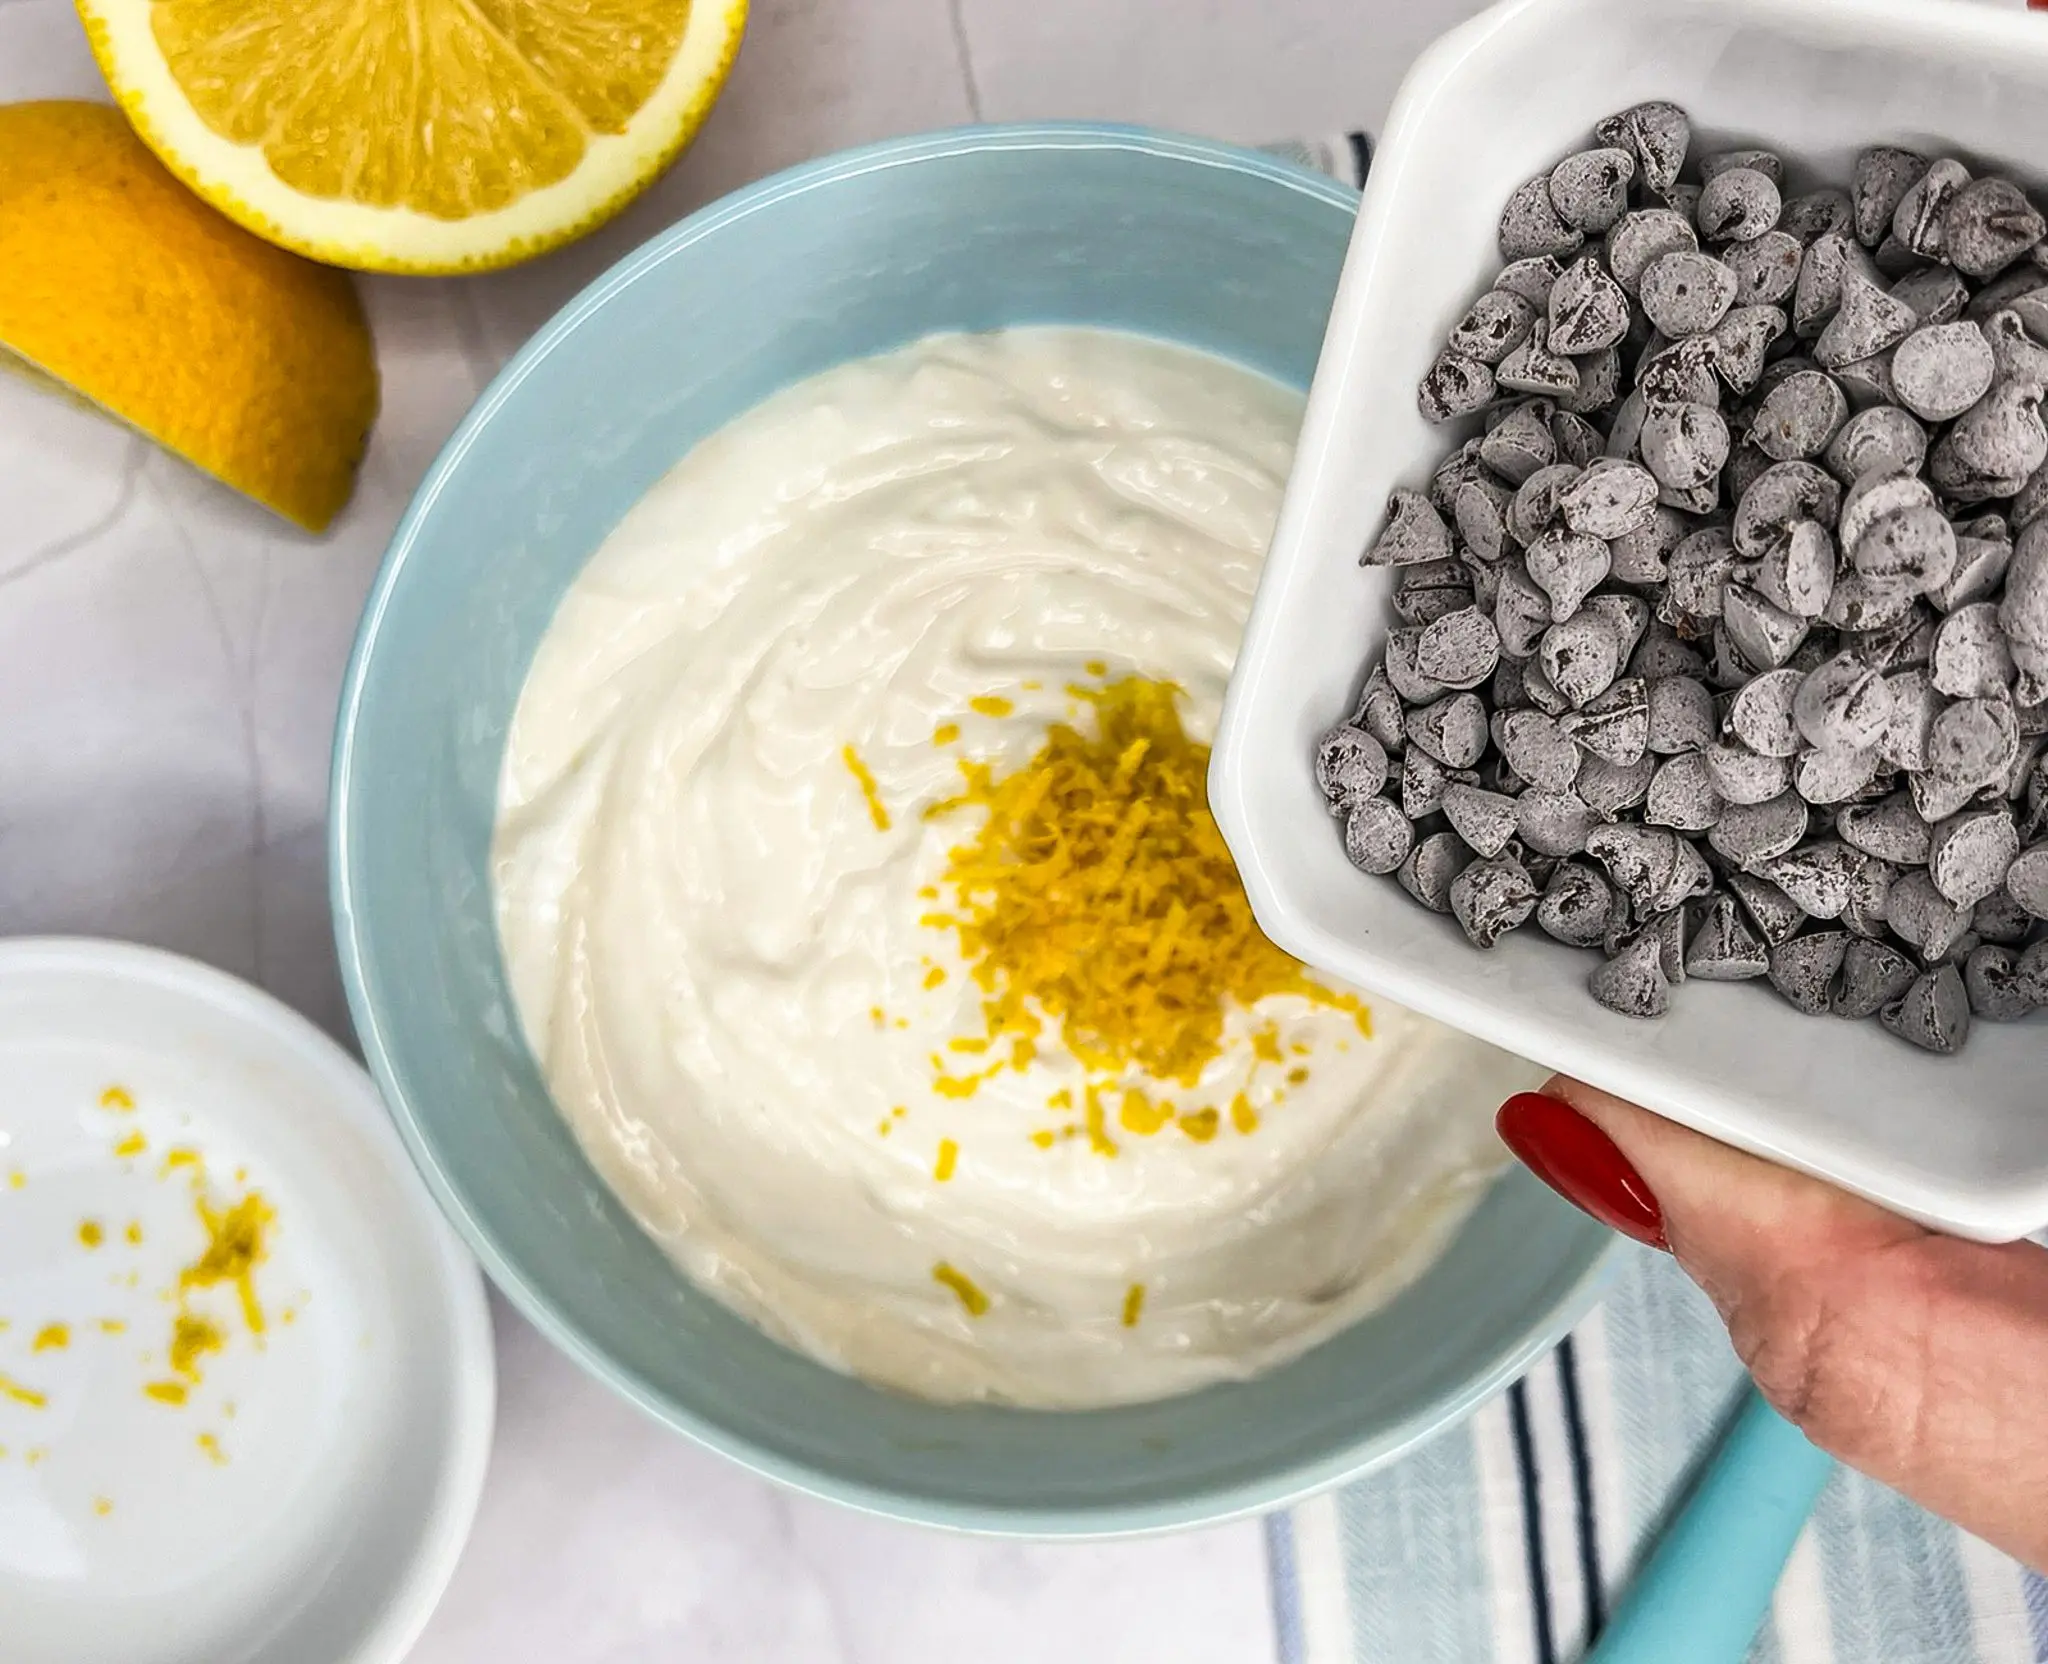
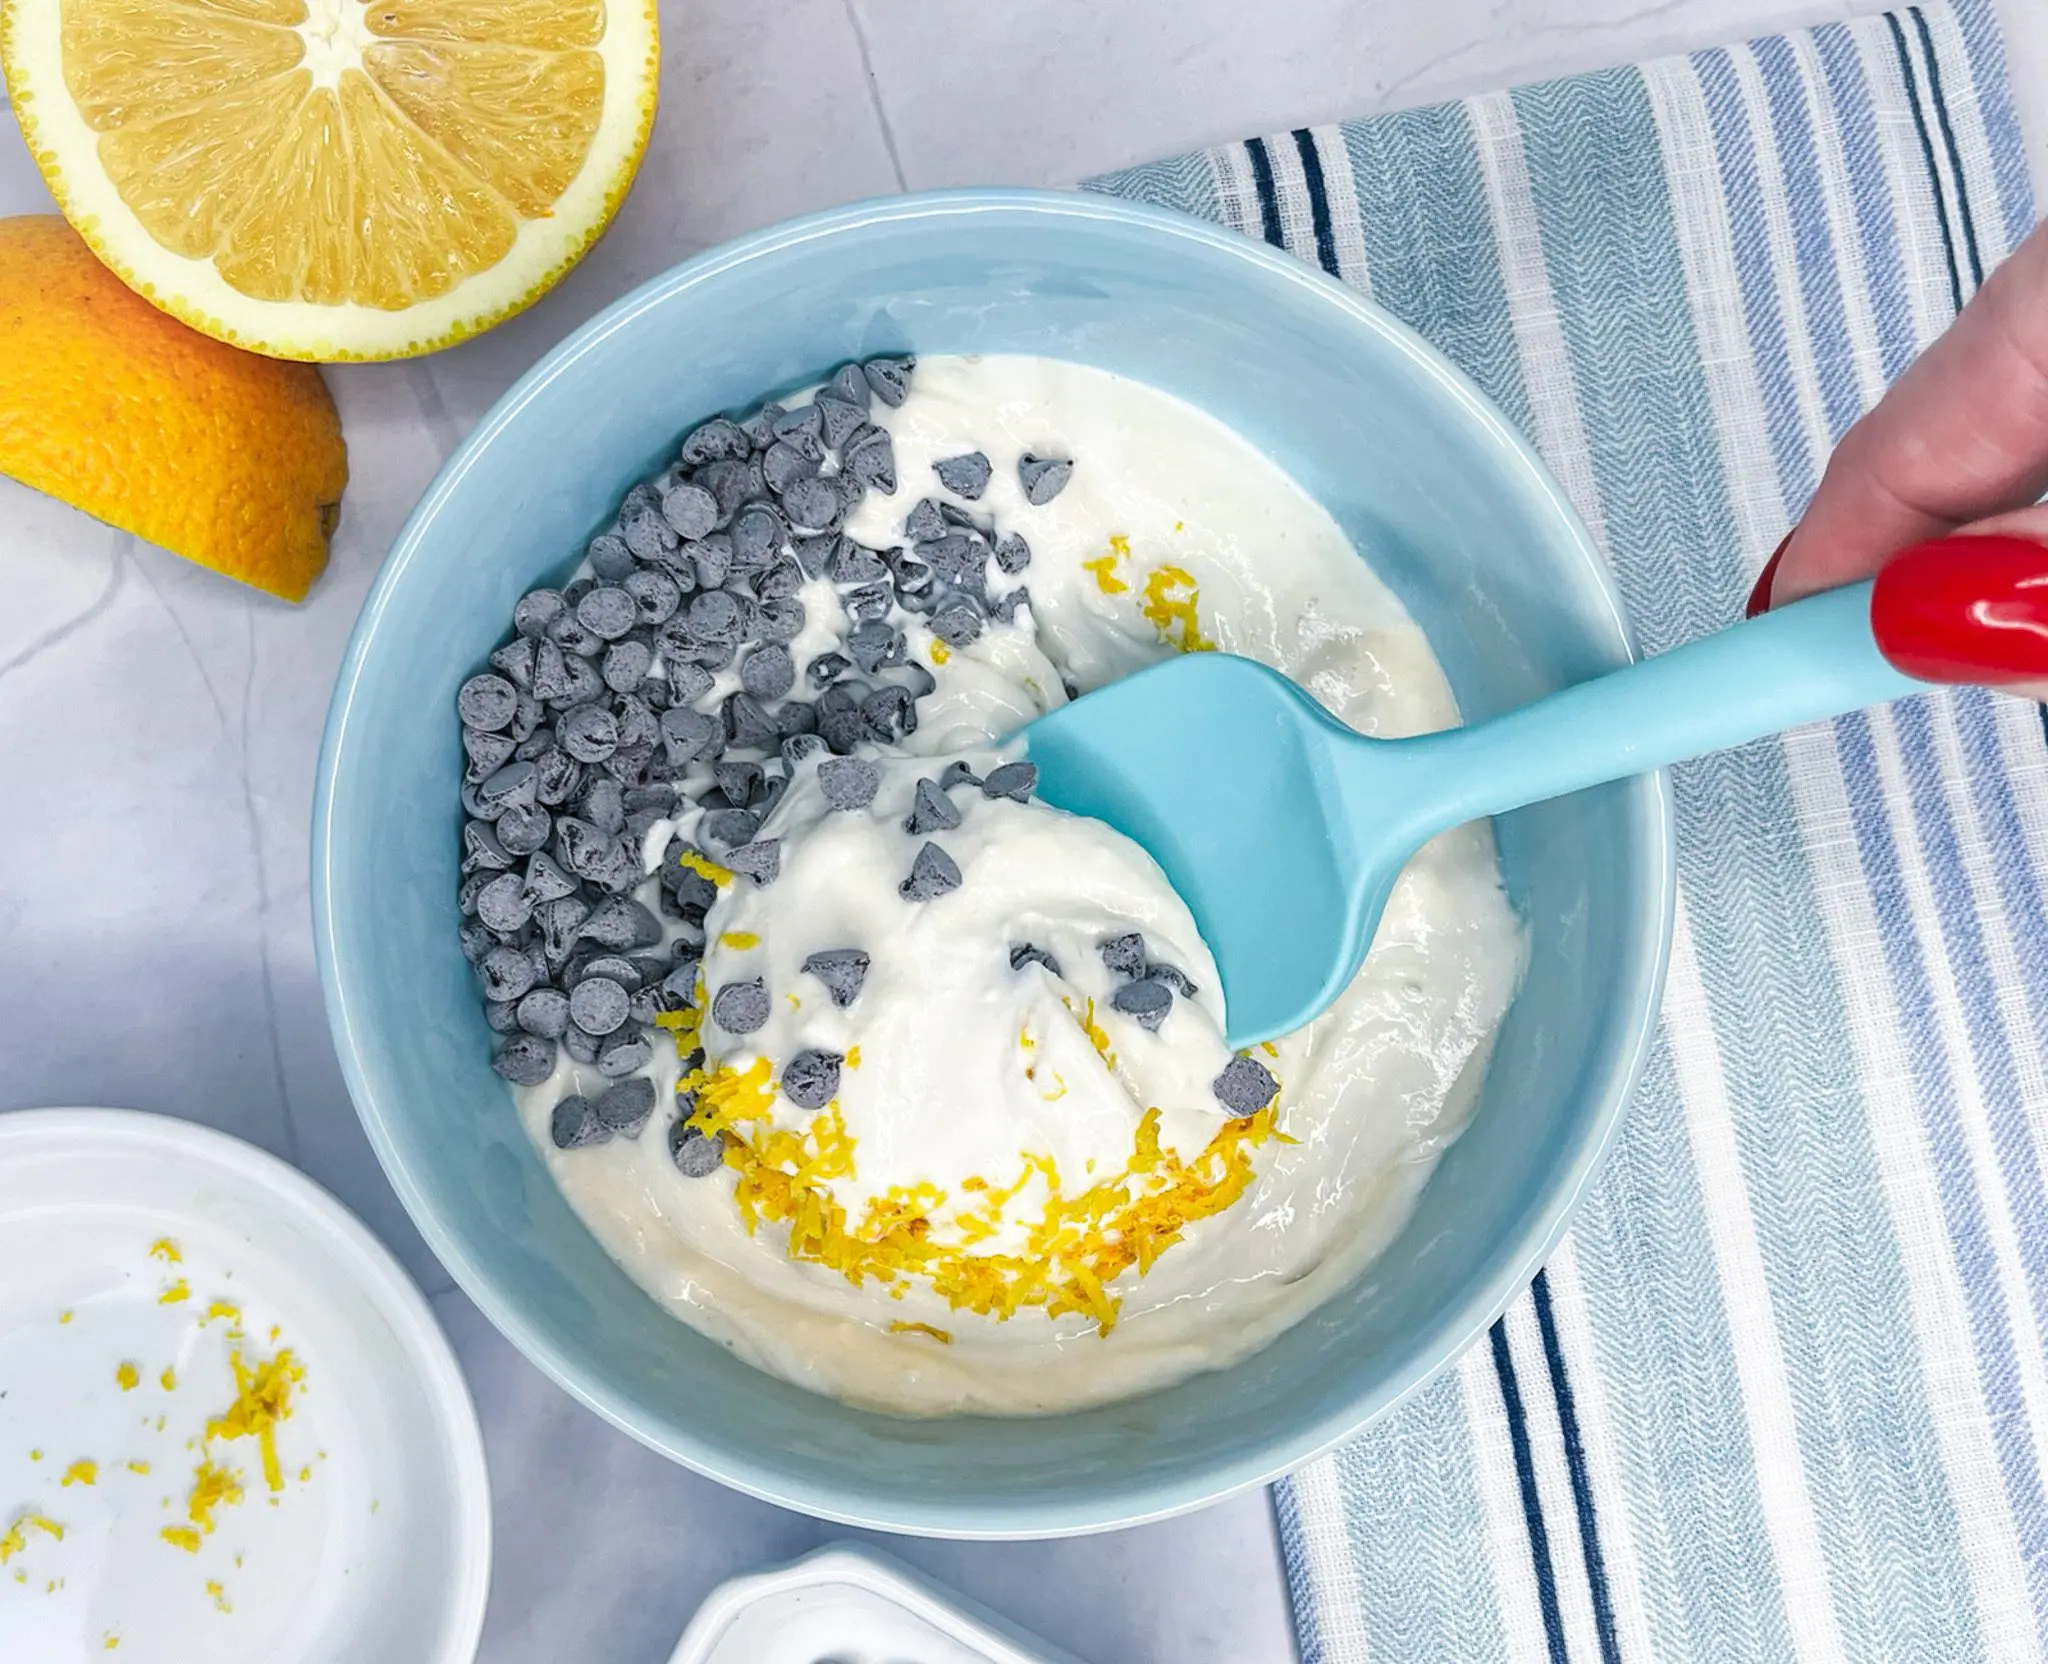
- Fold in the powdered sugar, vanilla, orange zest, and mini chocolate chips.
- Cover and chill for at least 30 minutes before serving.
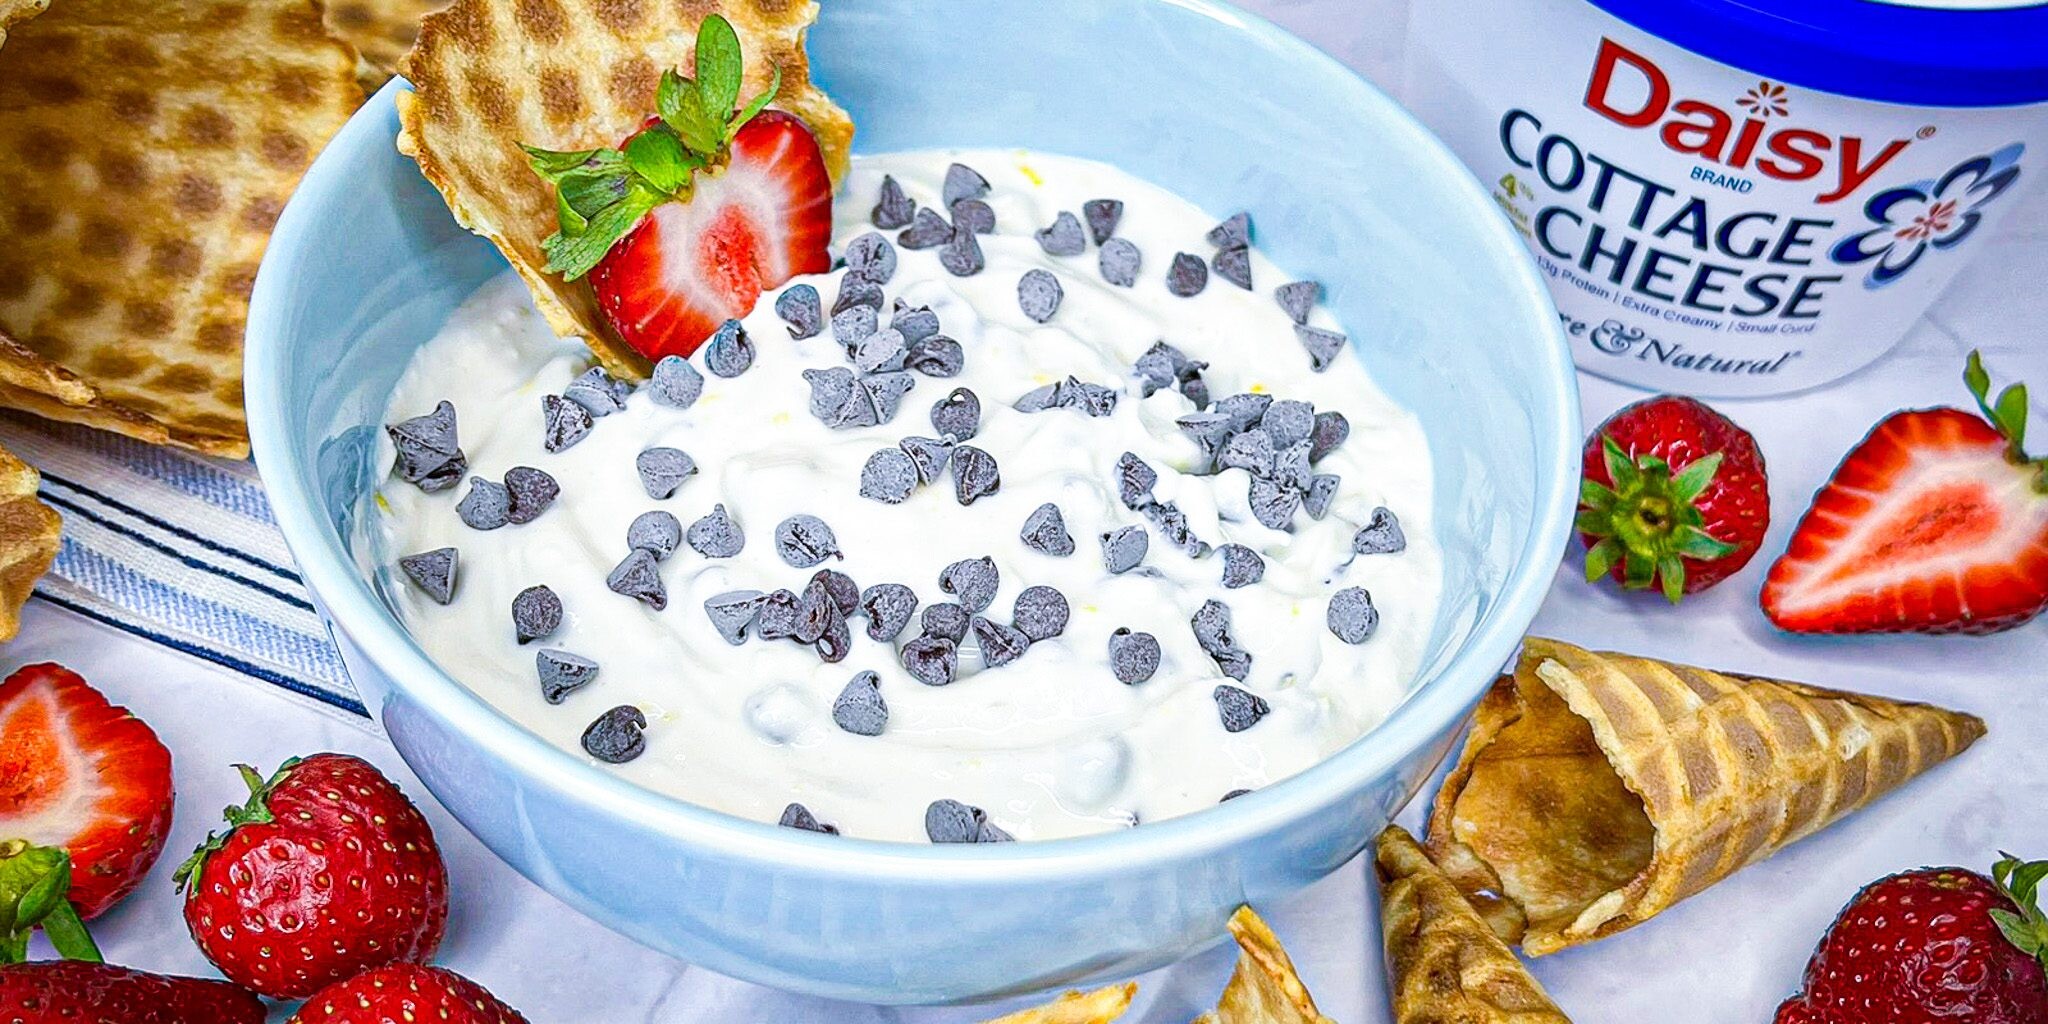
- Garnish with extra mini chocolate chips, if you like. Serve with your favorite dippers!
- Pro Tip: Try serving with waffle cone pieces, sliced apples, strawberries, or graham crackers for the perfect sweet dip combo!
Gluten-Free Peanut Butter Cookies
Gluten-Free Peanut Butter Cookies
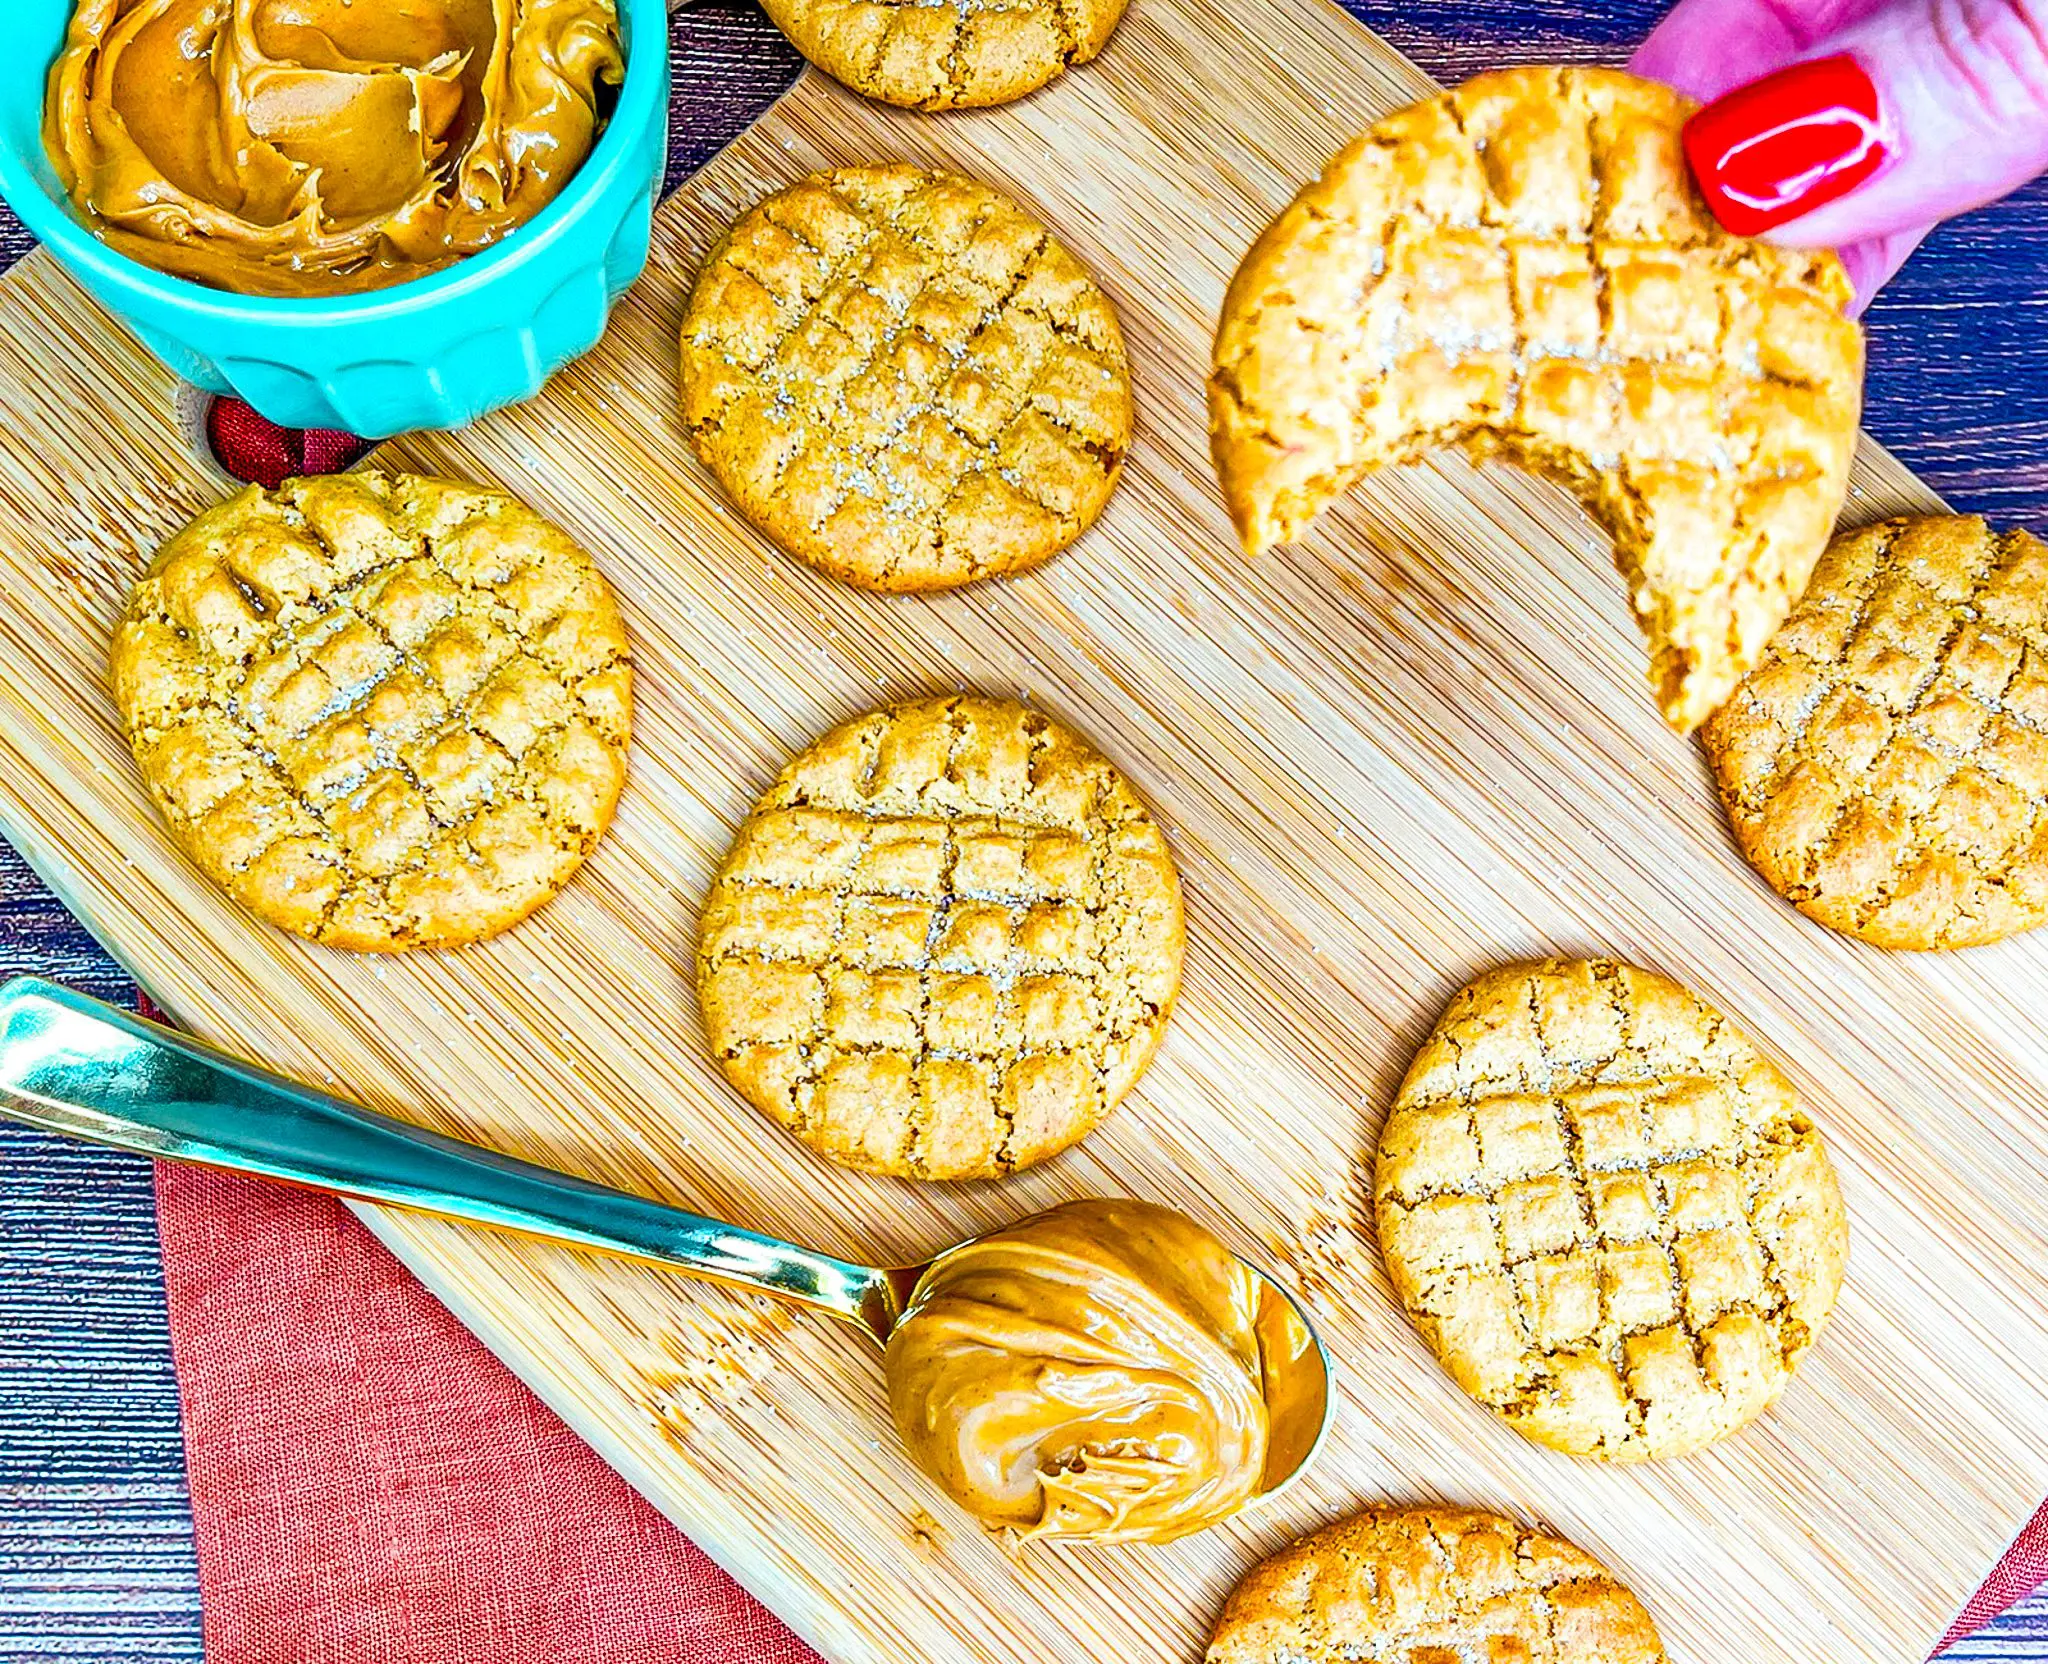
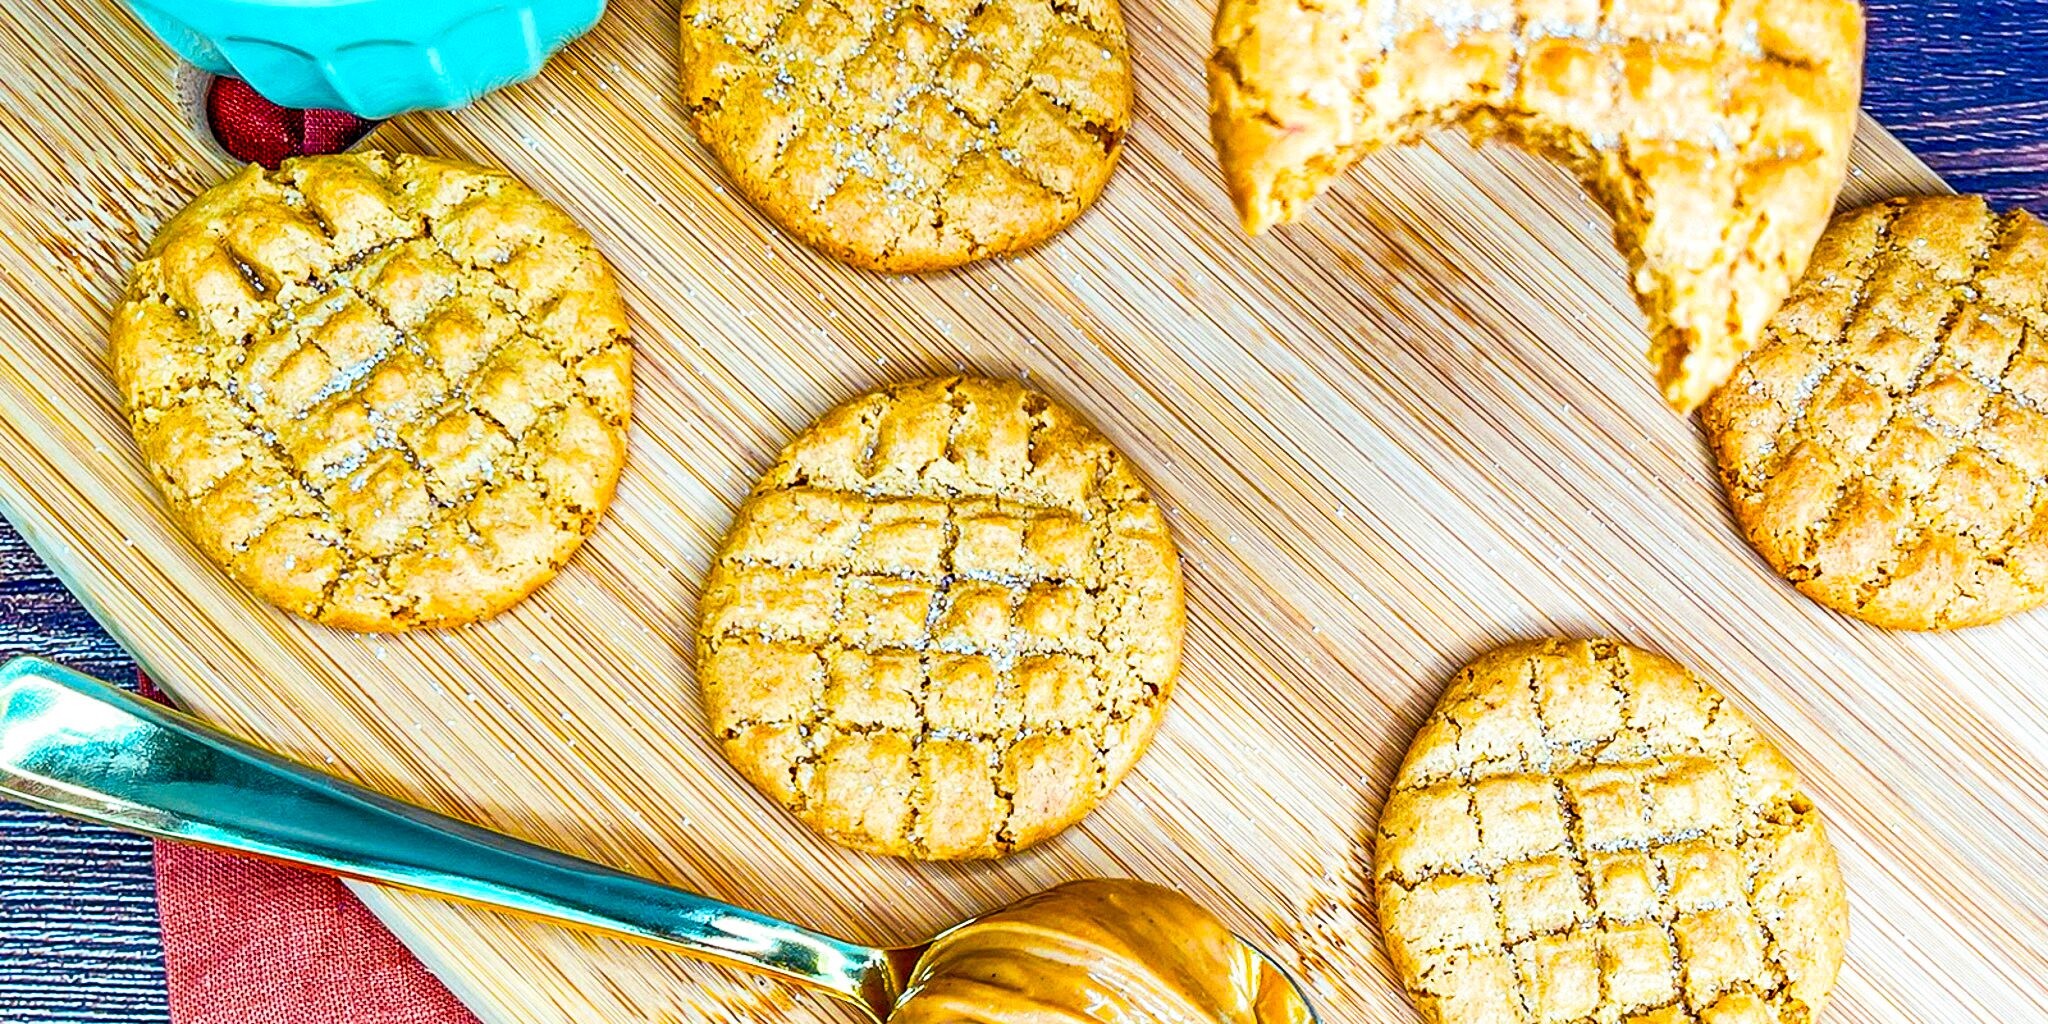
Chewy, rich peanut butter goodness? Yes, please! These Gluten-Free Peanut Butter Cookies are so craveable that you won’t be able to eat just one. Ready in just 20 minutes, chewy, peanut buttery perfection is only moments away. Enjoy with a cold glass of milk today!
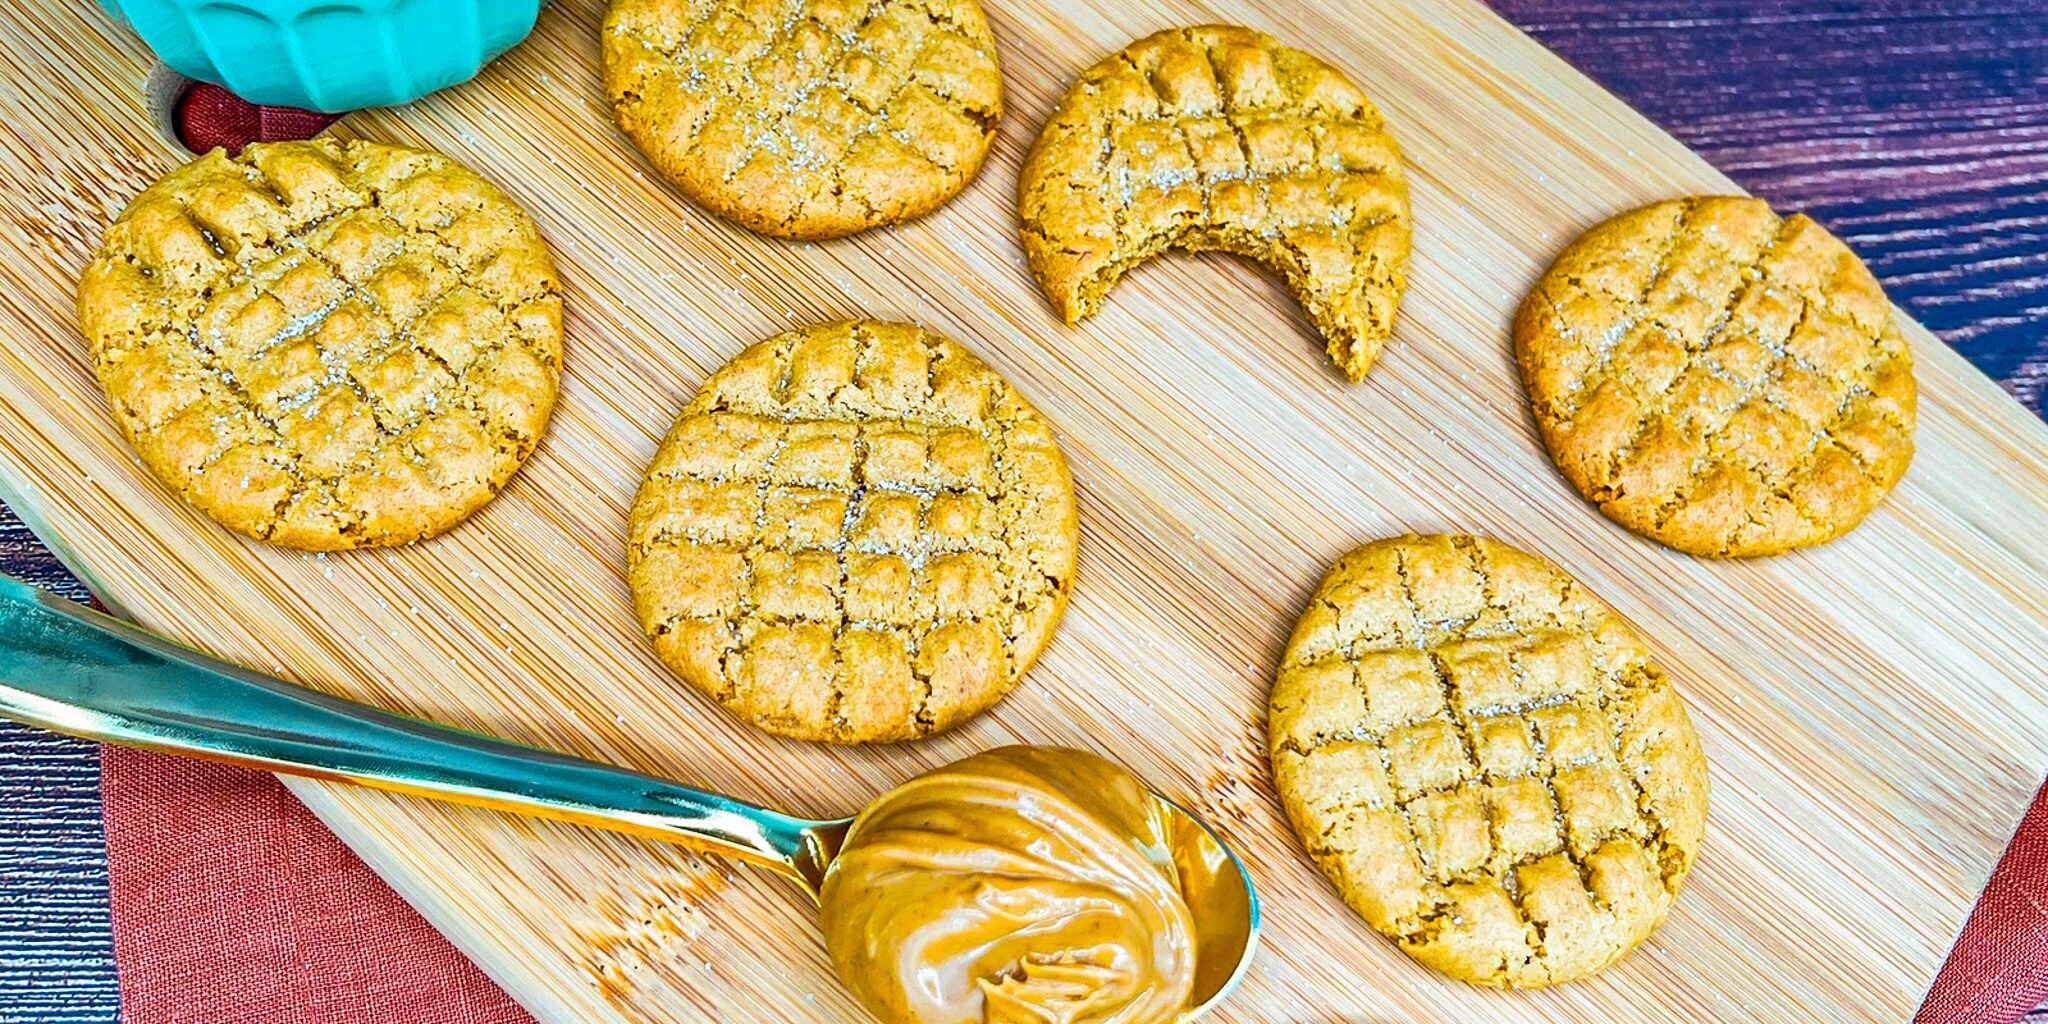
Packed with peanut butter flavor and added protein from blended cottage cheese, these cookies contain only five ingredients and are perfect for those with dietary restrictions. They’re healthier than many traditional cookies thanks to the nutritional value of both the cottage cheese and the peanut butter — yet they still taste like they came straight from a decadent bakery.
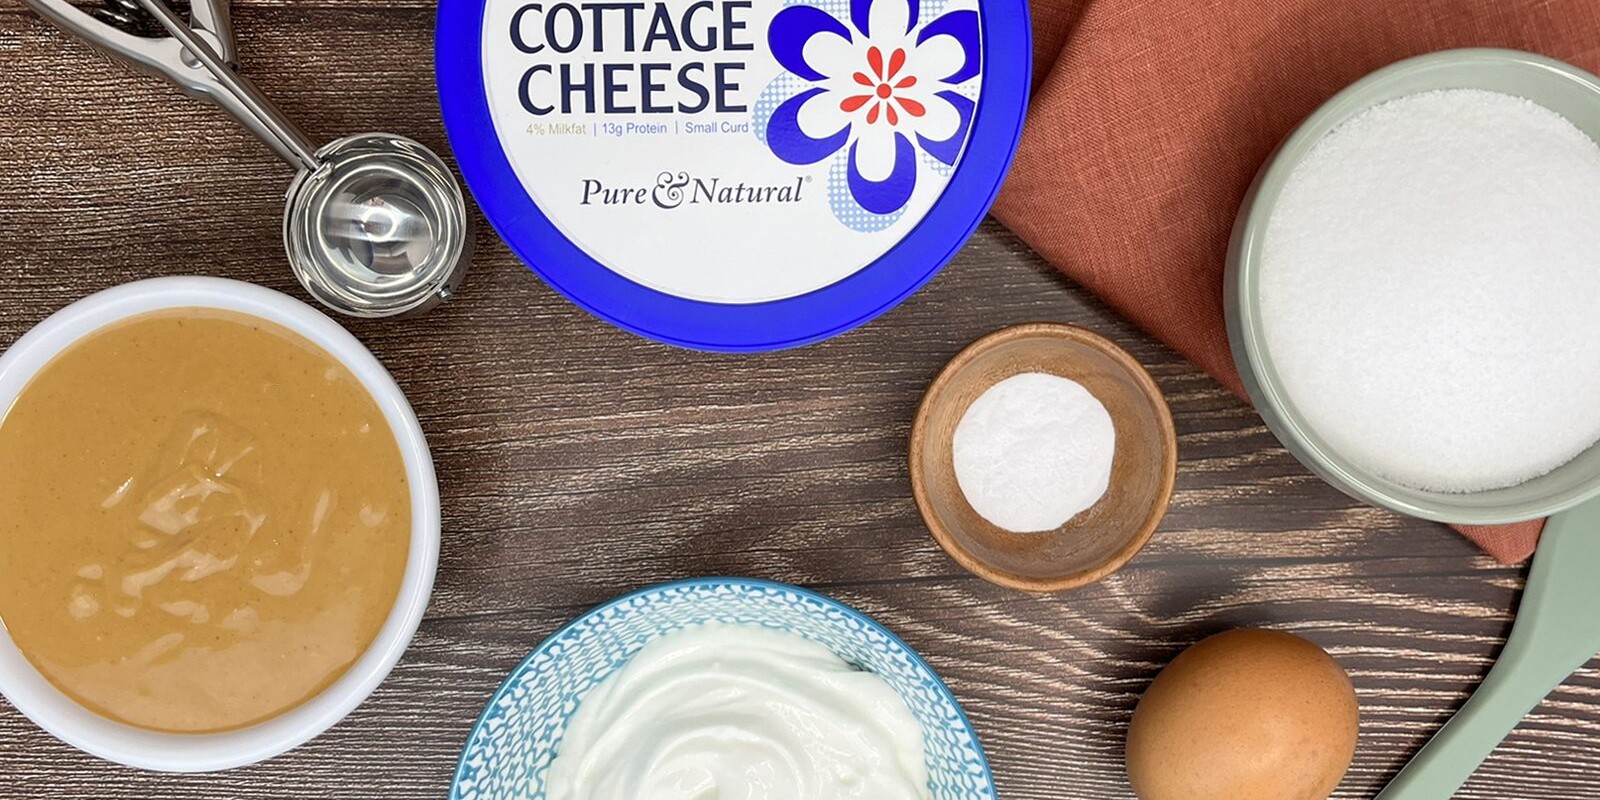
Gluten-Free Peanut Butter Cookie Ingredients
- Peanut Butter (1 cup): Provides flavor and structure. Combined with the other ingredients, it creates chewy cookies.
- Sugar (1 cup): Adds sweetness to the cookies.
- Egg (1 large, beaten): Acts as a binder, helping hold the ingredients together. It also adds structure and a bit of lift.
- Daisy Cottage Cheese (1/2 cup): Adds moistness, richness, and protein to the cookies.
- Baking Soda (1 teaspoon): The primary leavening agent; it adds volume and height to the cookies.
Substitutions, Variations, and Tips
- For best results, bring all ingredients to room temperature before mixing, and use high-quality ingredients.
- Both creamy and crunchy peanut butter work well in this recipe.
- Other nut butters (like almond or cashew butter) may be used in place of peanut butter.
- Customize your cookies by adding mix-ins such as chocolate chips or peanut butter candies.
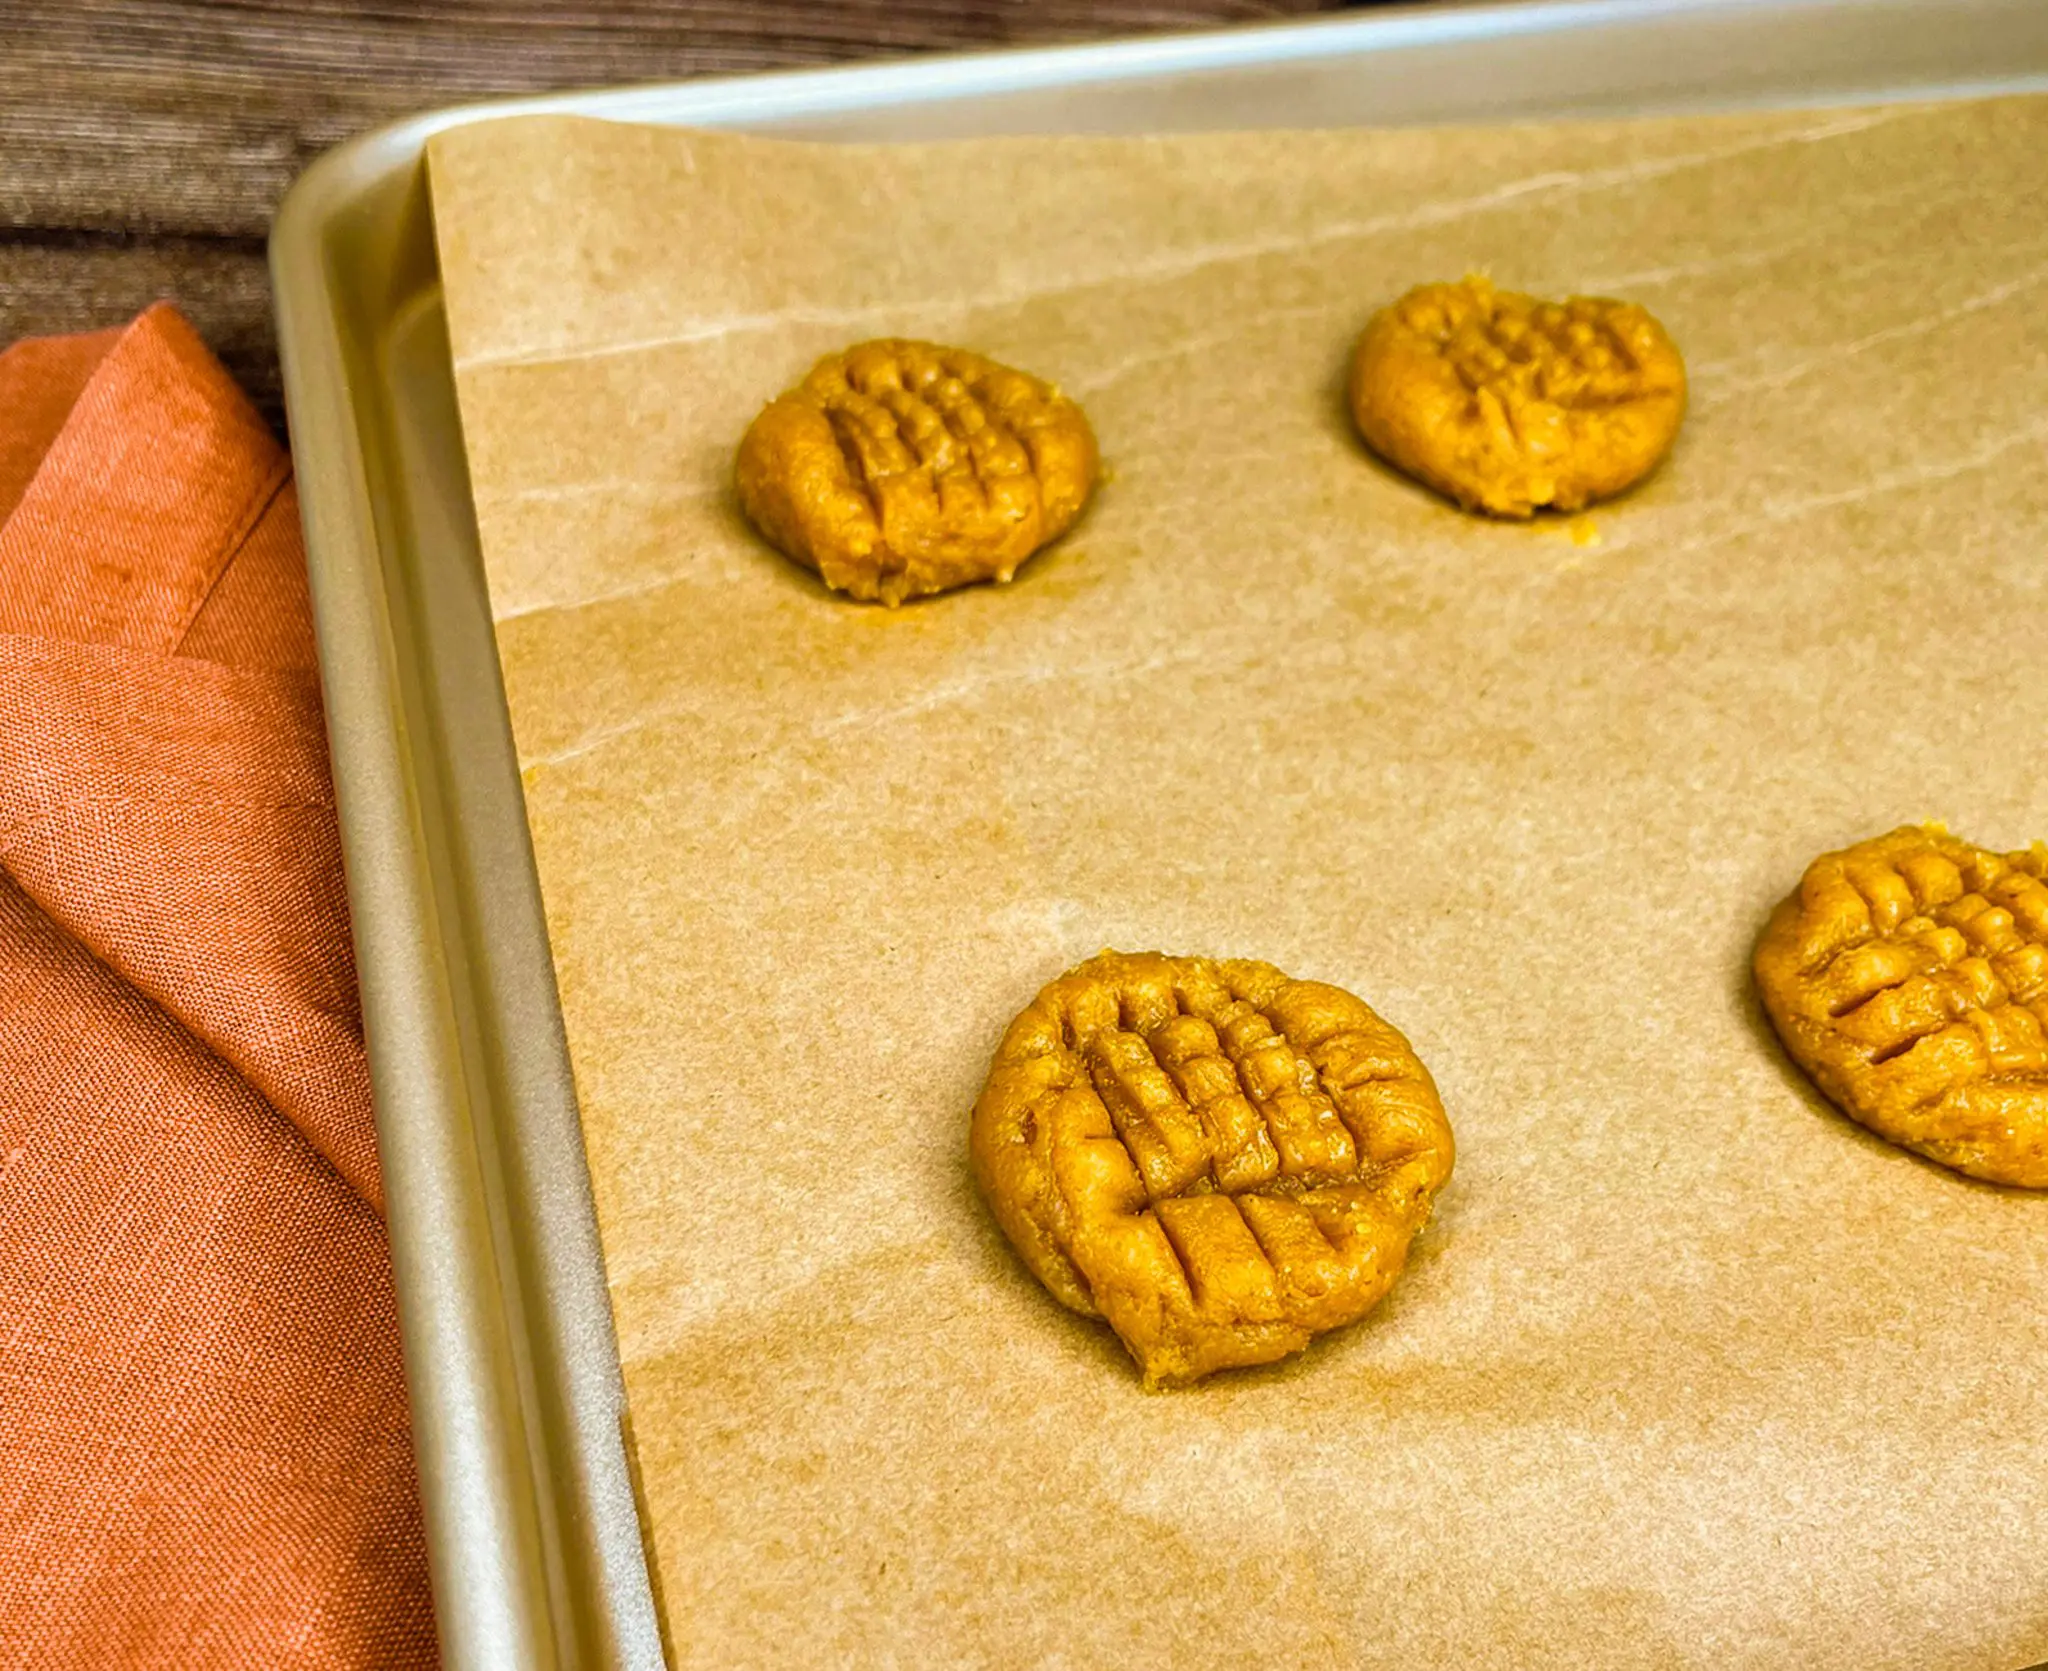
- To create the iconic crisscross pattern, use a cold fork to gently press down on the dough balls before baking.
- For an extra-special touch, sprinkle coarse sugar on top after making the crisscross pattern.
- For a flavor twist, roll dough balls in a cinnamon-sugar mixture before baking. To make the mixture, combine ½ cup sugar and 2 tablespoons cinnamon. Store any leftovers in an airtight container.
- Store baked cookies in an airtight container for up to five days.
- To freeze, roll dough into balls and flash-freeze on a baking sheet. Then transfer to a zip-top bag with as much air removed as possible. Freeze for up to six months. Thaw in the refrigerator or bake from frozen — just follow the recipe’s baking directions.
How to Make Gluten-Free Peanut Butter Cookies
- Preheat oven to 350°F. Line baking sheets with parchment paper.
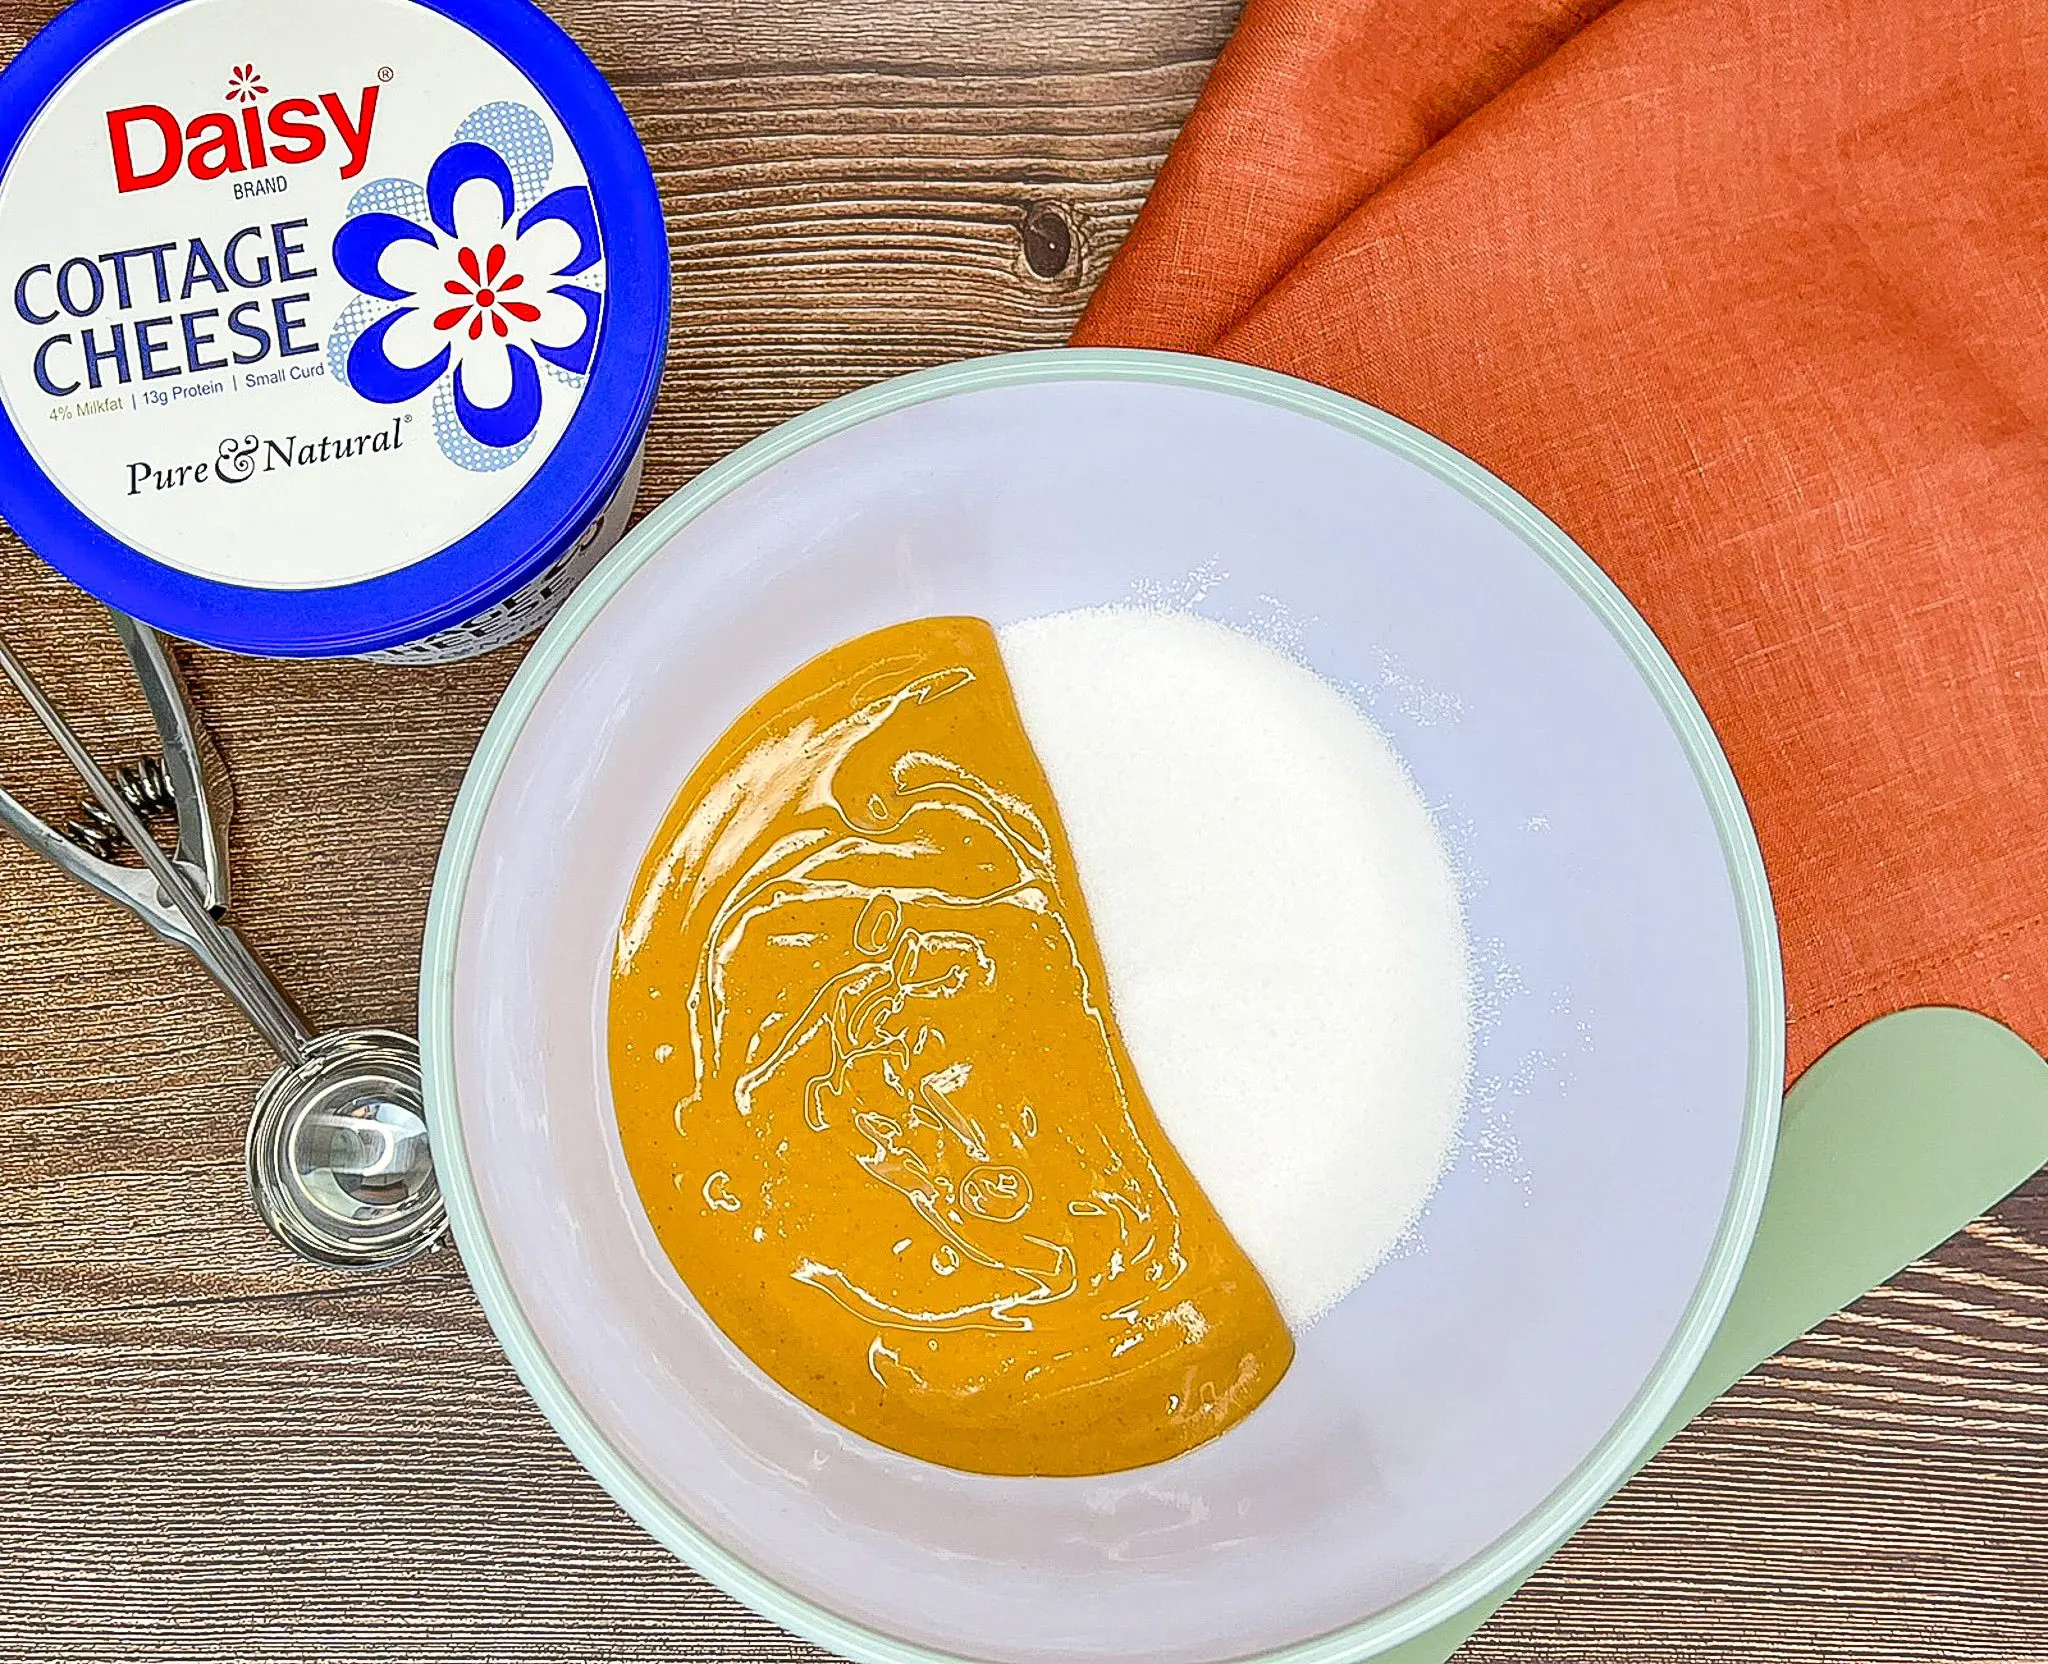
- Beat peanut butter and sugar together with an electric mixer until smooth.
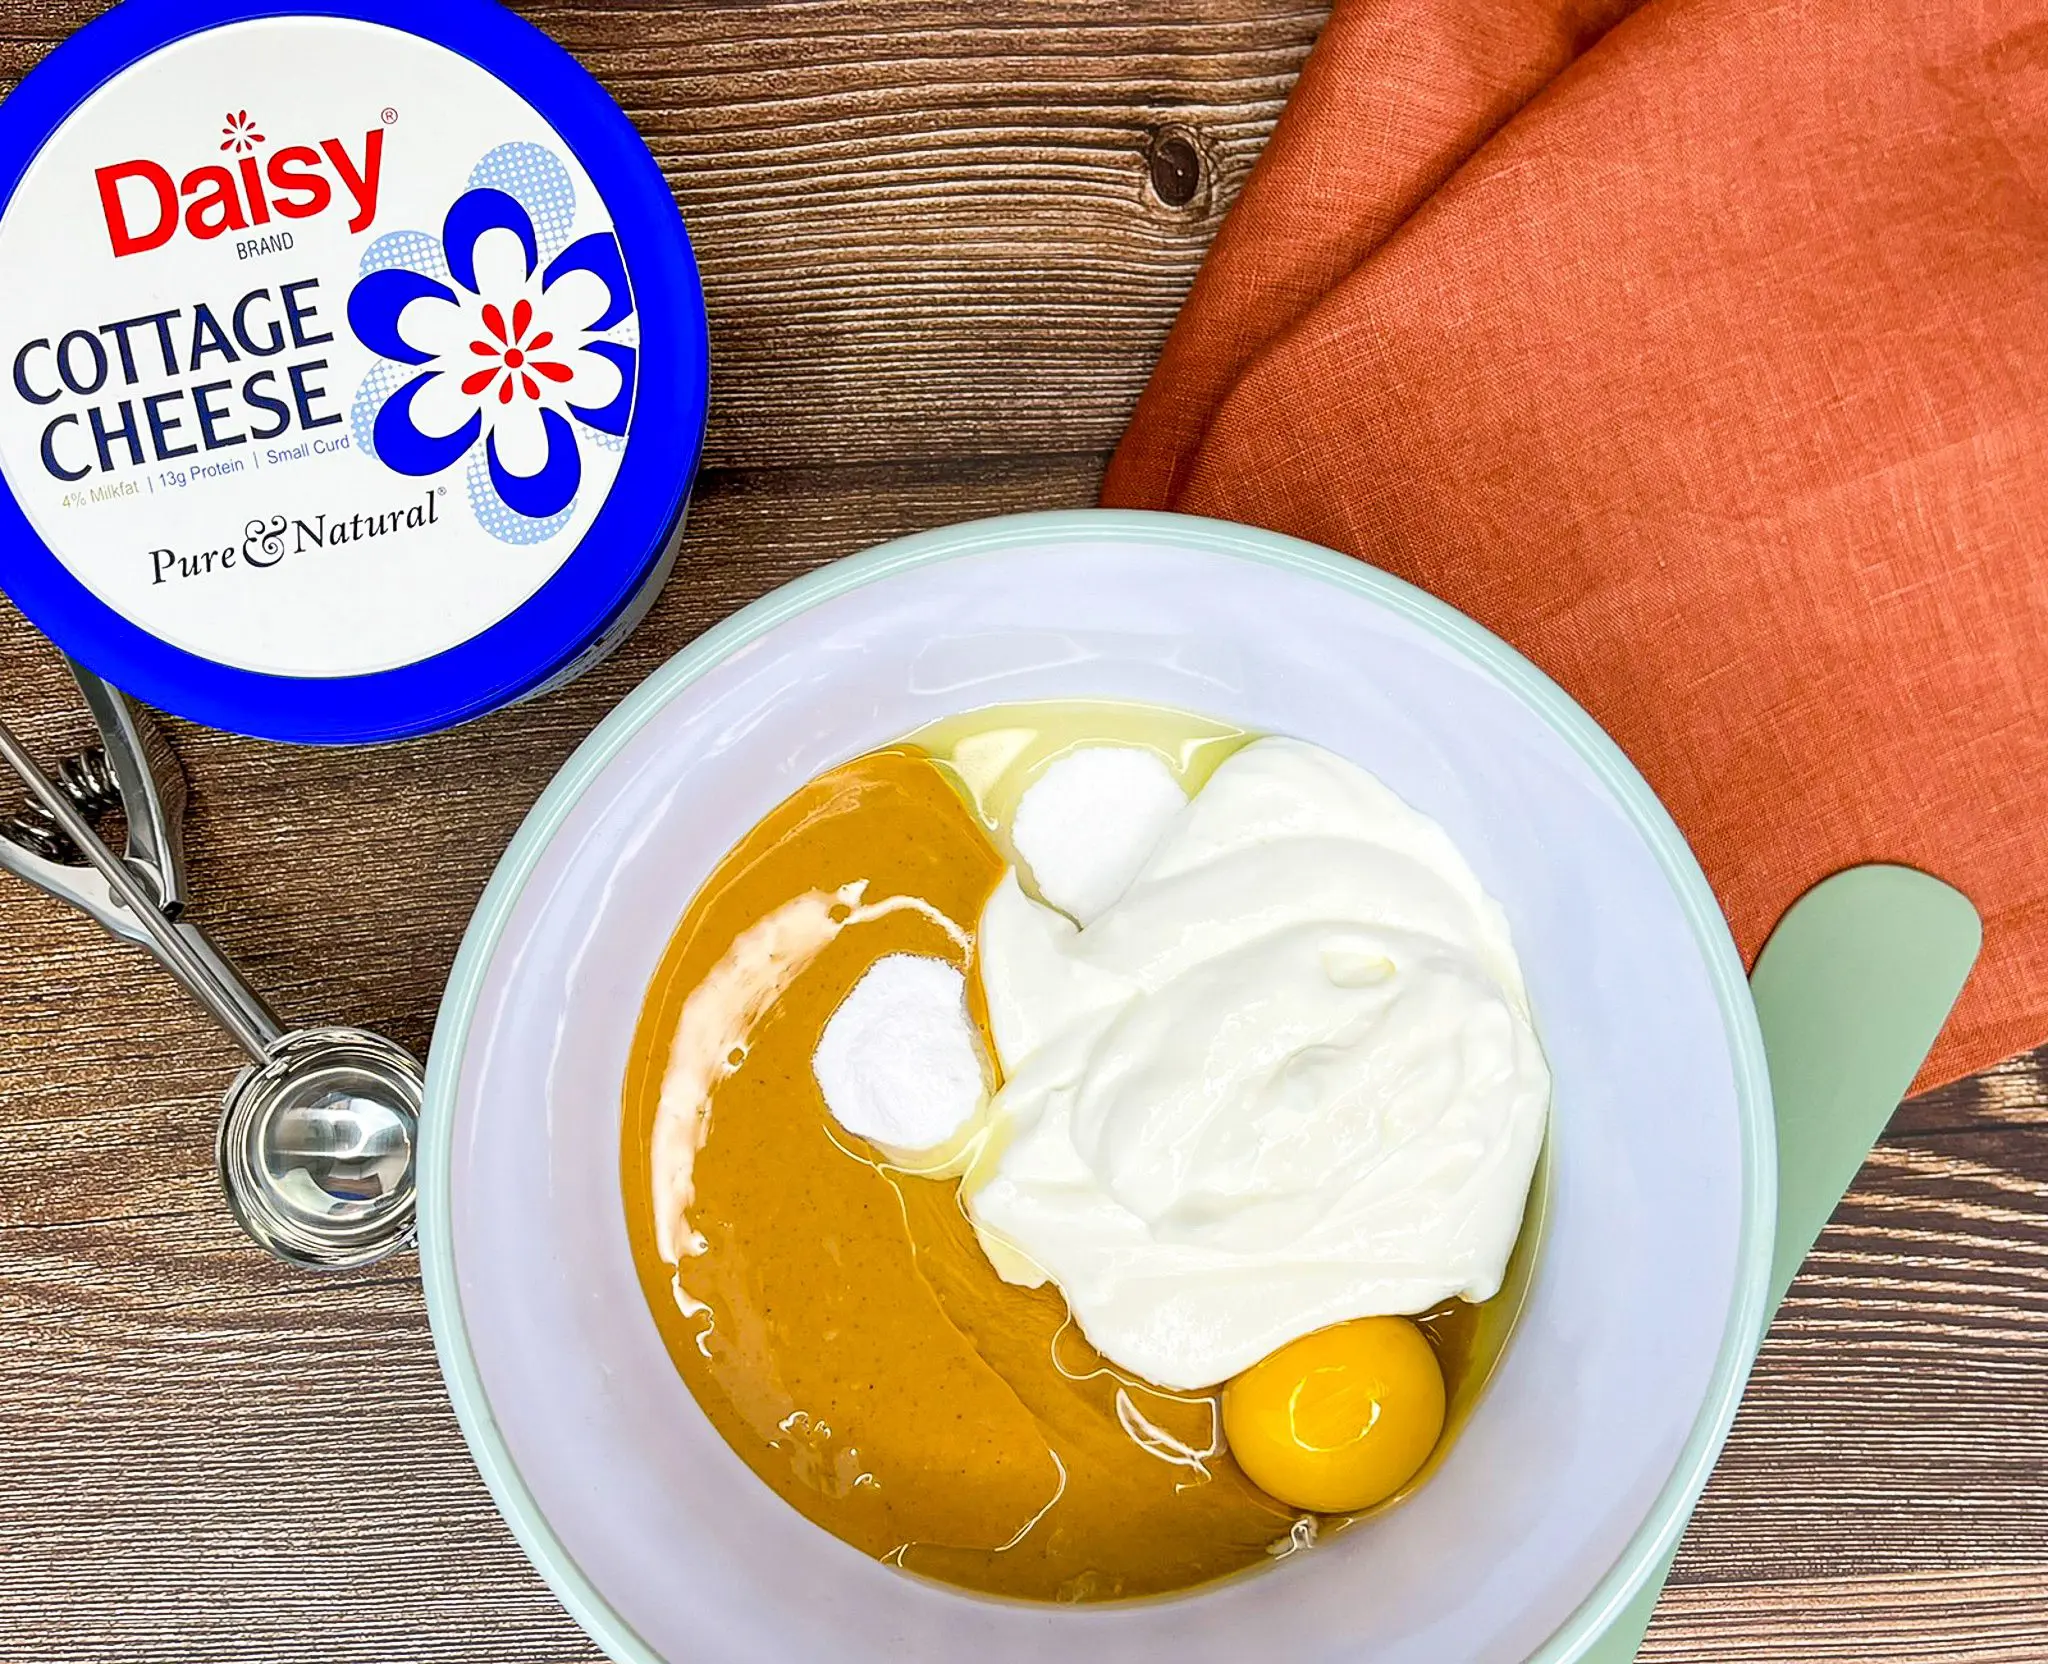
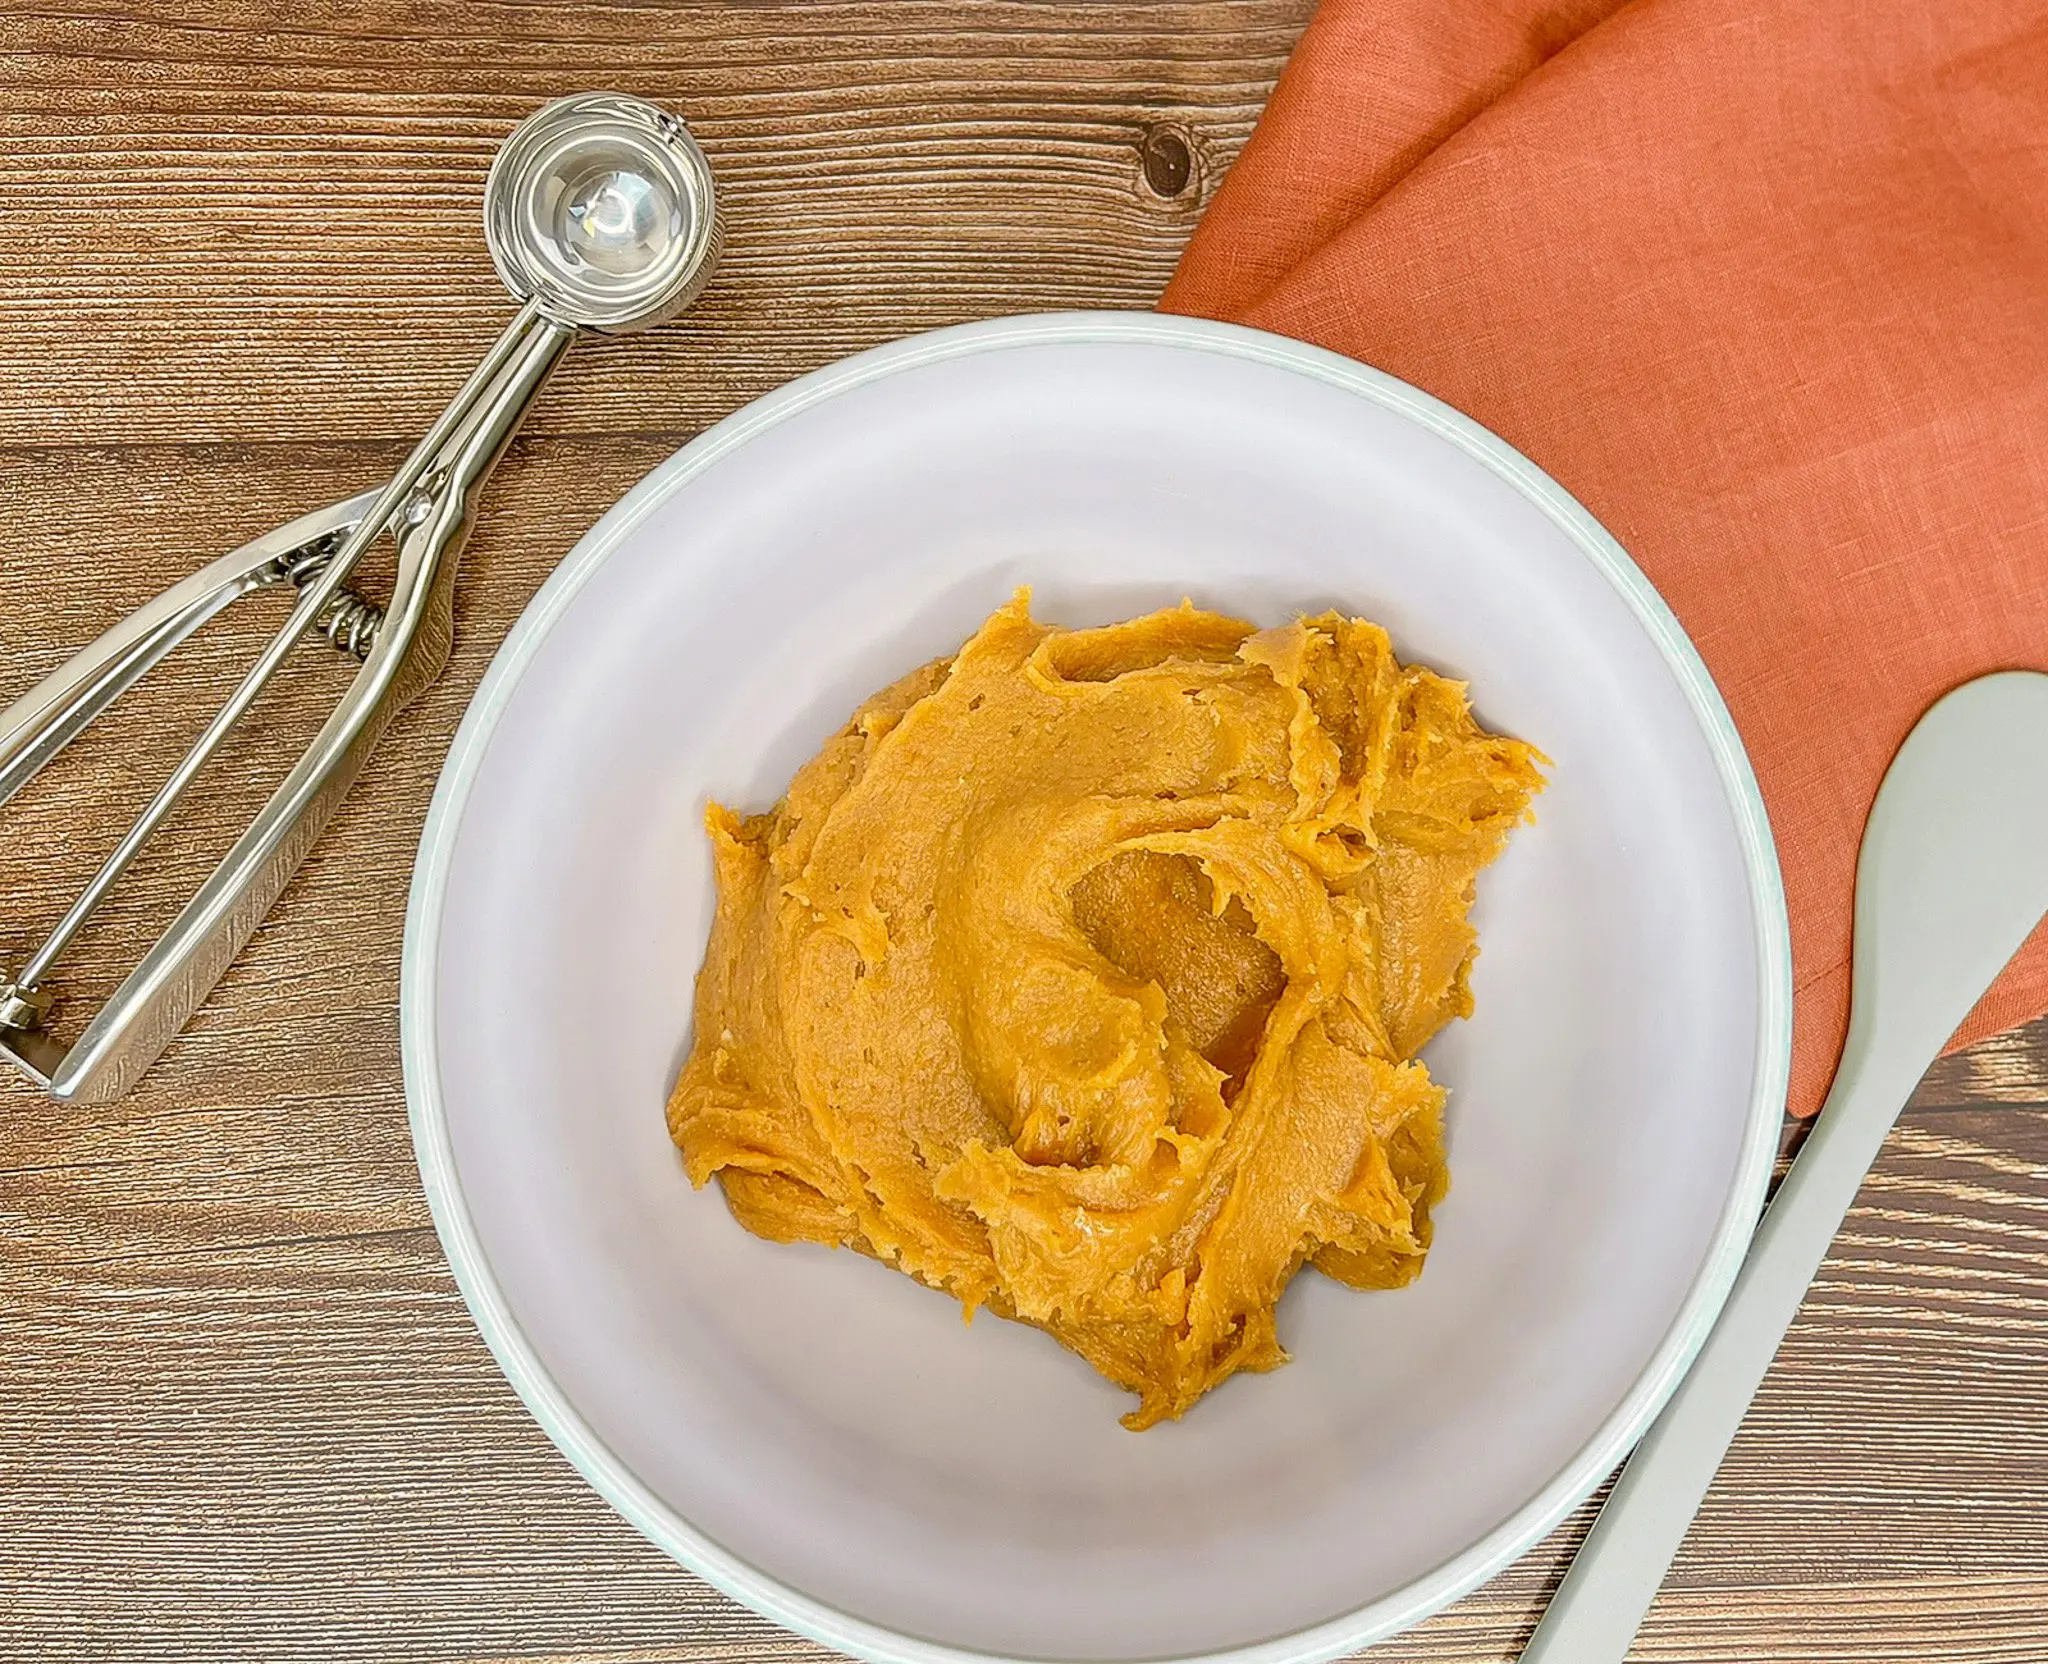
- Add egg, blended cottage cheese, and baking soda. Beat until well combined.
- Roll 1 tablespoon of dough into a ball and place 2 inches apart on the baking sheets. If desired, create a crisscross pattern with a cold fork.
- Bake until puffed and pale golden, about 12–14 minutes.
- Cool on the baking sheet for about 2 minutes, then transfer to a wire rack to cool completely before serving.
Tomato Salad
Simple Tomato Salad
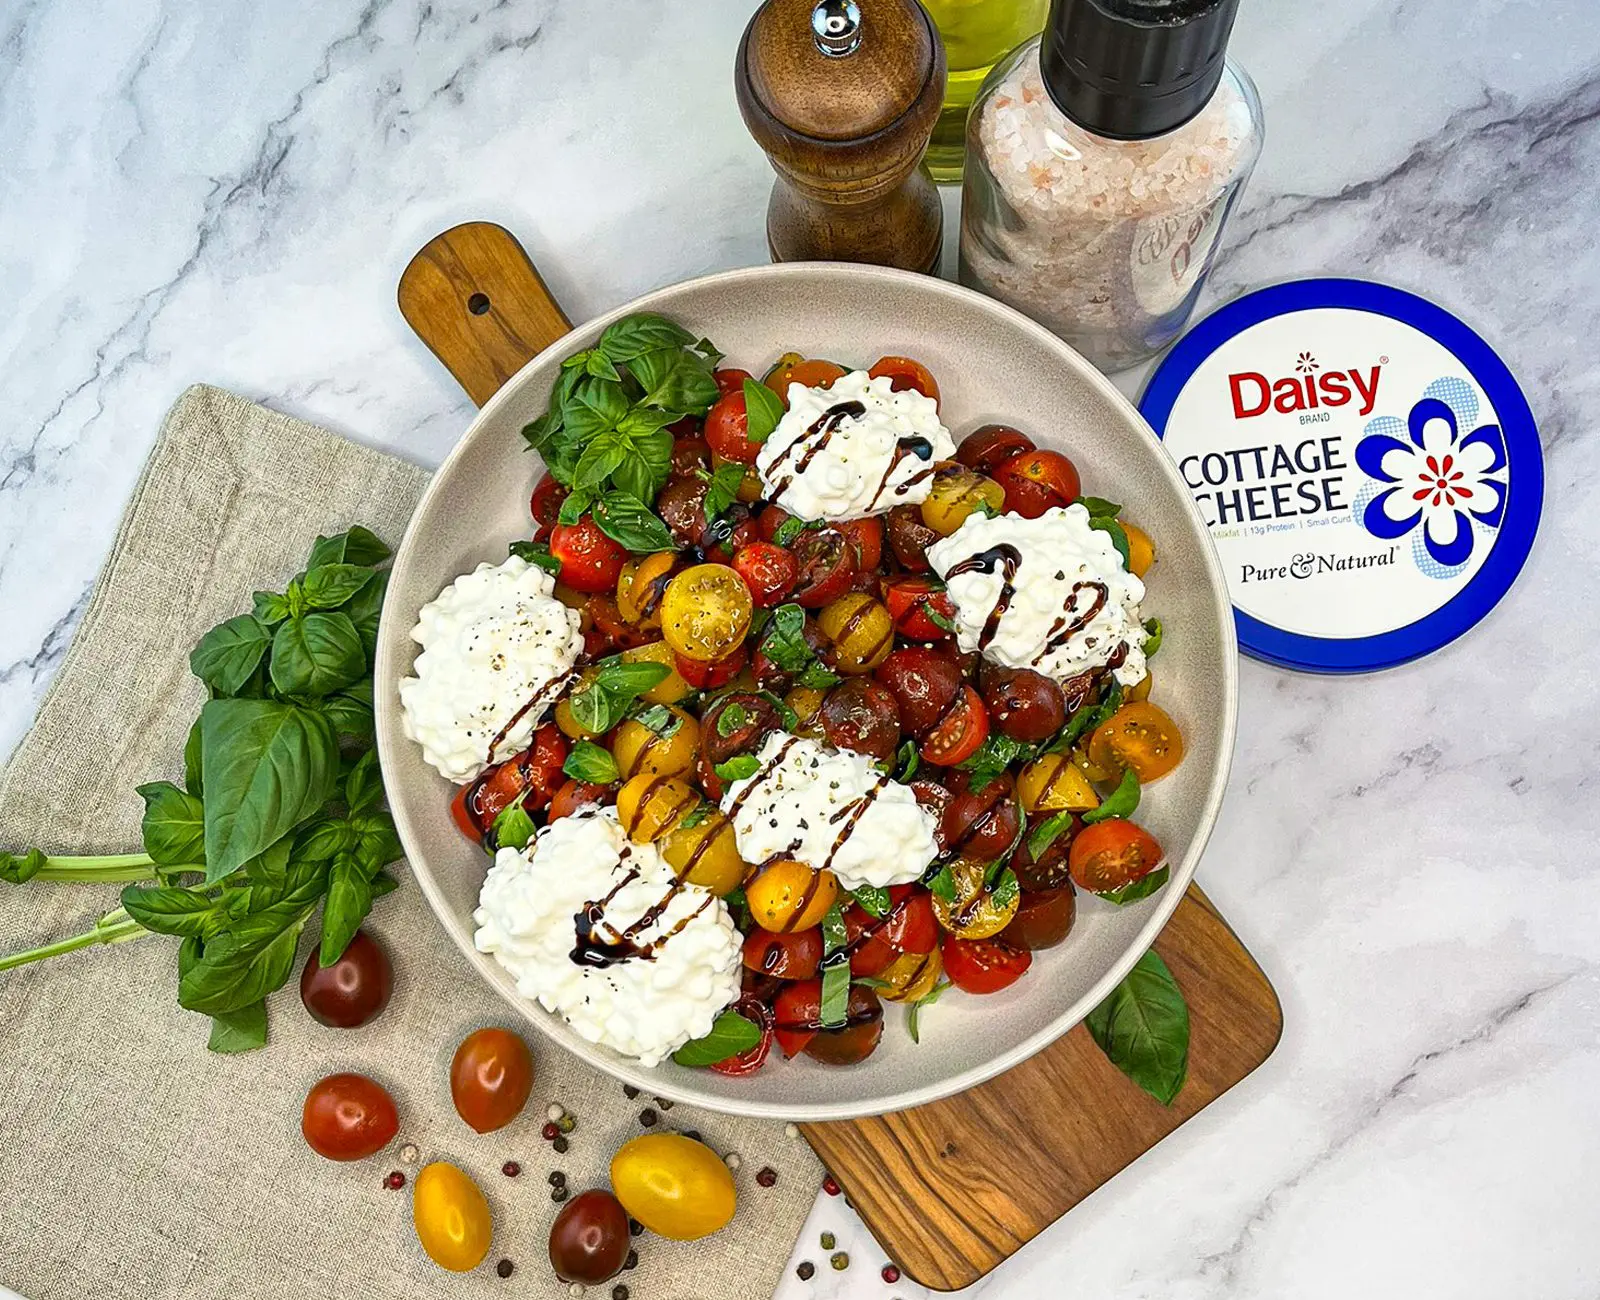
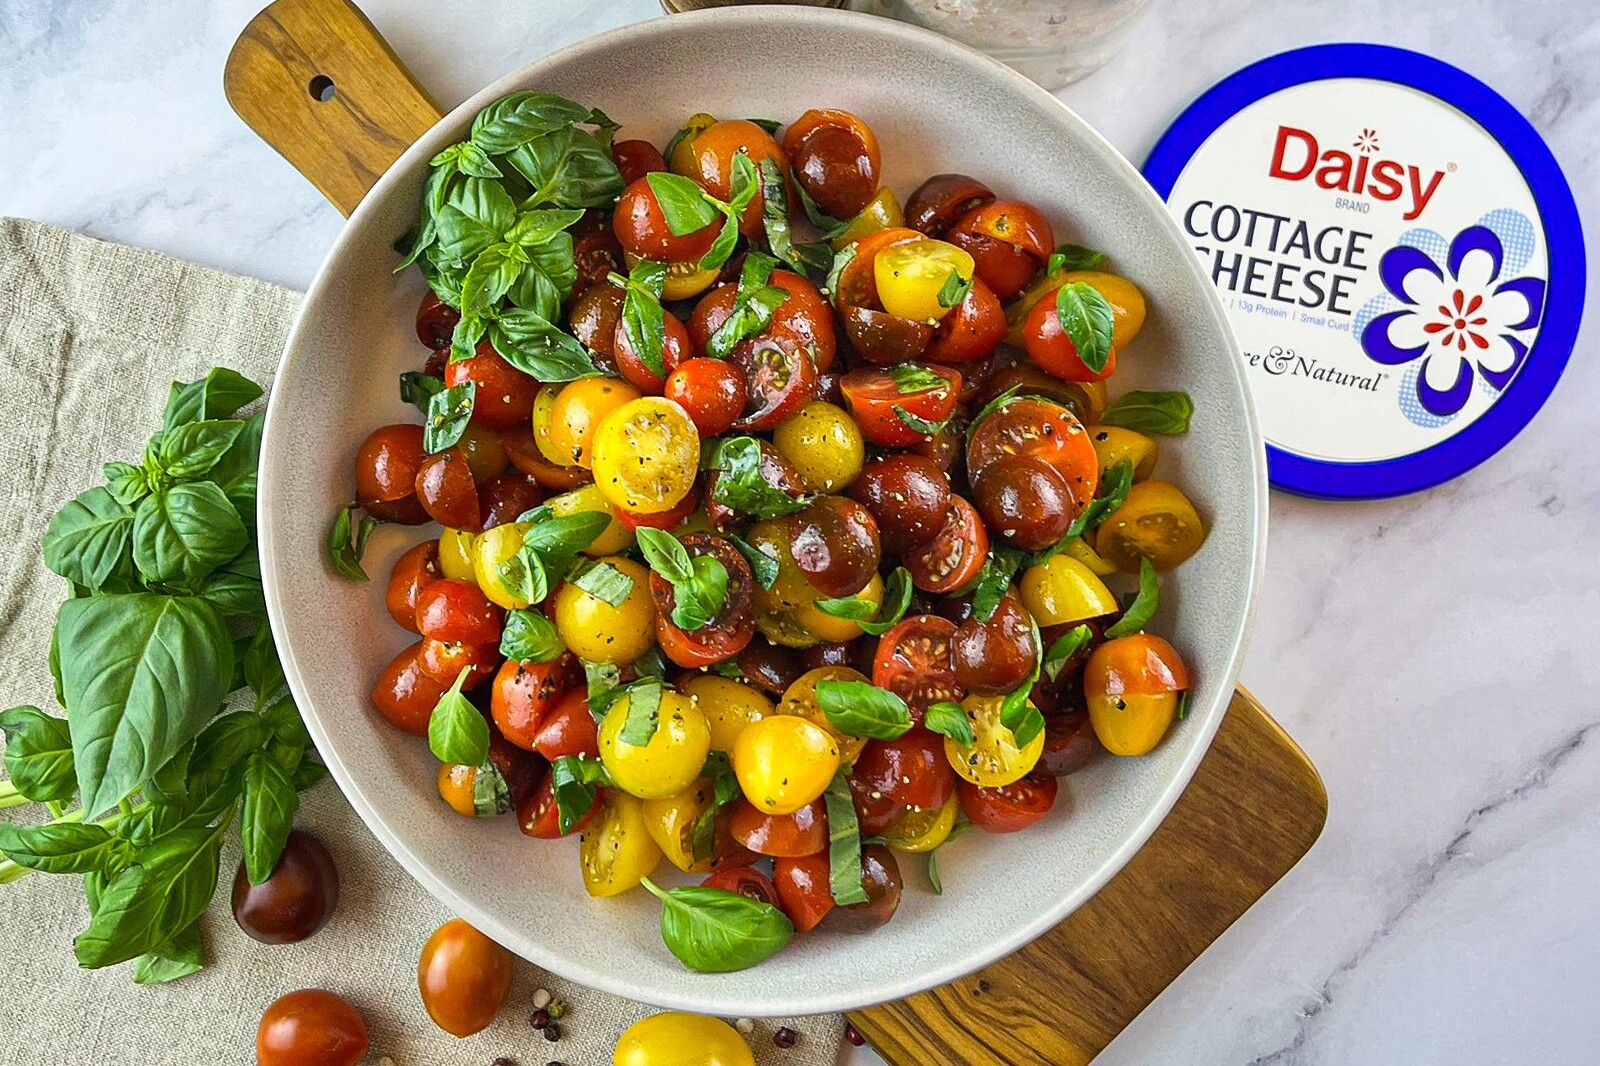
Light, fresh, creamy, and totally addictive – this Tomato Salad has it all. It tastes like summer in a bowl and is the perfect lunch, side dish, or even light dinner along with some crusty bread or chicken. It’s also great for gatherings. Easily scalable, it travels well and pairs well with everything from grilled chicken to burgers. It also brings a beautiful pop of color to the table. It’s vibrant, summary, and indulgent without the guilt of heavier dishes. This Tomato Salad brings it all, without any fuss.
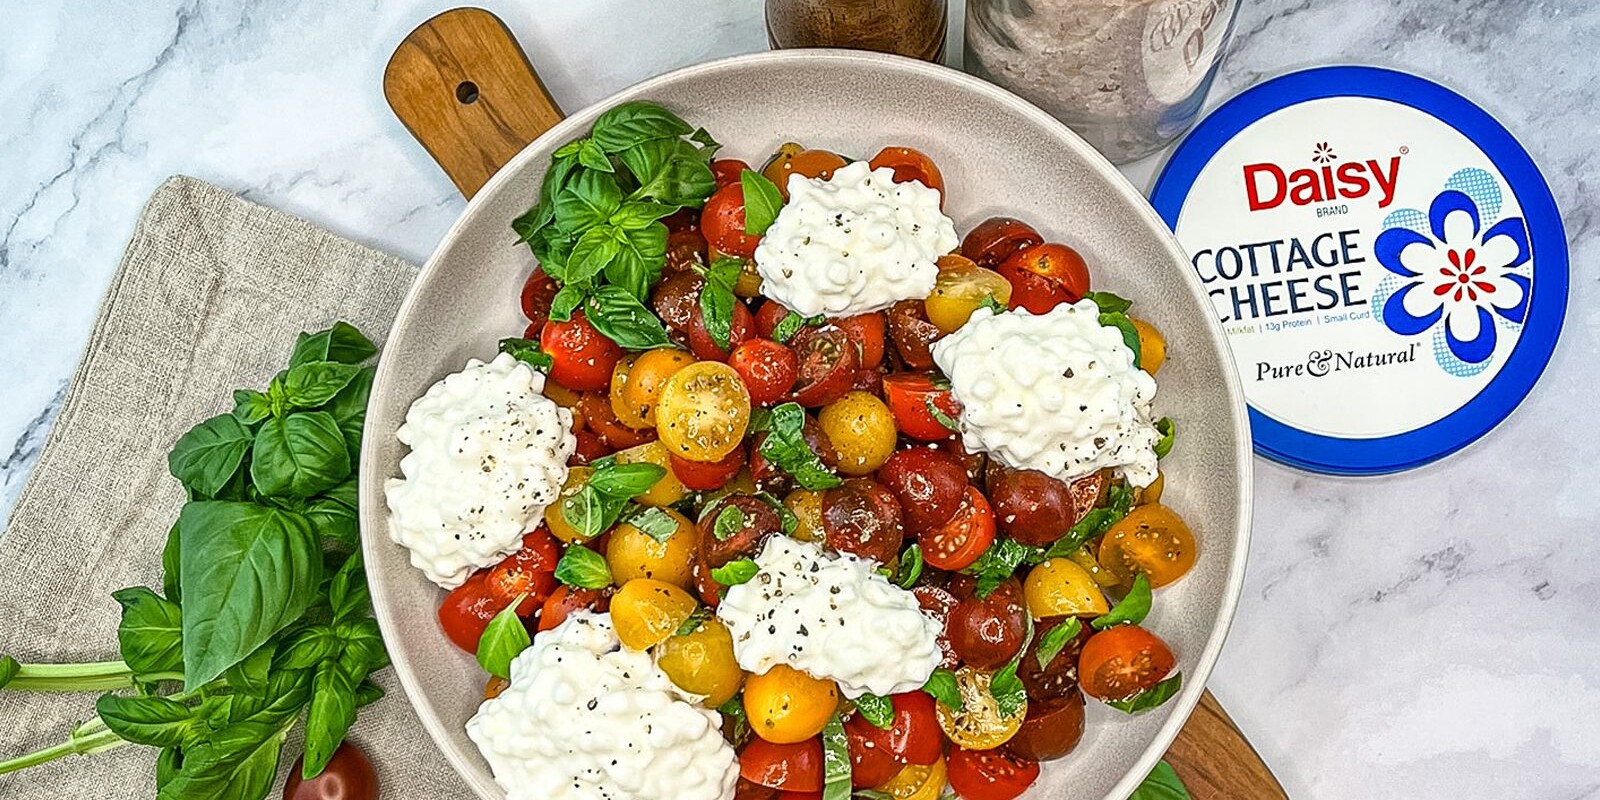
High in protein, easy to make, and full of good-for-you ingredients. The juicy, sweet tomatoes are the perfect companion to the cool, creamy and rich Daisy Cottage Cheese, known for its minimal ingredients and fresh taste. The fresh basil adds a burst of herby, peppery brightness and the sweet acidity of the balsamic glaze enhance the flavors of the tomatoes and cottage cheese.
Tomato Salad Ingredients
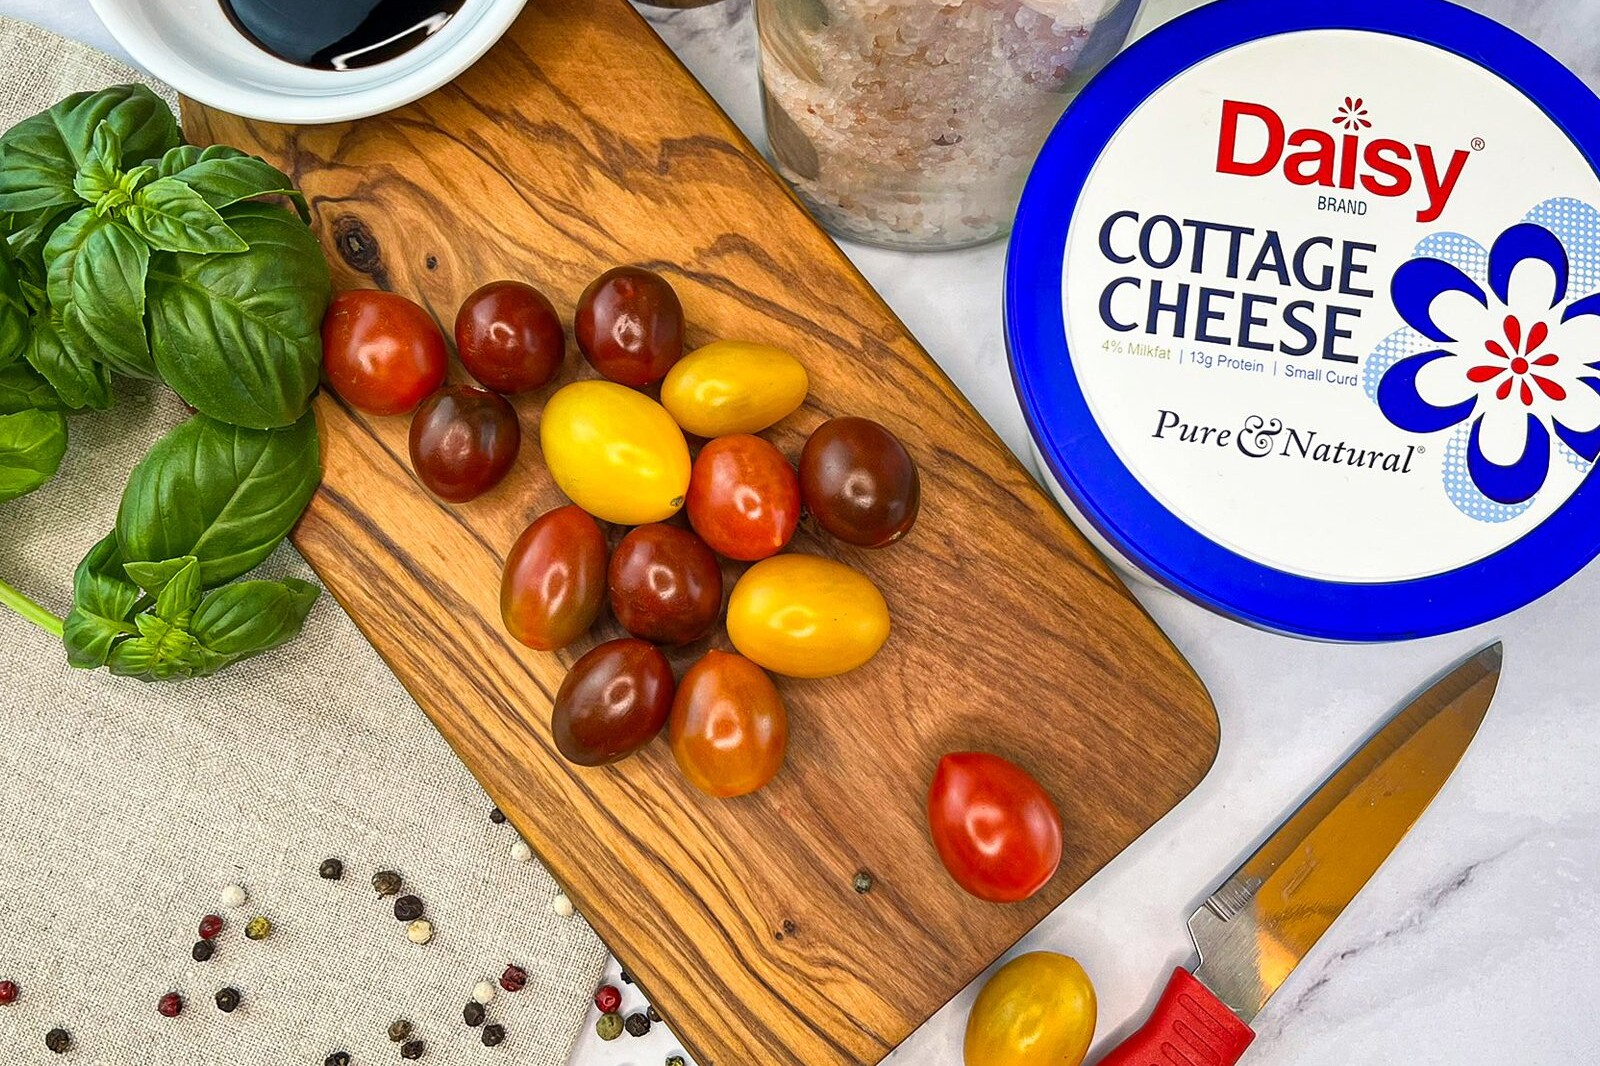
- Cherry Tomatoes (1 1/2 pounds, halved): Bursting with fresh summer bite-sized flavor, low in calories, and full of vitamin C and antioxidants.
- Salt & Fresh Cracked Black Pepper (1 teaspoon, each): The classic combination that enhances the flavors of other ingredients.
- Extra Virgin Olive Oil (2 tablespoons): Slightly green gold in color and rich in healthy fats, it is less processed than regular olive oil and adds a delightful floral flavor to the tomatoes.
- Fresh Basil (1/2 cup, sliced or torn): Provides vibrant fresh minty, peppery flavor and a pop of color contrast for the tomatoes.
- Daisy Cottage Cheese (2 cups): The secret ingredient to this tasty salad, it adds a boost of protein and creamy deliciousness that is the perfect complement to the acidity of the tomatoes. Together they create a symphony in your mouth!
- Balsamic Glaze (2-3 tablespoons): Adds a burst of sweet acidity, helping balance the olive oil.
Substitutions, Variations, and Tips
- Grape tomatoes or chopped heirloom tomatoes may be used as an alternative to cherry tomatoes.
- Regular olive oil may be used instead of extra virgin olive oil.
- Other fresh herbs may be used rather than basil.
- Any balsamic vinegar or other kind of vinegar may be used as an alternative to balsamic glaze.
- Feel free to add a few tablespoons of finely sliced green onions or scallions, if desired.
- Thinly sliced red onions will add a zesty flavor to the tomatoes.
- Cucumbers are a great complement to tomatoes. Feel free to add a cup of diced up cucumbers to the salad.
- Grilled chicken is also a great accompaniment, turning this light salad into a heartier meal.
How To Make Tomato Salad
- Sprinkle tomatoes with salt and pepper. Chill 10 minutes and then drain.
- Add olive oil and basil. Toss gently to combine.
- Spoon cottage cheese over tomatoes and drizzle with balsamic glaze.