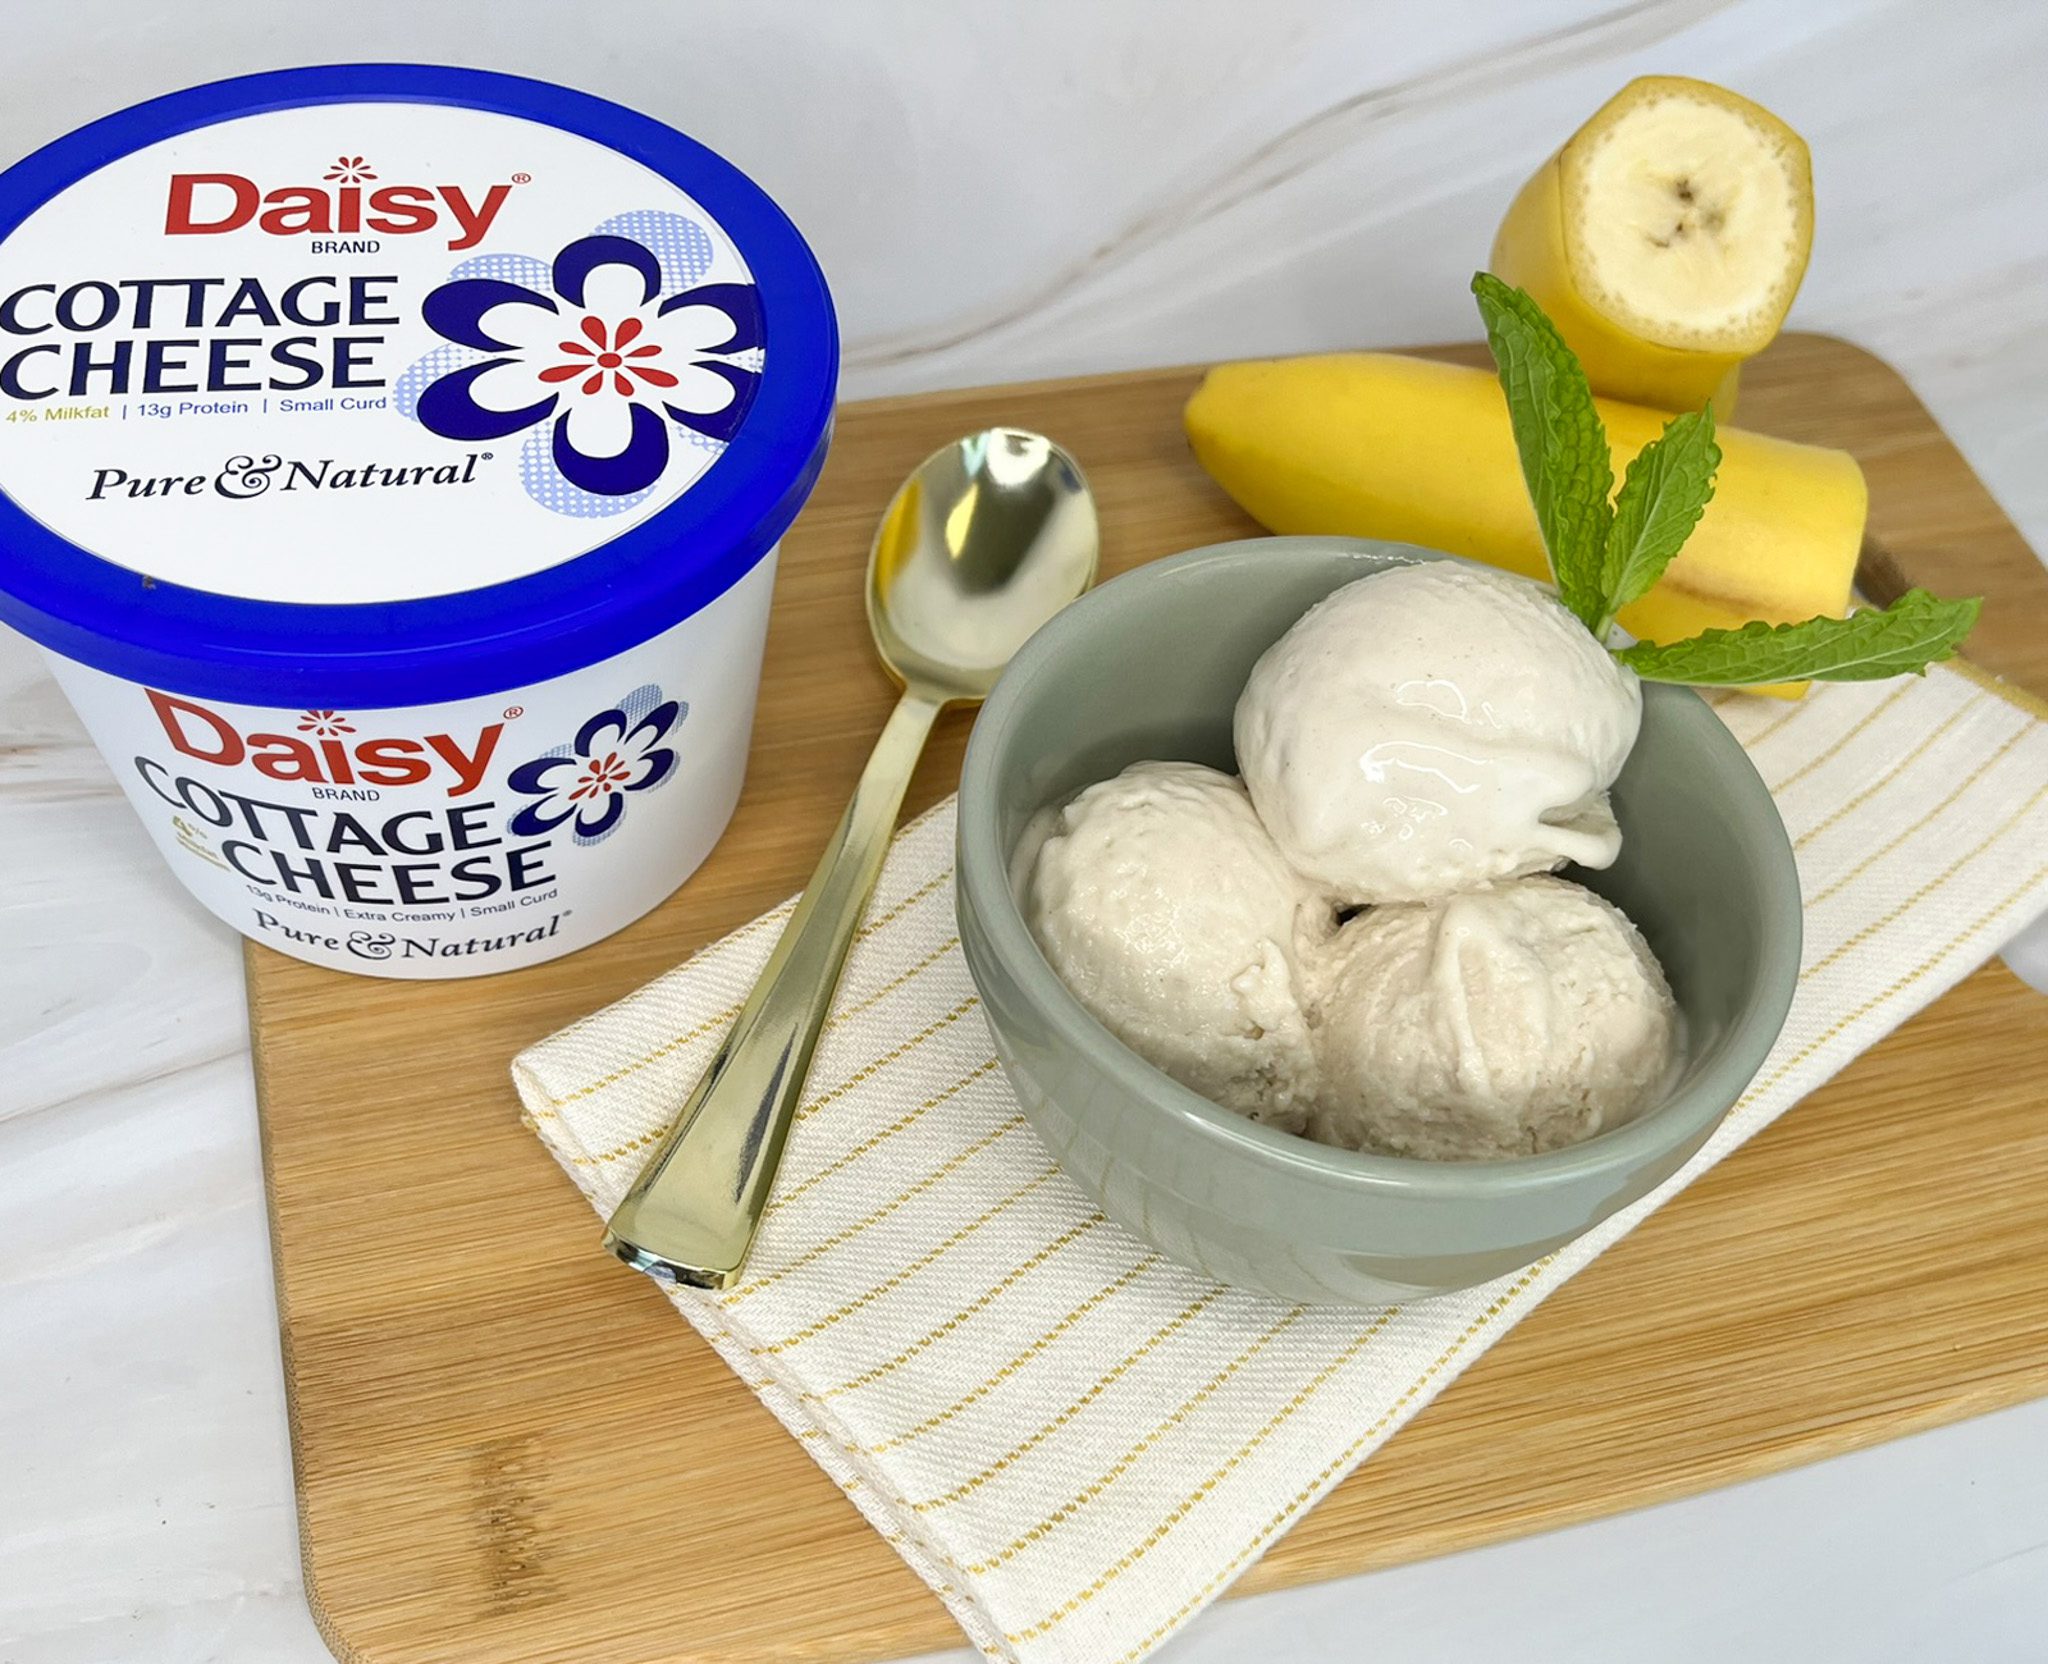
Peanut Butter Banana Ice Cream
Peanut Butter Banana Ice Cream
Easy, rich, and creamy, you won’t believe this Peanut Butter Banana Ice Cream has half the fat of traditional peanut butter ice cream. Made with only four ingredients that come together in minutes, it’s perfect for those summer parties or for an easy treat anytime. This ice cream requires no special equipment (no ice cream machine needed) and can be made in about 5 minutes.
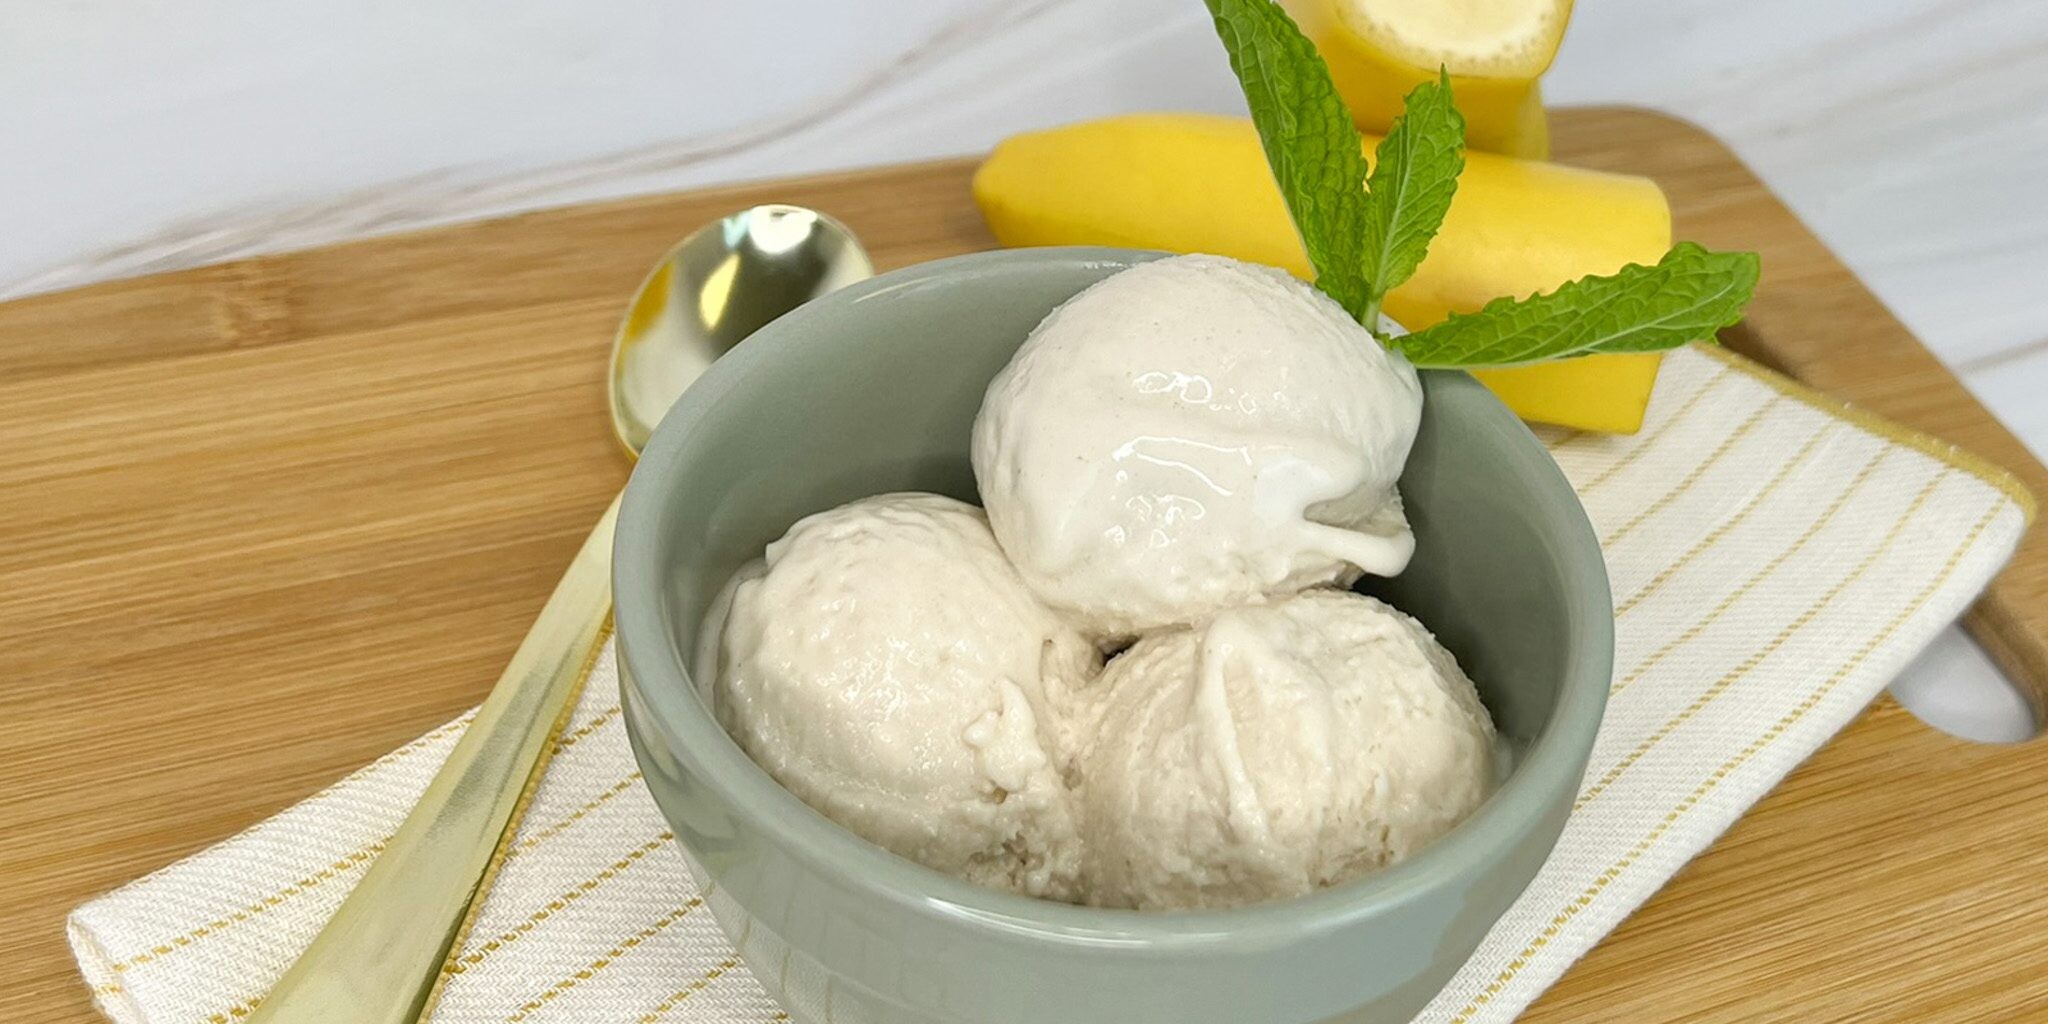
Made with only a few simple ingredients, this dessert packs creamy deliciousness in every bite. With 1/3 less calories and half the fat of traditional peanut butter ice cream, you can enjoy delicious ice cream without the guilt.
Peanut Butter Banana Ice Cream Ingredients
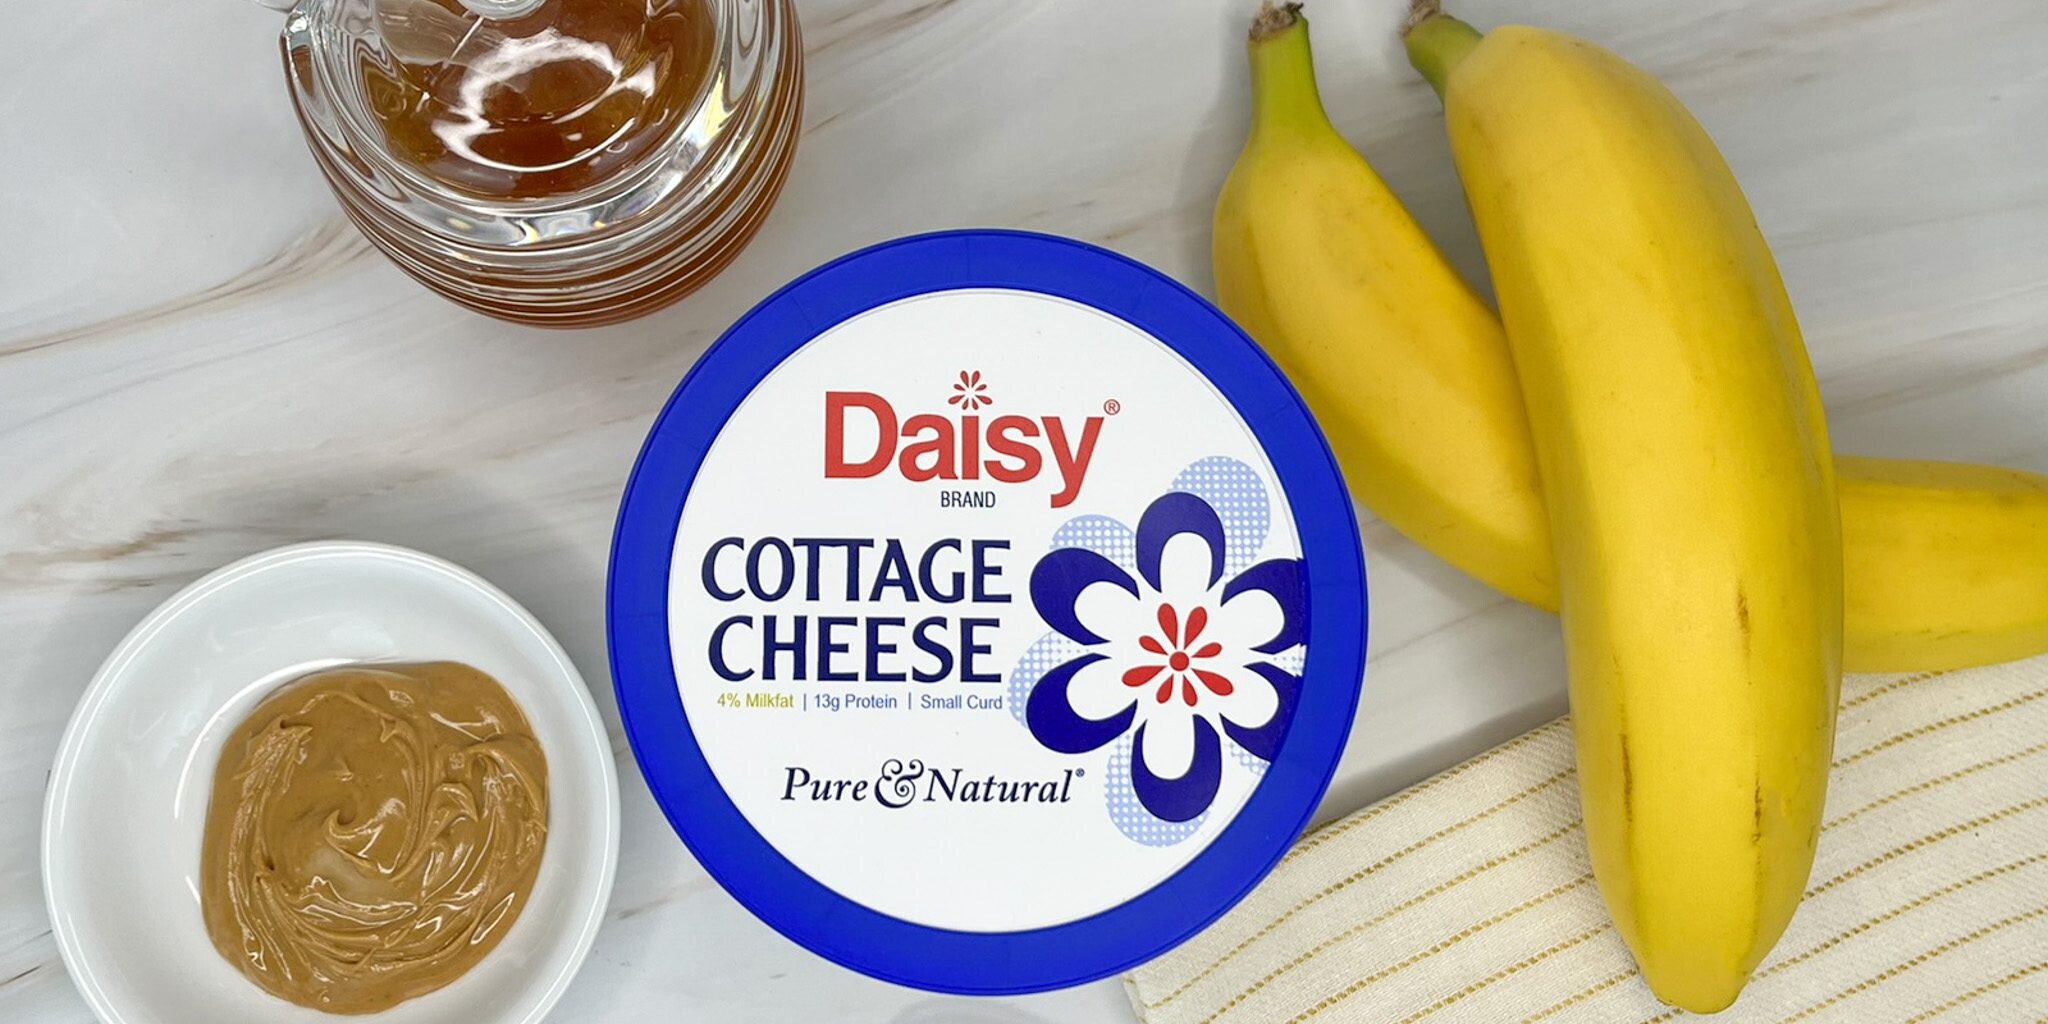
- Daisy Cottage Cheese (2 cups): The secret ingredient in this delicious ice cream. It lightens the ice cream and adds a smooth, silky, creamy texture that you love.
- Frozen Bananas (2): Adds sweetness and helps with the custard-like consistency of ice cream.
- Creamy Peanut Butter (2 tablespoons): Adds flavor to the ice cream.
- Honey (2 tablespoons): Adds additional sweetness to the ice cream.
Substitutions, Variations, and Tips
- The best bananas for ice cream are ones that are just on the point of turning brown. They are naturally sweeter when they are just over-ripe.
- To get the perfect texture, bananas need to be frozen hard. It’s ideal to freeze them overnight to make sure they are entirely frozen. Don’t take them out of the freezer until you’re ready to use them. The 2 best methods for freezing bananas for ice cream:
- Throw whole unpeeled bananas into the freezer (the peels will turn black as they freeze). Bananas will last about 3 months in the freezer. When ready to use, peel with a knife and chop the banana into pieces.
- Peel ripe bananas, slice or half, and arrange in a single layer on a baking sheet. Freeze for one hour. Transfer pieces to a zip-top bag, remove air, and store up to 3 months in the freezer.
- Other nut butters or chocolate hazelnut spread may be used in place of peanut butter.
- Agave or maple syrup may be used in place of honey.
- Don’t over-blend the ice cream. You want to blend until just thick and creamy. Over-blending will make the ice cream runny.
- 2 hours in the freezer will yield the ideal texture for the ice cream. Freezing it longer will make the ice cream too hard to scoop.
- Ice cream makers may also be used following the manufacturer’s instructions.
- Try topping with chopped peanuts, chocolate chips, mini marshmallows, or your favorite ice cream toppings.
- You can also enjoy this delicious ice cream for breakfast!
How to Make Peanut Butter Banana Ice Cream
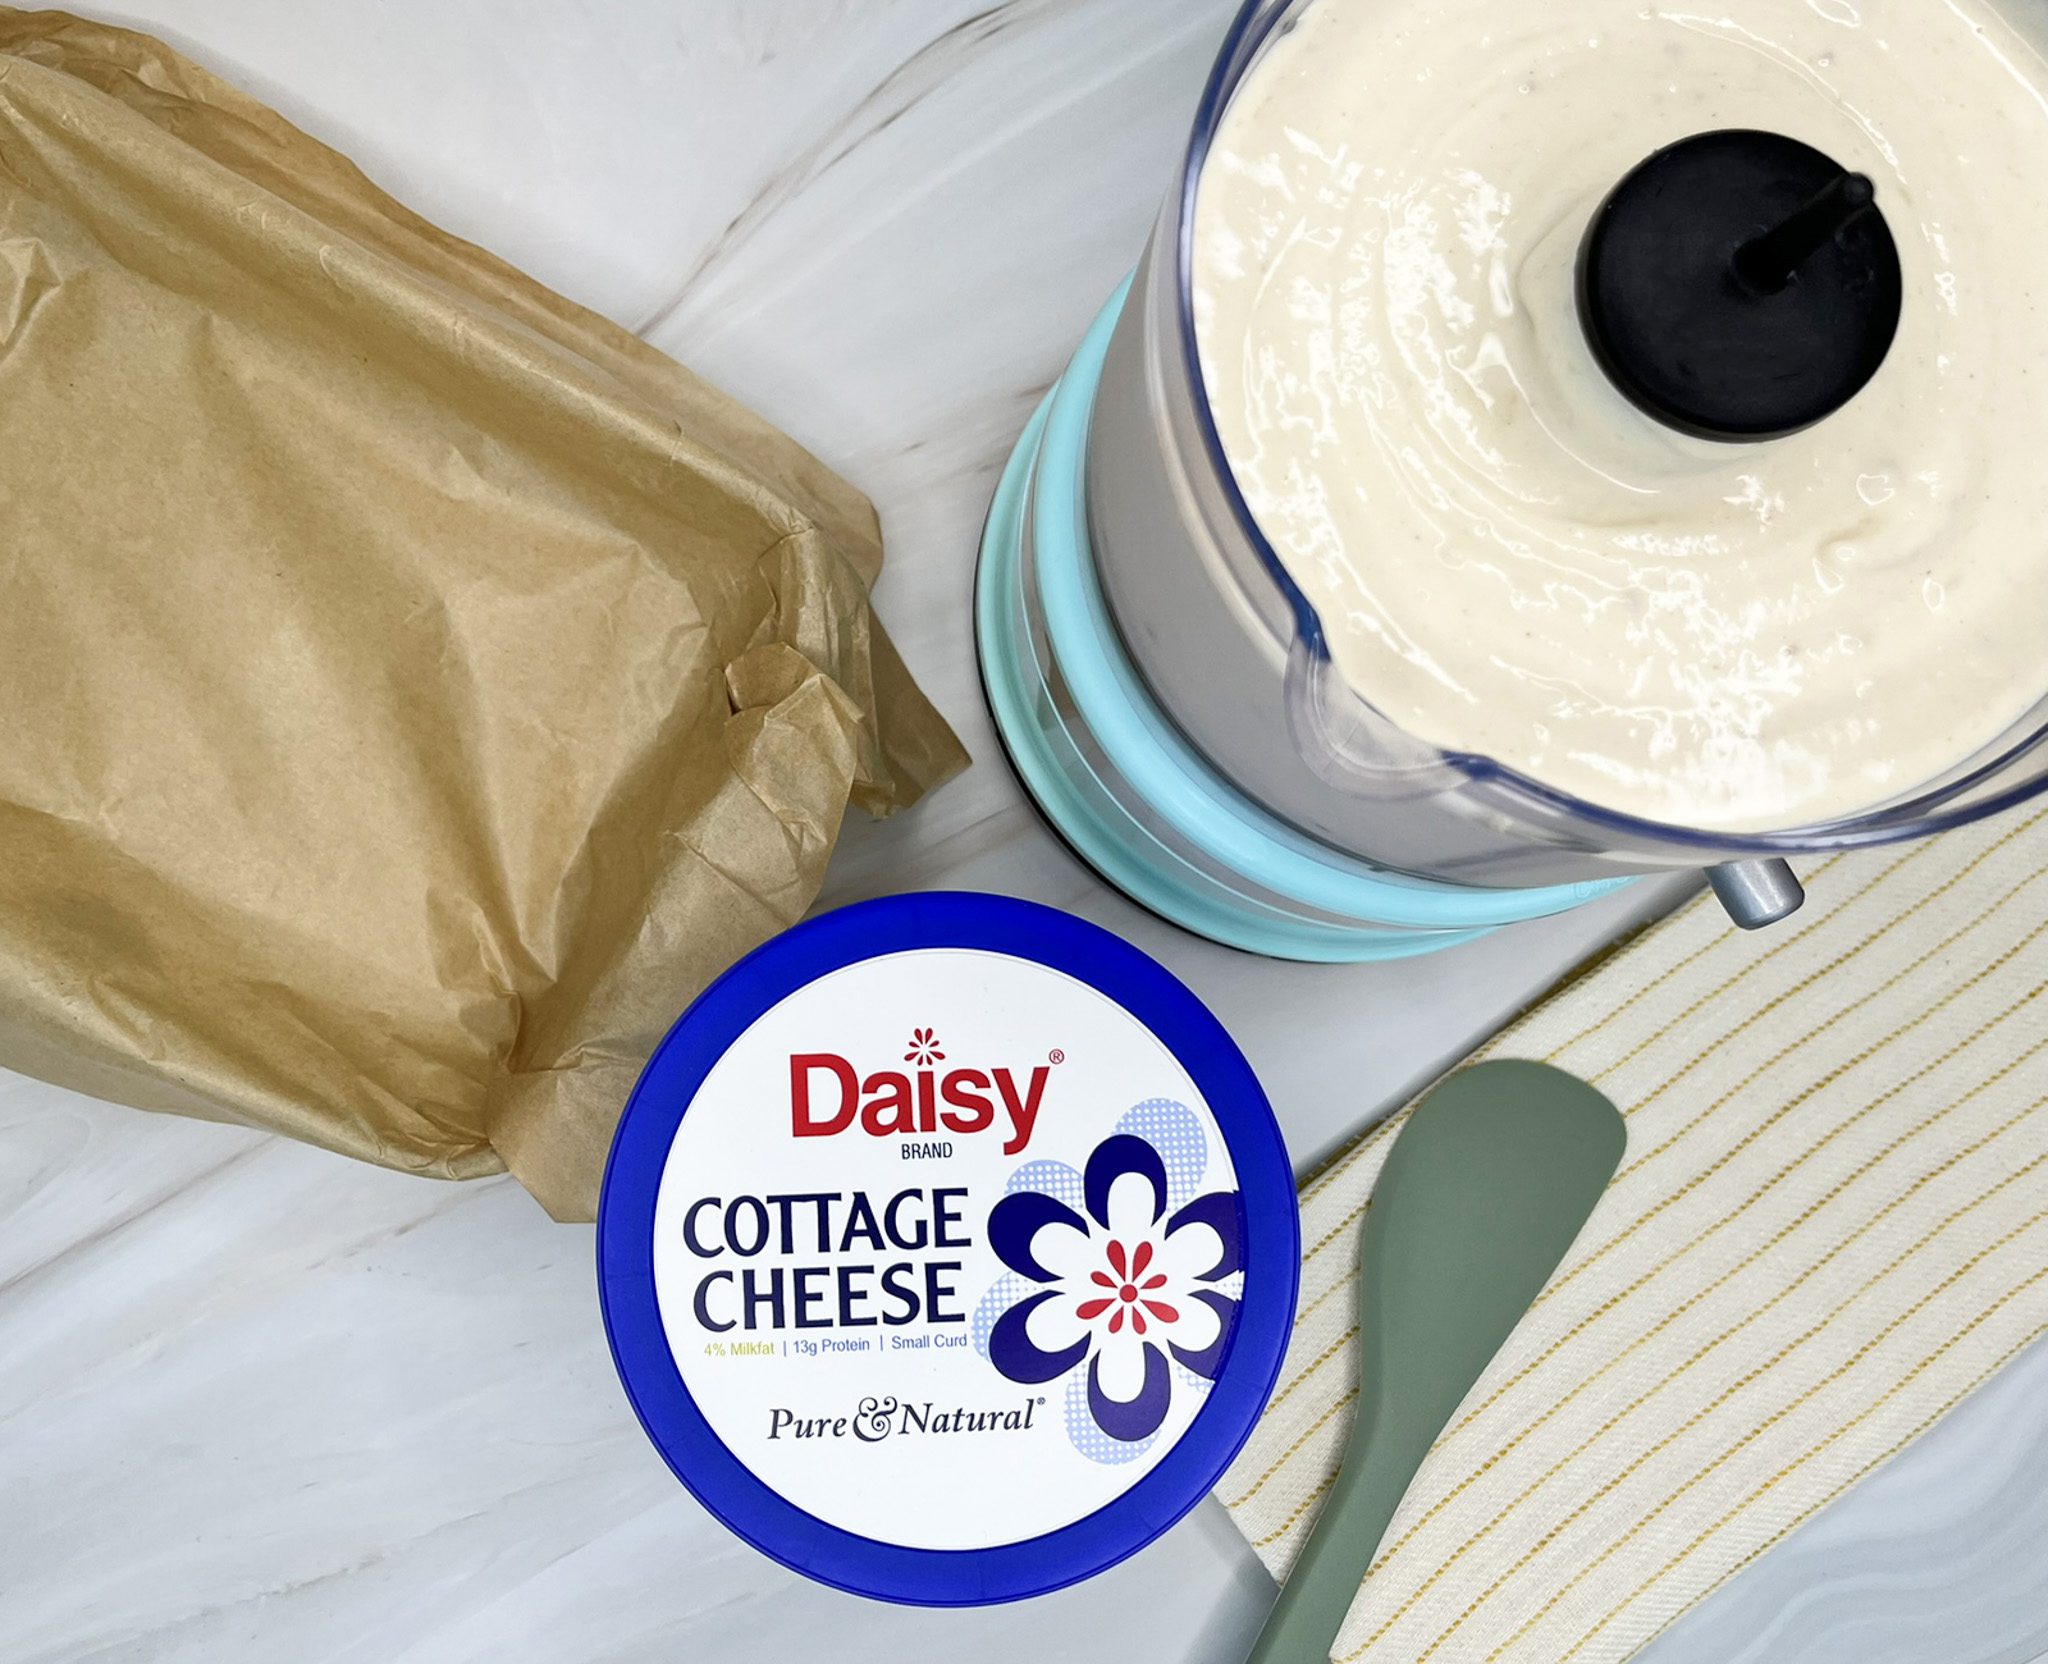
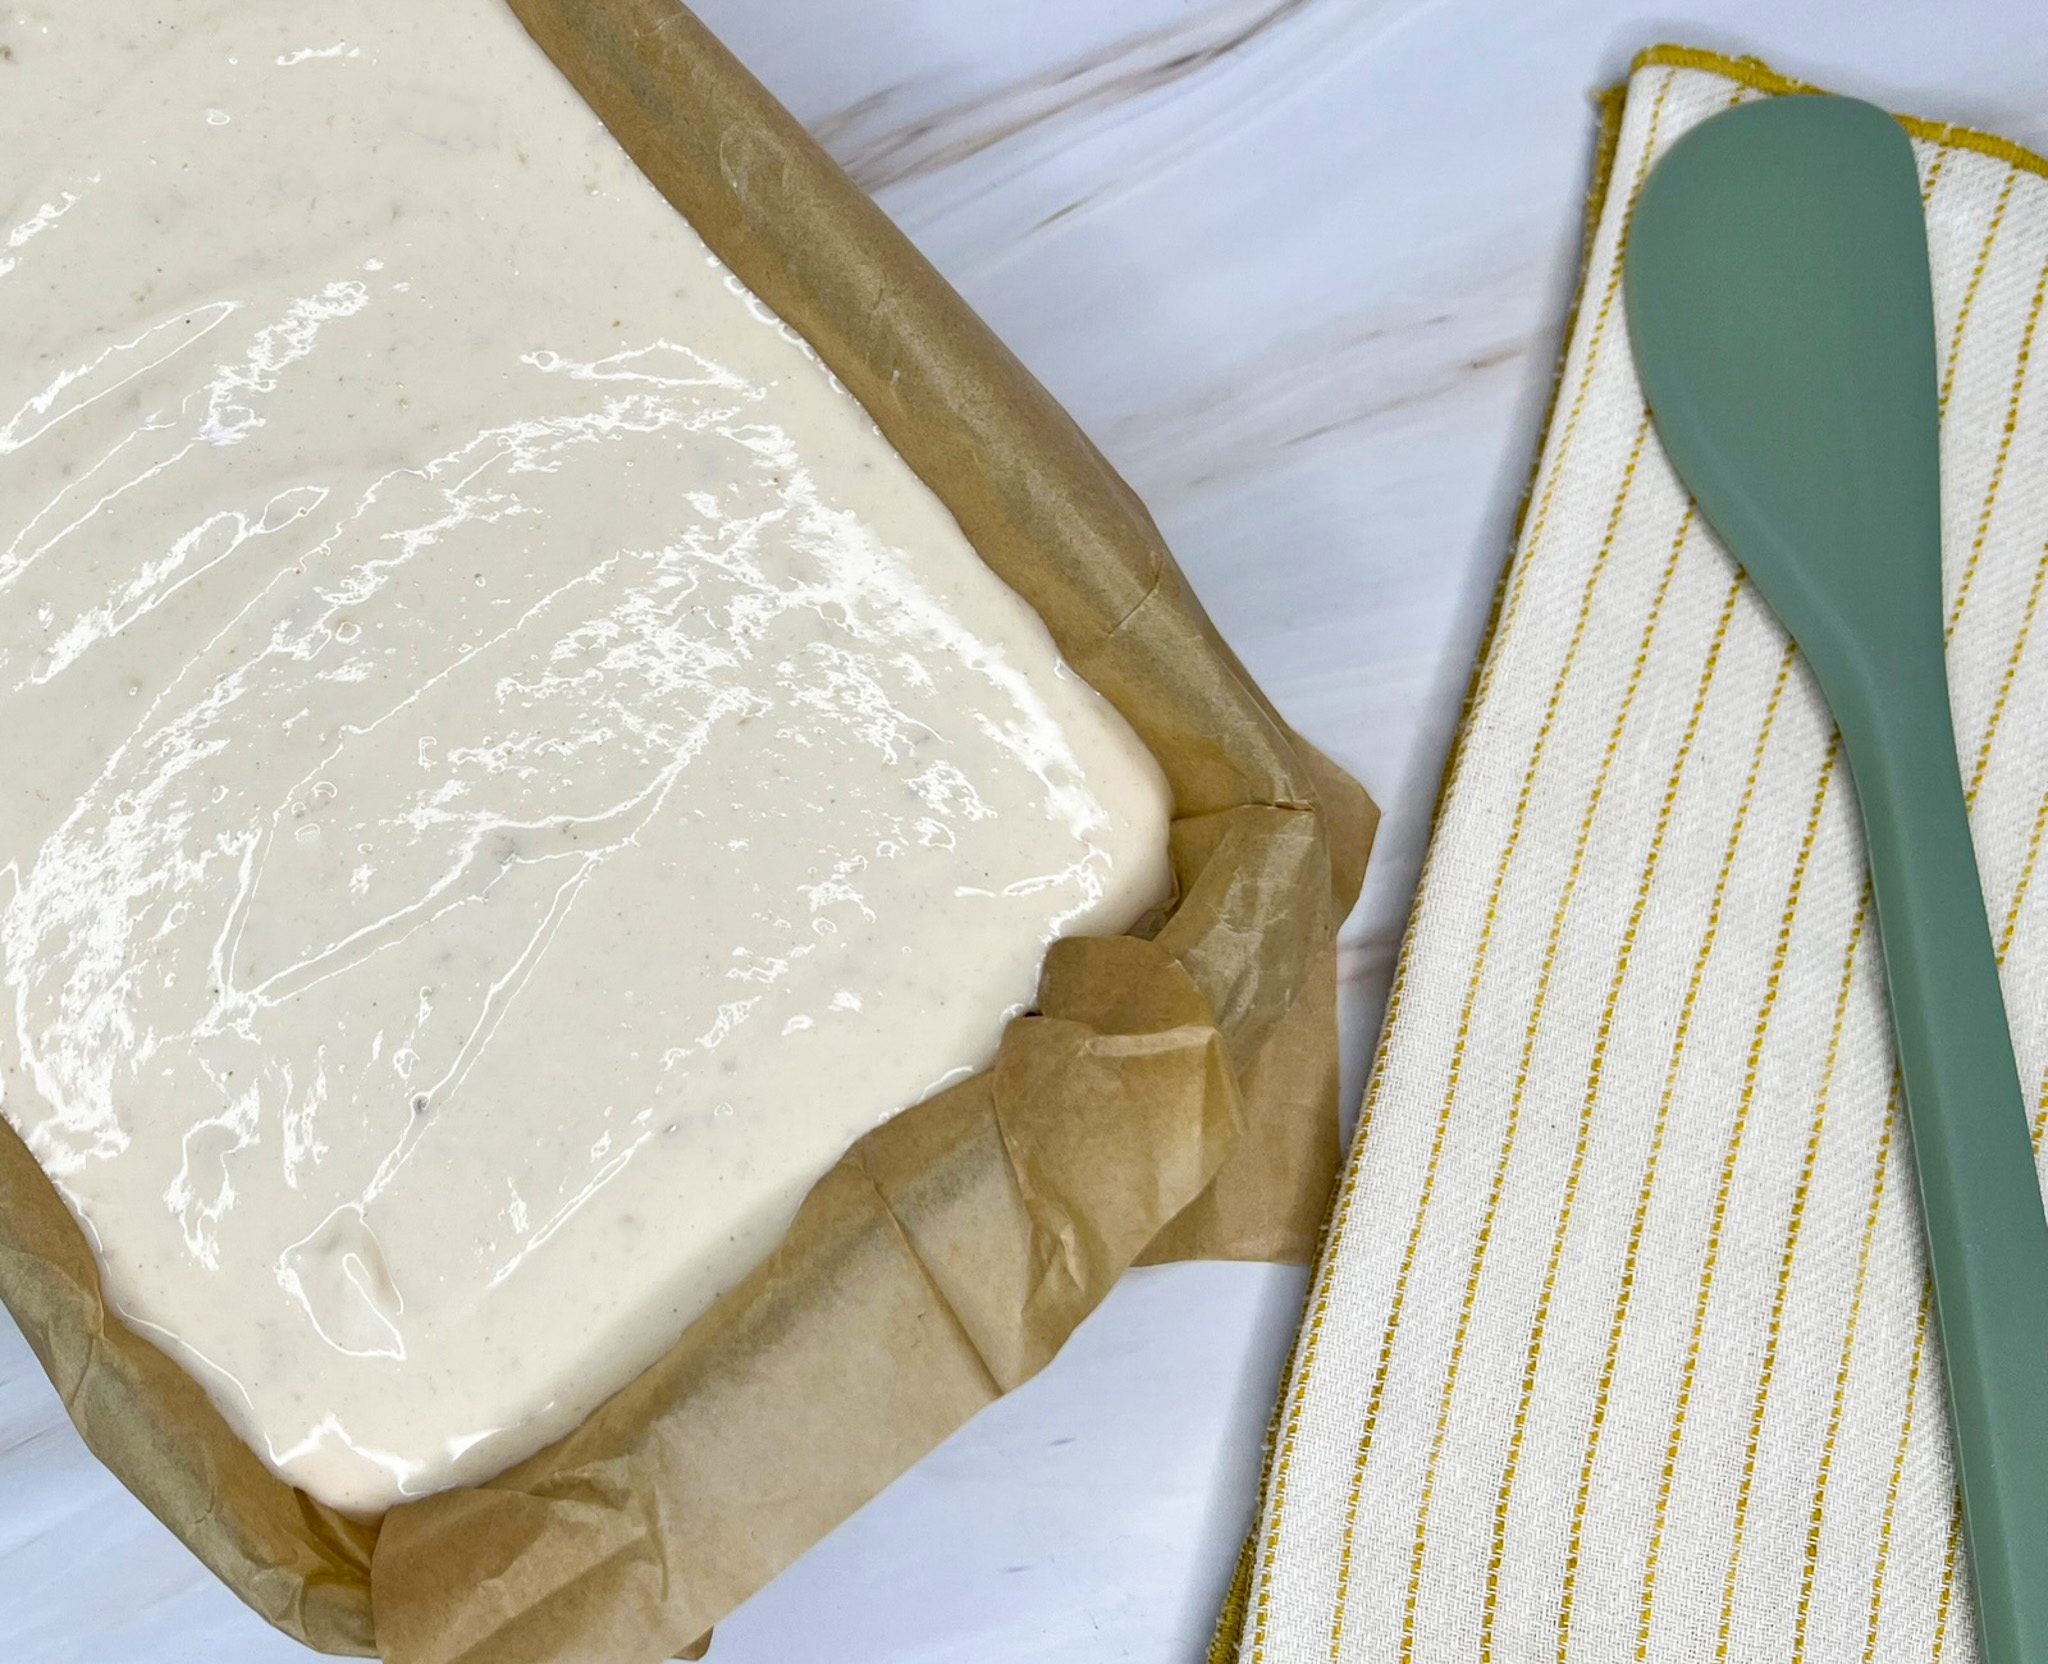
- Combine all ingredients in food processor and blend until completely smooth.
- Transfer into pan lined with parchment paper. Freeze for 1-2 hours or until frozen (enjoy within 2 hours of freezing).
- Let ice cream sit at room temperature for 5 -10 minutes before scooping and serving. Garnish as desired.

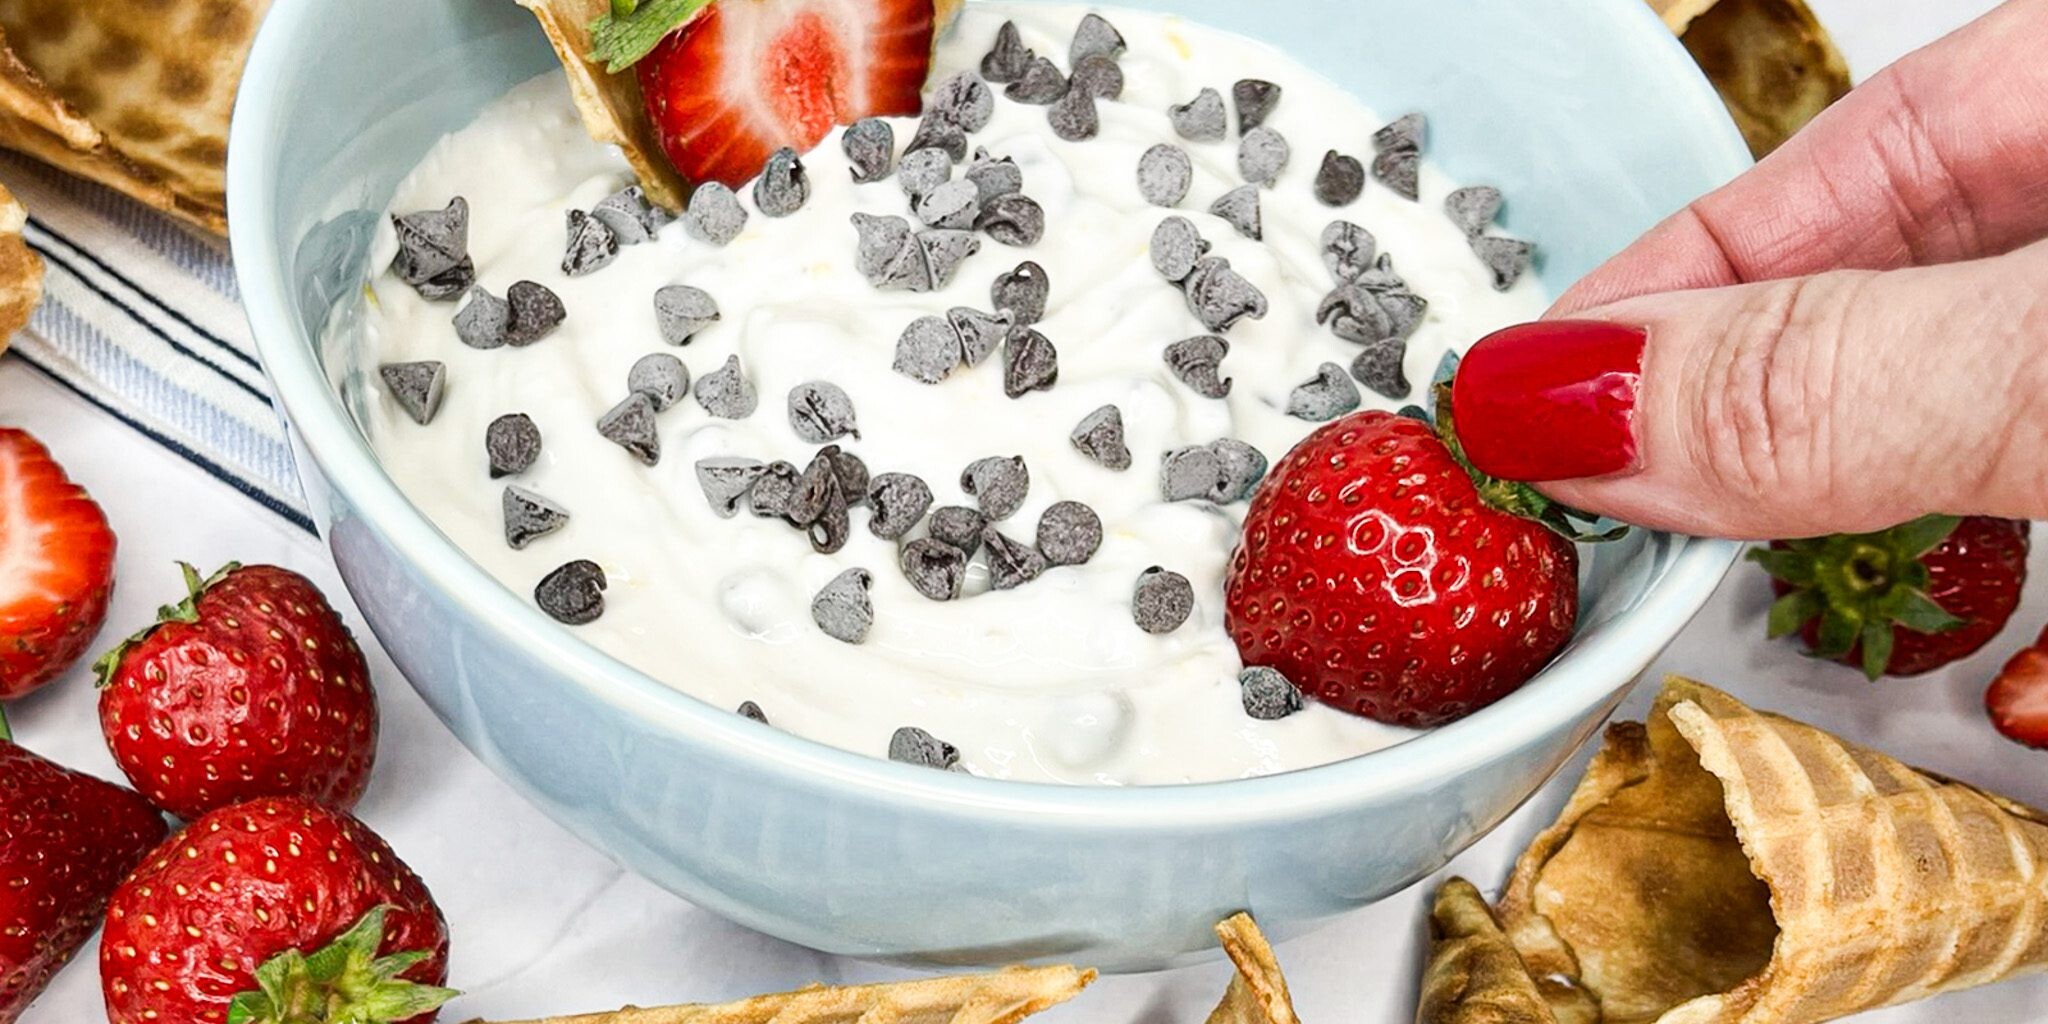
Light Cannoli Dip
Light Cannoli Dip
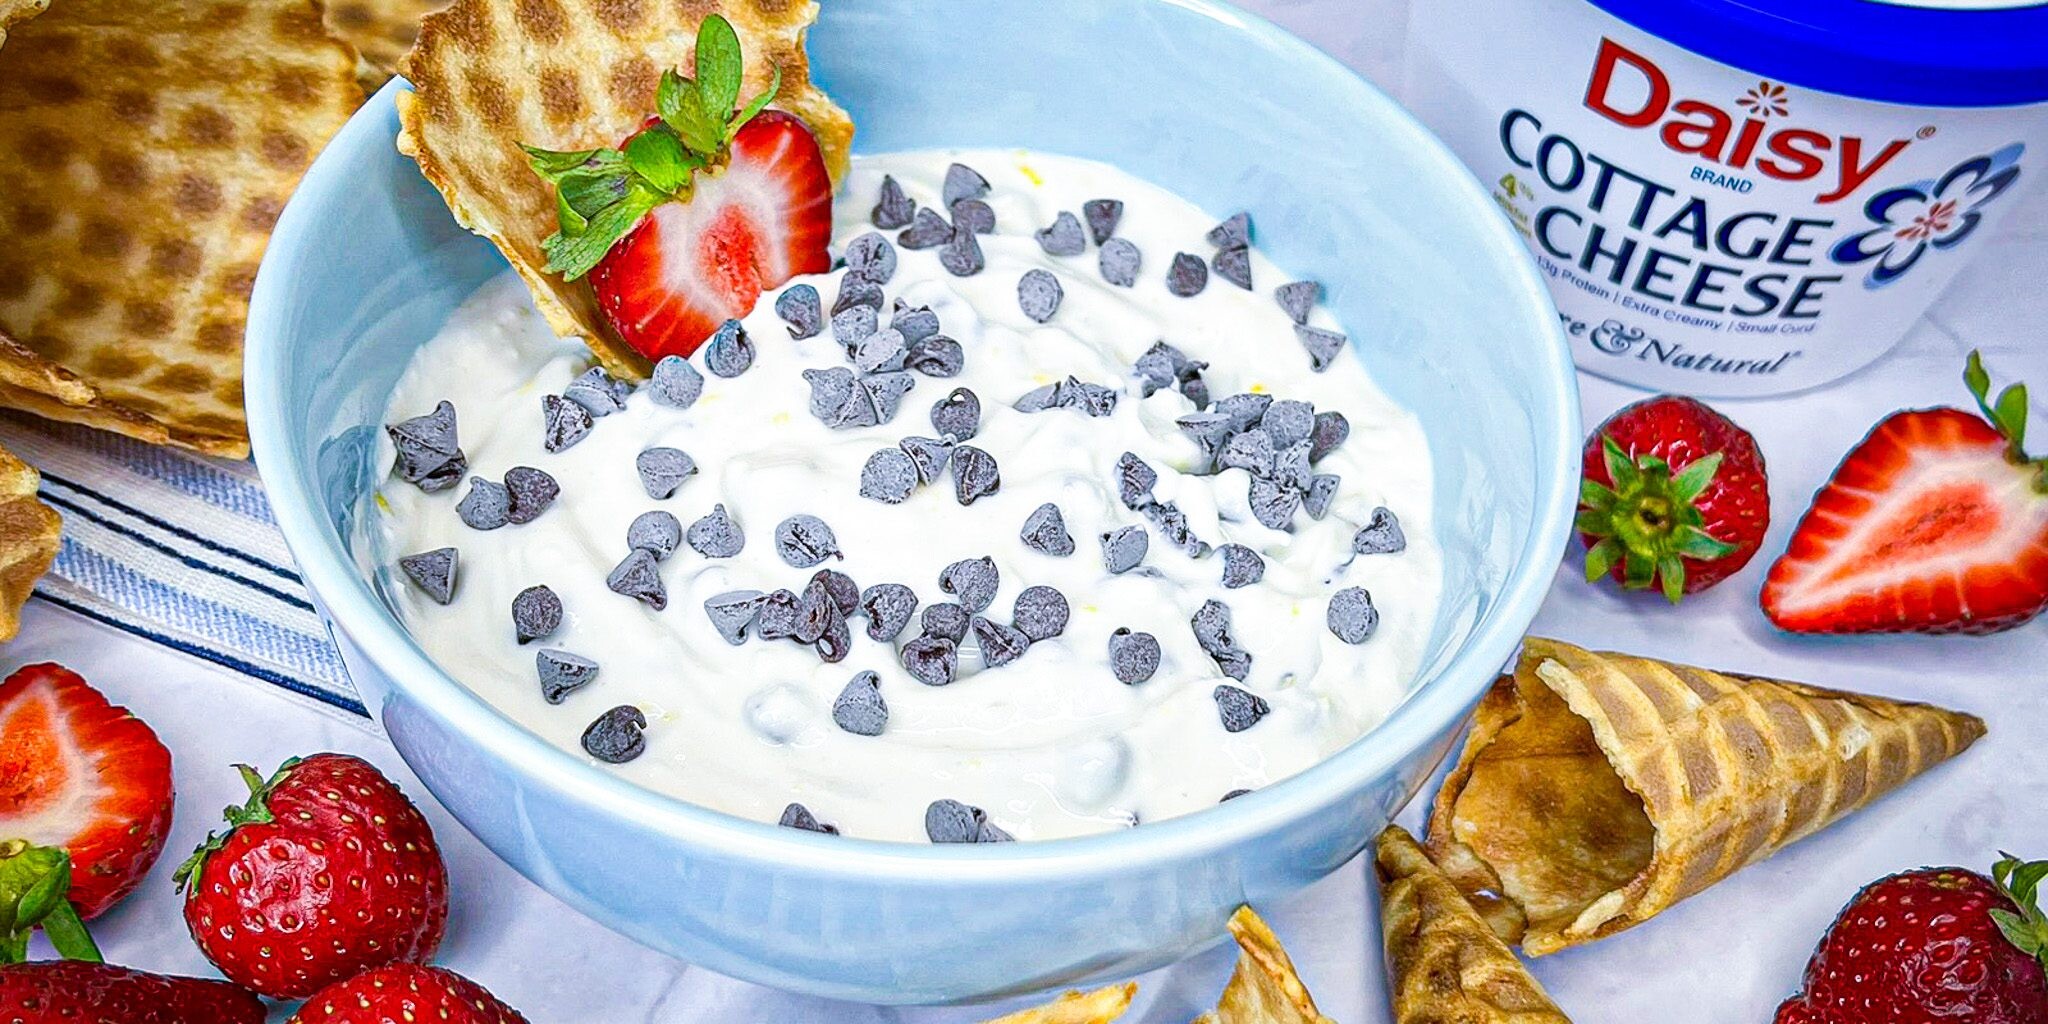
Love cannoli but want something a little lighter? You’re going to love this Light Cannoli Dip! It’s fluffy, creamy, and full of classic cannoli flavor — but made with Daisy Cottage Cheese, so it has less than half the calories, fat, and carbs of most traditional cannoli dips.
The best part? It comes together in just 5 minutes with only 5 simple ingredients you probably already have on hand. It’s perfect for parties, holidays, or even an after-school snack.
Serve it with your favorite fresh fruit, waffle cone pieces, graham crackers, or cookies — the possibilities are endless!
Mix It Up!
This dip is super easy to customize. Switch up the flavor with different citrus zests, extracts, or mix-ins like pistachios. Feeling festive? Add cinnamon and cranberries for a holiday-ready dip. Want it a little tangier? Stir in a tablespoon of Daisy Sour Cream.
It’s also easy to double or triple for a crowd — and yes, you can make it ahead!
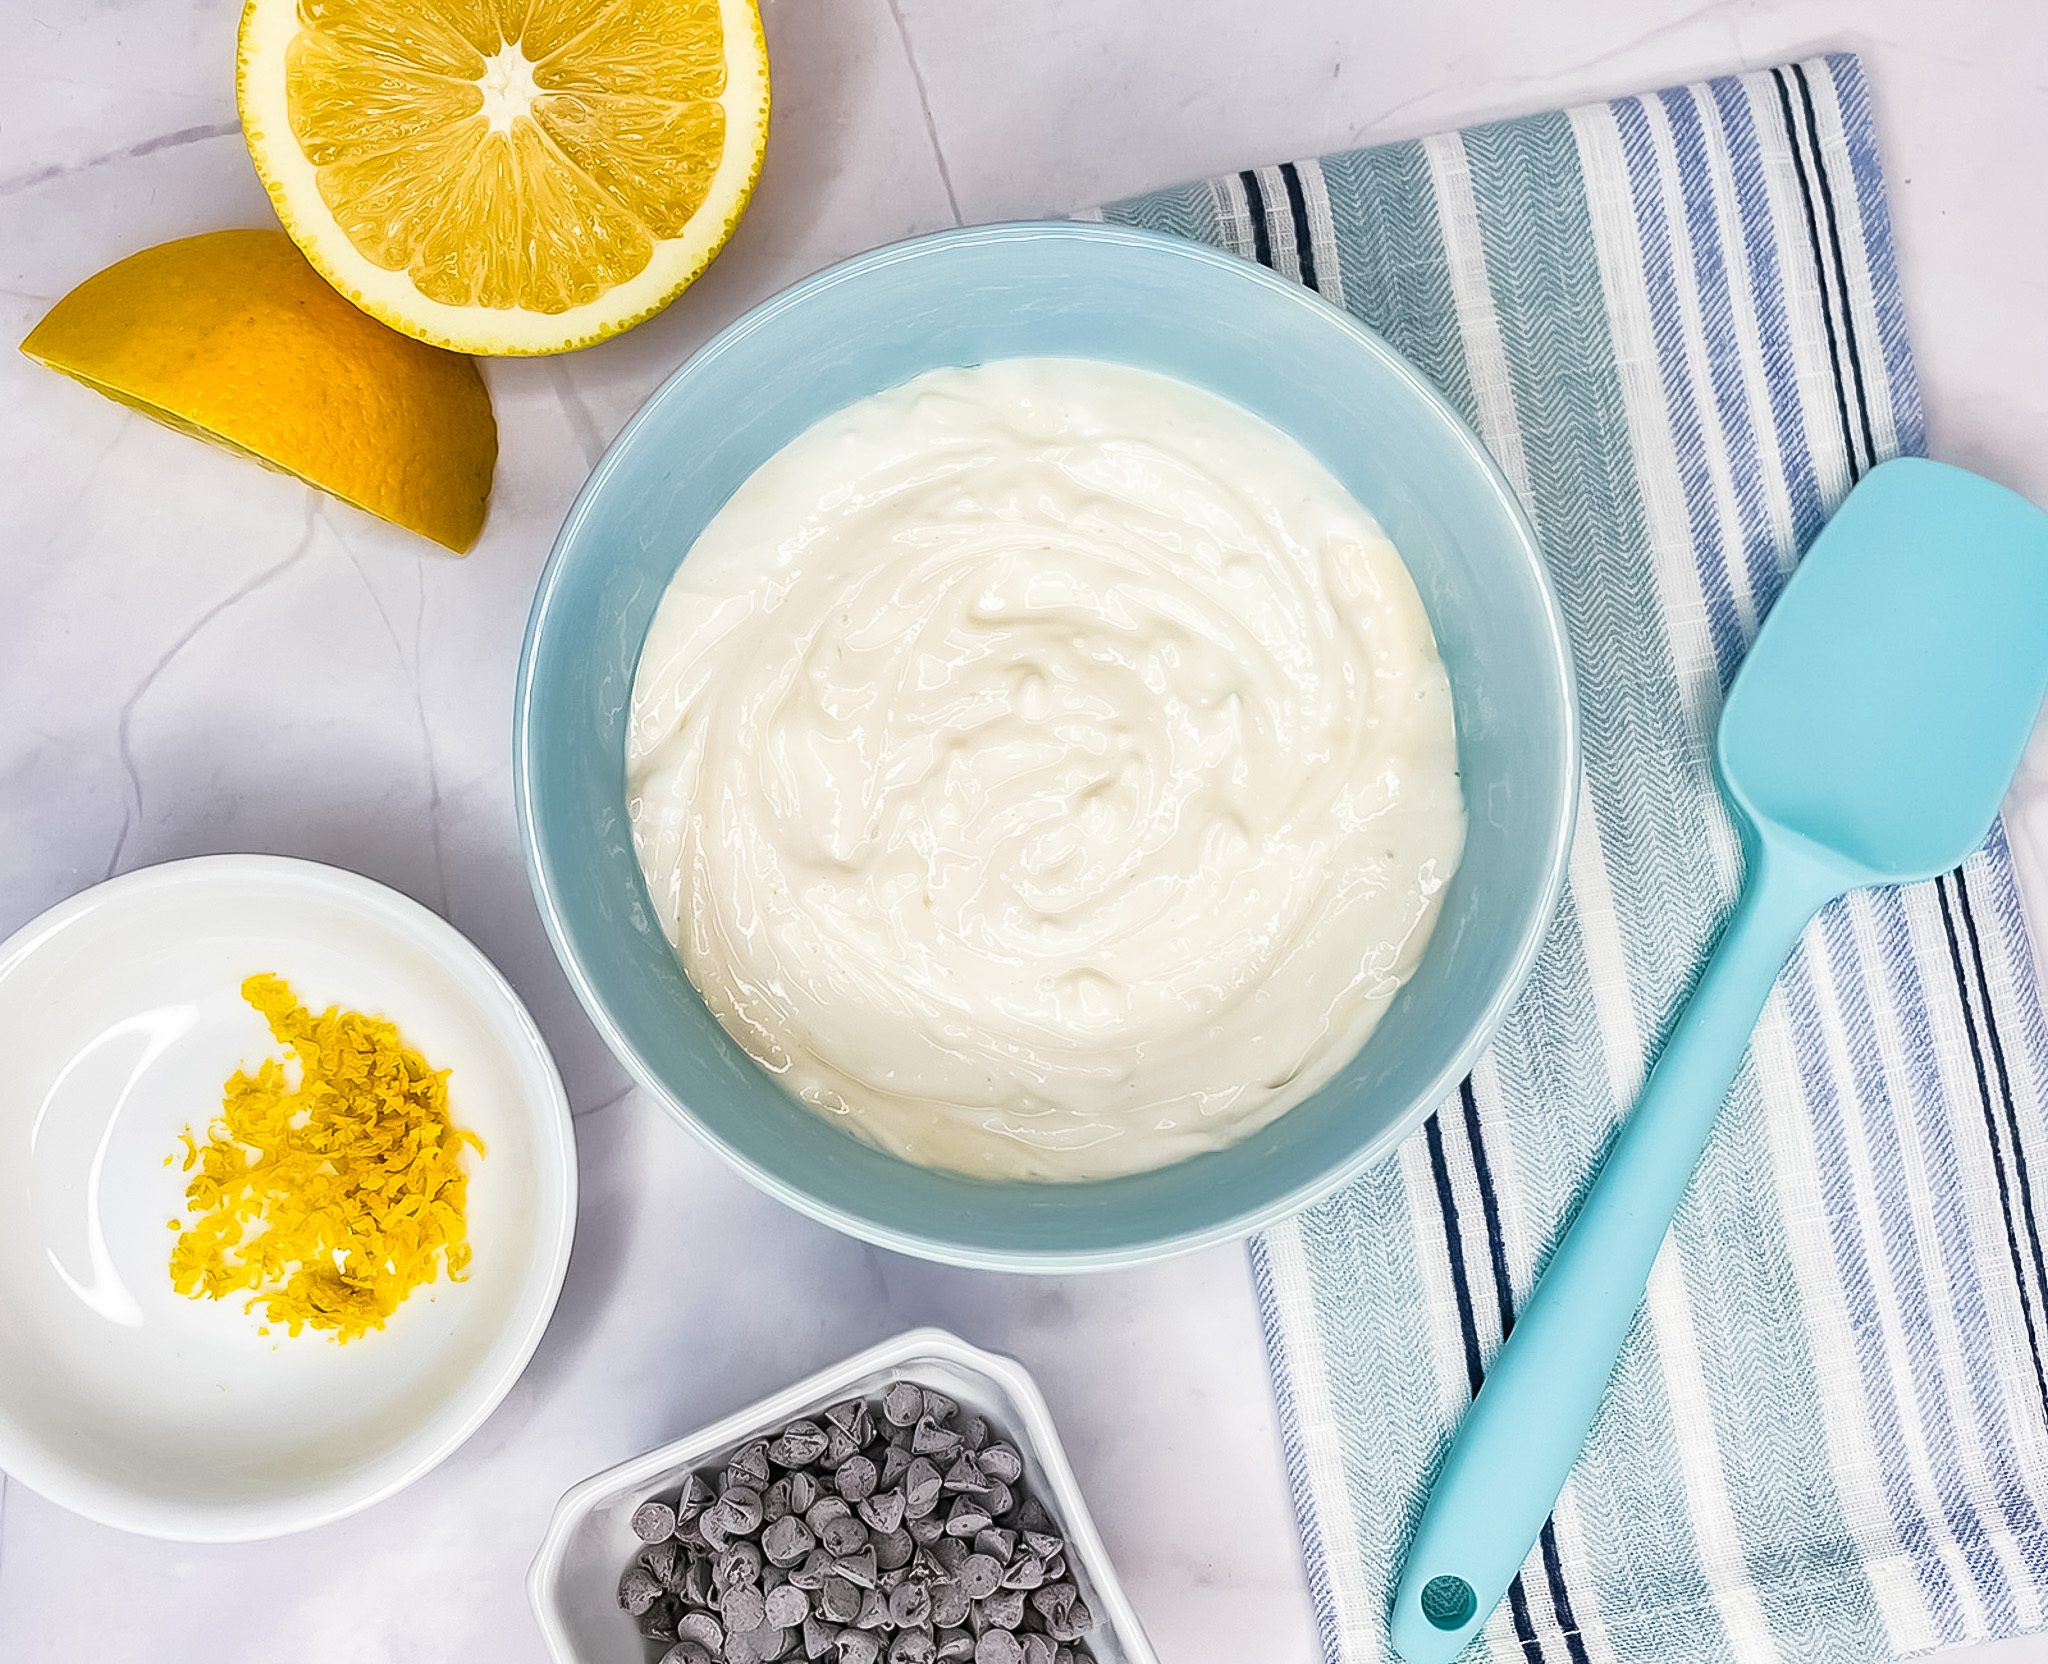
Light Cannoli Dip Ingredients
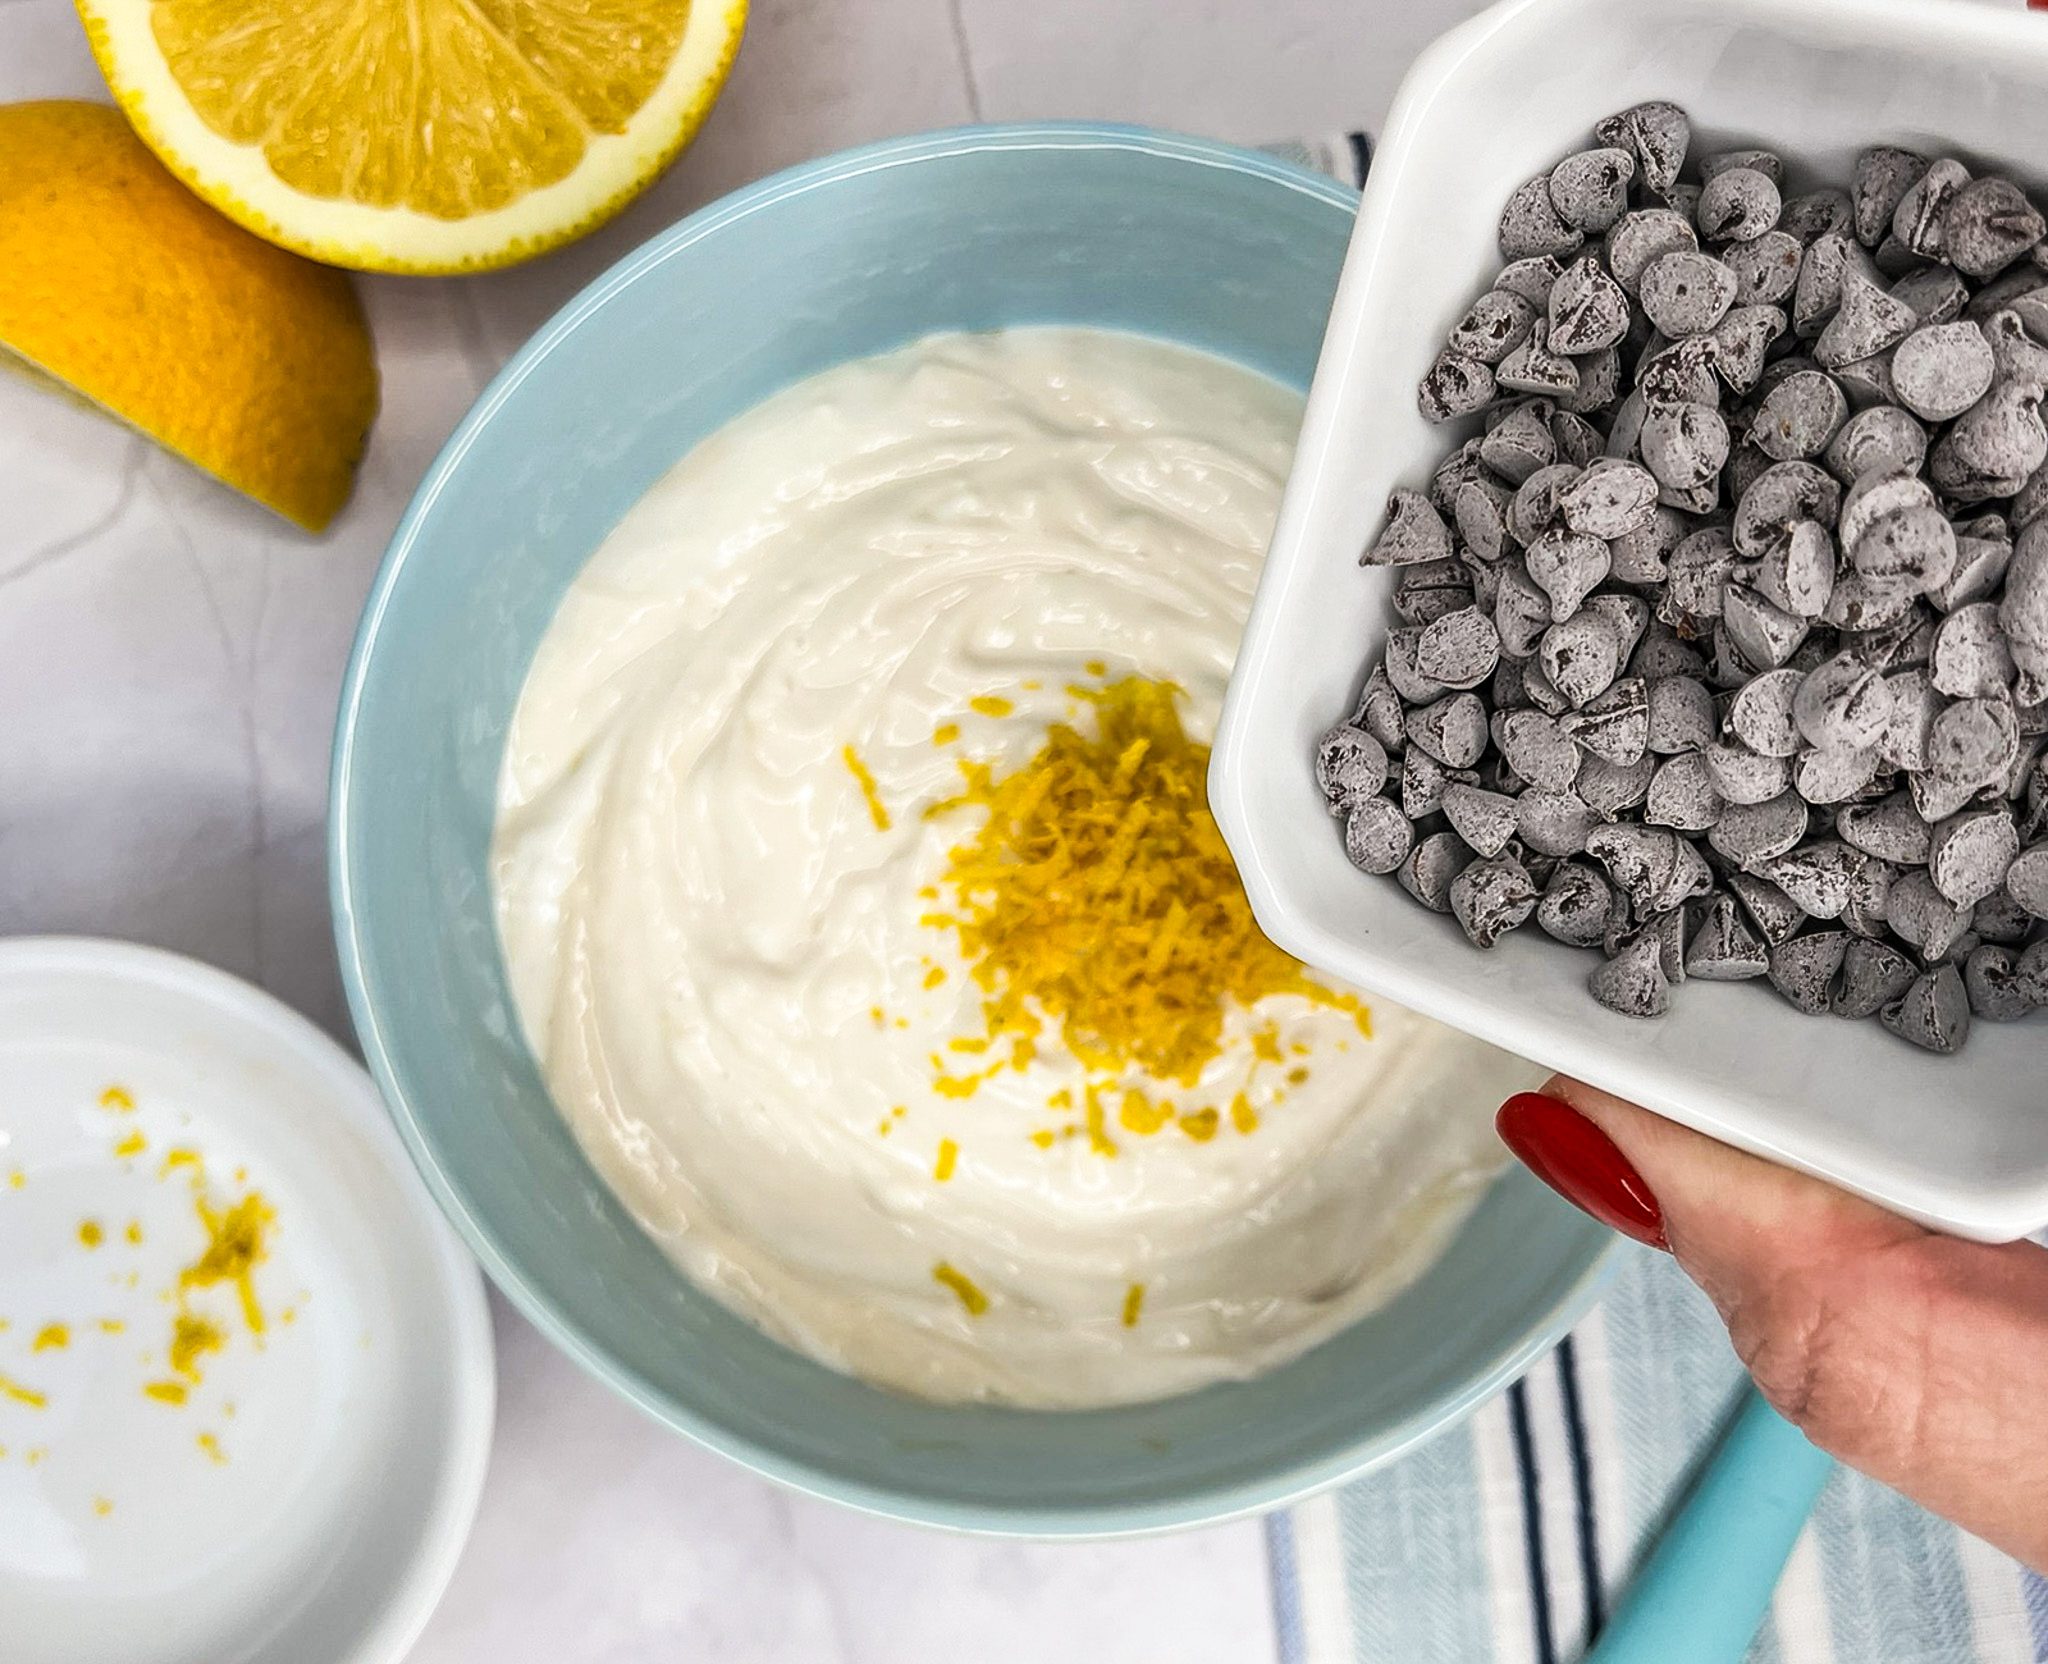
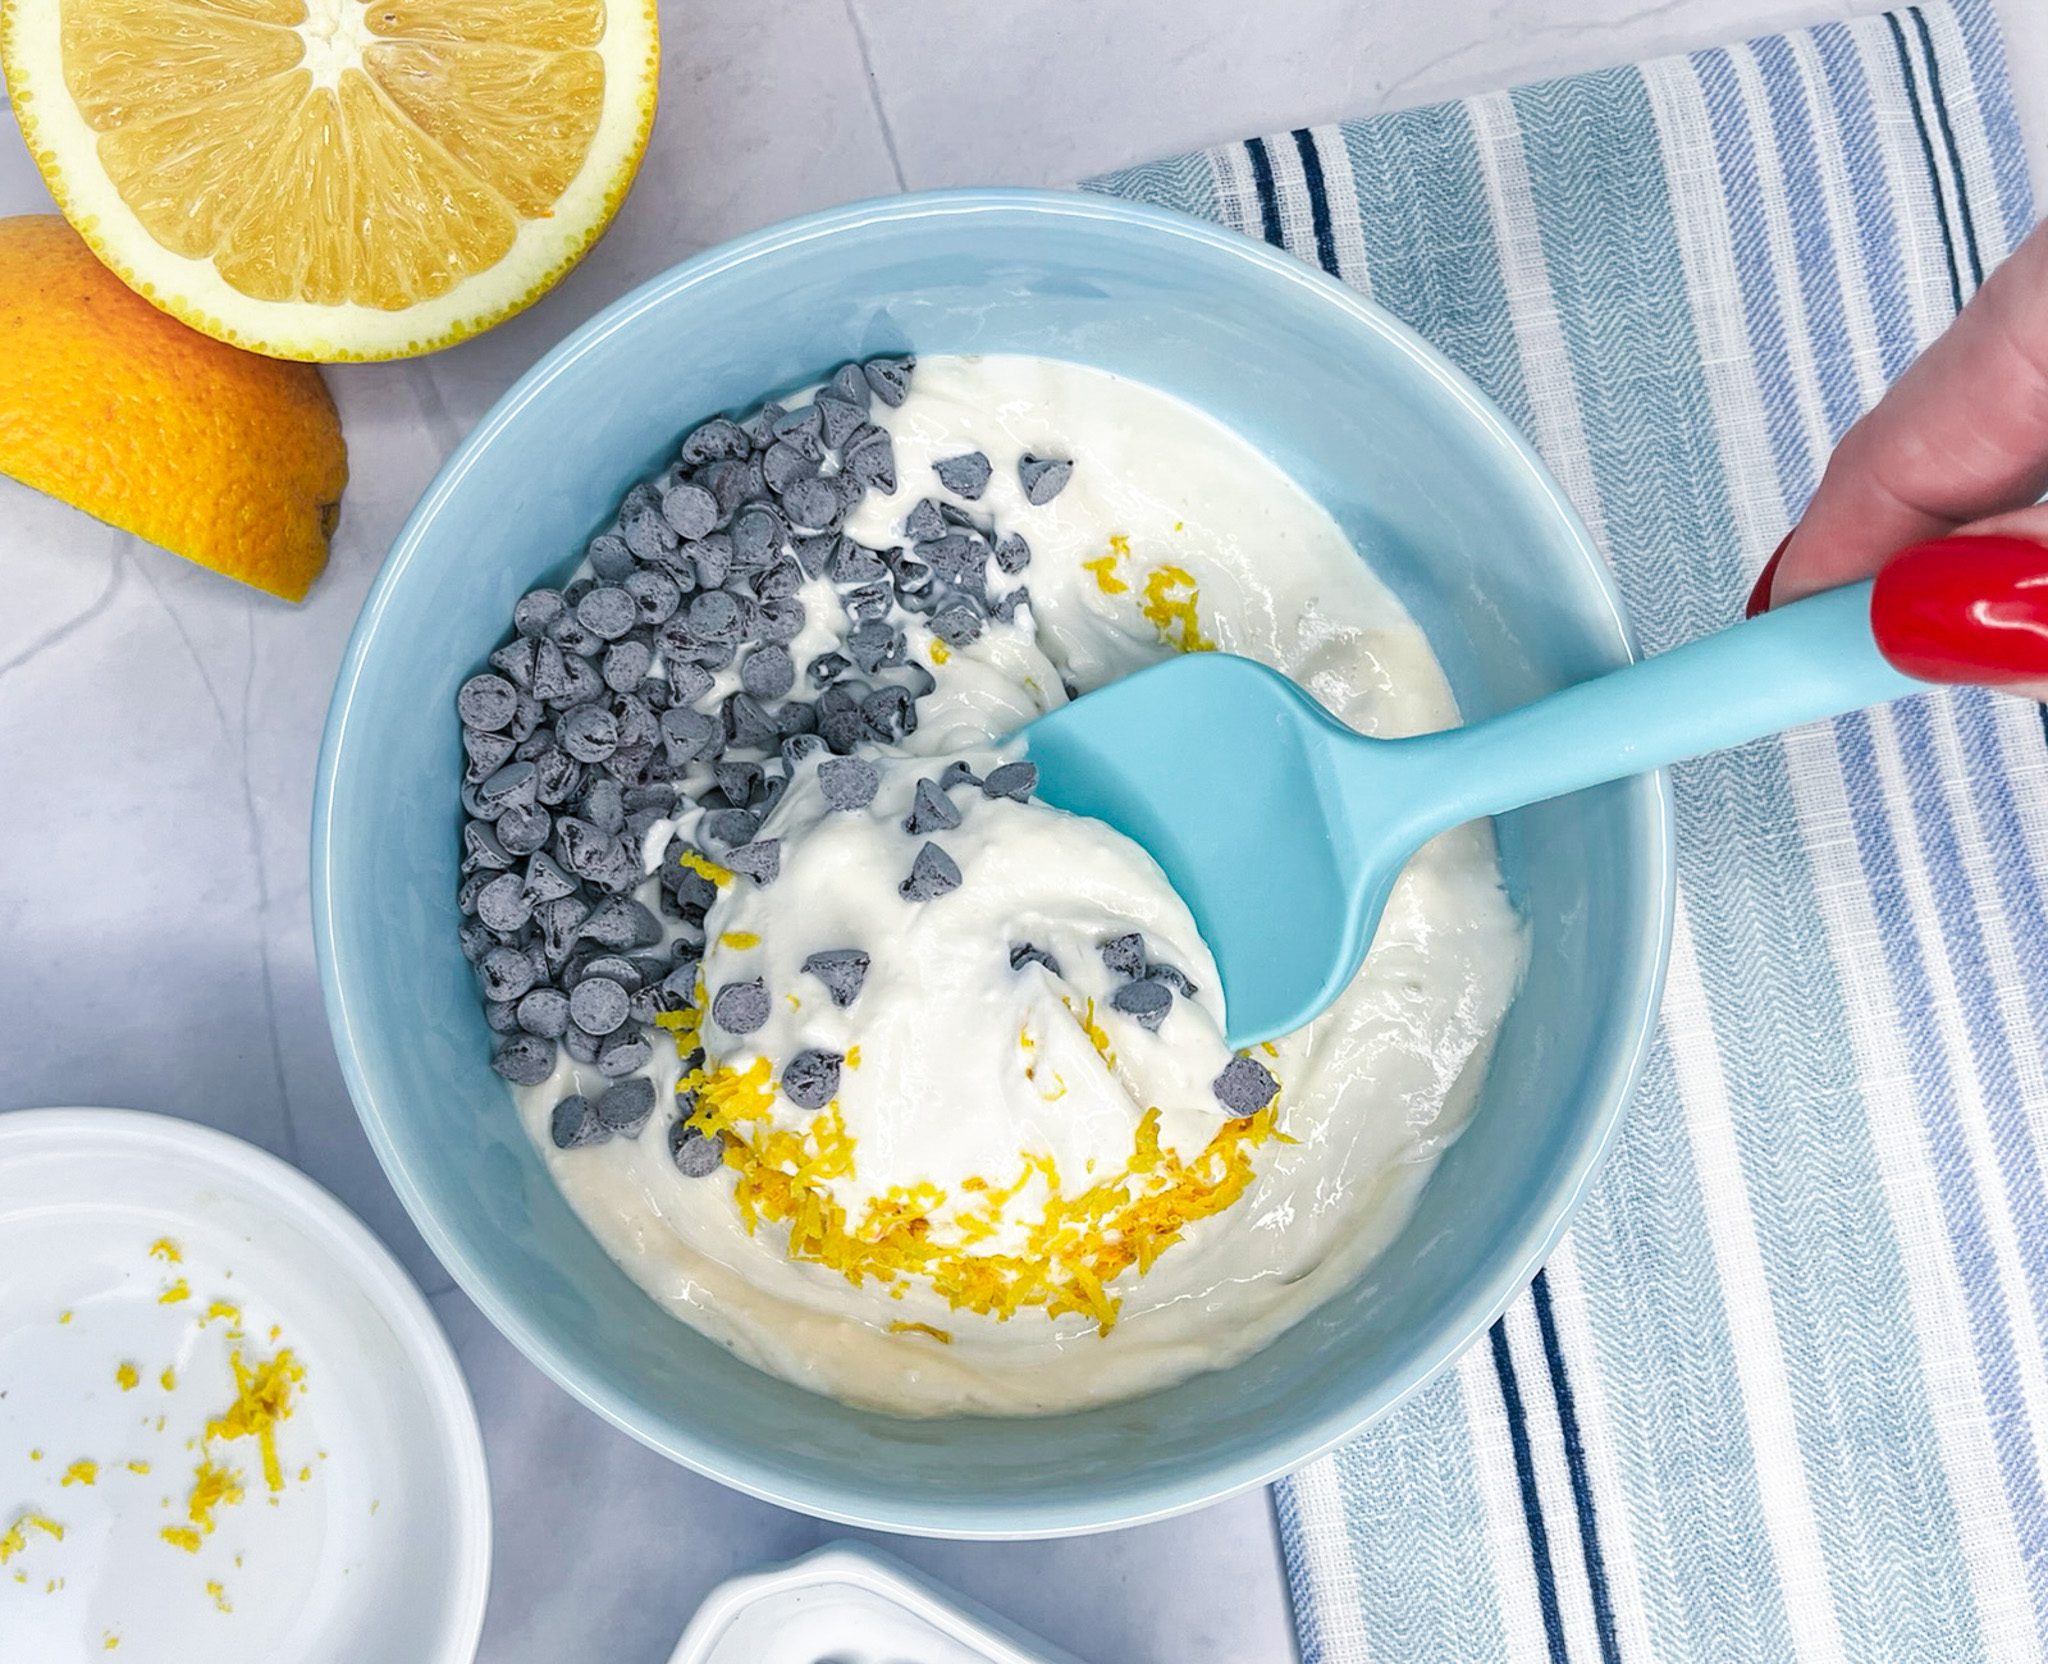
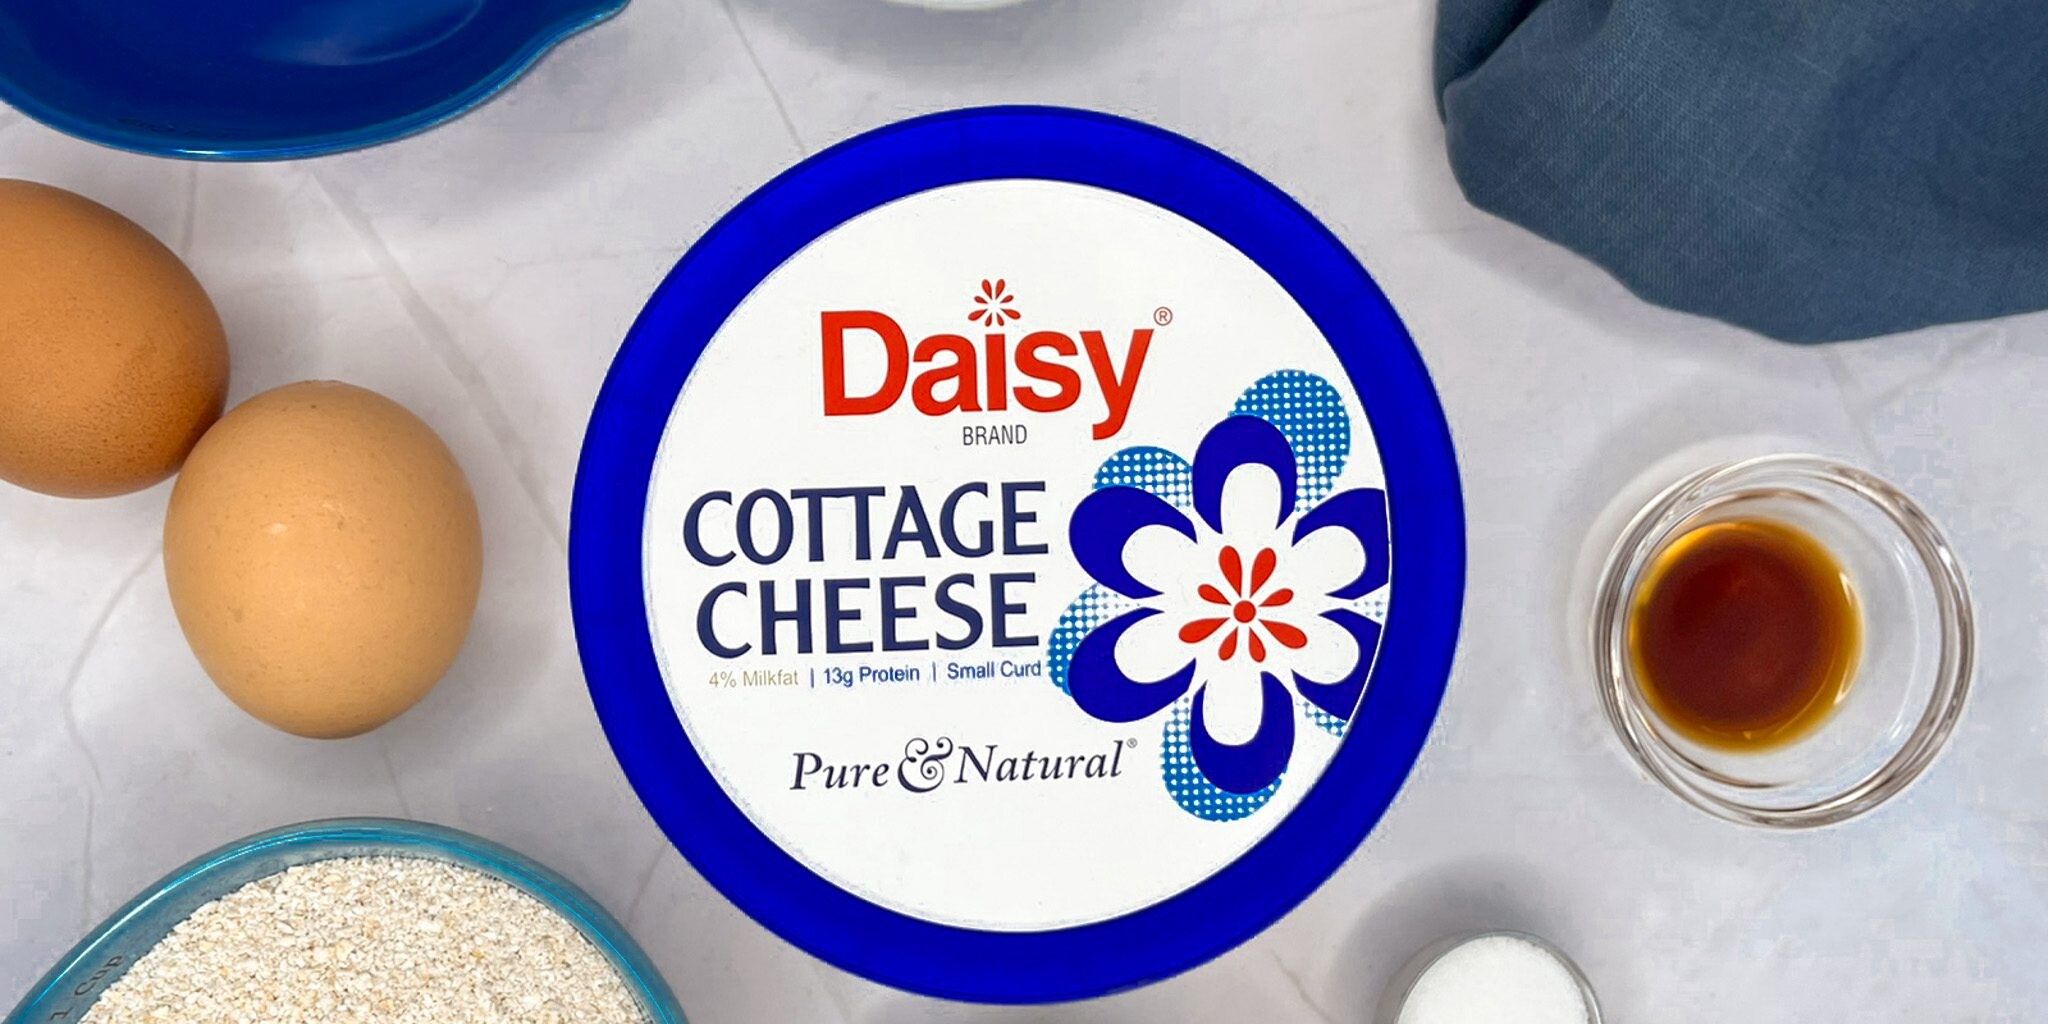
- Daisy Cottage Cheese (3/4 cup): The creamy base that makes this dip light and protein-packed.
- Powdered Sugar (1 tablespoon): Adds a touch of sweetness.
- Vanilla Extract (1 teaspoon): Brings out the flavor in every bite.
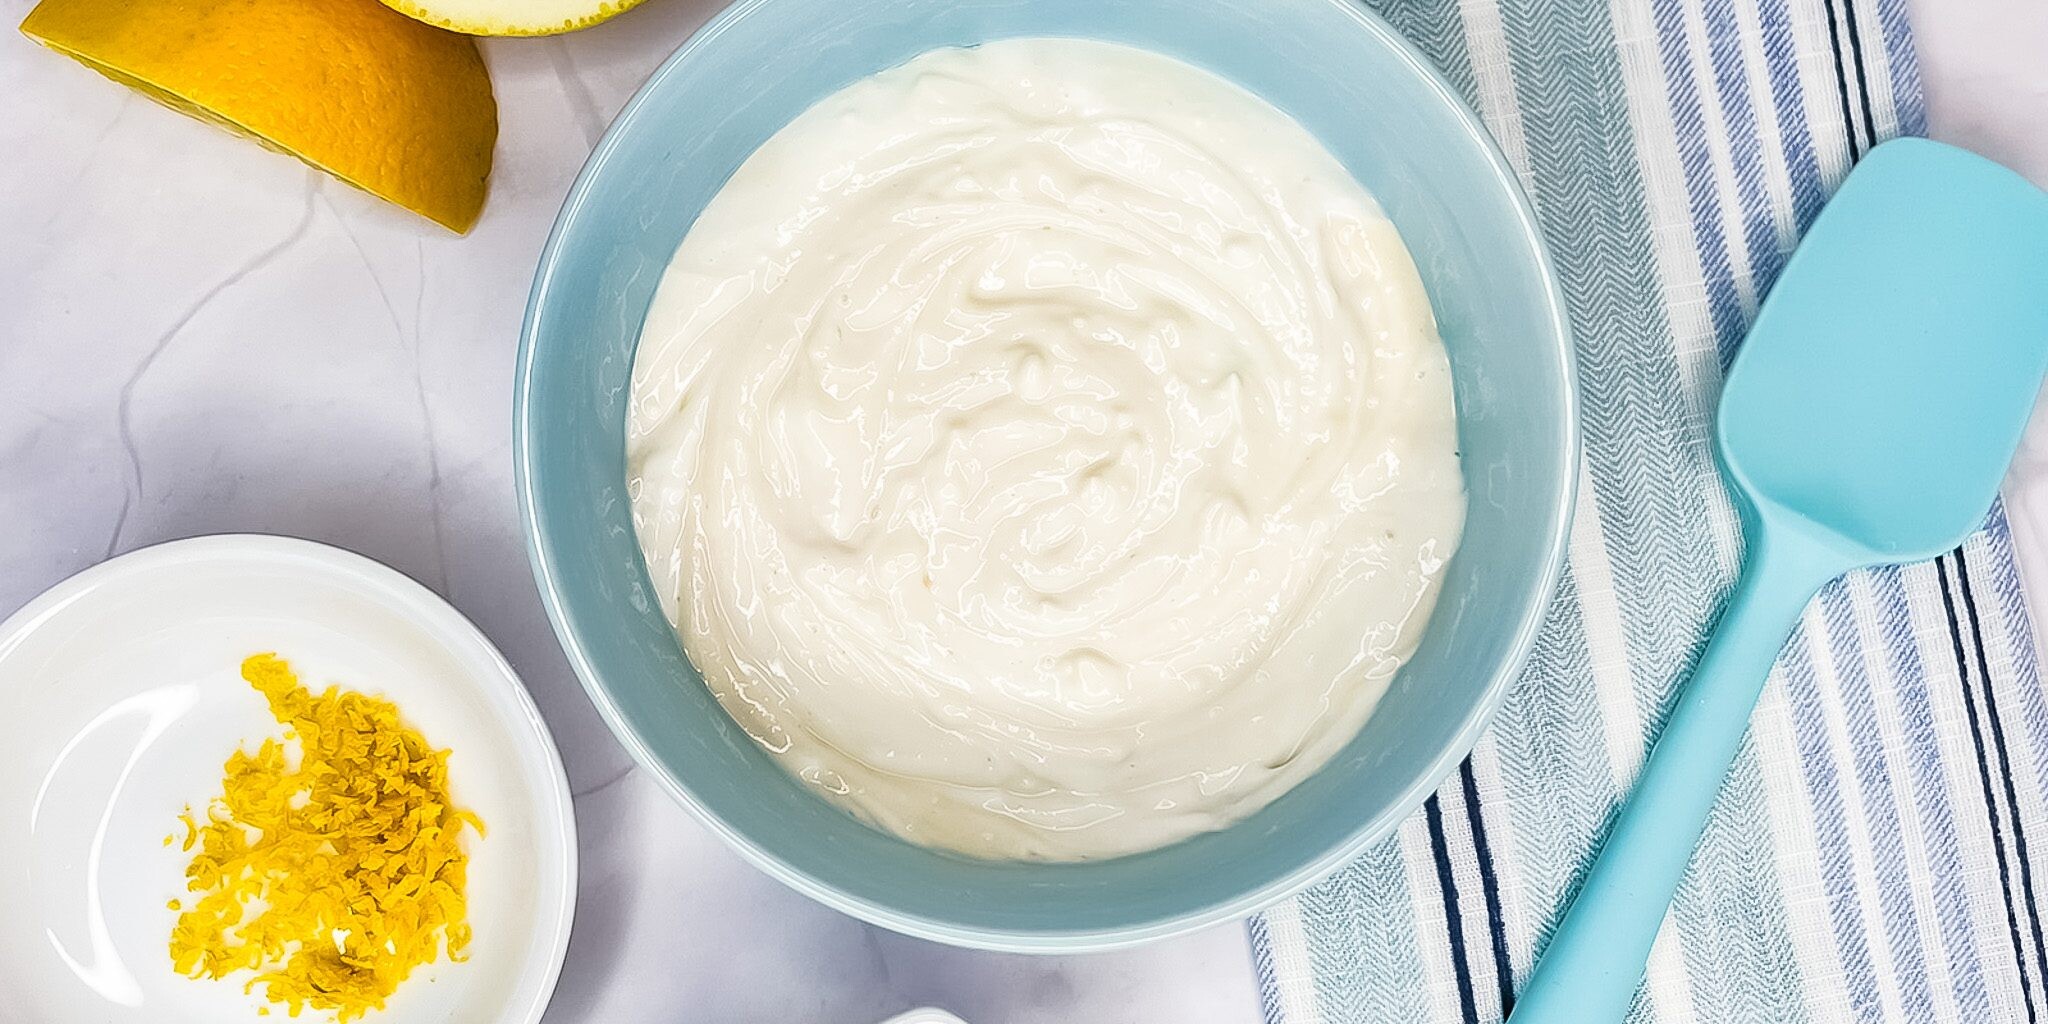
- Fresh Orange Zest (1 teaspoon): Adds a burst of bright, citrusy flavor without thinning the dip.
- Mini Chocolate Chips (2 teaspoons): Just enough for that sweet chocolate crunch!
Substitutions, Variations, and Tips
- Swap lemon or lime zest for the orange zest to change up the citrus profile.
- Use almond extract instead of vanilla for a nutty twist.
- Add a dash of cinnamon or nutmeg for a warm holiday flavor.
- Try chopped nuts, seeds, or dried fruit instead of chocolate chips.
- Want a chocolate cannoli dip? Add ½ teaspoon of unsweetened cocoa powder.
- Or go rich with a chocolate hazelnut twist: add 1 teaspoon of chocolate hazelnut spread.
- Substitute white chocolate or butterscotch chips — just be sure they’re mini!
- A finely chopped chocolate bar works just as well if you don’t have chips.
- For extra tang, stir in 1 tablespoon of Daisy Sour Cream.
- Store leftovers in the fridge — it keeps well for up to 4 days.
- Make it ahead! This dip can be prepared the day before and gets even better after chilling.
How to Make Light Cannoli Dip
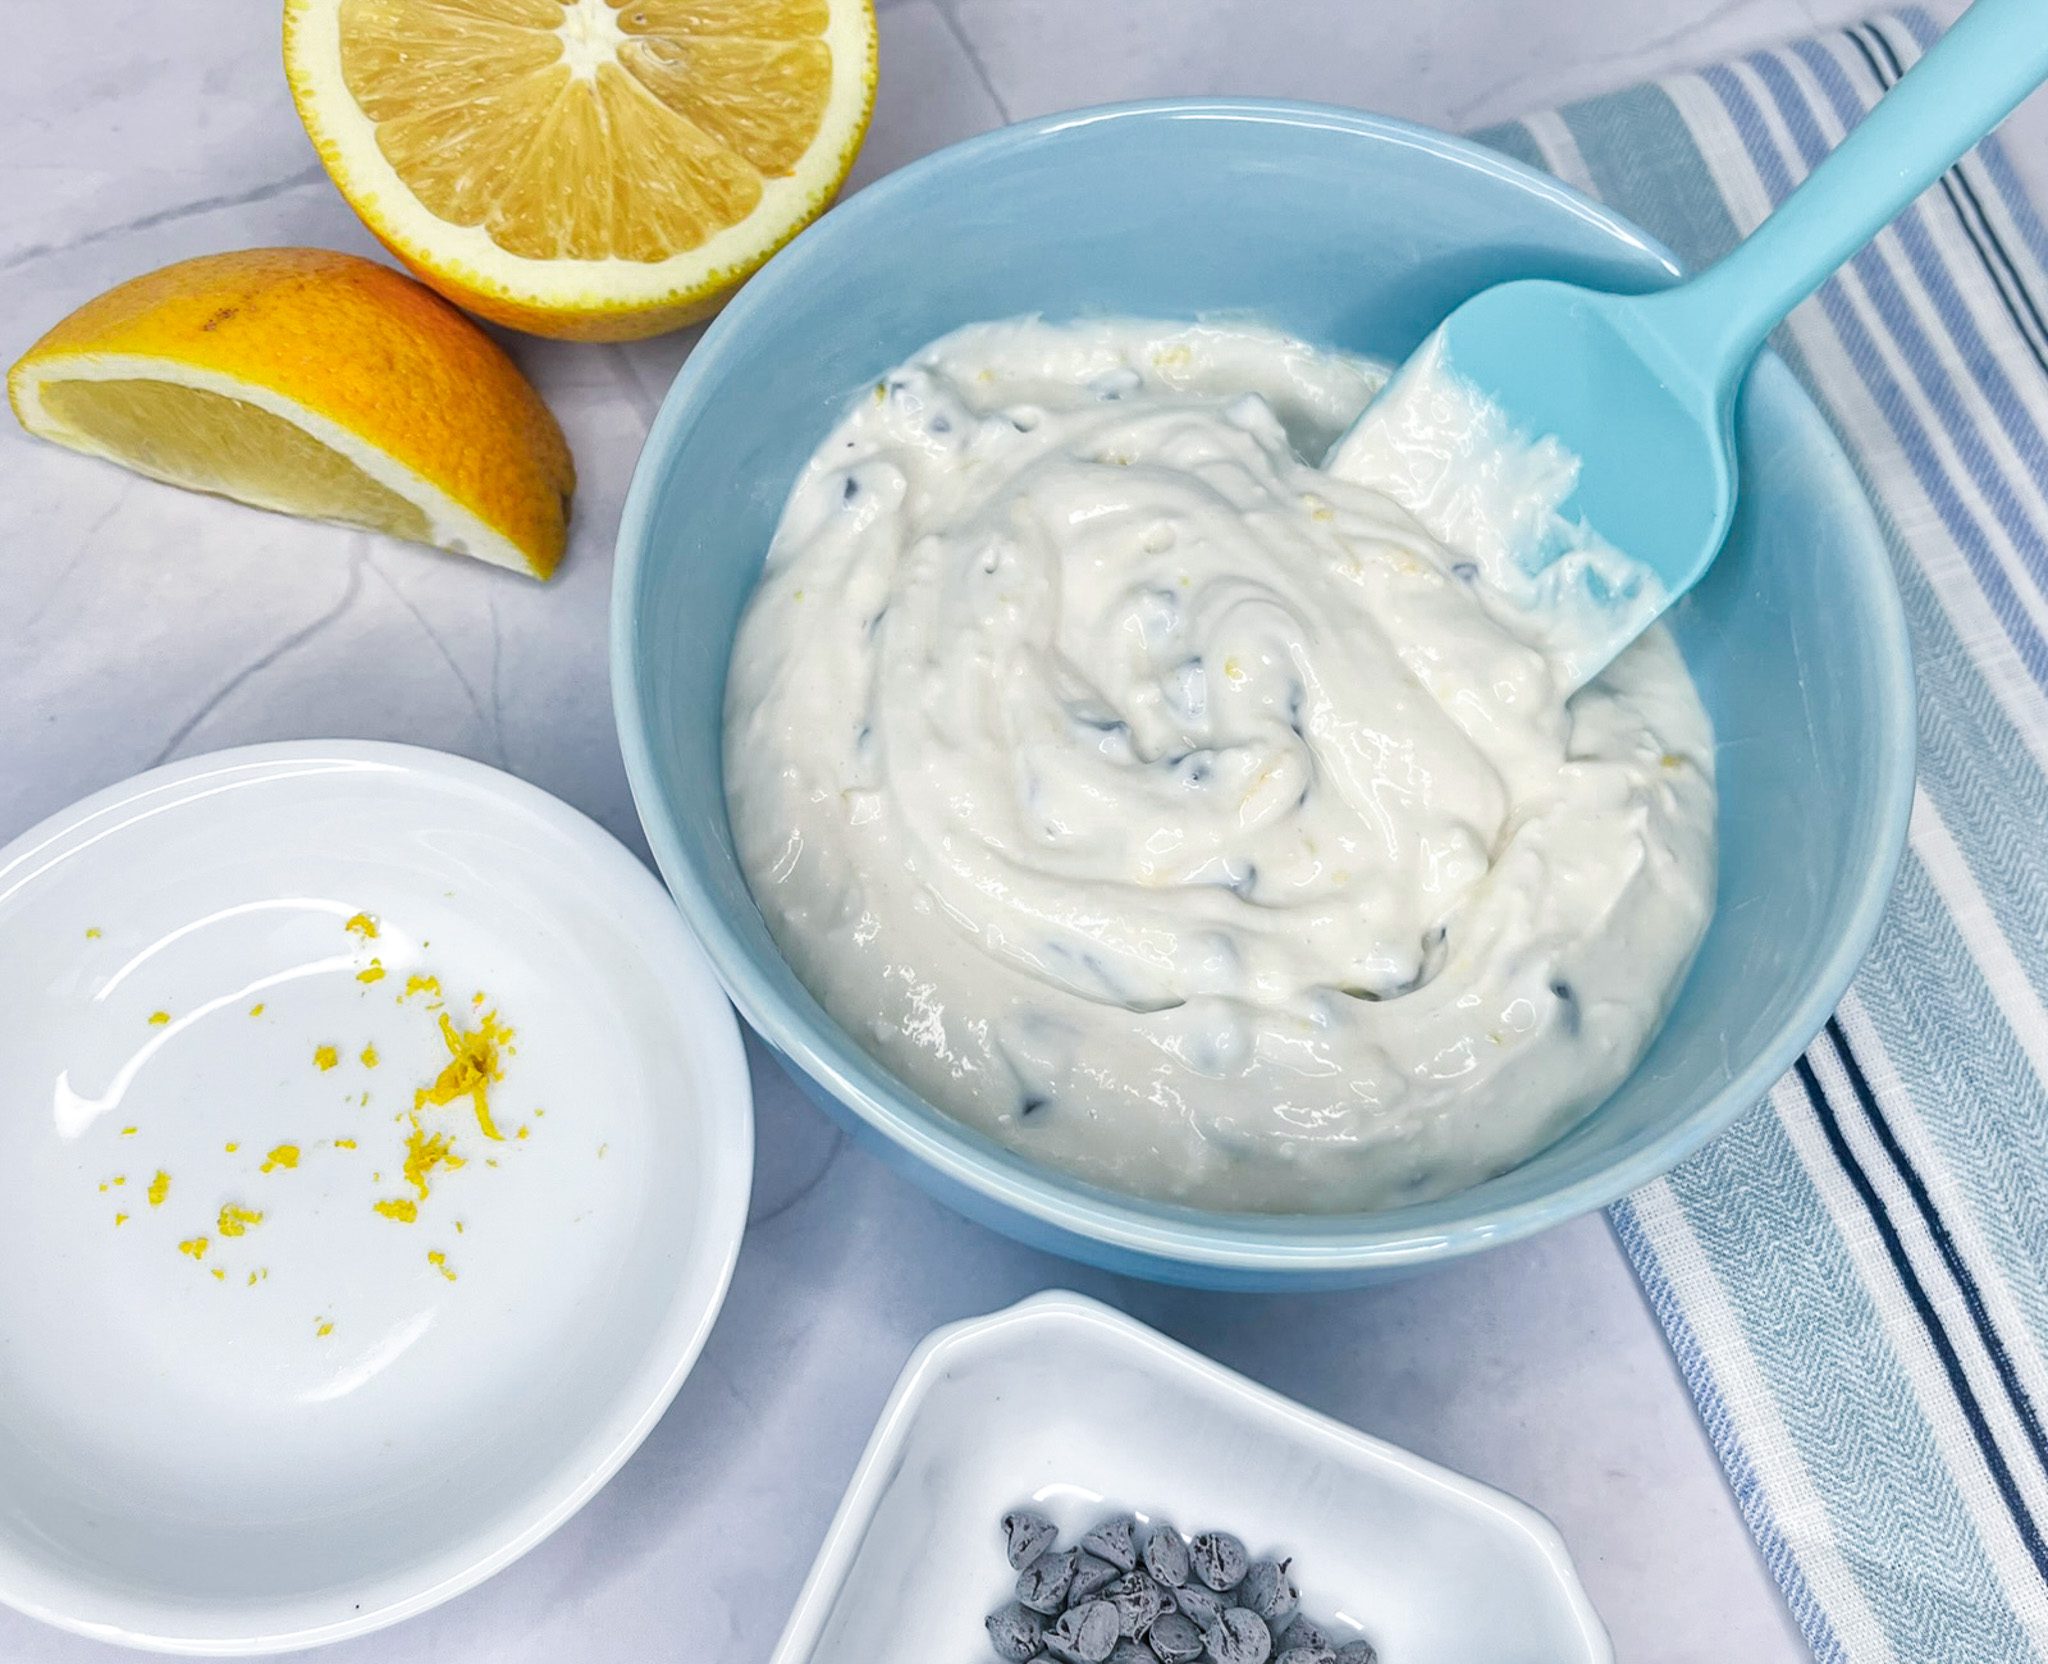
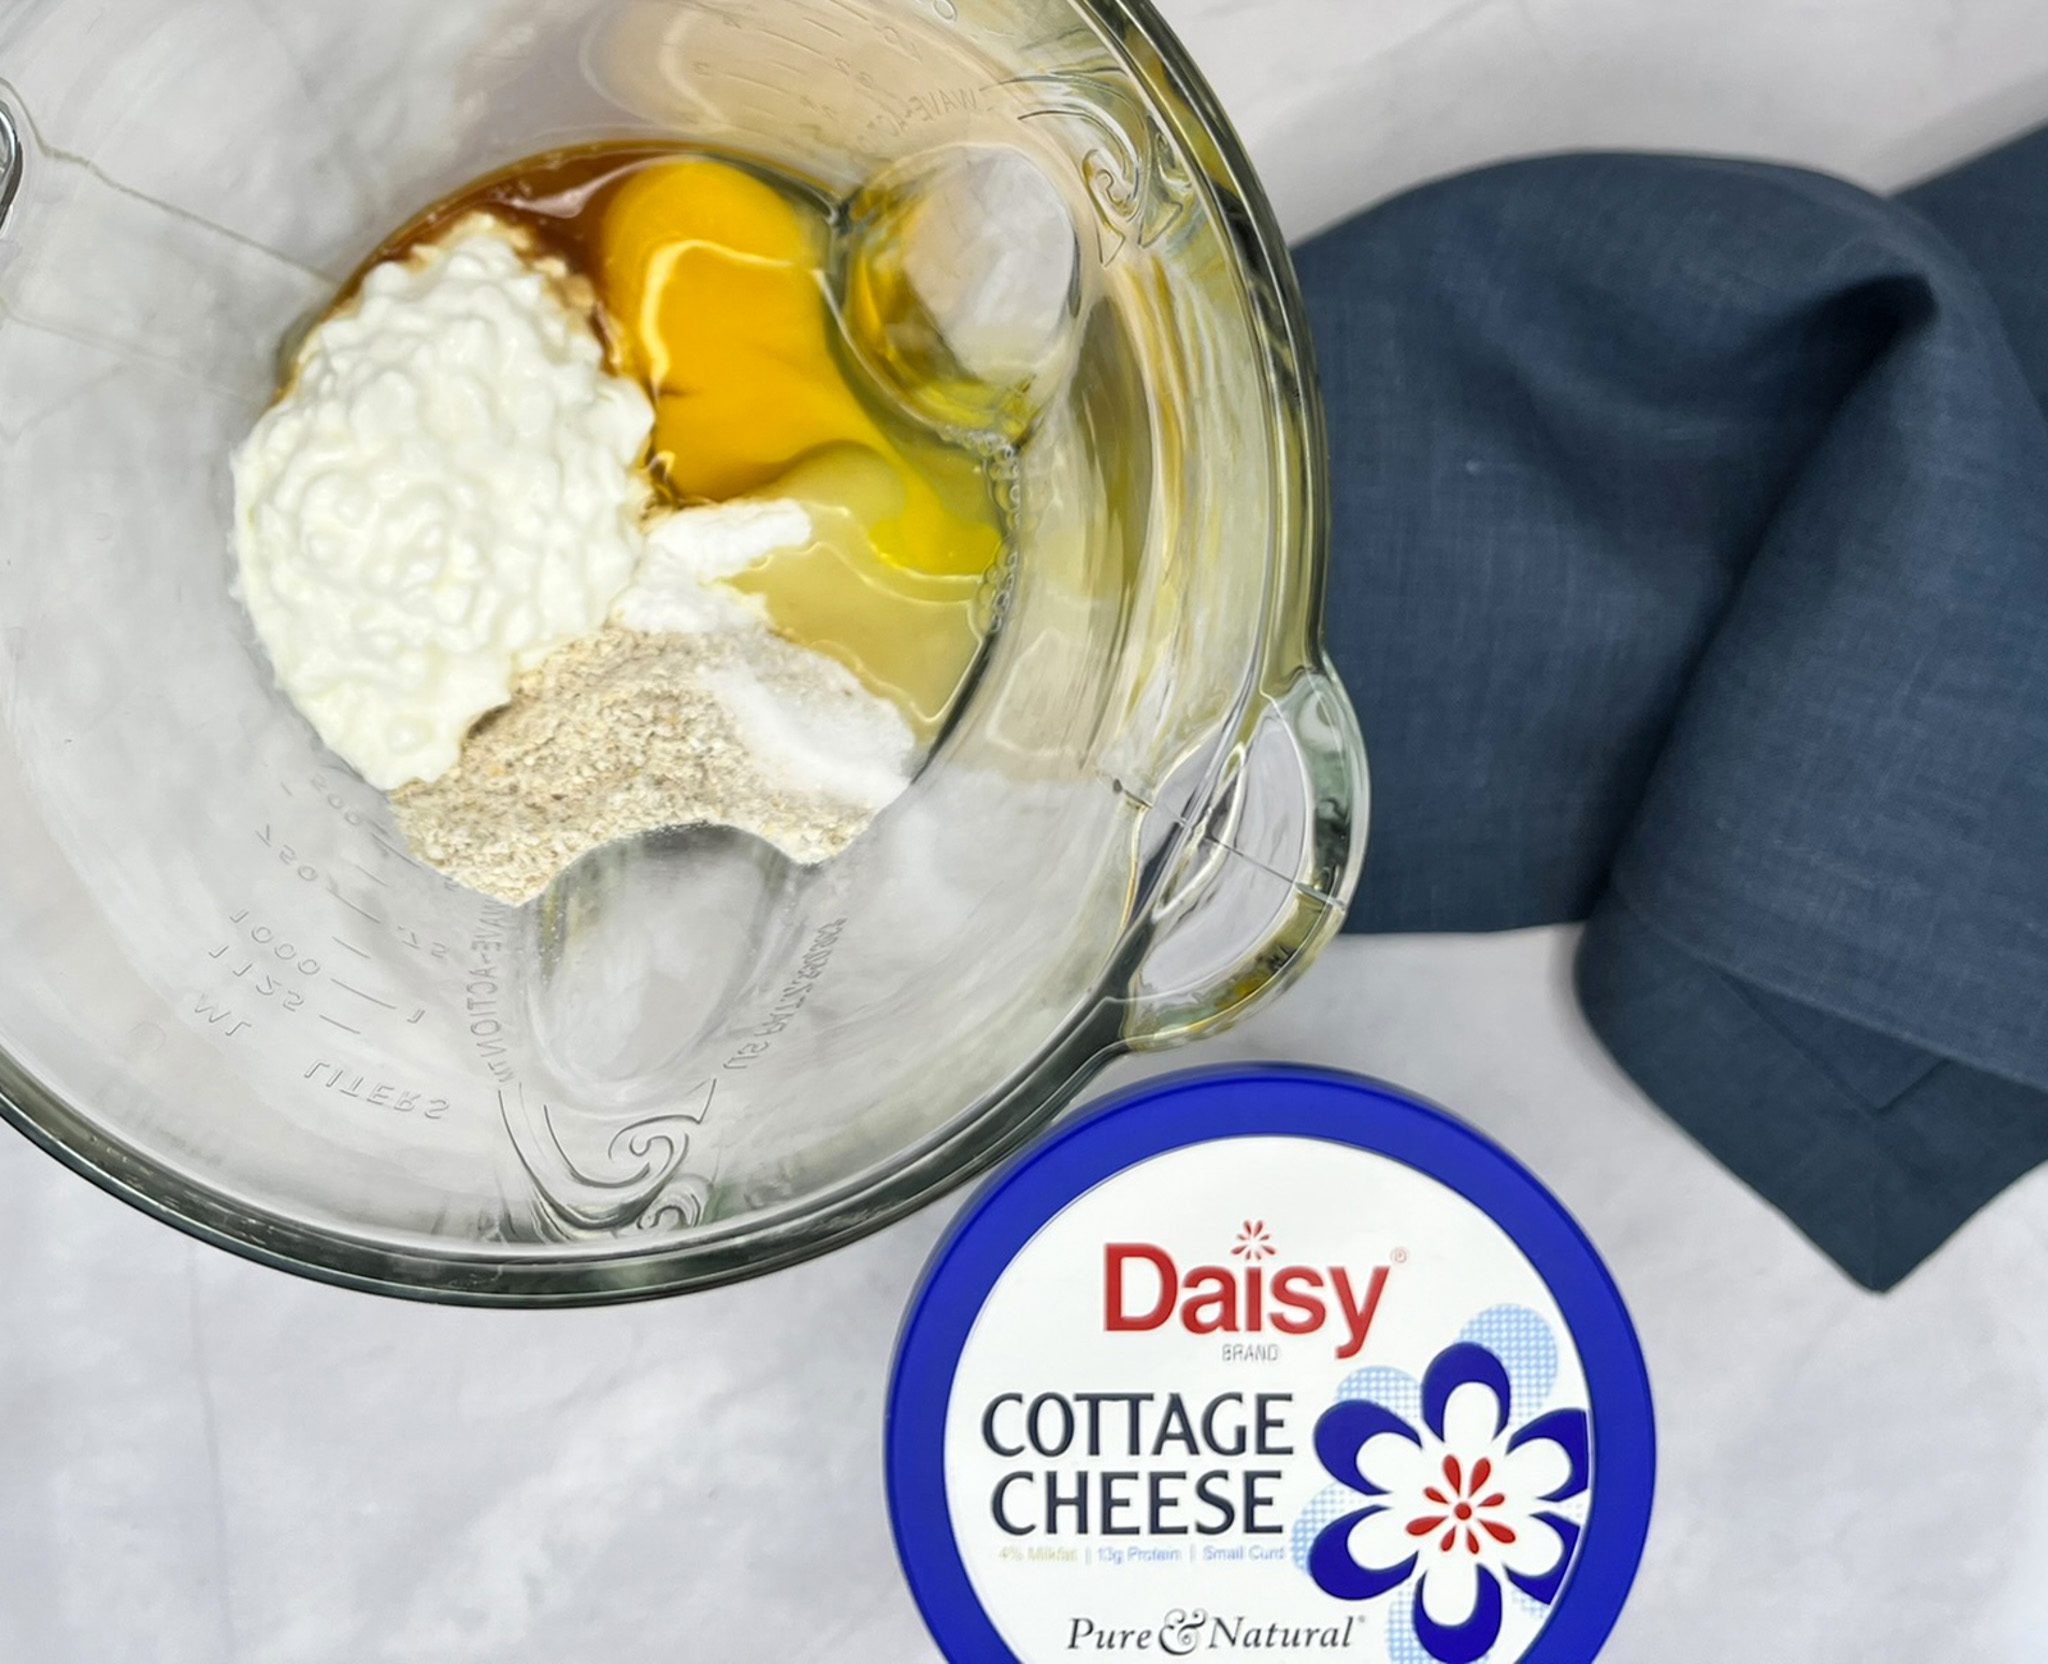
- In a blender or food processor, blend the cottage cheese until completely smooth (about 1 minute). Transfer to a bowl.
- Fold in the powdered sugar, vanilla, orange zest, and mini chocolate chips.
- Cover and chill for at least 30 minutes before serving.
- Garnish with extra mini chocolate chips, if you like. Serve with your favorite dippers!
- Pro Tip: Try serving with waffle cone pieces, sliced apples, strawberries, or graham crackers for the perfect sweet dip combo!

Protein-Packed Blender Waffles
Protein-Packed Blender Waffles
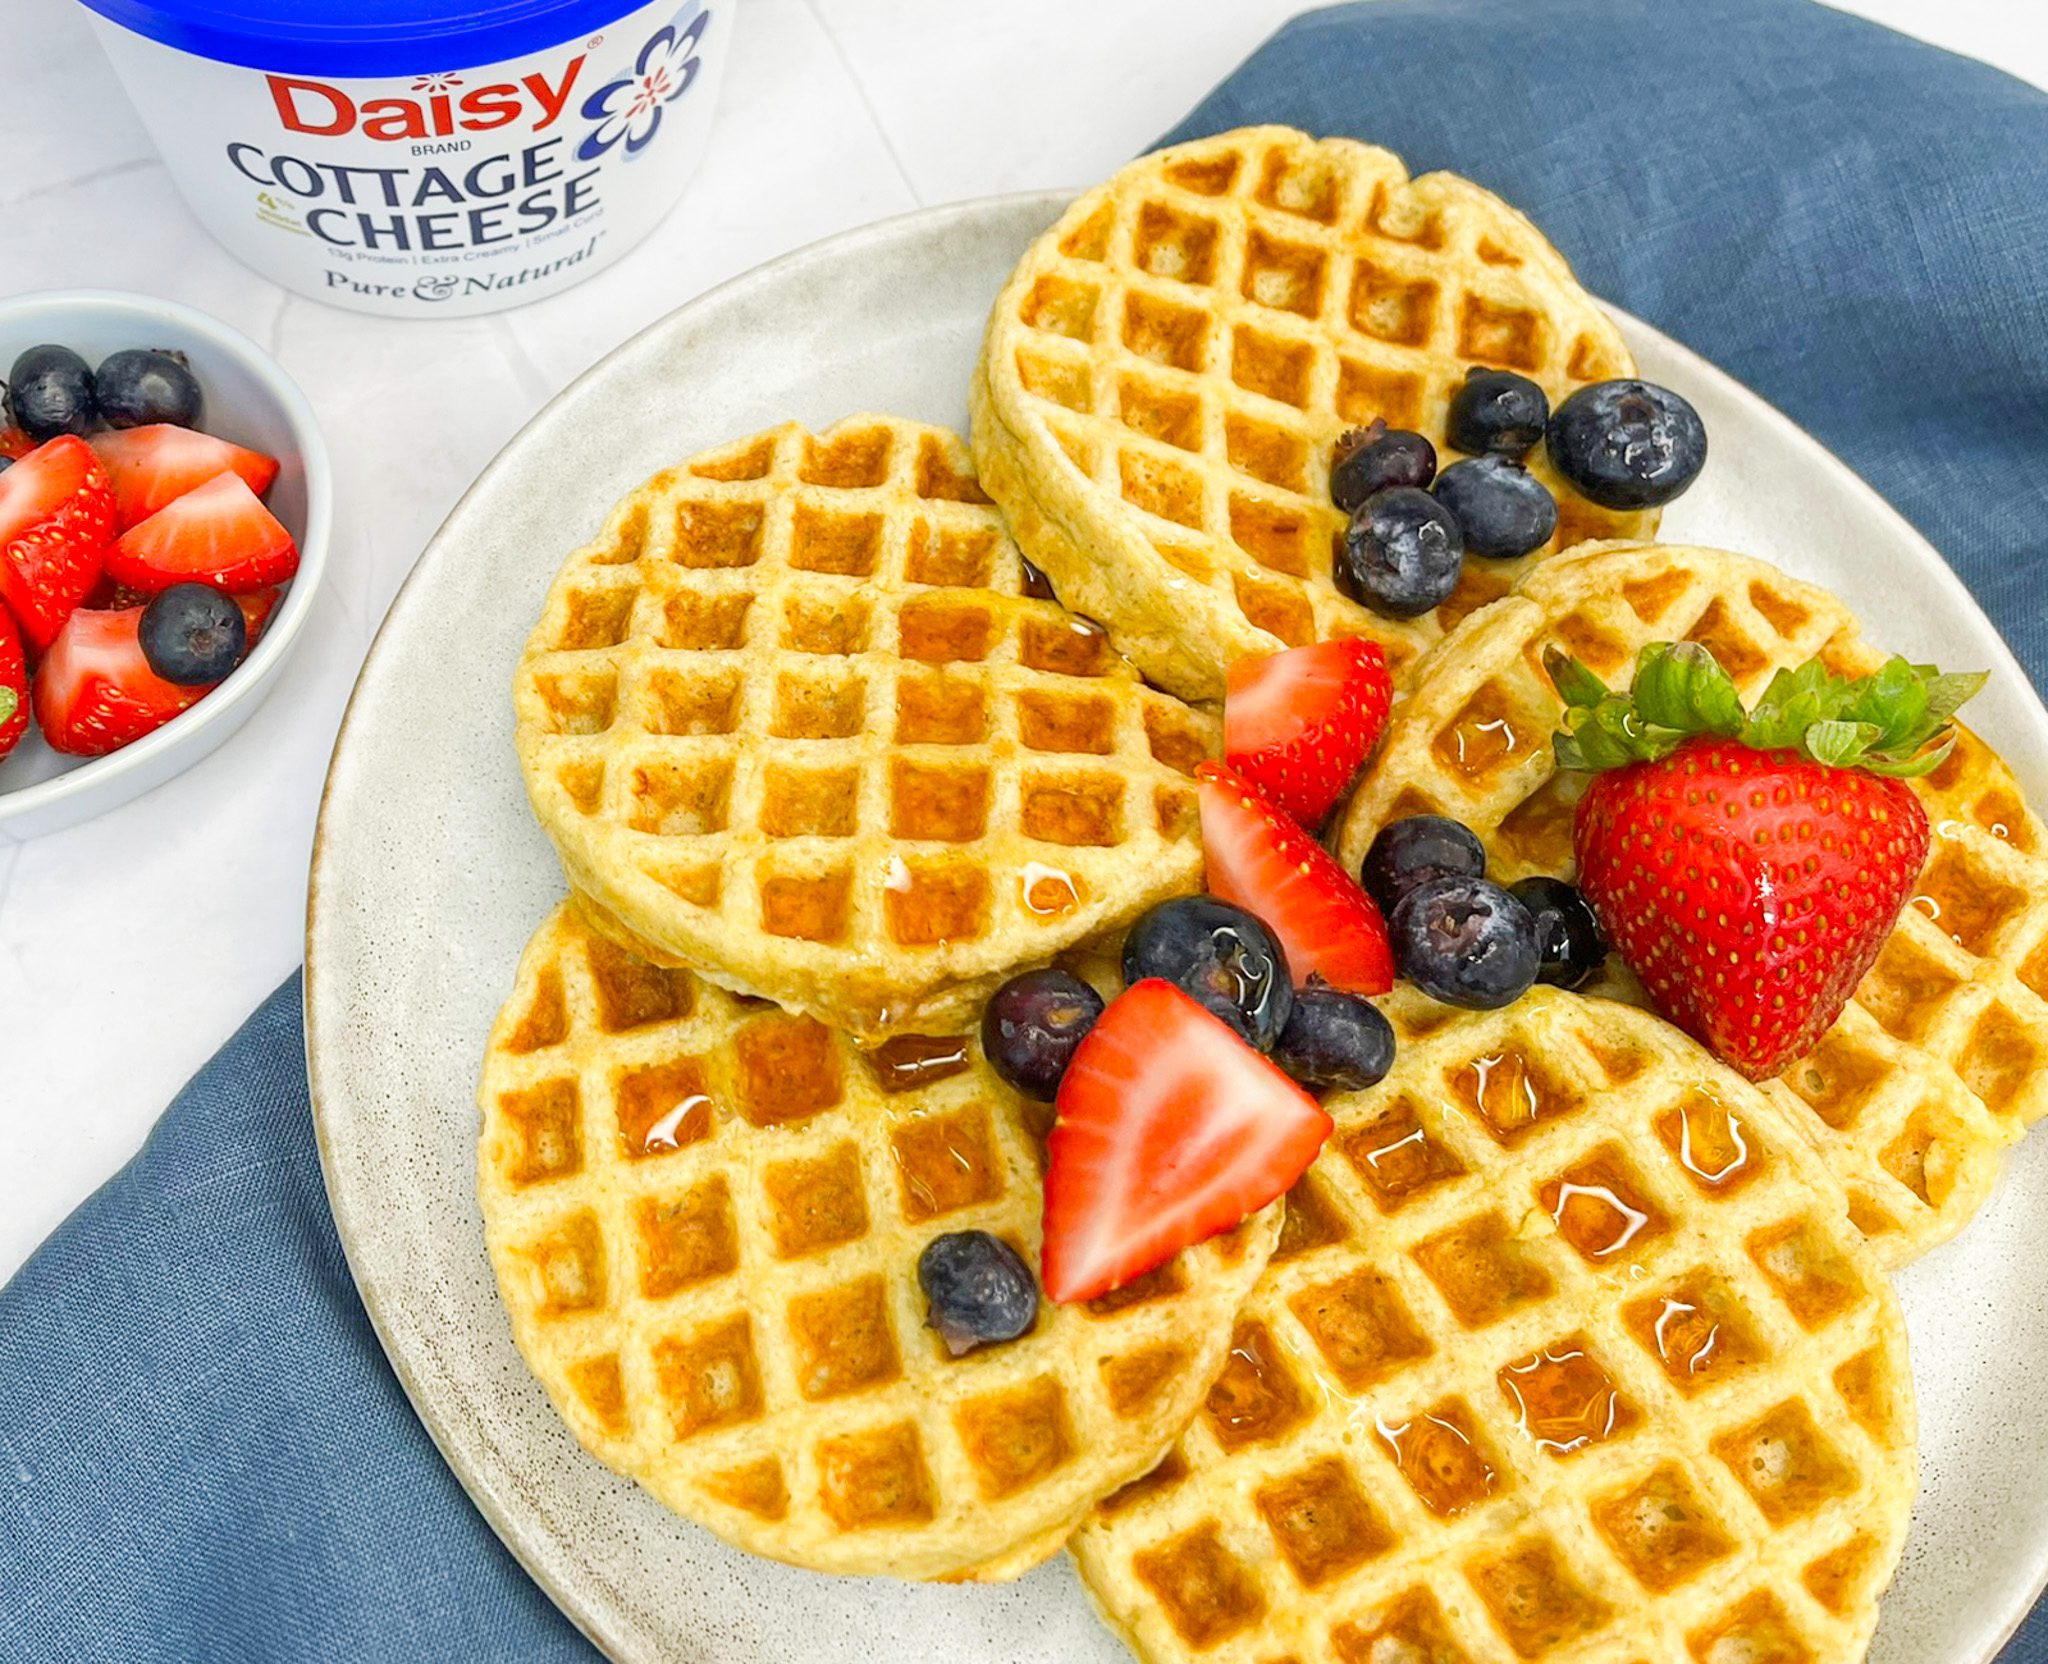
Looking for a quick, healthy, and super satisfying breakfast? These Protein-Packed Blender Waffles are just what you need! Made with cottage cheese and oat flour, they’re naturally gluten-free, packed with protein, and have that perfect crispy-on-the-outside, soft-on-the-inside texture.
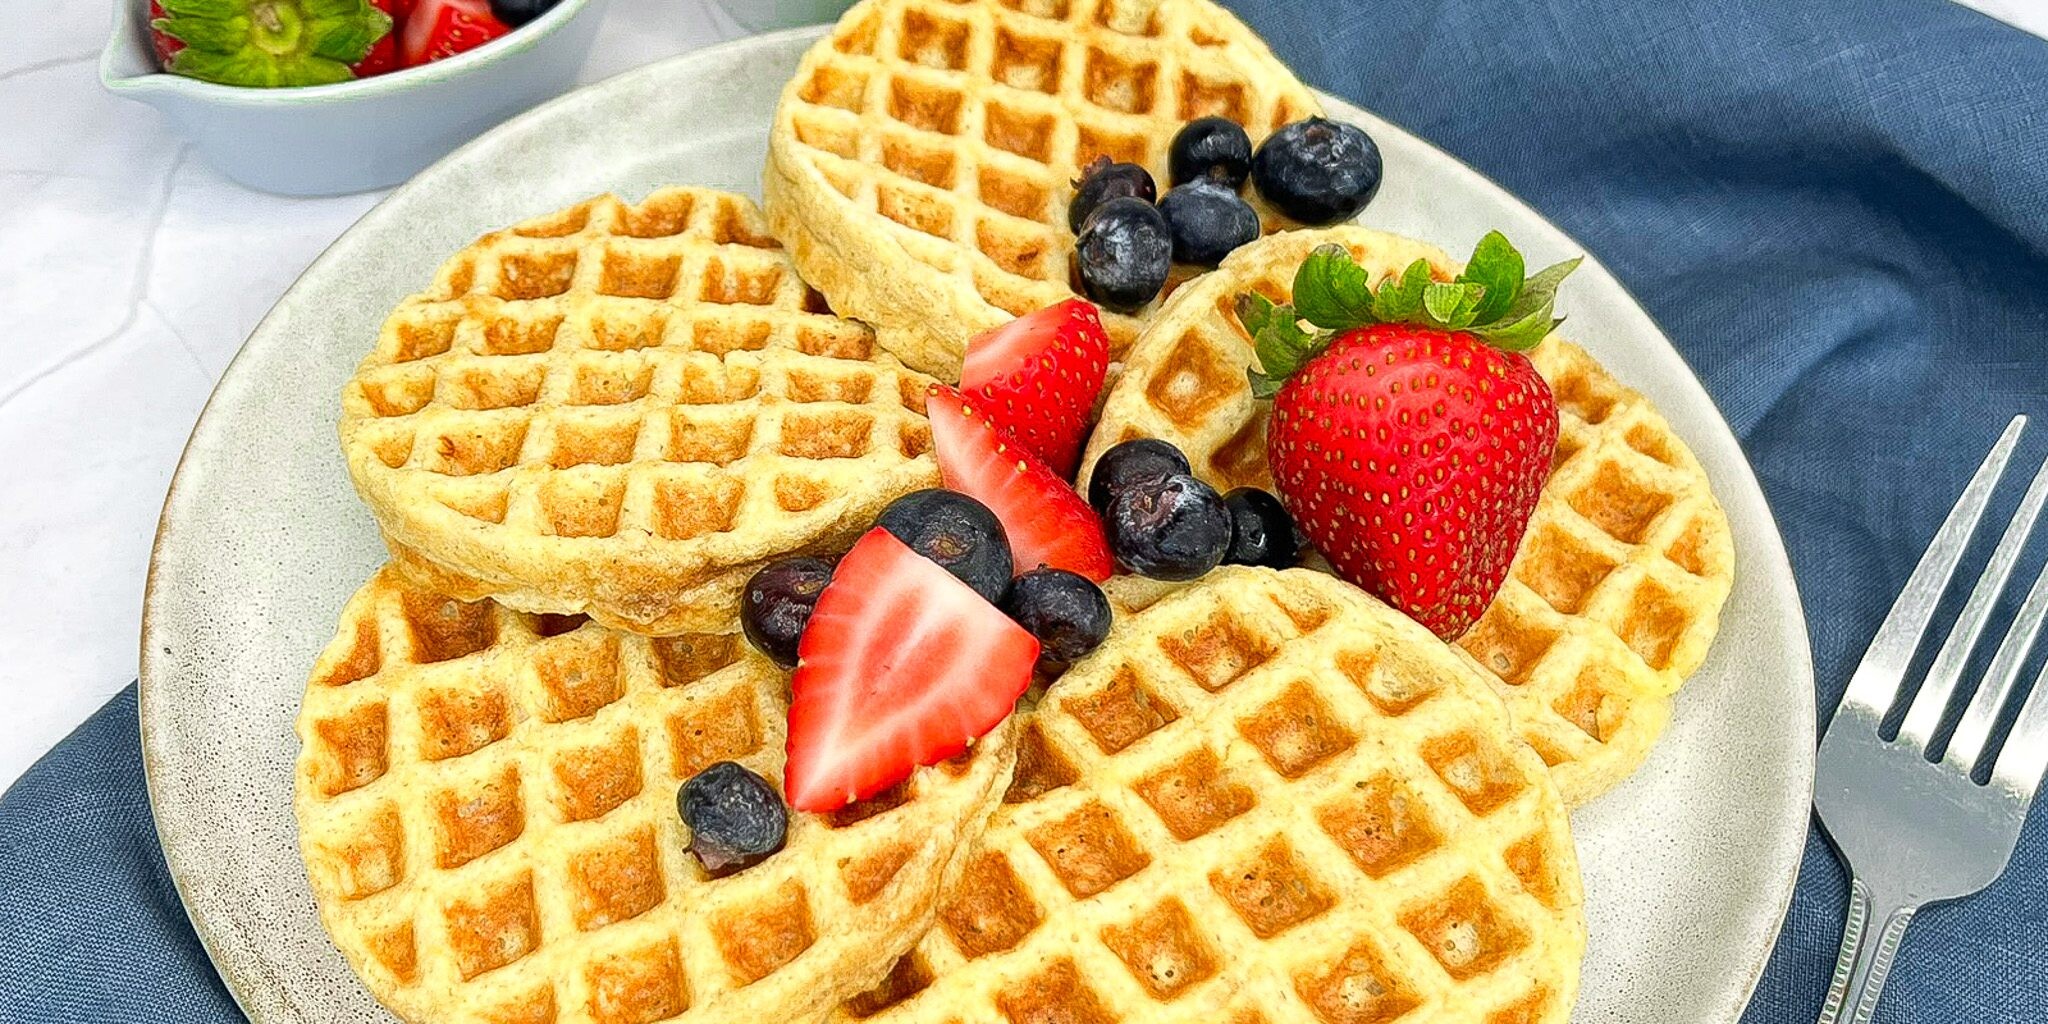
Thanks to the oat flour and cottage cheese combo, they’ll keep you full longer than your average pancake or waffle — and they come together in a snap using just your blender!
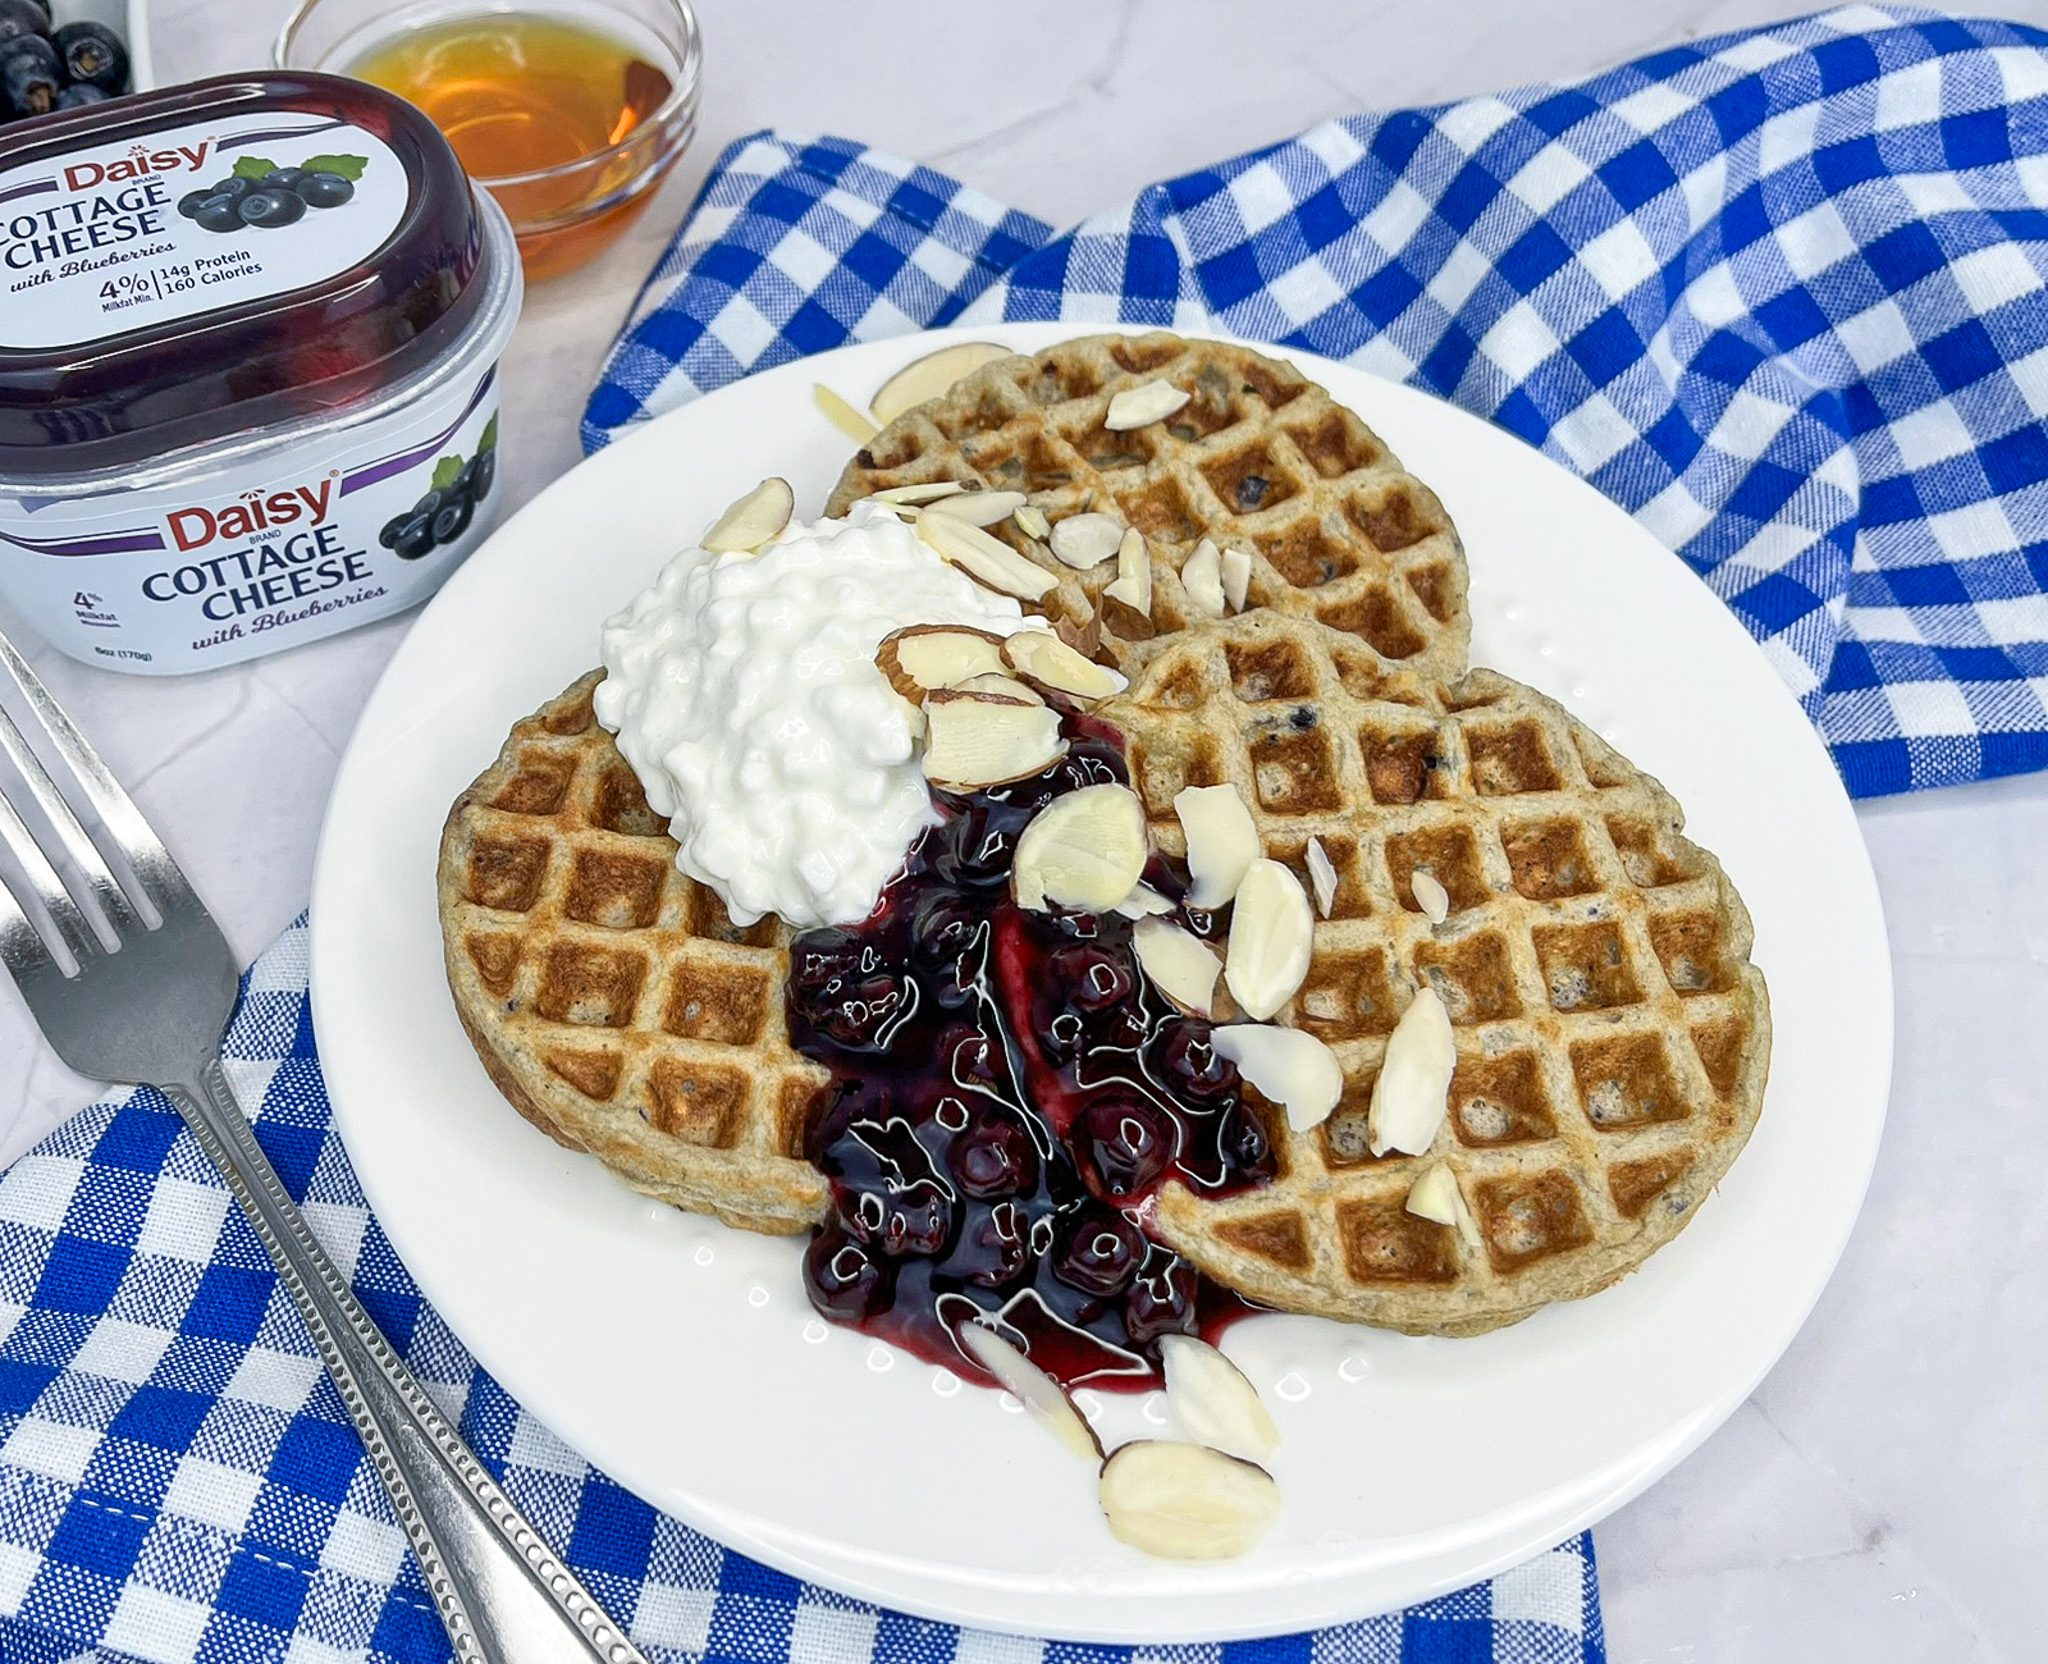
Best part? They’re totally customizable. Mix in your favorites — like dried fruit, applesauce, chopped nuts, or seeds. Try flavors like cinnamon-peach or blueberry and top them off with Daisy Cottage Cheese Singles with Fruit Toppings, fresh berries, sliced bananas, or a drizzle of syrup or honey.
Blender Waffle Ingredients
- Daisy Cottage Cheese (2/3 cup): Adds moisture, richness, and a solid protein boost to keep you full and satisfied.
- Eggs (2 large, separated): Help bind everything together and give the waffles structure and height.
- Vanilla Extract (1 teaspoon): Adds warm, classic flavor.
- Sugar (1 tablespoon): Just a touch for a hint of sweetness.
- Water (6 tablespoons): Helps thin the batter for the perfect pourable consistency.
- Oat Flour (1 cup): Adds fiber and helps create that crispy waffle texture with a subtle, nutty flavor.
- Baking Powder (1 teaspoon): Gives the waffles a fluffy rise.
Substitutions, Variations, and Tips
- Try almond extract in place of (or in addition to) vanilla for a flavor twist.
- Powdered or caster sugar can be used if regular sugar isn’t on hand.
- No oat flour? Make your own by blending rolled oats in a food processor or high-speed blender until finely ground.
- Want an extra protein punch? Add a scoop of protein powder (flavored or unflavored).
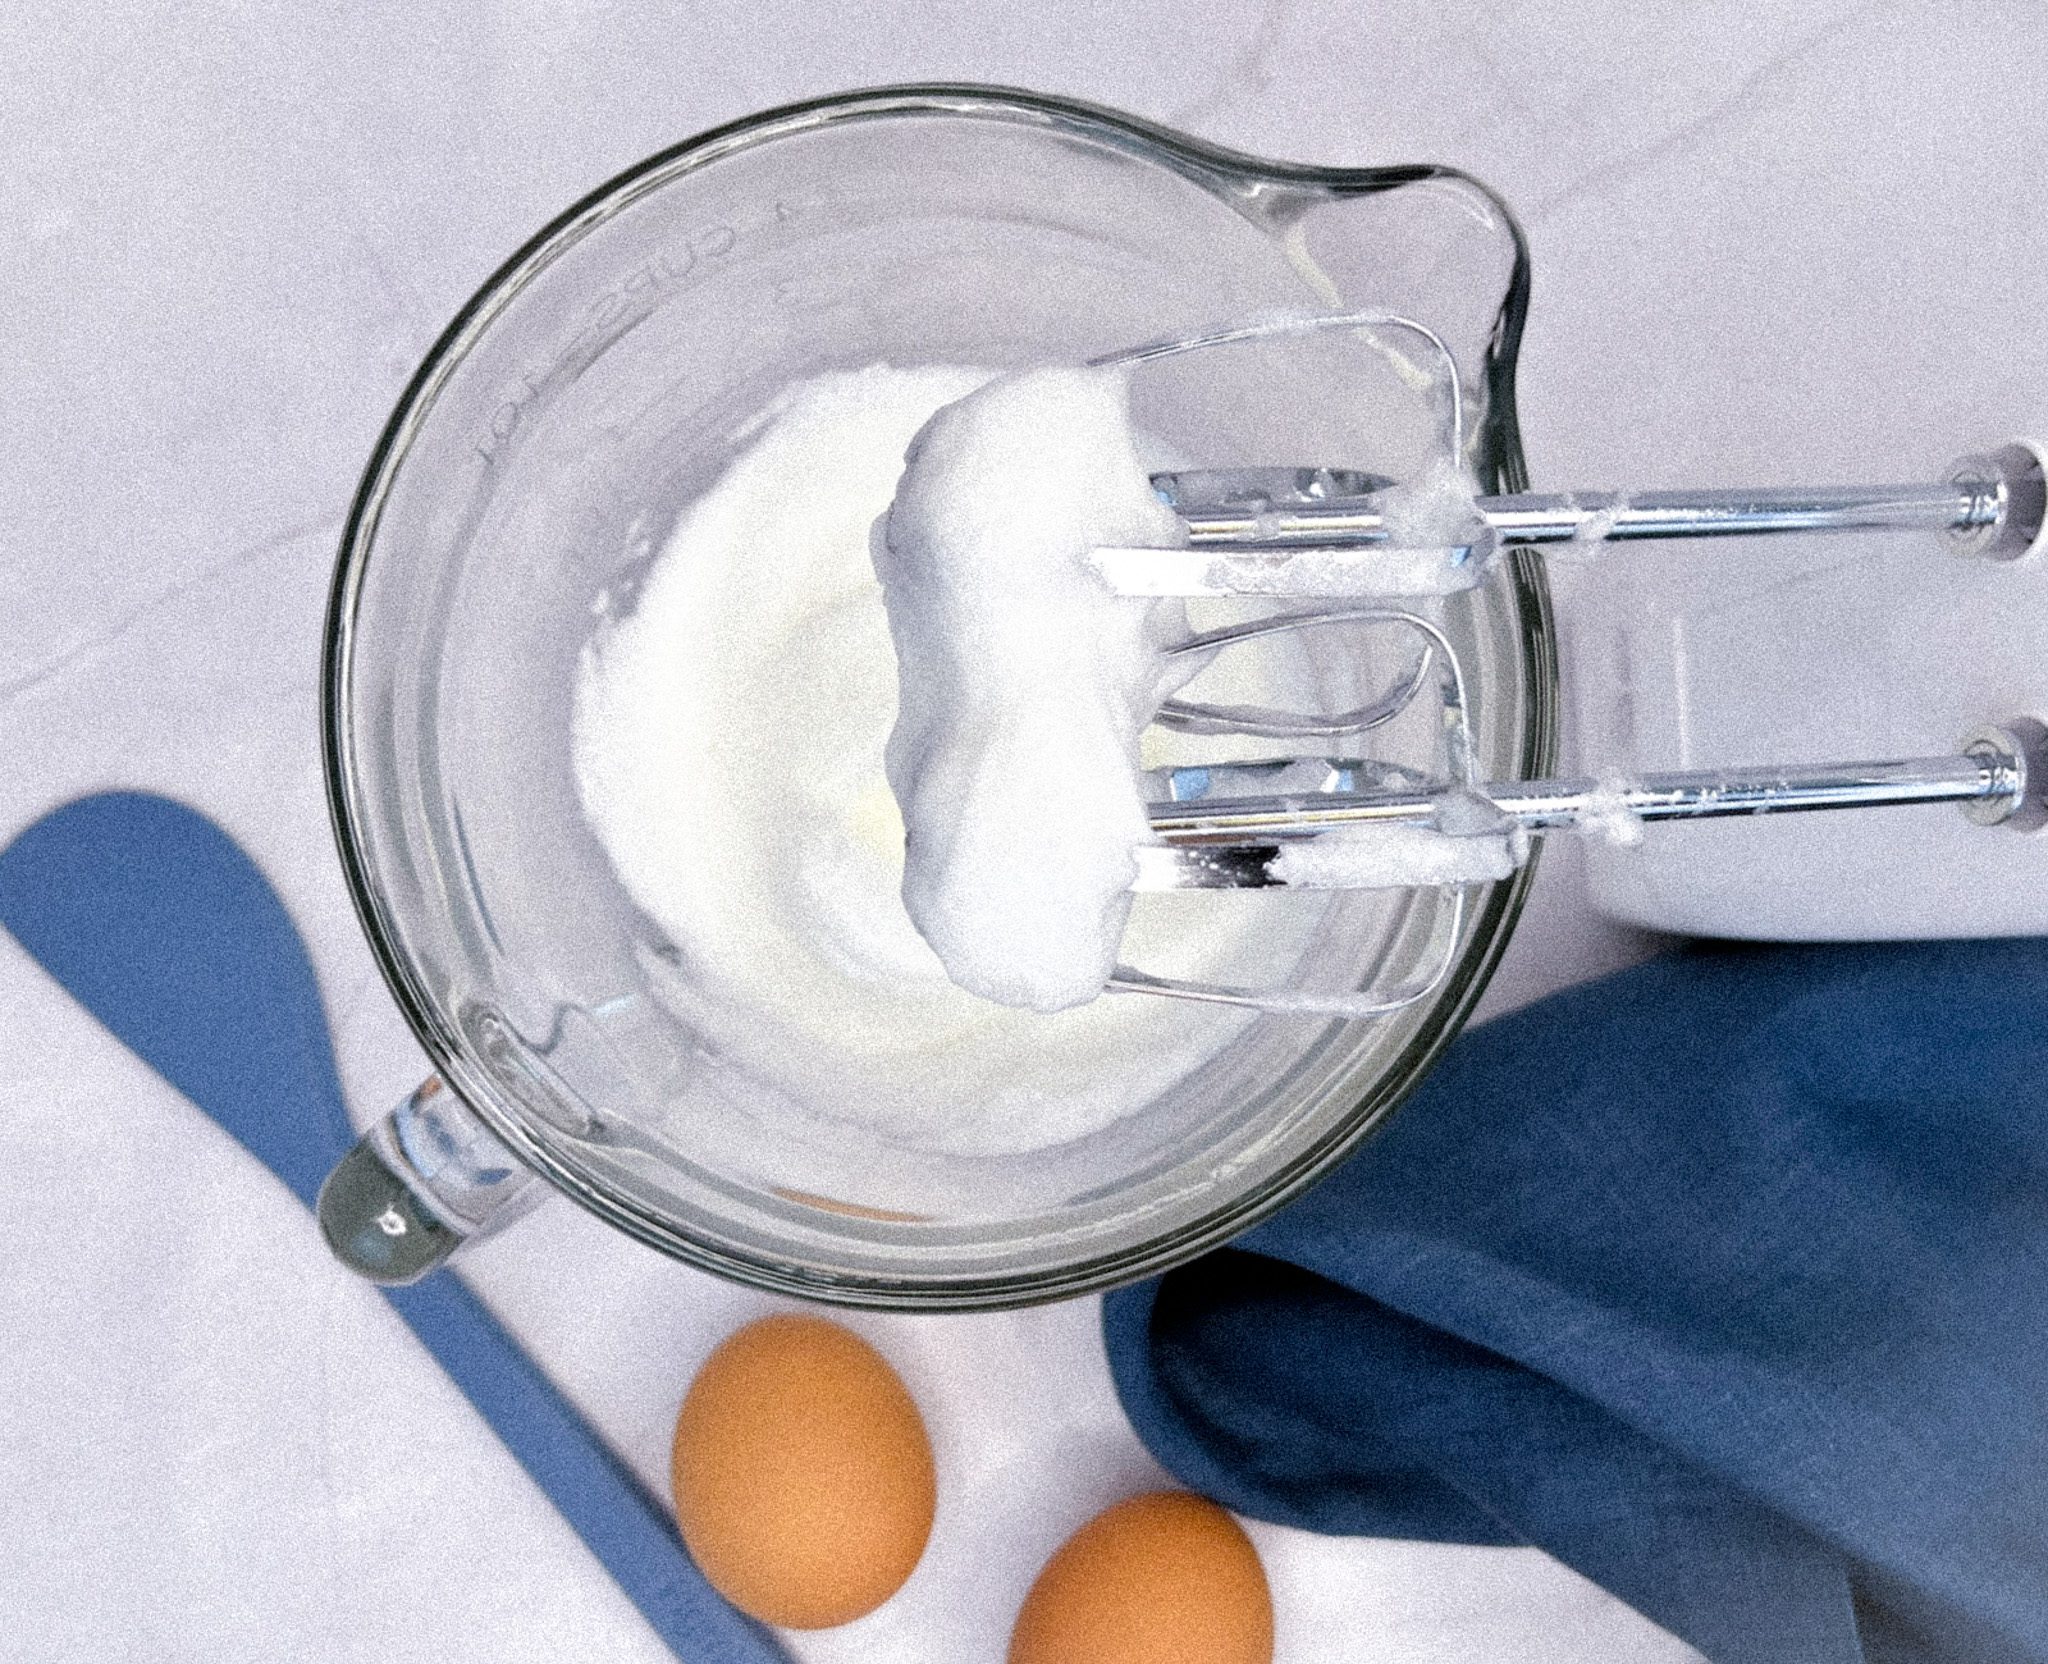
- Whip those egg whites! Room-temperature eggs whip better. Make sure your bowl and beaters are clean and dry. Start slow and then beat until soft peaks form for fluffier waffles.
- Preheat your waffle iron! If your waffles are too soft or pale, the iron may not be hot enough.
- Batch-cook and freeze: This recipe easily doubles or triples. Let waffles cool, then stack with parchment paper between each one in a zip-top freezer bag. Remove air and freeze for up to 6 months. Just pop in the toaster for a quick breakfast!
- Serve with avocado and tomato, fresh fruit, or even a dollop of cottage cheese for a protein-rich breakfast upgrade.
How to Make Blender Waffles
- Preheat your waffle iron on medium heat.
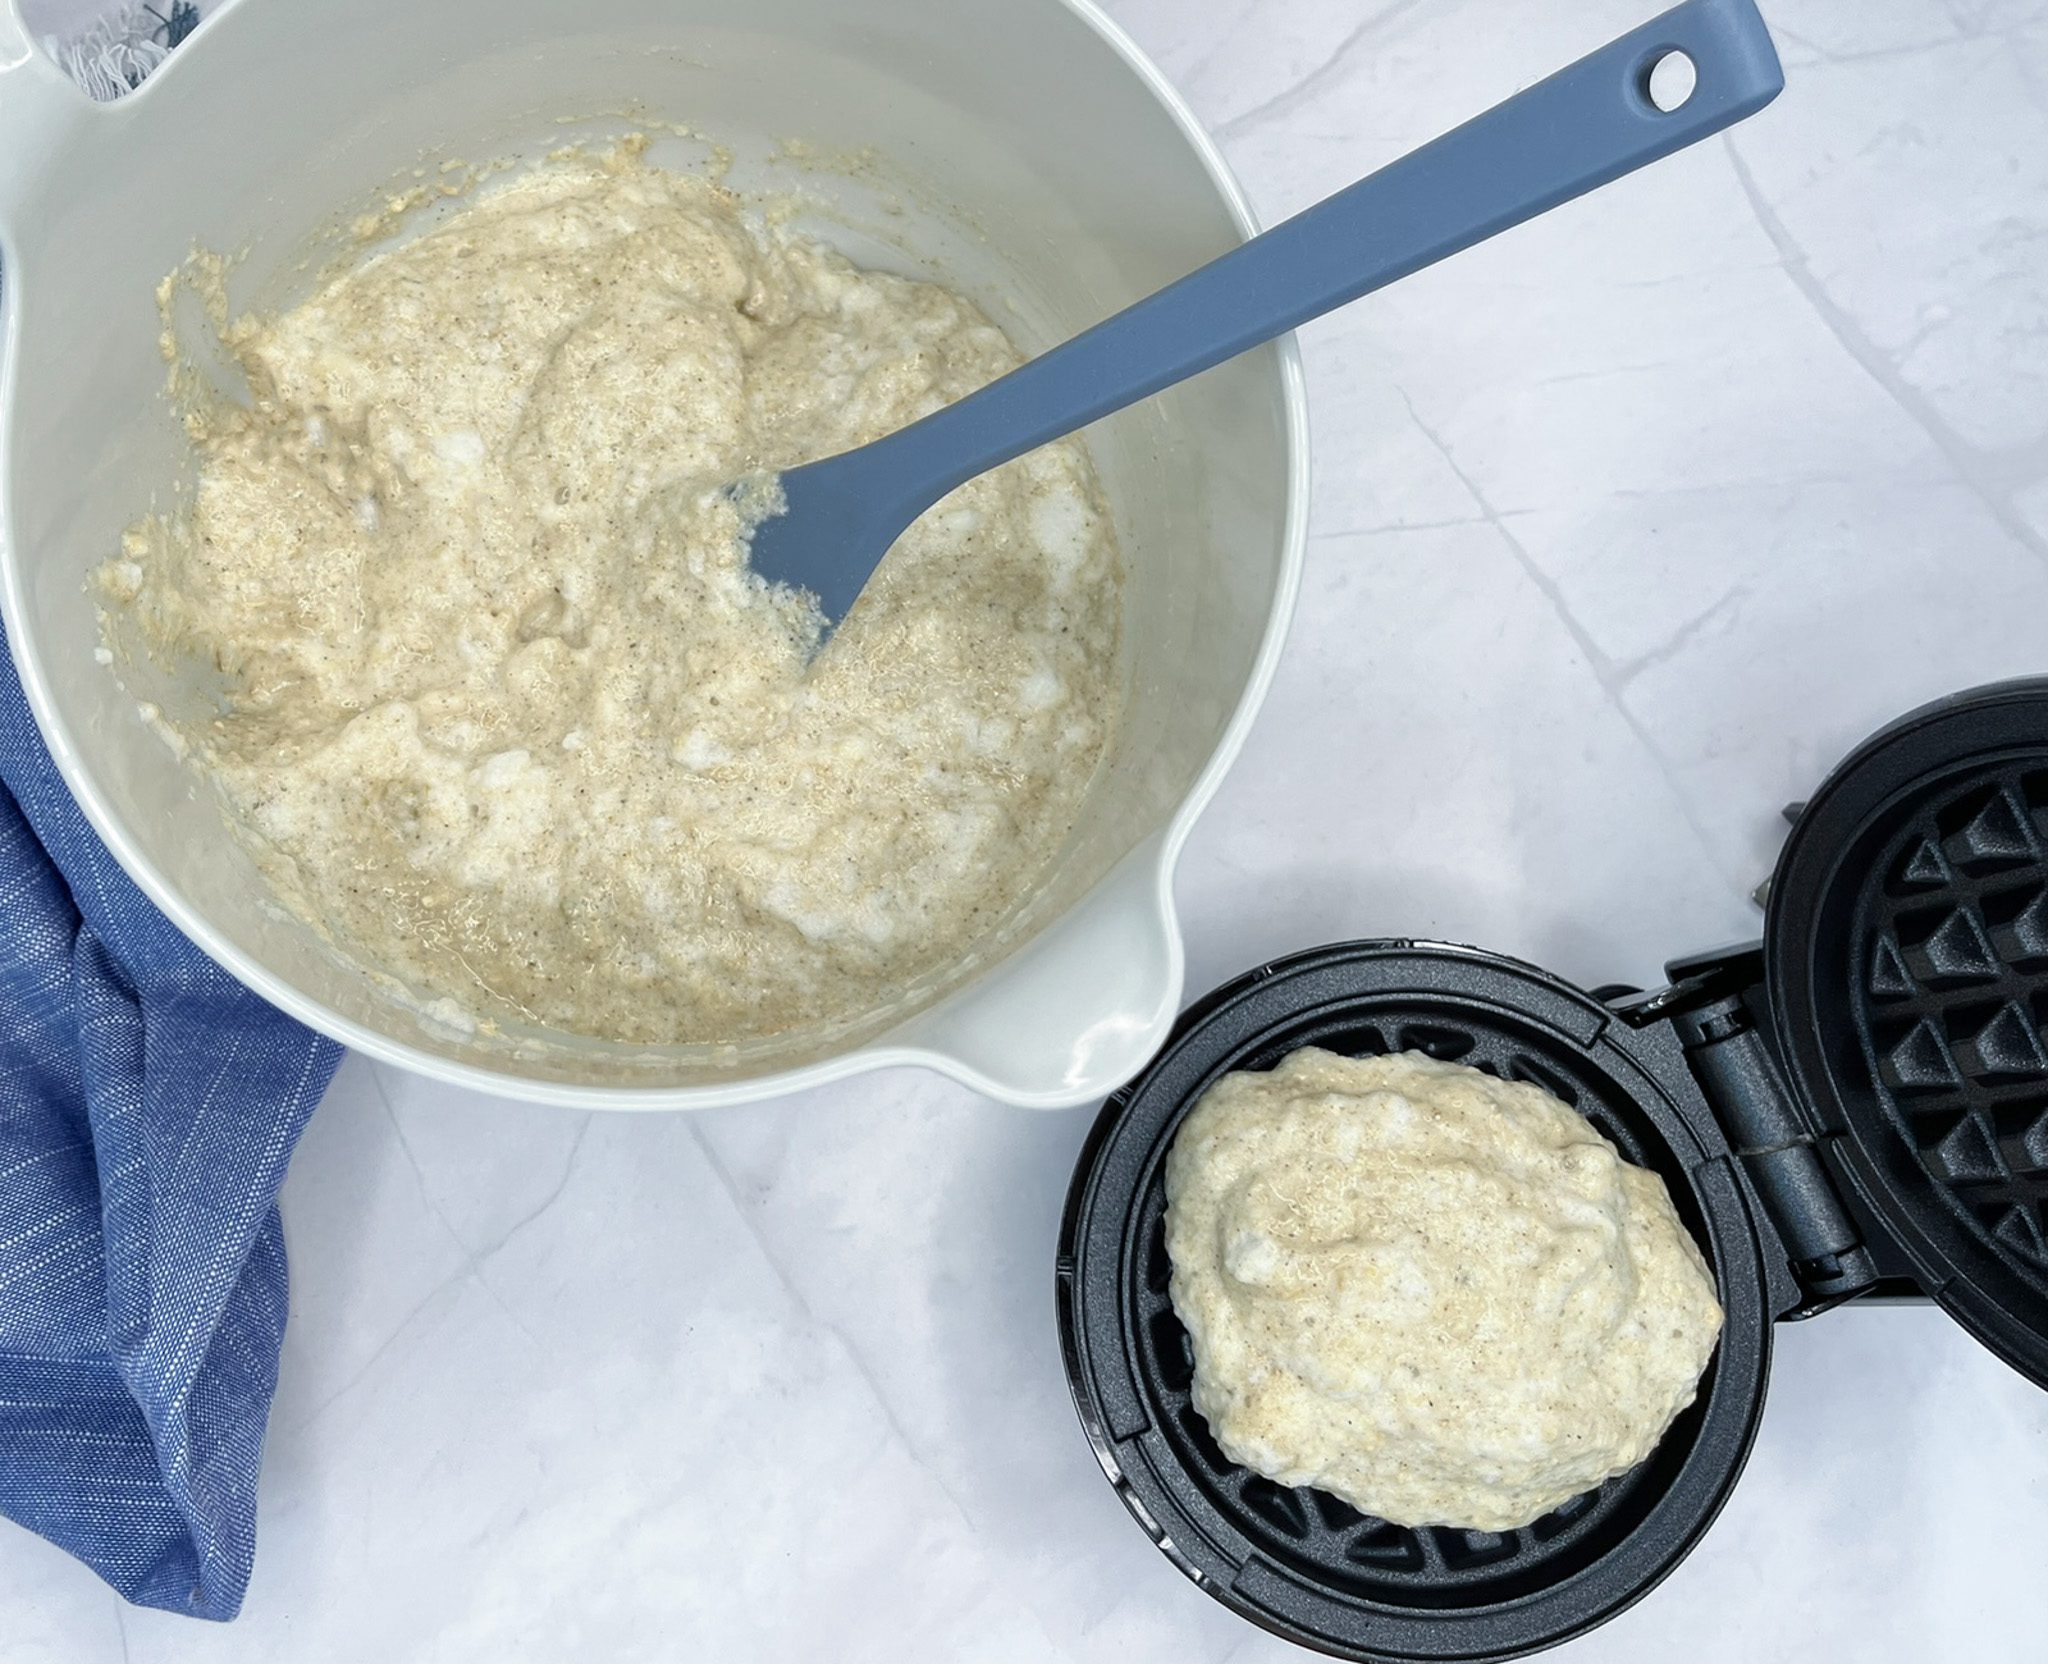
- In a blender, combine cottage cheese, egg yolks, vanilla, sugar, water, oat flour, and baking powder. Blend until smooth, then transfer to a mixing bowl.
- In a separate bowl, whip the egg whites to soft peaks. Gently fold them into the batter until fully combined with no streaks.
- Spray waffle iron with non-stick spray. Pour just under ½ cup of batter into the iron and cook until golden brown.
- Serve warm with your favorite toppings.
Feeling like a twist?
Try these waffles topped with Daisy Cottage Cheese Singles with Fruit Toppings for a fun and fruity protein boost!


Gluten-Free Peanut Butter Cookies
Gluten-Free Peanut Butter Cookies
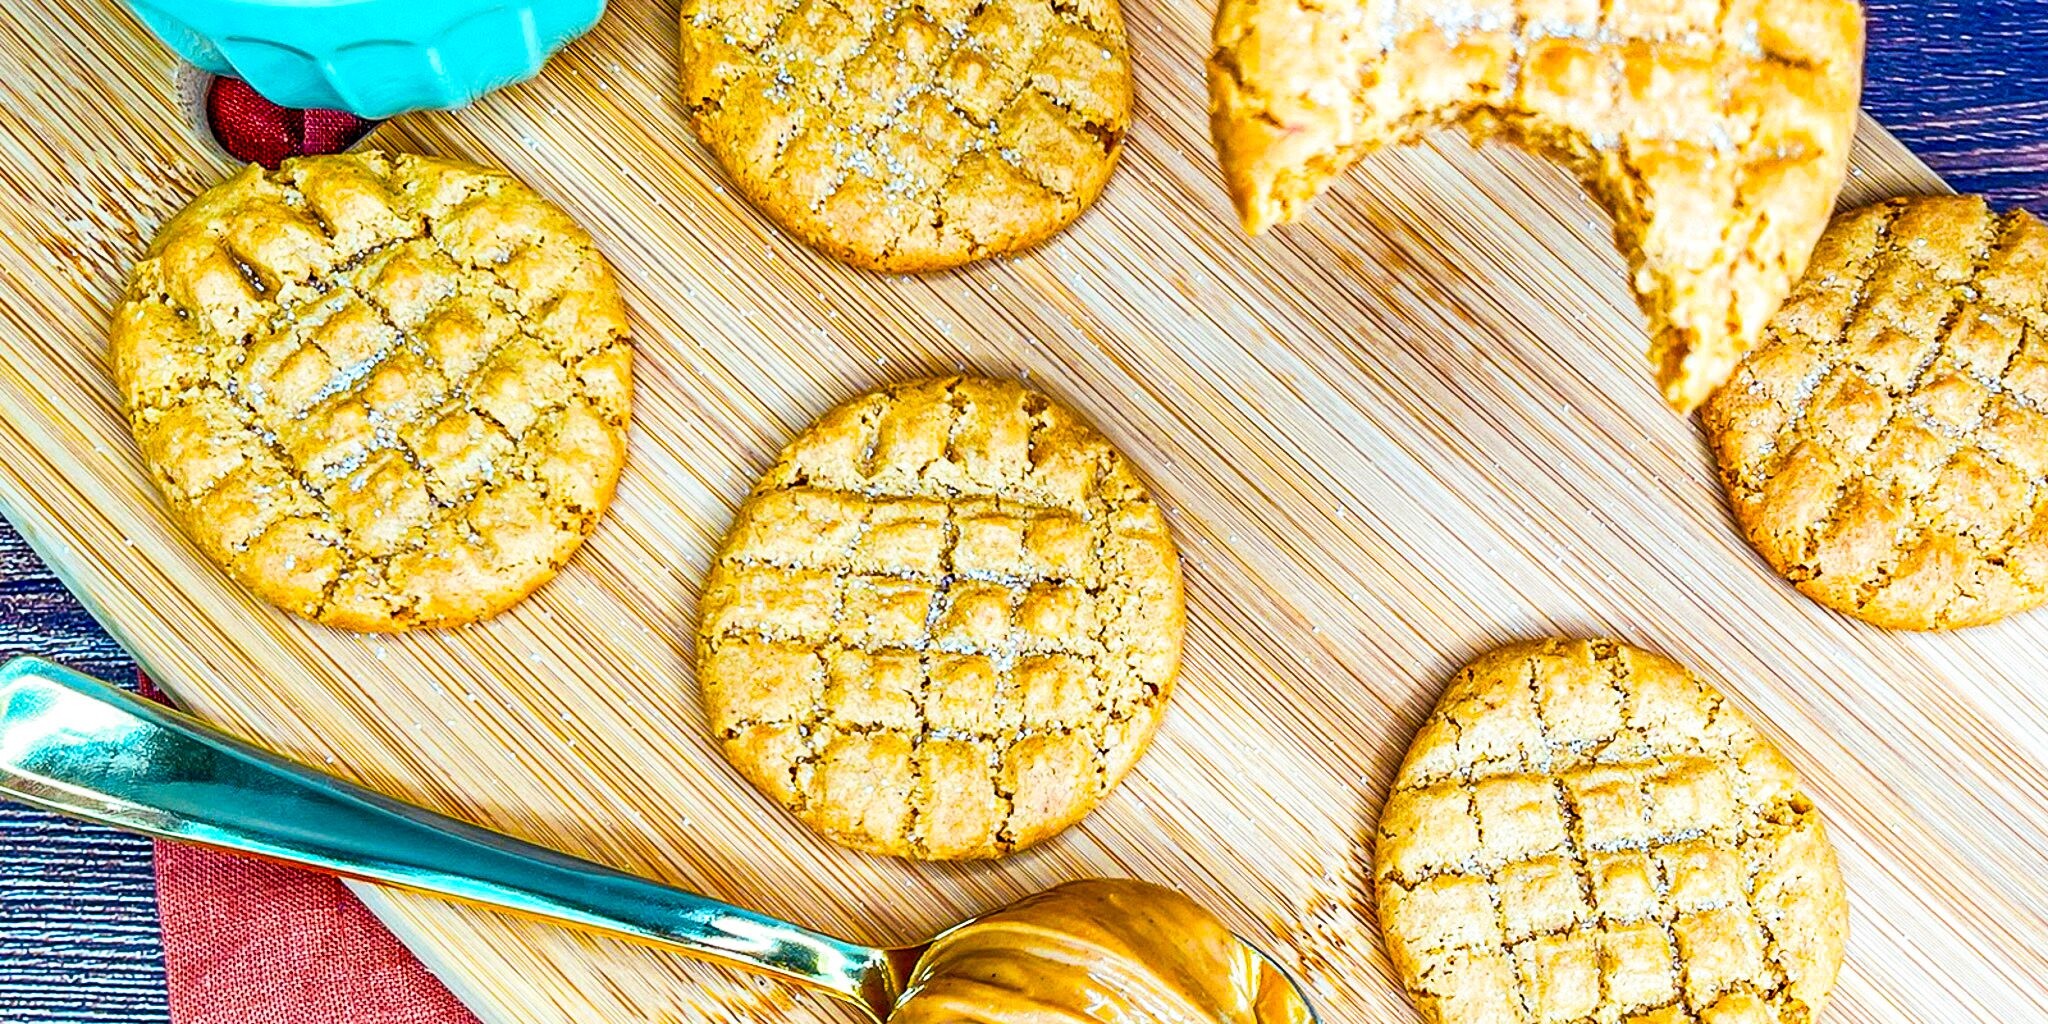
Chewy, rich peanut butter goodness? Yes, please! These Gluten-Free Peanut Butter Cookies are so craveable that you won’t be able to eat just one. Ready in just 20 minutes, chewy, peanut buttery perfection is only moments away. Enjoy with a cold glass of milk today!
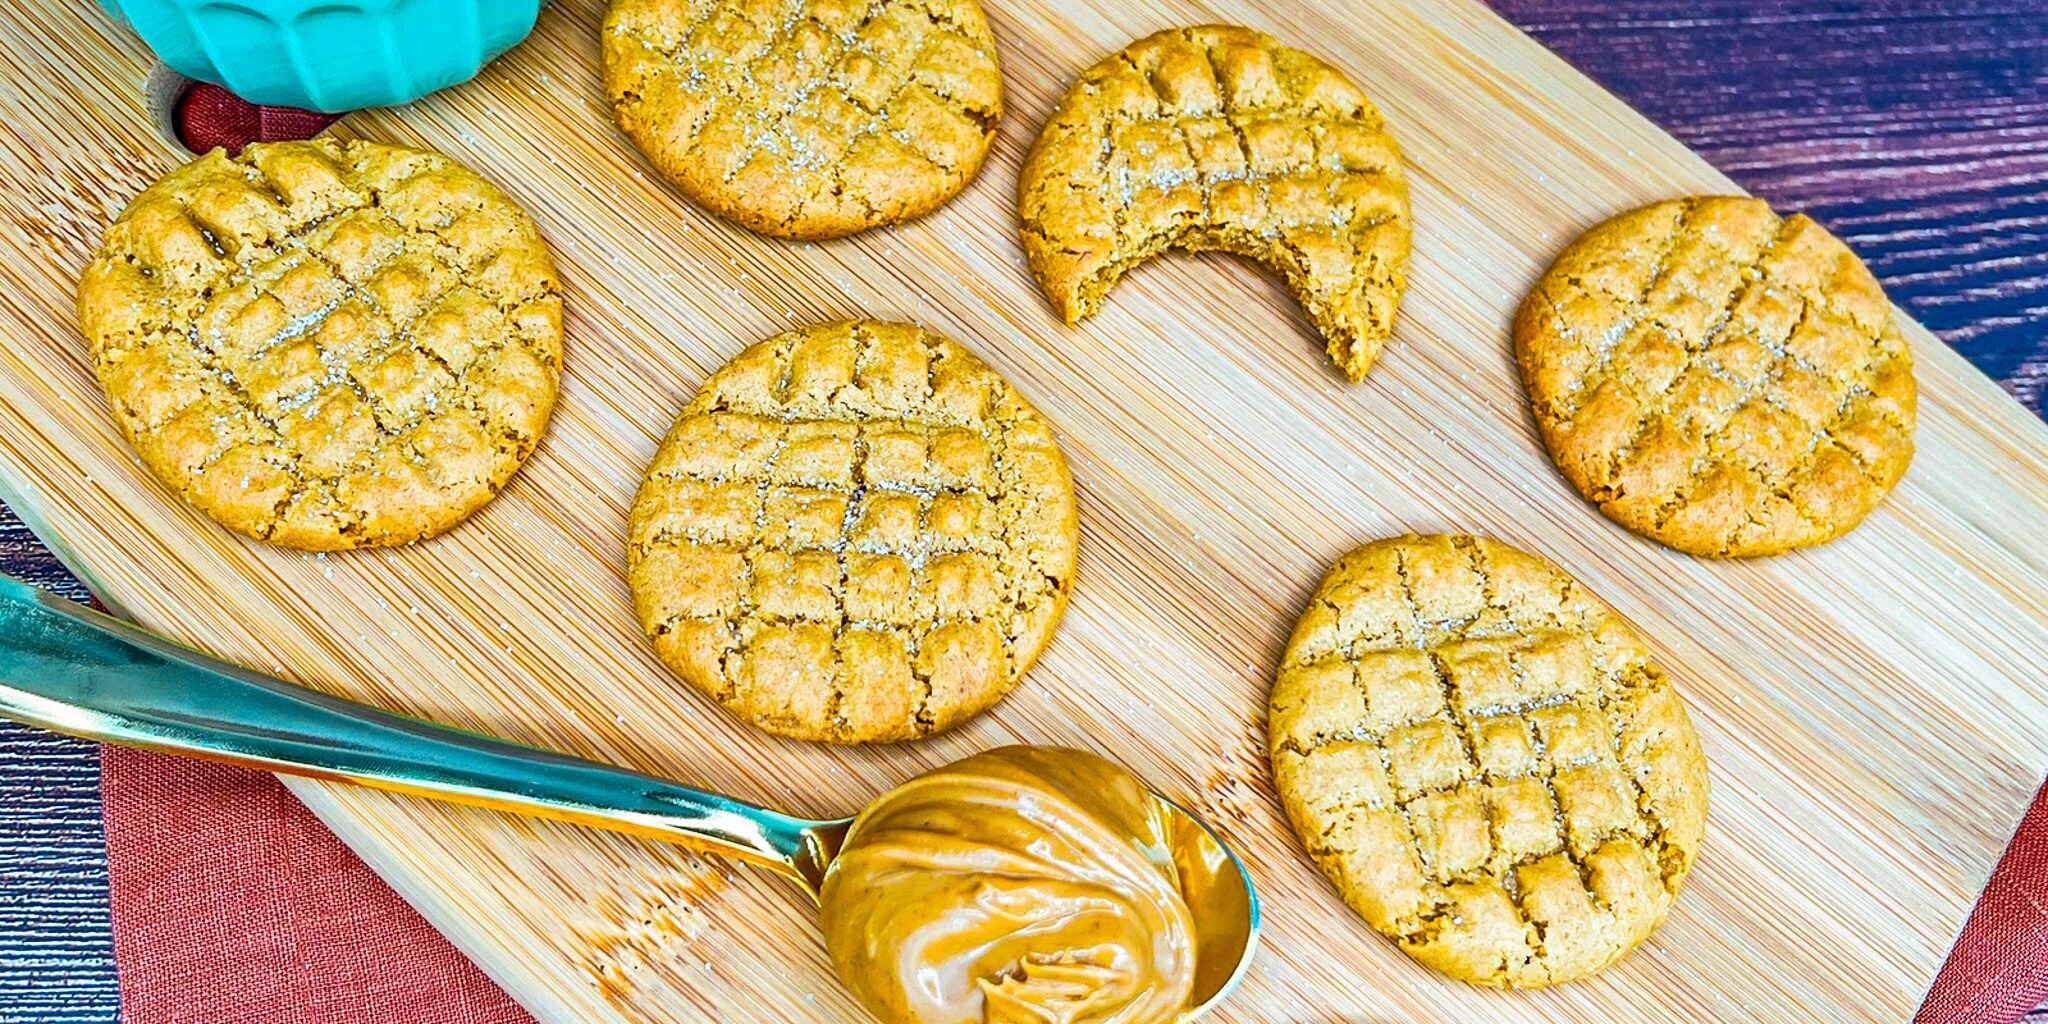
Packed with peanut butter flavor and added protein from blended cottage cheese, these cookies contain only five ingredients and are perfect for those with dietary restrictions. They’re healthier than many traditional cookies thanks to the nutritional value of both the cottage cheese and the peanut butter — yet they still taste like they came straight from a decadent bakery.
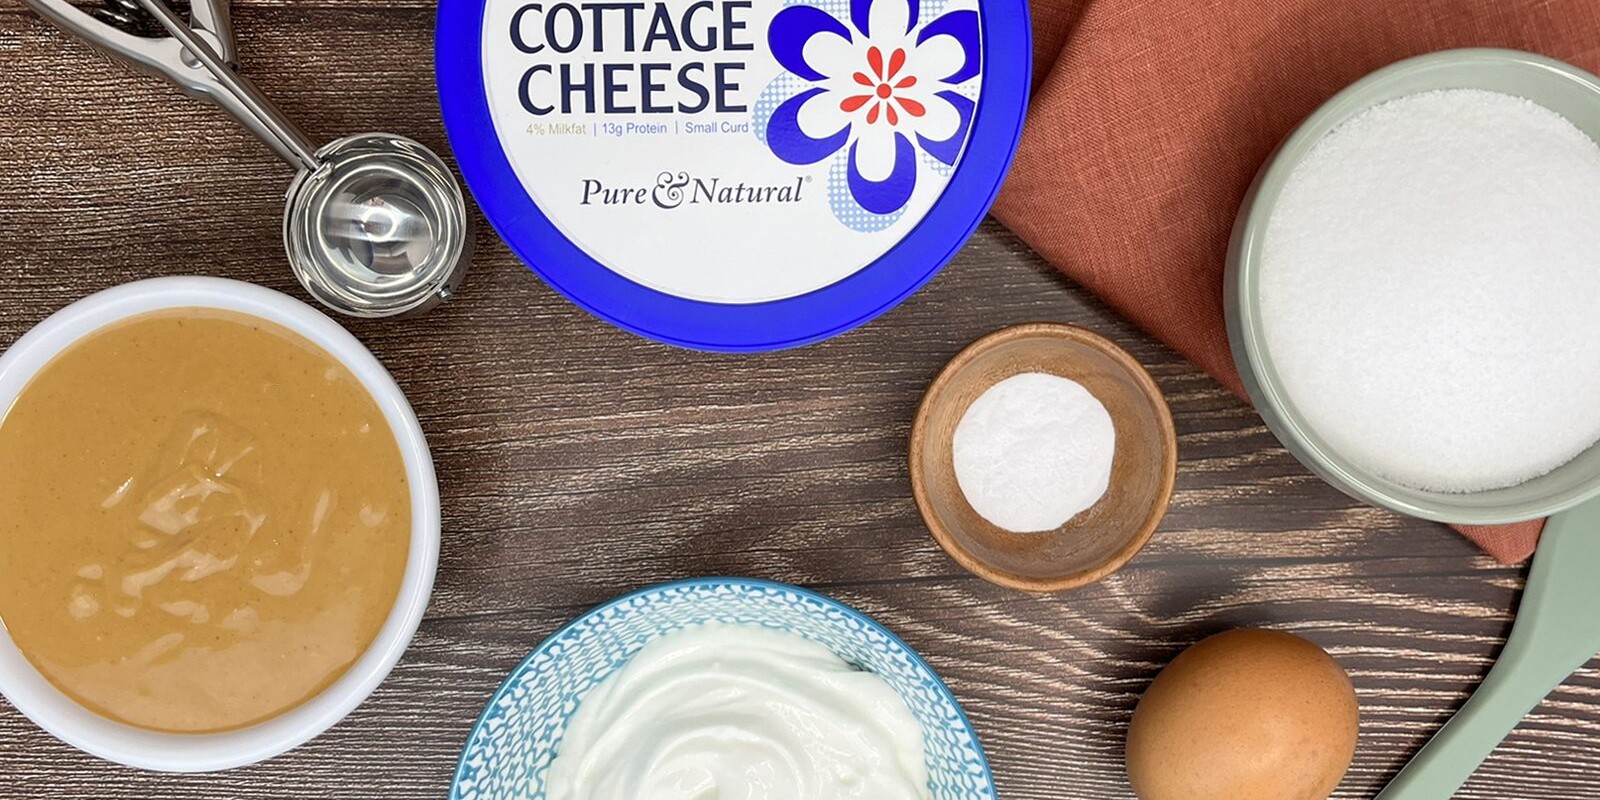
Gluten-Free Peanut Butter Cookie Ingredients
- Peanut Butter (1 cup): Provides flavor and structure. Combined with the other ingredients, it creates chewy cookies.
- Sugar (1 cup): Adds sweetness to the cookies.
- Egg (1 large, beaten): Acts as a binder, helping hold the ingredients together. It also adds structure and a bit of lift.
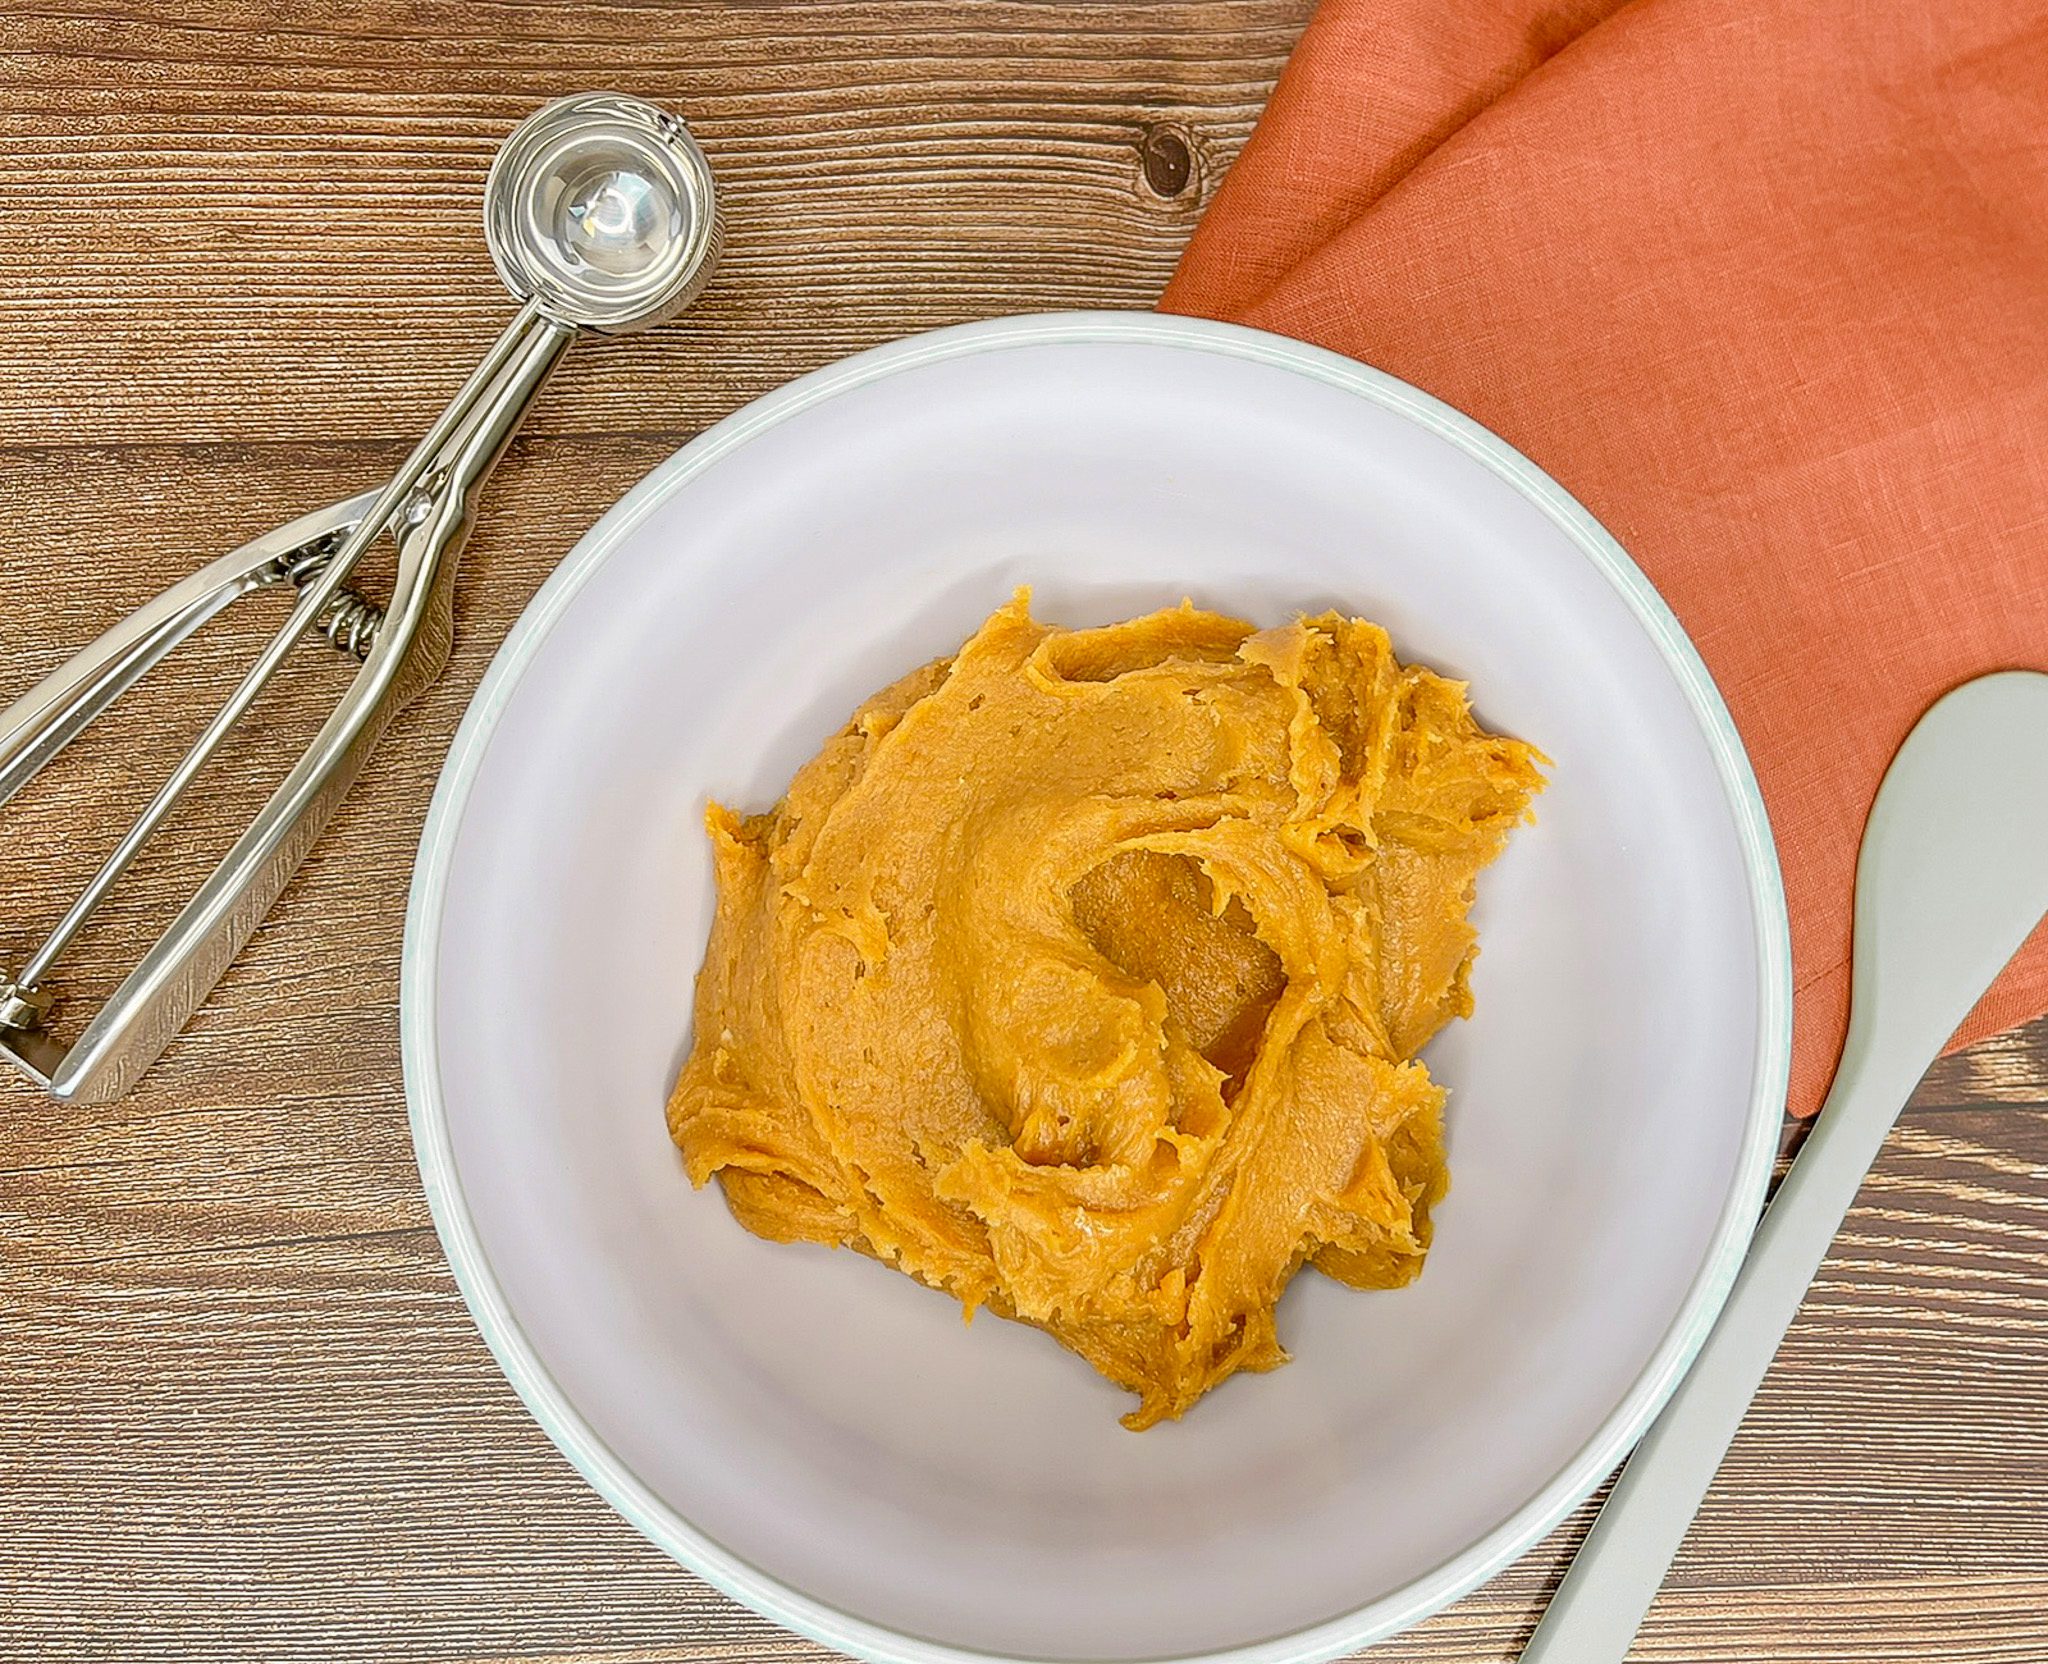
- Daisy Cottage Cheese (1/2 cup): Adds moistness, richness, and protein to the cookies.
- Baking Soda (1 teaspoon): The primary leavening agent; it adds volume and height to the cookies.
Substitutions, Variations, and Tips
- For best results, bring all ingredients to room temperature before mixing, and use high-quality ingredients.
- Both creamy and crunchy peanut butter work well in this recipe.
- Other nut butters (like almond or cashew butter) may be used in place of peanut butter.
- Customize your cookies by adding mix-ins such as chocolate chips or peanut butter candies.
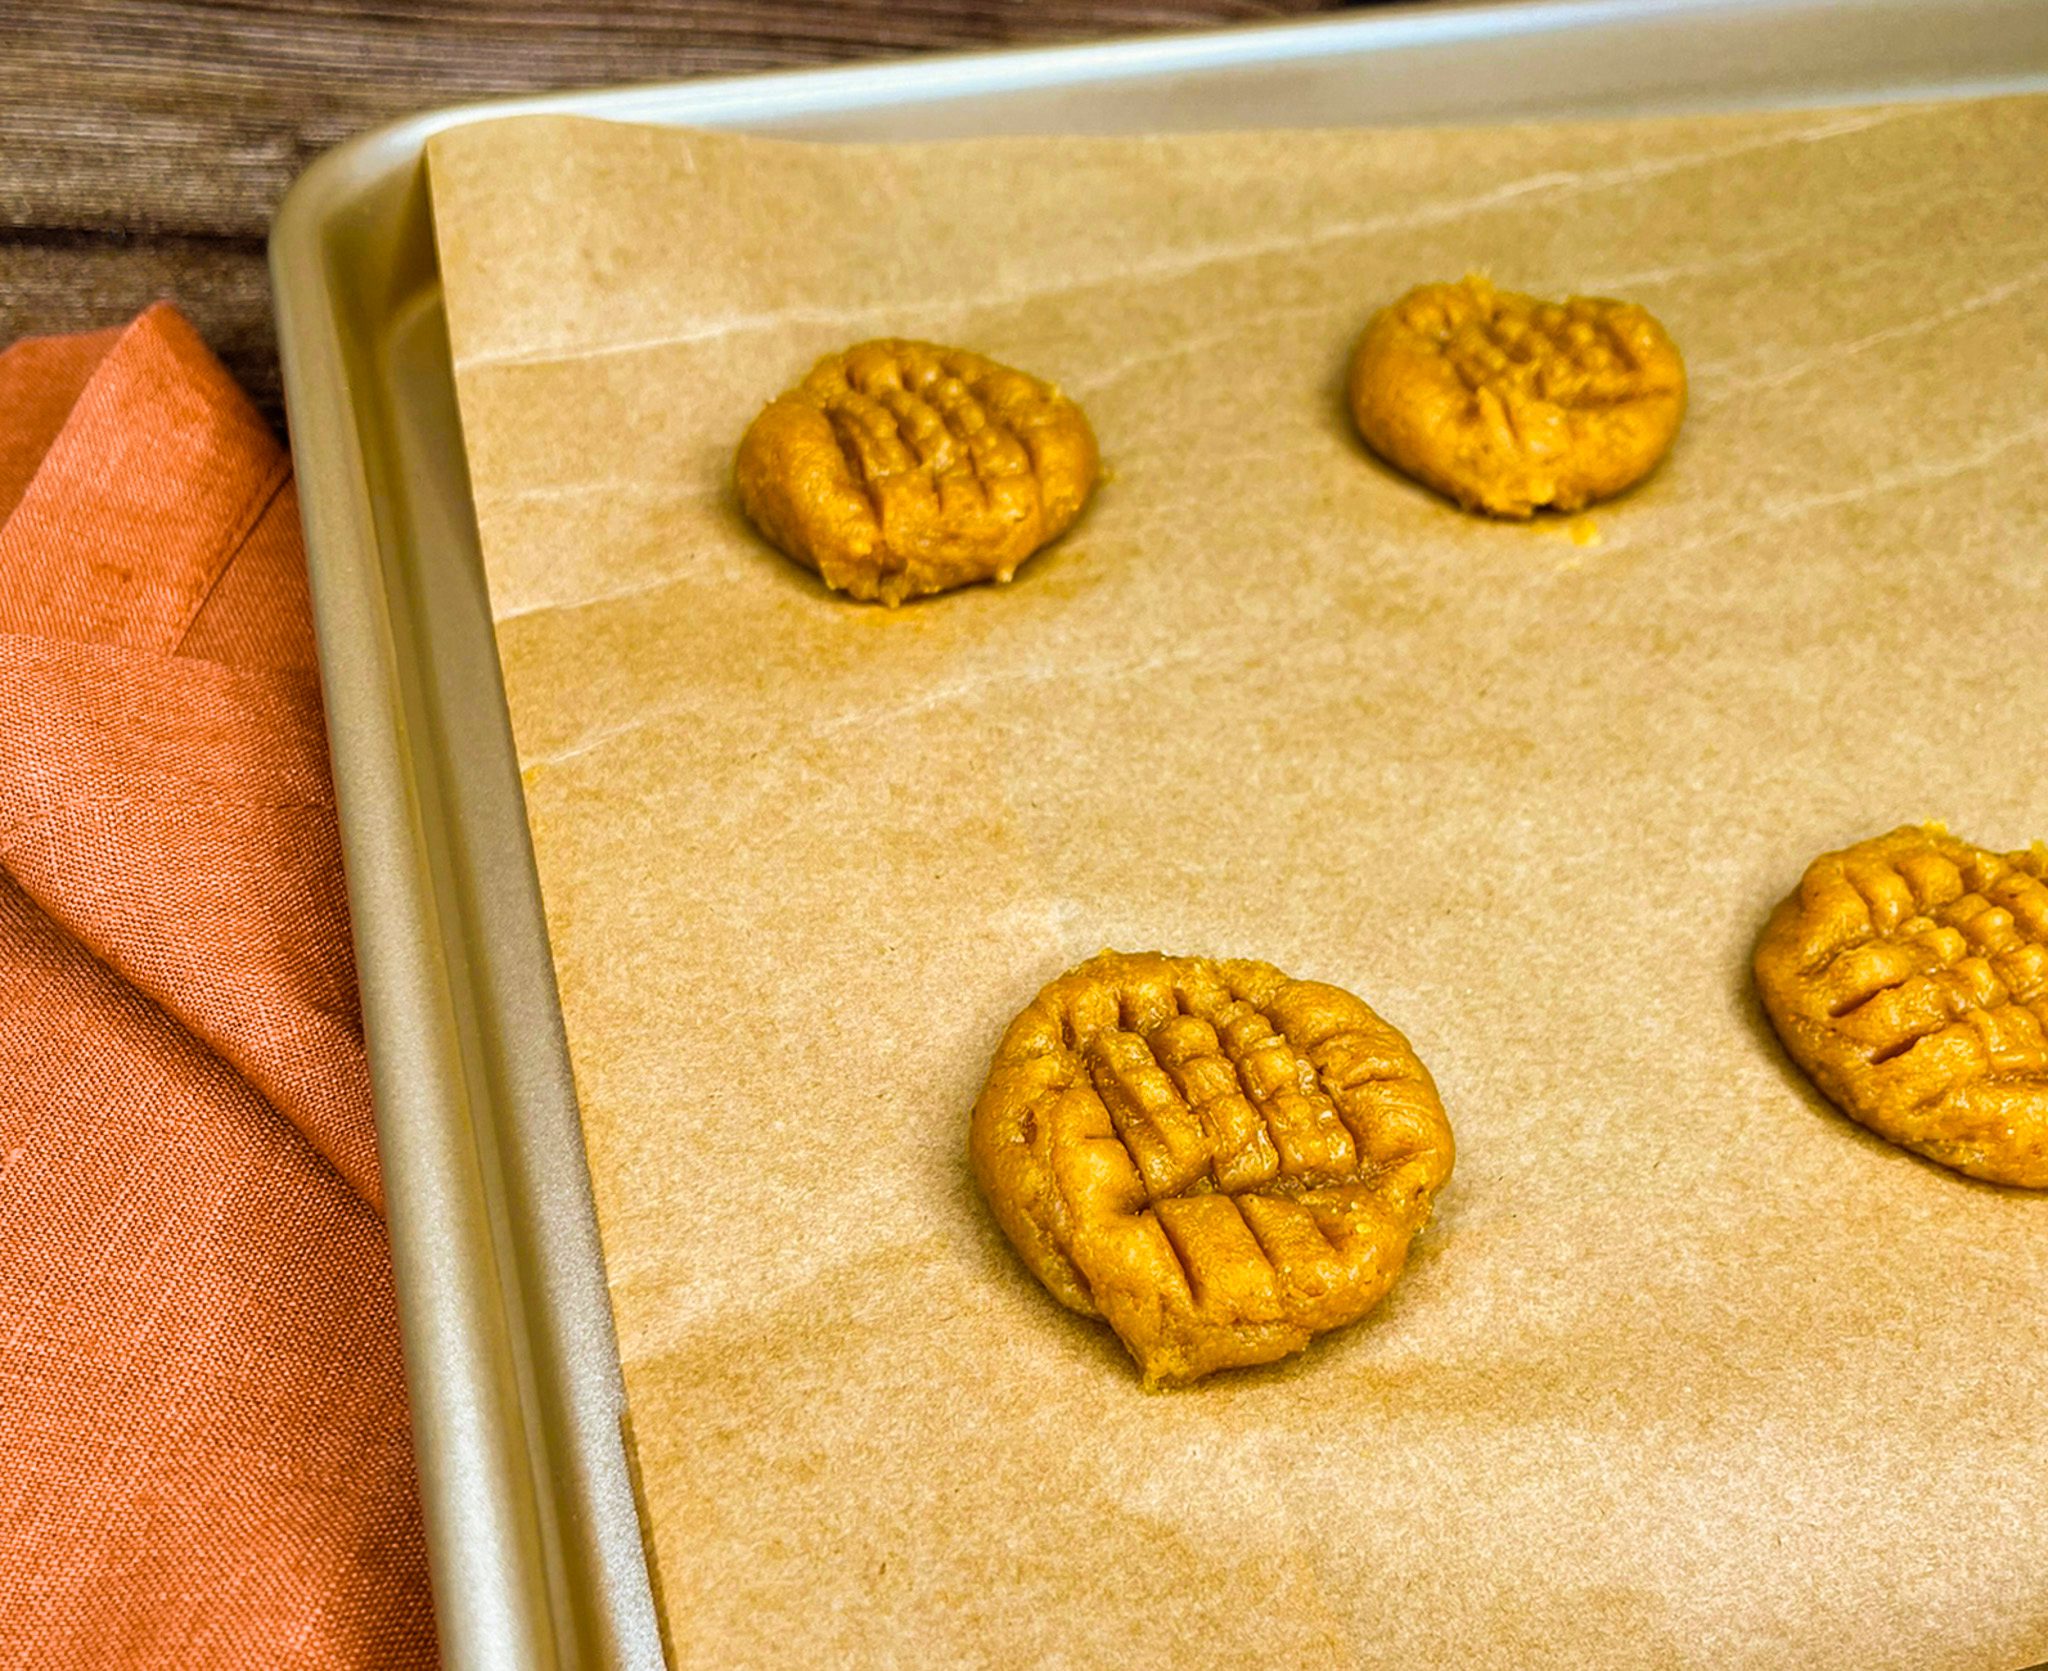
- To create the iconic crisscross pattern, use a cold fork to gently press down on the dough balls before baking.
- For an extra-special touch, sprinkle coarse sugar on top after making the crisscross pattern.
- For a flavor twist, roll dough balls in a cinnamon-sugar mixture before baking. To make the mixture, combine ½ cup sugar and 2 tablespoons cinnamon. Store any leftovers in an airtight container.
- Store baked cookies in an airtight container for up to five days.
- To freeze, roll dough into balls and flash-freeze on a baking sheet. Then transfer to a zip-top bag with as much air removed as possible. Freeze for up to six months. Thaw in the refrigerator or bake from frozen — just follow the recipe’s baking directions.
How to Make Gluten-Free Peanut Butter Cookies
- Preheat oven to 350°F. Line baking sheets with parchment paper.
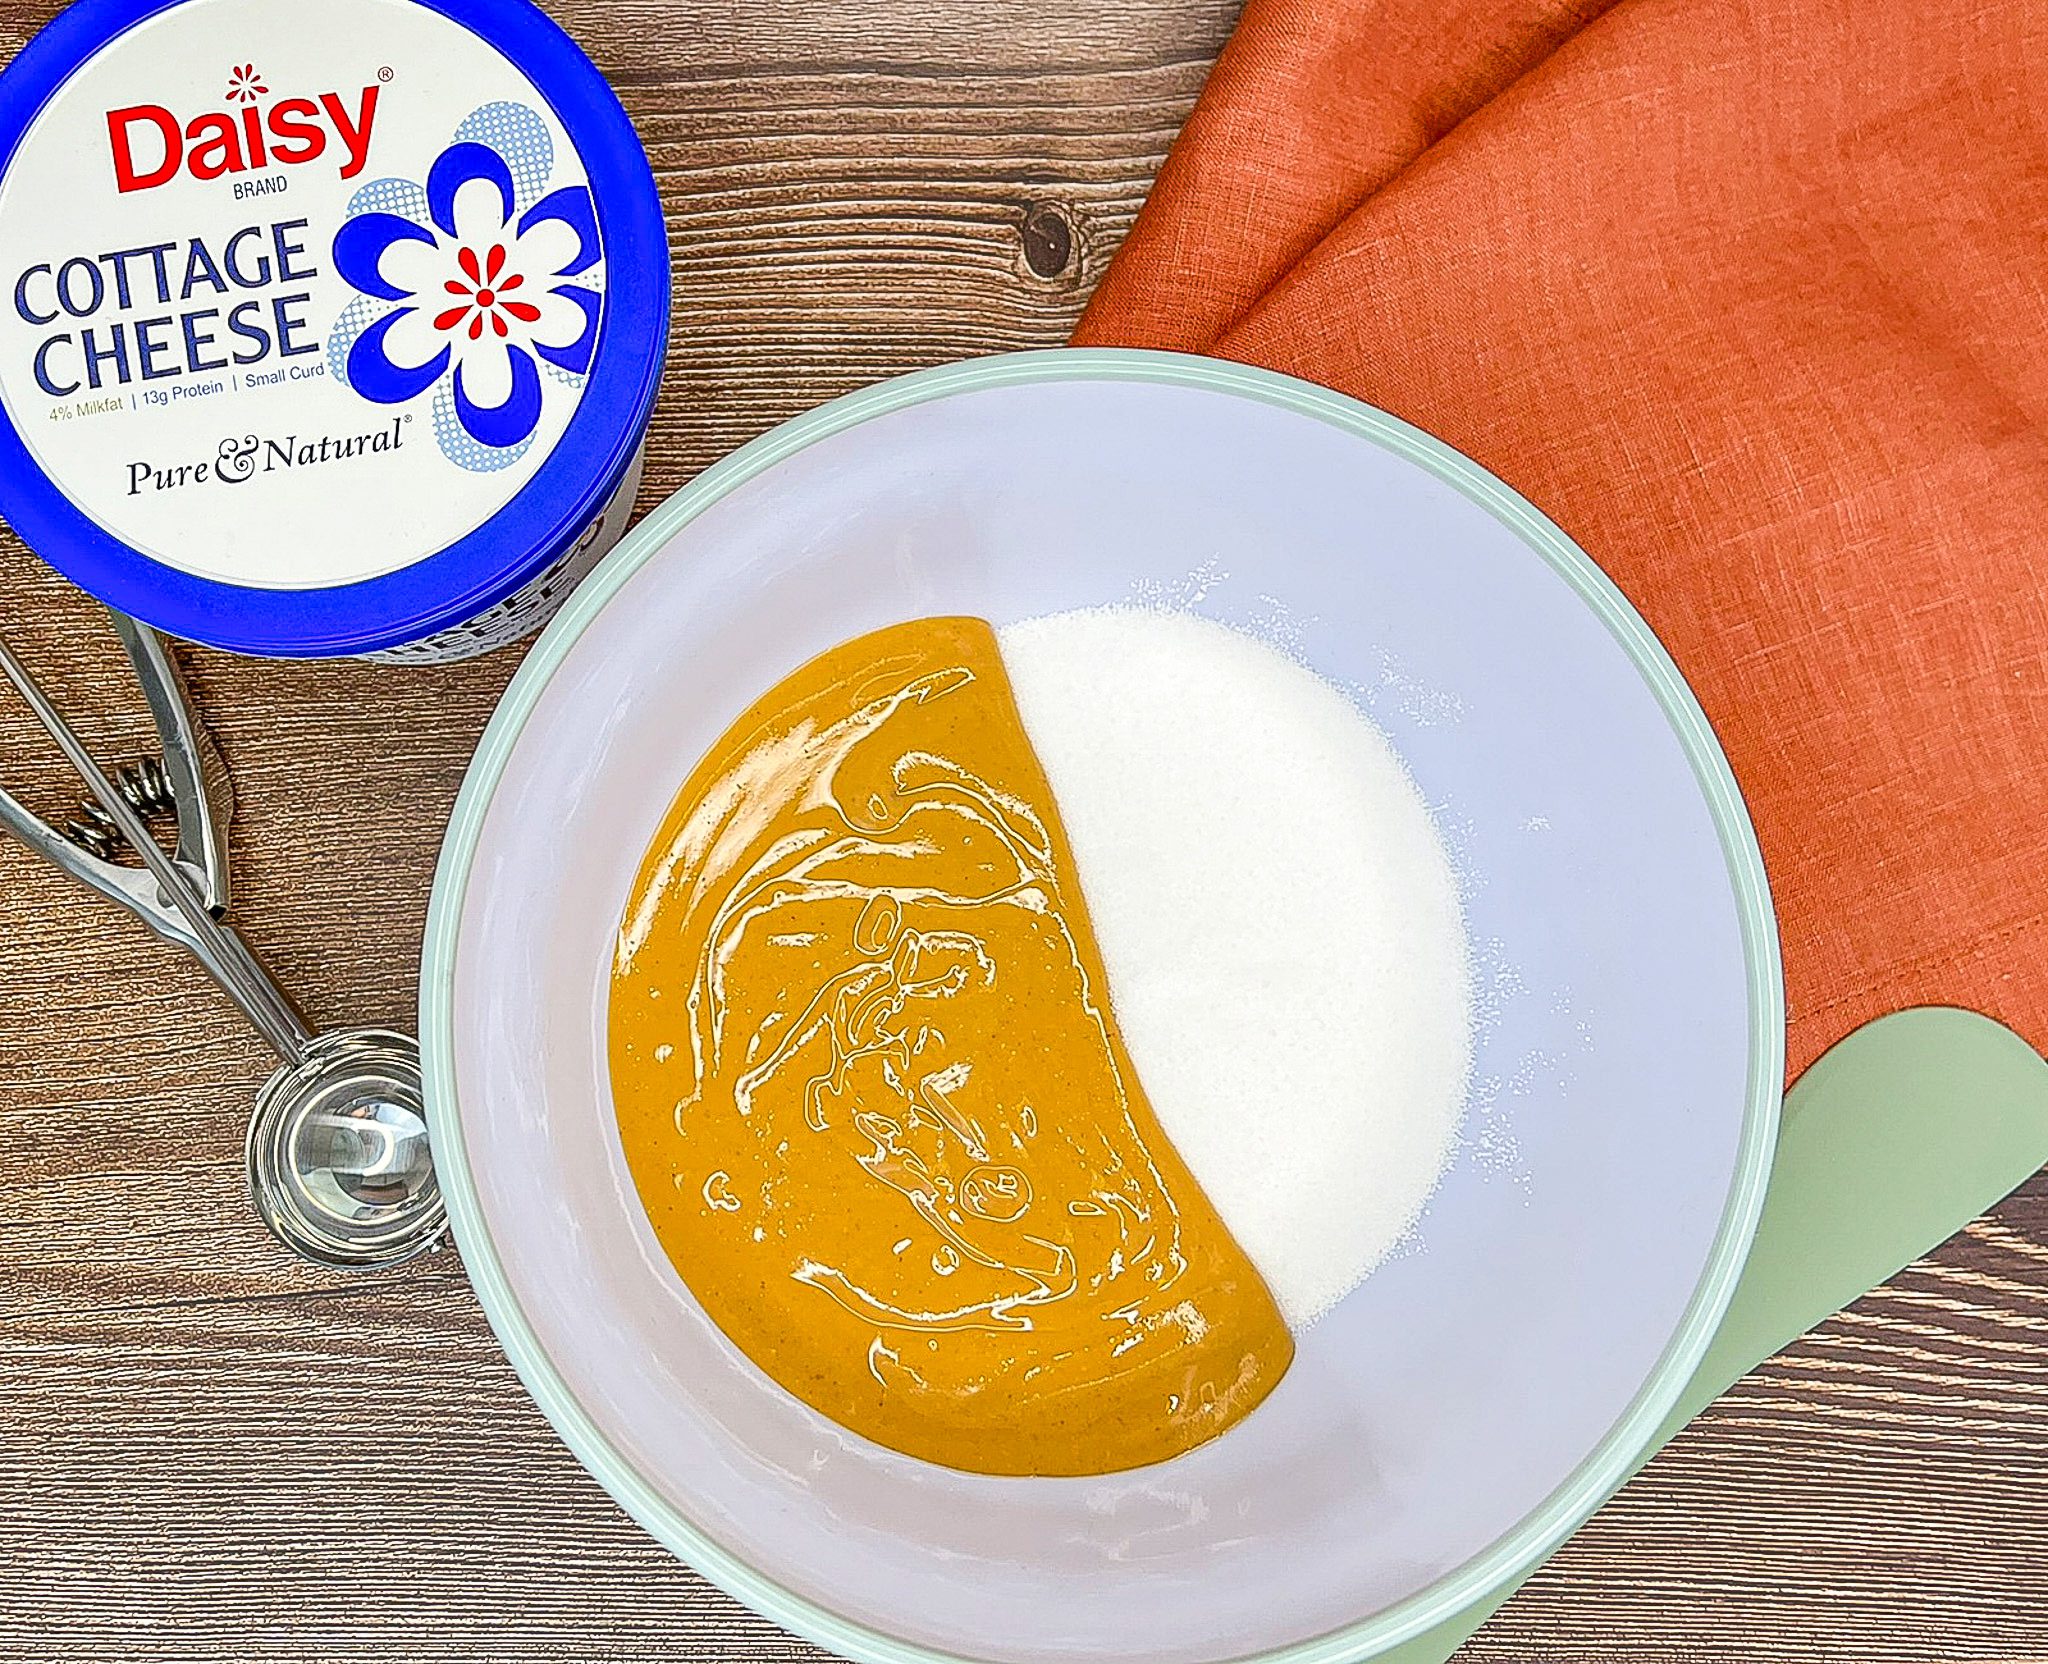
- Beat peanut butter and sugar together with an electric mixer until smooth.
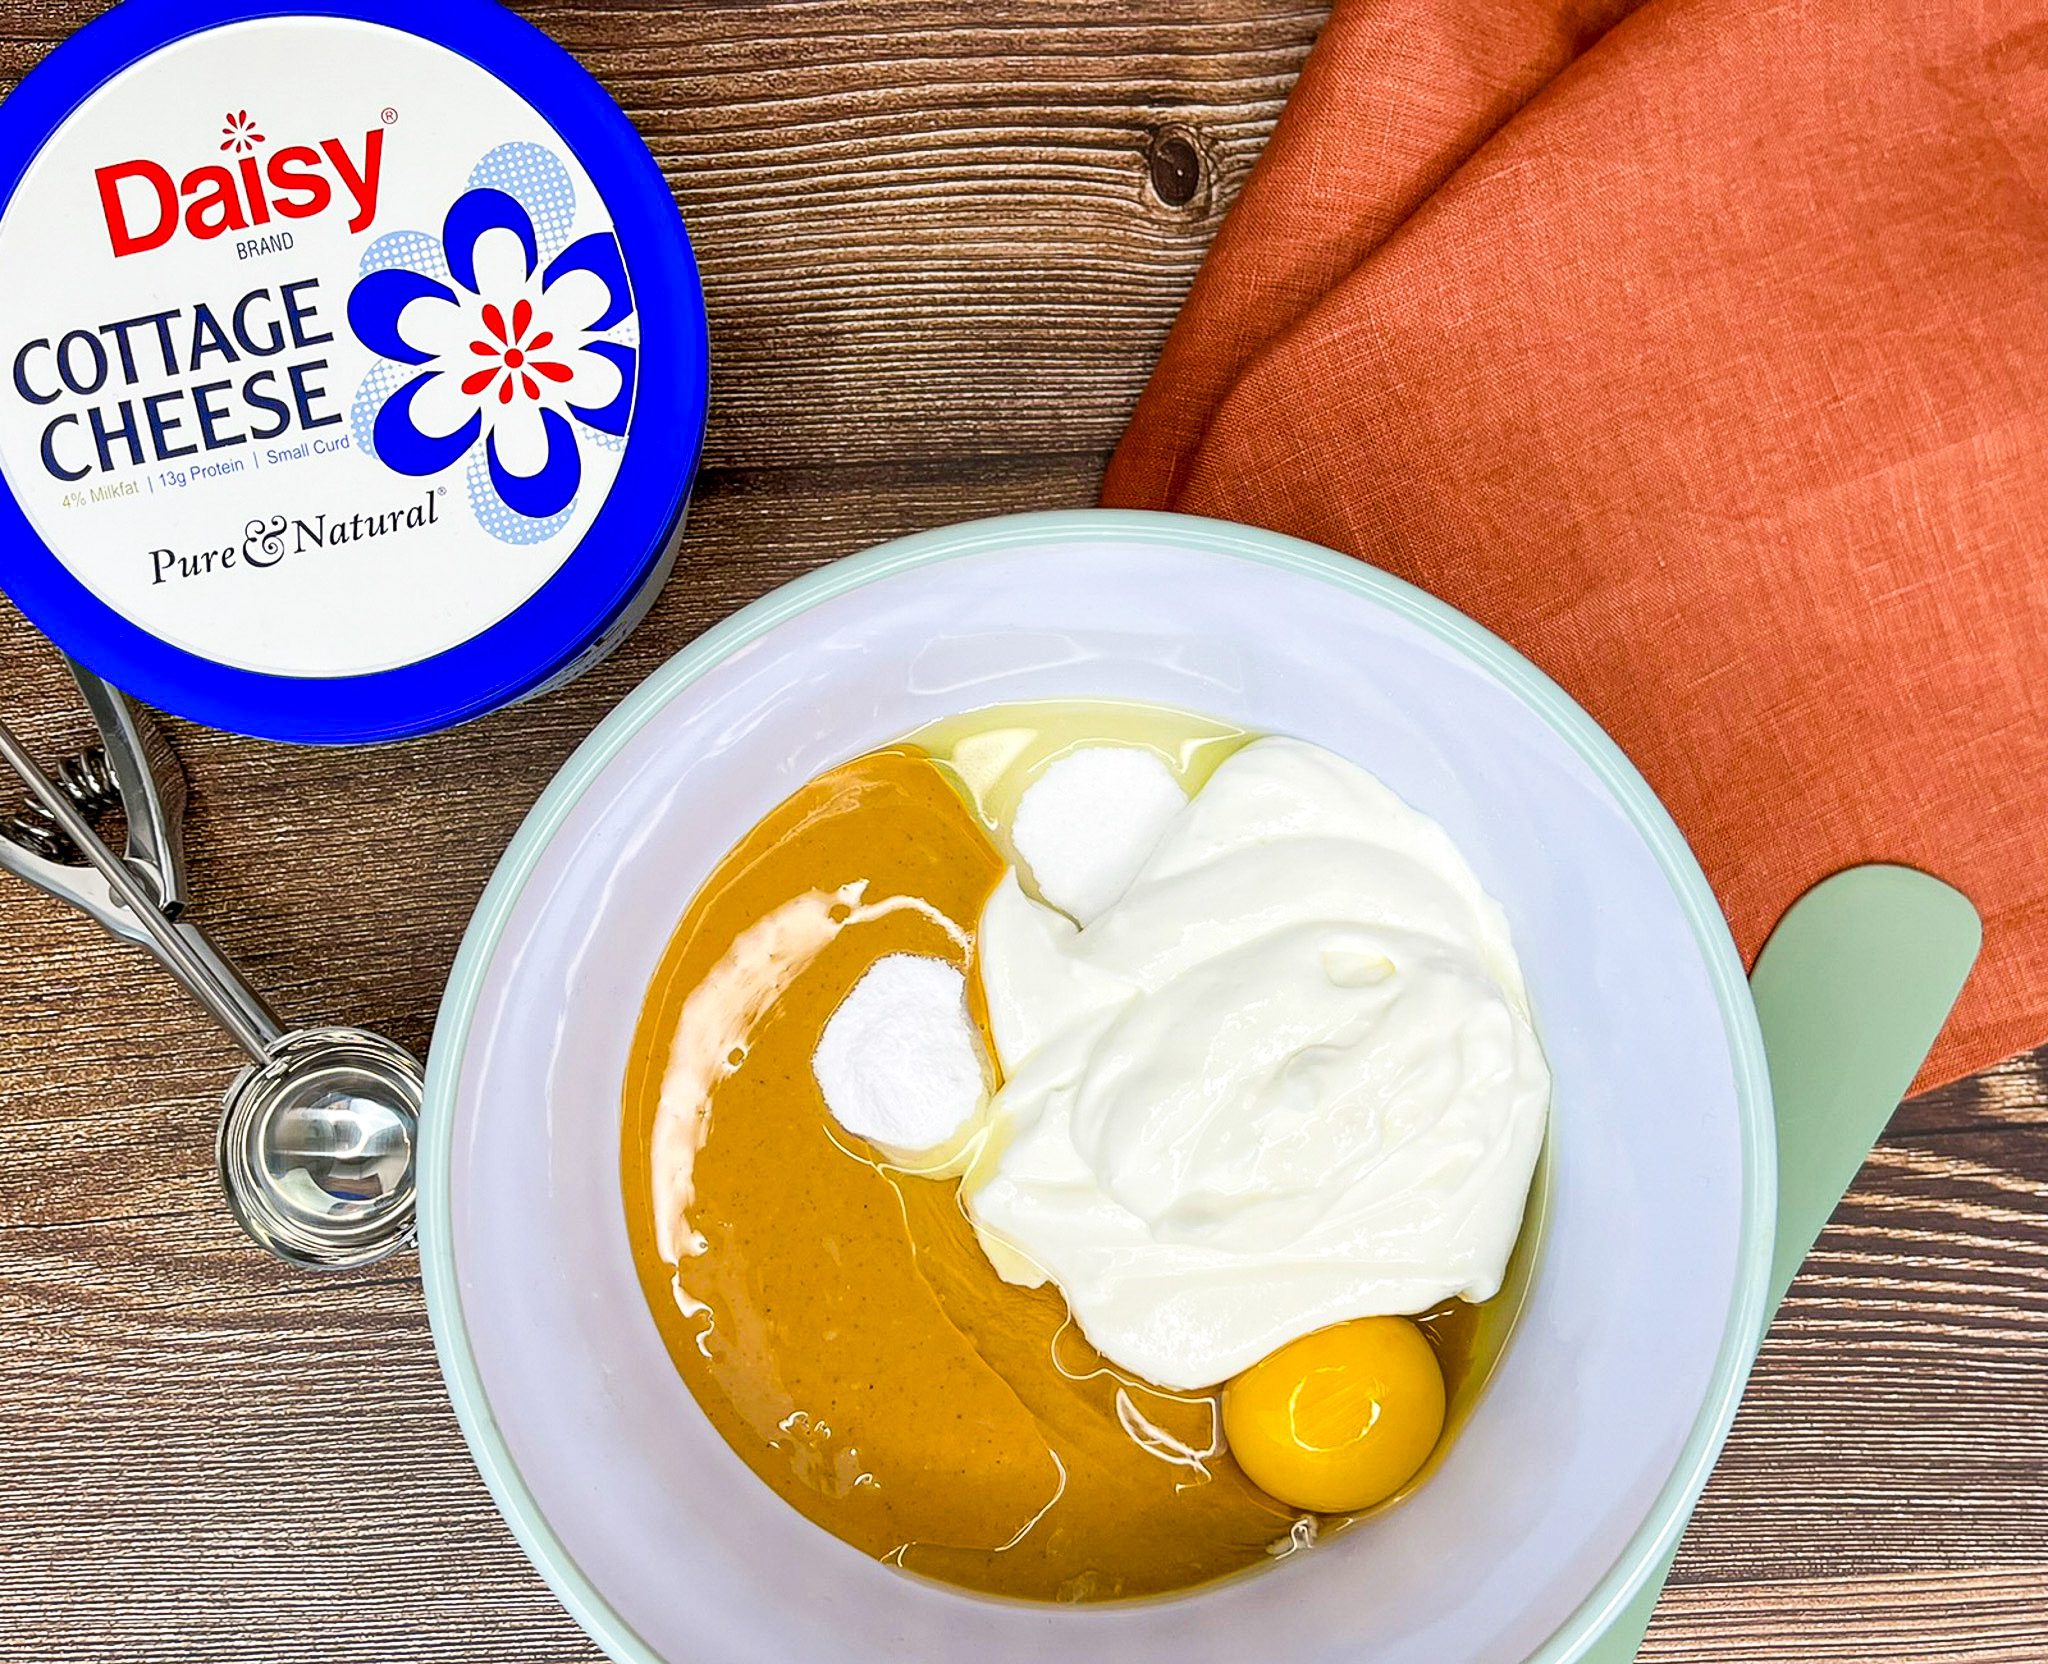
- Add egg, blended cottage cheese, and baking soda. Beat until well combined.
- Roll 1 tablespoon of dough into a ball and place 2 inches apart on the baking sheets. If desired, create a crisscross pattern with a cold fork.
- Bake until puffed and pale golden, about 12–14 minutes.
- Cool on the baking sheet for about 2 minutes, then transfer to a wire rack to cool completely before serving.